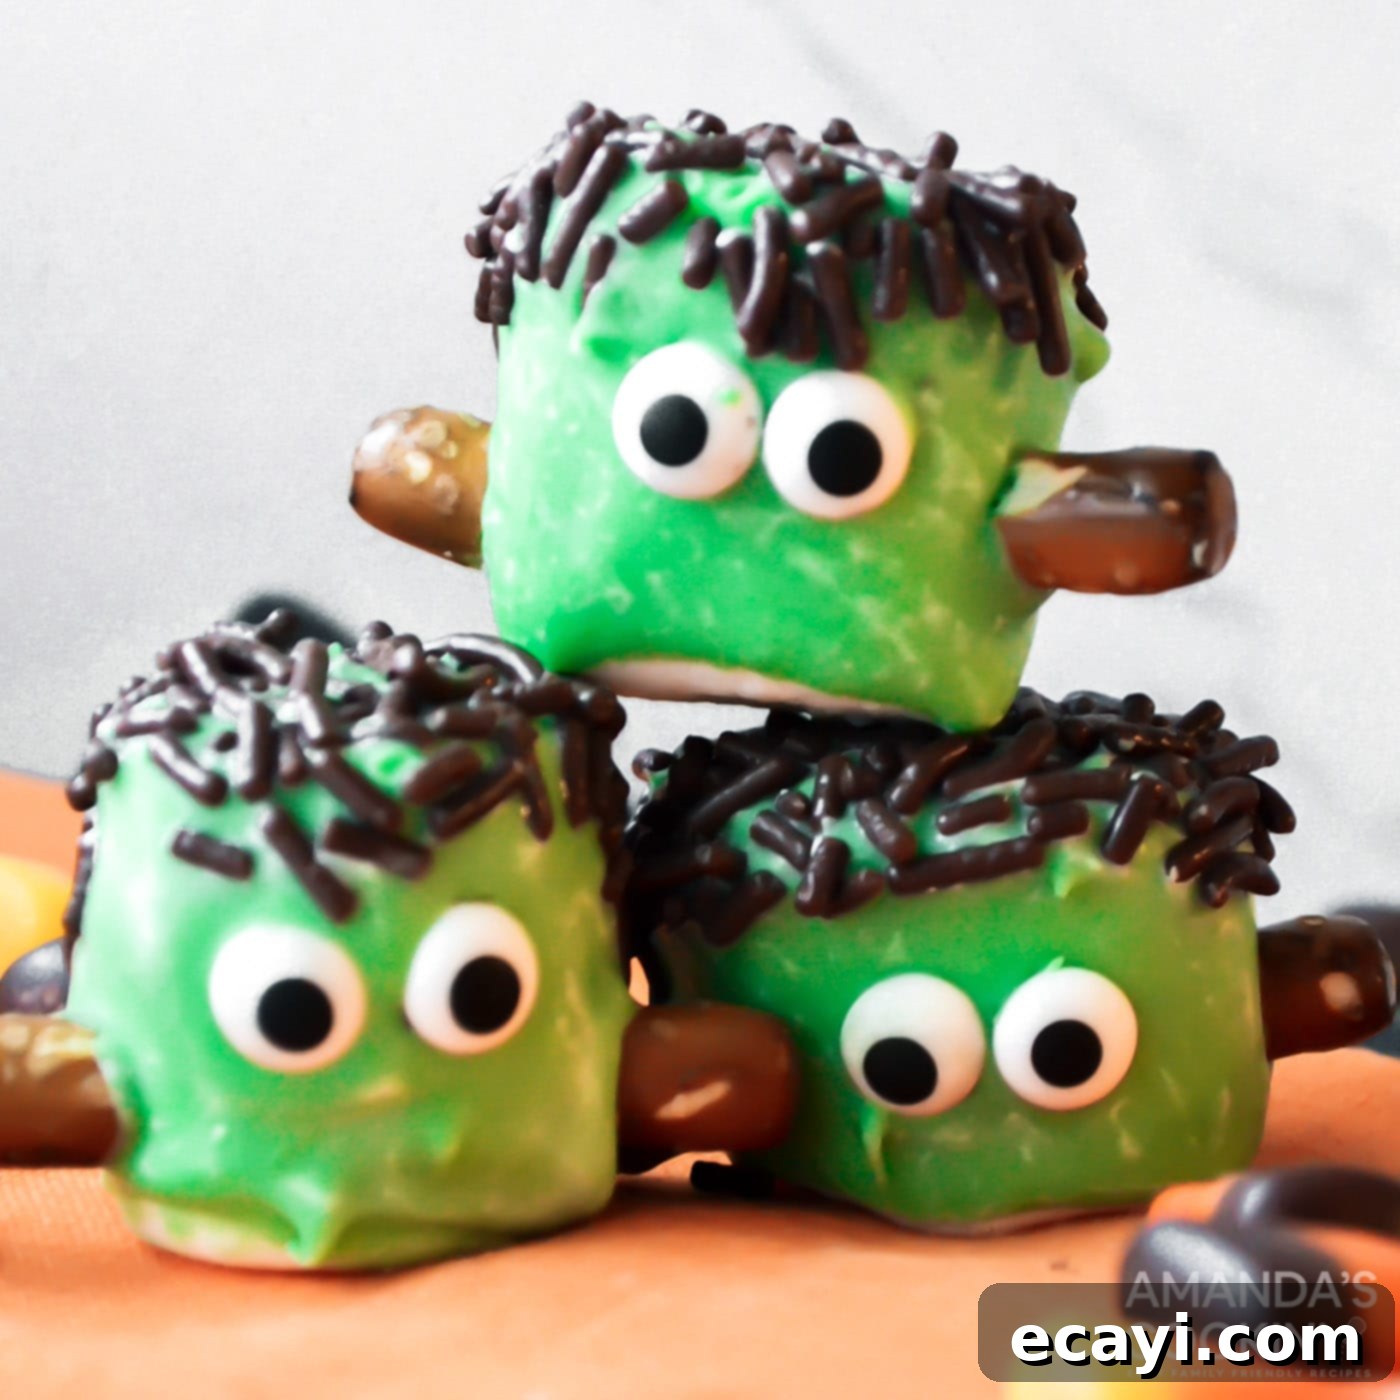
Spooktacularly Easy: How to Make Adorable No-Bake Marshmallow Frankensteins for Halloween
Get ready to unleash your inner mad scientist in the kitchen this Halloween with these incredibly simple, no-bake Marshmallow Frankensteins! If you’re searching for a treat that’s both festive and fuss-free, these charming chocolate-dipped monsters are an absolute winner. They are delightfully fun to craft, making them an ideal activity for kids and adults alike, and perfect for adding a touch of playful spookiness to any Halloween party spread or a cozy family night in. Forget complicated baking; these adorable Frankensteins come together quickly, promising maximum impact with minimal effort.
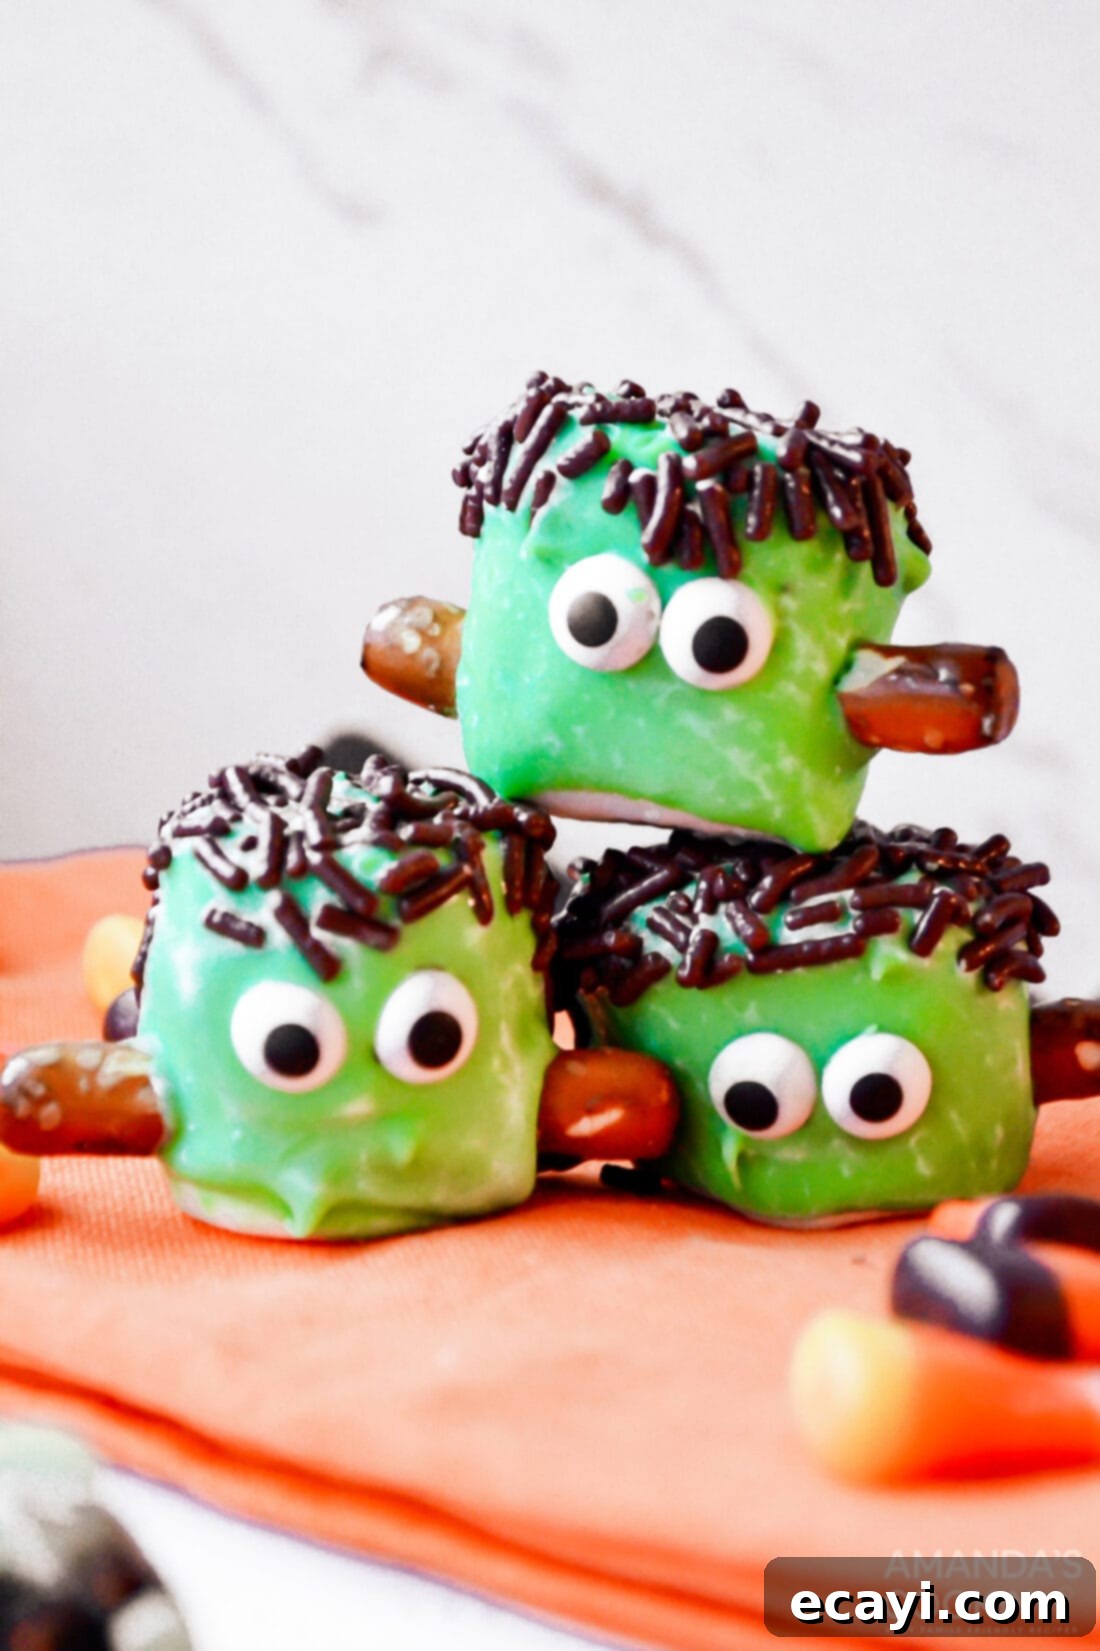
Why This Recipe Is a Halloween Must-Have
This recipe truly shines for several fantastic reasons, making it an indispensable part of your Halloween treat arsenal. First and foremost, it’s a **no-bake wonder**, which instantly removes the stress of oven temperatures and cooling times. This means less kitchen cleanup and more time enjoying the festive process! You won’t need any specialized baking skills or equipment, just a microwave and a few bowls.
The magic happens with just a handful of readily available ingredients: fluffy marshmallows, vibrant green-tinted white chocolate, playful sprinkles, crunchy pretzel sticks, and expressive candy eyeballs. These simple components transform into delightful little monsters with minimal fuss. It’s a fantastic project for involving children, as the steps are straightforward and safe for little hands, allowing them to contribute to the decorating fun and foster their creativity. Imagining their excitement as they watch their Frankensteins come to life is part of the charm!
Whether you’re hosting a grand Halloween bash or simply want to create some sweet memories at home, these marshmallow Frankensteins are a crowd-pleaser. They’re visually striking, incredibly tasty, and offer a unique, handcrafted touch that store-bought treats simply can’t match. Plus, they pair perfectly with other monster-themed snacks, such as our Frankenstein Rice Krispie Treats, creating a cohesive and spooktacular dessert table.
Gather Your Ghoulish Ingredients
Creating these charming Frankenstein treats requires only a few key components that are easy to find at any grocery store. For precise measurements and a detailed list, please refer to the printable recipe card located at the end of this article. But before you dive into the instructions, here’s a quick overview of what you’ll need to transform simple marshmallows into spooky delights.
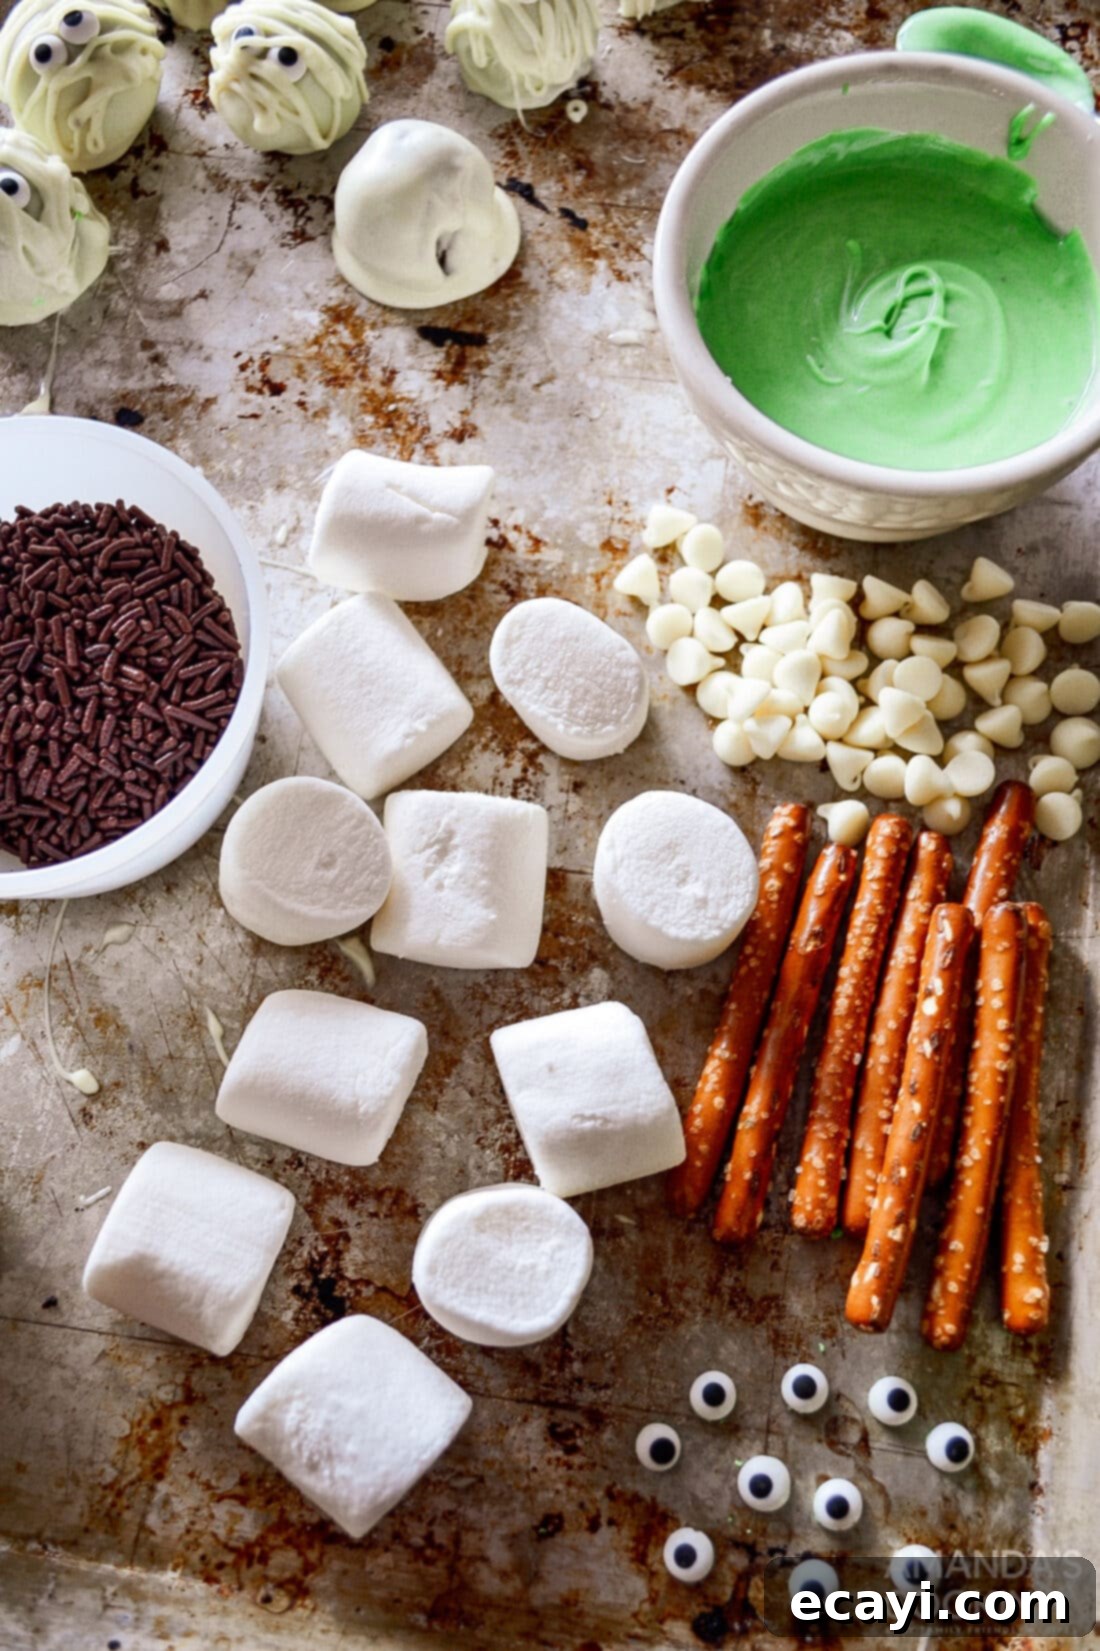
Ingredient Insight & Clever Substitutions
Understanding your ingredients and knowing when to substitute can make all the difference in your Halloween treat-making adventure. Here’s a deeper dive into the components for your Marshmallow Frankensteins:
- Marshmallows: Regular-sized marshmallows are ideal for this recipe as they provide a good base for dipping and decorating. While you could technically use jumbo marshmallows, they might be a bit too large and require more coating. Mini marshmallows, on the other hand, would be too small to achieve the iconic Frankenstein shape and details.
- COATING (White Chocolate or Candy Melts):
- White Chocolate Chips: Using quality white chocolate chips will give you a delicious, smooth coating. Remember that real white chocolate can be a bit finicky, so the addition of vegetable oil (as specified in the recipe) helps to thin it out and make it easier to work with, resulting in a perfectly smooth, dip-able consistency.
- Substitutions: For an even easier experience, especially if you’re new to candy making, consider using almond bark or candy melts (sometimes called melting wafers). These are designed to melt smoothly without needing additional oil. If you opt for these, you can omit the vegetable oil from the recipe. They come in various colors, so if you find green candy melts, you can skip the food coloring step entirely!
- Food Coloring: This is CRUCIAL! Always use **LIQUID food coloring** for tinting white chocolate or candy melts. **DO NOT use gel food colors!** Gel food coloring, even a tiny amount, contains water, which can cause your chocolate or candy coating to “seize.” This means it will instantly transform from a smooth, molten liquid into a thick, chunky, almost coagulated mess that is impossible to work with. Liquid food coloring, specifically oil-based or candy-specific colors, ensures a smooth, vibrant green hue. Adjust the amount of drops to achieve your desired shade of monster green.
- Vegetable Oil: As mentioned, this is solely for thinning out genuine white chocolate chips to achieve a smooth dipping consistency. If you’re using almond bark or candy melts, you can leave this out.
- Sprinkles (Brown or Black Jimmies): These are essential for creating Frankenstein’s iconic hair. Black jimmies offer a classic look, but brown sprinkles can also work well. You could also get creative with dark green or even purple sprinkles for a fun twist!
- Candy Eyeballs: These are the key to bringing your Frankensteins to life with quirky, expressive faces. Edible candy eyeballs are widely available in baking aisles or online.
- Pretzel Sticks: Broken into small pieces, these replicate Frankenstein’s neck bolts perfectly, adding a touch of savory crunch to the sweet marshmallow. If you don’t have pretzel sticks, small chocolate-covered pretzel pieces or even mini chocolate bar segments could work in a pinch.
Crafting Your Marshmallow Frankensteins: A Step-by-Step Guide
These step-by-step photos and detailed instructions are here to guide you through the process of making these delightful treats. For a convenient printable version of this recipe, complete with exact measurements and instructions, simply Jump to Recipe at the bottom of this post.
- Prepare Marshmallows: Begin by carefully inserting a lollipop stick into the center of each marshmallow. Push it about halfway through to ensure it’s securely in place for easy dipping. Once done, set all your marshmallow pops aside. Next, pour your brown or black sprinkles into a small, shallow bowl – this will be used for Frankenstein’s hair.
- Melt the Coating: In a medium-sized microwave-safe bowl, place your white chocolate chips or candy coating. Microwave on high for 30 seconds, then remove and stir thoroughly. Continue microwaving in short 10-15 second intervals, stirring well after each interval, until the chocolate is completely melted and smooth. Be careful not to overheat, as this can cause the chocolate to burn or become clumpy. Alternatively, you can use a double boiler for a gentler melting process.
- Color Your Coating: Once the candy is perfectly melted and smooth, add the green liquid food coloring and vegetable oil (if using white chocolate chips). Stir continuously until the mixture is uniform in color, free of streaks, and has achieved your desired vibrant shade of Frankenstein green. The vegetable oil helps create a wonderfully smooth consistency for dipping.
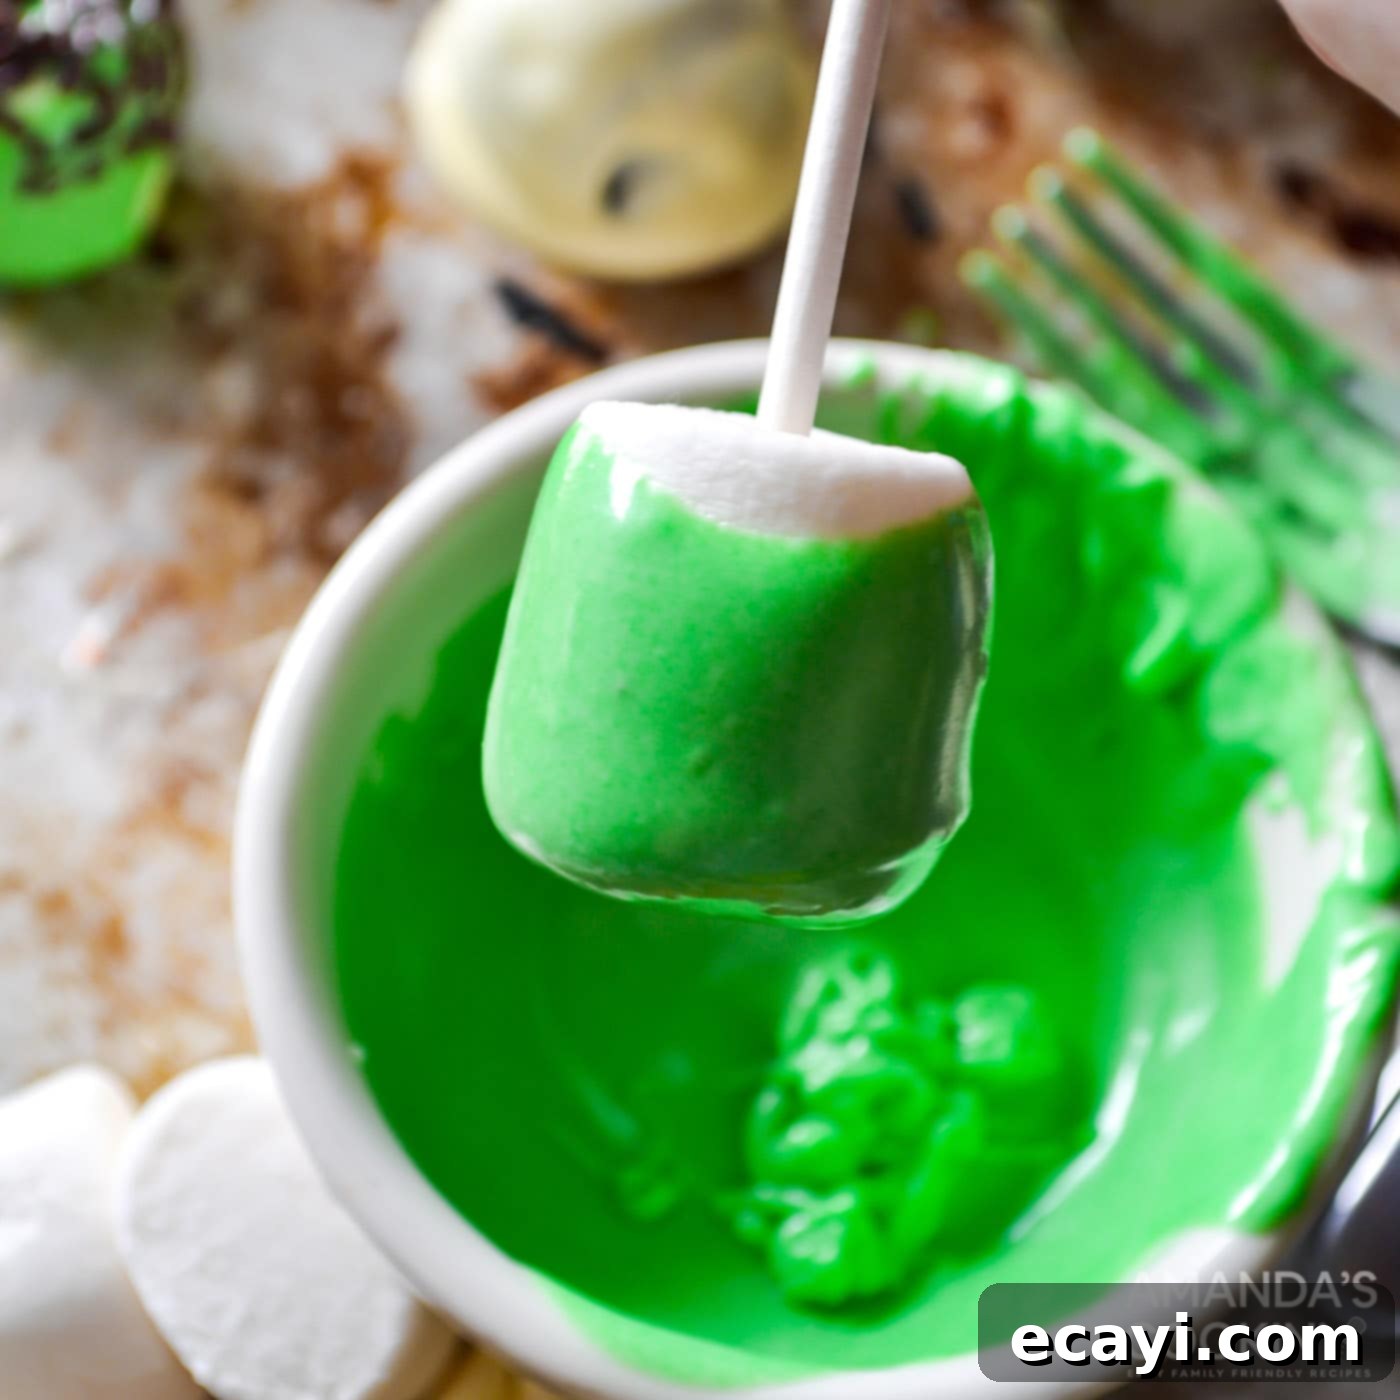
- Dip the Marshmallows: Working with one marshmallow pop at a time, carefully dip it into the green candy coating. Ensure that the marshmallow is fully submerged, covering at least to the bottom edge. Gently lift the marshmallow from the bowl, allowing any excess green coating to drip back into the bowl for a clean finish.
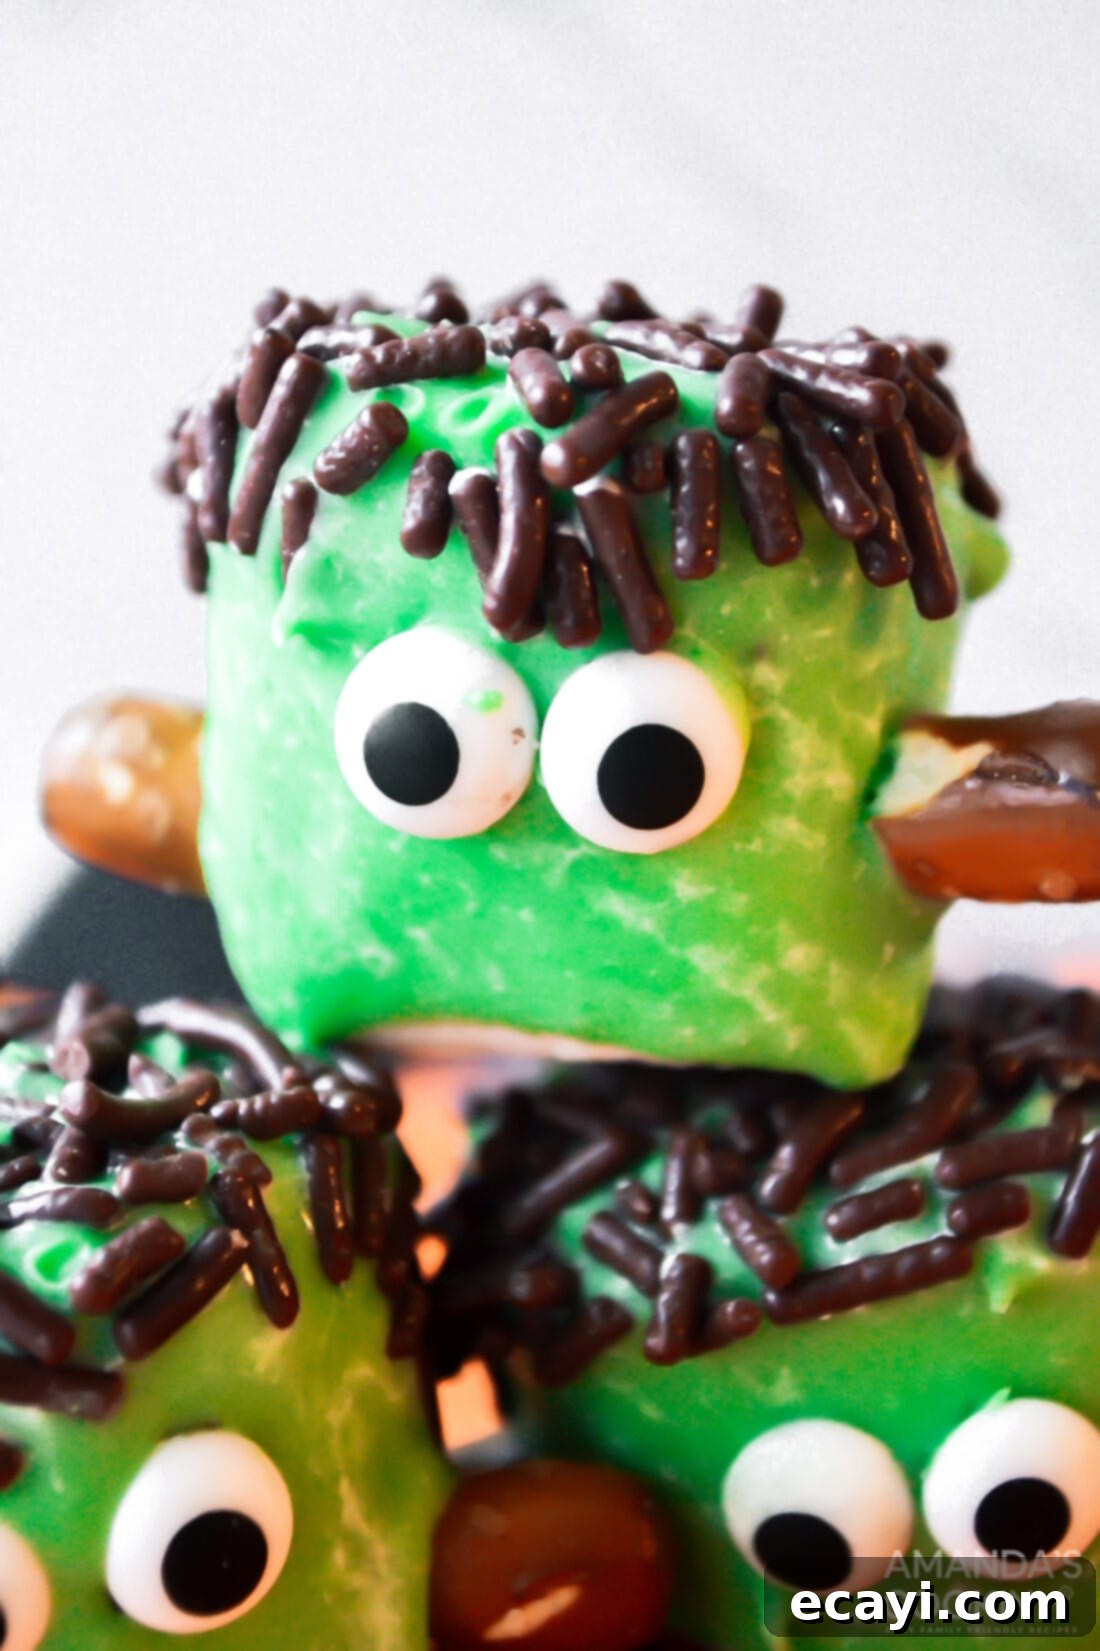
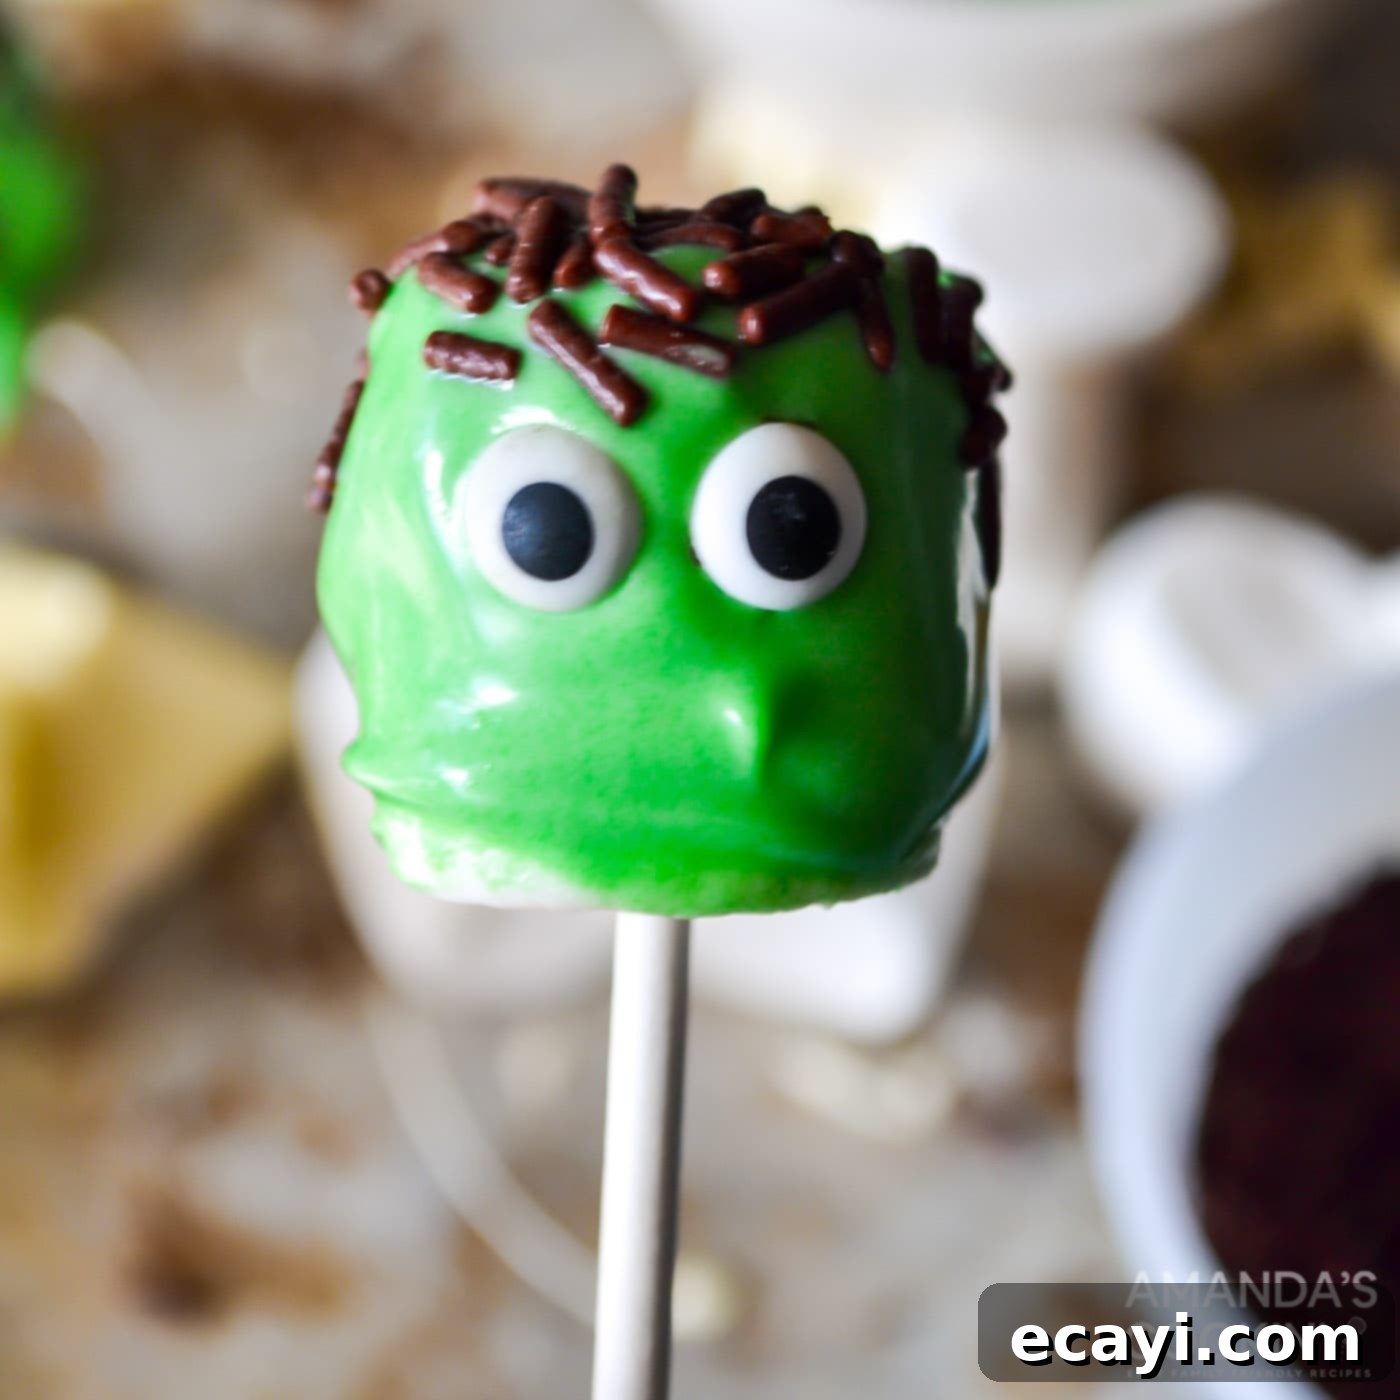
- Add Frankenstein’s Hair: Immediately after dipping, while the coating is still wet, gently dip the top edge of the coated marshmallow into the bowl of sprinkles. This will create the iconic “hair” effect for your Frankenstein monster. Press lightly to ensure the sprinkles adhere.
- Place the Eyes: While the coating is still soft, place a pair of candy eyes onto the front of each marshmallow, just below the sprinkle “hair.” If the coating starts to harden too quickly, you can dab a tiny bit of fresh melted green chocolate on the back of the eyes as “glue.”
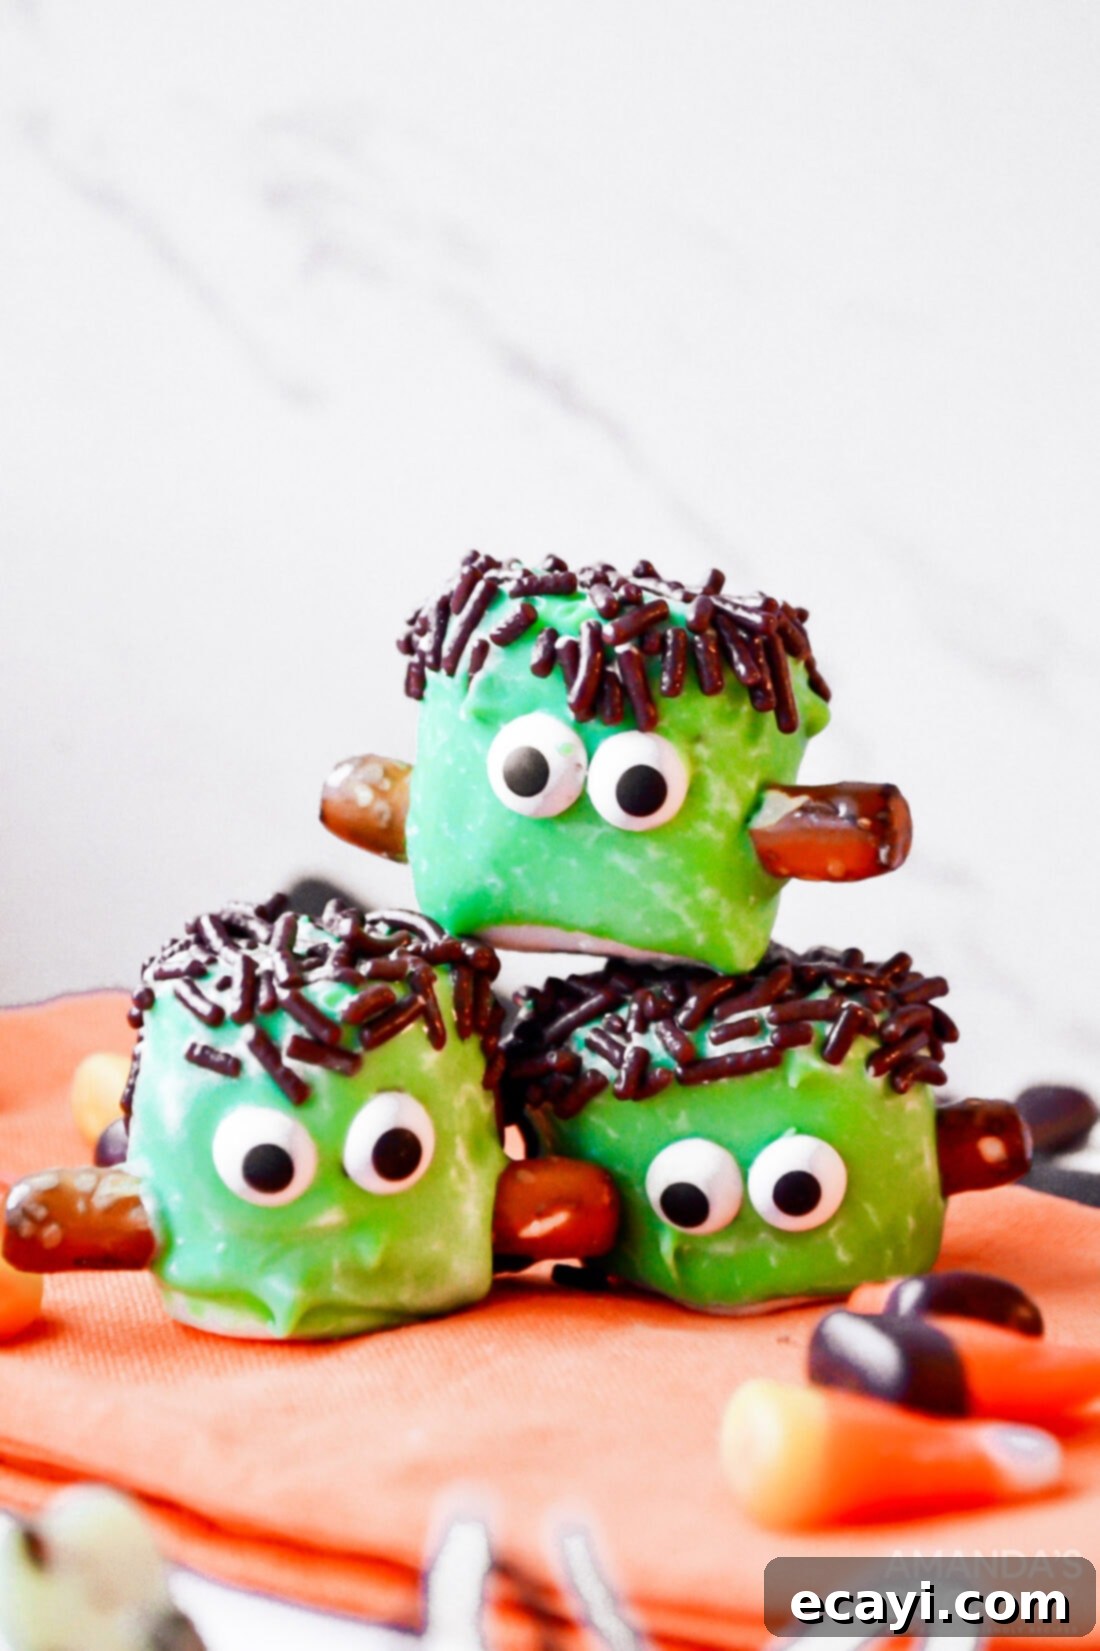
- Add the Neck Bolts: Gently poke two small pretzel stick pieces into the sides of each marshmallow, mimicking Frankenstein’s signature neck bolts. Be delicate to avoid breaking the marshmallow or dislodging the coating.
- Allow to Dry: Continue decorating the rest of your marshmallows following these steps. As you complete each Frankenstein, stand them upright to dry completely. A block of floral foam or a styrofoam block with holes poked into it is perfect for holding the lollipop sticks upright, allowing air to circulate and the coating to harden evenly without smudging.
- Serve and Enjoy: Once the candy coating has hardened completely, which usually takes about 15-30 minutes at room temperature, your Marshmallow Frankensteins are ready to be served and enjoyed!
Frequently Asked Questions & Expert Tips for Perfect Frankensteins
To ensure your candy coating hardens beautifully without any smudges or sticking, an excellent trick is to use a block of floral foam (or styrofoam). After decorating each marshmallow, simply stick the lollipop stick down into the foam. This method stabilizes the sticks, allowing air to circulate freely around the coated marshmallows. It also ensures any excess coating drips away cleanly, preventing pooling at the bottom and keeping your Frankensteins perfectly shaped. You can find floral foam at most craft stores.
If your white chocolate coating seems too thick for smooth dipping, you can add a tiny bit more vegetable oil (about ½ to 1 teaspoon at a time) and stir until it reaches the desired consistency. If you’re using candy melts and they’re too thick, a small amount of paramount crystals or shortening (like Crisco) can help thin them. If your coating is too thin, unfortunately, there isn’t much you can do to thicken it without affecting the taste or texture. Ensure you’re measuring ingredients accurately for the best results.
Absolutely! These treats are perfect for making in advance. Once the candy coating has fully hardened, store them in an airtight container at room temperature for up to 5-7 days. Layer them between sheets of parchment paper to prevent sticking. Avoid refrigerating them, as condensation can cause the chocolate to “bloom” (develop a white film) or become sticky. They will maintain their texture and taste best when kept at room temperature.
Seizing occurs when a small amount of water comes into contact with melted chocolate, causing it to clump and become unusable. This is why it’s critical to use **liquid food coloring** (oil-based or candy-specific) and avoid gel or water-based dyes. If your chocolate does seize, you might be able to rescue it by stirring in a teaspoon of vegetable oil or melted shortening until it smooths out, but this isn’t always successful. Prevention is key here!
Yes, this recipe is fantastic for involving kids! They can help insert the lollipop sticks (with adult supervision), dip the marshmallows into sprinkles, place the candy eyes, and poke in the pretzel sticks. For melting the chocolate, an adult should handle the microwave or stovetop. Always ensure children wash their hands thoroughly before and after handling food. Supervise them closely, especially with hot chocolate and sharp pretzel sticks, to ensure a fun and safe decorating experience.
Creative Ways to Serve Your Marshmallow Frankensteins
The versatility of these marshmallow Frankensteins is truly one of their best attributes. They’re not just delicious on their own; they can be incorporated into your Halloween celebrations in numerous imaginative ways!
Beyond simply serving them as individual treats, consider using them as **eye-catching cupcake toppers** by sticking them directly into frosted cupcakes. For a larger centerpiece, these monster pops can elegantly decorate a themed cake, creating a whimsical scene. If you decide to keep the lollipop sticks, they transform into adorable marshmallow pops, perfect for little hands to hold and enjoy at a party. You can also arrange them artfully on a Halloween-themed platter alongside other spooky snacks, creating a vibrant and inviting dessert spread.
For those looking to go the extra mile with presentation, wrap individual Marshmallow Frankensteins in clear cellophane baggies and tie them with orange or black ribbons. These make **charming party favors** that guests can take home, a sweet reminder of your spooktacular event. They’re also ideal for school Halloween parties, trunk-or-treat events, or as fun additions to lunchboxes during the festive season.
Want to add even more character? Consider piping on a chocolate mouth to each Frankenstein. Simply melt a small amount of chocolate chips or chocolate candy coating, transfer it to a small zip-top baggie, and snip off a tiny piece from one corner. Pipe a straight, horizontal line for the mouth, then add several small, spaced-out vertical lines over it to create a classic “stitched” look. You can also use edible food markers to draw eyebrows, scars, or other unique details, giving each Frankenstein a distinct personality. Get creative with different colored sprinkles for their hair, or even use edible glitter for a touch of monstrous glam!
More Spooky Halloween Recipes to Try
If you loved making these Marshmallow Frankensteins, you’re sure to enjoy these other festive Halloween treats!
- Ghost Brownies
- Witch Finger Cookies
- Halloween Candy Apples
- Jalapeno Popper Mummies
- Frankenstein Rice Krispie Treats
- Vampire Sandwich Cookies
- Frankenstein Margarita
I love to bake and cook and share my kitchen experience with all of you! Remembering to come back each day can be tough, that’s why I offer a convenient newsletter every time a new recipe posts. Simply subscribe and start receiving your free daily recipes!
Marshmallow Frankensteins
IMPORTANT – There are often Frequently Asked Questions within the blog post that you may find helpful. Simply scroll back up to read them!
Print It
Pin It
Rate It
Save ItSaved!
Ingredients
- 24 marshmallows regular sized marshmallows – 1 bag
- 12 oz white chocolate chips
- 2 Tbsp vegetable oil
- 10-12 drops green food coloring
- brown or black sprinkles jimmies
- candy eyeballs
- pretzel sticks broken into ½-¾ inch pieces
Things You’ll Need
-
Lollipop sticks
Before You Begin
- For the candy coating, you can use either white chocolate chips (adding vegetable oil for smoothness) or opt for convenient almond bark or candy melts, which typically don’t require additional oil.
- Always use liquid food coloring for tinting your chocolate or candy coating. Gel food colors contain water and will cause the mixture to seize and become unusable.
- Adjust the number of green food coloring drops to achieve your desired shade of vibrant green for your monster.
- To place candy eyes precisely without getting coating on your fingers, a pair of clean craft tweezers can be incredibly helpful.
- To facilitate drying and prevent sticky bottoms, stand the marshmallow pops upright in a block of floral foam after decorating. This allows for even hardening and air circulation.
Instructions
-
Insert a lollipop stick into the center of each marshmallow, pushing it halfway through, then set aside. Pour the brown or black sprinkles into a small, shallow bowl.
-
In a medium-sized microwave-safe bowl, melt the white chocolate chips or candy coating. Cook for 30 seconds, then stir. Continue microwaving in 10-15 second intervals, stirring well after each, until fully melted and smooth.
-
Once melted, add the green liquid food coloring and vegetable oil (if using white chocolate). Stir thoroughly until the mixture is a smooth, even green.
-
Working one by one, dip each marshmallow into the green coating, ensuring it’s covered at least to the bottom edge. Gently tap off any excess coating back into the bowl.
-
Immediately dip the top edge of the coated marshmallow into the sprinkles to create Frankenstein’s hair.
-
Carefully place a pair of candy eyes on the front of each marshmallow while the coating is still soft.
-
Gently poke two ½-¾ inch pieces of pretzel sticks into the sides of each marshmallow to mimic Frankenstein’s neck bolts.
-
Continue decorating all marshmallows. Stand each completed Frankenstein pop upright in a floral foam block or similar holder to dry completely.
-
Once the candy coating is fully hardened (approximately 15-30 minutes), your spooky Marshmallow Frankensteins are ready to serve and enjoy!
Nutrition
The recipes on this blog are tested with a conventional gas oven and gas stovetop. It’s important to note that some ovens, especially as they age, can cook and bake inconsistently. Using an inexpensive oven thermometer can assure you that your oven is truly heating to the proper temperature. If you use a toaster oven or countertop oven, please keep in mind that they may not distribute heat the same as a conventional full sized oven and you may need to adjust your cooking/baking times. In the case of recipes made with a pressure cooker, air fryer, slow cooker, or other appliance, a link to the appliances we use is listed within each respective recipe. For baking recipes where measurements are given by weight, please note that results may not be the same if cups are used instead, and we can’t guarantee success with that method.
