Homemade Glazed Blackberry Scones: Your Ultimate Recipe for Fluffy, Fruity Perfection
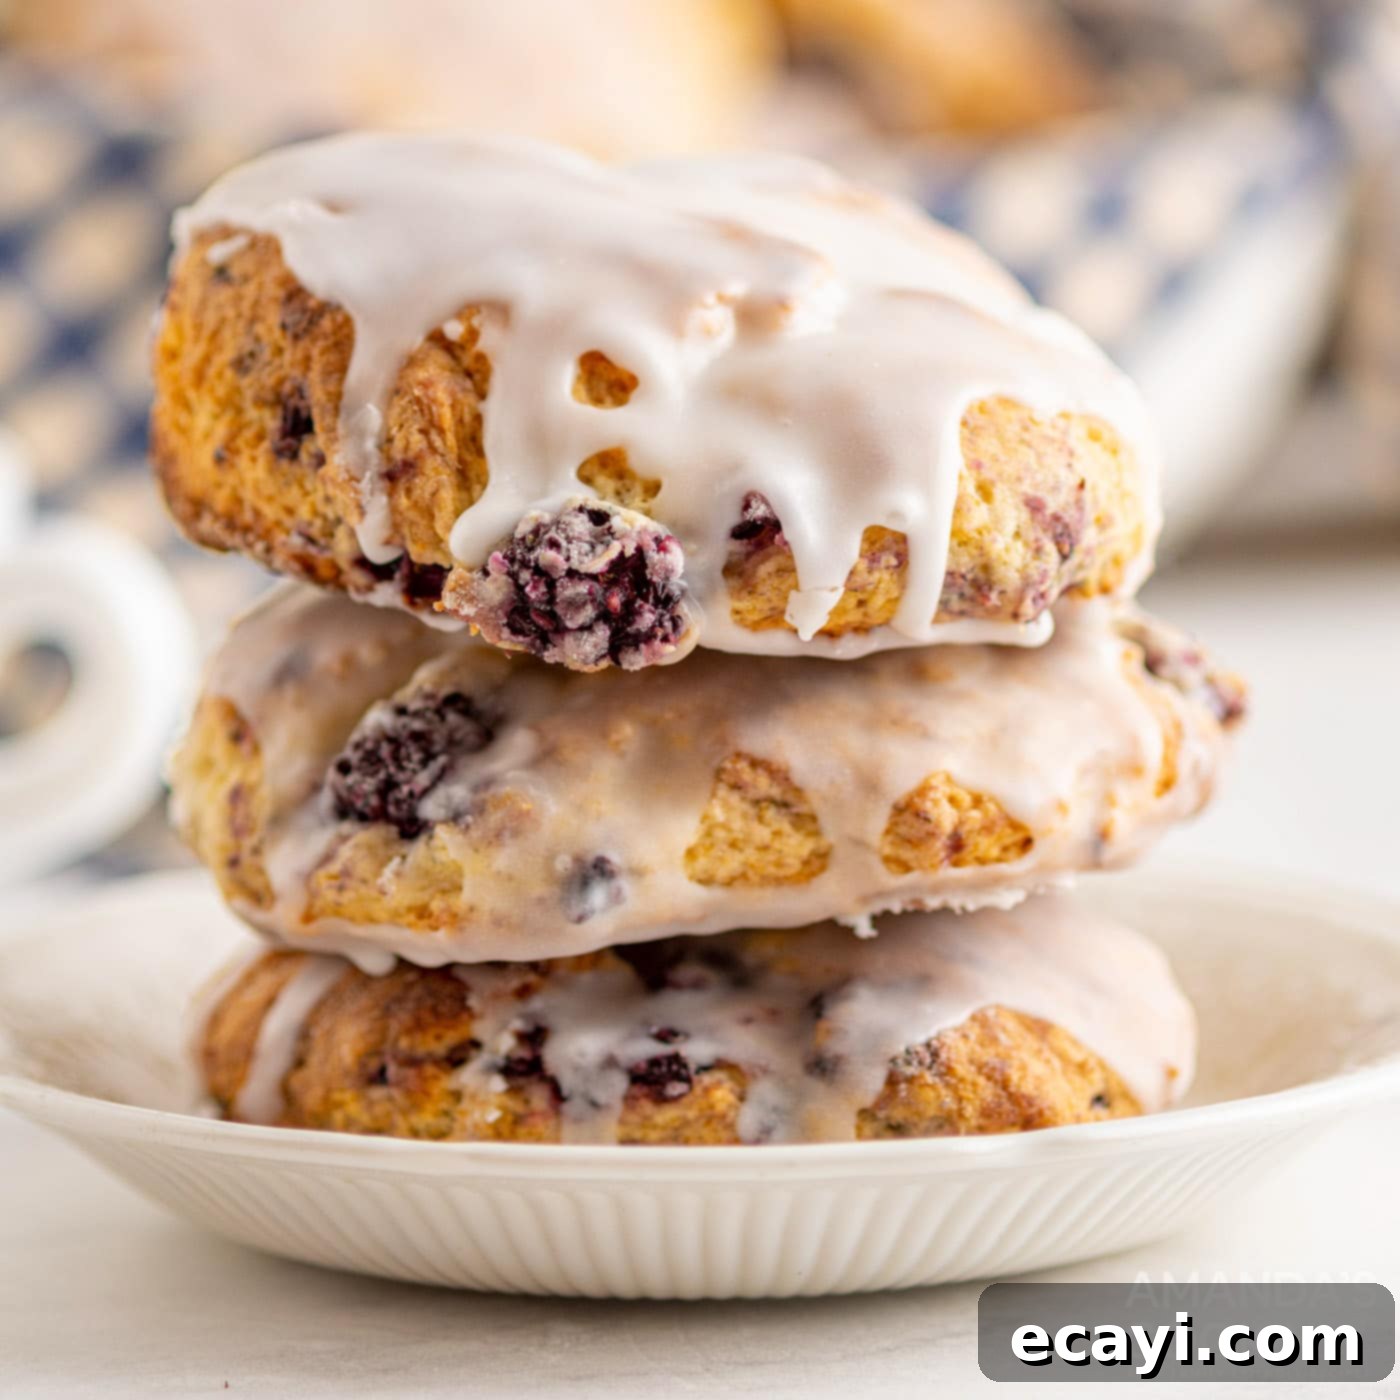
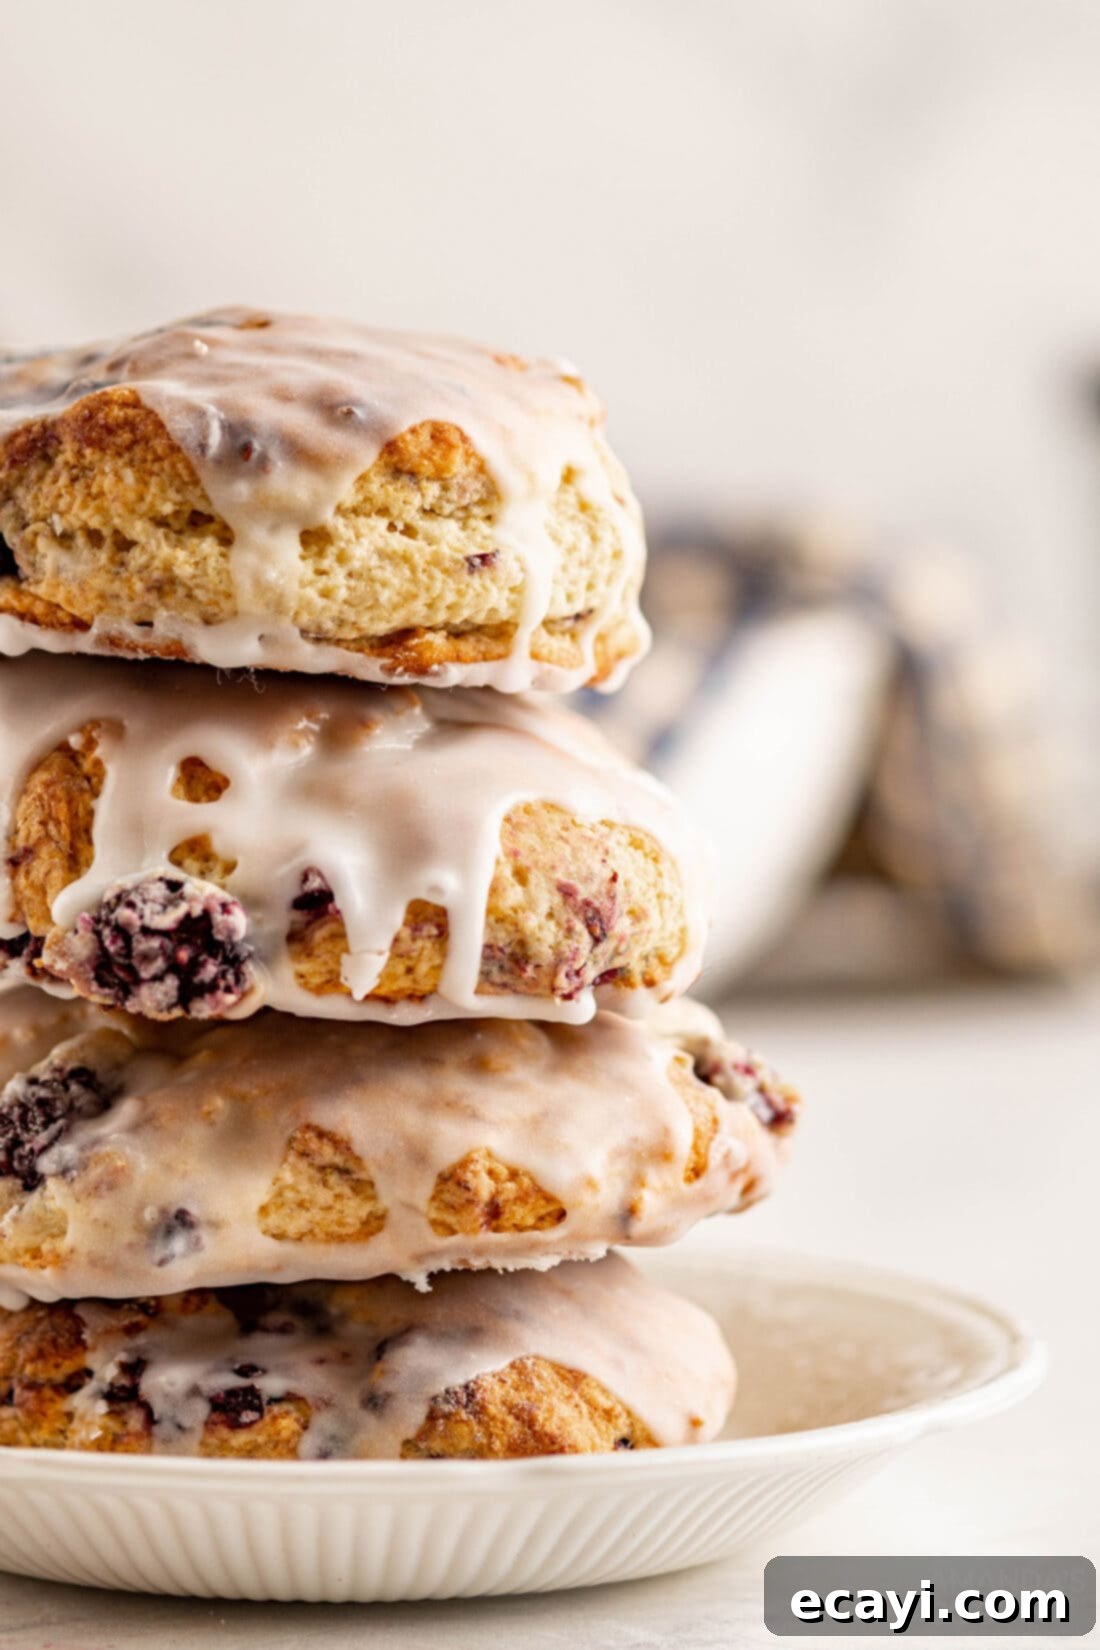
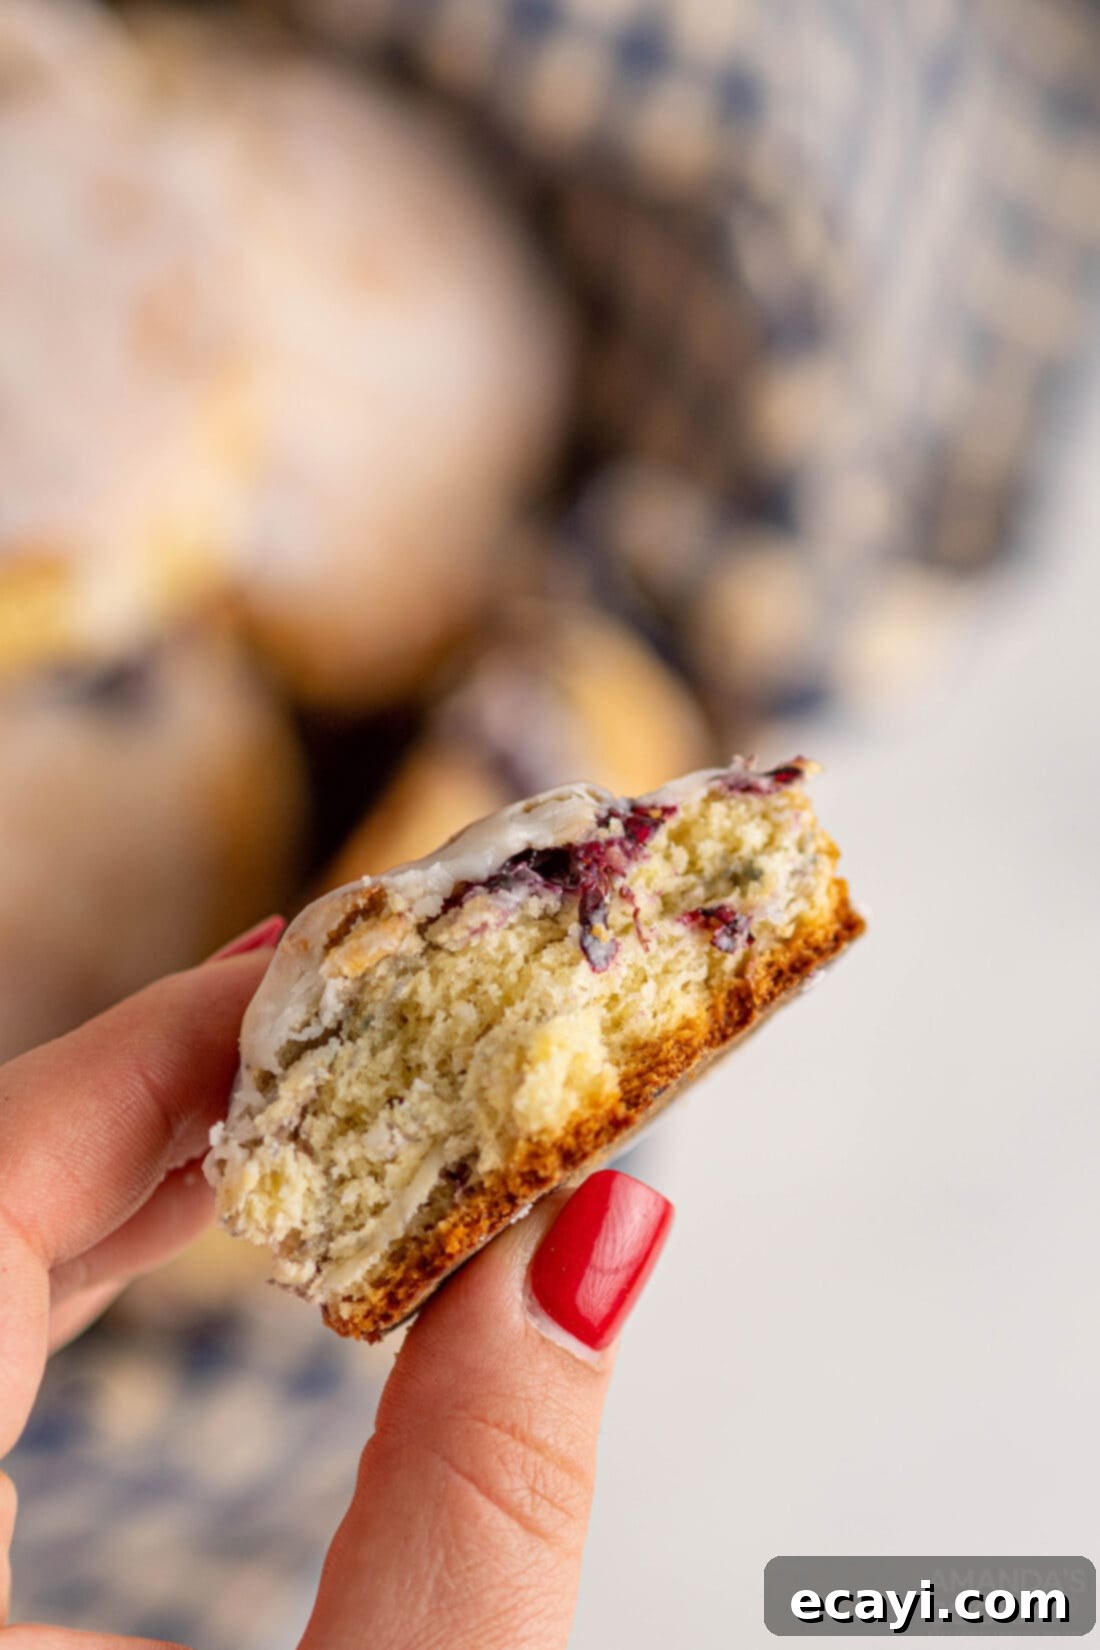
Indulge in the simple pleasure of freshly baked Blackberry Scones. This recipe delivers scones that are wonderfully soft and sweet on the inside, generously studded with bursts of tart, juicy blackberries. Each bite offers a delightful contrast of flavors and textures, culminating in a lightly crispy exterior crowned with a sweet, smooth, and utterly irresistible glaze.
Why This Blackberry Scone Recipe Is a Must-Try
This blackberry scone recipe is a true marvel, bringing together succulent, plump blackberries with a rich, buttery, and incredibly soft dough, all finished with a delicate, sweet glaze. They are more than just a baked good; they’re an experience, perfect for elevating your afternoon tea, adding a touch of elegance to brunch, or simply enjoying as a delightful breakfast treat. The magic lies in the balance and a few key techniques.
Blackberries are an exceptional addition to any baked good, and scones are no exception. Their natural tartness brilliantly cuts through the sweetness of the pastry and glaze, creating a perfectly balanced flavor profile that keeps you coming back for more. This delightful tart-sweet dynamic is precisely why we love incorporating them into our breakfast and brunch creations, like our braided blackberry breakfast danish, or transforming them into indulgent desserts such as blackberry pie squares. With these scones, you get that same irresistible harmony in a wonderfully tender, flaky package.
What makes this specific recipe truly shine is the careful consideration of ingredients and method. Using cold butter, for example, is crucial. As it melts during baking, it releases steam, creating tiny pockets within the dough that contribute to a light, airy, and incredibly flaky texture. The combination of buttermilk and yogurt also plays a vital role, not only adding moisture and richness but also activating the baking powder for a beautiful rise. This results in scones that aren’t dense or heavy, but rather perfectly tender and crumbly, with just the right amount of structure to hold those juicy berries. The final glaze adds a touch of refined sweetness that ties all the flavors together, making each scone a little masterpiece.
Essential Ingredients for Your Blackberry Scones
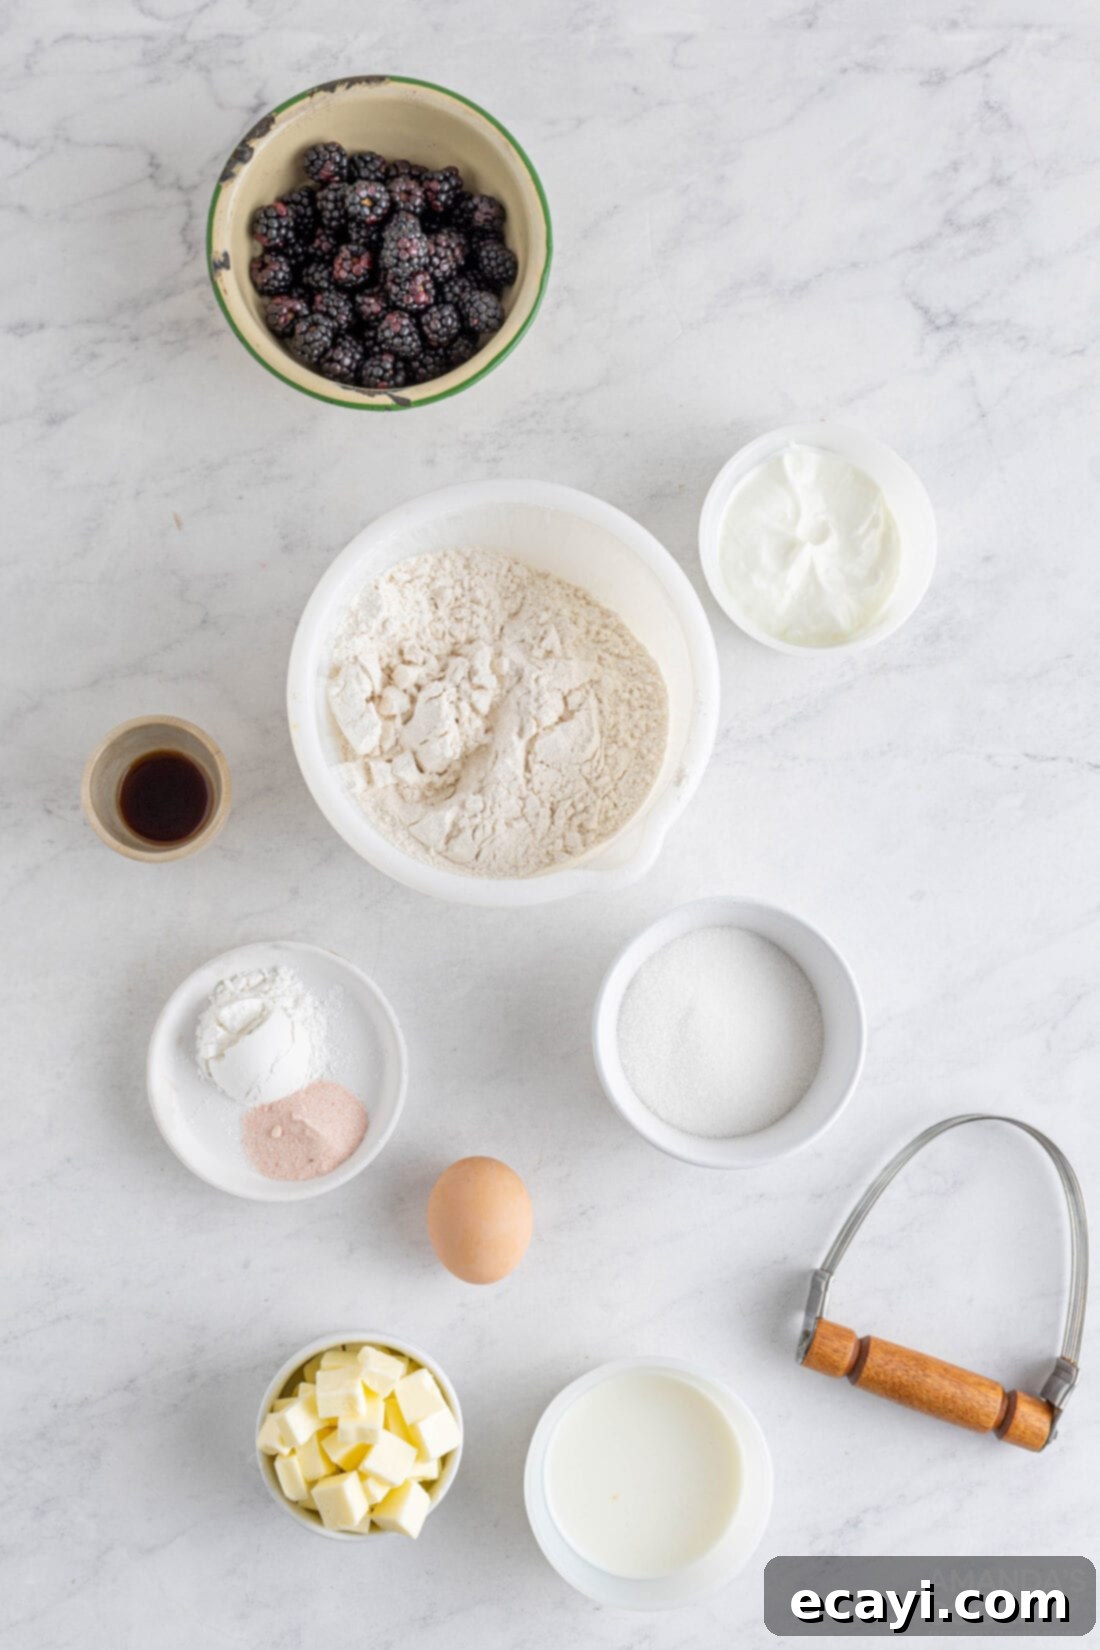
Gathering your ingredients is the first step to baking these irresistible blackberry scones. All precise measurements, a complete list of ingredients, and detailed instructions can be found in the convenient printable recipe card located at the very end of this blog post. For now, let’s delve into what makes these components so crucial to scone perfection.
Ingredient Spotlight & Expert Substitution Tips
Understanding your ingredients is key to successful baking. Here’s a closer look at what goes into these glorious blackberry scones, along with some helpful substitution advice:
- FLOUR: For these tender scones, we rely on standard all-purpose flour. This provides the ideal structure without being too heavy. While we haven’t achieved successful results using gluten-free flour with this particular recipe, if you’re looking for a slightly healthier alternative or a different flavor profile, you can experiment with substituting whole wheat flour, or even ancient grains like sprouted grain or spelt flour. Keep in mind that these substitutions may slightly alter the texture and density of your scones, so adjust liquid content minimally if the dough feels too dry or wet.
- YOGURT: Plain yogurt adds moisture, tenderness, and a touch of tang that complements the blackberries beautifully. If plain yogurt isn’t available, vanilla yogurt can be used for a hint of extra sweetness (you might slightly reduce the granulated sugar if you do). Sour cream is also an excellent substitute, providing a similar fat and acid content that helps keep the scones moist and contributes to their rise. Ensure whichever you choose is full-fat for the best texture and flavor.
- BUTTER: The secret to truly flaky scones lies in using cold butter. Seriously, this is non-negotiable! Cut your butter into small cubes and keep it chilled until the last possible moment. As these small, cold pieces of butter melt in the hot oven, they release steam, creating crucial pockets of air within the dough. This process is what gives scones their characteristic light, tender, and incredibly flaky layers. Avoid using softened or melted butter, as it will result in a dense, cake-like texture rather than a true scone. If your kitchen is warm, you can even chill your flour beforehand!
- BLACKBERRIES: Fresh, ripe blackberries are ideal for their vibrant flavor and textural contrast. Gently fold them into the dough to prevent crushing. If fresh blackberries are out of season or unavailable, you can absolutely use frozen blackberries. The key is to add them directly from the freezer, without thawing. Thawing can cause them to release too much moisture, potentially altering the dough consistency and bleeding color. Simply toss the frozen berries into the dough as instructed, and they will bake beautifully.
- BUTTERMILK: Buttermilk provides essential acidity that reacts with the baking powder, contributing to the scones’ lift and tenderness. Its rich, tangy flavor also enhances the overall taste. If you don’t have buttermilk on hand, you can make a simple substitute: add 1 teaspoon of lemon juice or white vinegar to a measuring cup, then fill the rest with regular milk until it reaches ⅓ cup. Let it sit for 5-10 minutes until it slightly curdles before adding to your dough.
Step-by-Step Guide: Crafting Your Perfect Blackberry Scones
These detailed step-by-step photos and instructions are designed to guide you through the process, helping you visualize how to create this delicious recipe with ease. For your convenience, you can Jump to Recipe to access the printable version, complete with all measurements and instructions, located at the bottom of this post.
- Preheat your oven to 400°F (200°C). Prepare a baking sheet by greasing it lightly or lining it with parchment paper; set it aside. This ensures your scones won’t stick and will brown evenly.
- In a large mixing bowl, combine the dry ingredients: whisk together the all-purpose flour, granulated sugar, baking powder, and salt. Whisking ensures these ingredients are thoroughly combined and evenly distributed, which is crucial for a consistent rise and flavor.
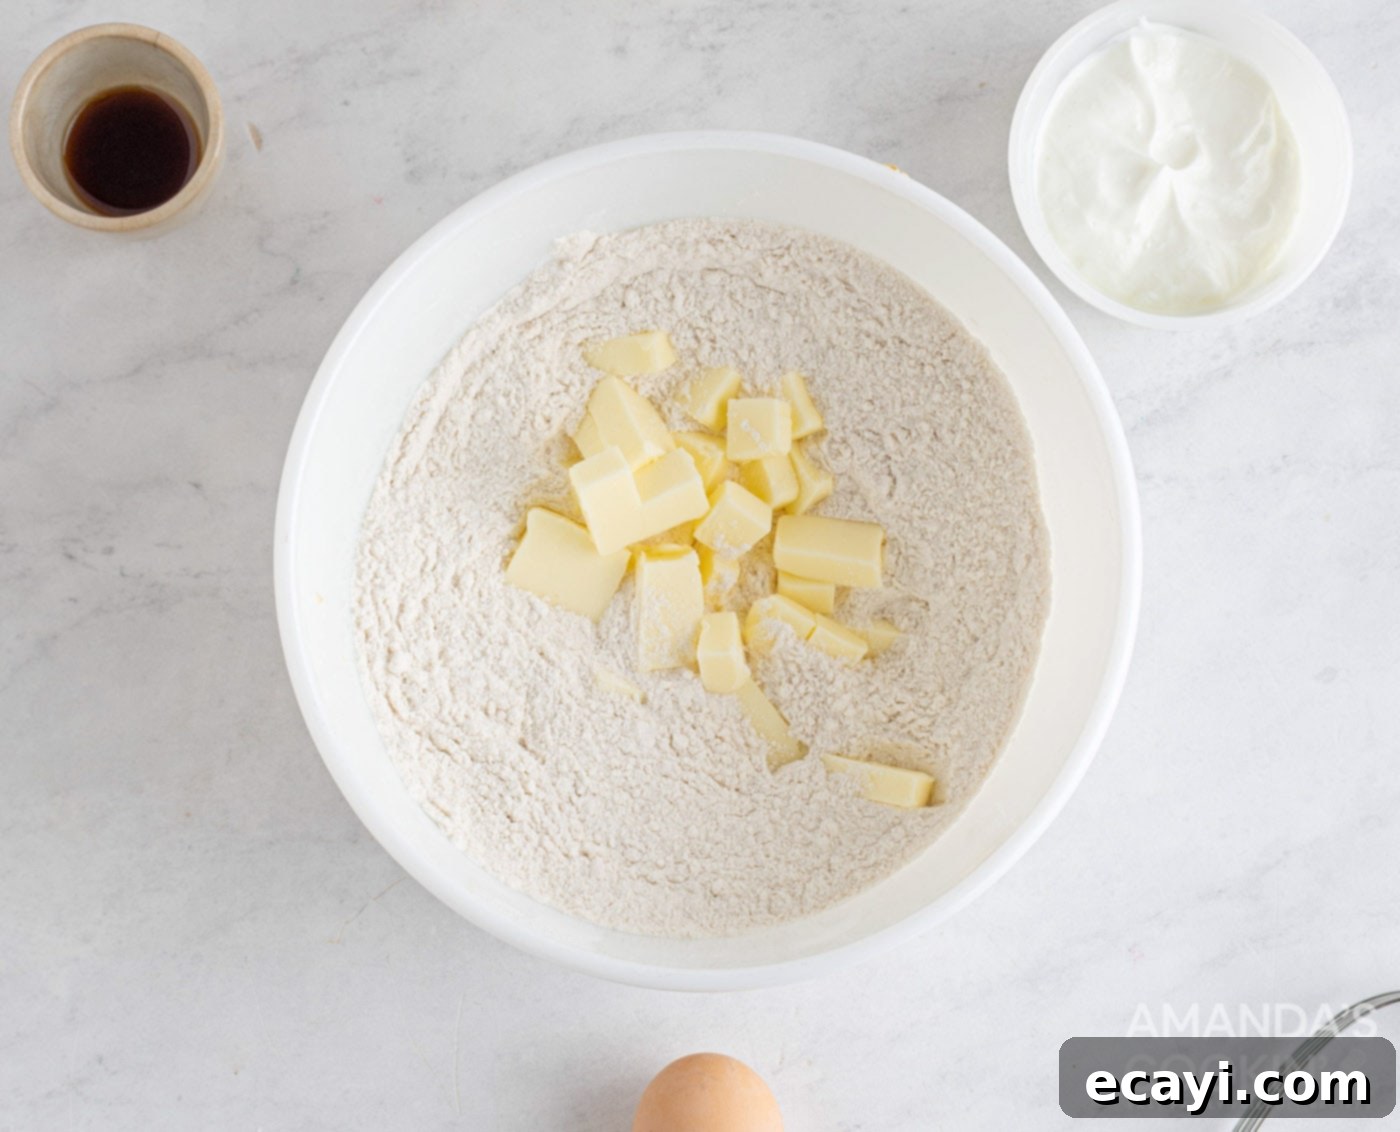
- Now, it’s time to incorporate the cold butter. Using a pastry cutter (or two forks if you don’t have one), cut the cold, cubed butter into the flour mixture. Work quickly to prevent the butter from warming up too much. Continue until the mixture resembles coarse crumbs, with some pea-sized pieces of butter still visible. These small pockets of butter are what create the signature flaky texture of scones.

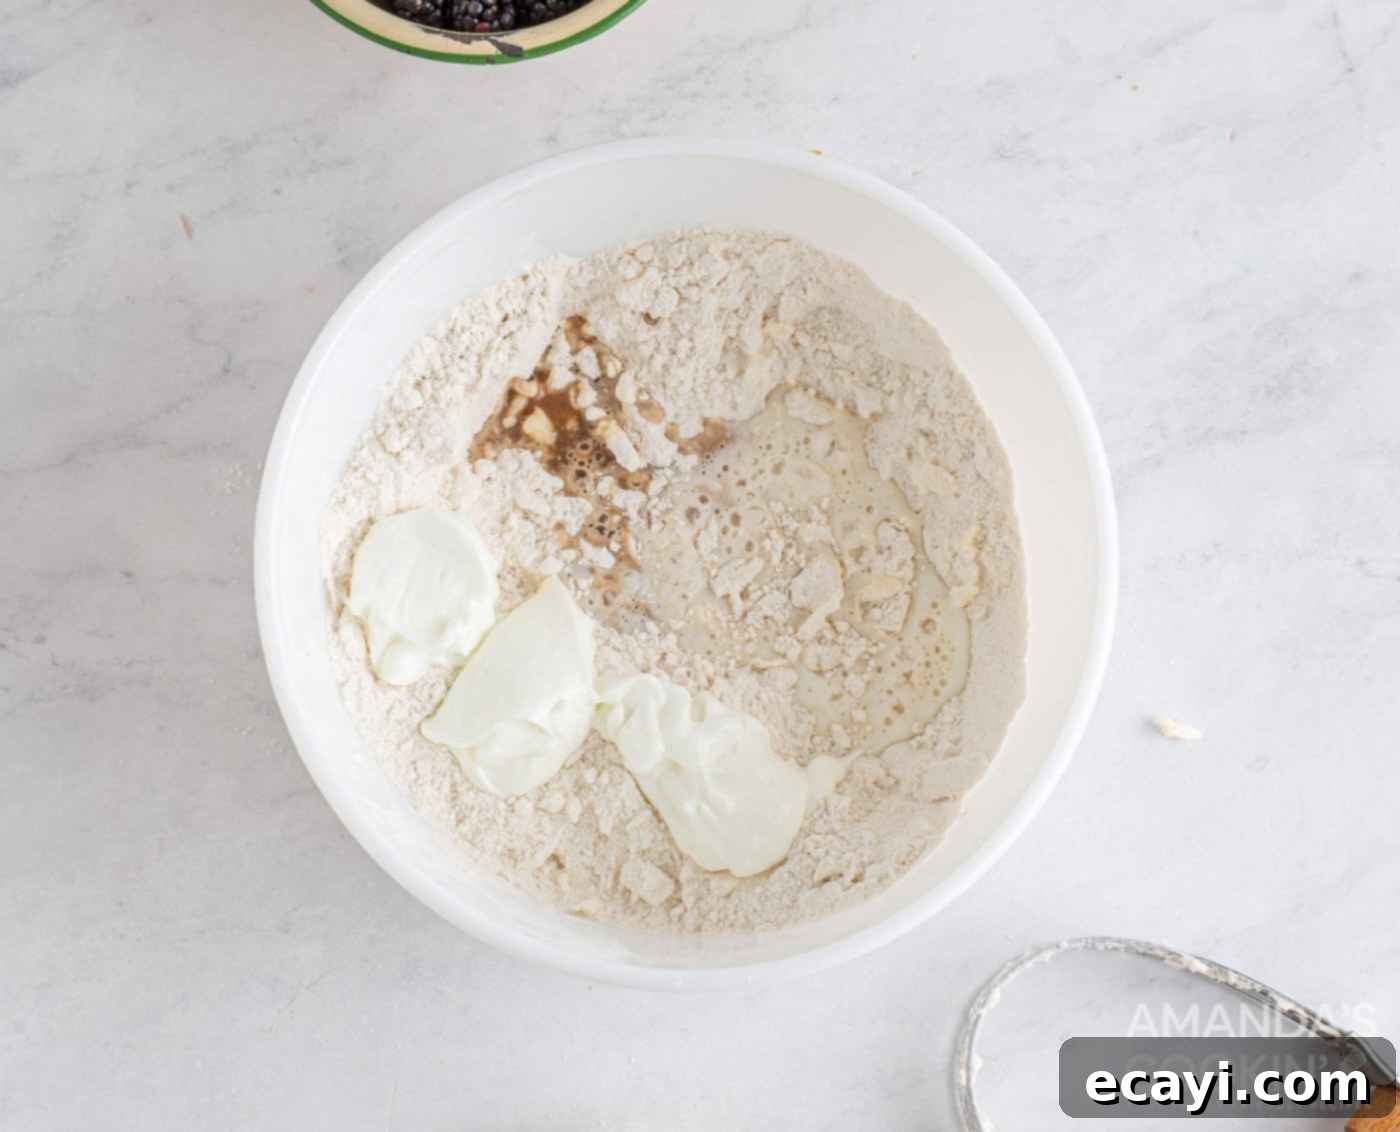
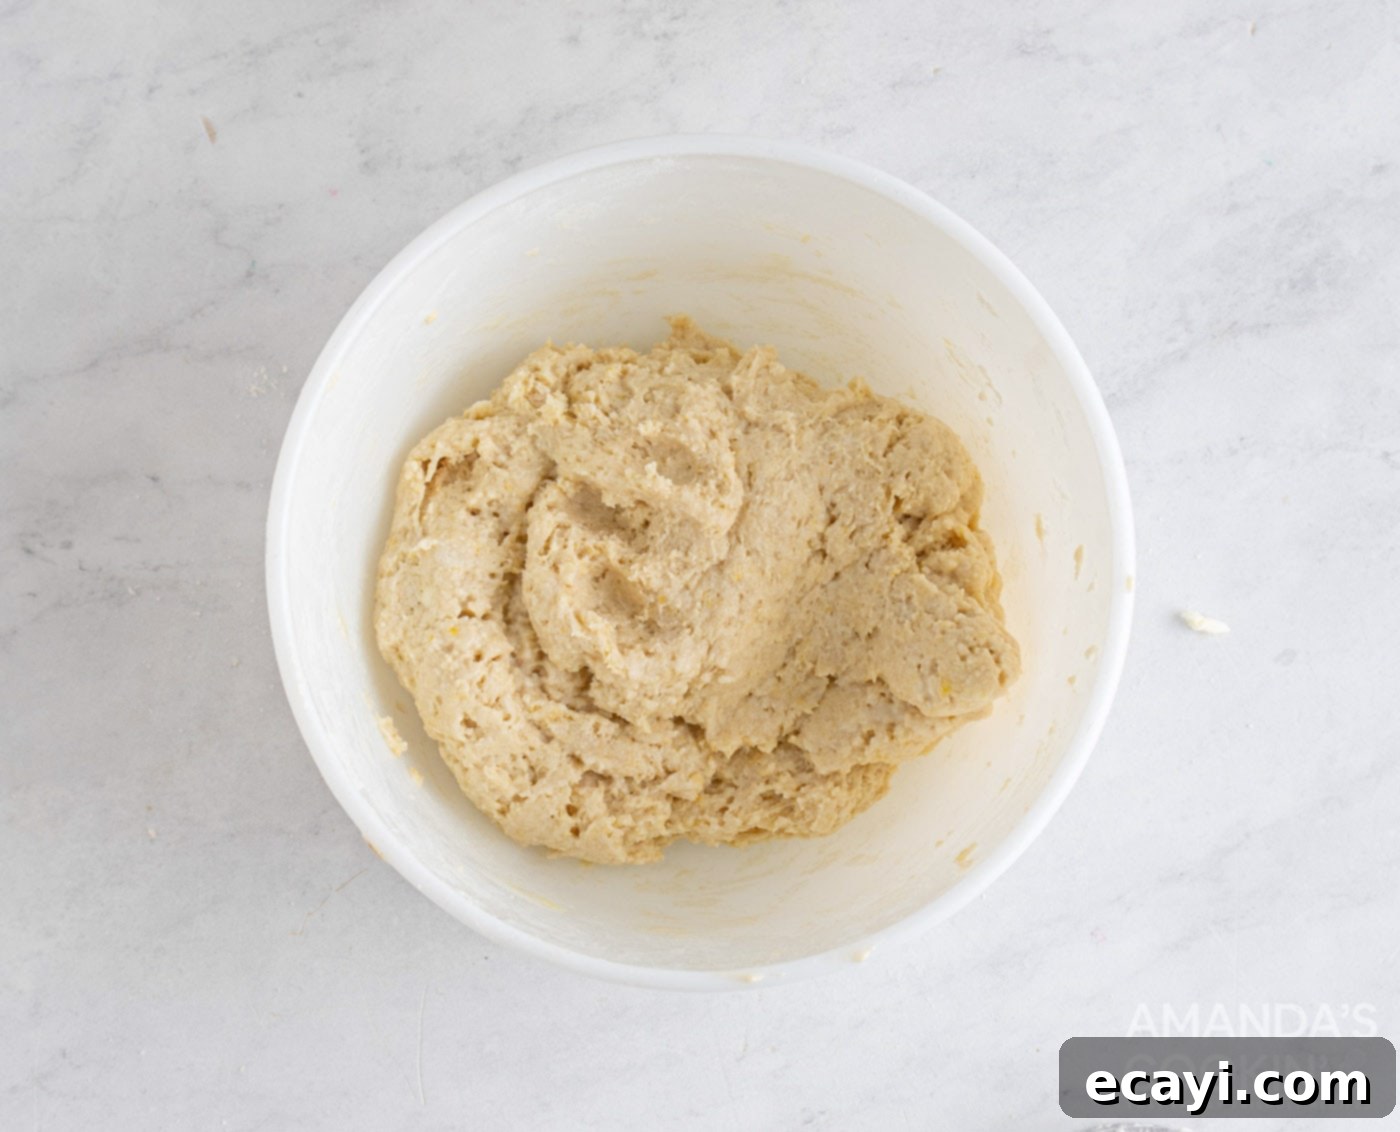
- Next, create a well in the center of your dry mixture. Pour in the buttermilk, plain yogurt, and vanilla extract. Gently bring the ingredients together with a spoon or your hands until a shaggy dough starts to form. Be careful not to overmix at this stage. Then, add the egg and continue to work the mixture just enough to incorporate it, forming a cohesive dough. Overworking the dough can develop the gluten too much, leading to tough scones.


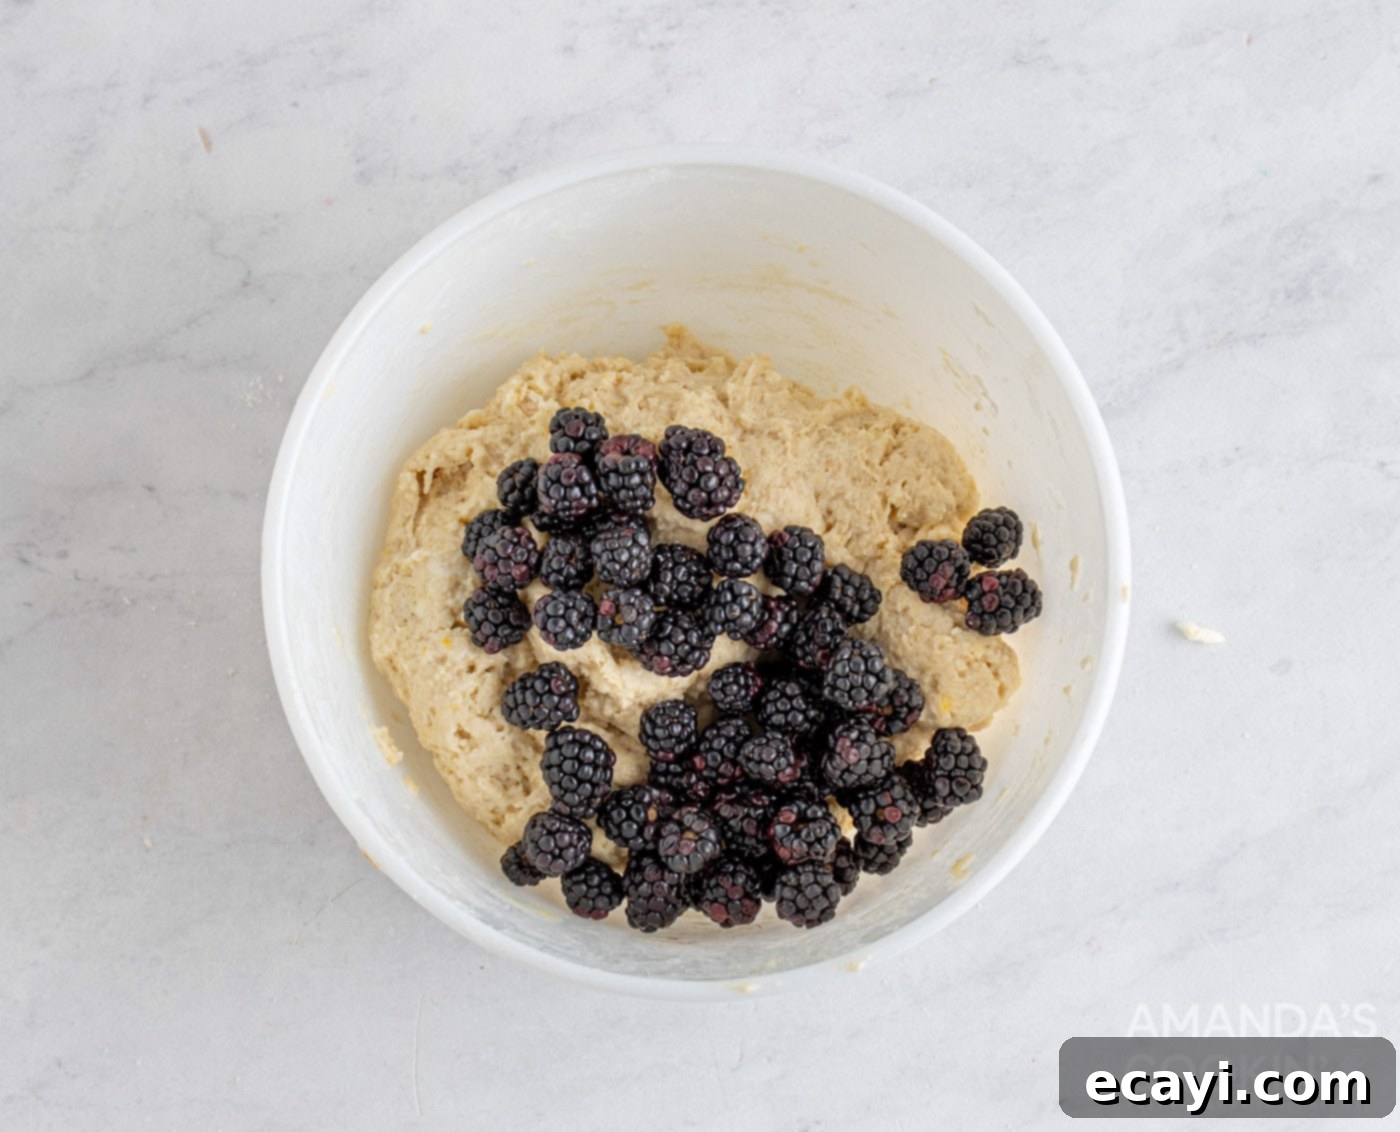
- Finally, gently fold in the fresh blackberries. Use a light hand to avoid crushing the berries and coloring the dough too much. The goal is to distribute them evenly throughout the dough. If using frozen blackberries, add them directly from the freezer without thawing.

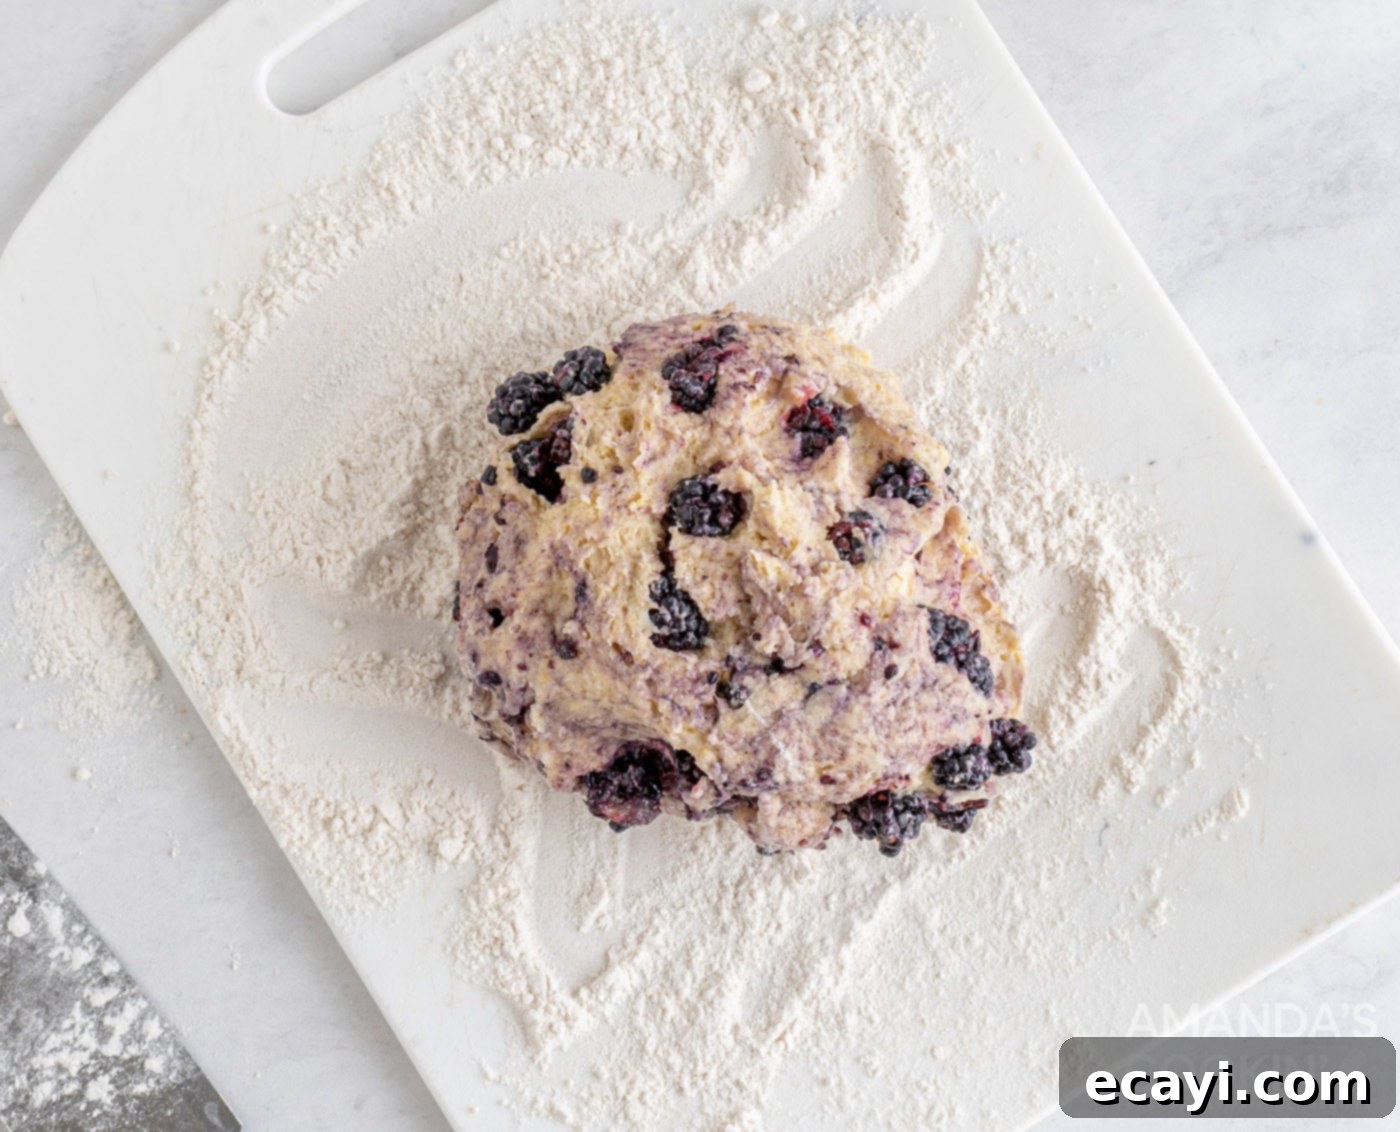
- Turn the dough out onto a lightly floured surface. Gently pat or press the dough into a disc approximately ½ inch thick. Avoid rolling with a rolling pin too much, as this can overwork the dough and reduce flakiness.

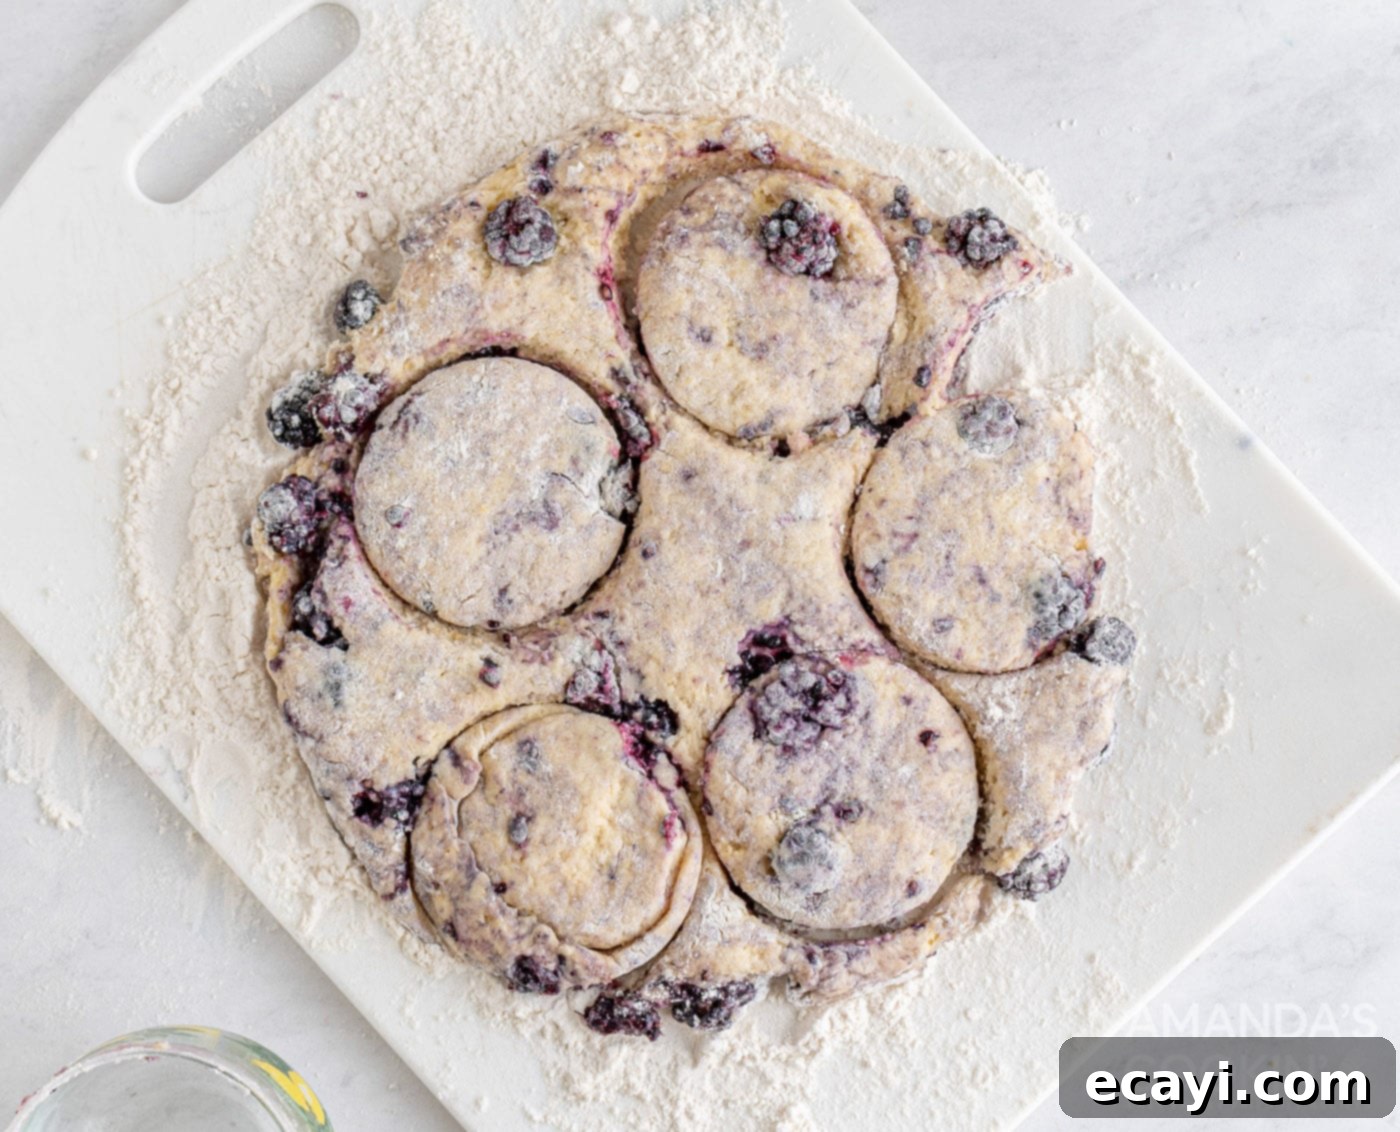
- Using a biscuit cutter (or the rim of a glass dipped in flour), cut out as many scones as you can from the disc. Press straight down without twisting the cutter to ensure a good rise. Carefully place the cut scones onto your greased baking sheet, leaving a little space between each. Gather the dough scraps, gently press them back together (again, avoid overworking), pat into another disc, and continue cutting until all the dough is used up.

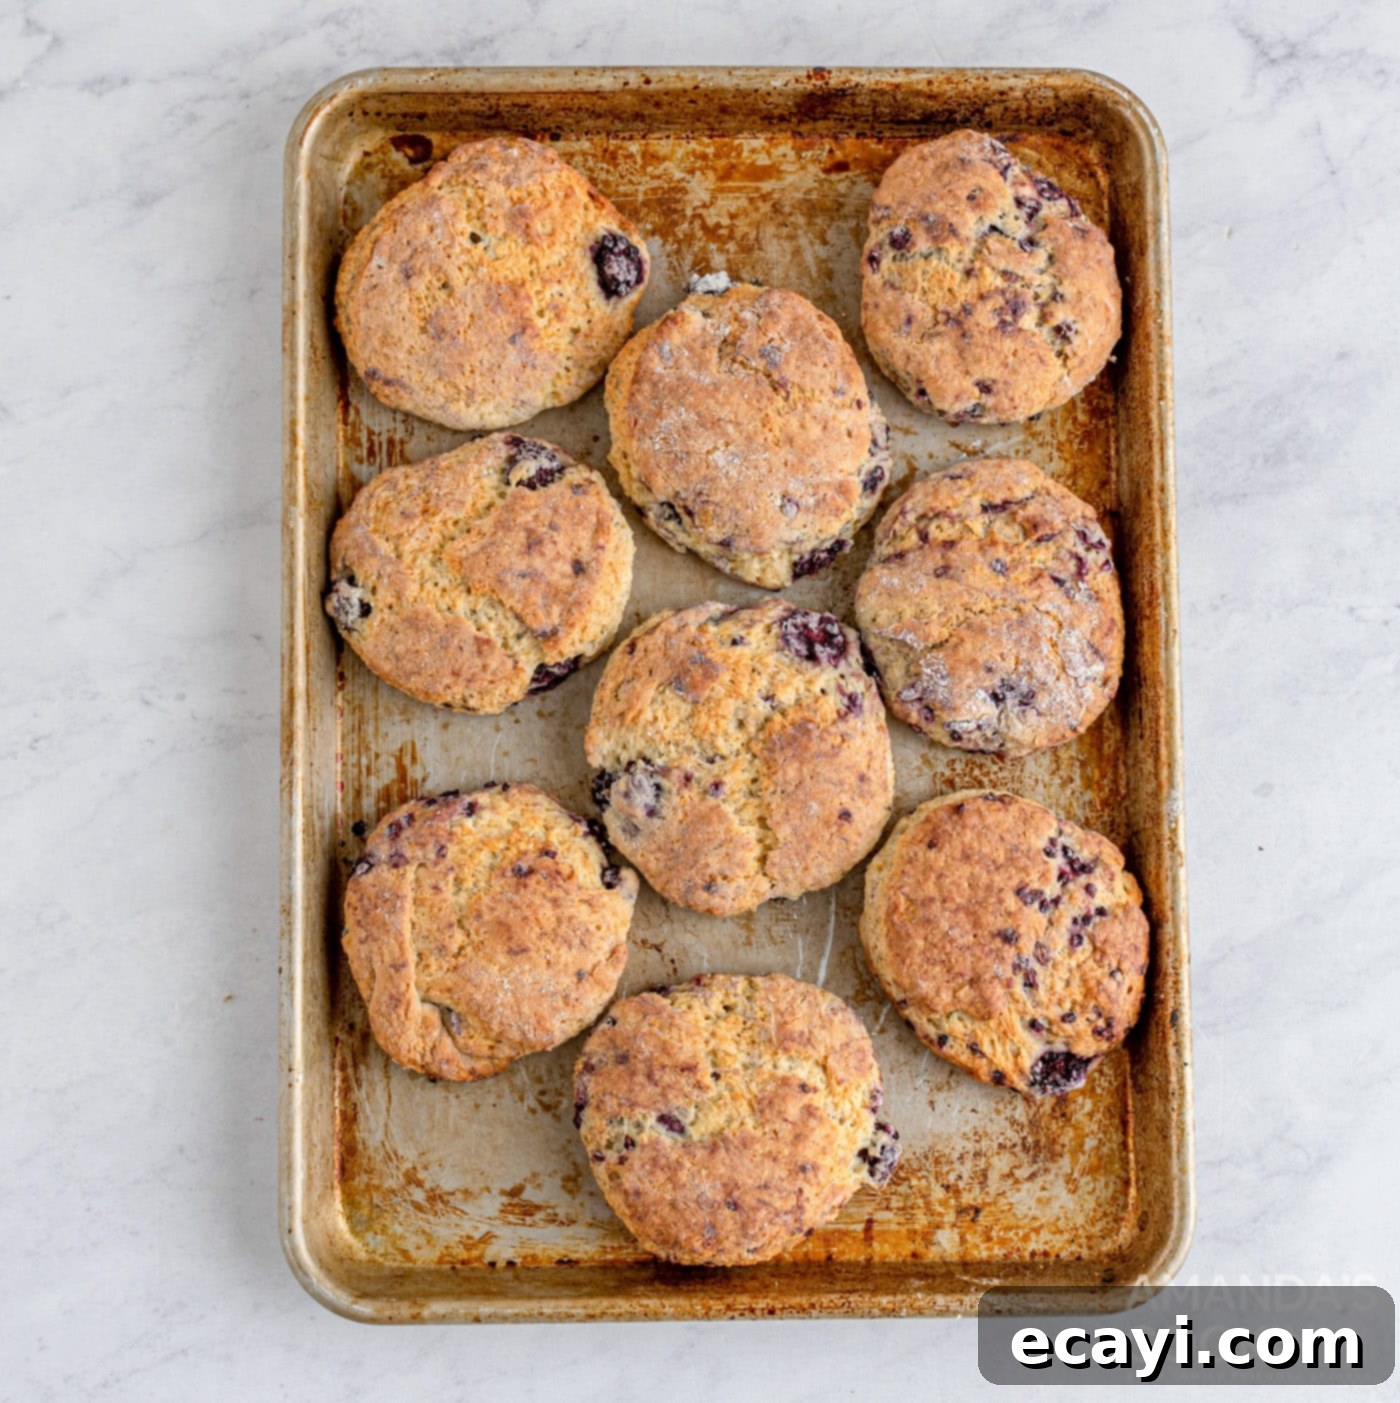
- Transfer the baking sheet to the preheated oven and bake for 30-35 minutes. Baking time can vary slightly depending on your oven, so keep an eye on them. The scones are ready when they are beautifully golden brown around the edges and baked through to the center. To check for doneness, you can insert a toothpick into the center of a scone; it should come out clean. Remove them from the oven and immediately transfer them to a cooling rack to cool down completely.

- While your scones are cooling, prepare the luscious glaze. In a small bowl, whisk together the powdered sugar and milk. Start by adding most of the milk and gradually add more, just a tiny bit at a time, until you achieve a smooth, pourable consistency. You want it thick enough to coat the back of a spoon but thin enough to drizzle.

- Once the scones have cooled sufficiently (they can be slightly warm for a glaze that soaks in a bit, or fully cool for a thicker, more defined coating), generously spoon the prepared glaze over the top of each one. Allow the glaze to set for a few minutes before serving. Now, they are ready to be savored and enjoyed!
Frequently Asked Questions & Expert Baking Tips for Scones
To keep your blackberry scones fresh and delicious, store them in an airtight container or a Ziploc bag. They will stay fresh at room temperature for 2-3 days. For extended freshness, you can refrigerate them for up to 5 days. If glazed, store them in a single layer or with parchment paper between layers to prevent sticking.
Absolutely! These scones are perfect for making ahead and freezing. You have two options:
- Unbaked: Form and cut the scones as instructed, then place them on a baking sheet and freeze until solid. Once frozen, transfer them to a Ziploc freezer bag or an airtight container. They will keep in the freezer for up to 3 weeks. When ready to bake, remove them from the freezer and let them thaw for about 20 minutes (they don’t need to be completely thawed). Bake as directed, possibly adding a few extra minutes to the baking time.
- Baked: Bake the scones as usual, but allow them to cool completely before freezing. Wrap them individually in plastic wrap, then place them in a freezer bag or airtight container. They can be frozen for up to 1-2 months. To reheat, you can thaw them at room temperature and warm them gently in the oven (around 300°F/150°C for 5-10 minutes) or microwave for a quick treat.
Yes, this scone dough is incredibly versatile and makes a fantastic base for various berry-flavored scones. You can easily substitute blueberries, chopped strawberries, or raspberries in place of blackberries. For best results, use fresh berries or frozen berries added directly from the freezer. Other small fruits like chopped cherries or even finely diced apples (mixed with a pinch of cinnamon) could also work beautifully, offering endless possibilities for seasonal variations.
- Keep Everything Cold: This is the golden rule for flaky scones. Ensure your butter, buttermilk, and yogurt are very cold. You can even chill your flour and mixing bowl for 15-20 minutes before starting.
- Don’t Overmix: Mix the dough just until it comes together. Overworking develops gluten, which leads to tough, chewy scones instead of light, tender ones.
- Handle Gently: When patting out the dough and cutting the scones, be gentle. Avoid excessive handling.
- Cut Straight Down: When using a biscuit cutter, press straight down without twisting. Twisting seals the edges of the scone, inhibiting its rise and preventing those beautiful layers.
- For Extra Flakiness: After combining the wet and dry ingredients but before adding berries, sprinkle a little flour onto the dough and gently fold it over once or twice. Repeat this a couple of times before flattening it into a disc to cut into scones. This creates additional layers of butter and flour, resulting in an even flakier texture.
- Oven Temperature: Ensure your oven is fully preheated to the correct temperature. A hot oven helps the butter create steam quickly, contributing to a good rise. An oven thermometer can confirm accuracy.
For a thinner glaze that soaks slightly into the scone, add milk in ½ teaspoon increments, whisking well after each addition, until you reach your desired consistency. You can also apply the glaze while the scones are still a little warm. If you prefer a thicker, more opaque glaze, do the opposite: add the milk to the powdered sugar a tablespoon at a time, whisking vigorously to determine the consistency before adding more. A thicker glaze is best applied to fully cooled scones for optimal setting.

Delightful Serving Suggestions for Blackberry Scones
These homemade blackberry scones are utterly delicious on their own, especially with their delicate glaze, which provides the perfect amount of sweetness and moisture. This recipe strikes a wonderful Americanized butter-to-sugar ratio, making them enjoyable straight from the cooling rack. However, if you wish to elevate your scone experience even further, feel free to add a slather of additional butter, a dollop of your favorite fruit jam (perhaps blackberry jam for extra berry goodness!), or even some luscious clotted cream for a more traditional touch. You can also skip the glaze entirely and simply sprinkle the tops with a coarse sugar before baking for a sparkling finish, or leave them completely plain to appreciate the subtle flavors of the scone and berries.
Enjoy them warm, ideally fresh out of the oven, or at room temperature – the choice is yours! They pair exceptionally well with a comforting cup of hot coffee, a soothing cup of tea, or even a glass of cold milk. They’re a fantastic snack for any time of day, a perfect on-the-go breakfast, or a lovely treat to share with friends and family during a relaxed weekend brunch. Consider serving them alongside a fresh fruit salad or a savory quiche for a complete meal.
Discover More Delicious Pastry Recipes
If you’ve fallen in love with baking these blackberry scones, you’ll be thrilled to explore more of our delectable pastry creations. Expand your baking repertoire with these other delightful treats:
- Classic Cream Puffs: Light, airy, and filled with a creamy delight.
- 4-Ingredient Blueberry Hand Pies: Quick, easy, and bursting with blueberry flavor.
- Homemade Pop Tarts: A nostalgic treat, far superior to store-bought.
- Cranberry Cream Cheese Pastries: Elegant and flavorful, perfect for any occasion.
- Rugelach: Delicate, crescent-shaped cookies with a variety of fillings.
I absolutely adore spending time in the kitchen, experimenting with new recipes, and sharing my culinary adventures with all of you! Keeping up with new recipes daily can be a challenge, which is why I offer a convenient newsletter delivered straight to your inbox every time a new recipe is posted. Simply subscribe here and start receiving your free daily recipes to inspire your next delicious creation!

Blackberry Scones
IMPORTANT – There are often Frequently Asked Questions within the blog post that you may find helpful. Simply scroll back up to read them!
Print It
Pin It
Rate It
Save ItSaved!
Ingredients
- 2 ¼ cup all purpose flour
- ½ cup granulated sugar
- 1 Tbsp baking powder
- 1 tsp salt
- ½ cup butter cold – cubed
- ⅓ cup buttermilk
- ⅓ cup plain yogurt
- 1 tsp vanilla extract
- 1 egg
- 1 cup blackberries fresh
Glaze
- 2 cup powdered sugar
- 2 ½ Tbsp milk
Things You’ll Need
-
Biscuit cutters
-
Pastry cutter
-
Mixing bowls
Before You Begin
- For a thinner glaze, add milk a ½ tsp at a time. You could also glaze the scones while they are still a little warm. If you want a thicker glaze, do the opposite and only add milk into the powdered sugar a tablespoon at a time. Whisk well to determine the consistency before adding more milk.
- For flakier scones, sprinkle a little flour onto the dough and fold it over. Repeat that a couple of times before flattening into a disc to cut into scones.
Instructions
-
Preheat the oven to 400 F. Grease a baking sheet and set aside.
-
In a large bowl, whisk together the flour, sugar, baking powder and salt. Using a pastry cutter or two forks, cut in the cold butter until the mixture is crumbly.
-
Add in the buttermilk, yogurt and vanilla and bring together into a dough. Add in the egg and work together. Fold in the fresh blackberries.
-
Turn the dough out onto a floured surface and press into a disc ½” thick. Using a biscuit cutter or glass, cut as many scones out of the disc as you can. Place scones onto the greased baking sheet.
-
Fold the dough back together, press out into a disc and cut scones out as many times as necessary until all of the dough is made into scones.
-
Place into the oven to bake for 30-35 minutes or until the scones are golden brown around the edges and baked through. Remove from the oven and place on a cooling rack to cool.
-
While the scones are cooling, make the glaze by whisking the powdered sugar and milk together in a small bowl until a smooth glaze has formed.
-
Once the scones are cool, spoon glaze onto each one. Let set for a few minutes. Serve and enjoy!
Nutrition
The recipes on this blog are tested with a conventional gas oven and gas stovetop. It’s important to note that some ovens, especially as they age, can cook and bake inconsistently. Using an inexpensive oven thermometer can assure you that your oven is truly heating to the proper temperature. If you use a toaster oven or countertop oven, please keep in mind that they may not distribute heat the same as a conventional full sized oven and you may need to adjust your cooking/baking times. In the case of recipes made with a pressure cooker, air fryer, slow cooker, or other appliance, a link to the appliances we use is listed within each respective recipe. For baking recipes where measurements are given by weight, please note that results may not be the same if cups are used instead, and we can’t guarantee success with that method.
