Delicious & Easy Frozen S’mores Bars: The Ultimate No-Bake Summer Dessert
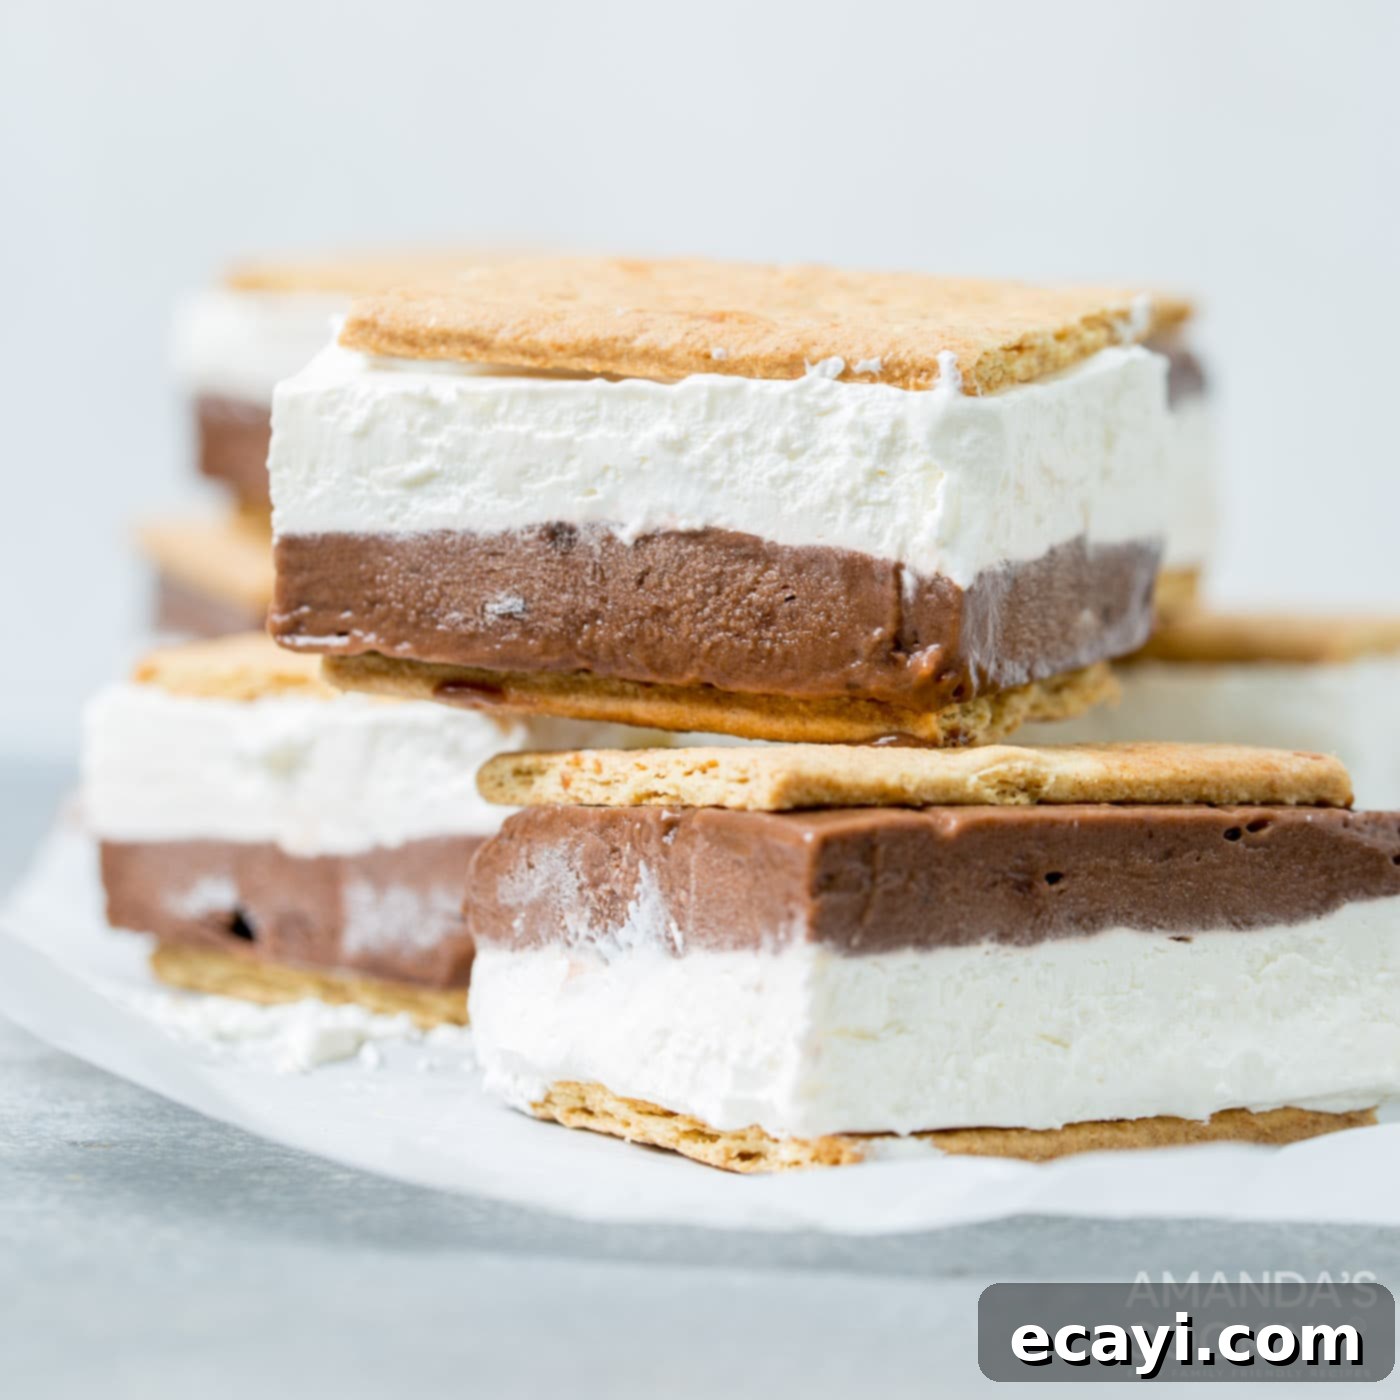
The classic campfire treat, s’mores, gets a delightful and refreshing twist with these incredible frozen s’mores bars! Perfect for battling the summer heat, this no-bake dessert captures all the beloved flavors of gooey marshmallows, rich chocolate, and crunchy graham crackers, transforming them into a chilled, creamy, and utterly irresistible bar. Imagine layers of velvety chocolate pudding, a tangy cream cheese mixture, and light, airy marshmallow fluff, all nestled between crisp graham crackers. These frozen delights are not only incredibly delicious but also surprisingly easy to prepare, making them an ideal treat for backyard BBQs, poolside lounging, or any occasion that calls for a cool, sweet indulgence. Say goodbye to sticky fingers from melted marshmallows over a fire and hello to a perfectly portable, mess-free frozen sensation!
Why This Recipe Works for The Best Frozen S’mores
Sometimes, you crave the nostalgic taste of s’mores but without the hassle of a campfire or the sweltering heat. That’s precisely where these frozen s’mores bars shine. They offer the quintessential s’mores experience in a wonderfully convenient, no-bake format. Often referred to as frozen s’mores sandwiches or ice cream s’mores bars, they are designed for maximum enjoyment with minimal effort. Much like a s’mores icebox cake, these bars provide the rich flavors in a sliceable, handheld form, making them perfect for on-the-go enjoyment. Whether you’re hosting a casual gathering, enjoying a sunny day by the pool, or simply need a refreshing dessert after a long day, these bars are your go-to solution.
S’mores are undeniably a summer staple, but their appeal extends into the fall, especially when bonfire season arrives. If you share my profound love for s’mores, you’ll be thrilled to explore other inventive ways to savor this chocolatey, marshmallowy goodness. Be sure to check out my recipes for s’mores bars, s’mores dip, and s’mores cookies for more delightful variations that bring the magic of s’mores into your life year-round.
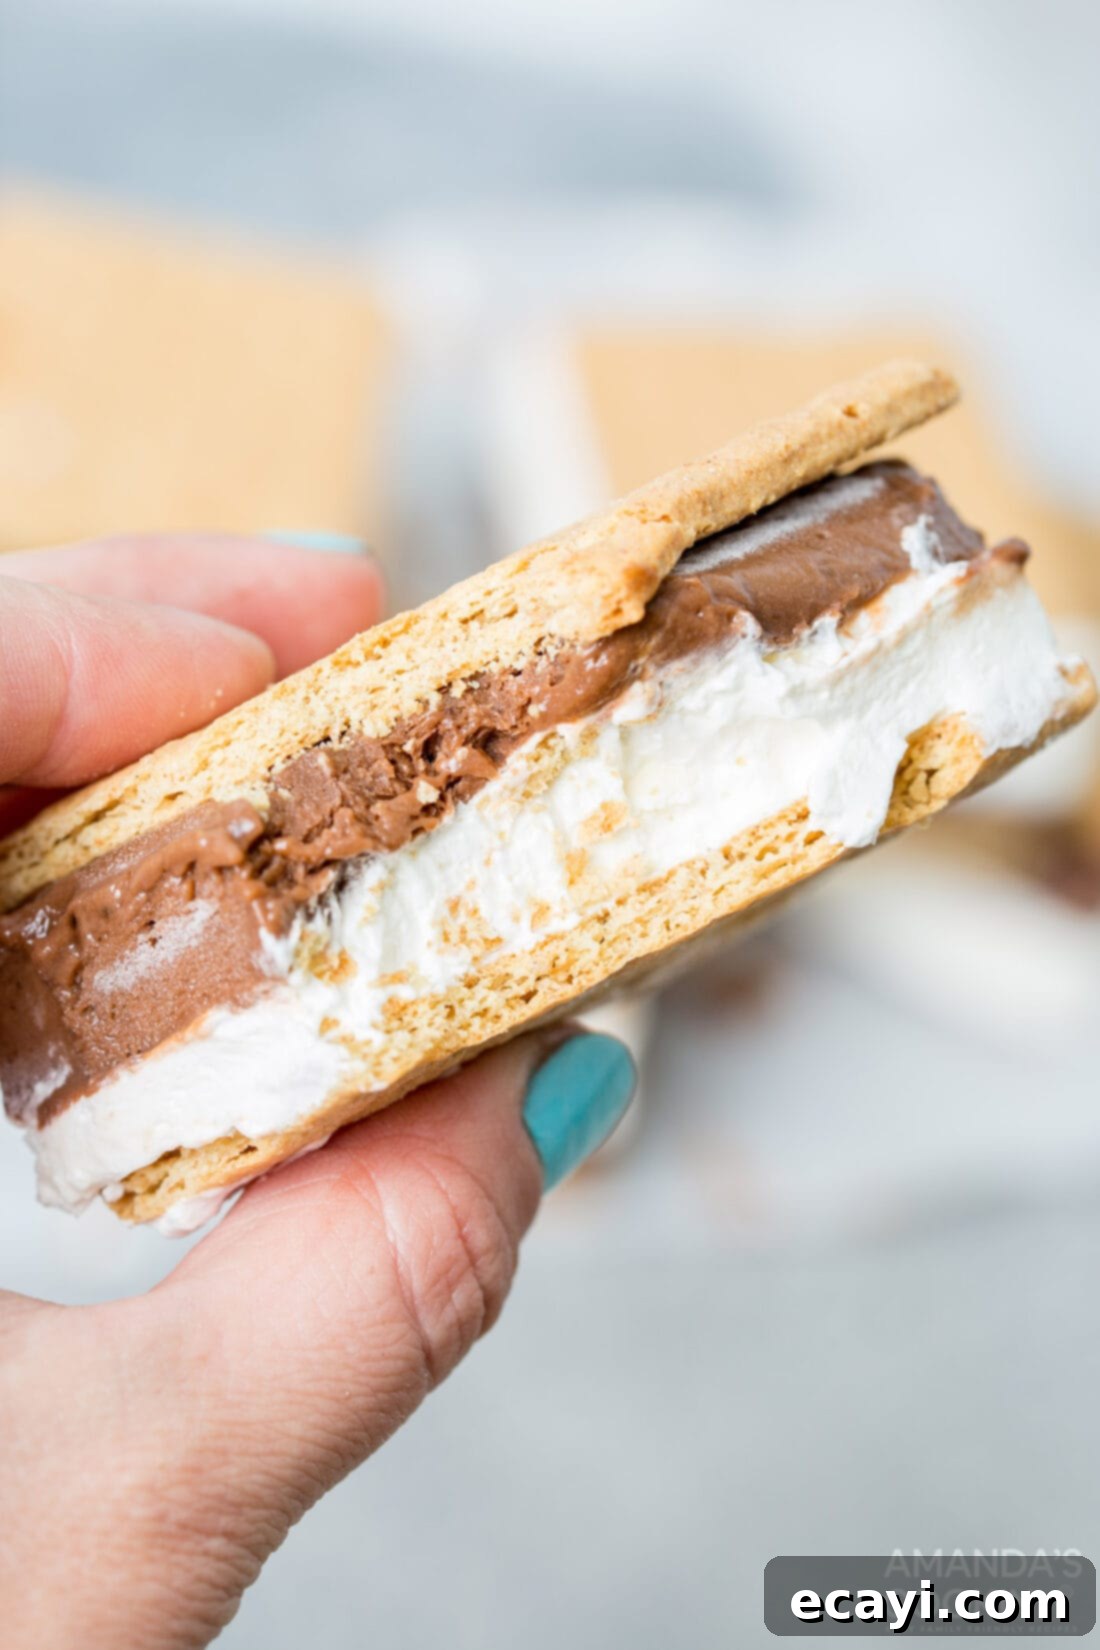
Key Ingredients You Will Need for Frozen S’mores Bars
Creating these mouthwatering frozen s’mores bars requires just a handful of readily available ingredients, most of which you likely already have in your pantry or can easily find at any grocery store. For precise measurements and detailed instructions, refer to the printable recipe card located at the end of this post.
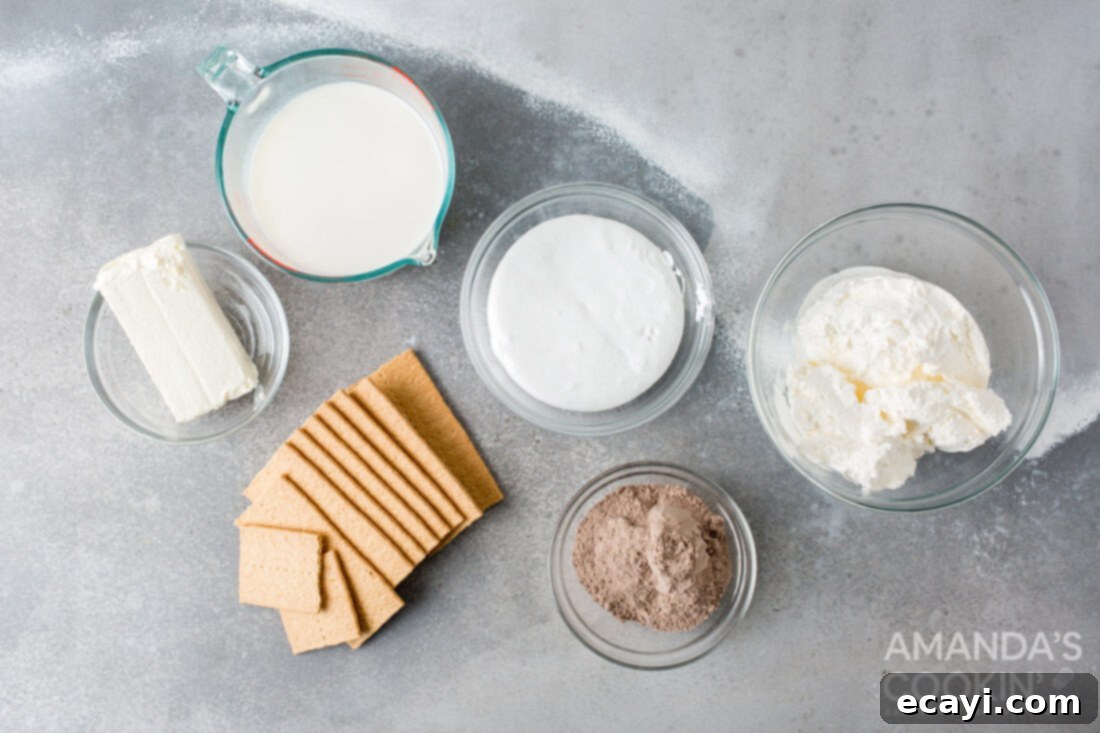
GRAHAM CRACKERS – The foundation of our s’mores bars! We typically use classic honey graham crackers for their iconic flavor and satisfying crunch. However, don’t hesitate to experiment with chocolate graham crackers for an extra cocoa kick, or even cinnamon graham crackers for a warm, spiced undertone. These sturdy crackers provide the perfect structural base and top layer for our frozen treat.
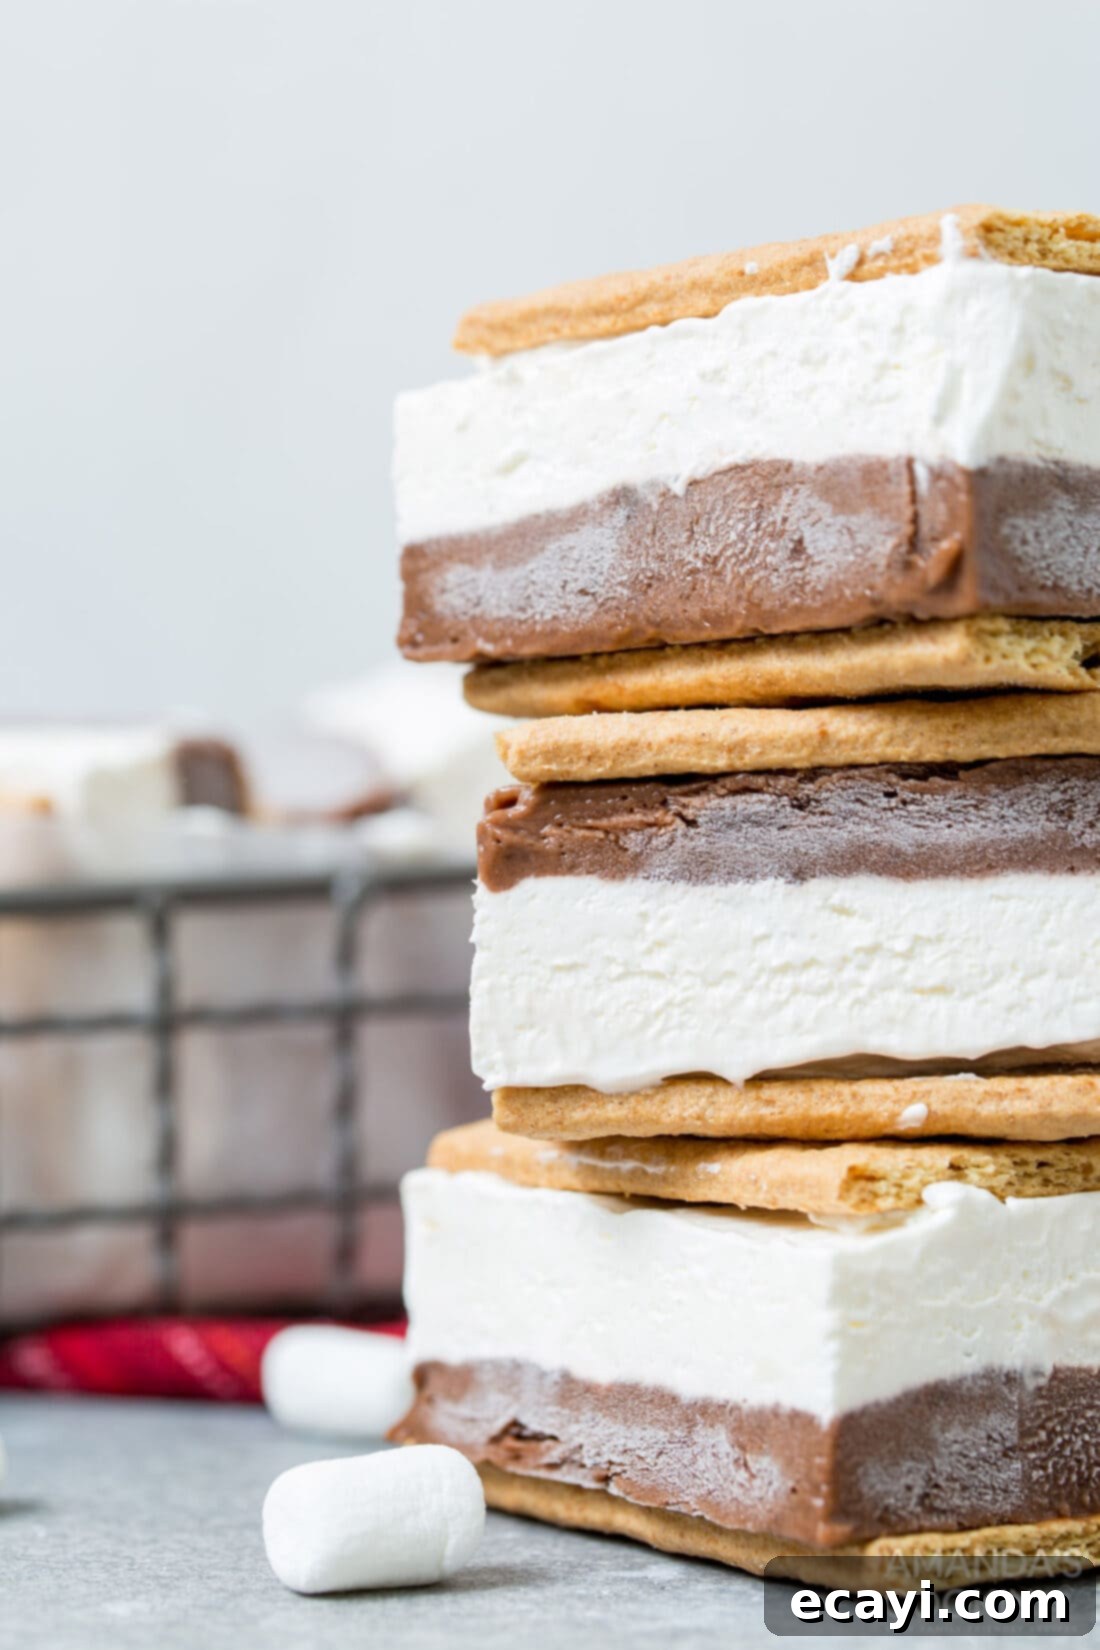
LAYERS – This recipe features three distinct and delicious layers. For the luscious chocolate layer, we highly recommend using instant chocolate pudding mix. When prepared, it develops a rich, fudgy consistency that wonderfully mimics a classic fudgsicle, adding an irresistible depth of chocolate flavor to each bite. This instant variety sets quickly and provides the ideal texture for a frozen dessert. The marshmallow layer relies on marshmallow fluff (or marshmallow creme), which contributes that signature sweet, sticky, and airy marshmallow taste without the need for melting individual marshmallows. If marshmallow fluff isn’t available at your local store, you can create a similar substitute by gently microwaving regular marshmallows. For approximately 8 ounces of marshmallow fluff, you’ll need about 2 cups of regular marshmallows. Heat them in short 5-second intervals, stirring in between, being careful not to overheat or burn them. You want a smooth, melted consistency. The third creamy layer comes from softened cream cheese, which is crucial for achieving a slightly tangy, rich filling that perfectly complements the other flavors. Ensure your cream cheese is at room temperature for easy blending. A container of thawed whipped topping (like Cool Whip) is folded into the cream cheese and marshmallow mixture. This ingredient is key to making the marshmallow layer light, airy, and creamy, providing a wonderful contrast to the dense chocolate pudding layer. It adds volume and a delicate sweetness that enhances the overall texture of the bars.
How to Make Easy Frozen S’mores Bars
These frozen s’mores bars are incredibly simple to assemble, requiring no baking whatsoever. Just follow these straightforward steps to create a delightful summer dessert that will impress everyone. The step-by-step photos and detailed instructions provided here are designed to help you visualize each stage of the recipe. For a convenient printable version with exact measurements and comprehensive instructions, feel free to Jump to Recipe at the bottom of this page.
- Line a 9×13 inch baking pan with parchment paper, ensuring the paper extends up the sides to create convenient “handles” for easy removal once frozen.
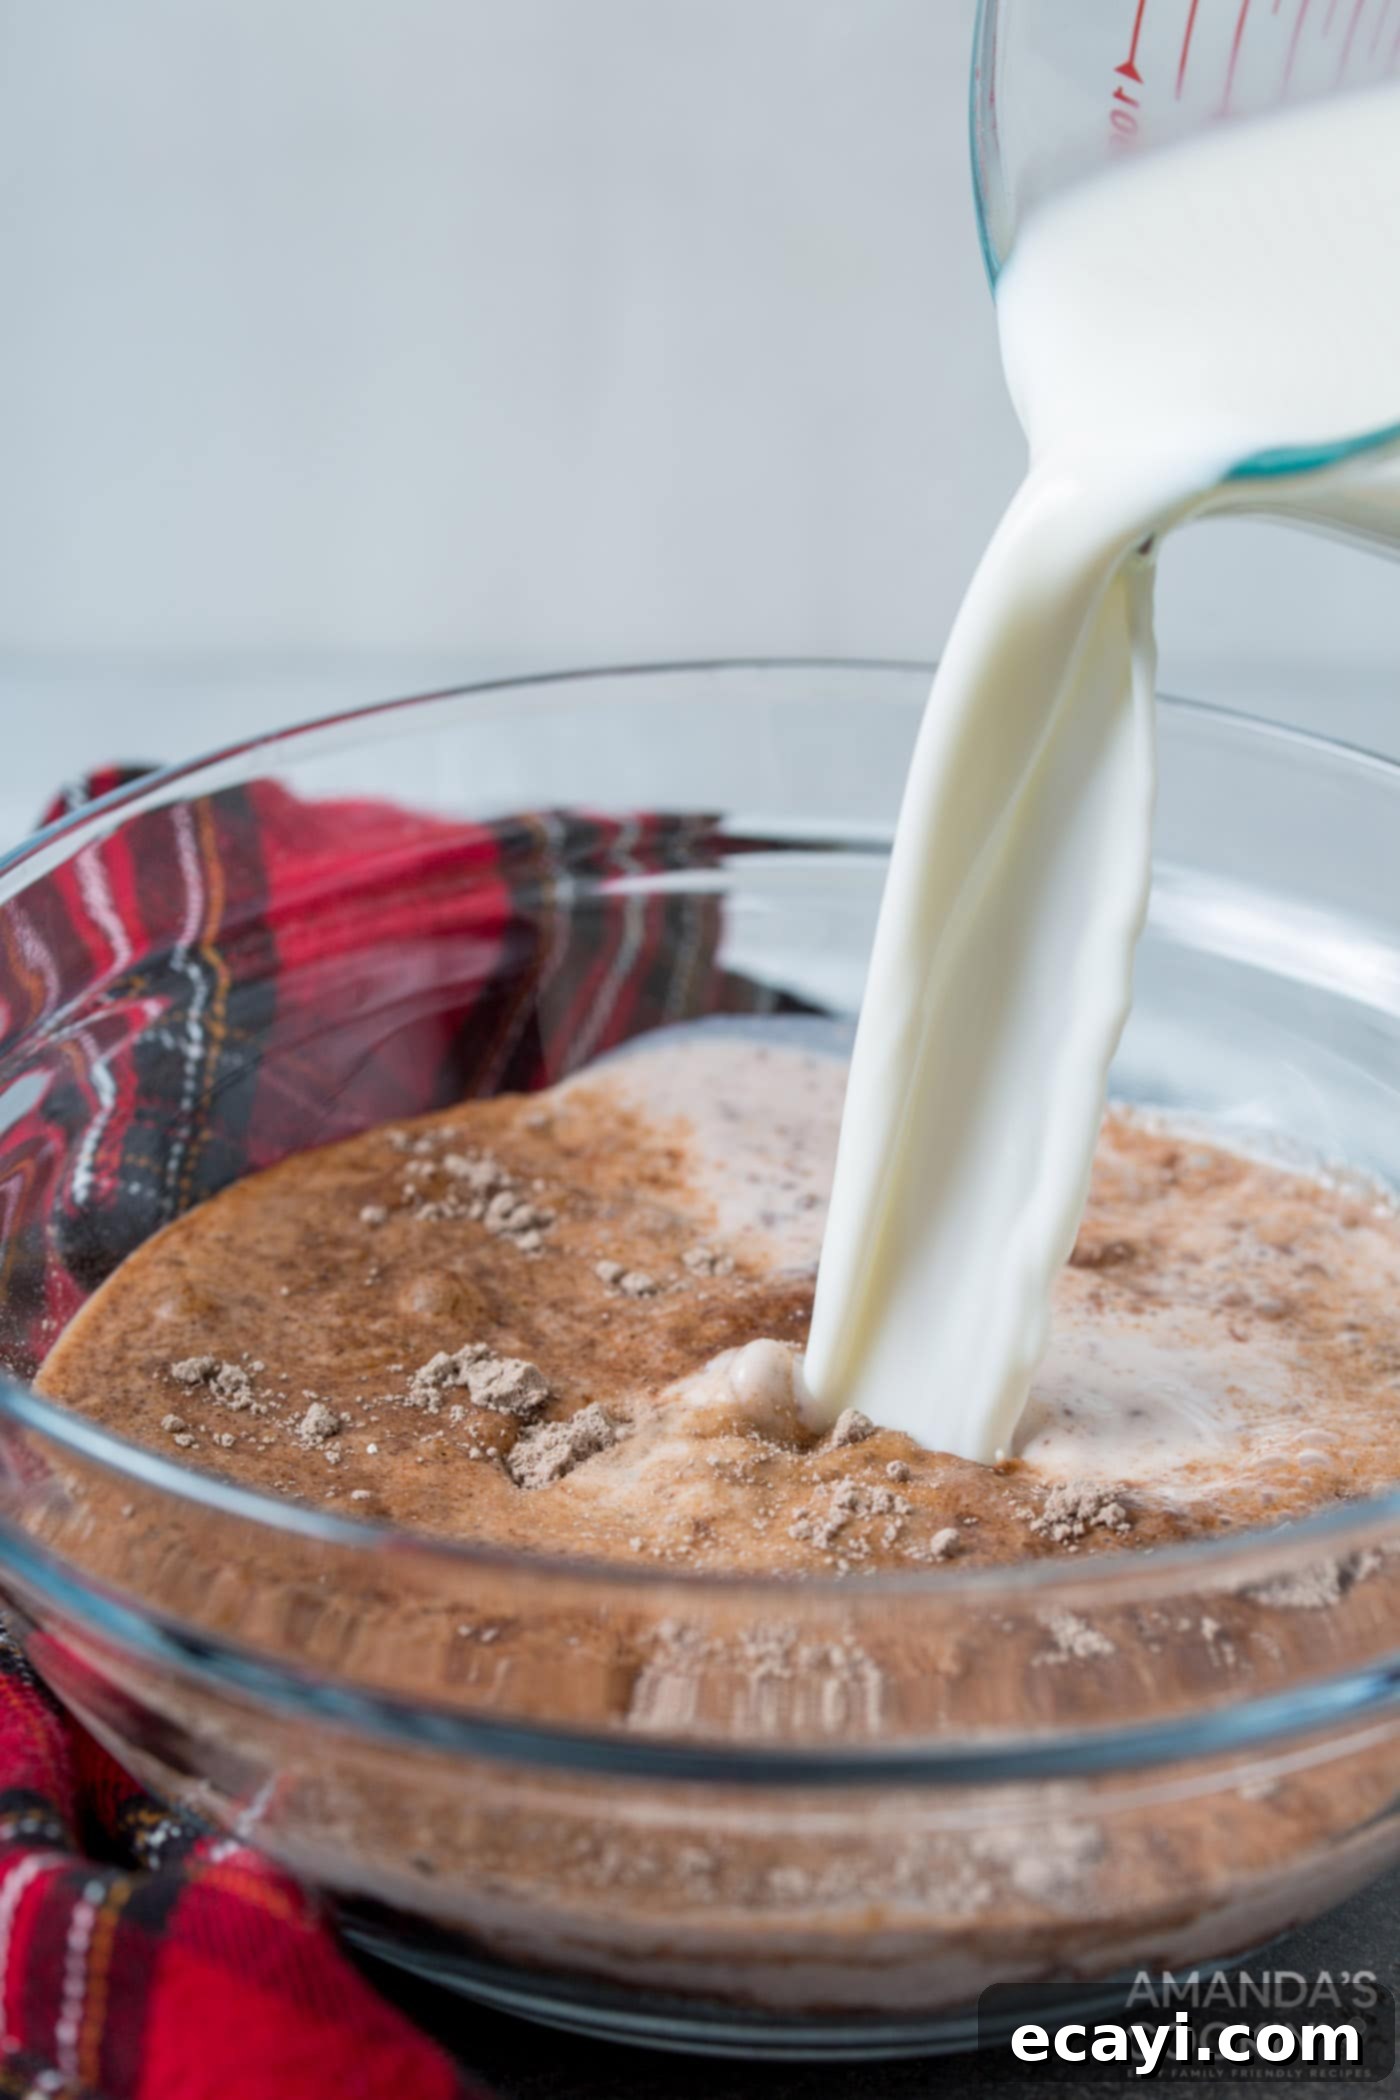
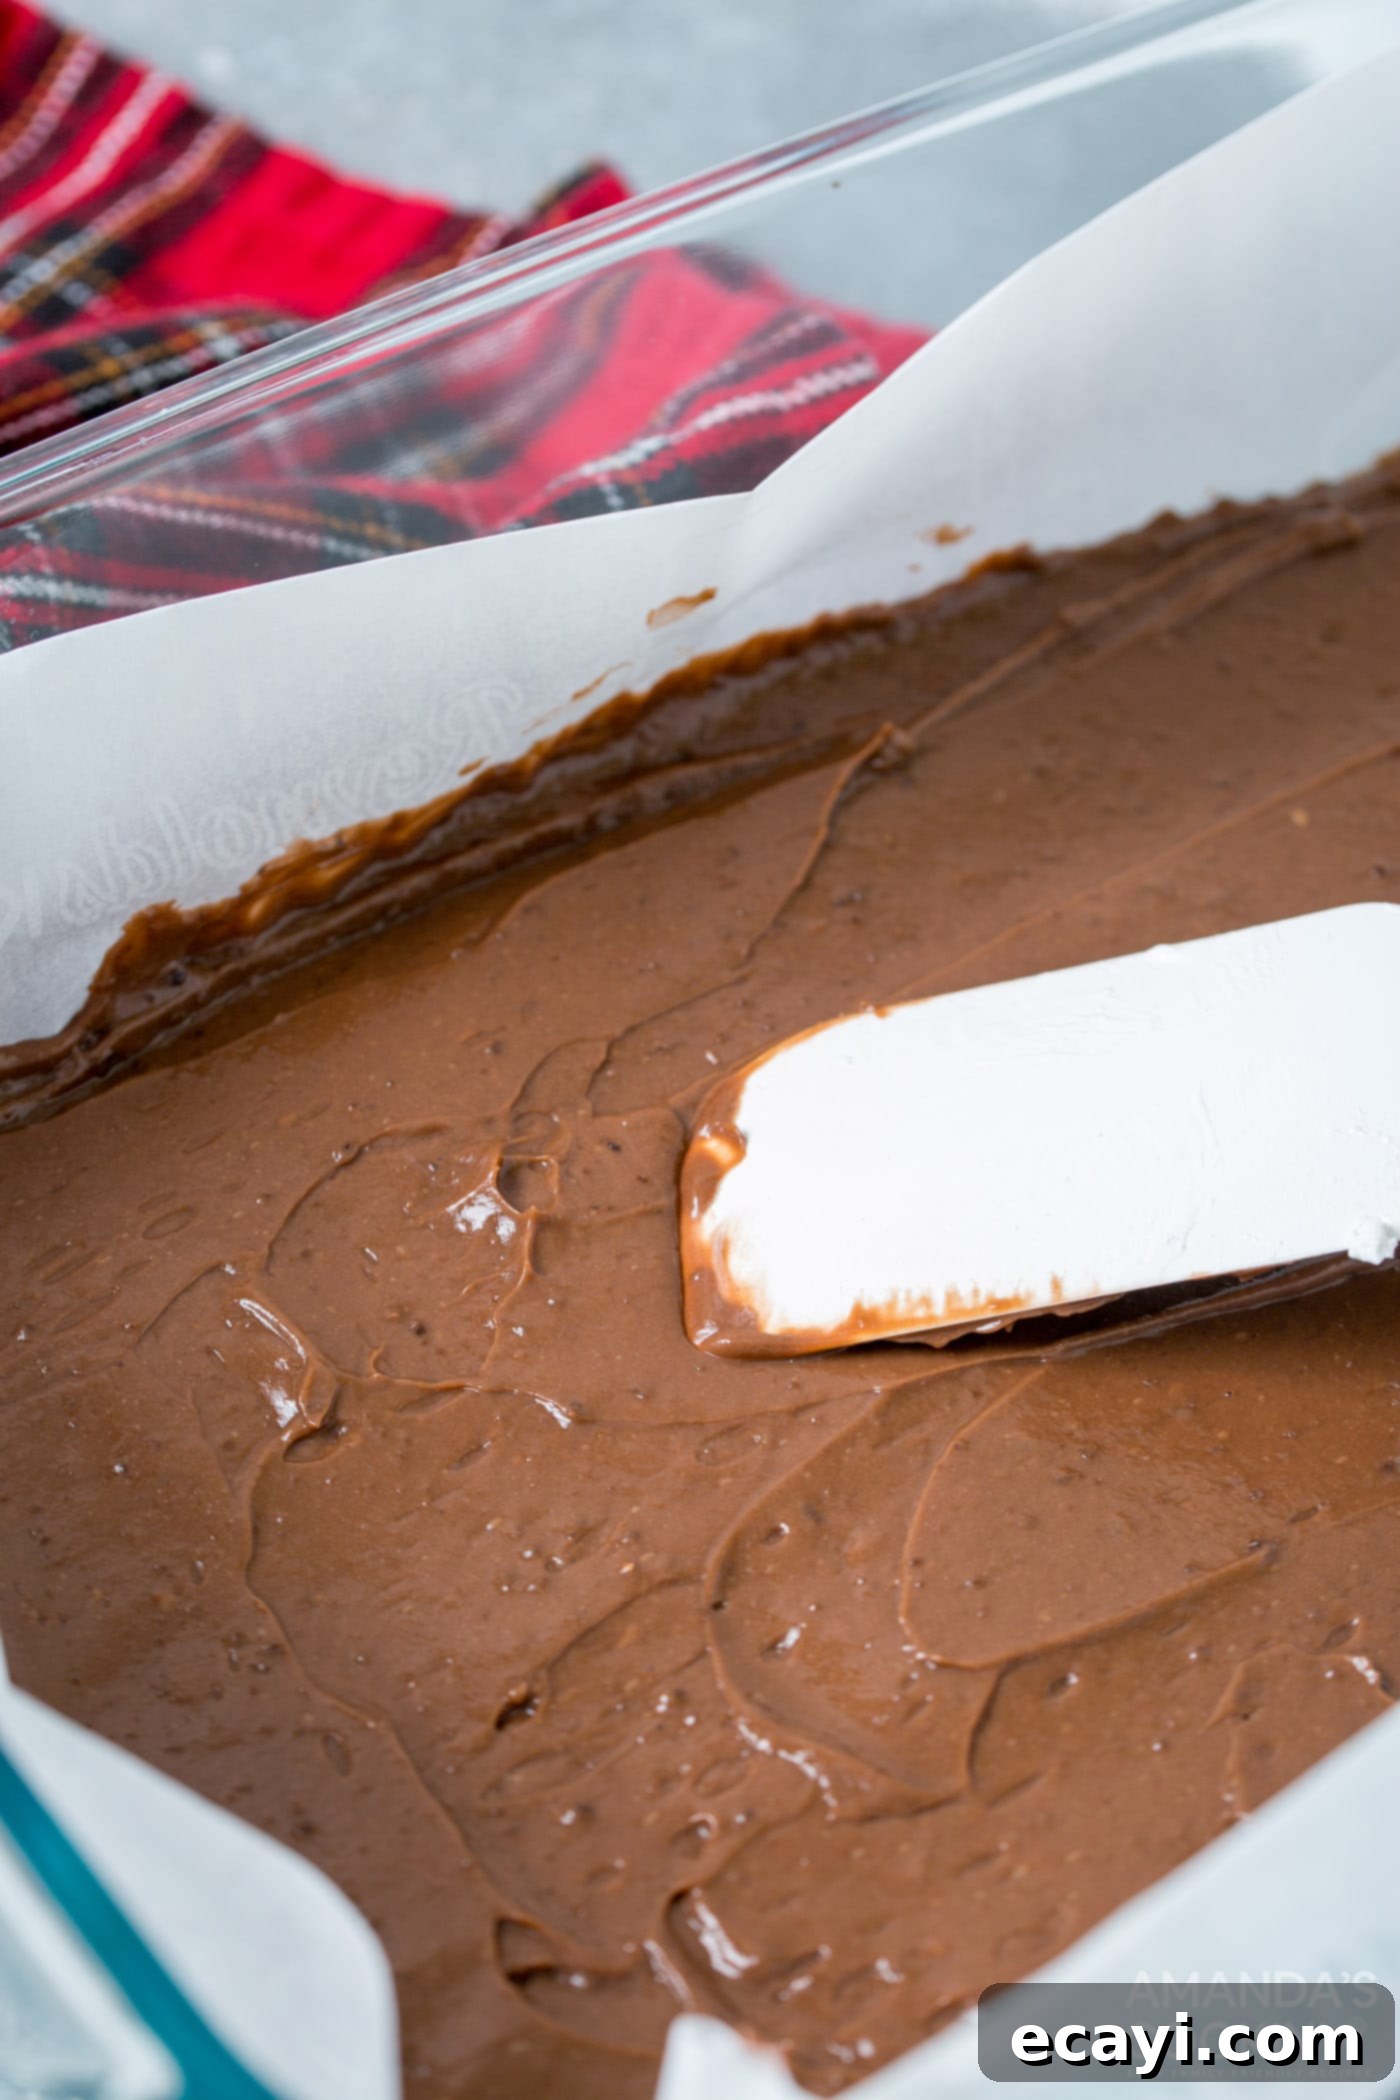
- In a large bowl, prepare the instant chocolate pudding using cold milk according to package instructions. Whisk until smooth. Pour the pudding into the prepared casserole dish and spread it into an even layer. Place the dish into the freezer to chill and set while you prepare the marshmallow layer.

- Retrieve the pudding from the freezer. Using a rubber spatula, spread the prepared pudding mixture evenly into the pan. This will form your first delicious layer.

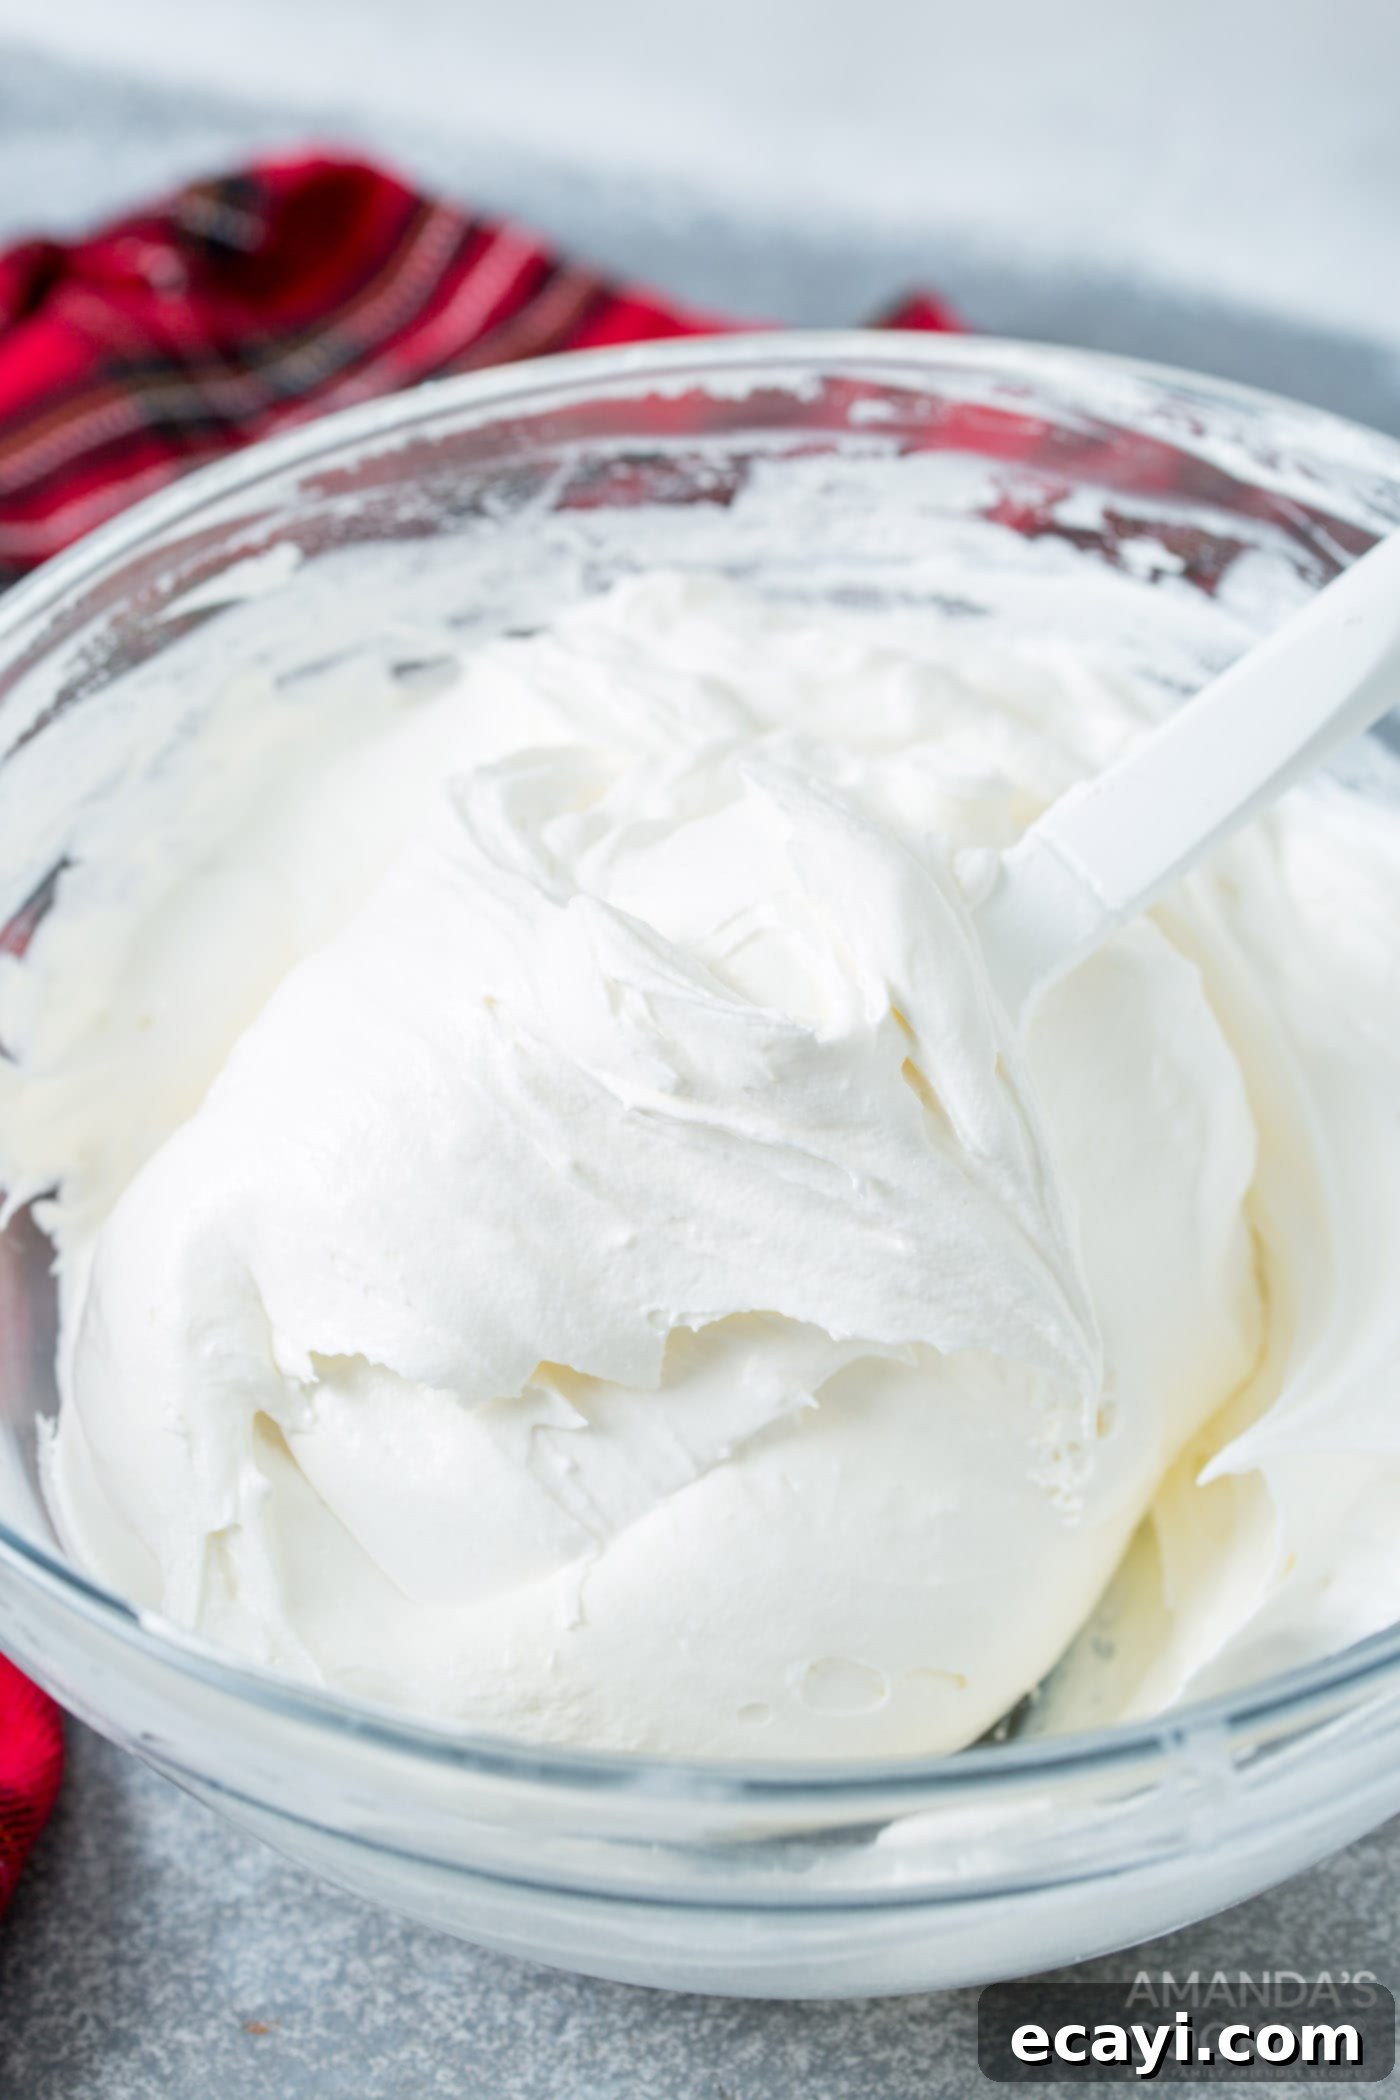
- In another large bowl, beat the softened cream cheese with a hand mixer until light and fluffy. Add the marshmallow fluff and continue to beat until both ingredients are thoroughly combined and smooth. Gently fold in the thawed whipped topping until the mixture is uniform and airy.

- Carefully spread the marshmallow-cream cheese mixture evenly over the chocolate pudding layer. Return the pan to the freezer for a minimum of 4 hours, or ideally 24 hours, to allow all layers to freeze completely solid. The longer chill time ensures a firmer, easier-to-cut bar.
- Once fully frozen, use the parchment paper handles to lift the layers out of the casserole dish and place them onto a cutting board. Let them sit at room temperature for about 10 minutes to soften slightly before cutting.
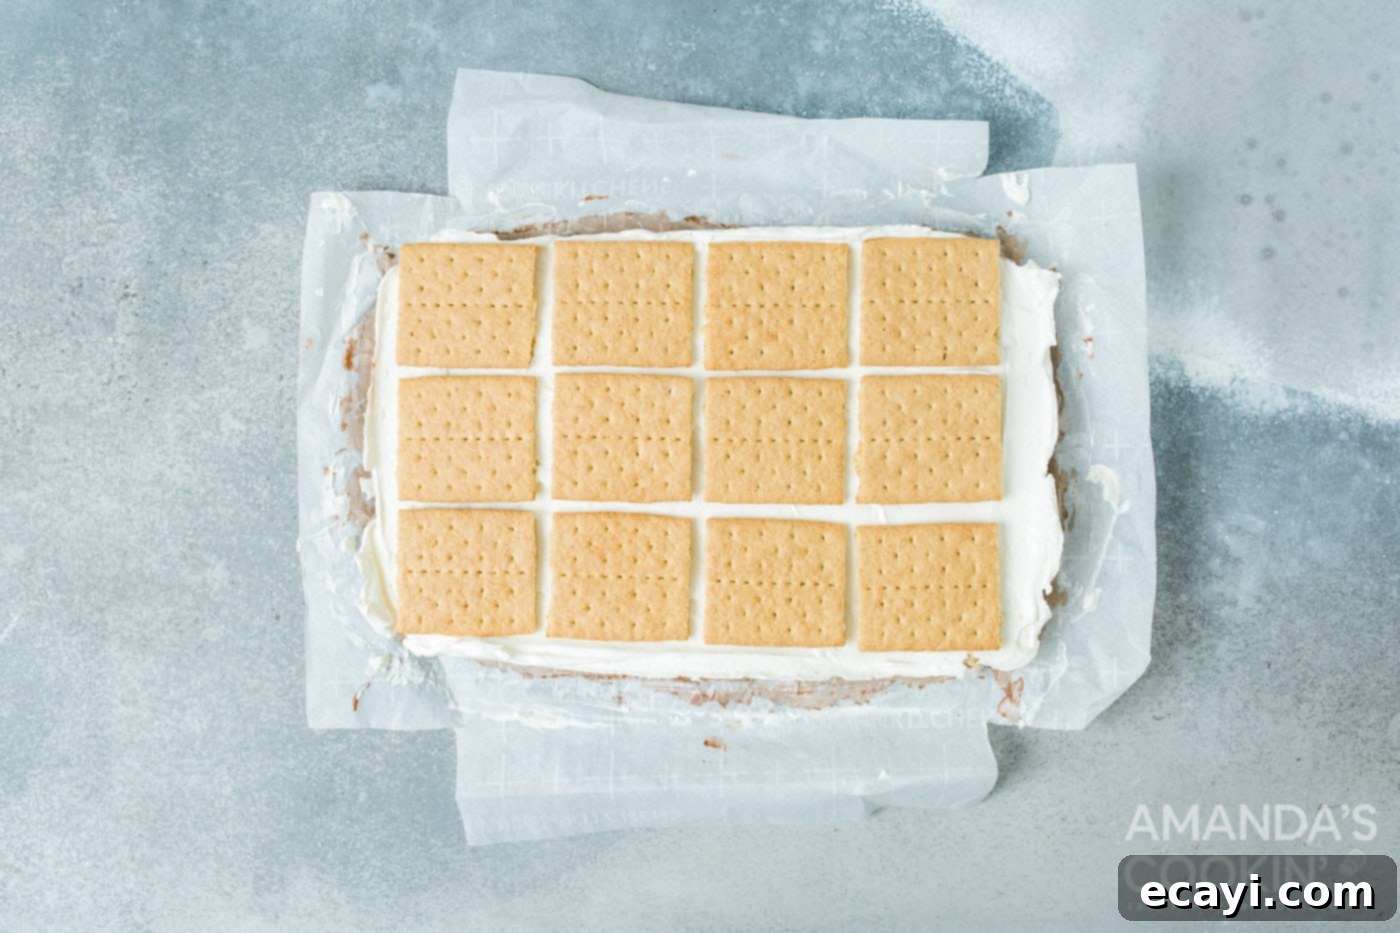
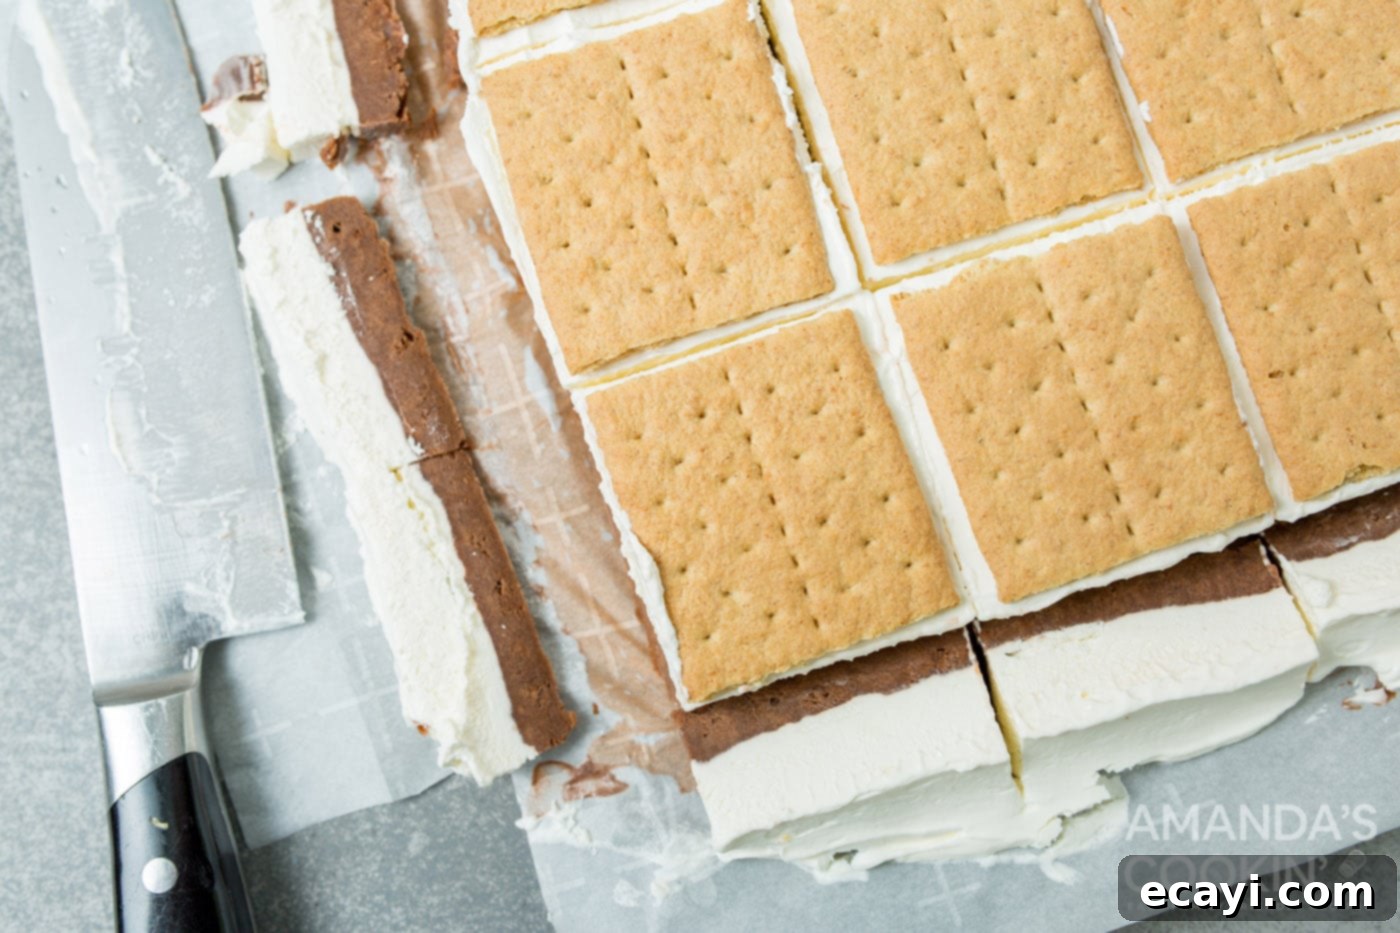
- Break the graham crackers in half. Arrange these halves over the top of the frozen layers, creating a guide for cutting. Using a hot, sharp knife (heated under hot water and wiped dry), cut around the graham crackers and trim any excess chocolate and marshmallow to create neat, individual bars.

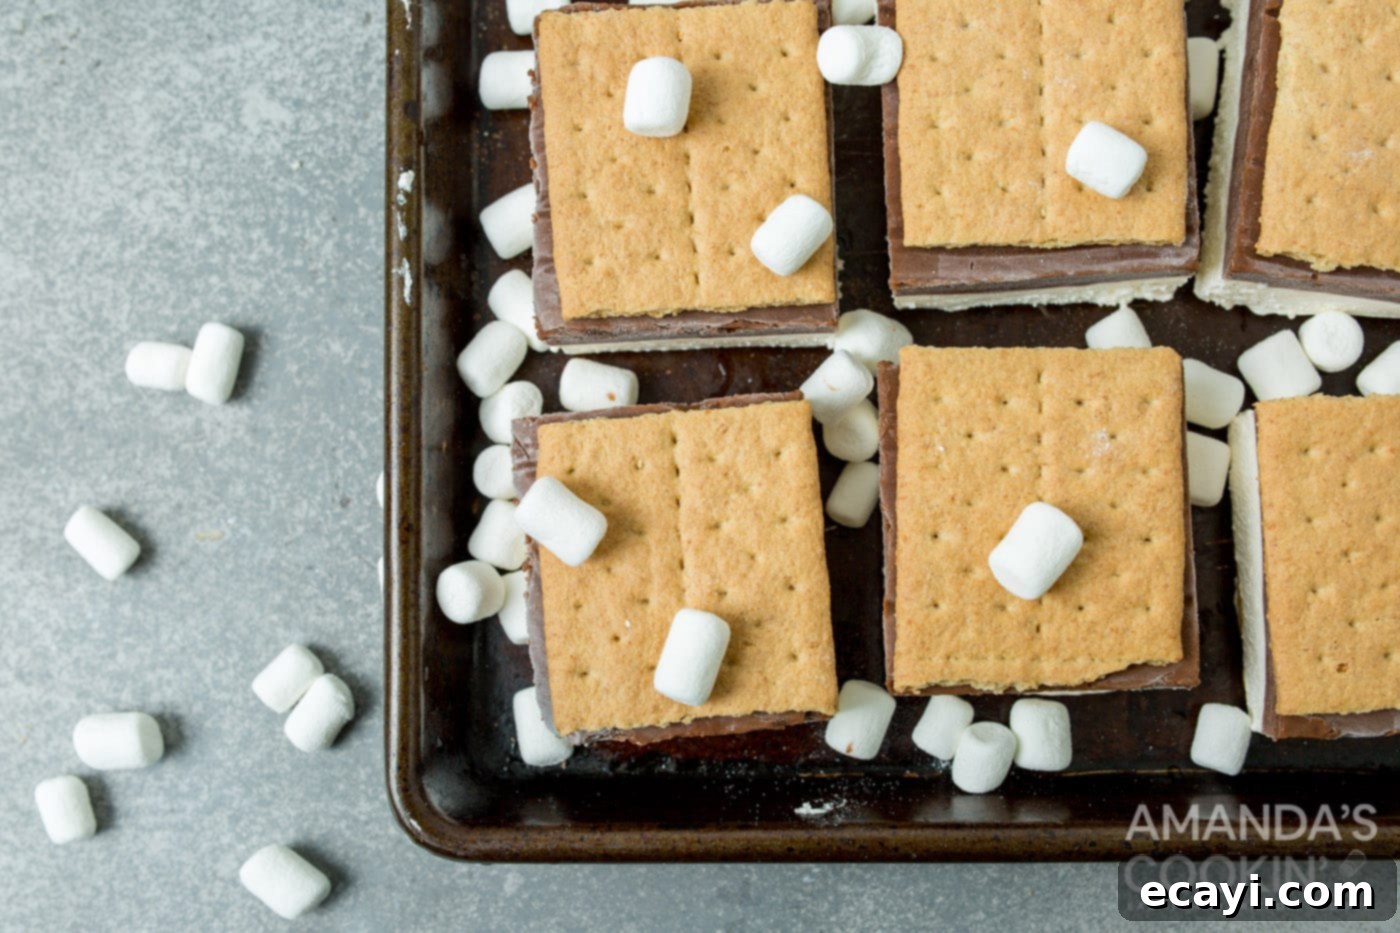
- Use another cutting board or a sheet pan to carefully flip the cut sandwiches over. This allows you to place the remaining graham cracker halves on the other side of each bar to complete the s’mores sandwich.

- Serve immediately for a firm, refreshing treat, or allow the bars to sit at room temperature for about 20 minutes before serving. This slight thaw helps the filling melt just enough for the graham crackers to adhere perfectly and enhances the creamy texture.

Frequently Asked Questions & Expert Tips for Frozen S’mores
Here are some common questions and invaluable tips to help you master these delightful frozen s’mores bars and ensure they turn out perfectly every time.
Proper storage is key to keeping your frozen s’mores bars fresh and delicious. Store any leftover bars tightly wrapped in the freezer. For best results and to prevent freezer burn, we recommend individually wrapping each bar in waxed paper or plastic wrap, then placing them all in an airtight freezer bag or container. This method helps maintain their texture and flavor. While we haven’t extensively tested beyond a few days, storing leftover frozen s’mores with the graham crackers already attached generally allows them to remain enjoyable for around 3 days before the crackers begin to soften too much and lose their crispness. For longer storage without sacrificing cracker quality, please refer to the “Can I make these ahead of time?” tip below.
Absolutely! These frozen s’mores are an excellent make-ahead dessert, perfect for planning parties or simply having a sweet treat on hand. You can comfortably prepare and freeze the complete bars up to 24 hours in advance. When ready to serve, simply remove them from the freezer and allow them to thaw at room temperature for approximately 20 minutes before enjoying. This brief thaw time allows the layers to soften slightly, enhancing their creamy texture. If you wish to make them even further in advance, we have a fantastic tip to keep the graham crackers perfectly crisp: Follow all the instructions for preparing the chocolate pudding and marshmallow fluff layers, and freeze them solid in the pan. Once frozen, remove the block of filling and cut it into individual squares. Store these frozen filling squares in an airtight container or freezer bag in the freezer for up to several weeks. When you’re ready to serve, take the frozen filling squares out of the freezer, then place the graham cracker halves directly onto them. This method prevents the graham crackers from becoming soft or soggy, as prolonged freezing can affect their texture. Let the graham crackers rest on the filling layer for about 20 minutes before serving; this allows them to adhere beautifully to the frozen filling and become part of the delightful s’mores sandwich.
A standard 9×13 inch baking dish is ideal for this recipe, as it provides enough surface area for the layers and yields a good number of bars. Using a glass or ceramic dish works well, but metal pans can conduct cold more quickly, potentially speeding up the freezing process. Always remember to line your pan with parchment paper, leaving an overhang, to ensure easy removal of the frozen block before cutting.
Achieving perfectly neat, clean-cut bars is simple with a little trick. After freezing, remove the layered dessert from the pan and let it sit for about 10 minutes at room temperature to slightly soften the edges. Before each cut, dip a sharp knife into hot water and wipe it dry. The warm blade will glide through the frozen layers much more smoothly, preventing crumbling and creating those beautiful, defined edges. Reheat and wipe the knife after every few cuts for the best results.
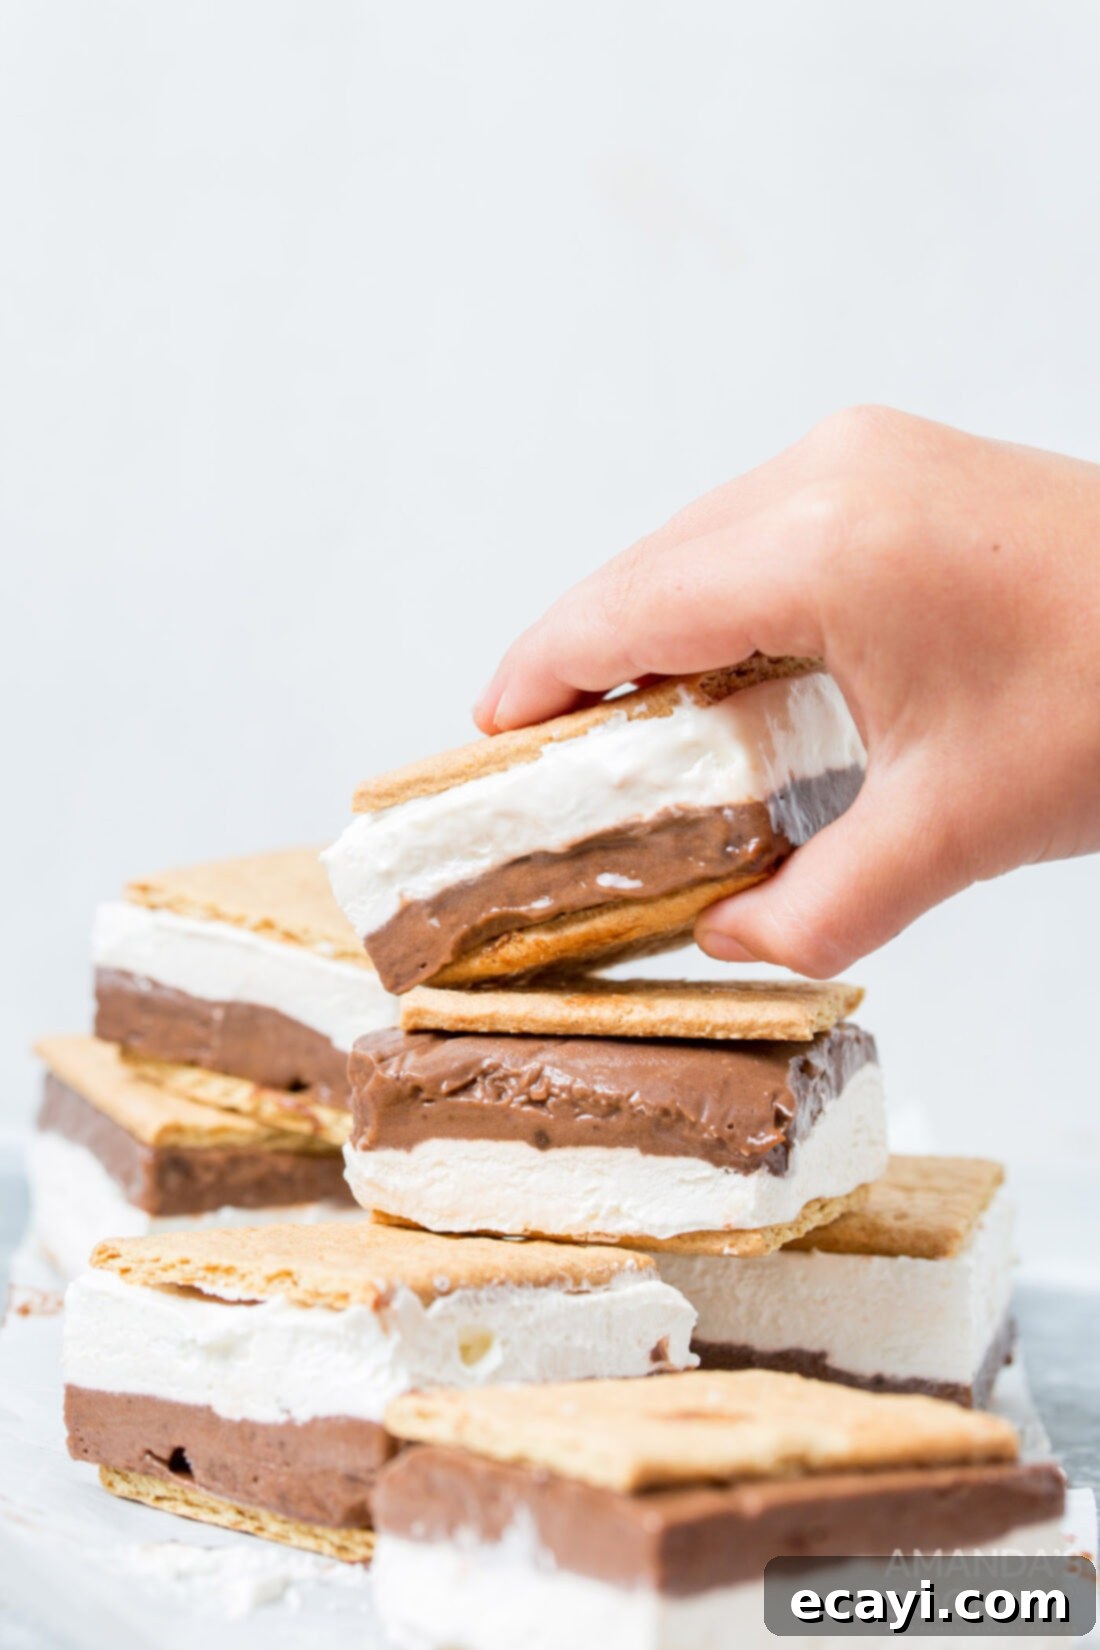
Serving Suggestions for Your Frozen S’mores
These frozen s’mores bars are a versatile dessert that can be enjoyed in various settings. If you plan on taking these delightful treats with you to an outdoor gathering, such as a picnic, beach trip, or a friend’s house, ensure they remain perfectly chilled. Pack them in a cooler filled with plenty of ice – dry ice is an even better option for extended travel – and make sure they are individually wrapped in plastic wrap or parchment paper, then placed in a sealed plastic bag. This will prevent them from melting and keep them fresh until serving time.
You can certainly enjoy these bars immediately after cutting, but for the absolute best experience, we find it ideal to allow them to sit at room temperature for approximately 20 minutes before devouring. This brief period allows the creamy layers to soften just enough, enhancing their smooth texture and making them easier to bite into. Be prepared for some delightful messiness – sticky fingers and happy faces are a guarantee with these irresistible frozen s’mores! For an extra touch, consider drizzling them with chocolate syrup or sprinkling with mini chocolate chips or extra graham cracker crumbs right before serving.
More Delightful Frozen Treat Recipes
Looking for more ways to beat the heat with delicious, frosty desserts? Explore these other fantastic frozen treat recipes that are perfect for any occasion when you need a cool-down.
- Raspberry Ice Cream Delight
- Dole Whip
- Strawberry Frozen Yogurt
- Ice Cream Sandwich Cake
- Strawberry Banana Popsicles
- Blueberry Cheesecake Popsicles
- Butterfinger Ice Cream Sandwiches
I love to bake and cook and share my kitchen experience with all of you! Remembering to come back each day can be tough, that’s why I offer a convenient newsletter every time a new recipe posts. Simply subscribe and start receiving your free daily recipes!
Frozen S’mores Bars
IMPORTANT – There are often Frequently Asked Questions within the blog post that you may find helpful. Simply scroll back up to read them!
Print It
Pin It
Rate It
Save ItSaved!
Ingredients
- 5.6 oz instant chocolate pudding 1 box
- 2.5 cups milk cold
- 24 graham crackers
- 8 oz marshmallow fluff
- 8 oz cream cheese softened
- 10 oz whipped topping thawed
Things You’ll Need
-
13×9 baking dish
-
Rubber spatula
-
Hand mixer
Before You Begin
- The recipe card indicates you will need 24 hours of chill time in the freezer. This isn’t entirely necessary, however, you will need a minimum of 4-6 hours to freeze the pudding and marshmallow fluff layers. This can be made the morning of your plans.
- You can also make these frozen s’mores 24 hours in advance. Keep in the freezer and allow them to thaw for 20 minutes before enjoying. If you want to make them further in advance, follow the instructions for the filling layer (pudding and fluff), freeze, then cut the filling into squares. Keep this frozen until ready to serve. When ready, take the filling out of the freezer then place the graham crackers onto them. This will help keep the graham crackers fresh as they tend to get soft when kept in the freezer. Let the graham crackers rest on the filling layer for 20 minutes before enjoying, allowing the crackers to adhere to the filling.
Instructions
-
Begin by lining a 9×13 inch baking pan with parchment paper, ensuring the paper extends up the sides to create convenient “handles” for easy removal.
-
In a large bowl, prepare the instant chocolate pudding using cold milk according to package instructions. Whisk until smooth. Pour the pudding into the prepared casserole dish and spread it into an even layer. Place the dish into the freezer to chill and set while you prepare the marshmallow layer.
-
In a separate large bowl, beat the softened cream cheese with a hand mixer until light and fluffy. Add the marshmallow fluff and continue to beat until well combined and smooth. Gently fold in the thawed whipped topping until the mixture is uniform and airy.
-
Retrieve the chilled chocolate pudding layer from the freezer. Using a rubber spatula, carefully spread the marshmallow-cream cheese mixture evenly over the chocolate pudding layer. Return the pan to the freezer for a minimum of 4 hours, or ideally 24 hours, to allow all layers to freeze completely solid.
-
Once fully frozen, use the parchment paper handles to lift the layers out of the casserole dish and place them onto a cutting board. Let them sit at room temperature for about 10 minutes to soften slightly before cutting.
-
Break the graham crackers in half. Arrange these halves over the top of the frozen layers, creating a guide for cutting. Using a hot, sharp knife (heated under hot water and wiped dry), cut around the graham crackers and trim any excess chocolate and marshmallow to create neat, individual bars.
-
Carefully flip the cut sandwiches over onto another cutting board or a sheet pan. Place the remaining graham cracker halves on the other side of each bar to complete the s’mores sandwich.
-
Serve immediately for a firm, refreshing treat, or allow the bars to sit at room temperature for about 20 minutes before serving. This slight thaw helps the filling melt just enough for the graham crackers to adhere perfectly and enhances the creamy texture.
Nutrition
The recipes on this blog are tested with a conventional gas oven and gas stovetop. It’s important to note that some ovens, especially as they age, can cook and bake inconsistently. Using an inexpensive oven thermometer can assure you that your oven is truly heating to the proper temperature. If you use a toaster oven or countertop oven, please keep in mind that they may not distribute heat the same as a conventional full sized oven and you may need to adjust your cooking/baking times. In the case of recipes made with a pressure cooker, air fryer, slow cooker, or other appliance, a link to the appliances we use is listed within each respective recipe. For baking recipes where measurements are given by weight, please note that results may not be the same if cups are used instead, and we can’t guarantee success with that method.
