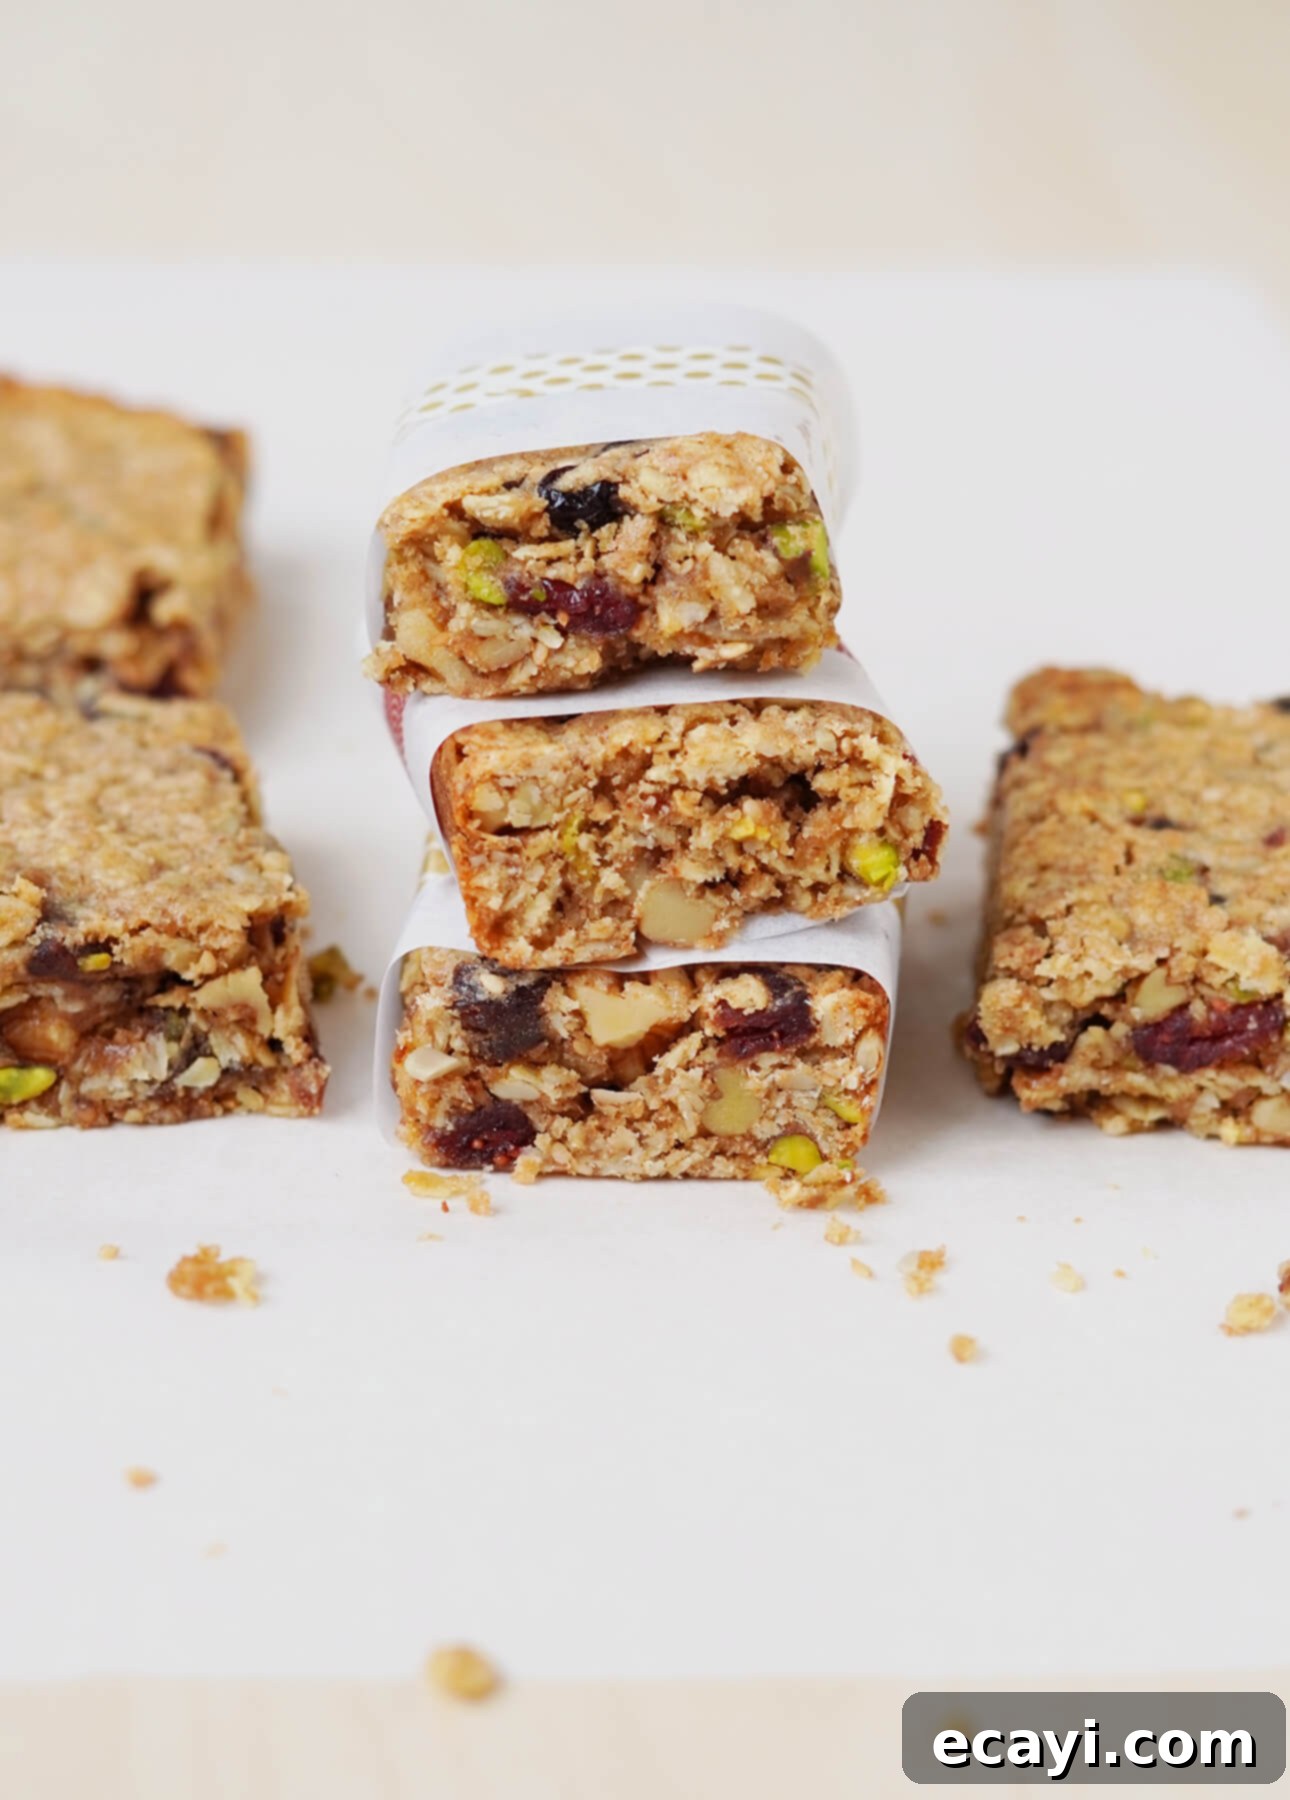
Homemade Chewy Granola Bars: Your Ultimate Guide to Easy, Customizable, and Healthy Snacks
Say goodbye to afternoon slumps and sudden hunger pangs with these incredibly delicious and satisfying chewy granola bars. Crafted right in your own kitchen, they offer a perfect blend of wholesome ingredients, delightful texture, and unbeatable convenience. What makes them truly special is their incredible versatility – you can effortlessly whip them up using whatever dried fruits, nuts, and seeds you already have on hand, making each batch a unique culinary adventure!
This post contains affiliate links. Full disclosure is at the bottom of the article.
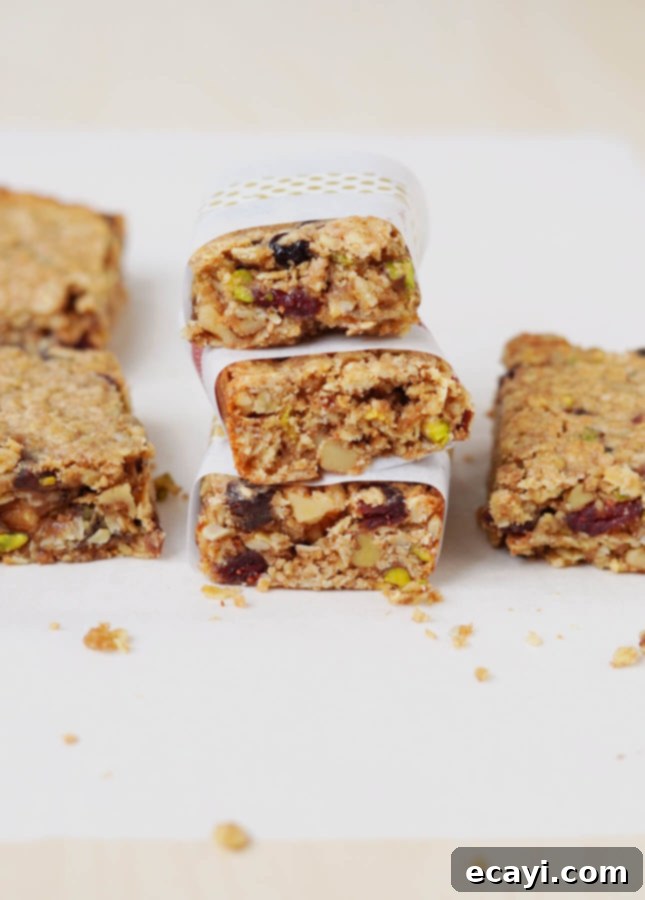
Why Choose Homemade Granola Bars?
In a world overflowing with highly processed snacks, the appeal of homemade options is undeniable. These chewy granola bars stand out as a beacon of health and simplicity. Unlike many store-bought varieties that often hide excessive sugars, unhealthy fats, and artificial additives, making your own gives you complete control over every single ingredient. This means you can tailor them precisely to your dietary needs and taste preferences, ensuring a truly wholesome and satisfying treat.
Beyond health benefits, homemade granola bars are incredibly cost-effective. Buying individual ingredients often proves more economical in the long run, especially when you consider the premium price tags on organic or specialty granola bars at the grocery store. Plus, there’s an immense satisfaction that comes from creating something so delicious and nourishing with your own hands. They are a fantastic way to utilize pantry staples, reduce food waste, and always have a fresh, nutritious snack at your fingertips.
Effortless Preparation: A Simple Ratio for Perfect Bars
One of the most appealing aspects of this recipe is its straightforwardness. You don’t need to be an experienced baker to achieve perfect results. The core of this recipe lies in a simple, adaptable ratio of nuts, fruits, seeds, and a binding agent like nut butter. Once you grasp this basic formula, the possibilities for customization are endless. Just a few basic pantry ingredients are needed to bring everything together, creating a harmonious mixture that bakes into wonderfully chewy bars. The process is so simple: combine, press, bake, and in no time, you’ll have a fresh supply of homemade granola bars ready to tackle any hunger emergency.
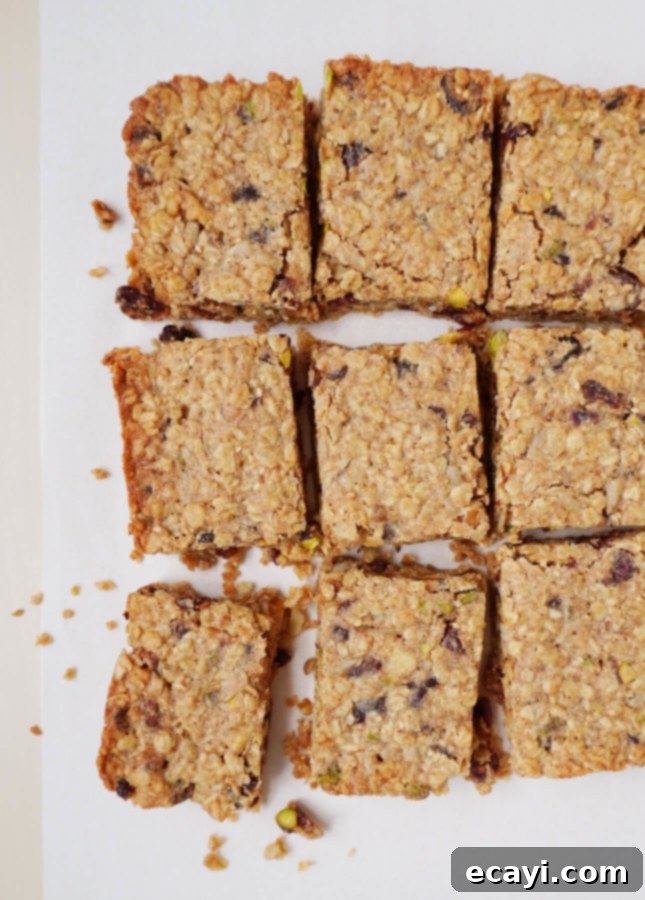
Unleash Your Creativity: Endless Customization Options
The true magic of these chewy granola bars lies in their incredible flexibility. This recipe isn’t just a set of instructions; it’s a template for culinary creativity! I often find myself never making the exact same combination twice, and that’s perfectly fine. Here’s how you can make them uniquely yours:
Nuts and Seeds: Your Foundation for Crunch and Nutrition
Feel free to use any chopped unsalted nuts you have on hand. Classic choices like walnuts, pecans, pistachios, almonds, or cashews work wonderfully, providing healthy fats and a satisfying crunch. Don’t stop there! Consider peanuts, macadamia nuts, or even a mix for a more complex flavor profile. For seeds, the options are equally broad: sunflower seeds, pumpkin seeds, and toasted sesame seeds add fantastic texture and nutrients. You can also incorporate ground flaxseeds, hemp hearts, or chia seeds for an extra boost of fiber and omega-3s.
Dried Fruits: For Sweetness and Chewiness
The choice of dried fruits is paramount for achieving that perfect chewy texture and natural sweetness. Pitted dates are highly recommended, making up at least a third of your fruit blend, as they contribute significantly to the desired chewiness and act as a natural binder. Beyond dates, chopped apricots, raisins, and dried cranberries are excellent additions. Don’t hesitate to experiment with dried cherries, blueberries, figs, or even small pieces of dried mango or pineapple for an exotic twist.
Sweeteners and Fats: Finding Your Perfect Balance
For sweetening, maple syrup is my top choice, offering a rich, distinctive flavor. However, honey or agave syrup are equally viable alternatives. When it comes to fat content, this recipe offers flexibility. While canola oil provides moisture and helps with binding, you can substitute half of it with unsweetened applesauce to reduce the fat without compromising on texture.
Beyond the Basics: Indulgent Additions
If you’re feeling adventurous, or simply craving a treat, consider swapping some of the fruits or nuts for more indulgent options. Chocolate chips (dark, milk, or white) or cocoa nibs can transform these healthy snacks into a delightful dessert-like experience. Just be warned: they may turn out so irresistibly good that you’ll want to savor them for an after-dinner treat! Shredded coconut, a pinch of cinnamon or nutmeg, or a dash of almond extract can also add wonderful layers of flavor.
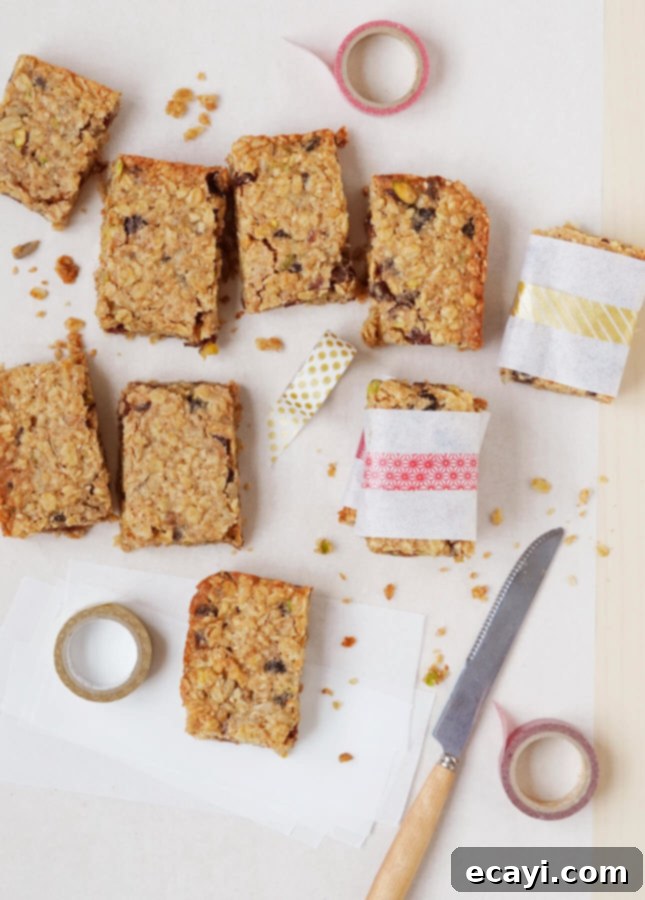
Pro Tips for Perfect Granola Bars
Achieving perfectly set and easily sliceable granola bars requires a couple of key steps. Firstly, after combining your ingredients, it’s crucial to press the mixture very firmly into the prepared baking pan. This compression helps the ingredients adhere to each other, preventing crumbly bars. Use the back of a spoon or a clean hand to really compact the mixture evenly across the pan. Secondly, patience is a virtue when it comes to cooling. Allow the bars to cool completely on a wire rack before attempting to slice them. For the neatest, cleanest cuts, consider refrigerating the baked slab overnight. The chill time firms up the bars significantly, making them a breeze to slice into perfect portions.
Storage Solutions: Keep Your Bars Fresh and Ready
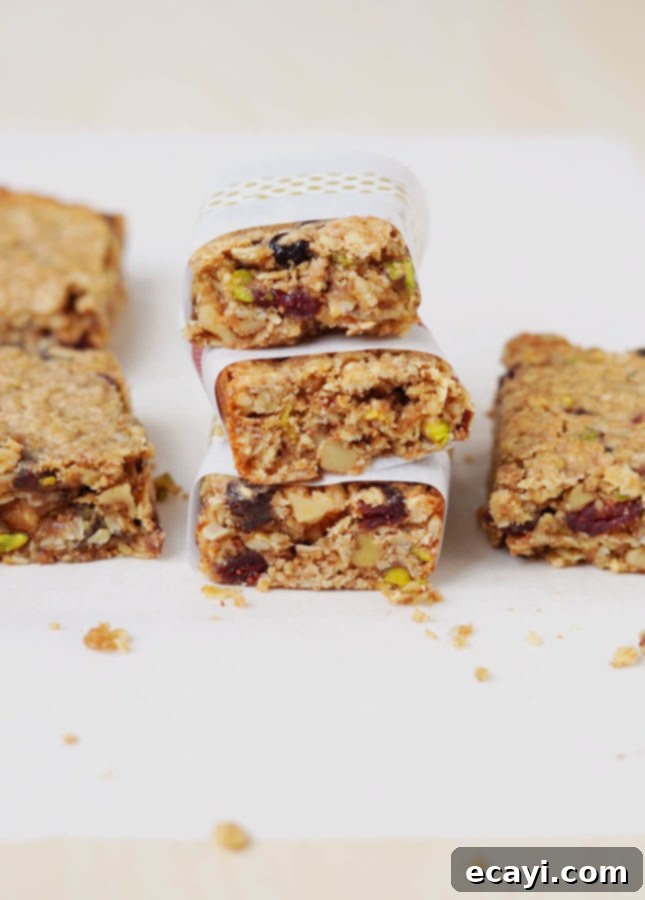
Once baked and cooled, these chewy granola bars are incredibly convenient to store. For optimal freshness and portability, I highly recommend wrapping each bar individually. Parchment paper, secured with a bit of washi tape or twine, works beautifully and makes them easy to grab on the go. Store the wrapped bars in an airtight container or a plastic bag in the refrigerator for up to two weeks. This keeps them wonderfully fresh and chewy.
For longer-term storage, these granola bars freeze exceptionally well. Simply transfer the individually wrapped bars to a freezer-safe bag or container, and they’ll keep in the freezer for months, ready to be thawed at room temperature or even enjoyed slightly chilled. This makes them perfect for meal prepping healthy snacks in advance. Just one warning: these homemade chewy granola bars are so incredibly good that you might find a single batch never lasts as long as you intend!
Fuel Your Day: Nutritional Benefits of Homemade Granola Bars
These granola bars aren’t just delicious; they’re packed with nutritional benefits that make them an excellent choice for any time of day. The base of old-fashioned oats provides complex carbohydrates, offering sustained energy release and a good dose of soluble fiber, which is great for digestive health. The variety of nuts and seeds contribute healthy monounsaturated and polyunsaturated fats, essential vitamins, minerals, and plant-based protein, promoting satiety and supporting heart health. Dried fruits add natural sweetness along with vitamins, minerals, and dietary fiber. Choosing natural nut butter ensures a source of protein and healthy fats without added sugars or hydrogenated oils. With ingredients like whole wheat flour and options like wheat bran or ground flaxseeds, these bars are a powerhouse of fiber, helping you feel fuller for longer and stabilizing blood sugar levels. They truly are a smart and satisfying way to fuel your body.
Whether you need a quick breakfast on busy mornings, a healthy snack to tide you over between meals, a post-workout energy boost, or a wholesome treat for your lunchbox, these chewy granola bars are the perfect solution. Their hearty nature and balanced nutritional profile make them suitable for adults and children alike. Get ready to ditch the store-bought options and embrace the goodness of homemade!
Pin Recipe
Nut- and Fruit-Packed Chewy Granola Bars
Ingredients
- 1 3/4 cups 430 ml old-fashioned oats
- 1 cup 250 ml chopped unsalted nuts, such as walnuts, pecans, pistachios, almonds, or cashews
- 1 cup 250 ml chopped dried fruits, such as pitted dates, apricots, raisins, or dried cranberries (use at least a third of dates for the best chewiness)
- 1/3 cup 80 ml whole wheat flour
- 1/3 cup 80 ml packed brown sugar
- 1/4 cup 60 ml wheat bran, or ground flaxseeds, or hemp hearts, or substitute whole wheat flour
- 1/4 cup 60 ml sunflower seeds, pumpkin seeds, or toasted sesame seeds
- 1/2 tsp 2 ml kosher salt, or fine sea salt
- 1/3 cup 80 ml nut butter of your choice, preferably natural (no salt or sugar added)
- 1/3 cup 80 ml canola oil (or half canola oil, half applesauce)
- 1/3 cup 80 ml maple syrup, honey, or agave syrup
- 1 large egg
- 2 tsp 10 ml pure vanilla extract
Instructions
-
Preheat oven to 350°F (175°C). Grease a 9″ x 9″ (23 x 23 cm) baking pan with cooking spray, then line with parchment paper.
-
In a large mixing bowl, stir together the oats, nuts, fruits, flour, sugar, wheat bran, seeds, and salt.
-
In a small mixing bowl, whisk together the nut butter, oil, syrup, egg, and vanilla extract. Pour over the dry ingredients and stir until all the liquids are fully incorporated and the mixture sticks together. Press firmly into the prepared pan.
-
Bake for about 25 minutes, or until set and golden around the edges. Transfer to a wire rack and cool completely before cutting into bars. (The bars will slice neatly if they’ve been refrigerated overnight.)
-
Wrap the bars individually in parchment paper, if desired, and keep in an airtight container or plastic bag in the refrigerator for up to a week, or freeze for months.
Did you make this?
Tell me how you liked it! Leave a comment or take a picture and tag it with @foodnouveau on Instagram.
This site is a participant in the Amazon Associates Program, an affiliate advertising program designed to provide a means for the site to earn fees by linking to Amazon and affiliated sites.
If you click on an affiliate link, I may earn advertising or referral fees if you make a purchase through such links, at no extra cost to you. This helps me creating new content for the blog–so thank you! Learn more about advertising on this site by reading my Disclosure Policy.
