The Ultimate Peanut Butter Fudge Cookie Cups: An Irresistible Chocolate-Filled Treat
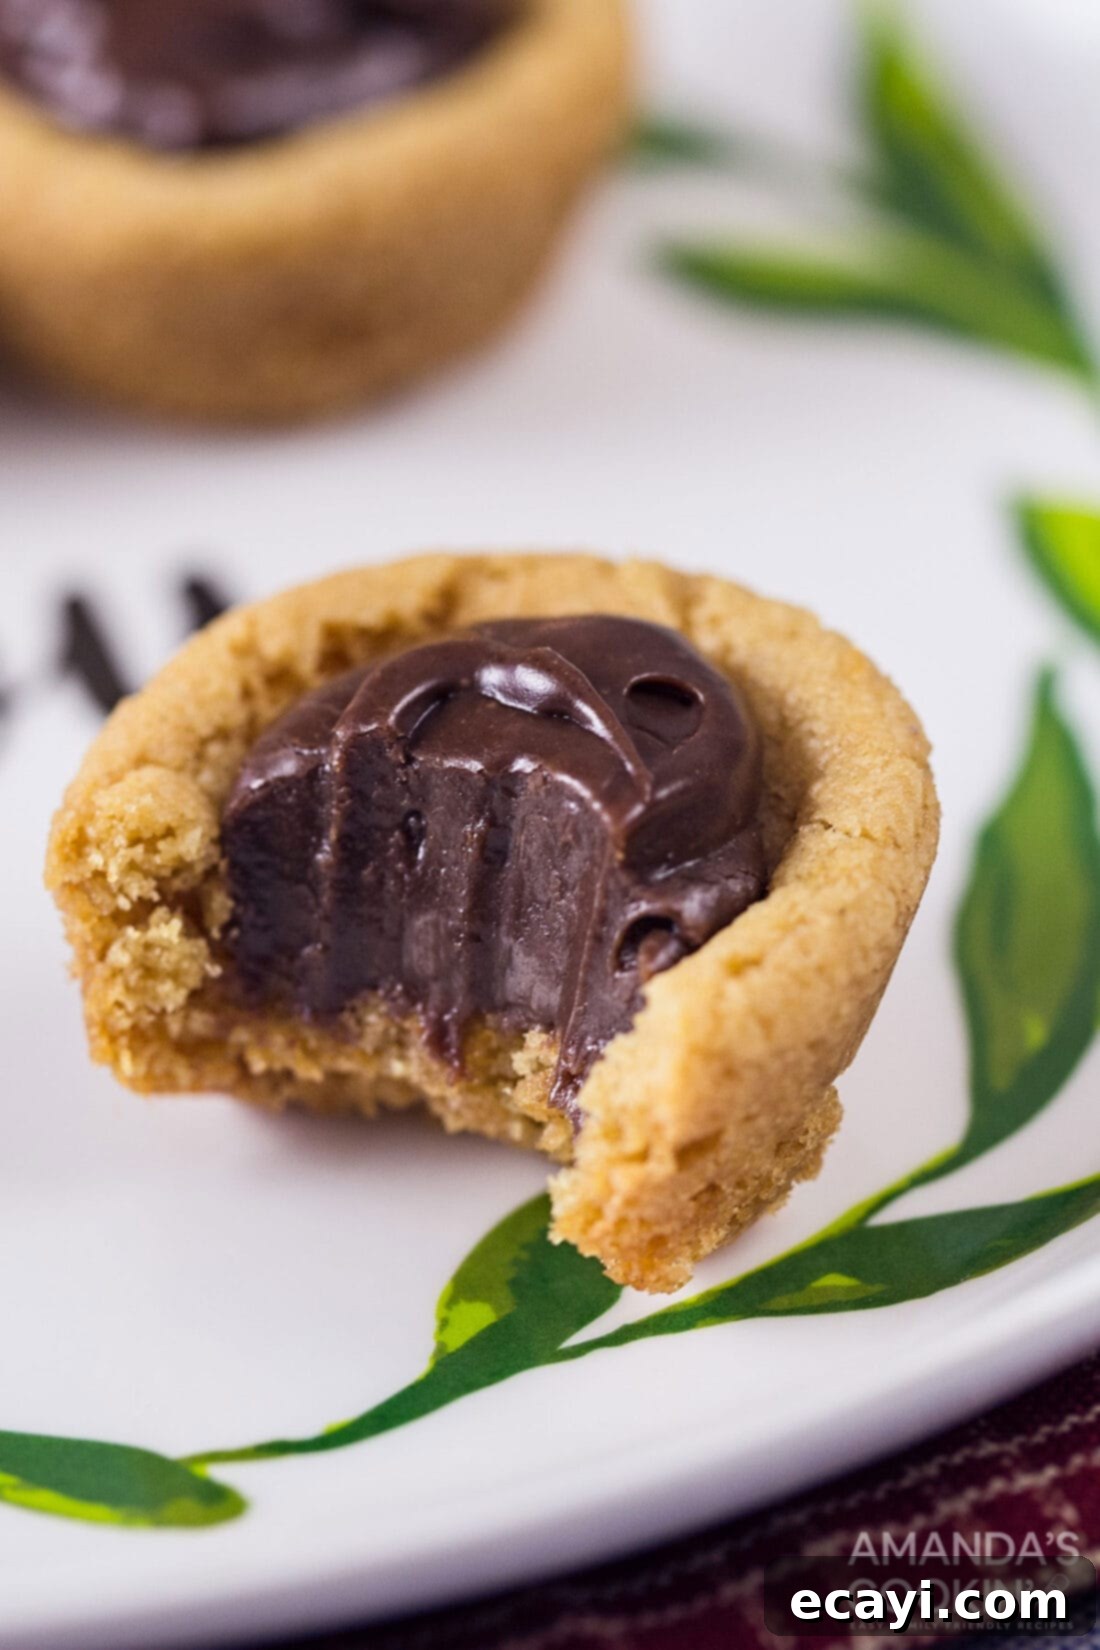
Prepare to fall in love with these delightful peanut butter cookie cups, perfectly baked and generously filled with a rich, velvety chocolate fudge. If the timeless combination of peanut butter cookies and luscious chocolate sends your taste buds soaring, then these homemade peanut butter fudge cookies are destined to become your new favorite dessert. They’re a dangerously addictive, bite-sized marvel that promises to impress at any gathering or simply satisfy your deepest sweet cravings.

Why These Peanut Butter Fudge Cookie Cups Are a Must-Try
These exquisite fudge-filled cookie cups offer an unmatched combination of flavor and texture that makes them truly special. Beyond their incredible taste, their simplicity in preparation will make you wonder why they haven’t been a staple in your kitchen all along. From the first bite, you’ll experience the harmonious blend of tender, slightly chewy peanut butter cookie and the smooth, decadent chocolate fudge. This perfect marriage of flavors ensures these little treats will quickly earn a permanent spot in your baking repertoire. You’ll find yourself reaching for this recipe again and again, whether for a spontaneous treat or a planned celebration.
While these tasty “fudge puddles” are a fantastic dessert for any time of year, their rich flavors and comforting appeal make them especially perfect as bite-sized Christmas desserts or for any holiday cookie platter. Their festive appearance and irresistible taste make them a standout addition to any seasonal spread, bringing joy and sweetness to every occasion. They’re also wonderfully portable, making them ideal for potlucks, parties, or thoughtful homemade gifts.
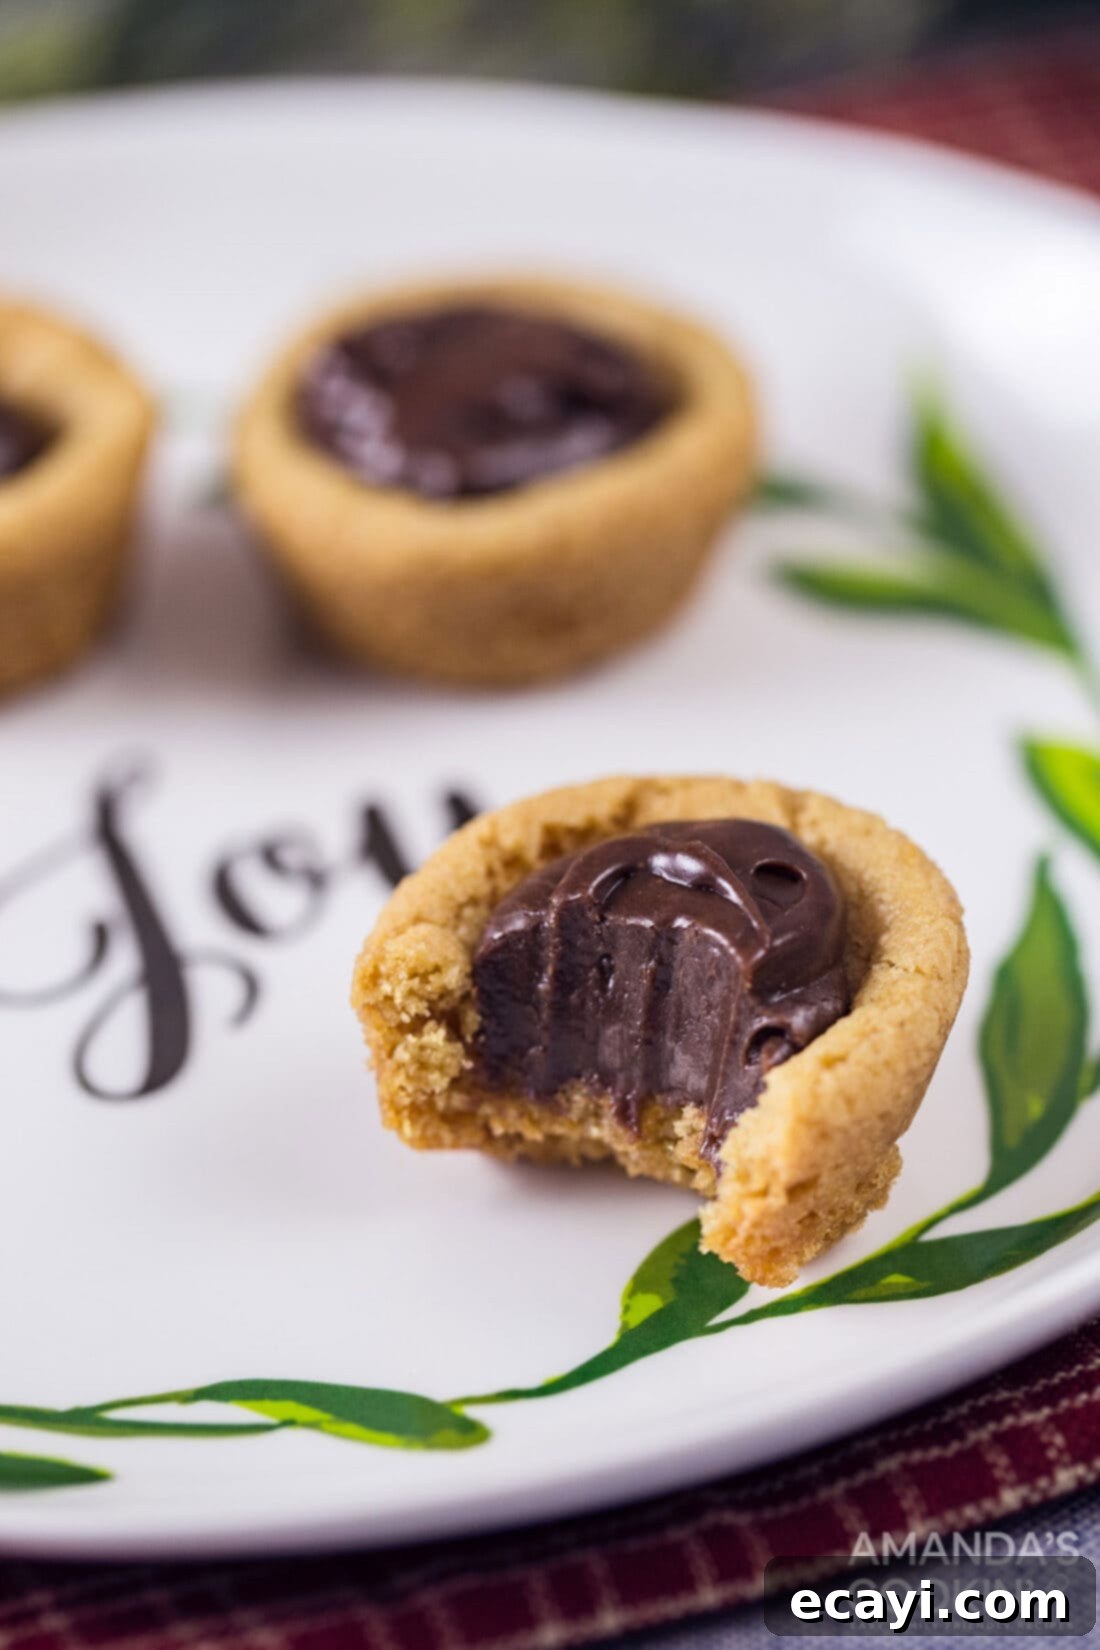
Be sure to keep extra copies of the printer-friendly version of this recipe (available at the end of this post) readily available. We guarantee your friends and family will be asking you for the recipe after they experience the deliciousness of these peanut butter fudge cookie cups!
Find all precise measurements, a complete list of ingredients, and detailed instructions in the printable recipe card at the conclusion of this article. This comprehensive guide ensures you have everything you need for baking success.
Step-by-Step Guide: Crafting Your Own Peanut Butter Fudge Cookies
These step-by-step photos and instructions are designed to provide a clear visual guide, simplifying the process of making these irresistible cookies. For your convenience, you can easily jump to the full printable recipe, complete with exact measurements and detailed instructions, located at the bottom of this page.
Baking these peanut butter fudge cookie cups is surprisingly straightforward, and the results are consistently spectacular. We promise you these will be an enormous hit with everyone who tries them. You absolutely must give this recipe a try!
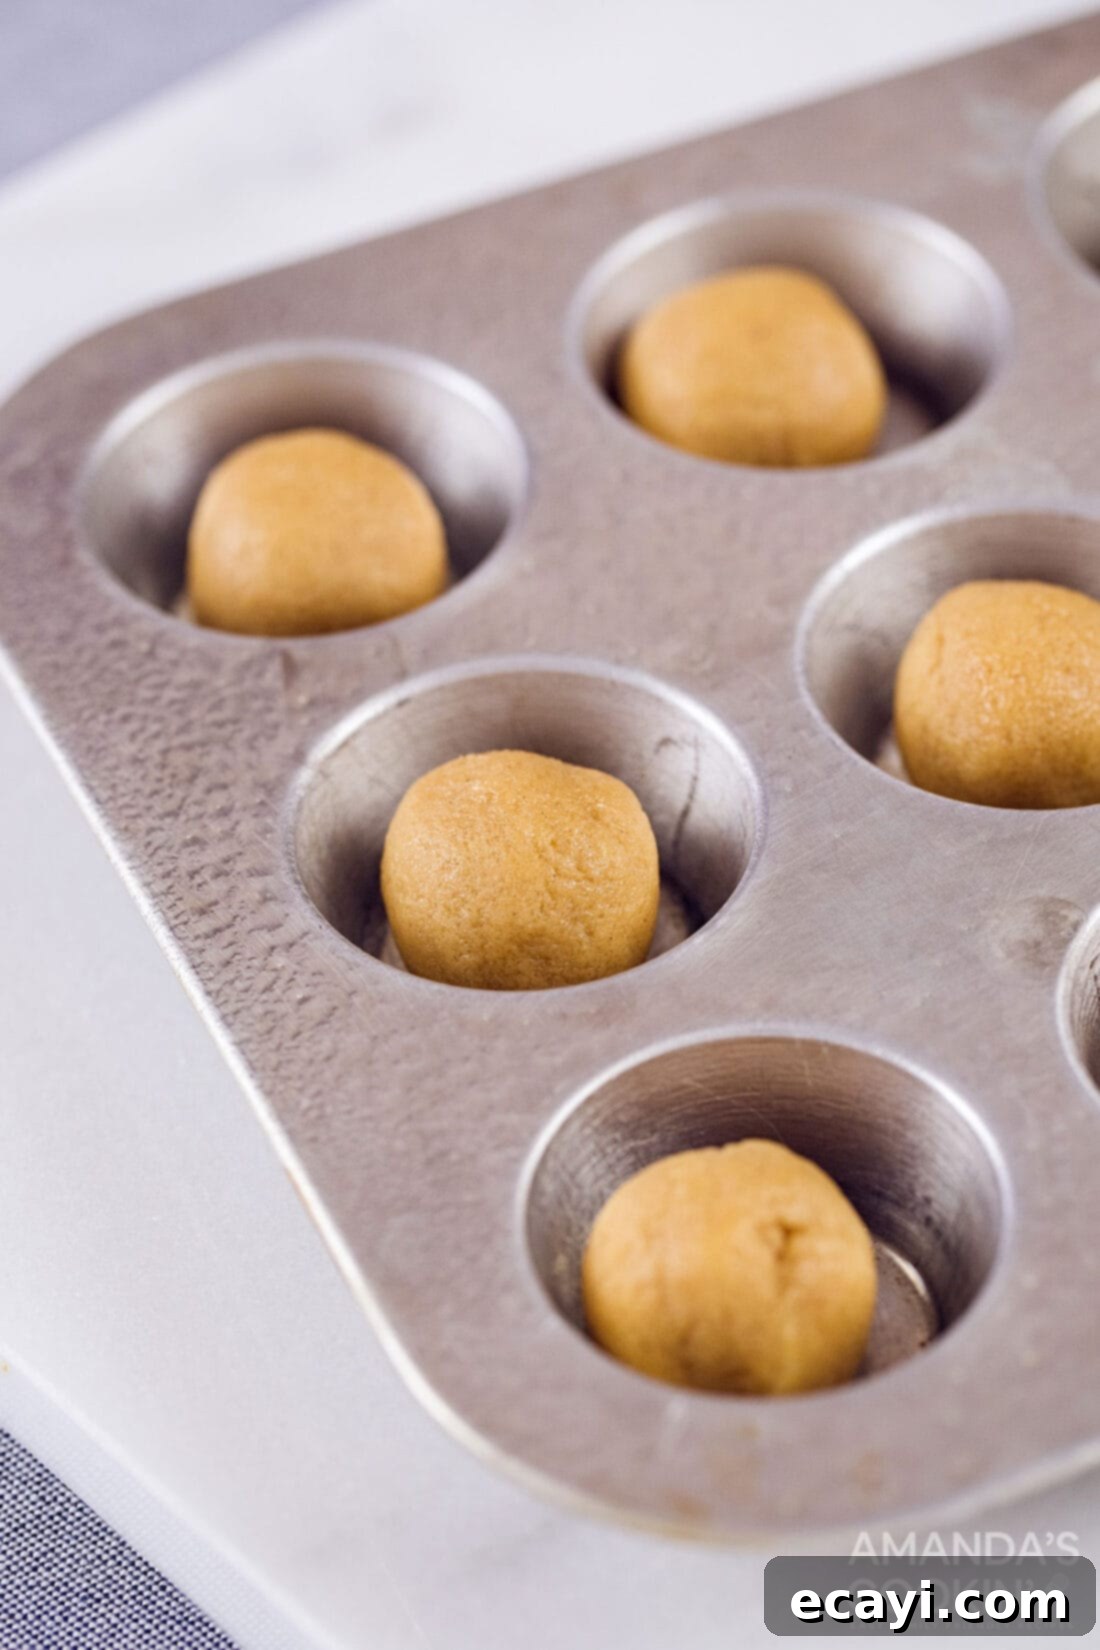
The Cookie Base: Simple Perfection
The core process for these cookie cups is beautifully simple. First, you’ll prepare a classic, soft peanut butter cookie dough. Once mixed, roll the dough into uniform balls. Using a cookie scoop is highly recommended for this step, as it helps create consistently sized portions, ensuring even baking and a professional-looking finish. Place each perfectly portioned dough ball into the compartments of a mini muffin tin. This specialized pan is key to achieving the signature cup shape of these cookies. After baking to a golden perfection, while the cookies are still warm and pliable, use a melon baller or the back of a small spoon to gently push an indent into the center of each cookie. This creates the perfect little well for your luscious fudge filling.
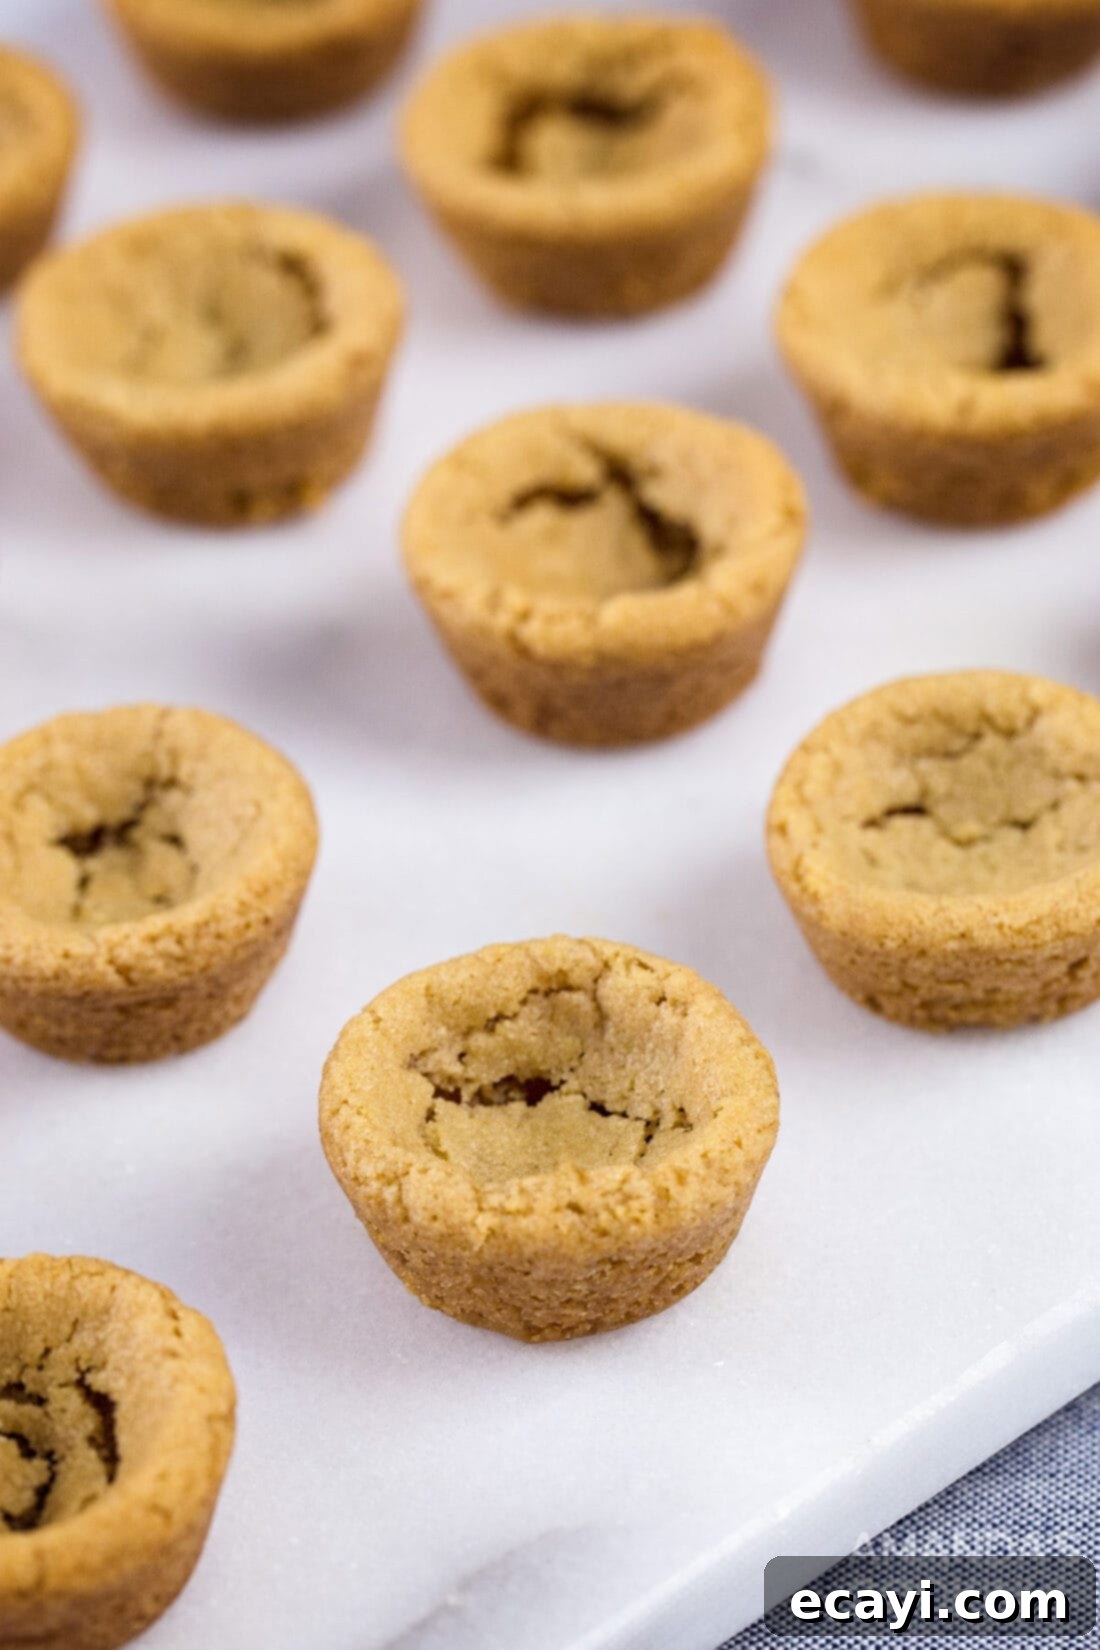
The Decadent Fudge Filling: A Chocolate Dream
Next, you’ll prepare the star of the show: the rich chocolate fudge filling. The traditional method involves melting the chocolate chips with sweetened condensed milk and vanilla in a double boiler. This gentle heating method ensures the chocolate melts smoothly and evenly, preventing scorching and creating a silky-smooth fudge. Alternatively, for a quicker approach, you can use a microwave, heating the mixture in short 30-second intervals and stirring thoroughly between each to achieve the same smooth consistency. Once your fudge is ready, carefully spoon this chocolatey goodness into the indents of your warm peanut butter cookie cups. The warm cookies will slightly soften the fudge, creating an irresistible molten center that sets beautifully as it cools.
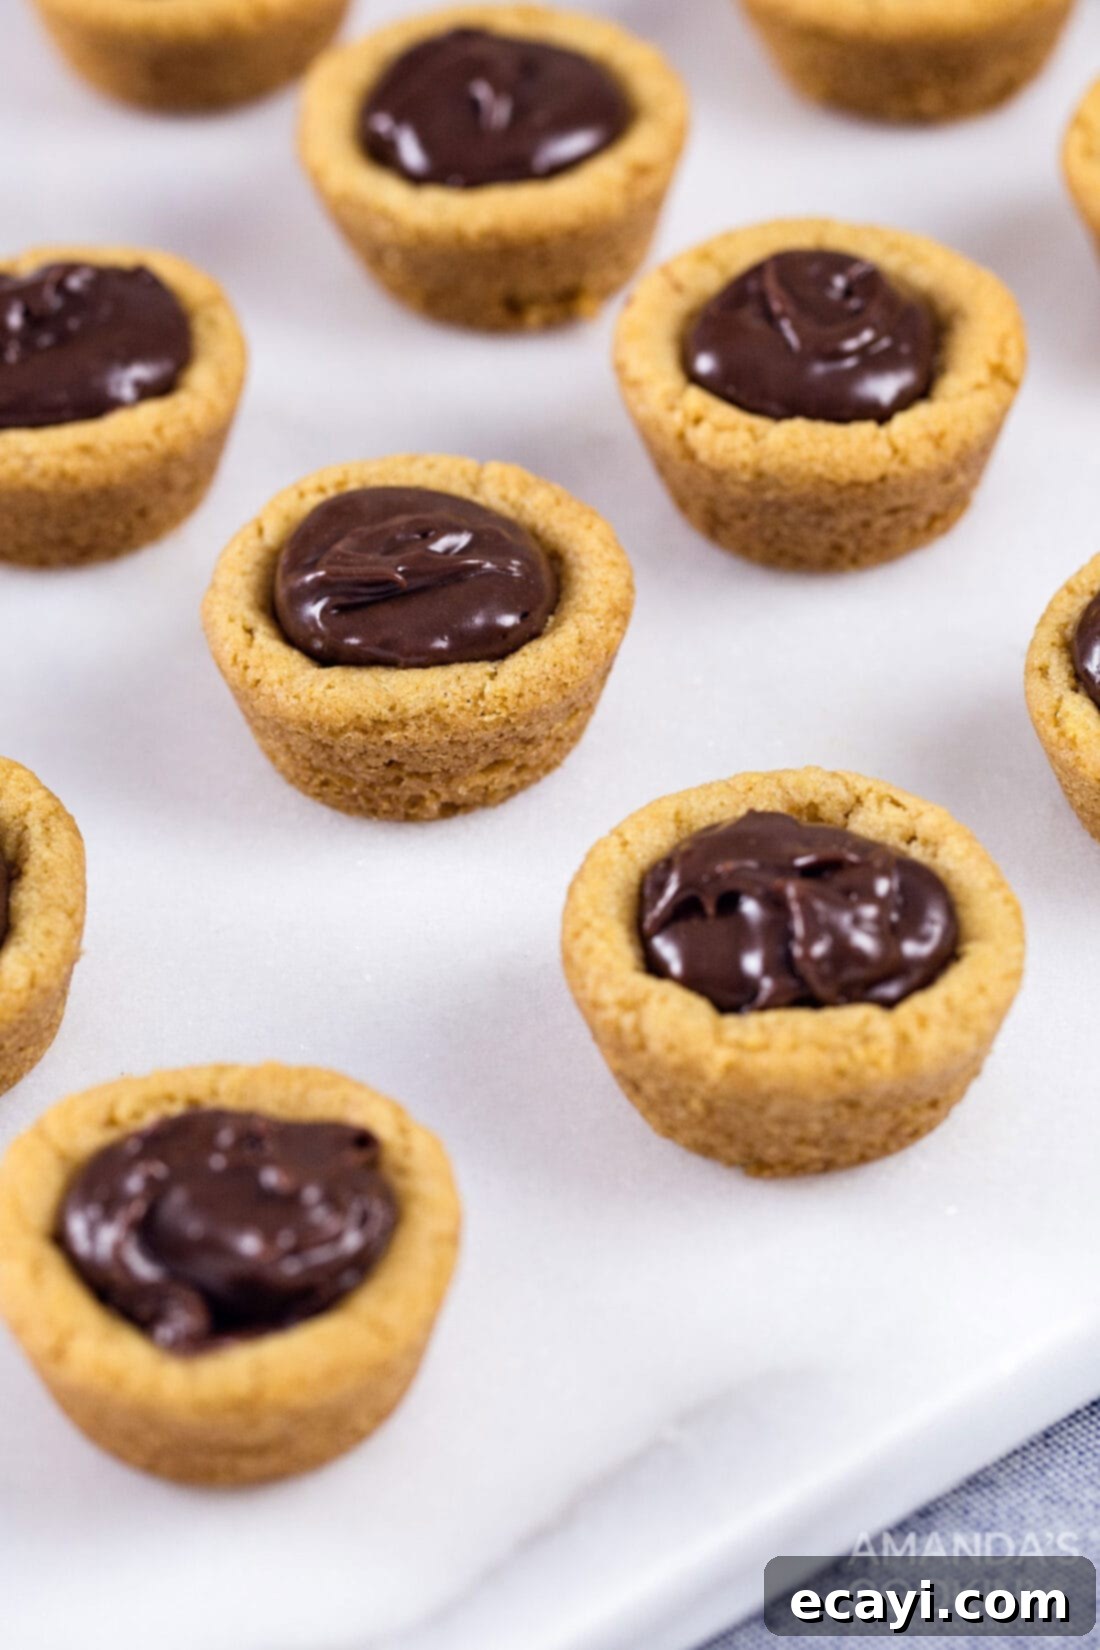
You will undoubtedly find yourself making these peanut butter fudge cookies time and time again due to popular demand. So, be sure to bookmark or save the printable recipe below for easy access!
Tips for Perfect Peanut Butter Fudge Cookie Cups
- Don’t Overmix the Dough: Once the flour is added, mix just until combined. Overmixing can lead to tougher cookies.
- Perfect Indents: A melon baller works wonderfully for creating the wells. If you don’t have one, a small measuring spoon (like a teaspoon) or even the back of a wooden spoon can do the trick. Just be gentle!
- Quality Ingredients Matter: Using good quality peanut butter and chocolate chips will elevate the flavor of your cookie cups significantly.
- Even Baking: Ensure your oven temperature is accurate (an oven thermometer can help!) and rotate your muffin tin halfway through baking for even browning.
- Cooling is Key: Allow the cookies to cool in the muffin tin for a few minutes before transferring to a wire rack. This helps them firm up and prevents them from breaking.
Storing and Freezing Your Peanut Butter Fudge Cookie Cups
These cookies are best enjoyed fresh, but they also store well, making them perfect for preparing ahead of time. Store cooled peanut butter fudge cookie cups in an airtight container at room temperature for up to 3-4 days. If you prefer a firmer fudge, you can store them in the refrigerator, which may extend their freshness slightly.
For longer storage, these cookie cups freeze beautifully. Place fully cooled cookies in a single layer on a baking sheet and freeze until solid (about 1-2 hours). Once frozen, transfer them to a freezer-safe airtight container or freezer bag, separating layers with parchment paper to prevent sticking. They can be frozen for up to 2-3 months. Thaw at room temperature or in the refrigerator before serving. You can also warm them gently in the microwave for a few seconds for that freshly baked feel.
Serving Suggestions and Variations
These peanut butter fudge cookie cups are fantastic on their own, but here are some ideas to make them even more special:
- With Milk or Coffee: A classic pairing for any cookie!
- A La Mode: Serve warm with a scoop of vanilla bean ice cream for an indulgent dessert.
- Sprinkles: Add a festive touch by topping the warm fudge with colorful sprinkles before it sets.
- Sea Salt: A tiny pinch of flaky sea salt on top of the chocolate fudge enhances the flavors beautifully.
- Different Chocolates: Experiment with dark chocolate chips for a more intense fudge filling, or white chocolate for a sweeter contrast.
- Mini Chocolate Chips: Fold mini chocolate chips into the peanut butter cookie dough for an extra chocolatey crunch.
More Irresistible Peanut Butter & Chocolate Desserts
If you can’t get enough of this iconic flavor combination, explore these other fantastic recipes:
- Soft and Chewy Chocolate Peanut Butter Cookies
- Creamy Homemade Chocolate Peanut Butter Fudge
- Effortless No-Bake Peanut Butter Bars
- Creative Candy Bar Peanut Butter Cookie Cups
I absolutely adore baking and cooking, and it brings me so much joy to share my kitchen adventures and tested recipes with all of you! Remembering to revisit the blog daily for new content can sometimes be challenging. That’s precisely why I offer a convenient newsletter, delivered straight to your inbox every time a new recipe is posted. Simply subscribe today and start receiving your free daily dose of delicious recipes!
Peanut Butter Fudge Cookies
IMPORTANT – There are often Frequently Asked Questions within the blog post that you may find helpful. Simply scroll back up to read them!
Print It
Rate It
Save ItSaved!
Course: Desserts
Cuisine: American
Ingredients
- ½ cup unsalted butter softened
- ½ cup creamy peanut butter
- ½ cup granulated white sugar
- ½ cup packed brown sugar
- 1 large egg
- ½ tsp vanilla extract
- 1 ¼ cup all purpose flour
- ¾ tsp baking soda
- ½ tsp table salt
Chocolate Filling
- 1 cup milk chocolate chips
- 1 cup semi-sweet chocolate chips
- 14 ounce sweetened condensed milk
- 1 tsp vanilla extract
Instructions
-
Preheat your oven to 325 degrees F (160 degrees C). This lower temperature helps ensure the cookies bake evenly without over-browning.
-
In a medium bowl, sift together the all-purpose flour, baking soda, and table salt. Sifting helps remove lumps and aerate the dry ingredients, leading to a lighter, more tender cookie.
-
In a large mixing bowl, using an electric mixer, cream together the softened unsalted butter, creamy peanut butter, granulated white sugar, and packed brown sugar until the mixture is light and fluffy. This step incorporates air, making the cookies soft.
-
Mix in the large egg and ½ teaspoon of vanilla extract until just combined. Be careful not to overmix at this stage.
-
Gradually add the sifted flour mixture to the creamed wet ingredients, stirring on low speed until the dough just comes together. Avoid overmixing.
-
Shape the dough into 48 uniform balls, each approximately 1 inch in diameter. A small cookie scoop can help ensure consistent sizing. Place each dough ball into one compartment of a non-stick mini muffin tin.
-
Bake for 14-16 minutes, or until the edges are lightly browned and the centers are just set. Do not overbake to ensure soft, chewy cookies.
-
Remove the muffin tin from the oven. Immediately, while the cookies are still hot, use a melon baller (or the rounded back of a small spoon, or even an oven thermometer if clean and suitable) to gently create a well in the center of each cookie cup.
-
Allow the cookie cups to cool in the pan for 5 minutes before carefully removing them to a wire rack to cool completely. This helps them retain their shape.
For the Chocolate Fudge Filling
-
To prepare the fudge filling, place both milk chocolate chips and semi-sweet chocolate chips in a double boiler set over simmering water. Stir in the sweetened condensed milk and the remaining 1 teaspoon of vanilla extract. Mix well and continue stirring until all the chocolate chips are completely melted and the mixture is smooth and glossy. If you prefer to use a microwave, combine all filling ingredients in a microwave-safe bowl and heat in 30-second increments, stirring thoroughly after each interval, until melted and smooth.
-
Spoon or pipe the warm chocolate fudge mixture into each well of the cooled peanut butter cookie cups. Allow the fudge to set at room temperature for about 30-60 minutes, or refrigerate for faster setting if desired.
Nutrition
Tried this Recipe? Pin it for Later!Follow on Pinterest @AmandasCookin or tag #AmandasCookin!
The recipes on this blog are meticulously tested with a conventional gas oven and gas stovetop to ensure accuracy and consistent results. It’s important to acknowledge that some ovens, particularly older models, can cook and bake inconsistently. To ensure your oven is truly reaching and maintaining the proper temperature, we highly recommend using an inexpensive oven thermometer. If you opt to use a toaster oven or countertop oven, please keep in mind that their heat distribution might differ from a conventional full-sized oven, necessitating adjustments to your cooking and baking times. For recipes prepared with specialized appliances like a pressure cooker, air fryer, or slow cooker, a link to the specific models we use is often provided within each respective recipe. Furthermore, for baking recipes where measurements are given by weight, please be advised that the final results may not be identical if volumetric cups are used instead, and we cannot guarantee success with this alternative measuring method.
This post was originally published on Jan 4, 2009, and has been updated and expanded for clarity, improved instructions, and enhanced reader experience.
