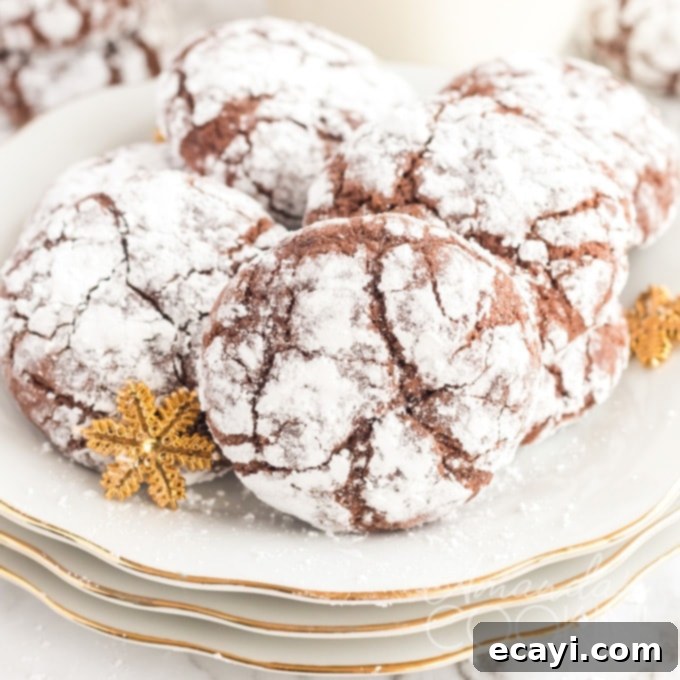
Irresistible Chocolate Crinkle Cookies: Your Ultimate Brownie-Like Holiday Treat
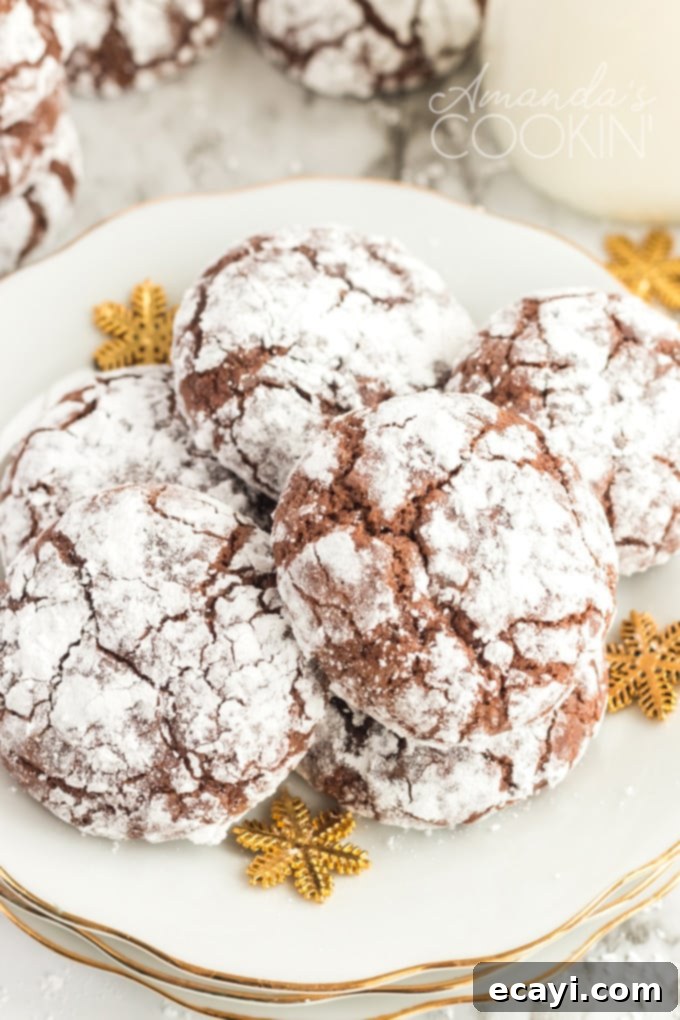
Prepare yourself for a delightful baking experience that culminates in cookies tasting remarkably like a rich, chewy brownie, beautifully dusted with powdered sugar. These Chocolate Crinkle Cookies offer all the deep, fudgy flavor of your favorite brownie, but in a convenient and charming cookie form. They are incredibly straightforward to prepare, making them a fantastic choice for bakers of all skill levels. However, a crucial step involves a chilling period for the dough – approximately an hour or two – so remember to factor this into your schedule when planning to whip up these wonderfully soft and intensely chocolatey treats. For a truly impressive dessert spread, I often arrange these gorgeous Chocolate Crinkle Cookies alongside their vibrant counterparts, like my Orange Crinkle Cookies, creating a visually appealing and delicious assortment.
Why You’ll Fall in Love with These Chocolate Crinkle Cookies
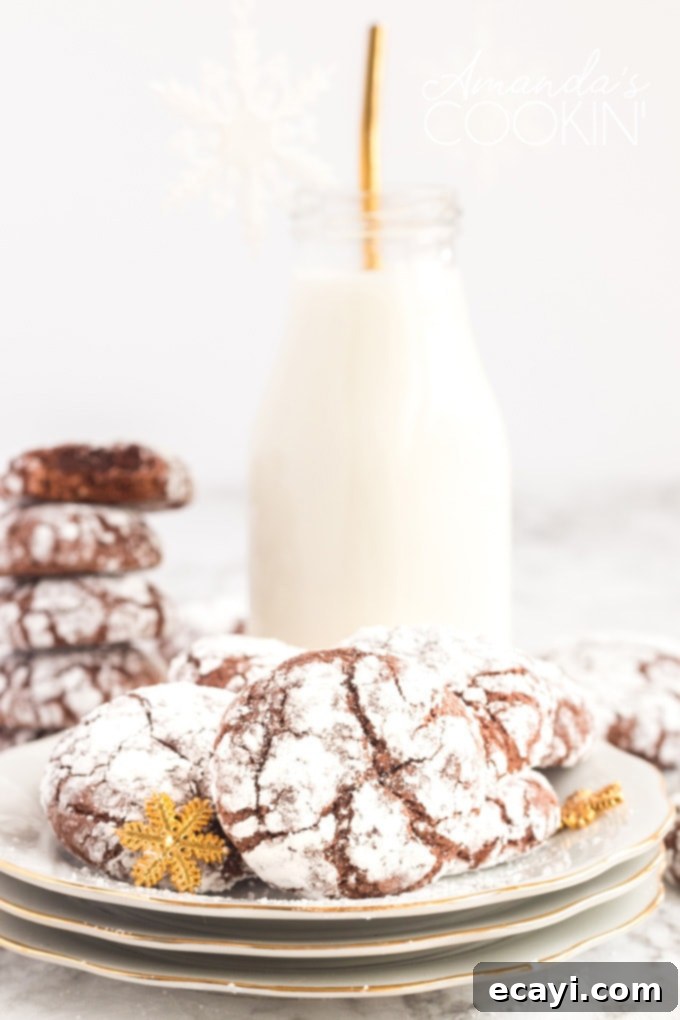
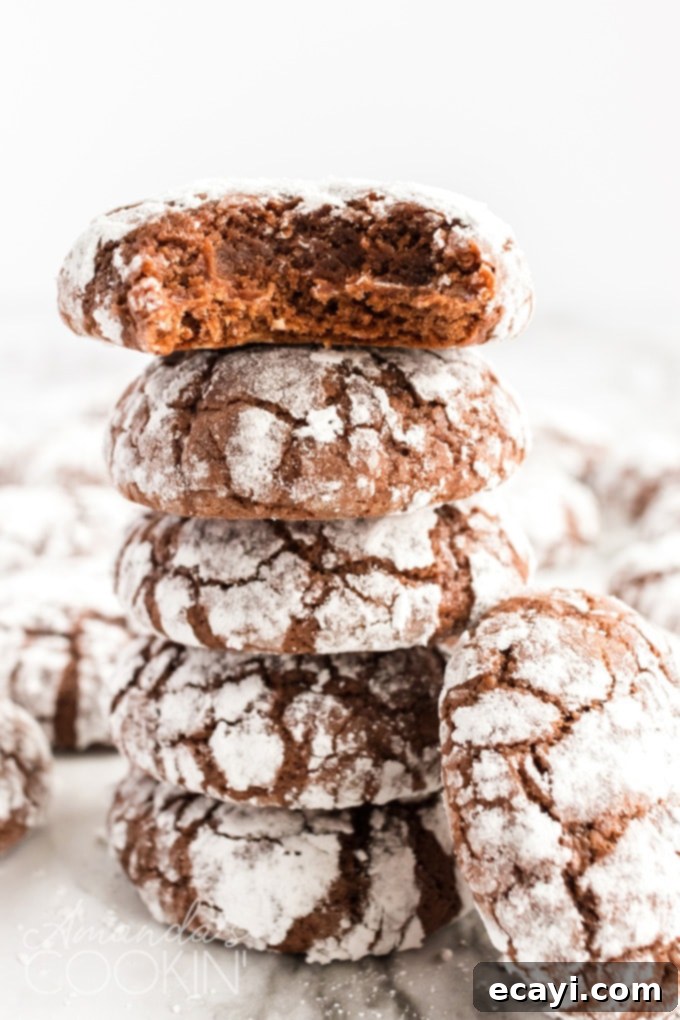
While chocolate crinkle cookies are a welcome indulgence any time of the year, there’s something truly special about them during the festive holiday season. Their distinctive cracked, powdered-sugar-dusted tops create the enchanting illusion of being covered in freshly fallen “snow,” instantly evoking a winter wonderland feel. This makes them an absolute showstopper for Christmas gatherings, holiday cookie exchanges, or simply a cozy evening by the fire. Beyond their charming appearance, these cookies deliver an unparalleled taste experience: a perfect balance of intense chocolate flavor, a delightfully chewy texture reminiscent of a gooey brownie, and a soft, tender interior that melts in your mouth.
Essential Ingredients for Your Chocolate Crinkle Masterpiece
Crafting these delectable chocolate crinkle cookies is surprisingly simple, especially if you already have a love for rich, fudgy brownies. The magic lies in a combination of everyday pantry staples that come together to create an extraordinary dessert. Below is a comprehensive list of what you’ll need, thoughtfully categorized to make your baking process smooth and efficient:
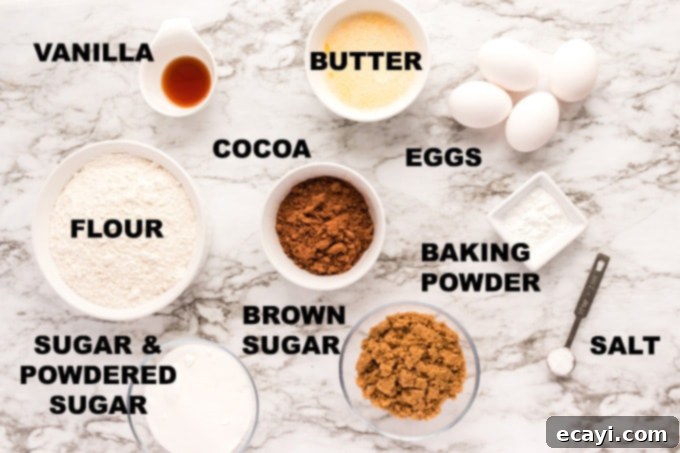
- For the Dry Foundation: You’ll need 2 ½ cups of unbleached all-purpose flour to provide the structural integrity for our chewy cookies. To infuse that deep, authentic chocolate flavor, we’ll use ½ cup plus one tablespoon of unsweetened cocoa powder. For the perfect rise and a tender texture, 2 teaspoons of baking powder are essential, alongside ½ teaspoon of salt, which not only enhances the chocolate’s depth but also balances the overall sweetness.
- For the Wet Richness: The sweetness and moisture come from 1 cup of granulated sugar and 1 cup of packed light brown sugar. The brown sugar is key for that signature chewiness these cookies are famous for. To bind everything together and add richness, 4 large eggs are crucial. A generous 2 teaspoons of vanilla extract elevates all the flavors, while ½ cup of unsalted butter, melted and then cooled, contributes to the fudgy, tender crumb. Make sure your butter is cooled so it doesn’t scramble the eggs or affect the dough’s consistency.
- The Iconic Topping: The beautiful “snow-kissed” appearance and extra touch of sweetness come from 1 ½ cups of powdered sugar, in which each cookie dough ball is generously rolled before baking.
Discover More Holiday Baking Delights!
Unlock a treasure trove of festive recipes with the “12 Days of Christmas Cookies” cookbook! This exclusive collection features 12 irresistible Christmas cookie recipes you’ll adore, along with bonus baking tips and two extra recipes you won’t find anywhere else on this blog. It’s the perfect guide to sweeten your holiday season.
Get your copy of the Christmas cookies cookbook today for ONLY $9.97!
Buy Now
Helpful Kitchen Tools for a Seamless Baking Experience:
Having the right tools at hand can make your baking process much more enjoyable and efficient. Here are a few essentials you’ll need for these chocolate crinkle cookies:
- Measuring cups and spoons: For accurate ingredient portions.
- Mixing bowls: Multiple sizes for separating dry and wet ingredients.
- Baking sheets: Insulated sheets are preferred for even baking.
- Cooling rack: Essential for allowing cookies to cool properly and prevent sogginess.
- Hand mixer or stand mixer: While not strictly required, a mixer will greatly simplify the creaming of sugars and eggs, ensuring a light and airy base for your dough.
Expert Baking Tips for Crinkle Cookie Perfection
Achieving those perfectly crinkled, chewy chocolate cookies is easy with a few key considerations in mind:
- Spacing is Key: Always ensure you place your cookie dough balls at least 2 inches apart on the baking sheets. These cookies will spread as they bake, and proper spacing prevents them from merging into one giant cookie.
- The Importance of Chilling: The dough chilling time (approximately 1-2 hours) is non-negotiable for true crinkle cookies. Chilling the dough not only makes it easier to handle and roll but, more importantly, it prevents the cookies from spreading too much in the oven. This allows the exterior to set and crack beautifully when the internal dough expands, creating those iconic crinkles. Don’t skip this step for the best results!
- Cool Before Handling: Once baked, it’s crucial to let the cookies rest and cool on the baking sheet for 4-5 minutes before attempting to transfer them to a cooling rack. Warm cookies are delicate and can easily fall apart. Allowing them to set up slightly on the hot pan will make them much more stable for transfer and prevent breakage.
- Do Not Overbake: Chocolate crinkle cookies are meant to be chewy and fudgy. Overbaking them will result in a dry, hard cookie. They should appear slightly glossy on top and set at the edges, even if the centers still seem a bit soft when you remove them from the oven. They will continue to firm up as they cool.
Step-by-Step Guide: How to Make Chocolate Crinkle Snow Cookies
Ready to create these deliciously chewy, “snow-dusted” chocolate delights? Follow these detailed instructions for a perfect batch. The dough will have a consistency similar to brownie batter, promising a rich, fudgy result.
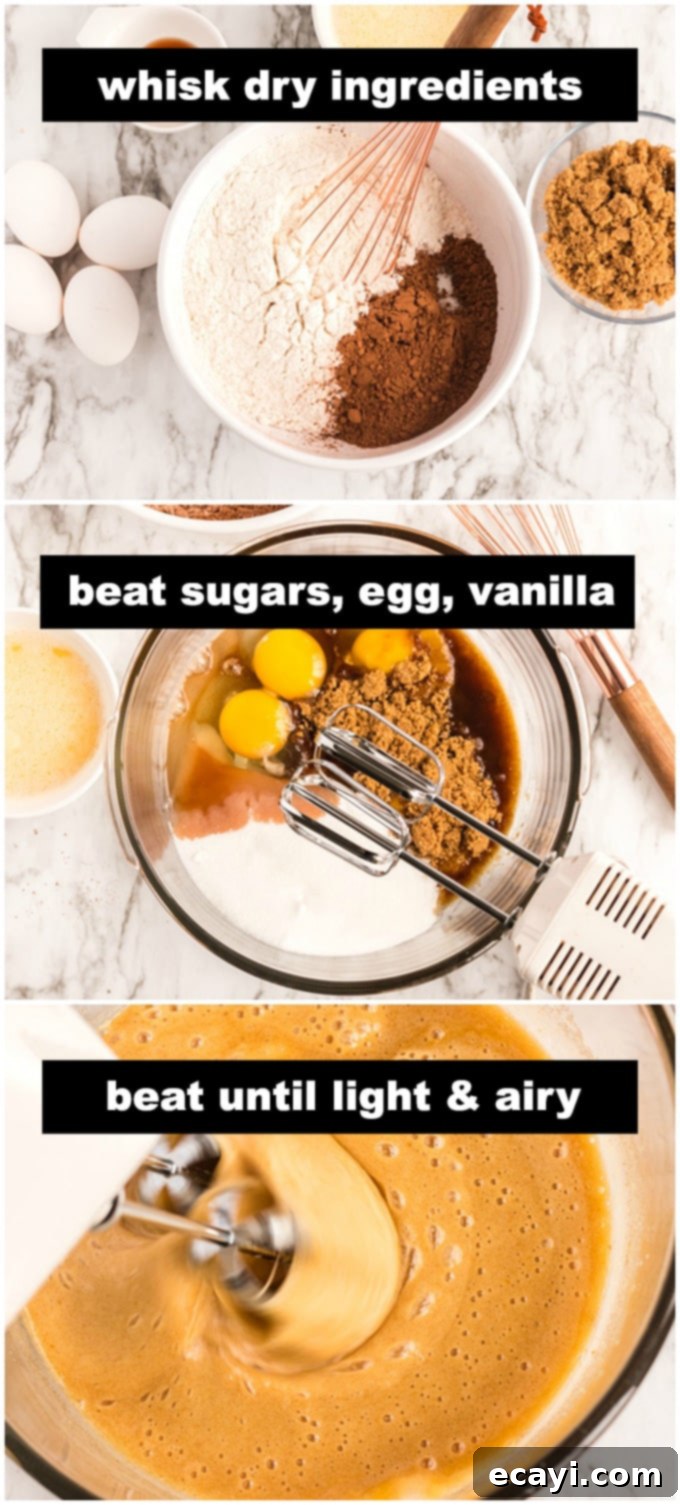
- Combine Dry Ingredients: In a medium-sized mixing bowl, whisk together the measured all-purpose flour, unsweetened cocoa powder, baking powder, and salt. Make sure these ingredients are well combined to ensure even distribution in your cookies. Set this mixture aside.
- Cream Wet Ingredients (Part 1): In the bowl of a stand mixer fitted with the paddle attachment, or using a hand mixer, combine both the granulated sugar and the light brown sugar. Add the large eggs and the vanilla extract. Beat these ingredients together on high speed until the mixture becomes light, airy, and noticeably pale in color. This process incorporates air, which contributes to the cookies’ texture.
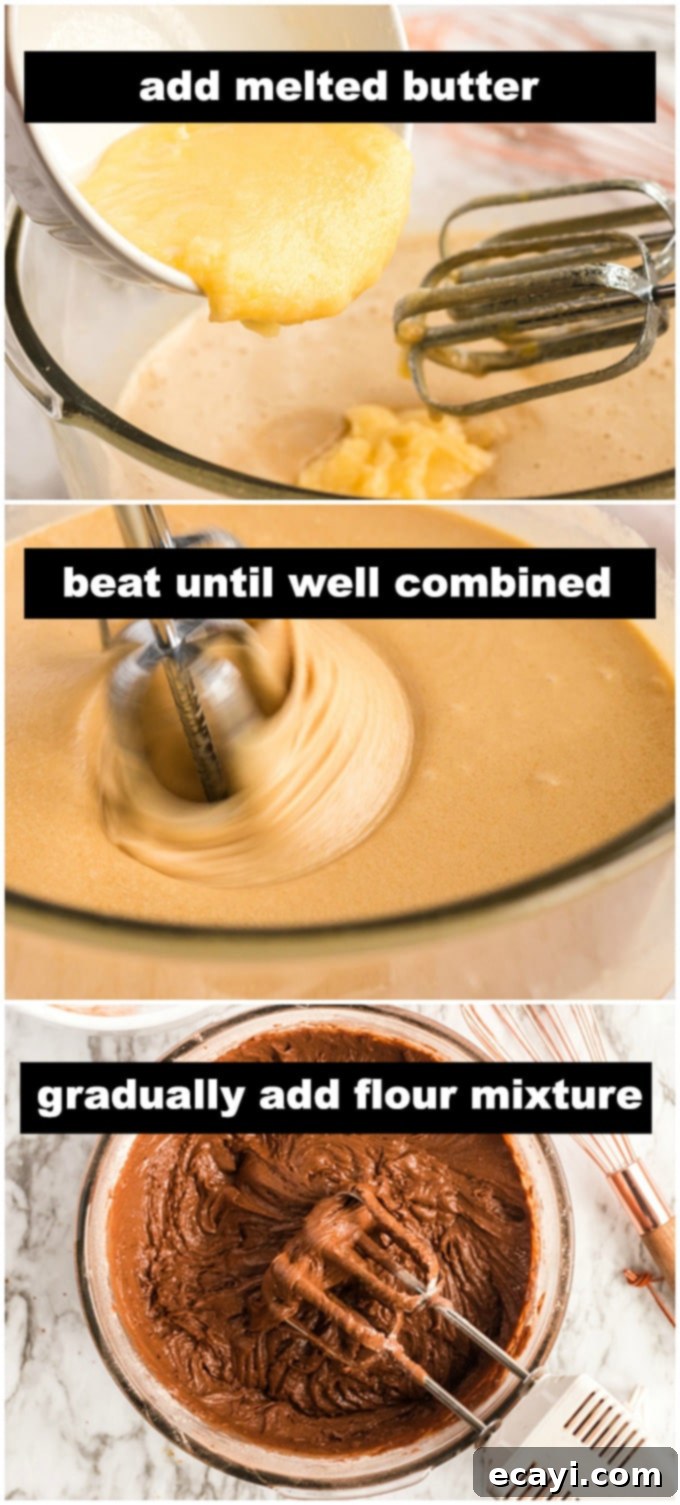
- Incorporate Butter & Dry Mixture: Pour the melted and cooled unsalted butter into the wet mixture, continuing to beat until everything is thoroughly combined. Then, gradually add the reserved dry flour mixture to the wet ingredients. Mix on low speed until just combined. Be careful not to overmix; overmixing can lead to tough cookies. The resulting batter will be thick and sticky, much like a rich brownie batter.
- Chill the Dough: Cover the bowl containing your chocolate cookie batter tightly with plastic wrap. Transfer the bowl to the refrigerator and allow the dough to chill for at least two hours. This chilling period is crucial for firming up the dough, making it easier to handle and ensuring those perfect crinkles during baking.
- Prepare for Baking: Once the dough is adequately chilled, preheat your oven to 350°F (175°C). Line insulated baking sheets with parchment paper. Parchment paper prevents sticking and makes cleanup a breeze.
- Shape and Sugar Coat: Remove the chilled dough from the refrigerator. Using a small cookie scoop or your hands, form the dough into one-inch balls. Generously roll each dough ball in the powdered sugar, ensuring it’s completely coated. This thick layer of powdered sugar is what creates the beautiful “snow” effect and the distinct crinkled pattern as the cookies bake.
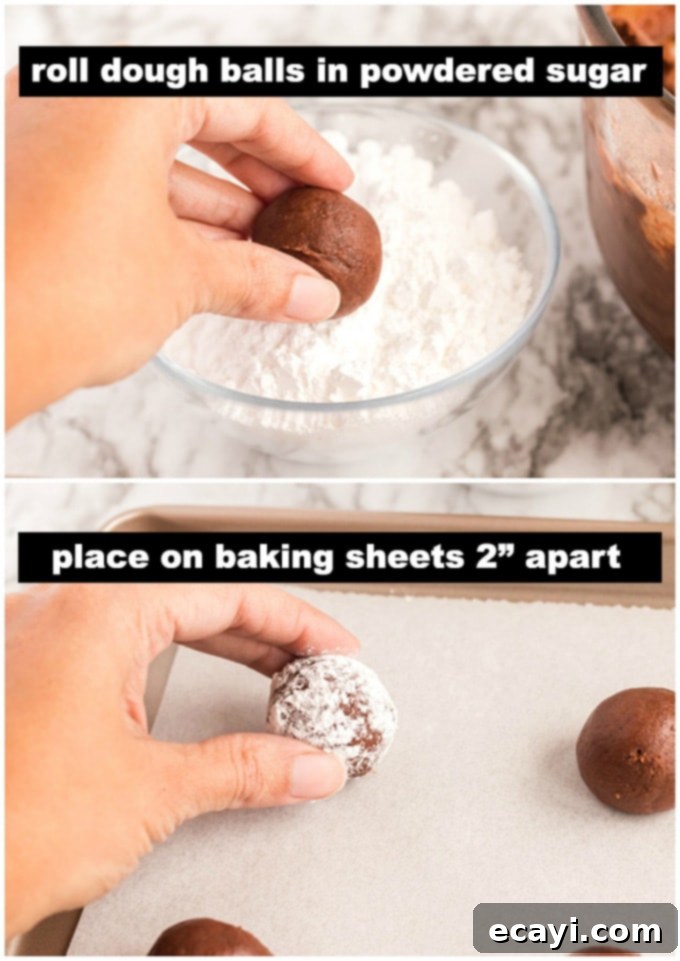
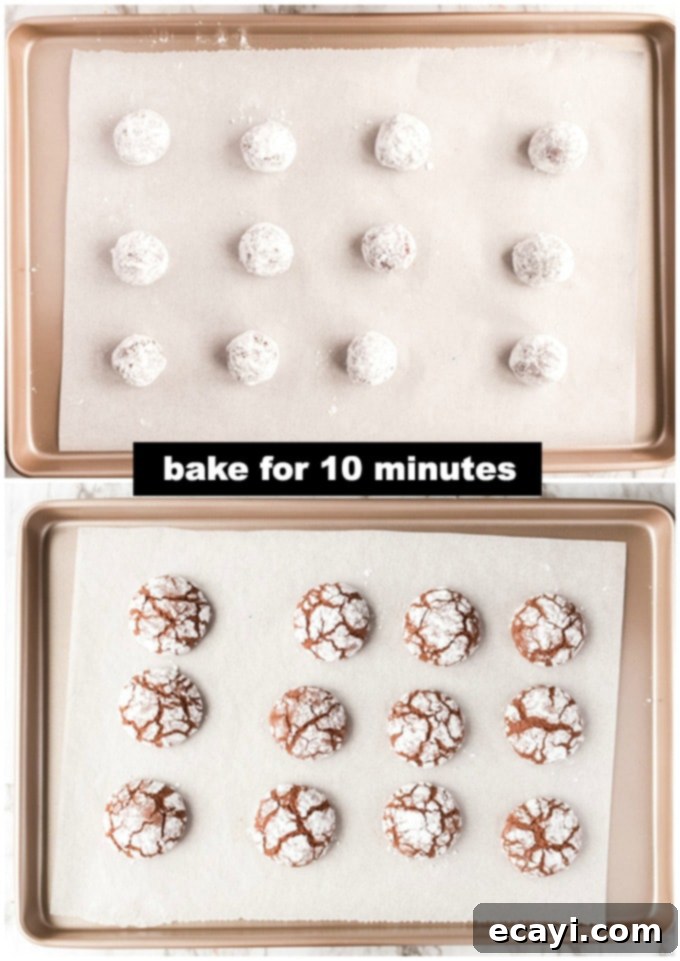
- Bake to Perfection: Place the powdered sugar-coated dough balls onto the prepared baking sheets, ensuring they are spaced about 2 inches apart. Bake for exactly 10 minutes. It’s very important not to overbake these cookies. They may still appear a bit glossy or slightly soft on top when you pull them from the oven, but resist the temptation to bake them longer. This slight underbaking is what guarantees their signature chewy, fudgy texture.
- Cool and Enjoy: Carefully remove the baking sheets from the oven. Allow the cookies to cool on the pan for 4-5 minutes. This crucial resting period allows them to set up and become stable enough to handle. After this initial cooling, gently transfer the cookies to a wire cooling rack to cool completely. As they cool, their chewiness will become more pronounced.
Storing and Serving Your Delicious Crinkle Cookies
Once your irresistible chocolate crinkle cookies have cooled completely, it’s time to think about storage and presentation. These cookies are fantastic for making ahead, gifting, or simply enjoying over several days.
- Storage: Store your cooled chocolate crinkle cookies in an airtight container at room temperature for up to 3-5 days. To maintain their freshness and prevent them from drying out, you can place a slice of bread in the container; the cookies will absorb moisture from the bread.
- Freezing Dough: You can also prepare the dough balls and freeze them before baking. Roll the chilled dough in powdered sugar, then arrange them on a baking sheet and freeze until solid. Once frozen, transfer them to a freezer-safe bag for up to 3 months. When ready to bake, place frozen dough balls on a parchment-lined baking sheet and bake for an extra 1-2 minutes, or until the edges are set and the tops are crinkled.
- Freezing Baked Cookies: Fully baked and cooled cookies can also be frozen for up to 1-2 months. Layer them between sheets of parchment paper in an airtight freezer-safe container. Thaw at room temperature before serving.
- Serving Suggestions: These brownie-like cookies are perfect on their own, perhaps with a tall glass of cold milk or a warm cup of coffee. They make a wonderful addition to any dessert platter, especially during the holidays. Consider packaging them in decorative tins as homemade gifts for friends, family, or as part of a thoughtful cookie exchange. The “snowy” appearance makes them particularly festive and appealing.
I sincerely hope you and your loved ones enjoy these rich, chewy brownie-like cookies as much as we do. Their distinctive flavor and charming appearance make them an ideal addition to any celebration, especially for filling those cherished Christmas cookie tins!
More Delectable Cookie Recipes to Explore
If you’ve enjoyed baking these chocolate crinkle cookies and are looking for more sweet inspirations, be sure to check out some of my other popular cookie recipes:
- Grandma’s All-Occasion Sugar Cookies
- Hershey Drop Stuffed Peanut Butter Cookies
- Pecan Pie Bars
- Cherry White Chocolate Chip Cookies
- Italian Anisette Cookies
- Chocolate Thumbprint Cookies
- Lofthouse Cookies
Chocolate Crinkle Cookies Recipe
These chewy chocolate crinkle cookies taste just like brownies. Rolling them in powdered sugar makes them look like wintery mountains!
IMPORTANT: There are often Frequently Asked Questions within the blog post that you may find helpful. Simply scroll back up to read them!
Print It |
Rate It |
Save It
Course: Desserts | Cuisine: American
Servings: 40 cookies | Total Time: 1 hr 25 mins | Calories: 106
Author: Amanda Davis
Ingredients
- 2 ½ cups unbleached all-purpose flour
- ½ cup plus one tablespoon unsweetened cocoa
- 2 teaspoons baking powder
- ½ teaspoon salt
- 1 cup granulated sugar
- 1 cup packed light brown sugar
- 4 large eggs
- 2 teaspoons vanilla
- ½ cup unsalted butter, melted and cooled
- 1 ½ cups powdered sugar
Equipment You’ll Need
- Hand mixer
- Measuring cups and spoons
- Mixing bowls
- Insulated baking sheets
- Wire cooling racks
Before You Begin (Helpful Notes)
- Be sure to place cookies 2-inches apart on baking sheets as they double in size while baking.
- Let the cookies rest and cool so they will set up. Otherwise, they may fall apart when you pick them up warm.
Instructions
- In a medium bowl, whisk together flour, cocoa, baking powder, and salt. Set aside.
- In a mixer, beat both sugars, eggs, and vanilla on high speed until light and airy. Add melted butter and beat until well combined. Gradually add the flour mixture and mix well. The batter will be a similar consistency to brownie batter.
- Cover the batter with plastic wrap and refrigerate for two hours to firm up.
- Preheat oven to 350°F (175°C). Line insulated baking sheets with parchment paper.
- From the dough, make one-inch balls and roll them generously in powdered sugar. Place them on the baking sheet 2 inches apart. Bake for 10 minutes. Do not overbake. They will appear a bit glossy on top, so don’t be tempted to bake much longer.
- Remove from the oven and cool on the pan for 4-5 minutes, then carefully transfer cookies to a cooling rack to cool completely. The cookies will be wonderfully chewy.
Watch the video for a visual guide on making these delicious Chocolate Snow Cookies!
Nutrition Information
Serving: 1 cookie | Calories: 106 cal | Carbohydrates: 19g | Protein: 2g | Fat: 3g | Saturated Fat: 2g | Cholesterol: 27mg | Sodium: 40mg | Potassium: 60mg | Fiber: 1g | Sugar: 12g | Vitamin A: 102IU | Calcium: 20mg | Iron: 1mg
Tried this Recipe? Pin it for Later!
Follow on Pinterest @AmandasCookin or tag #AmandasCookin!
The recipes on this blog are tested with a conventional gas oven and gas stovetop. It’s important to note that some ovens, especially as they age, can cook and bake inconsistently. Using an inexpensive oven thermometer can assure you that your oven is truly heating to the proper temperature. If you use a toaster oven or countertop oven, please keep in mind that they may not distribute heat the same as a conventional full-sized oven and you may need to adjust your cooking/baking times. In the case of recipes made with a pressure cooker, air fryer, slow cooker, or other appliance, a link to the appliances we use is listed within each respective recipe. For baking recipes where measurements are given by weight, please note that results may not be the same if cups are used instead, and we can’t guarantee success with that method.
This post was originally published on this blog on Dec 2, 2013.
