Mastering Homemade Vegetable Broth: A Flavorful Foundation for Every Dish
A good homemade vegetable broth is more than just a liquid base; it’s the soul of countless savory dishes. Crafted from a medley of fresh herbs, crisp celery, sweet carrots, pungent onions, and aromatic garlic, it lays a solid foundation for rich, flavorful culinary creations. Imagine effortlessly enhancing your sauces, elevating your soup recipes, and bringing a depth of taste to stews – all with a simple, wholesome vegetable broth made right in your own kitchen. This guide will walk you through creating a truly spectacular batch, emphasizing quality ingredients and simple techniques to achieve a robust, vegetarian-friendly liquid gold.
Why This Homemade Vegetable Broth Recipe Works
Creating a truly exceptional vegetable broth begins with a crucial principle: prioritize fresh, vibrant ingredients. While it might be tempting to use every last bit of produce lurking in your crisper drawer, the quality of your vegetables directly translates to the flavor of your finished broth. Old vegetables that are slimy, tough, wilting, or showing signs of decay will impart those undesirable characteristics into your broth. We certainly don’t want that to be the base for our delicious homemade soups, hearty stews, or rich sauces.
Many recipes suggest using kitchen scraps, which isn’t inherently bad, but a careful selection is key. If you’re using scraps, ensure they are still fairly fresh, free from mold, and haven’t started decomposing in your compost bin. This recipe, for instance, focuses on fresh produce to guarantee the freshest, cleanest flavor possible, ensuring your culinary efforts are rewarded with a broth that’s bright and aromatic, rather than dull or bitter.
Unlike traditional stocks that often rely on bones or meat carcasses (like our homemade chicken stock), this vegetable broth recipe achieves incredible depth and richness through a carefully selected combination of aromatic vegetables, fragrant herbs, and perfectly balanced seasonings. We layer in flavor with generous amounts of fresh thyme, robust rosemary, earthy bay leaves, and a thoughtful addition of salt and whole peppercorns. The result is a genuinely tasty, vegetarian-friendly, and vegan-adaptable broth that provides a versatile base for an array of plant-based meals. You’ll be amazed at the complexity of flavor that can be achieved without any animal products.
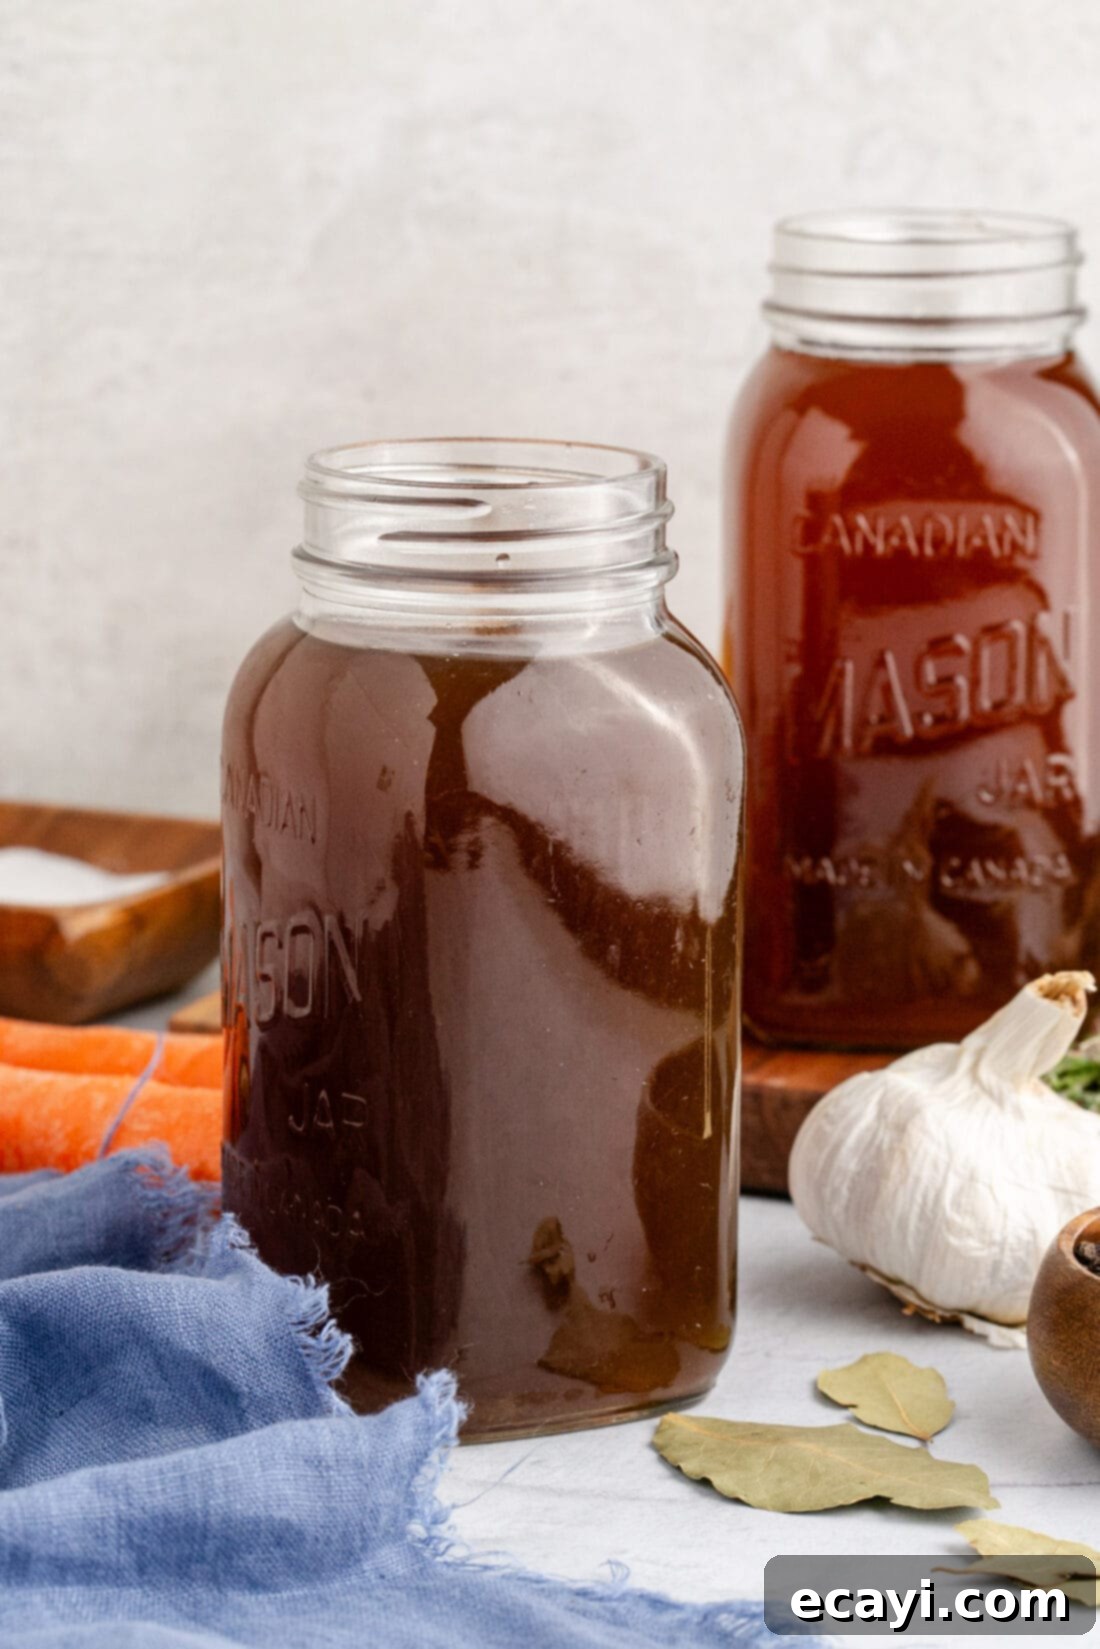
Key Ingredients for Your Homemade Vegetable Broth
Making your own vegetable broth allows you to control the quality and quantity of ingredients, resulting in a superior product compared to store-bought options. This recipe is designed to be straightforward, using readily available vegetables and herbs. You’ll find all precise measurements, a complete list of ingredients, and detailed instructions in the printable recipe version located at the end of this post.
The foundation of any great vegetable broth lies in a classic “mirepoix” – a flavor base of onions, carrots, and celery. To this, we add garlic and a selection of fresh herbs and spices that infuse the broth with an irresistible aroma and taste. Using fresh, high-quality ingredients ensures that every spoonful of your homemade broth is packed with wholesome, natural flavors, free from artificial additives or excessive sodium often found in commercial varieties.
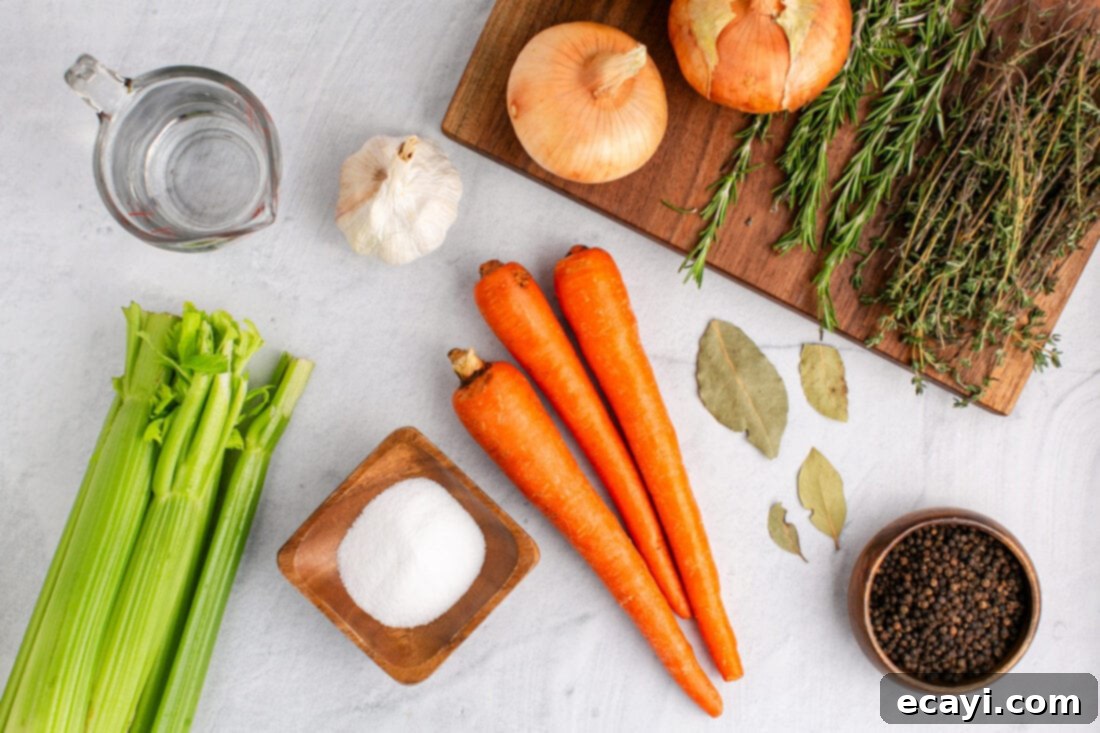
Ingredient Information & Expert Substitution Suggestions
Achieving the perfect balance of flavors in your homemade vegetable broth often comes down to understanding your ingredients and knowing when to make smart substitutions. Here’s a deeper dive into the core components:
VEGETABLES – Our primary vegetables are celery, carrots, and onions, forming a traditional aromatic base.
- Onions: If you don’t have yellow onions, shallots are an excellent substitute, offering a milder, sweeter onion flavor. Leek greens can also be added for a delicate oniony note. Ensure you peel the skin from your onions, as the outer layers can sometimes impart a bitter taste or cloudy appearance to your finished broth. Discard the root end as well.
- Carrots: Fresh carrots contribute natural sweetness and a lovely golden hue. Like onions, it’s best to peel them to avoid any bitterness from the skin.
- Celery: Celery provides a crisp, earthy foundation. However, celery leaves, especially older ones, can become quite bitter when simmered for a long time. It’s highly recommended to remove all leaves from the celery stalks before adding them to your pot to prevent any unwanted bitterness in your broth. Stick to the stalks for the best results.
- Garlic: Whole or halved garlic bulbs contribute a pungent, savory depth. There’s no need to peel individual cloves, just halve the bulbs to expose the cloves and allow their flavor to infuse.
- Other Delicious Additions: Consider incorporating other vegetables for unique flavor profiles. Mushroom stems are fantastic for adding an umami richness. Corn cobs (after you’ve stripped the kernels) can impart a subtle sweetness. Parsnips can also be used for an extra layer of earthy sweetness, but be sure to peel them. Bell peppers (especially red or yellow, *without* seeds or white pith to prevent bitterness) can add a fruity, slightly sweet note. Even a small amount of tomato (halved) can add a touch of acidity and umami, enhancing the overall depth.
- Vegetables to Avoid (or Use with Caution): While using fresh vegetables is paramount, some vegetables are simply not suitable for broth. Steer clear of any members of the Brassica family (e.g., broccoli, Brussels sprouts, cauliflower, cabbage, kale, turnips) as they can produce a strong, sulfurous, or overly bitter flavor when simmered for extended periods. Green beans and zucchini can also lead to bitterness. Potatoes are generally okay but can release starch, which may result in a cloudy broth. Always err on the side of caution and use vegetables known for their sweet, savory, or aromatic qualities.
HERBS – Fresh herbs are indispensable for a truly aromatic and flavorful homemade vegetable broth. Their essential oils are released beautifully during simmering, providing a complex and vibrant taste profile.
- Our Selection: We chose fresh thyme, aromatic rosemary, and classic bay leaves. This trio offers a balanced, earthy, and slightly peppery fragrance that is universally appealing.
- Substitution & Addition Suggestions: If fresh herbs aren’t available, dried herbs can be used, but in smaller quantities (typically 1/3 to 1/2 the amount of fresh herbs, as their flavor is more concentrated). Consider adding parsley stems (often discarded but packed with flavor), a sprig of fresh sage for an earthy dimension, or even a few sprigs of marjoram for a slightly sweeter, piney note.
SEASONINGS – Proper seasoning helps to extract and enhance the natural flavors of your vegetables and herbs.
- Sea Salt: Salt is crucial not just for taste but for drawing out the flavors from the vegetables. This recipe calls for 3 tablespoons plus 1 teaspoon, but always taste and adjust towards the end of the simmering process. Remember, you can always add more salt, but you can’t take it away!
- Whole Peppercorns: Whole peppercorns add a subtle warmth and gentle spice without overpowering the delicate vegetable flavors. Avoid using ground pepper, as it can make the broth cloudy and add a harsh, powdery taste. Black peppercorns are standard, but a mix of various peppercorns (like green or pink) can add nuanced flavors.
- Water: The quality of your water matters! Use filtered water if your tap water has a strong taste or high mineral content, as this can affect the final flavor of your broth.
How to Make Flavorful Homemade Vegetable Broth
These step-by-step photos and instructions are provided to help you visualize each stage of making this recipe. For a quick reference, you can Jump to Recipe to access the printable version, complete with precise measurements and instructions at the bottom of the page.
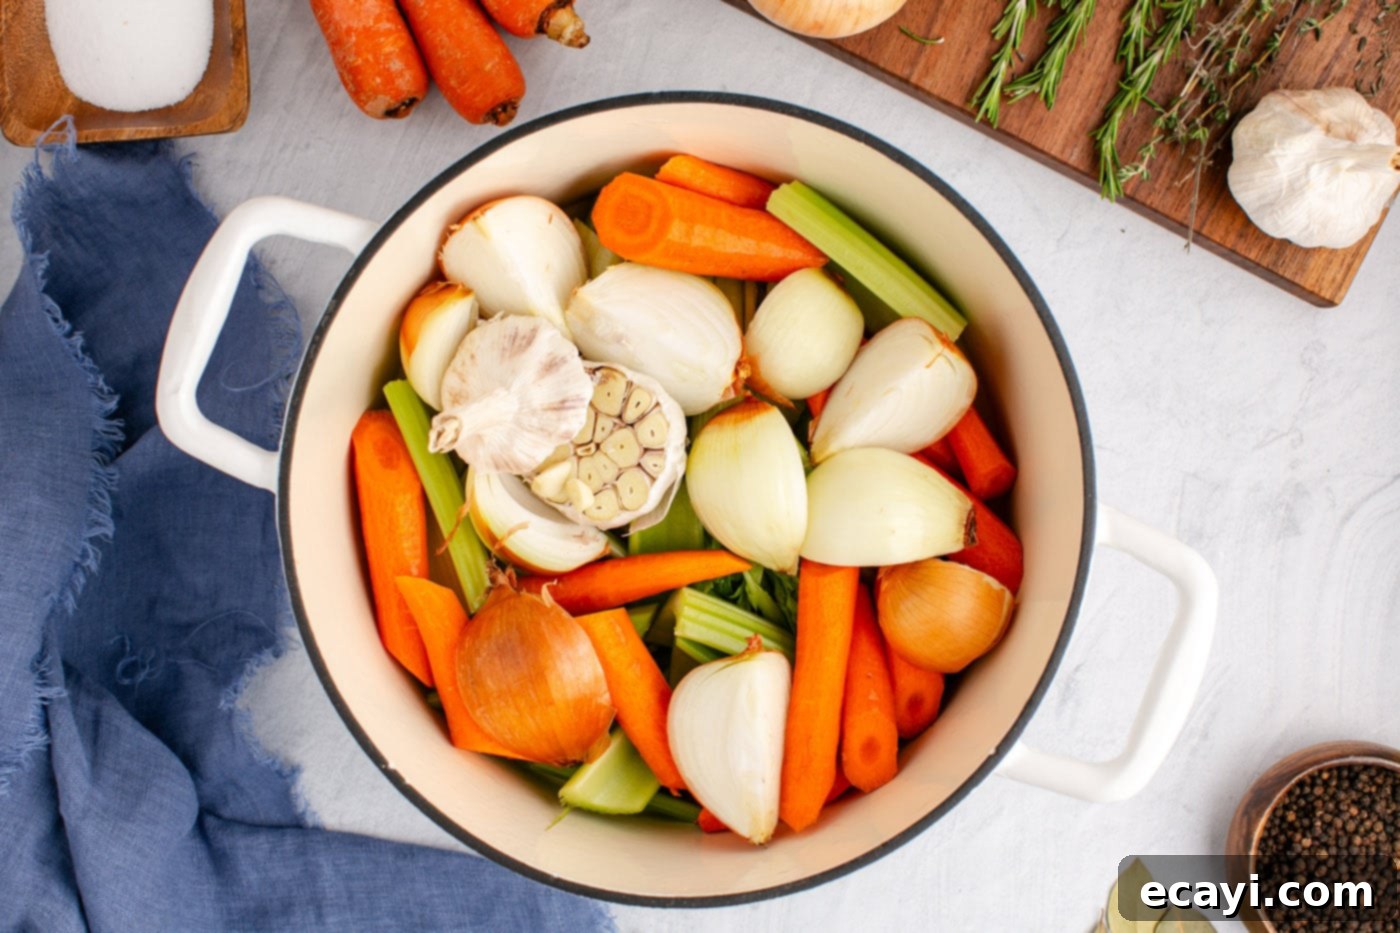
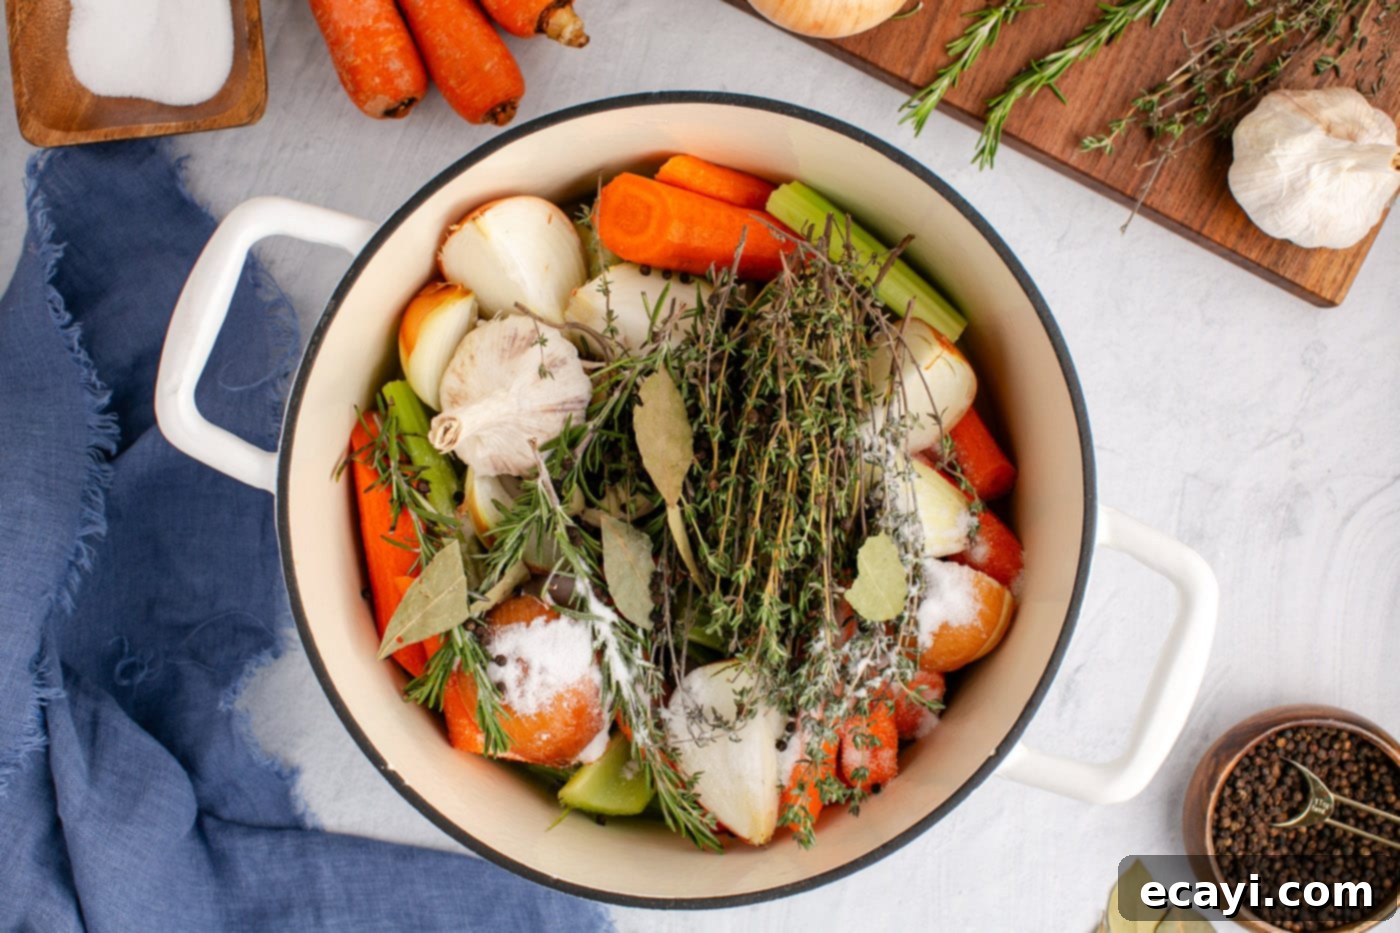
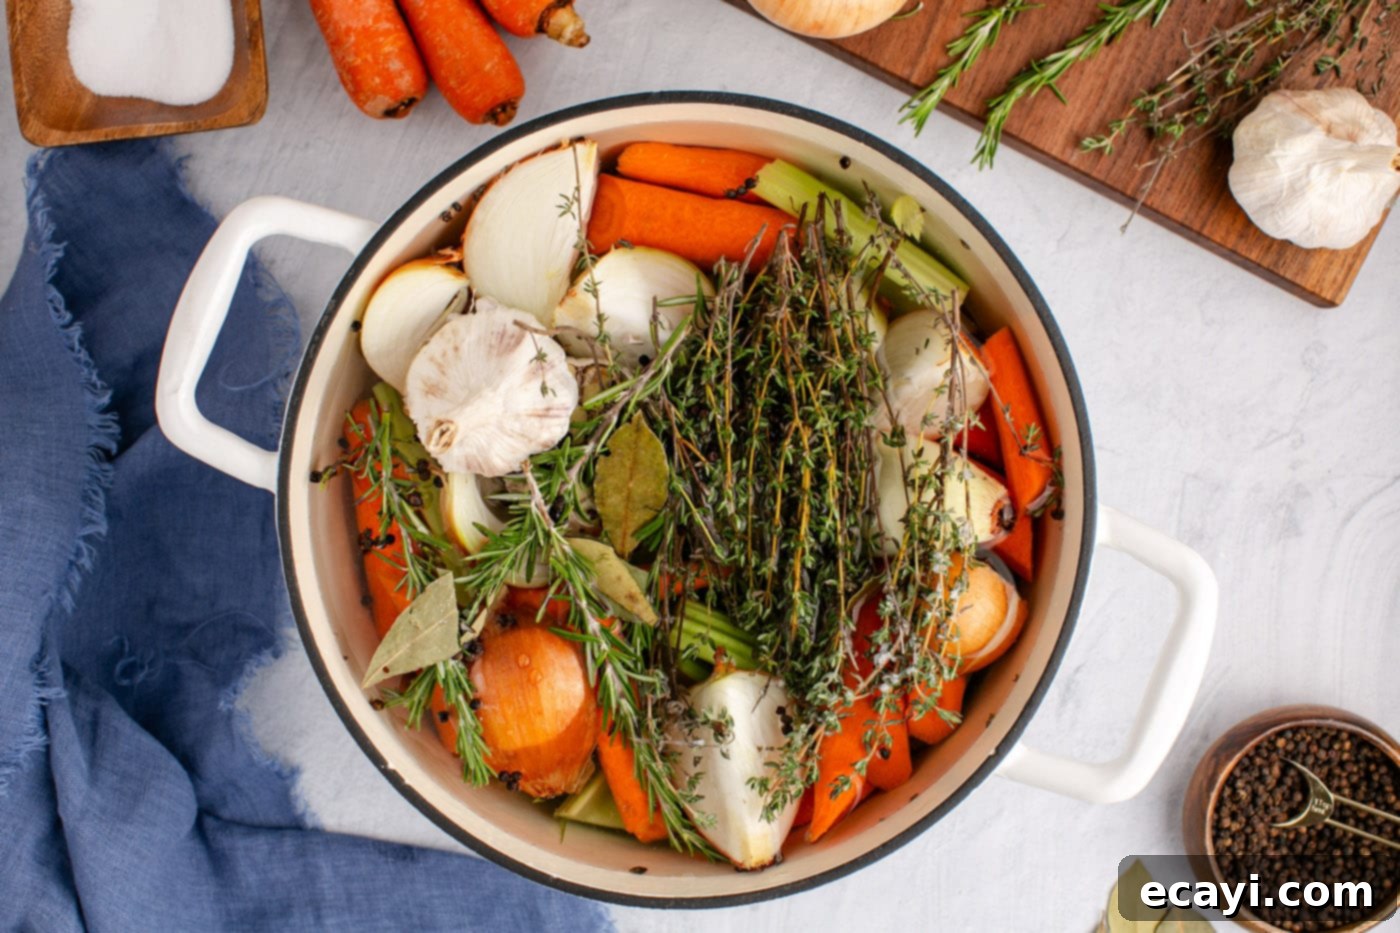
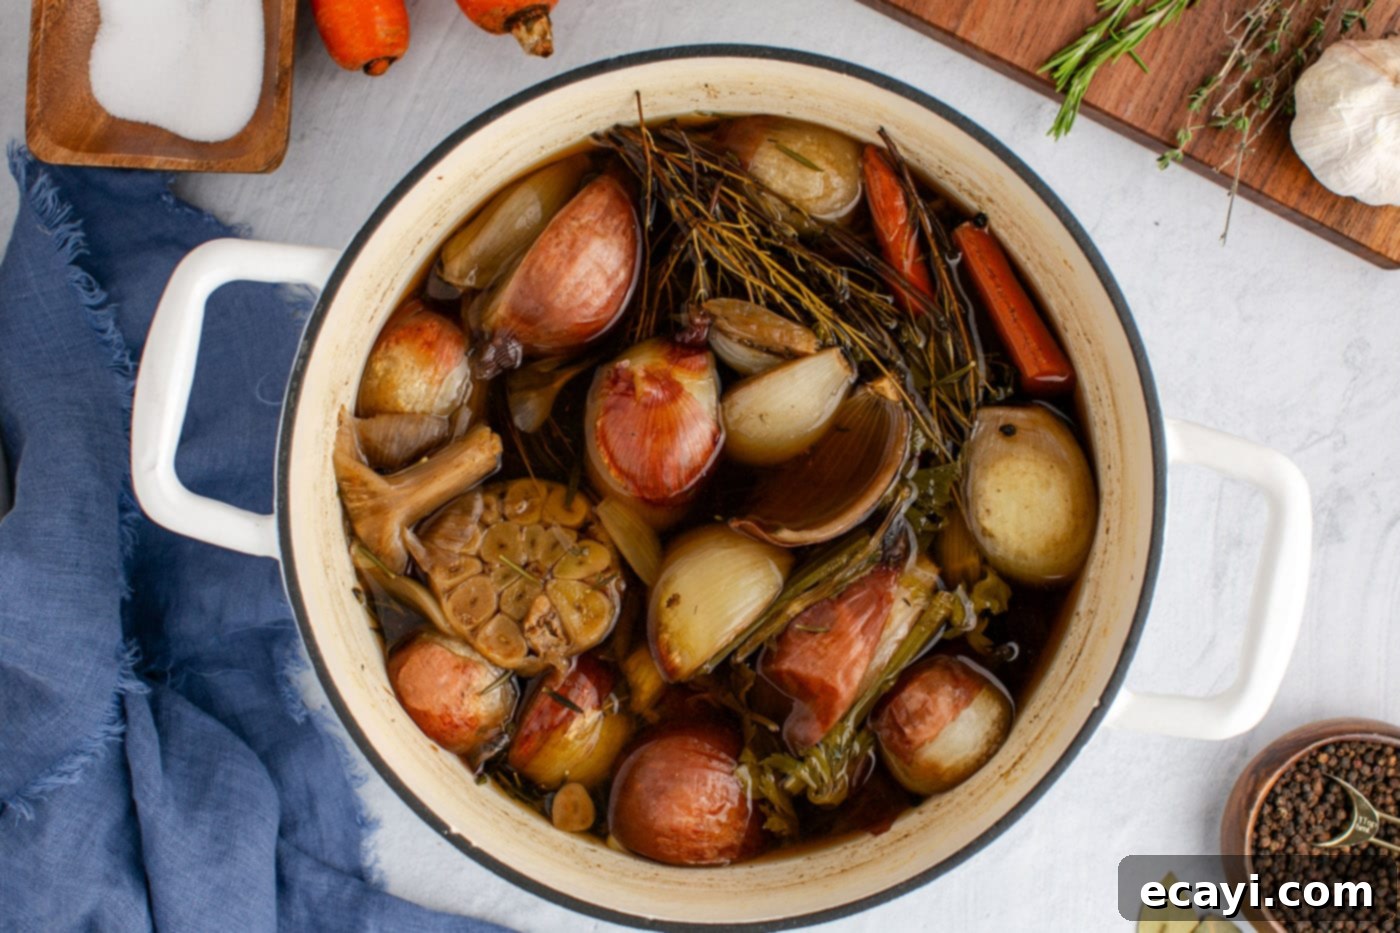
- In a very large stockpot, meticulously arrange all your prepared ingredients: the roughly chopped celery, peeled carrots, halved or quartered onions (with skins removed), halved garlic bulbs, and fresh sprigs of thyme, rosemary, and bay leaves, along with sea salt and whole peppercorns. Once all solids are in, cover them generously with 30-32 cups of fresh water.
EXPERT TIP – The size of your stockpot is crucial for a full batch. You will need a 14-quart stockpot or even larger to accommodate all ingredients and water without overflowing. If you’re making a smaller quantity, a 7-quart stockpot is sufficient for a half batch, as seen in the step photos below. Ensure there’s enough headspace to prevent boil-overs once it comes to a simmer.


- Place the stockpot on medium-high heat and bring the water to a rolling boil. Once boiling, immediately reduce the heat to low, ensuring it maintains a gentle simmer. Allow the broth to simmer, uncovered, for approximately 4 hours. Simmering uncovered helps to concentrate the flavors and allows some of the water to evaporate, resulting in a richer, more intense broth. After 3 hours of simmering, take a small taste of the broth. This is your opportunity to adjust the seasoning; add more salt if needed to achieve your desired flavor profile. Continue simmering for the remaining hour.

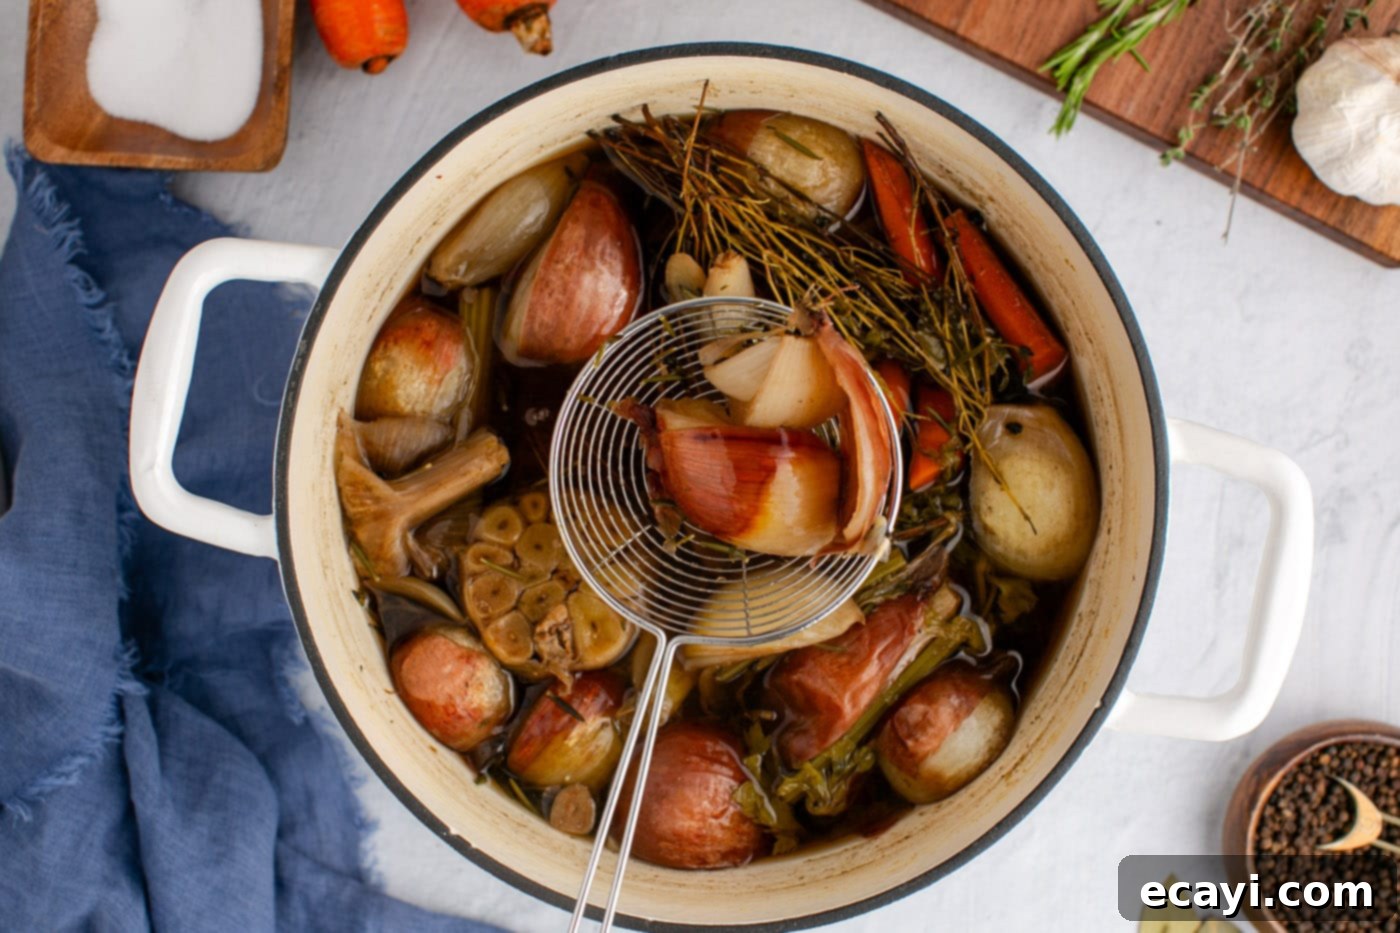
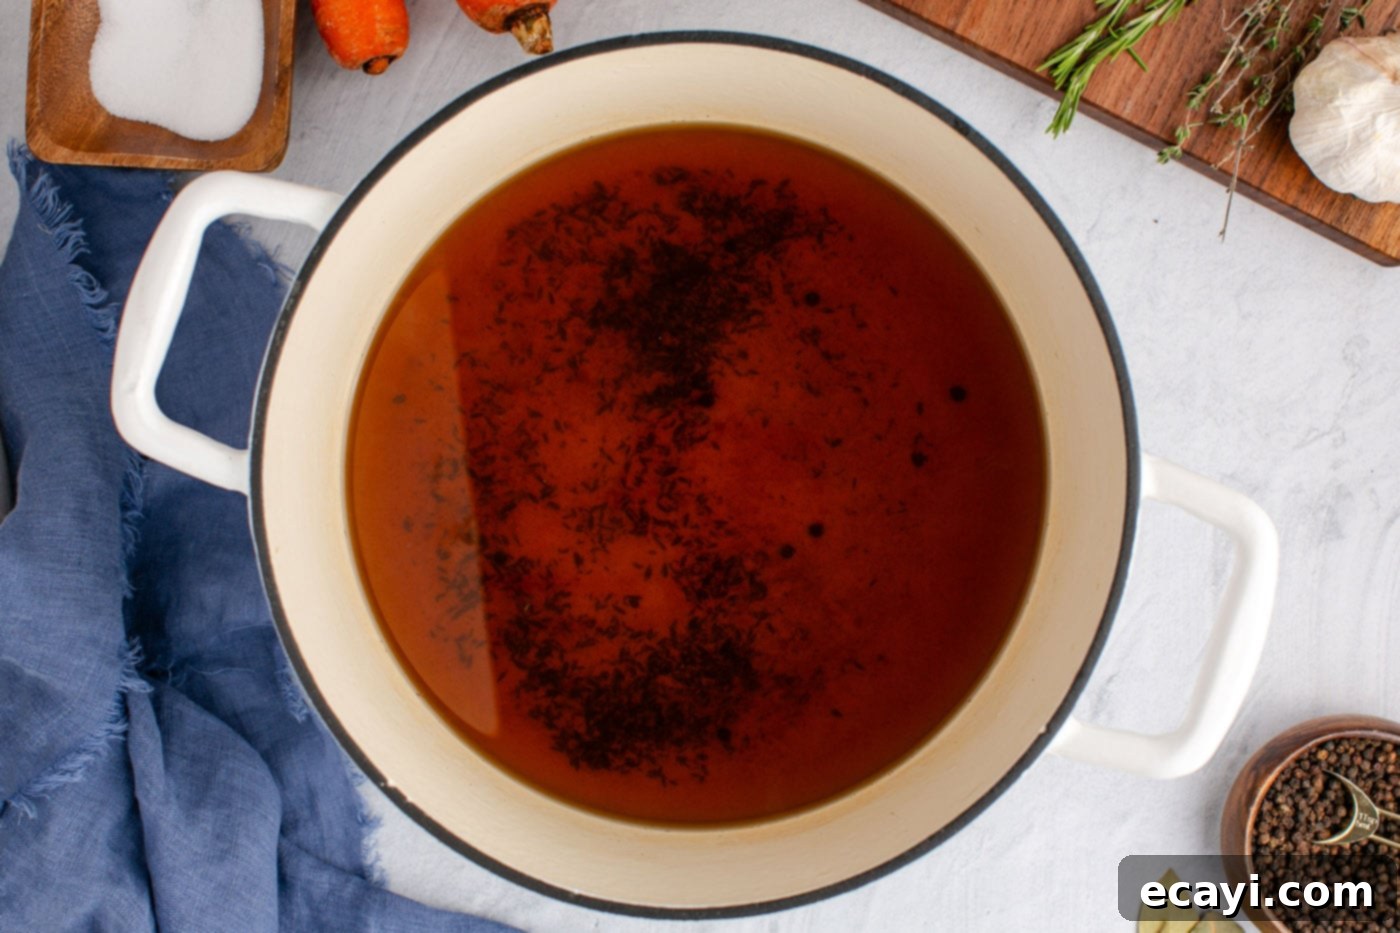
- Once the simmering is complete, it’s time to strain your homemade vegetable broth. Begin by carefully using a large slotted spoon to remove all the significant pieces of cooked vegetables and herbs from the pot. Discard these solids as their flavor has been fully extracted. For a truly clear and smooth broth, proceed with a finer straining method. Place a cheesecloth or a fine-mesh strainer over a clean, heat-proof bowl or another large pot. Slowly pour the broth through the cheesecloth or strainer to catch any smaller particles, sediment, or remaining herb fragments. Repeat this straining process as needed until your broth reaches the desired clarity. This step is essential for a professional-quality, pristine broth that won’t interfere with the texture of your finished dishes.


Frequently Asked Questions & Expert Tips for Vegetable Broth
Bitterness in homemade vegetable broth is a common issue, often stemming from specific ingredients or preparation choices. Celery, while a popular and beneficial addition, is a frequent culprit, particularly its green leaves and older stalks. The green portion of the celery stalk tends to develop a stronger, more bitter flavor as it ages. To avoid this, always remove all celery leaves and prioritize using only the white or pale green portions of fresh celery stalks. Similarly, the skins of onions and carrots can contribute to bitterness and cloudiness. Always ensure you peel the skin from both onions and carrots, and discard the tough root end of the onion before adding them to your pot. Over-simmering or including brassicas (like broccoli or cabbage) can also lead to an undesirable bitter taste. Stick to fresh, clean vegetables and the recommended simmering time.
While a vegetable broth might seem like a catch-all for leftover produce, certain vegetables are best avoided to prevent off-flavors. Steer clear of any vegetables belonging to the Brassica family, which includes broccoli, Brussels sprouts, cauliflower, cabbage, kale, and turnips. These vegetables, when simmered for extended periods, can release sulfurous compounds that result in a very strong, unpleasant, and often bitter taste in your broth. Additionally, green beans and zucchini can also contribute to bitterness. While potatoes are not inherently bad, they can release a lot of starch, which will make your broth cloudy rather than clear. For a clean, flavorful broth, focus on aromatics like onions, carrots, celery, leeks, and mushrooms.
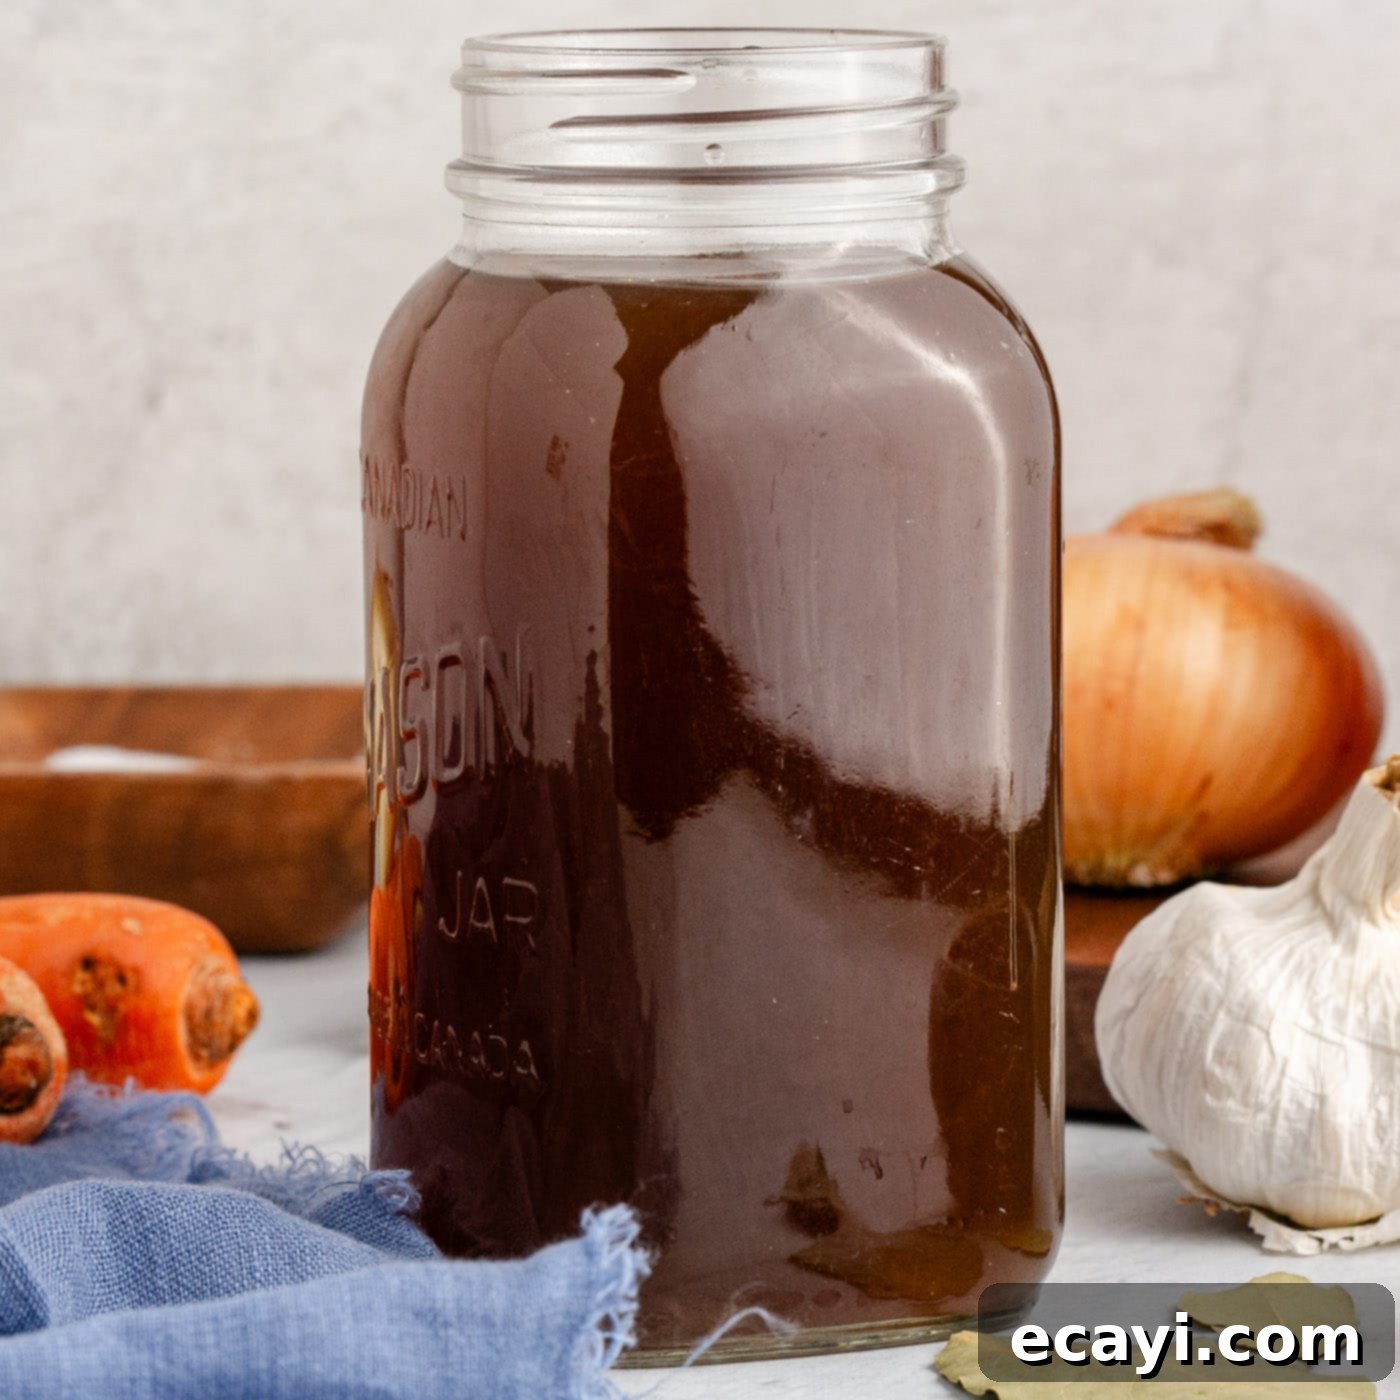
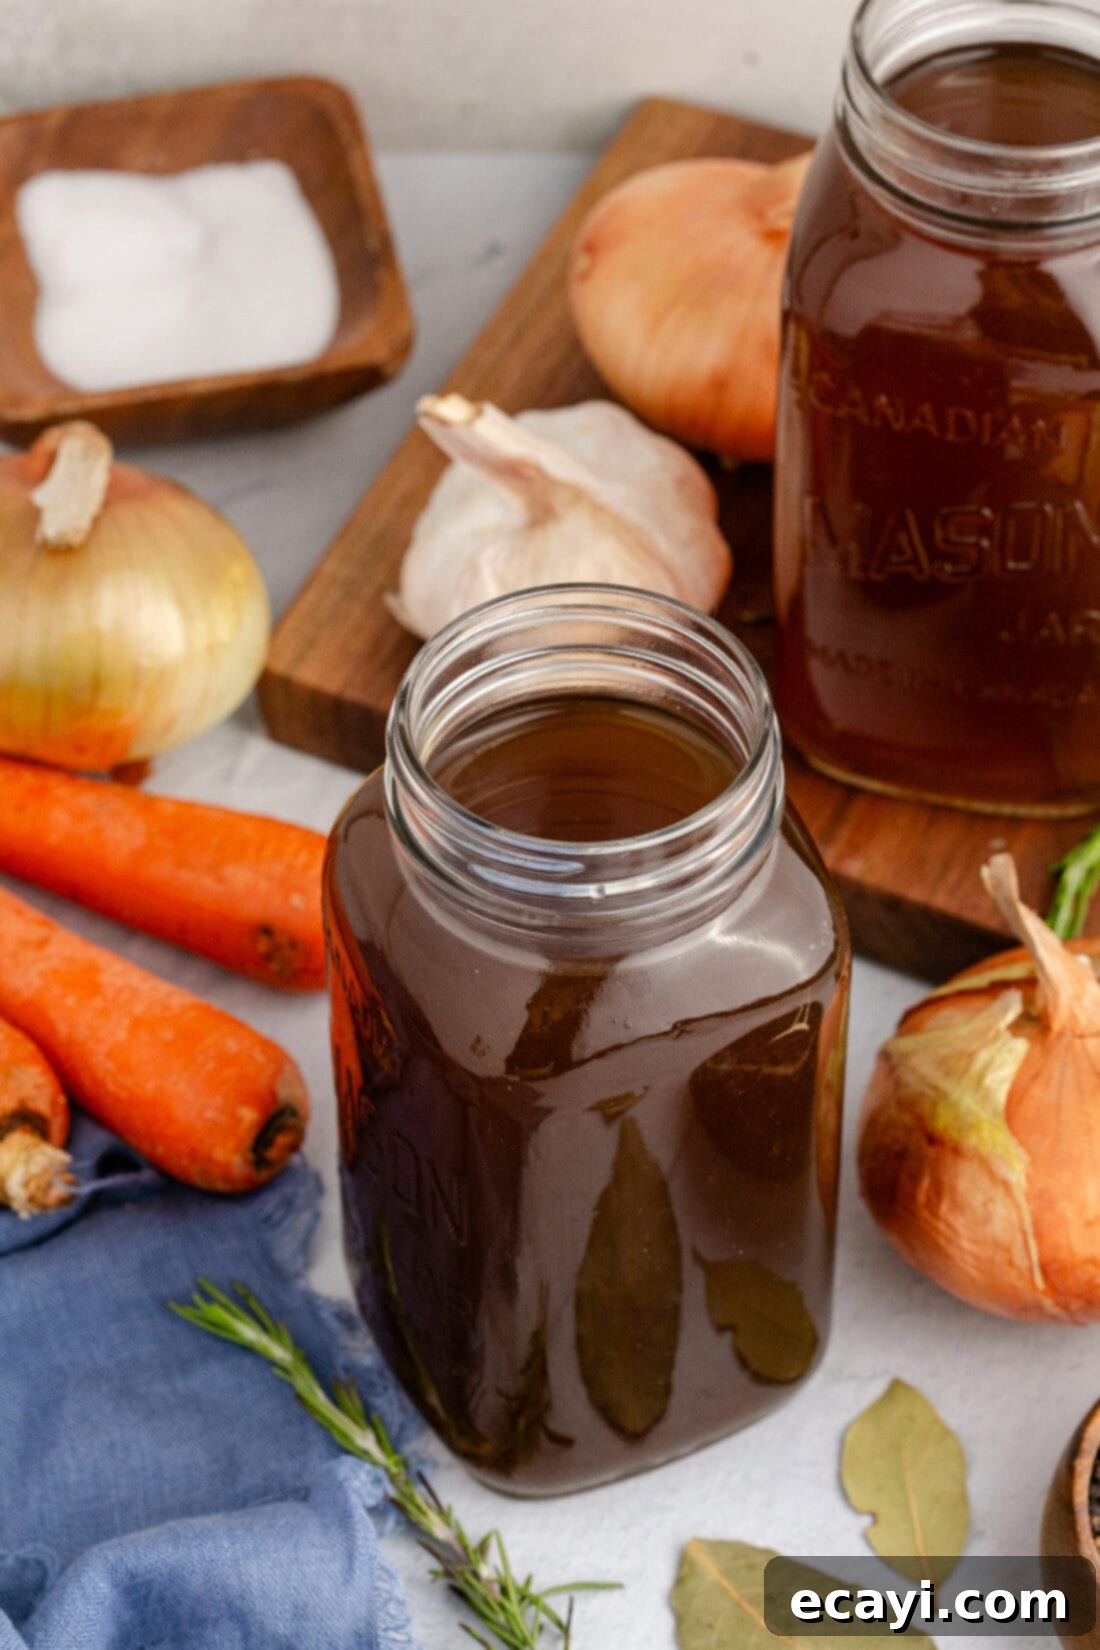
Proper storage is key to extending the life of your homemade vegetable broth. Once your broth has cooled completely (this is important to prevent bacterial growth and condensation), transfer it to an airtight container. For refrigeration, two 32-ounce mason jars are ideal, and the broth will remain fresh in the refrigerator for up to 4 days. For longer storage, freezing is an excellent option. Transfer the cooled broth to large freezer-safe bags, leaving about an inch of headspace at the top to allow for expansion as it freezes. Alternatively, use airtight freezer containers. You can also freeze it in ice cube trays for smaller portions, then transfer the frozen cubes to a larger bag. Frozen homemade vegetable broth can be stored for 5-6 months, making it a convenient staple to have on hand.
While often used interchangeably, there are distinct differences between stock and broth, primarily in their ingredients, consistency, and culinary applications. Stocks are typically thicker in consistency due to the presence of bones, which release collagen during the long simmering process. This collagen breaks down into gelatin, giving stock a richer mouthfeel and body. Broths, on the other hand, are generally thinner and rely more on vegetables and sometimes meat (but not bones) for their flavor. They are often seasoned and can be enjoyed on their own as a comforting drink. Stocks are usually unseasoned and are primarily used as a foundational ingredient in sauces, gravies, and stews where a thicker base is desired. This homemade vegetable broth falls into the “broth” category, being lighter and seasoned, perfect for a wide range of vegetarian dishes.
Expert Tips for the Best Vegetable Broth
- Chop Evenly: While precise cuts aren’t necessary, try to chop your vegetables into roughly similar-sized pieces to ensure they cook down and release their flavors evenly during simmering.
- Don’t Over-Simmer: While a long simmer extracts flavor, excessively long simmering (much beyond 4-5 hours for vegetables) can cause some vegetables to break down too much and release bitter compounds. Stick to the recommended time for optimal results.
- Taste and Adjust: Always taste your broth towards the end of the simmering process. This allows you to adjust the salt content. Remember, a perfectly seasoned broth will elevate any dish you use it in.
- Cool Rapidly: After straining, cool your broth as quickly as possible, especially if you plan to store it. You can place the pot in an ice bath or divide it into smaller containers to speed up cooling before refrigerating or freezing.
- Consider Roasting Vegetables: For an even deeper, more caramelized flavor, you can lightly roast your vegetables (carrots, onions, garlic) before adding them to the pot. This step adds an extra layer of sweetness and umami, resulting in a darker, richer broth.
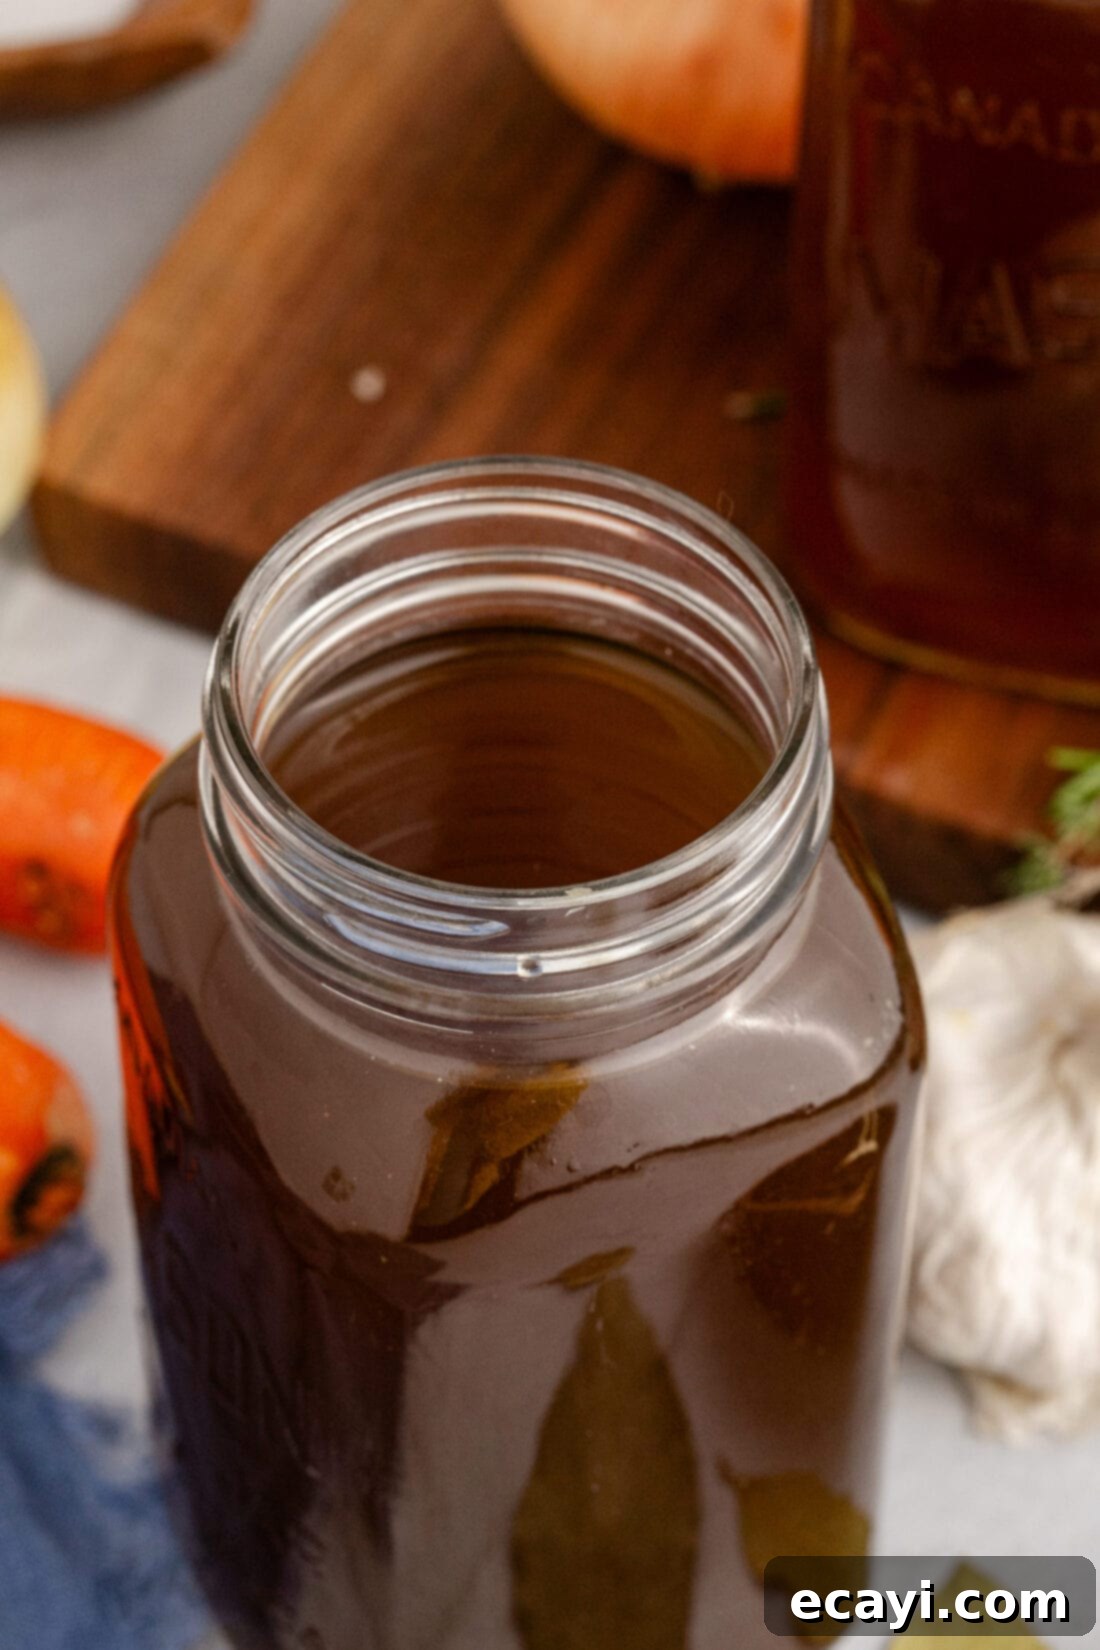
Versatile Serving Suggestions for Your Homemade Broth
Once you’ve made a batch of this incredibly flavorful homemade vegetable broth, you’ll find endless uses for it in your kitchen. It’s far more versatile than just a simple soup base. While vegetable broth is commonly used to create comforting soups, hearty stews, or rich sauces, its delicate yet robust flavor profile makes it an excellent substitute for beef or chicken broth in almost any recipe, especially when catering to vegetarian or vegan diets.
This recipe yields a generous amount—enough for two full 32-ounce mason jars (totaling 2 quarts or approximately 8 cups). This means you’ll have plenty to use immediately and a good quantity to freeze for later, ensuring you always have a high-quality base ready for your culinary adventures. Beyond the obvious, consider using your vegetable broth for:
- Cooking Grains: Use it to cook rice, quinoa, couscous, or pasta for added flavor instead of plain water.
- Braising Vegetables: Gently braise tougher vegetables like kale, collard greens, or root vegetables for a tender, flavorful side dish.
- Deglazing Pans: After sautéing vegetables or searing tofu, use a splash of broth to deglaze the pan, capturing all those delicious browned bits to create a quick sauce.
- Risottos and Pilafs: It’s an absolute must for creamy risottos and flavorful pilafs, imparting a depth that water simply cannot.
- Gravies and Pan Sauces: Form the base of a quick, savory gravy or pan sauce to accompany roasted vegetables or plant-based proteins.
- Steaming: Steam vegetables in broth instead of water for an extra layer of flavor.
Recipes That Shine with Homemade Vegetable Broth
Having a supply of homemade vegetable broth on hand will undoubtedly inspire you to create more wholesome and flavorful meals. Here are some fantastic recipes where your freshly made broth will truly make a difference:
- Hearty Italian Stew
- Comforting Lasagna Soup
- Bright Lemon Couscous
- Classic Easy Tomato Soup
- Nourishing Healthy Vegetable Soup
- Decadent Creamy Mushroom Risotto
I’m passionate about baking and cooking, and I love sharing my kitchen experiences with all of you! To make sure you never miss a new recipe, I offer a convenient newsletter delivered right to your inbox. Simply subscribe here and start receiving your free daily recipes!
Homemade Vegetable Broth
IMPORTANT – Explore the Frequently Asked Questions and Expert Tips sections within the main blog post for valuable insights and troubleshooting advice. Scroll up to read them!
Print It
Pin It
Rate It
Save ItSaved!
Ingredients
- 20 celery ribs leaves removed, roughly chopped
- 16 medium carrots peeled and roughly chopped
- 6 large yellow onions peeled and halved or quartered
- 20-24 fresh sprigs thyme
- 8 bay leaves
- 6 sprigs rosemary
- 2 bulbs garlic halved
- 3 Tablespoons sea salt PLUS 1 teaspoon. more to taste
- 2 Tablespoons whole peppercorns
- 30-32 cups water
Things You’ll Need
-
14 quart stockpot
-
Fine mesh strainer
-
two 32 ounce mason jars for storing
Before You Begin
- To ensure a delicious and clear broth, avoid adding vegetables from the Brassica family (such as broccoli, Brussels sprouts, cauliflower, cabbage, kale, or turnips) as well as green beans and zucchini, as they can cause bitterness. While potatoes are permissible, they may lead to a cloudy broth due to starch release.
- For the cleanest flavor and to prevent bitterness, make sure to thoroughly peel the skin from both your onions and carrots. Additionally, carefully remove any leaves that are still attached to the celery stalks before adding them to your stockpot.
- Always prioritize fresh, high-quality vegetables when preparing homemade broth. Vegetables that are old, slimy, wilting, or beginning to decompose will impart their suboptimal flavors into the finished broth, undermining the rich taste you aim to achieve for your soups, stews, and sauces.
- Store your cooled broth in an airtight container or, conveniently, in two 32-ounce mason jars in the refrigerator for up to 4 days. For extended storage, transfer the completely cooled broth to a large freezer bag or an airtight freezer-safe container, leaving space for expansion. It can be frozen for an impressive 5-6 months.
Instructions
-
Combine all specified ingredients into a large stockpot, then pour in 30-32 cups of water, ensuring all solids are fully submerged.
-
Bring the pot to a boil over medium-high heat. Once boiling, reduce the heat to low and allow it to gently simmer, uncovered, for approximately 4 hours. After 3 hours, taste the broth and adjust salt if necessary.
-
Using a slotted spoon, remove and discard all large cooked pieces. For a perfectly clear broth, strain the liquid again through a cheesecloth or a fine-mesh strainer, repeating as needed.
Nutrition
The recipes on this blog are tested with a conventional gas oven and gas stovetop. It’s important to note that some ovens, especially as they age, can cook and bake inconsistently. Using an inexpensive oven thermometer can assure you that your oven is truly heating to the proper temperature. If you use a toaster oven or countertop oven, please keep in mind that they may not distribute heat the same as a conventional full sized oven and you may need to adjust your cooking/baking times. In the case of recipes made with a pressure cooker, air fryer, slow cooker, or other appliance, a link to the appliances we use is listed within each respective recipe. For baking recipes where measurements are given by weight, please note that results may not be the same if cups are used instead, and we can’t guarantee success with that method.
