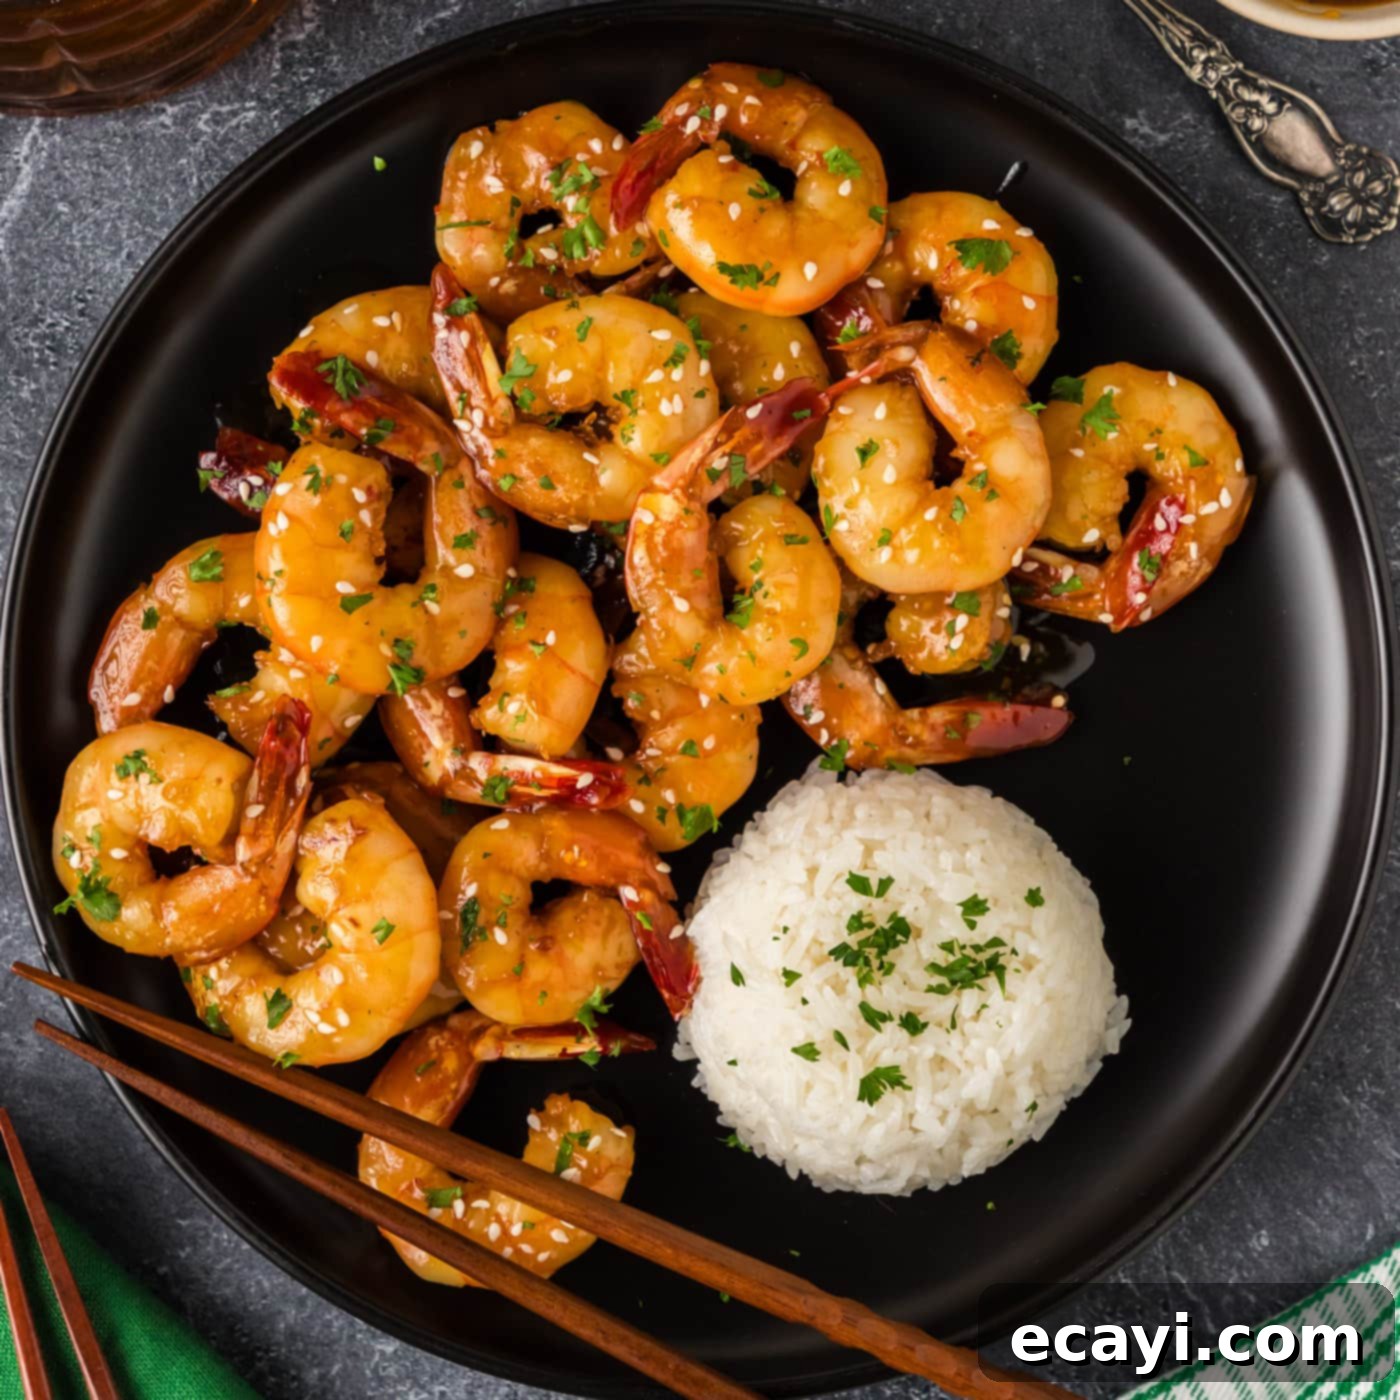
Irresistible 25-Minute Honey Garlic Shrimp: Quick, Easy & Bursting with Flavor
Prepare to elevate your weeknight dinner game with this incredibly delicious and remarkably easy honey garlic shrimp recipe. Juicy, tender shrimp are bathed in a sticky, sweet, and savory glaze that’s utterly irresistible. Best of all, this entire dish comes together in just 25 minutes, making it the perfect solution for busy evenings when you crave something flavorful without a lot of fuss. It’s quick to prepare, packed with incredible taste, and deceptively simple to master.
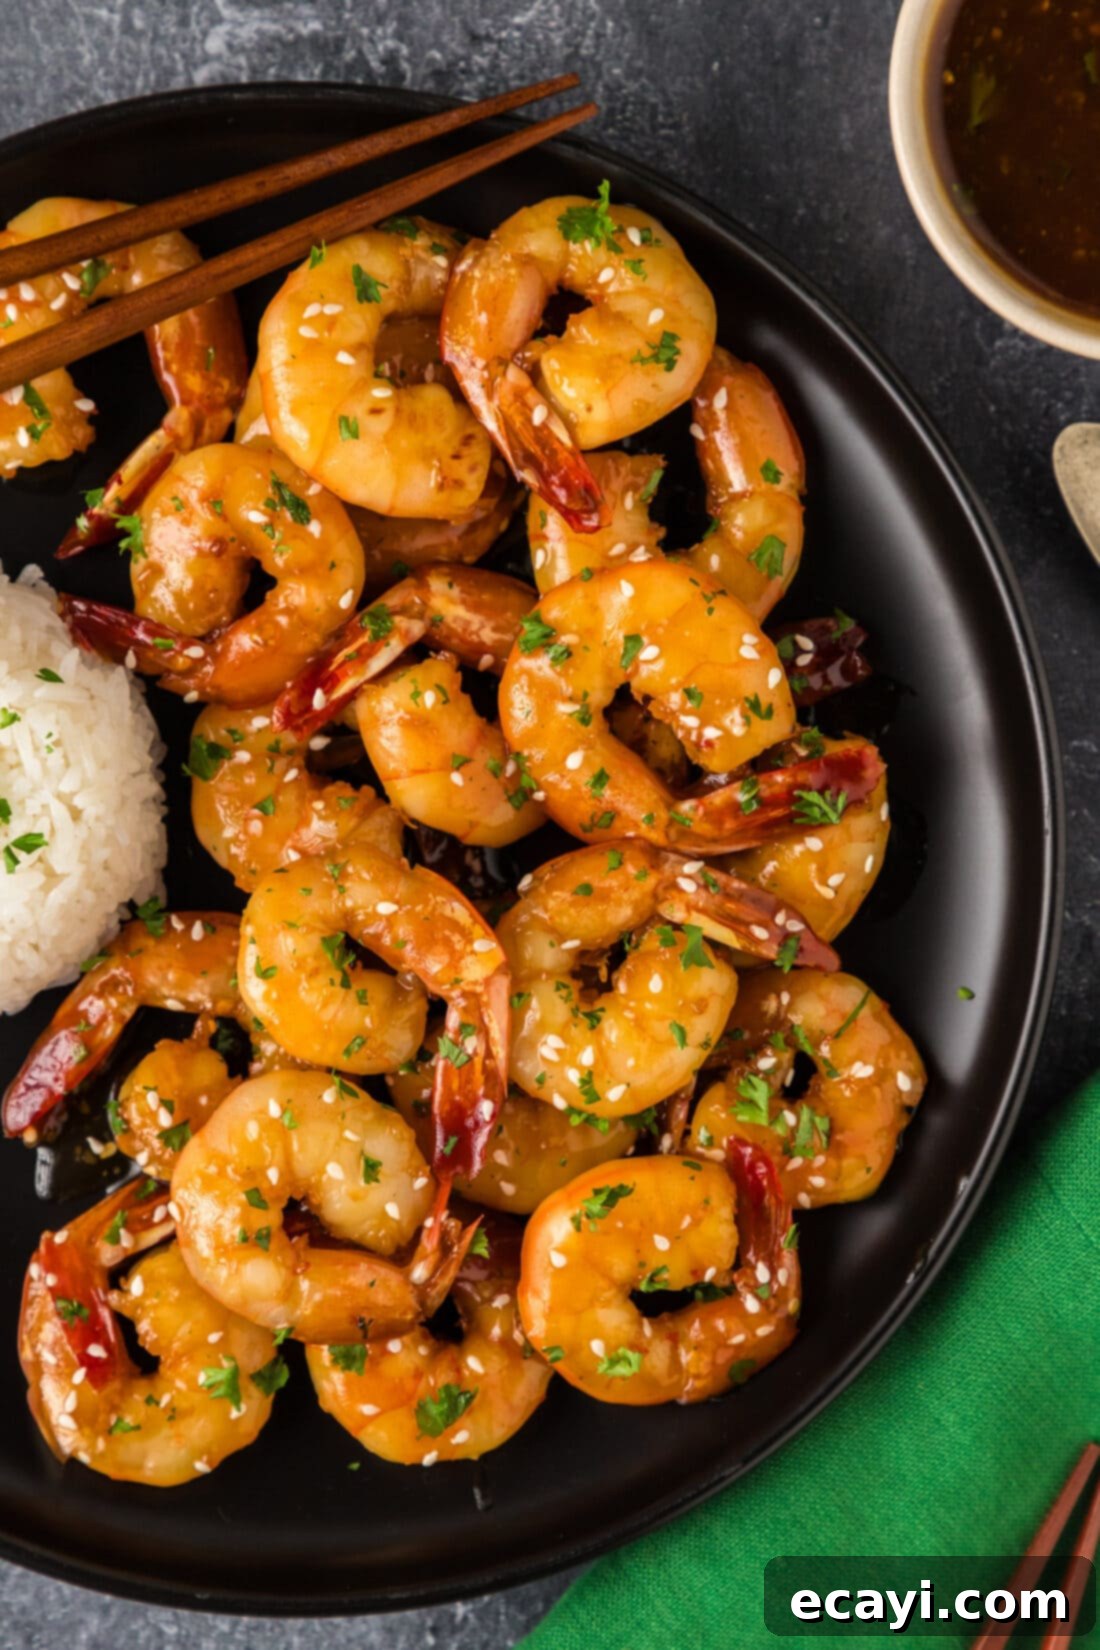
Why This Honey Garlic Shrimp Recipe Works So Well
This honey garlic shrimp recipe isn’t just another dinner idea; it’s a culinary triumph that hits every single note, checking all the boxes for a perfect meal. The magic lies in its exquisite balance of flavors: the natural sweetness of honey, the robust, aromatic depth of garlic, and the savory umami notes from the soy sauce. These elements combine to create a dynamic and harmonious profile that truly elevates the humble shrimp.
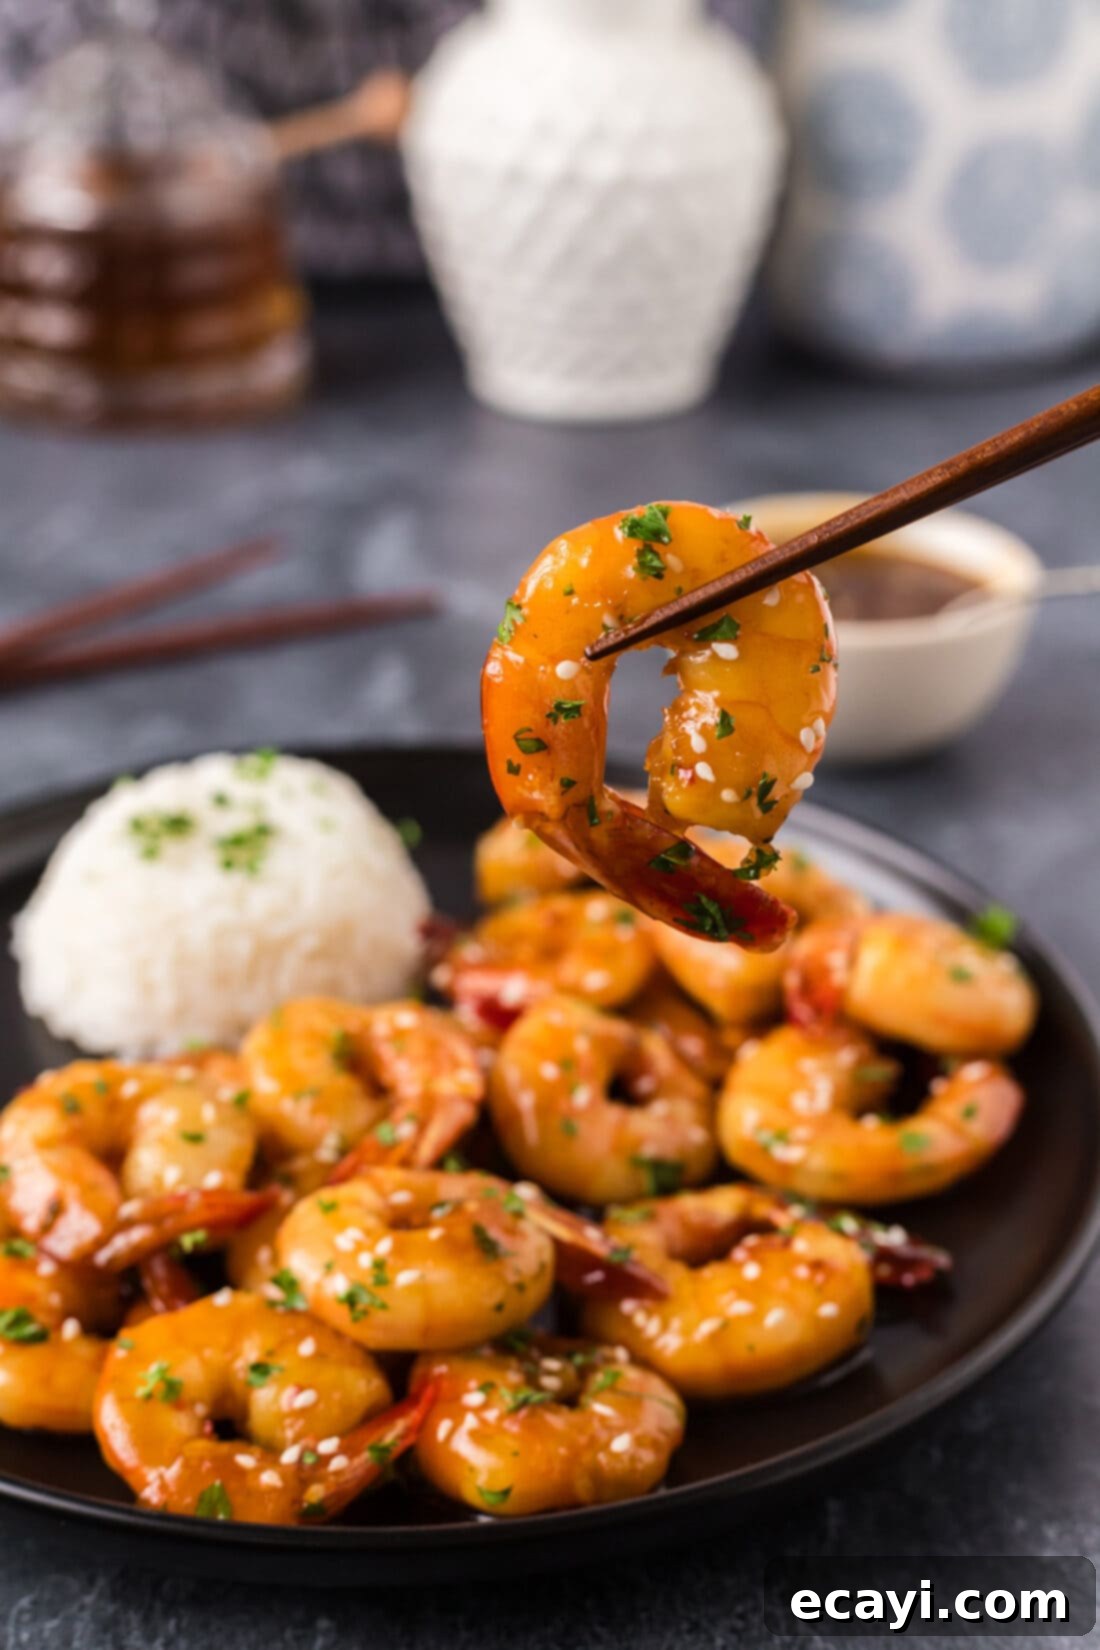
Beyond its incredible taste, its efficiency is a major draw. In under half an hour, you can transform raw ingredients into a gourmet-level dish, making it an ideal choice for quick weeknight meals, spontaneous gatherings, or even a fancy-but-fast date night dinner. The shrimp cook quickly, developing a slightly crispy exterior while remaining succulent and tender on the inside, all encased in that gorgeous, glossy glaze. This glaze isn’t just for show; it clings perfectly to each shrimp, ensuring every bite is a burst of sweet and savory delight.
The versatility of this flavor combination is another reason it shines. This very same sweet and savory sauce has proven to be a universal crowd-pleaser. We’ve successfully adapted it for chicken breasts, turning a simple protein into an exciting meal. It’s phenomenal in stir-fries, adding a vibrant punch to vegetables and noodles. We’ve even transformed it into a rich and flavorful honey garlic marinade, proving just how adaptable and beloved this flavor profile is. When a sauce is so good it can transform multiple dishes, you know you’ve found a keeper, and this honey garlic shrimp recipe exemplifies that undeniable deliciousness.
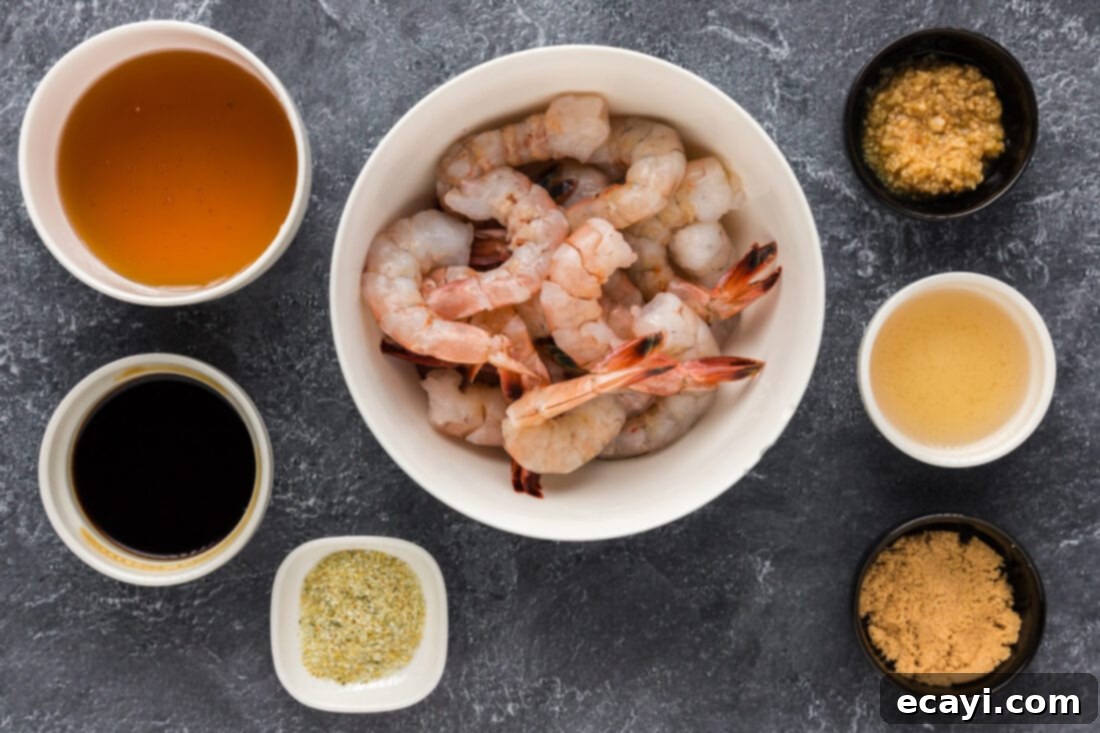
Ingredients You Will Need for Honey Garlic Shrimp
Crafting this phenomenal honey garlic shrimp requires just a handful of accessible ingredients, many of which you likely already have in your pantry. For precise measurements, a full list of ingredients, and detailed instructions, refer to the printable recipe card available at the end of this post.
Ingredient Information and Substitution Suggestions
Understanding each ingredient’s role and knowing your substitution options can greatly enhance your cooking experience and adapt this recipe to your preferences or what you have on hand.
SHRIMP – You’ll need 1 pound of large raw shrimp. For the best results, ensure they are already peeled and deveined. The choice to keep the tails on or remove them is entirely yours and primarily affects presentation. Tails on often provide a more elegant look, especially when serving, and can act as a convenient “handle” for eating. If using frozen shrimp, which is perfectly fine as most shrimp are flash-frozen at sea to maintain freshness, remember to thaw them completely and pat them thoroughly dry before cooking. Excess moisture can prevent a good sear and dilute your delicious glaze. Large shrimp work best here, as they cook quickly yet remain plump and juicy.
- Substitution for Shrimp: While shrimp is key, this sauce is excellent with other proteins like chicken breast or thigh, firm tofu, or even scallops. Adjust cooking times accordingly.
For the Irresistible Sauce:
- SOY SAUCE – This provides the fundamental savory, umami base. We recommend using a good quality soy sauce for the best flavor.
- Substitution: For a gluten-free version, swap regular soy sauce for Tamari. If you’re watching your sodium intake, low-sodium soy sauce works perfectly.
- WHITE WINE VINEGAR – A crucial ingredient for balancing the sweetness of the honey and brown sugar. Its subtle tang cuts through the richness, adding a bright, acidic counterpoint.
- Substitution: Rice vinegar is an excellent alternative for a milder acidity, or even apple cider vinegar can be used in a pinch, though it will impart a slightly different flavor.
- MINCED GARLIC – The heart of the “garlic” in honey garlic! Freshly minced garlic is highly recommended for its potent, aromatic flavor.
- Substitution: While fresh is best, 1 teaspoon of garlic powder can be used for every 3 cloves of fresh garlic if absolutely necessary, but the depth of flavor won’t be quite the same.
- BROWN SUGAR – Adds a deeper, more caramelized sweetness than white sugar, thanks to its molasses content, which complements the honey beautifully.
- Substitution: Granulated white sugar can be used, but you might lose a bit of that subtle depth. Maple syrup or agave nectar could also work for sweetness, though they would alter the flavor profile slightly.
- HONEY – The star of the sweet component, providing a luxurious, floral sweetness and helping to create that signature sticky glaze.
- Substitution: Any type of honey will work, from clover to wildflower. Experiment with different varieties for subtle flavor variations. Maple syrup could also be considered, but again, the distinct honey flavor would be absent.
- GARLIC SALT – A convenient ingredient that adds both salinity and an extra layer of garlic flavor.
- Substitution: If you don’t have garlic salt, use 1/2 teaspoon of regular salt and an additional 1/2 teaspoon of garlic powder. Adjust salt to taste, especially if using regular soy sauce.
Other Essentials:
- OLIVE OIL – Used for sautéing the shrimp. Any neutral high-heat oil will work equally well.
- Substitution: Vegetable oil, canola oil, or avocado oil are all suitable alternatives.
- CORNSTARCH (Optional) – This is your secret weapon for thickening the sauce to your desired consistency. It helps create that luscious, glossy glaze that coats the shrimp so beautifully.
- Substitution: Arrowroot powder can be used as a gluten-free alternative thickener.
How to Make Honey Garlic Shrimp
These step-by-step photos and instructions are here to help you visualize how to make this recipe. You can Jump to Recipe to get the printable version of this recipe, complete with measurements and instructions at the bottom.
- Prepare the Shrimp: Begin by placing your 1 pound of raw shrimp into a large mixing bowl. Ensure the shrimp are peeled and deveined. If using frozen, they should be fully thawed and thoroughly patted dry with paper towels to remove any excess moisture. This step is crucial for achieving a good sear.
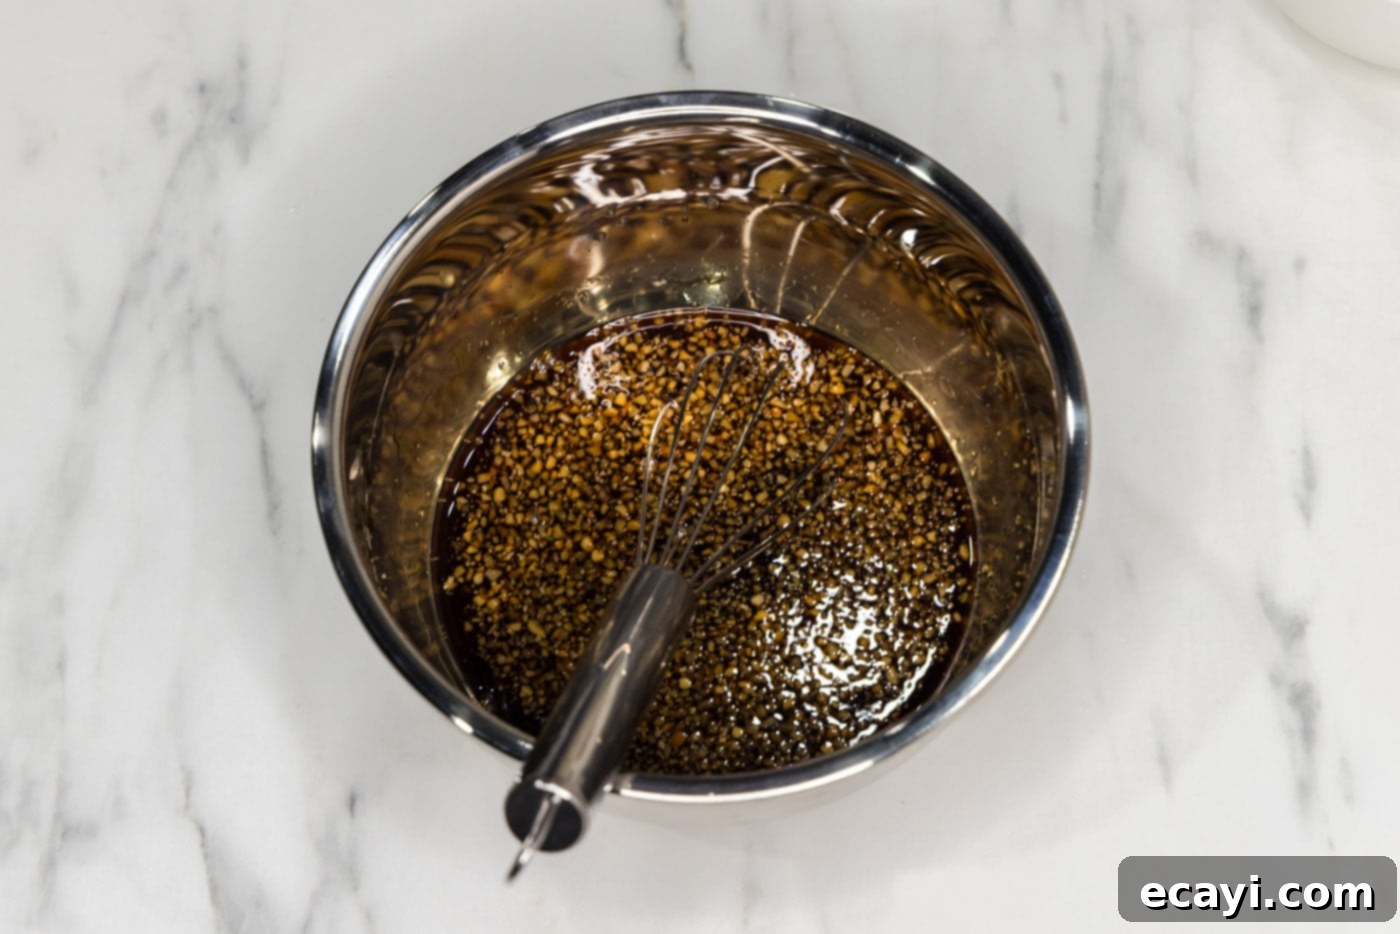
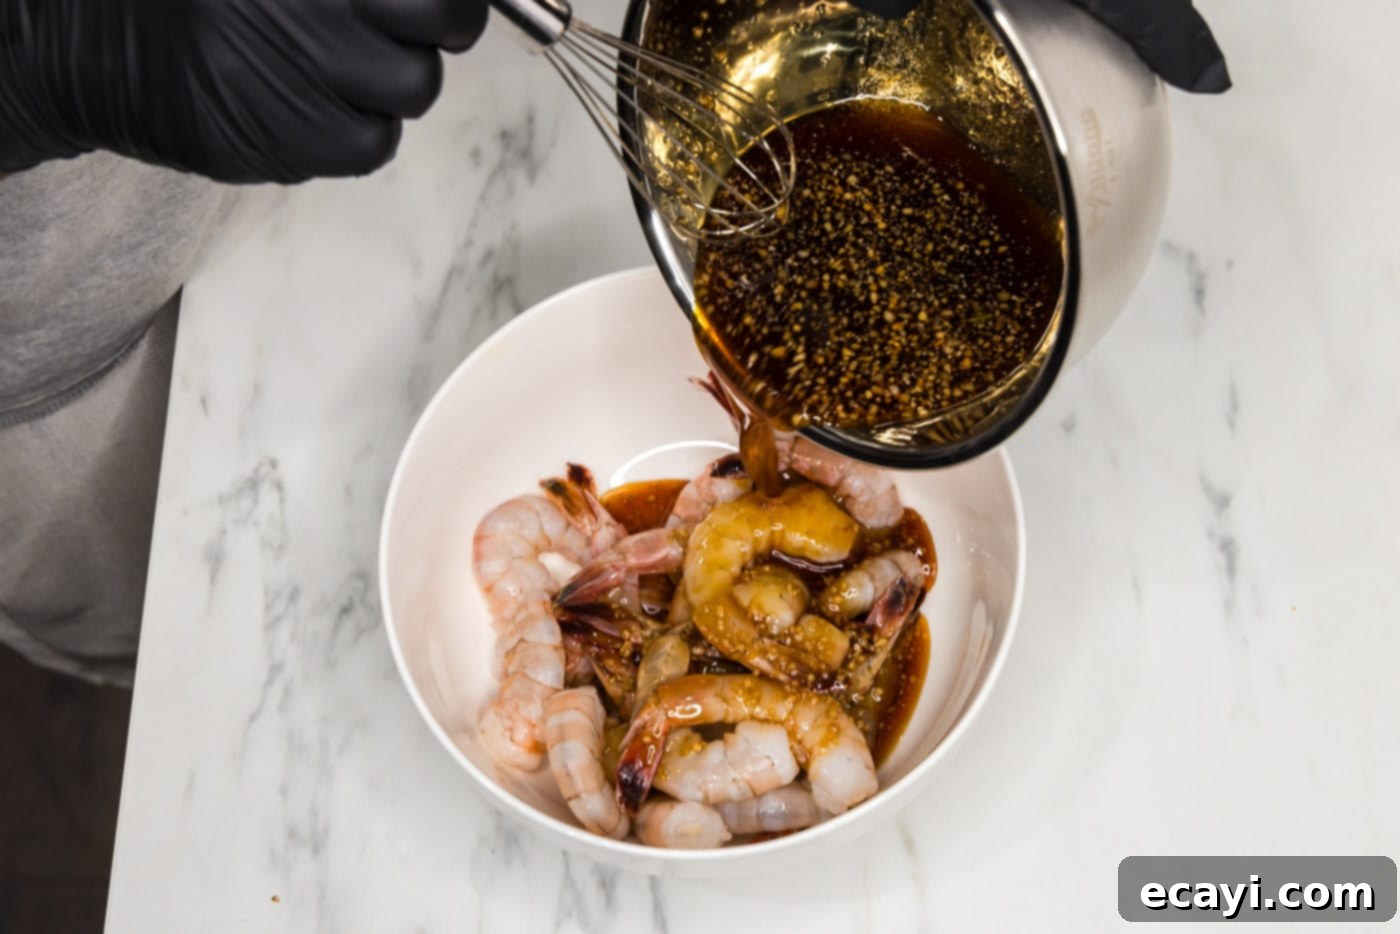
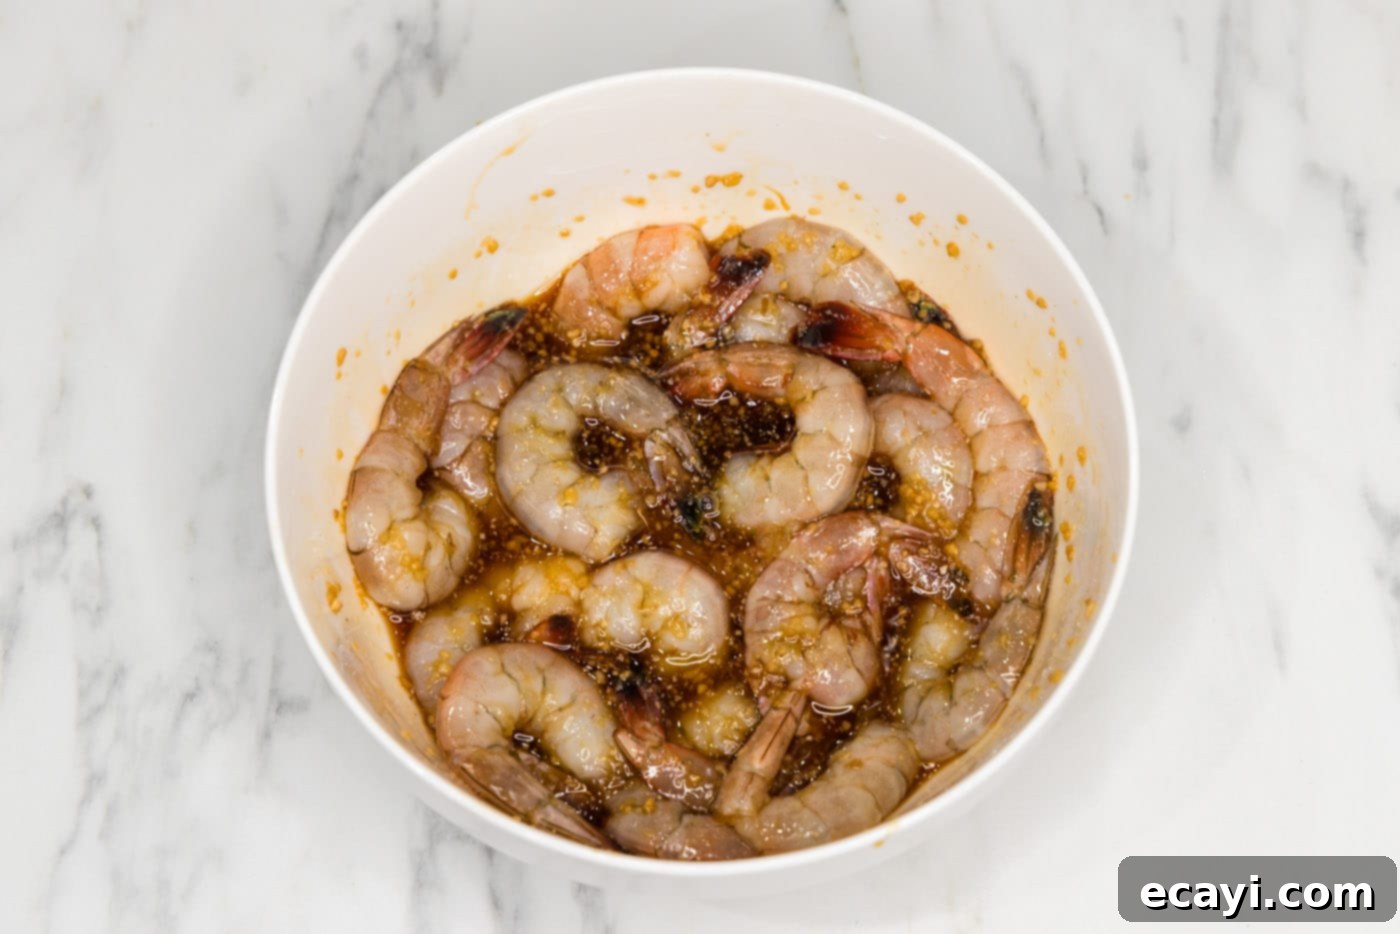
- Whisk the Honey Garlic Sauce: In a separate medium-sized bowl, combine all the sauce ingredients: soy sauce, white wine vinegar, minced garlic, brown sugar, honey, and garlic salt. Whisk everything together vigorously until all ingredients are well combined and the sugar has dissolved. Pour this vibrant, aromatic mixture directly over the shrimp in the large mixing bowl and toss gently to ensure every piece of shrimp is evenly coated in the delicious marinade.
- Heat the Skillet: Place a large skillet over medium-high heat. Add 1 tablespoon of olive oil to the hot pan. Allow the oil to heat up sufficiently until it shimmers but isn’t smoking, ensuring a good sear on the shrimp.
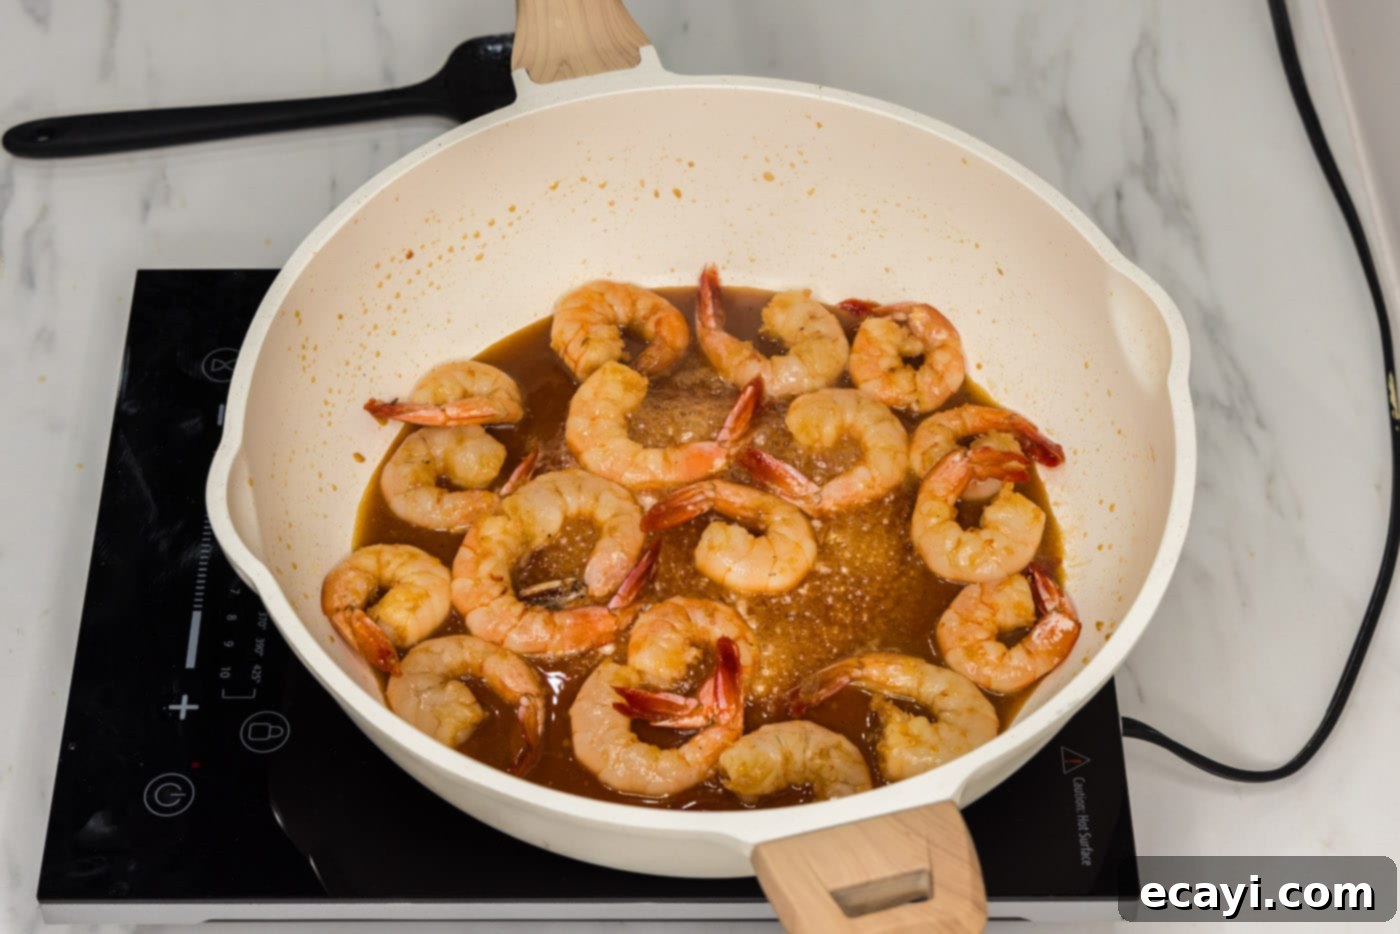
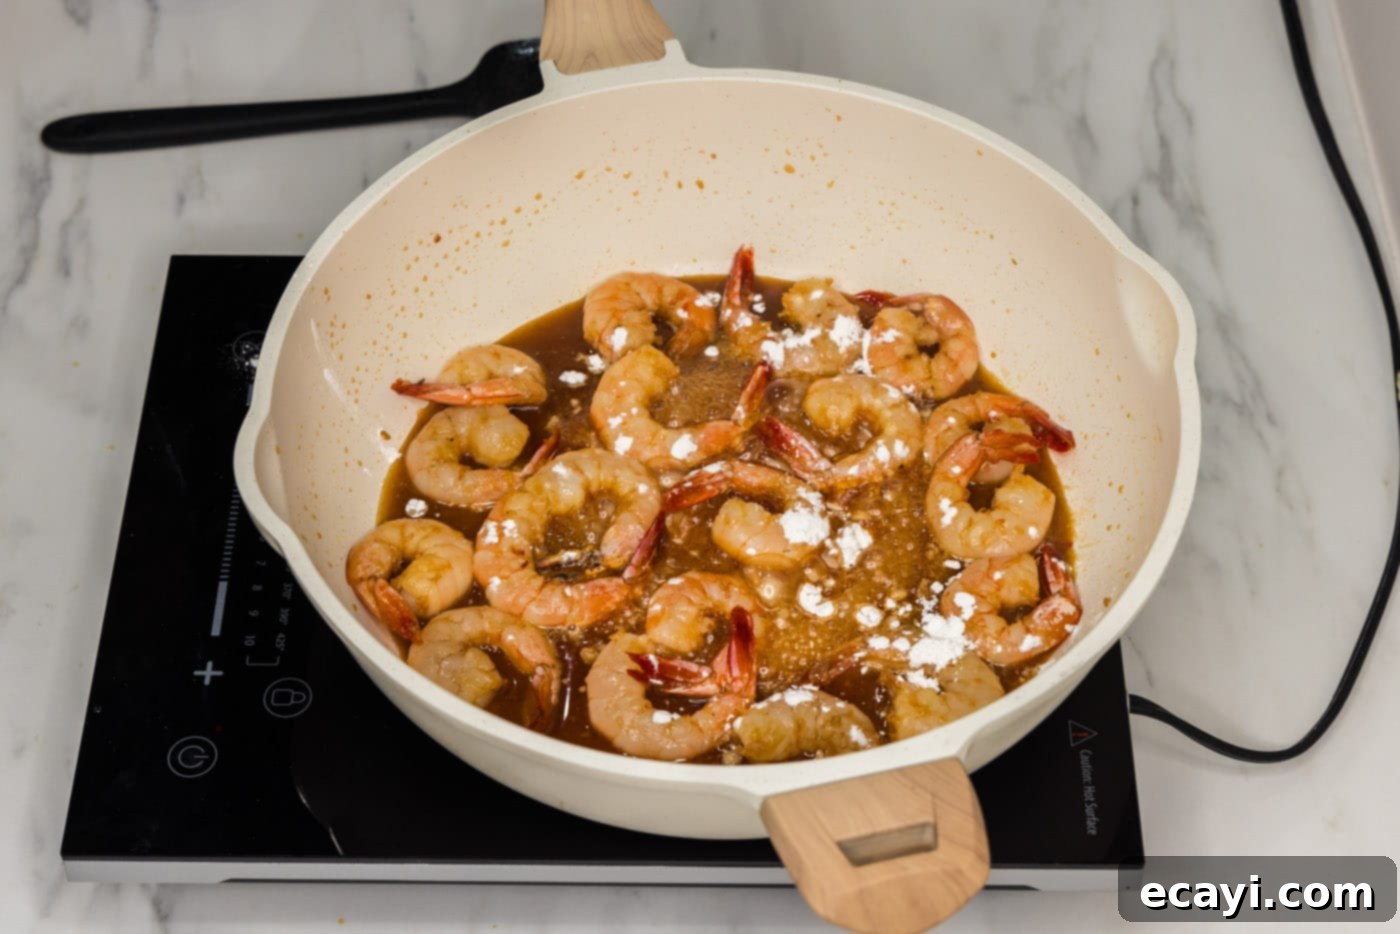
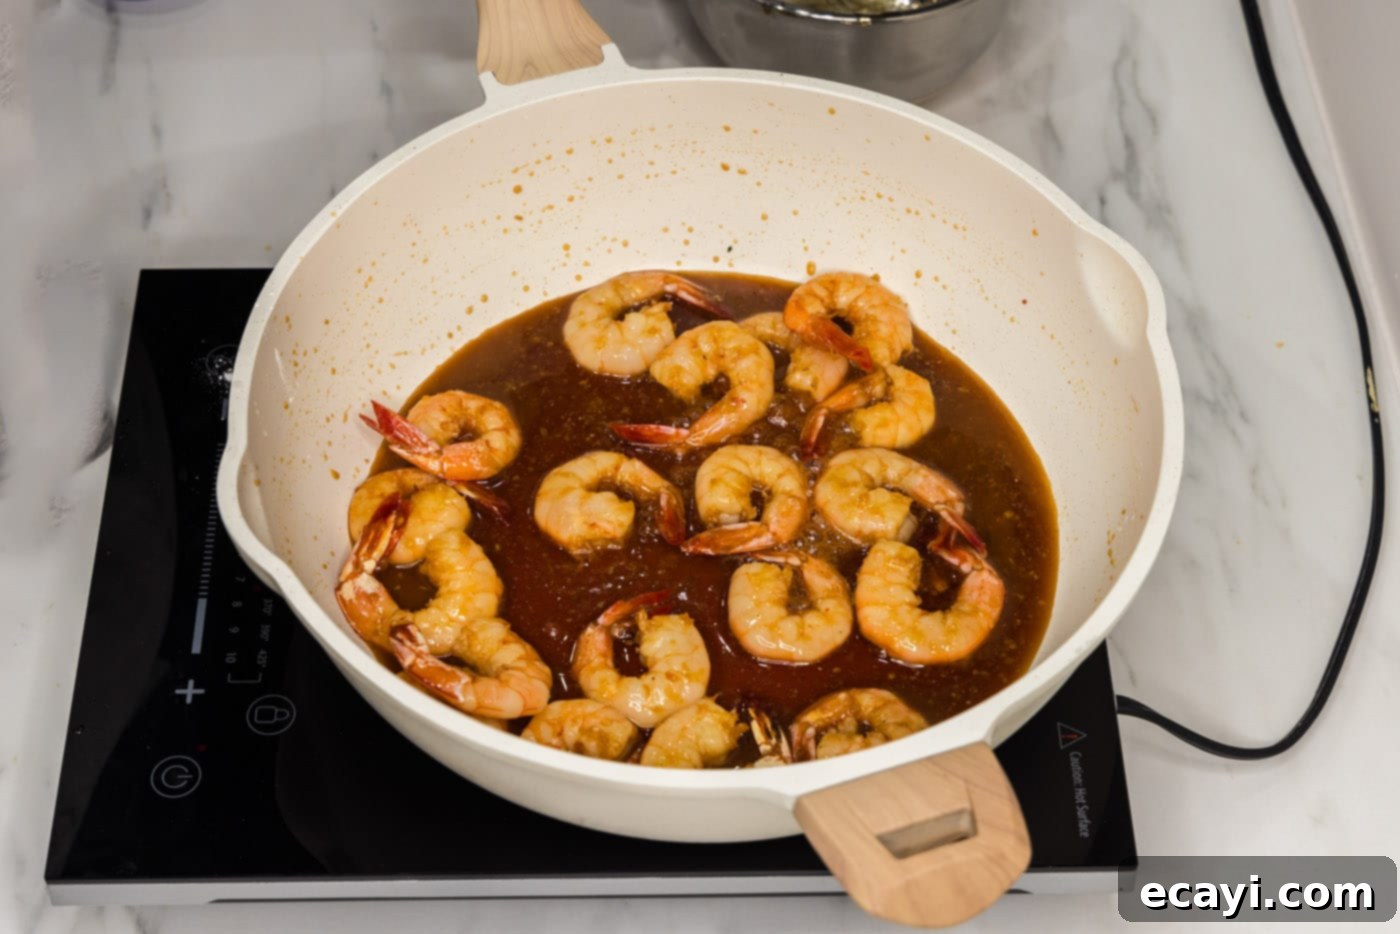
- Cook the Shrimp: Once the skillet is hot, carefully add the entire contents of the shrimp bowl (both the sauced shrimp and any remaining marinade) to the skillet. Spread the shrimp into a single layer as much as possible. Cook for approximately 10 minutes in total, stirring and flipping the shrimp 3 or 4 times throughout the cooking process. This ensures even cooking and allows the glaze to develop beautifully on all sides. The shrimp will curl and turn opaque with vibrant pink and orange hues when perfectly cooked. Avoid overcooking, as this can lead to rubbery shrimp.
- Thicken the Sauce (Optional): If you prefer a thicker, more luxurious glaze, sprinkle 1 tablespoon of cornstarch directly over the cooked shrimp and sauce in the skillet. Immediately stir and turn the shrimp to thoroughly incorporate the cornstarch. Continue cooking for another 1-2 minutes, stirring constantly, until the sauce thickens to your desired consistency. The cornstarch will rapidly absorb liquid and create that beautiful, glossy finish.
Frequently Asked Questions & Expert Tips for Perfect Honey Garlic Shrimp
Store any leftover honey garlic shrimp in an air-tight container, ensuring it’s sealed properly to maintain freshness. Keep it in the refrigerator for 2-3 days. When reheating, do so gently over low heat on the stovetop or in the microwave. Be careful not to overcook the shrimp during reheating; you just want to warm them through to prevent a rubbery texture.
Shrimp cook incredibly quickly, which also means they can easily be overcooked. Perfectly cooked shrimp will curl into a C-shape and turn opaque, displaying beautiful pink and orange hues. If they form a tight O-shape, they are likely overcooked. Overcooked shrimp are unfortunately rubbery and tough in texture, so watch them closely!
The safest and quickest way to thaw frozen shrimp is to place them in a sealed Ziploc bag, removing as much air as possible. Submerge the bag in a bowl of cold tap water for about 20 minutes. For larger quantities or very cold shrimp, you might need to change the water once or twice. Never use warm or hot water to thaw shrimp, as this can prematurely cook them and affect their texture.
While you can use pre-cooked shrimp, the result will be slightly different. Pre-cooked shrimp should only be heated through quickly in the sauce, not cooked for the full 10 minutes. Add them in the last 2-3 minutes of cooking with the sauce to prevent them from becoming tough and rubbery. You’ll lose some of the deep flavor integration that comes from cooking raw shrimp directly in the sauce.
If you enjoy a kick of heat, you can easily spice up this recipe. Add 1/2 to 1 teaspoon of red pepper flakes to the sauce mixture for a subtle warmth. For more pronounced heat, a dash of sriracha or a pinch of cayenne pepper can be whisked into the sauce. Adjust to your personal spice preference!
A large, heavy-bottomed skillet is ideal for even heat distribution, which is key for cooking shrimp quickly and uniformly. Cast iron skillets or good quality non-stick pans work wonderfully. Ensure the pan is large enough to allow the shrimp to spread out in a single layer without overcrowding, otherwise, they will steam instead of sear.
Absolutely! The honey garlic sauce can be whisked together and stored in an airtight container in the refrigerator for up to 3-4 days. This makes meal prep even faster on cooking day. Just give it a good whisk again before adding it to the shrimp.
Serving Suggestions for Honey Garlic Shrimp
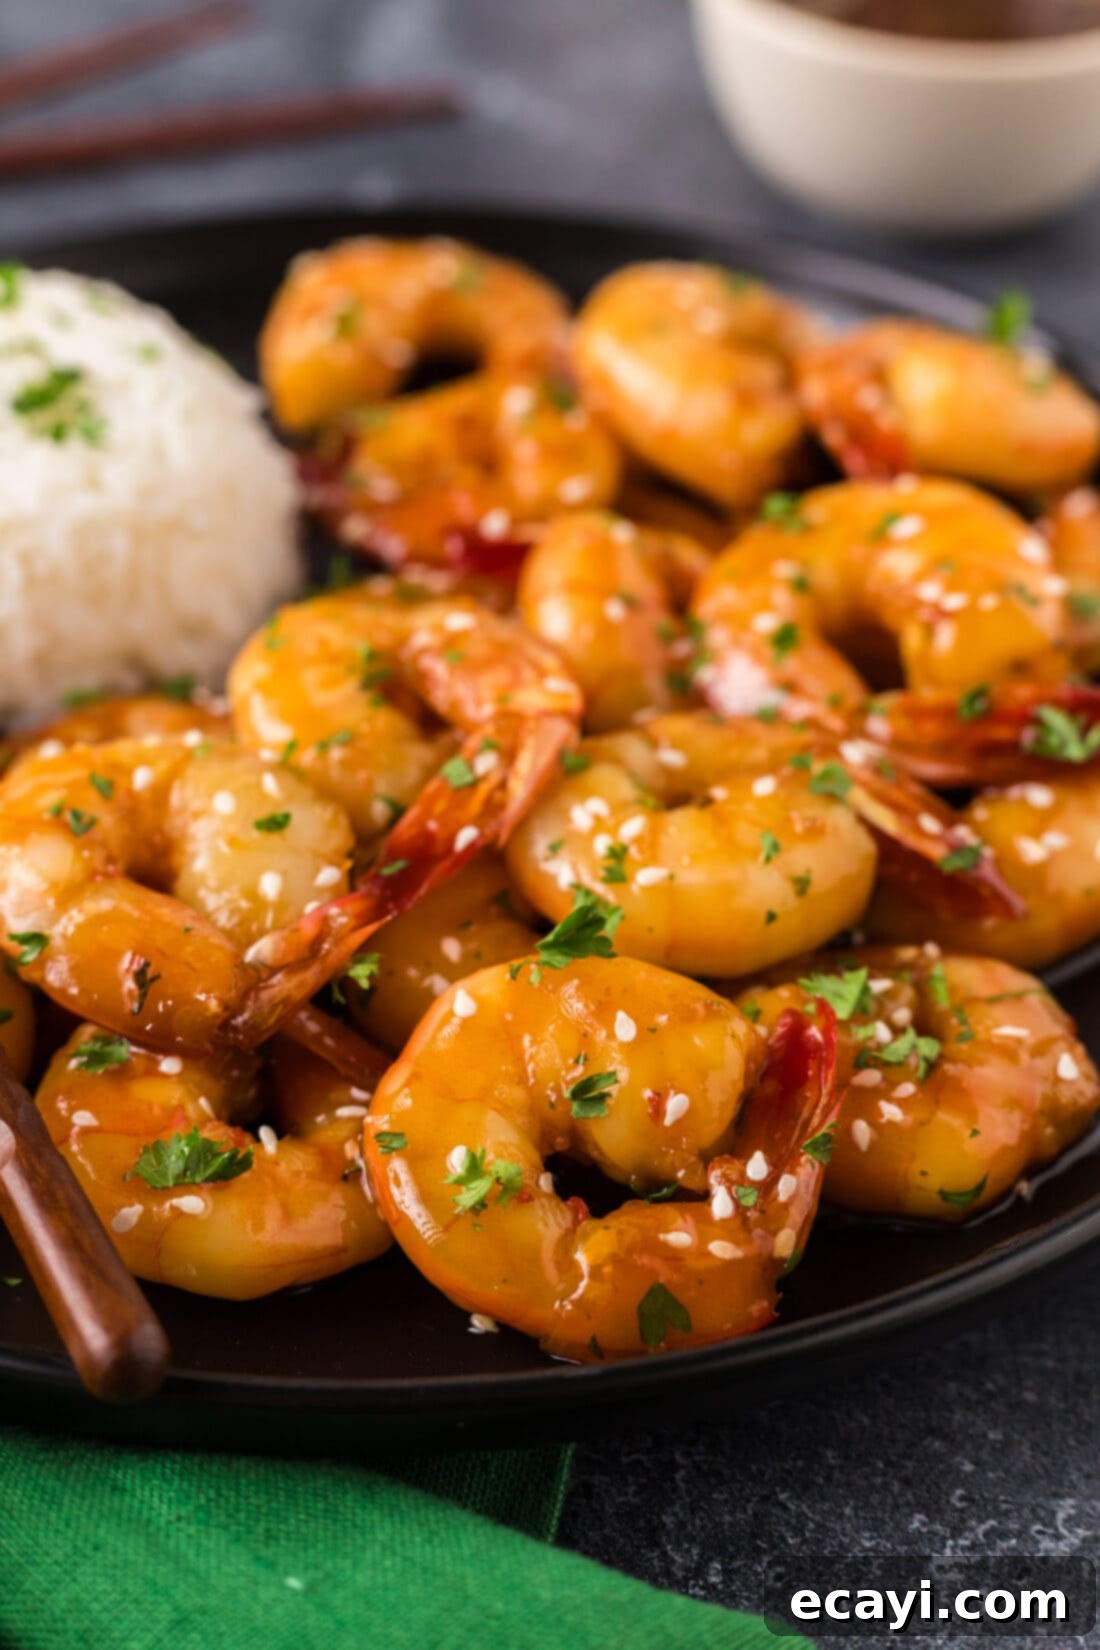
This incredibly versatile honey garlic shrimp is fantastic on its own, but it truly shines when paired with complementary sides. The rich, sticky glaze makes it a perfect companion for a variety of dishes. Here are some ideas to turn it into a complete and satisfying meal:
- Over Rice: A classic pairing! Serve your honey garlic shrimp over a fluffy bed of white rice, brown rice, or fragrant jasmine rice to soak up every drop of that delicious sauce. For an extra pop of flavor, try a side of coconut rice or even a light fried rice.
- With Pasta: Toss the warm shrimp and glaze with your favorite pasta. Angel hair, spaghetti, or linguine all work wonderfully. You can serve it simply as is, or add a touch of butter or a swirl of fresh herbs like parsley or cilantro for a refreshing finish.
- Tossed into Salads: For a lighter meal, let the shrimp cool slightly and then add them as a protein boost to your favorite green salad. The sweet and savory flavor will be a delightful contrast to crisp lettuce, fresh vegetables, and a light vinaigrette.
- Alongside Vegetables: Enhance your meal with a healthy serving of vegetables. Steamed broccoli, asparagus, or green beans are excellent choices, allowing the shrimp’s flavor to take center stage. For a more elaborate side, consider roasted bell peppers and onions, or a quick stir-fry of your favorite Asian-inspired vegetables.
- As an Appetizer: Skewered and served warm, these honey garlic shrimp make a fantastic appetizer for parties or gatherings. Provide small dipping bowls of extra sauce on the side for guests to enjoy.
- In Tacos or Wraps: Get creative! Shred some cabbage or lettuce, add a dollop of a creamy sauce or a squeeze of lime, and tuck the honey garlic shrimp into soft tortillas or lettuce wraps for a vibrant and flavorful fusion dish.
No matter how you choose to serve it, ensure it’s enjoyed warm, fresh from the skillet, to best appreciate its succulent texture and captivating glaze.
More Delicious Honey Garlic Recipes
Once you fall in love with the honey garlic flavor combination, you’ll want to try it on everything! Here are more fantastic recipes featuring this beloved sweet and savory glaze:
- Honey Salmon
- Honey Garlic Chicken
- Honey Garlic Chicken Wings
- Honey Garlic Chicken Marinade
- Honey Garlic Tofu
I love to bake and cook and share my kitchen experience with all of you! Remembering to come back each day can be tough, that’s why I offer a convenient newsletter every time a new recipe posts. Simply subscribe and start receiving your free daily recipes!
Honey Garlic Shrimp
IMPORTANT – There are often Frequently Asked Questions within the blog post that you may find helpful. Simply scroll back up to read them!
Print It
Pin It
Rate It
Save ItSaved!
Ingredients
- 1 pound large raw shrimp peeled, deveined, tails on or off (thawed if frozen, and patted dry)
- 1 Tablespoon olive oil (or other neutral high-heat oil)
- 1 Tablespoon cornstarch optional, for thickening the sauce
For the Honey Garlic Sauce
- ⅓ cup soy sauce (use low-sodium or Tamari for gluten-free)
- 2 Tablespoons white wine vinegar (or rice vinegar)
- 3 Tablespoons minced garlic (fresh is best!)
- 1 Tablespoon brown sugar (light or dark)
- ½ cup honey
- 1 teaspoon garlic salt (or 1/2 tsp salt + 1/2 tsp garlic powder)
Things You’ll Need
-
Large skillet
-
Mixing bowls
Before You Begin
- You will need 1 pound of large raw shrimp that have been peeled, deveined, and the tails either on or off. Keeping the tails on or taking them off is completely up to you; tails on are often preferred for presentation or as a handle. If using frozen shrimp (which is common and perfectly fine), be sure to thaw them completely and pat them thoroughly dry before beginning the cooking process. Excess moisture can hinder proper searing and dilute the sauce.
- To quickly thaw frozen shrimp, place them in a sealed Ziploc bag, squeezing out as much air as possible. Submerge the bag in a bowl of cold water for approximately 15-20 minutes. Change the water halfway through if necessary. Avoid using warm or hot water, as this can begin to cook the shrimp prematurely and negatively impact their texture.
Instructions
-
Place your prepared raw shrimp (peeled, deveined, and patted dry) in a large mixing bowl.
-
In a medium bowl, whisk together the soy sauce, white wine vinegar, minced garlic, brown sugar, honey, and garlic salt until thoroughly combined. Pour this delicious sauce mixture over the shrimp and toss to ensure every piece is beautifully coated.
-
Heat 1 tablespoon of olive oil in a large skillet over medium-high heat until it shimmers.
-
Add the entire contents of the shrimp bowl (shrimp and sauce) to the hot skillet. Cook for approximately 10 minutes, stirring and flipping the shrimp 3 or 4 times to ensure even cooking and to allow the glaze to develop. The shrimp will turn opaque and pink when done.
-
If you desire a thicker sauce, sprinkle 1 tablespoon of cornstarch over the shrimp in the skillet. Stir and turn continuously for 1-2 minutes until the sauce has thickened to your preference, creating a luscious glaze.
Expert Tips & FAQs
- Shrimp cook very quickly, and overcooking is the most common mistake. Watch them closely! They are done when they curl into a C-shape and turn opaque with pink and orange colors. If they form a tight O-shape, they’re likely overcooked and will be rubbery and tough.
- Leftovers can be stored in an air-tight container in the refrigerator for 2-3 days. When reheating, use low heat on the stovetop or microwave just until warmed through, being careful not to cook them further to maintain their tender texture.
- For the best sear and flavor development, ensure your shrimp are thoroughly patted dry before adding the sauce. Excess moisture can lead to steaming rather than searing.
- Adjust the sweetness or savoriness of the sauce to your liking. Add a little more honey for extra sweetness, or a splash more soy sauce for enhanced umami.
- Don’t overcrowd your skillet. If you’re cooking a larger batch, consider cooking the shrimp in two smaller batches to ensure they sear properly and cook evenly.
Nutrition
The recipes on this blog are tested with a conventional gas oven and gas stovetop. It’s important to note that some ovens, especially as they age, can cook and bake inconsistently. Using an inexpensive oven thermometer can assure you that your oven is truly heating to the proper temperature. If you use a toaster oven or countertop oven, please keep in mind that they may not distribute heat the same as a conventional full sized oven and you may need to adjust your cooking/baking times. In the case of recipes made with a pressure cooker, air fryer, slow cooker, or other appliance, a link to the appliances we use is listed within each respective recipe. For baking recipes where measurements are given by weight, please note that results may not be the same if cups are used instead, and we can’t guarantee success with that method.
