Easy Homemade Mongolian Shrimp Recipe: Sweet, Savory & Spicy Takeout Favorite
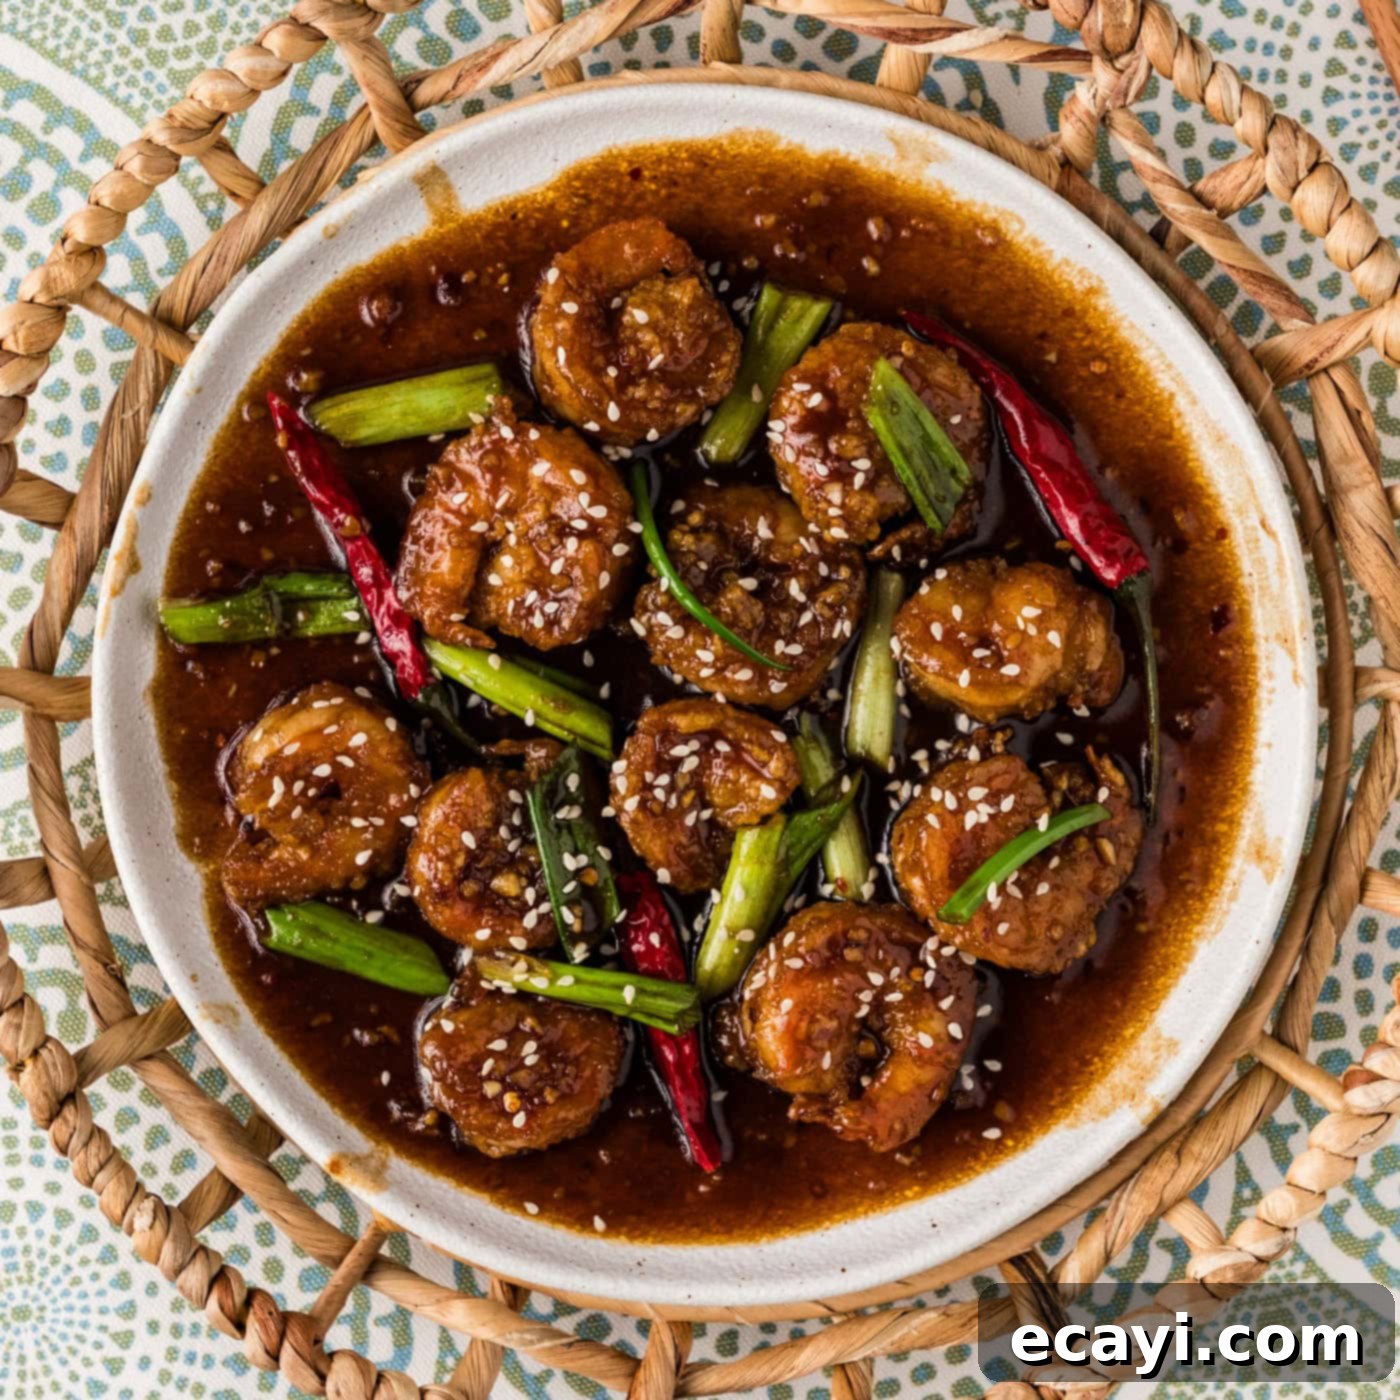
Craving the rich, sweet, and subtly spicy flavors of your favorite Asian takeout? Look no further than this incredibly delicious and easy Mongolian shrimp recipe! Forget ordering in; with this guide, you can create a restaurant-quality dish right in your own kitchen. Featuring perfectly breaded, succulent shrimp coated in a luscious, homemade sauce, this recipe takes classic Mongolian flavors and elevates them to an entirely new level, promising a culinary experience that’s both satisfying and surprisingly simple to achieve.
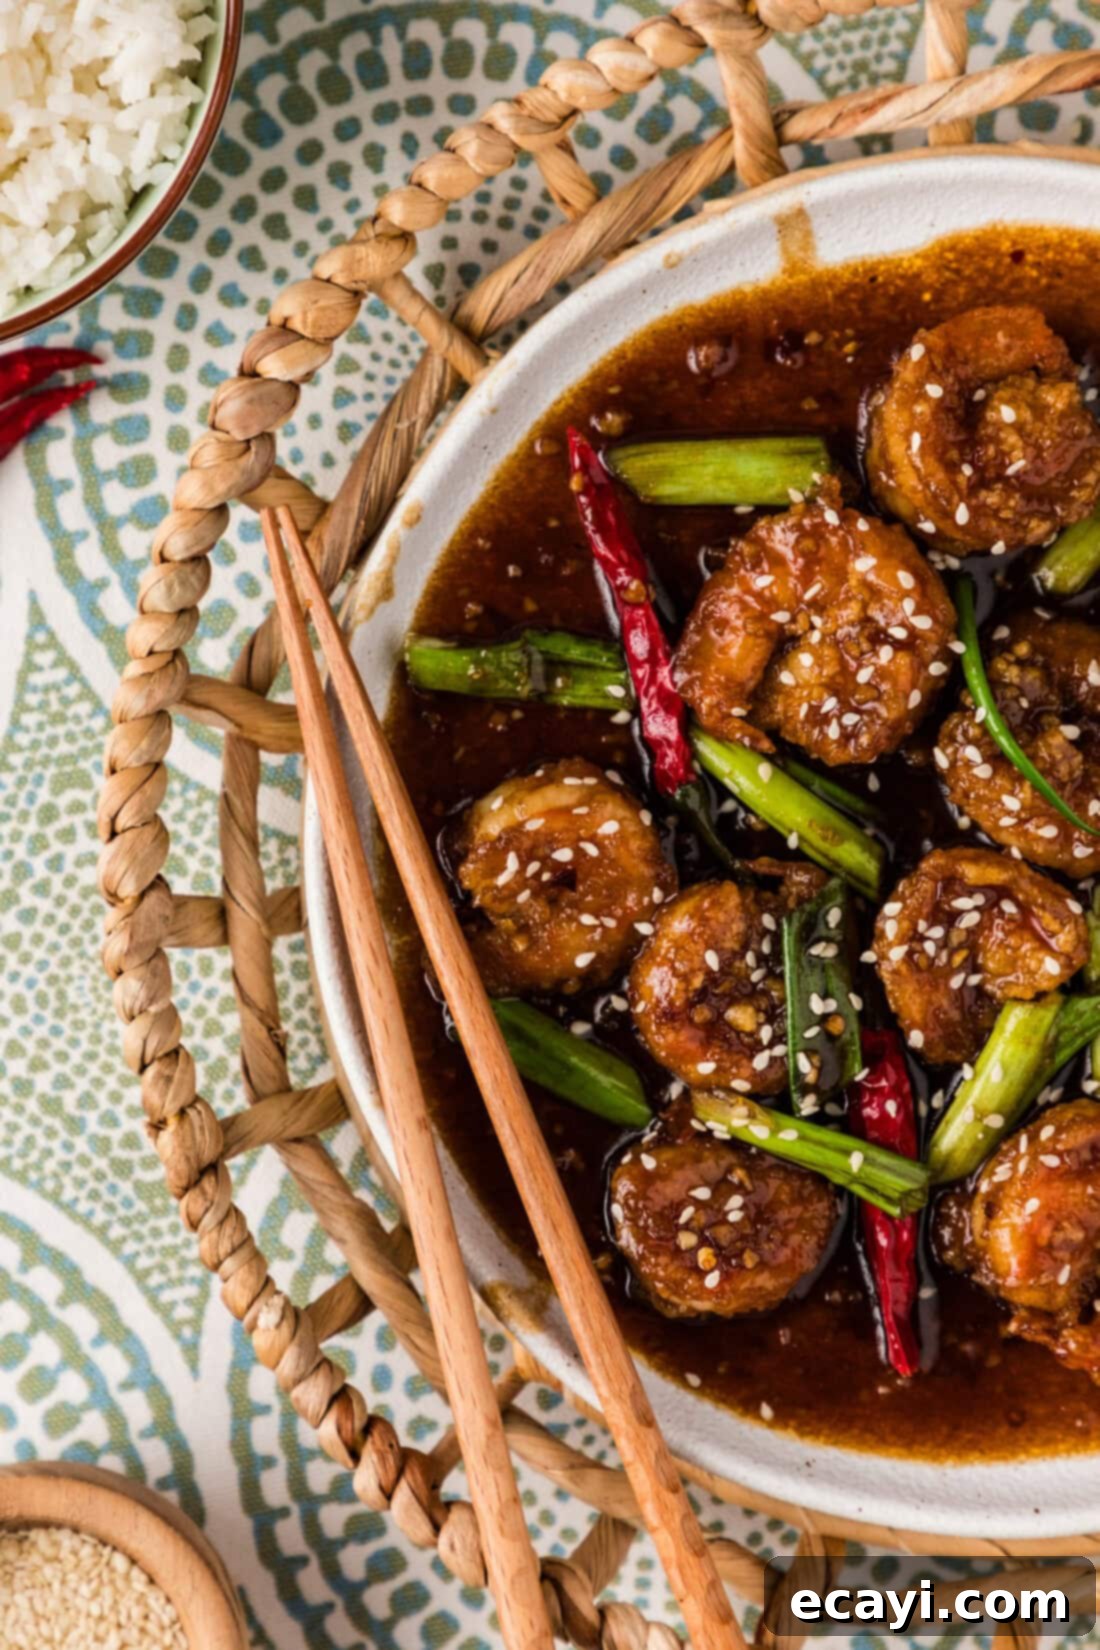
Why This Homemade Mongolian Shrimp Recipe Works So Well
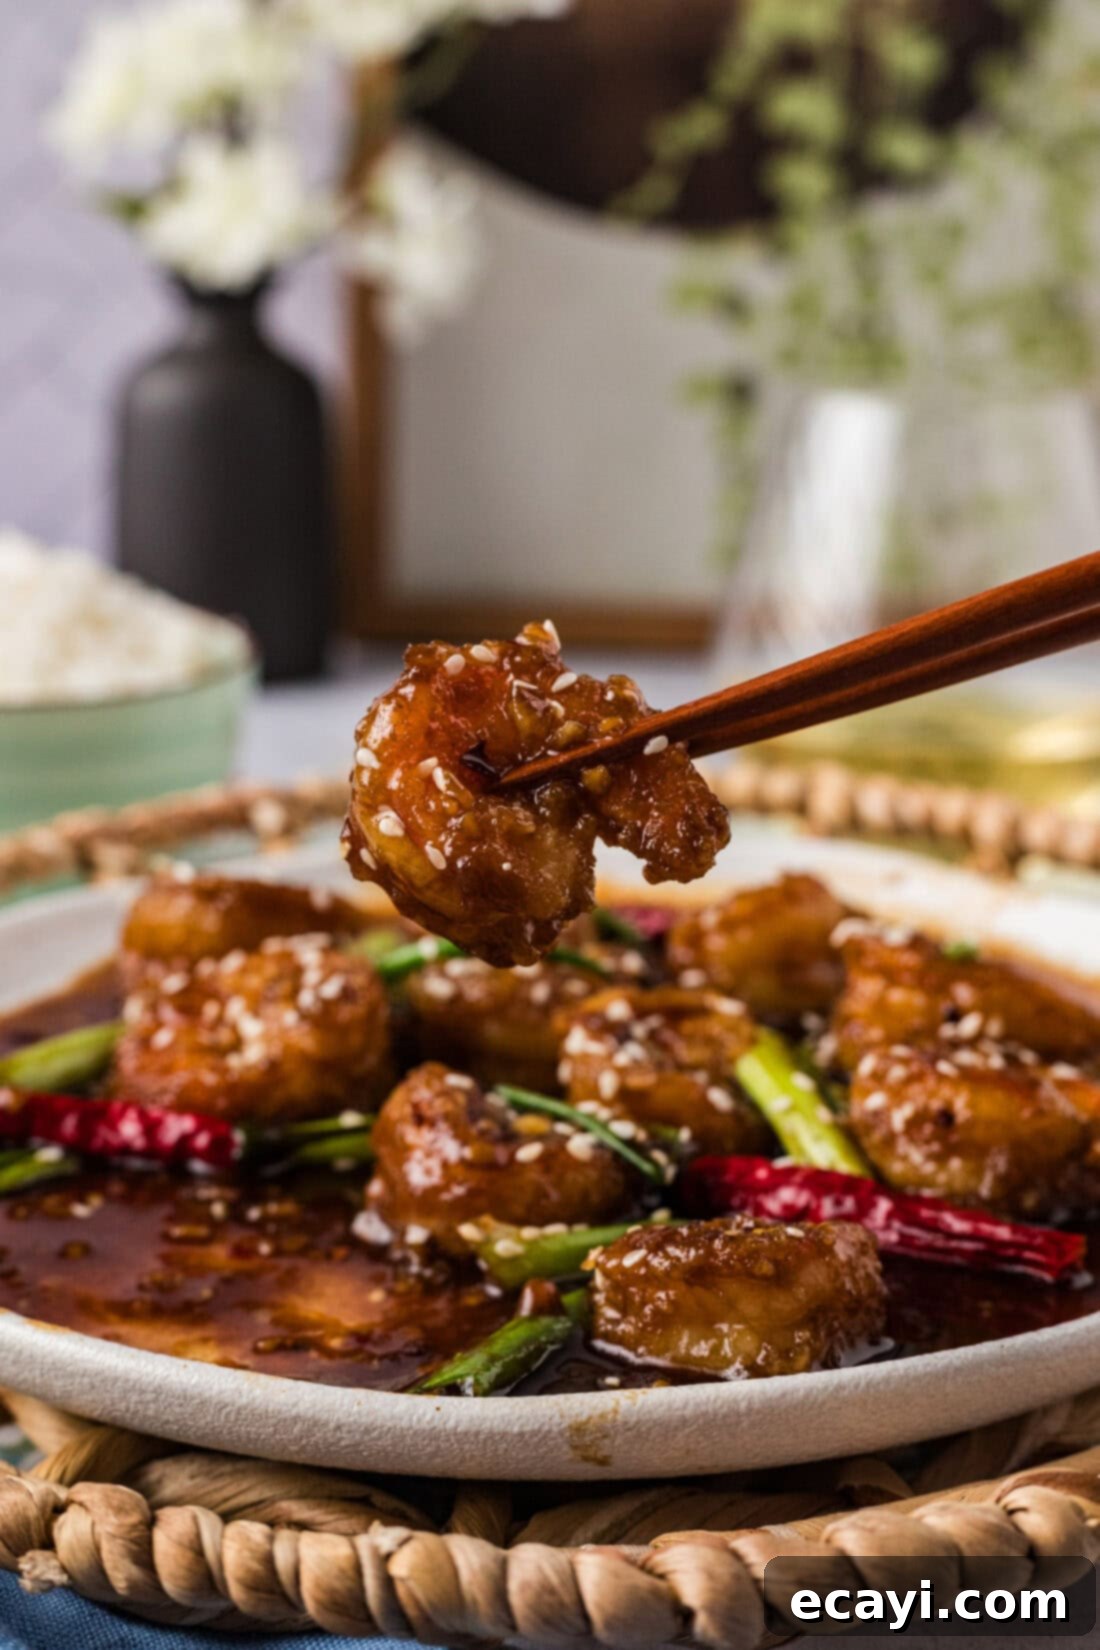
This Mongolian shrimp recipe isn’t just another dinner idea; it’s a guaranteed hit that brings the excitement of your favorite Chinese restaurant straight to your table. The magic lies in the perfect marriage of crispy, golden-brown shrimp with our signature Asian-inspired sauce. Unlike typical stir-fries, this dish features shrimp that are lightly breaded and fried, creating a delightful textural contrast that truly sets it apart.
The star of the show, however, is undoubtedly the sauce. It’s a symphony of flavors, carefully balanced with the aromatic notes of fresh garlic and ginger, the rich sweetness of honey, the umami depth of oyster sauce and soy sauce, and a gentle kick from red pepper flakes. This combination delivers a mouthwatering flavor profile that is both savory and sweet, with just enough heat to keep things interesting without overpowering the delicate taste of the shrimp.
You’re probably familiar with the popular Mongolian beef often found on Chinese takeout menus. This Mongolian shrimp offers a fantastic seafood alternative, capturing that same addictive flavor in a lighter, faster-cooking format. Whether you’ve tried Mongolian shrimp before or are new to the dish, you’ll quickly understand the hype. The rich, glossy sauce beautifully clings to each piece of shrimp, ensuring every bite is packed with flavor. Plus, customizing the spice level is incredibly easy – simply adjust the red pepper flakes or add some fresh Thai chili peppers for an extra fiery kick!
Making this dish at home means you control the quality of ingredients, from fresh shrimp to premium sauces, resulting in a cleaner, fresher taste compared to many takeout options. It’s also surprisingly quick to prepare, making it an ideal choice for a weeknight dinner that feels like a special occasion.
Essential Ingredients for Perfect Mongolian Shrimp
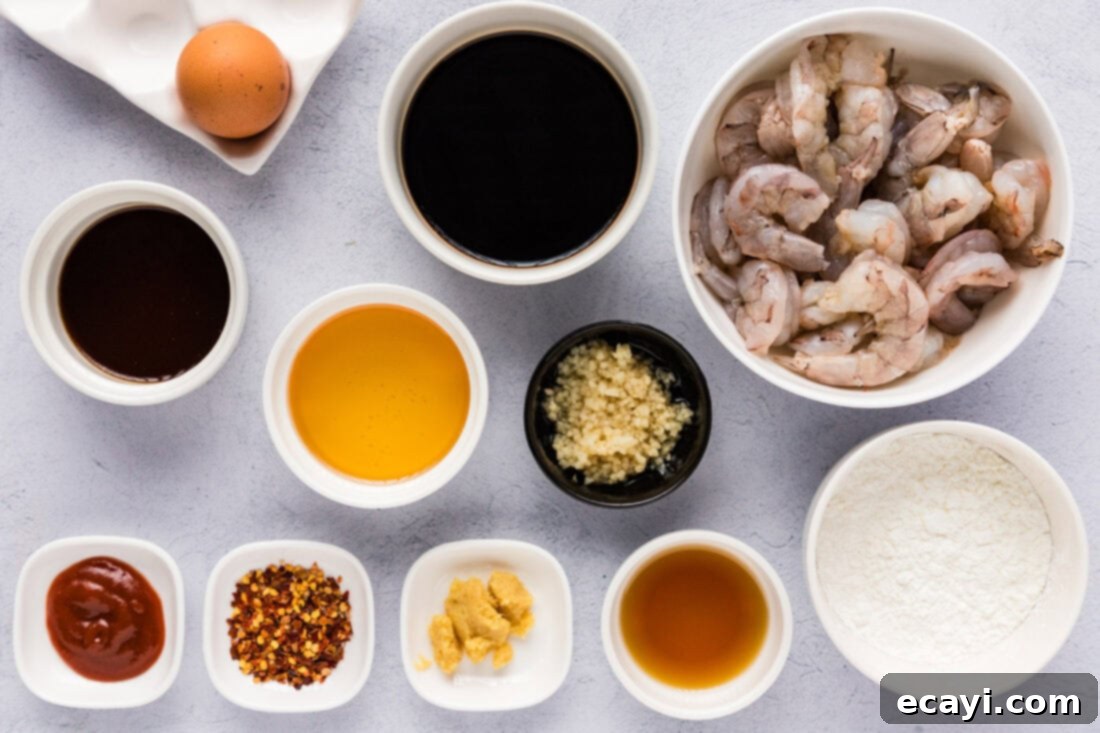
To embark on your culinary journey to create this incredible Mongolian shrimp, you’ll need a selection of fresh and pantry staples. While specific measurements are available in the full printable recipe card below, let’s break down the key components you’ll need to gather:
For the Shrimp:
- Large Raw Shrimp: Approximately one pound, peeled, deveined, and with tails removed.
- All-Purpose Flour: For the light breading.
- Large Egg: To help the flour adhere to the shrimp.
- Cooking Oil: A neutral-flavored oil suitable for frying, such as vegetable, peanut, or canola oil.
For the Irresistible Mongolian Sauce:
- Olive Oil: For sautéing the aromatics.
- Minced Garlic: Freshly minced garlic provides an essential aromatic base.
- Minced Ginger: Fresh ginger adds a pungent, slightly spicy, and fragrant note.
- Sesame Oil: For its distinctive nutty aroma and flavor.
- Honey: The primary sweet component that balances the savory and spicy elements.
- Oyster Sauce: A cornerstone of Chinese cuisine, offering deep umami and a slightly sweet, savory complexity.
- Ketchup: Adds a touch of tang and sweetness, and contributes to the sauce’s rich color.
- Red Pepper Flakes: For adjustable heat.
- Soy Sauce: The main savory, salty foundation of the sauce.
- Cornstarch: Used to create a slurry for thickening the sauce to the perfect consistency.
- Water: To create the cornstarch slurry and help thin the sauce slightly.
Ingredient Spotlight & Smart Substitutions
Understanding each ingredient’s role and knowing possible substitutions can empower you to customize this dish to your taste and what you have on hand.
SHRIMP – We recommend using a pound of large raw shrimp. The “large” size ensures a substantial bite and prevents them from overcooking too quickly. Always opt for peeled, deveined shrimp, and for this recipe, removing the tails is best for ease of eating. While fresh shrimp are wonderful, frozen shrimp are perfectly acceptable and often more convenient; in fact, most shrimp sold as “fresh” have been previously frozen and thawed. If using frozen shrimp, it’s crucial to thaw them properly before you begin cooking. The quickest method is to place them in a sealed bag and submerge the bag in a bowl of cold water, changing the water every 15-20 minutes until thawed. Avoid hot water, as it can partially cook the shrimp.
- Substitution Tip: For a different protein, the sauce works beautifully with thinly sliced chicken breast, pork, or even firm tofu for a vegetarian option. Cooking times will vary for these alternatives.
All-Purpose Flour & Egg – These form a simple breading for the shrimp, giving them a crispy exterior that holds up well to the sauce. The egg acts as a binder, helping the flour adhere evenly. This breading contributes significantly to the texture, distinguishing it from a standard stir-fry.
- Substitution Tip: For a gluten-free version, you can use a gluten-free all-purpose flour blend or cornstarch instead of wheat flour for breading.
Cooking Oil for Frying – Choose a neutral oil with a high smoke point, such as vegetable oil, peanut oil, canola oil, or even grapeseed oil. These oils can withstand the high heat required for frying without imparting unwanted flavors or breaking down prematurely.
Mongolian Sauce Essentials:
- Olive Oil: Used for sautéing the aromatics. While we specify olive oil, any neutral cooking oil will work here.
- Minced Garlic & Ginger: These aromatics are fundamental to Asian cuisine, providing a fragrant and pungent base for the sauce. Always use fresh for the best flavor!
- Sesame Oil: A small amount of toasted sesame oil adds a wonderfully nutty, distinctive aroma. Add it towards the end of cooking to preserve its delicate flavor.
- Honey: Provides natural sweetness and a lovely glaze-like quality to the sauce.
- Oyster Sauce: This thick, savory condiment is made from oyster extracts and gives the sauce a complex, slightly sweet, and salty umami depth. It’s truly key to the “Mongolian” flavor.
- Substitution Tip: If you can’t find oyster sauce or prefer a vegetarian option, mushroom-flavored vegetarian oyster sauce is an excellent substitute.
- Ketchup: May seem unusual, but ketchup adds a touch of acidity, sweetness, and a vibrant red hue to the sauce, contributing to its rich, balanced profile.
- Red Pepper Flakes: These dried chili flakes allow you to easily control the heat level. Use less for a mild dish, or more for a spicier kick.
- Substitution Tip: For a more intense heat or a different flavor, consider a dash of Sriracha or a few drops of chili oil.
- Soy Sauce: The backbone of many Asian sauces, providing saltiness and savory depth.
- Substitution Tip: Use low-sodium soy sauce to better control the saltiness, or tamari for a gluten-free alternative.
- Cornstarch & Water (Cornstarch Slurry): A simple mix of cornstarch and cold water is essential for thickening the sauce to that perfect, glossy consistency, ensuring it beautifully coats the shrimp. Always mix cornstarch with cold liquid before adding it to hot sauce to prevent lumps.
How to Make Authentic Mongolian Shrimp at Home
These step-by-step photos and detailed instructions are designed to help you visualize and master this recipe. For a convenient printable version with all exact measurements and instructions, scroll down to the recipe card at the end of this post.
- Prepare the Breading Station: Begin by setting up your breading station. In one breading tray or shallow dish, whisk one large egg until well beaten. In a second breading tray or dish, place your all-purpose flour. This organized setup will make the breading process smooth and efficient.
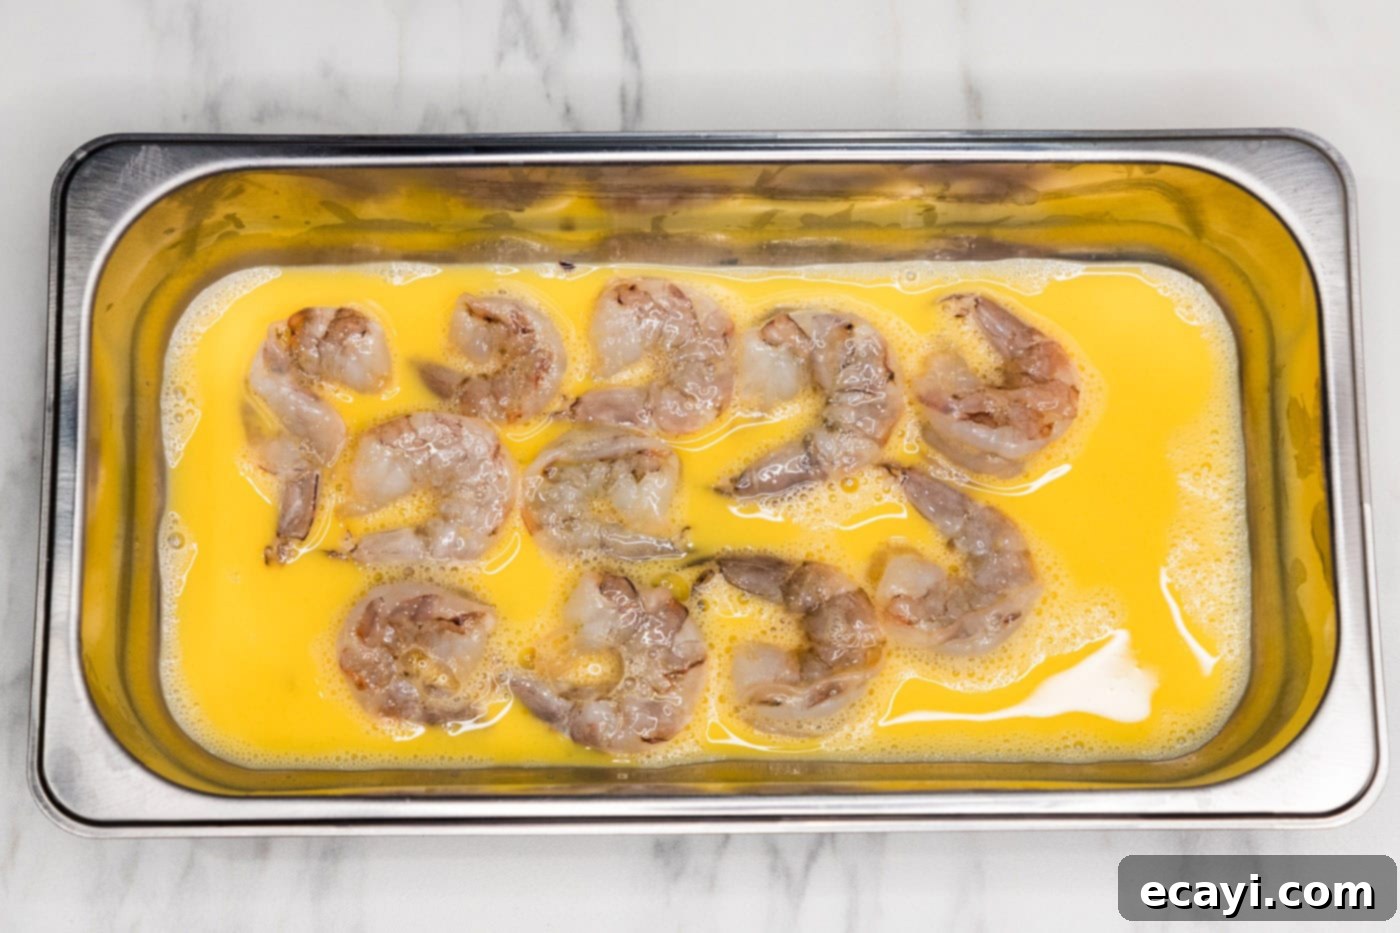
- Egg Coat the Shrimp: Take your peeled, deveined, and tail-removed shrimp and coat both sides thoroughly in the whisked egg. Ensure each piece is evenly covered, as this will help the flour adhere.

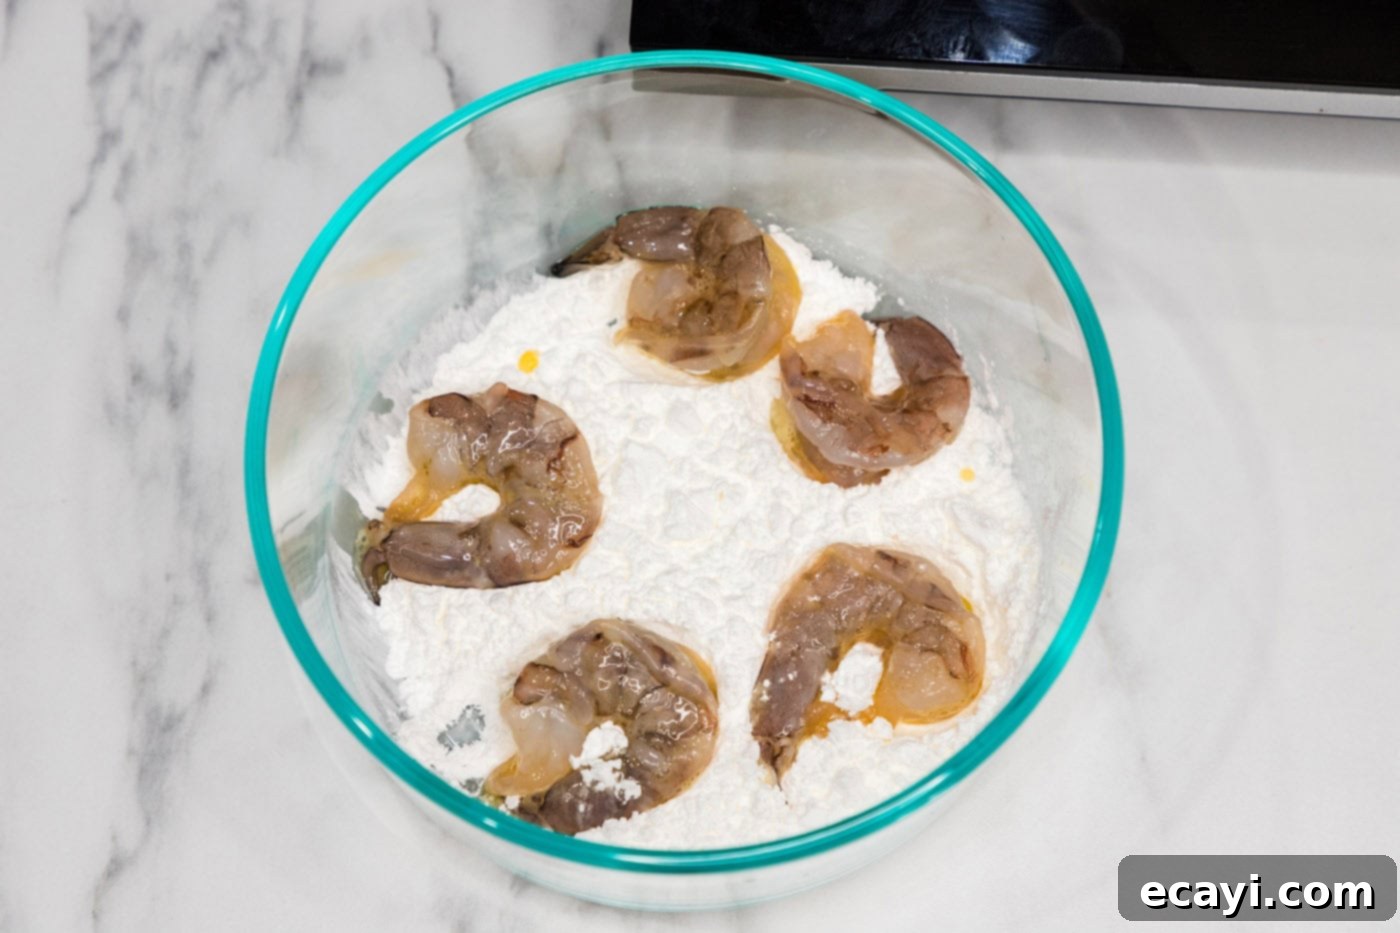
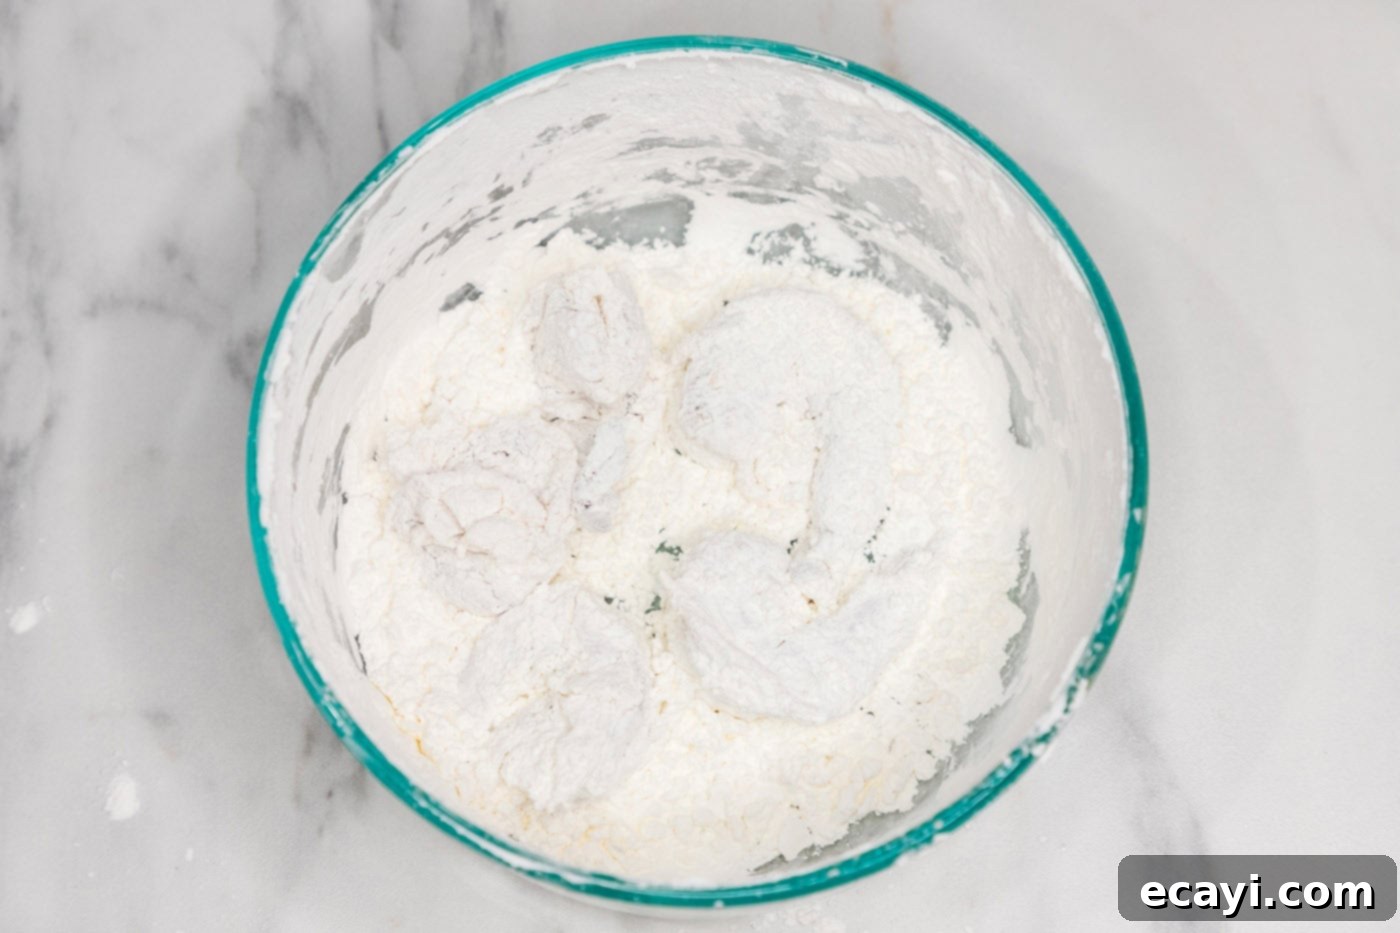
- Flour Dredge: Next, dredge the egg-coated shrimp generously in the flour. Press lightly to ensure the flour sticks, creating a complete and even coating on all sides. This breading is what gives the shrimp its wonderful crispy texture after frying.


- Prepare for Frying: Once breaded, place the shrimp in a single layer on a wire rack. This prevents them from sticking together and helps the coating set slightly while you prepare for frying.
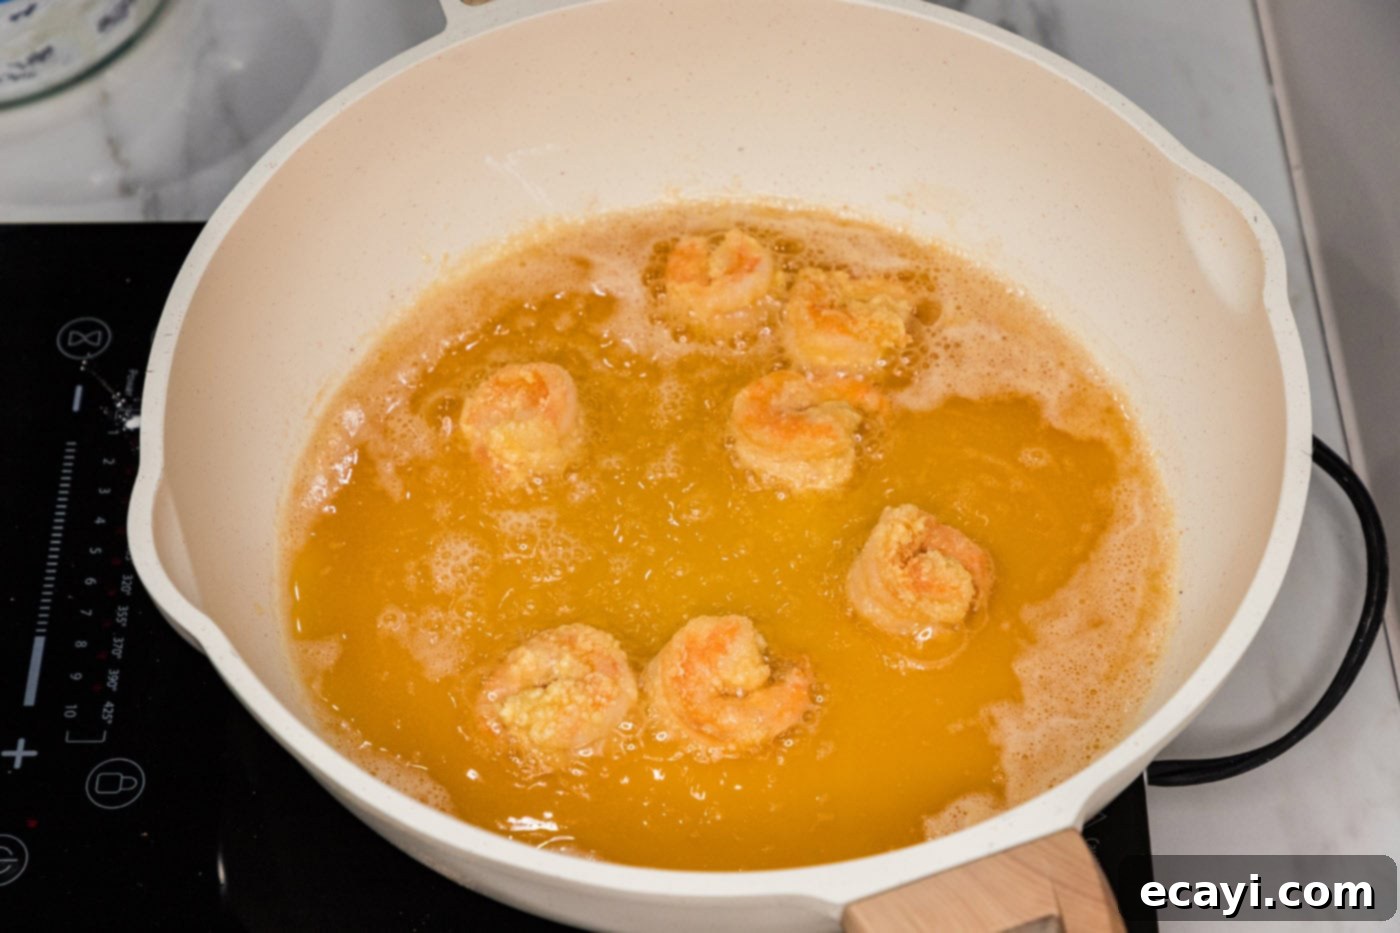
- Frying the Shrimp to Perfection: In a large, heavy-bottomed skillet, add enough cooking oil to reach a depth of about 1/2-inch. Heat the oil over medium-high heat until it reaches a temperature of 350°F (175°C). Using a candy thermometer or deep-fry thermometer is highly recommended for accuracy, ensuring perfectly crispy shrimp without being greasy. Carefully place the breaded shrimp into the hot oil, ensuring not to overcrowd the pan. Cook in batches if necessary. Fry for 2-3 minutes, turning once, until golden brown and cooked through. Shrimp cook quickly, so watch them closely to avoid overcooking. Remove the cooked shrimp to a clean wire rack to drain any excess oil, which helps maintain their crispiness.
CHEF TIP – Don’t worry about using a new pan for the sauce. Once all the shrimp are fried, carefully empty the oil from the skillet. Using a paper towel, wipe out any residual oil and browned bits. This saves you an extra dish and allows you to seamlessly transition to sauce preparation in the same pan, integrating any leftover flavors.

- Sauté the Aromatics: In the same skillet (now cleaned), heat 1 tablespoon of olive oil over medium-high heat until it shimmers. Add the minced garlic and ginger, and sauté for about 30 seconds until fragrant. Be careful not to burn the garlic.
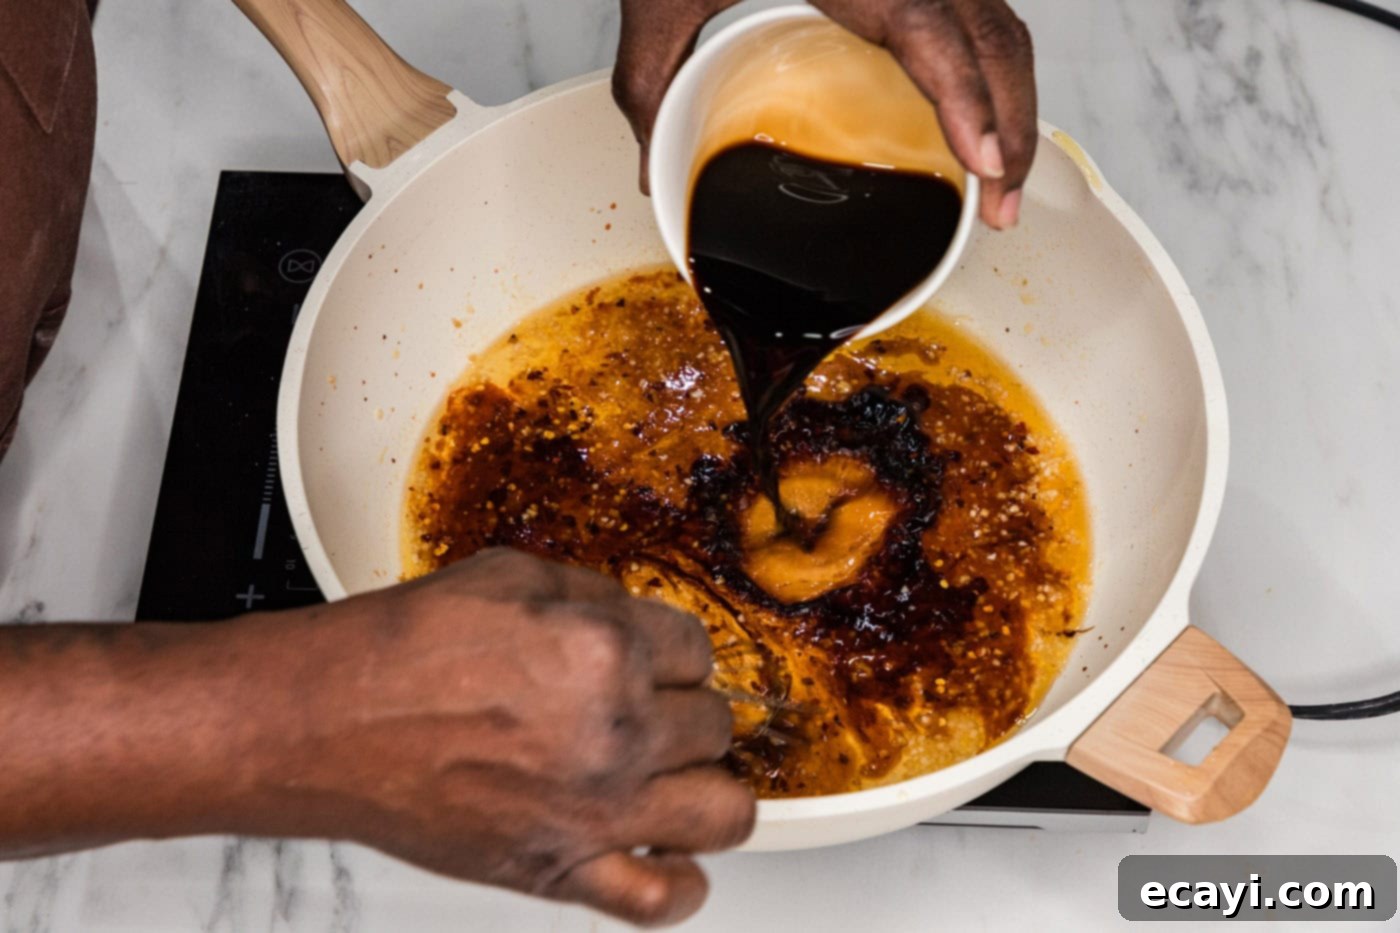
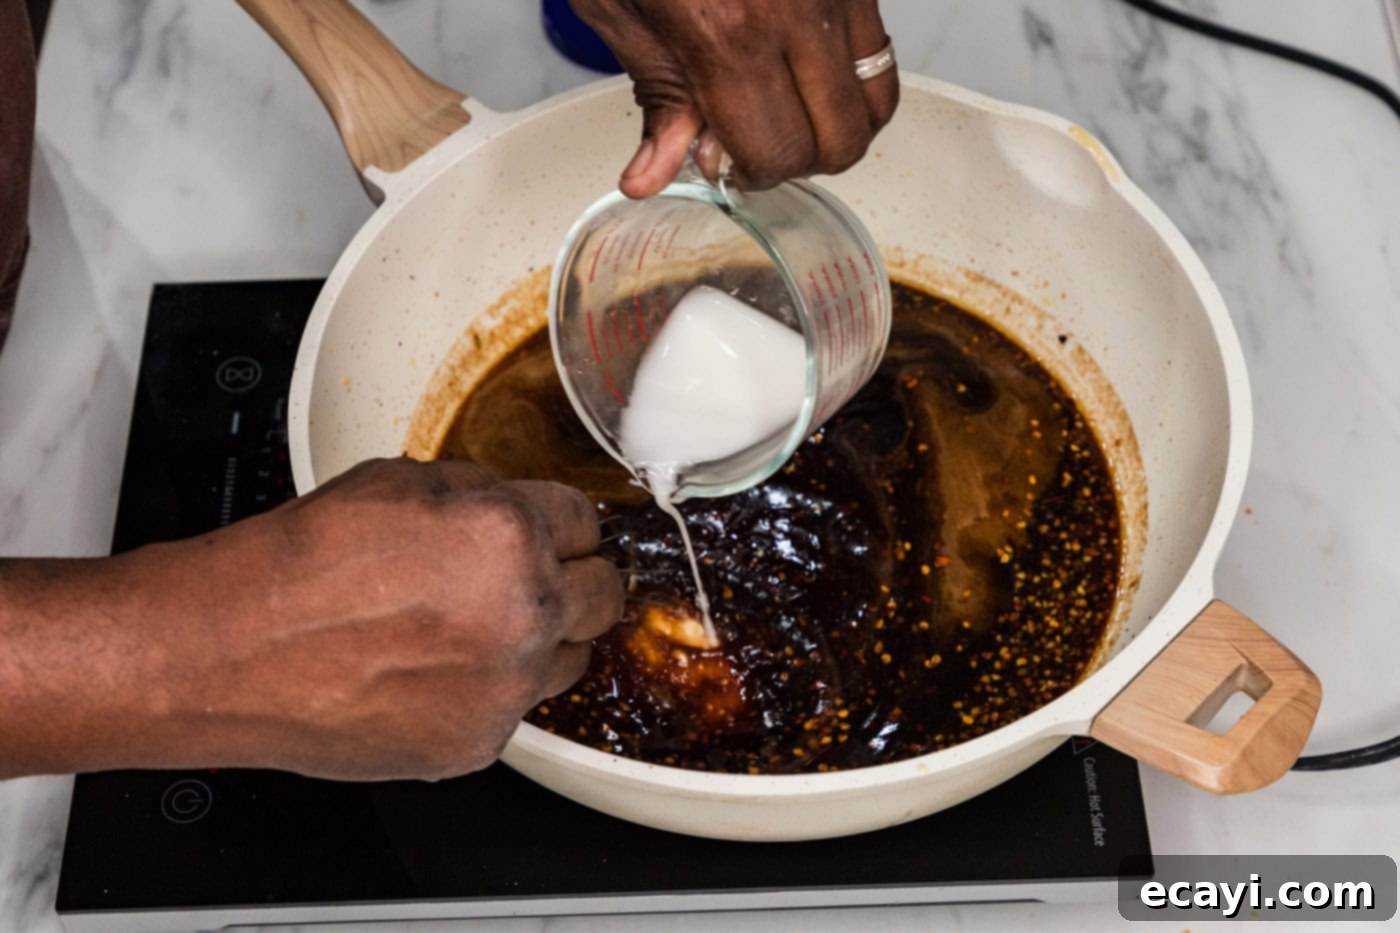
- Whisk in the Sauce Ingredients: Add all the remaining sauce ingredients (sesame oil, honey, oyster sauce, ketchup, red pepper flakes, soy sauce, cornstarch, and water) to the skillet. Whisk the mixture together thoroughly to combine everything smoothly.


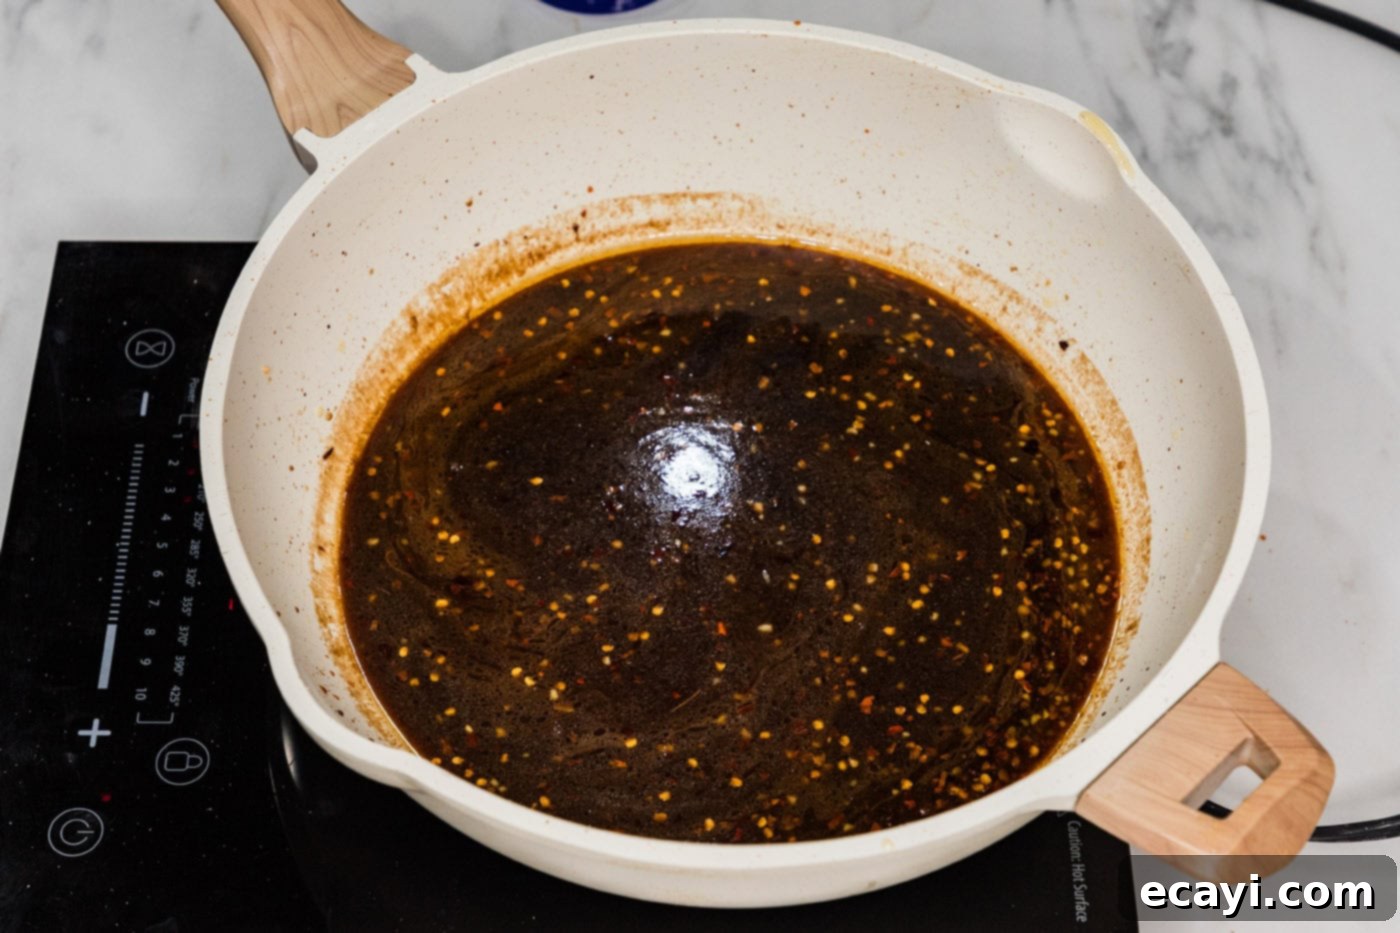
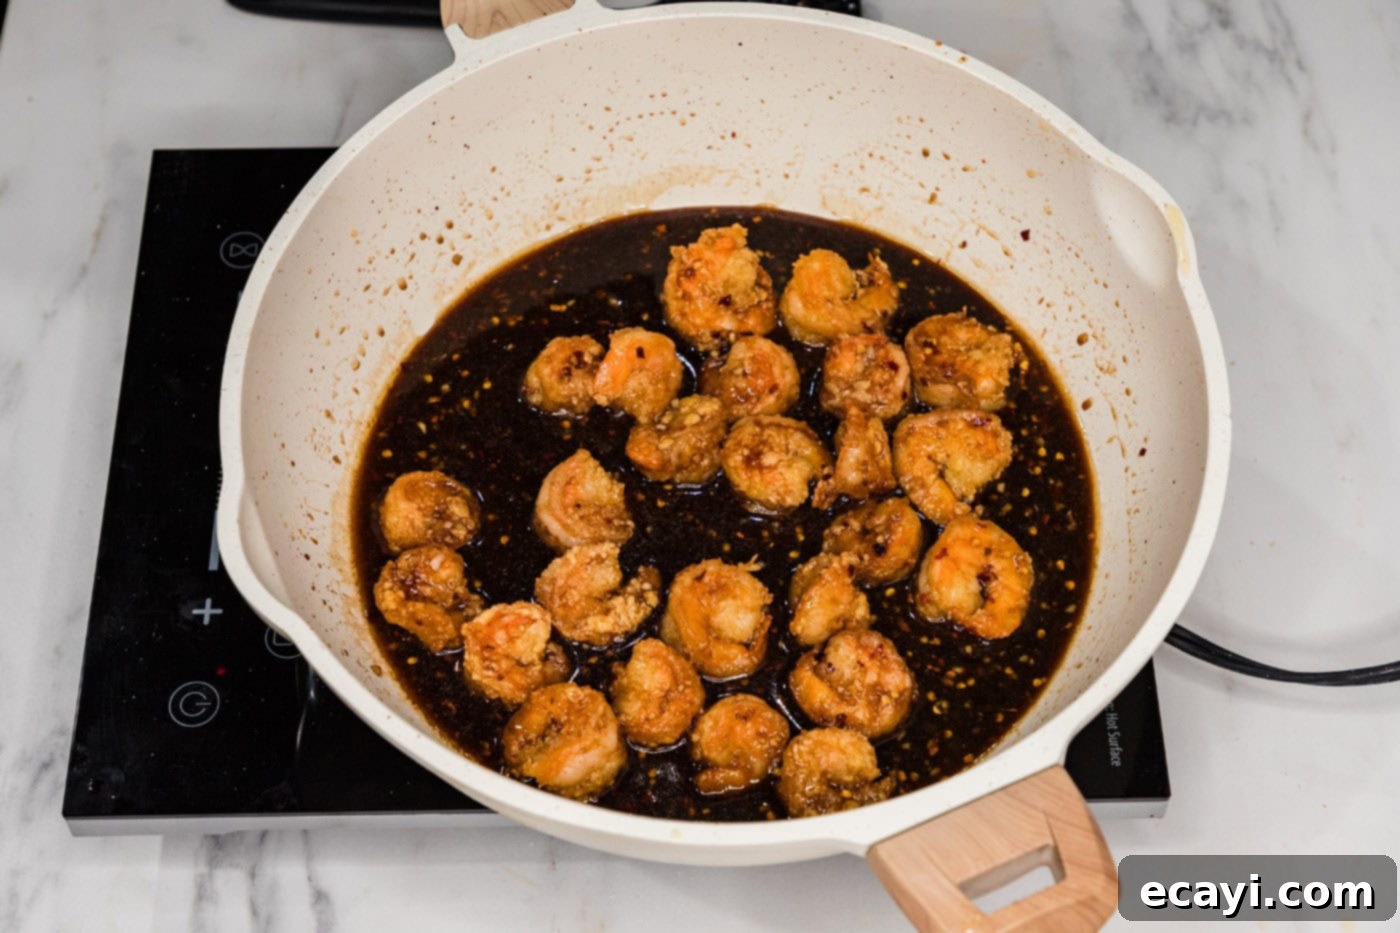
- Thicken the Sauce: Continue heating the mixture, stirring occasionally, until the sauce begins to bubble and thicken to a desirable consistency. It should be thick enough to coat the back of a spoon. This usually takes just a few minutes.

- Combine Shrimp and Sauce: Finally, add the fried shrimp back into the skillet with the thickened Mongolian sauce. Gently toss and turn the shrimp to ensure each piece is thoroughly coated in the rich, glossy sauce. Serve immediately to enjoy the shrimp at its crispiest!

Frequently Asked Questions & Expert Tips for Mongolian Shrimp
Yes, absolutely! This versatile homemade Mongolian sauce is incredibly flavorful and pairs well with a variety of ingredients. It’s fantastic with thinly sliced chicken breast or thighs, tender beef (like flank steak or sirloin), or even pork. For a delicious vegetarian meal, try it with firm tofu, tempeh, or a medley of stir-fried vegetables. Just ensure your chosen protein is cooked through before tossing it with the thickened sauce.
Adding vegetables is a fantastic idea to boost nutrition and flavor! This dish is excellent with as many or as few vegetables as you prefer. Some popular choices include broccoli florets, sliced bell peppers (any color), snow peas, sliced mushrooms, julienned carrots, and sliced spring onions (added at the very end). Because shrimp cooks very quickly, your best approach is to sauté the vegetables separately in a bit of oil until they are tender-crisp. You can then add the cooked vegetables to the sauce when you add the shrimp, tossing everything gently to coat. This ensures both the shrimp and vegetables are perfectly cooked and retain their texture.
Store any leftover Mongolian shrimp in an airtight container in the refrigerator for up to 2 days. Reheating shrimp can be a bit tricky, as they can quickly become rubbery if overcooked. For best results, reheat gently. You can warm them in the microwave at a low power setting, reheating in short bursts (30-60 seconds) and stirring in between until just warmed through. Alternatively, toss the mixture (shrimp and any remaining sauce) into a skillet and gently rewarm over low heat on the stovetop, stirring occasionally. Avoid high heat to prevent overcooking.
Absolutely! Preparing the Mongolian sauce in advance is a great time-saver. Simply whisk all the sauce ingredients together (excluding the cornstarch slurry, if you prefer to add that later for thickening) and store it in an airtight container in the refrigerator for up to 3-4 days. When ready to cook, just heat the sauce, add your cornstarch slurry to thicken, and then combine with your freshly cooked shrimp.
While frying provides the best crispiness for this recipe, you can certainly try alternative methods for a healthier or easier approach.
- Air Fryer: Lightly spray the breaded shrimp with cooking oil and air fry at 375°F (190°C) for 8-12 minutes, shaking the basket halfway, until golden and cooked through.
- Baking: Arrange breaded shrimp on a baking sheet lined with parchment paper, lightly spray with cooking oil, and bake at 400°F (200°C) for 10-15 minutes, flipping once, until golden.
Note that the texture will be slightly different from deep-frying, but still delicious!
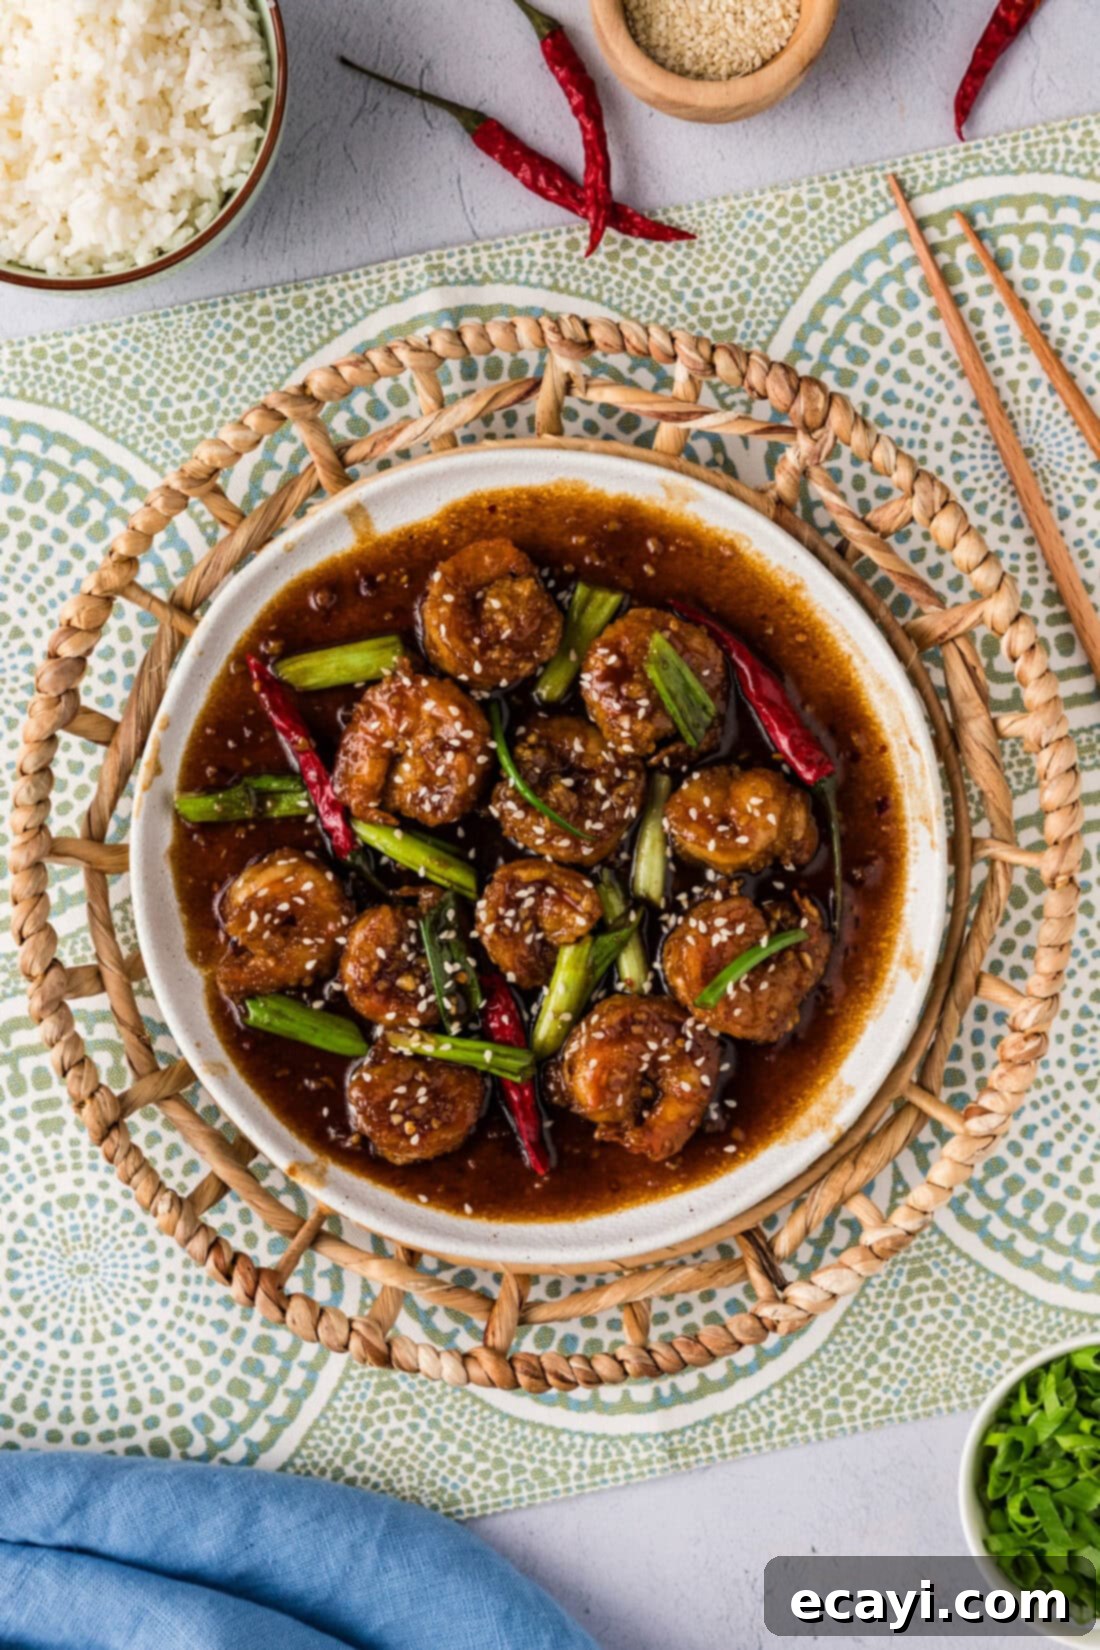
Serving Suggestions for Your Mongolian Shrimp
Your homemade Mongolian shrimp deserves to be served in style! This dish is incredibly versatile and pairs wonderfully with a variety of sides to create a complete and satisfying meal. The most classic accompaniment is a fluffy bed of steamed white rice, which perfectly soaks up the rich, savory sauce. Alternatively, for a heartier meal, serve it over Lo Mein or Cantonese egg noodles. You could even use vermicelli or other Asian-style noodles.
To enhance both the flavor and visual appeal, consider garnishing your dish generously. Sliced green onions (scallions) add a fresh, pungent bite and a vibrant pop of color. A sprinkle of toasted sesame seeds adds a lovely nutty crunch and aroma. For an extra touch, fresh cilantro leaves or a squeeze of fresh lime juice can brighten the flavors beautifully. Don’t forget some steamed or stir-fried Asian greens on the side, like bok choy or gai lan, for a well-rounded meal. Enjoy every sweet, savory, and spicy bite!
Discover More Delicious Shrimp Recipes
If you loved this Mongolian shrimp, you’re in for a treat! Shrimp is a fantastic protein for quick and flavorful meals. Explore more of our favorite shrimp recipes that are sure to become family favorites:
- Hunan Shrimp
- Kung Pao Shrimp
- Citrus Pepper Shrimp
- Sweet and Sour Shrimp
- Shrimp with Lobster Sauce
I absolutely love to experiment in the kitchen and share my culinary adventures and delicious recipes with all of you! Remembering to check back for new recipes every day can be tough, which is why I offer a convenient newsletter delivered straight to your inbox every time a new recipe posts. Simply subscribe here and start receiving your free daily recipes, tips, and inspiration!
Mongolian Shrimp
IMPORTANT – There are often Frequently Asked Questions within the blog post that you may find helpful. Simply scroll back up to read them!
Print It
Pin It
Rate It
Save ItSaved!
Course: Dinner
Cuisine: American, Asian
Ingredients
- 1 large egg
- ½ cup all purpose flour
- 1 pound raw large shrimp peeled, deveined, tails removed
- cooking oil for frying. such as vegetable, peanut, or canola oil
Sauce
- 1 Tablespoon olive oil
- 1 Tablespoon minced garlic
- 2 teaspoons minced ginger
- 1 Tablespoon sesame oil
- ¼ cup honey
- ¼ cup oyster sauce
- 1 Tablespoon ketchup
- 2 teaspoons red pepper flakes
- ½ cup soy sauce
- 2 teaspoons cornstarch
- ¼ cup water
Things You’ll Need
-
2 Breading trays
-
Whisk
-
Large heavy bottomed skillet
-
Wire cooling rack
Before You Begin
- It’s perfectly okay to use frozen shrimp (most come that way anyhow), however, you will want to thaw them before beginning. To thaw shrimp quickly, place them in a sealed bag submerged in a bowl of cold water. You may need to swap the water out as it thaws.
Instructions
-
Whisk an egg in one of the breading trays and put the flour in another.1 large egg, 1/2 cup all purpose flour
-
Coat both sides of shrimp in egg.1 pound raw large shrimp
-
Dredge shrimp in flour, coating generously.
-
Place breaded shrimp on a wire rack.
-
To the skillet, add enough cooking oil to come about 1/2-inch up the sides of the pan. Heat oil over medium-high until it reaches a temperature of 350 F. Being careful not to crowd the shrimp, place each piece into the hot oil and cook for 2-3 minutes. Remove shrimp to a wire rack.cooking oil
-
You can use the same skillet, empty the used oil and wipe out with a paper towel. Heat olive oil in skillet over medium-high heat until shimmering. Add garlic and ginger.1 Tablespoon olive oil, 1 Tablespoon minced garlic, 2 teaspoons minced ginger
-
Add remaining sauce ingredients. Whisk mixture together.1 Tablespoon sesame oil, 1/4 cup honey, 1/4 cup oyster sauce, 1 Tablespoon ketchup, 2 teaspoons red pepper flakes, 1/2 cup soy sauce, 2 teaspoons cornstarch, 1/4 cup water
-
Continue heating the mixture until the sauce begins to thicken.
-
Add shrimp to skillet and gently turn to coat.
Expert Tips & FAQs
- Store leftovers in an air-tight container kept in the refrigerator for up to 2 days. Reheating shrimp can be finnicky when trying not to overcook them. You can pop them in the microwave at low power and reheat in small bursts of time. Or, you can toss the mixture along with the shrimp into a skillet and gently rewarm over low heat.
- Serve your Mongolian shrimp over a bed of white rice or Lo Mein/Cantonese egg noodles. Optionally garnish with sliced spring onions and sesame seeds.
Nutrition
Tried this Recipe? Pin it for Later!Follow on Pinterest @AmandasCookin or tag #AmandasCookin!
The recipes on this blog are tested with a conventional gas oven and gas stovetop. It’s important to note that some ovens, especially as they age, can cook and bake inconsistently. Using an inexpensive oven thermometer can assure you that your oven is truly heating to the proper temperature. If you use a toaster oven or countertop oven, please keep in mind that they may not distribute heat the same as a conventional full sized oven and you may need to adjust your cooking/baking times. In the case of recipes made with a pressure cooker, air fryer, slow cooker, or other appliance, a link to the appliances we use is listed within each respective recipe. For baking recipes where measurements are given by weight, please note that results may not be the same if cups are used instead, and we can’t guarantee success with that method.
