Irresistible Apple Hand Pies: Your Perfect Fall Dessert Recipe
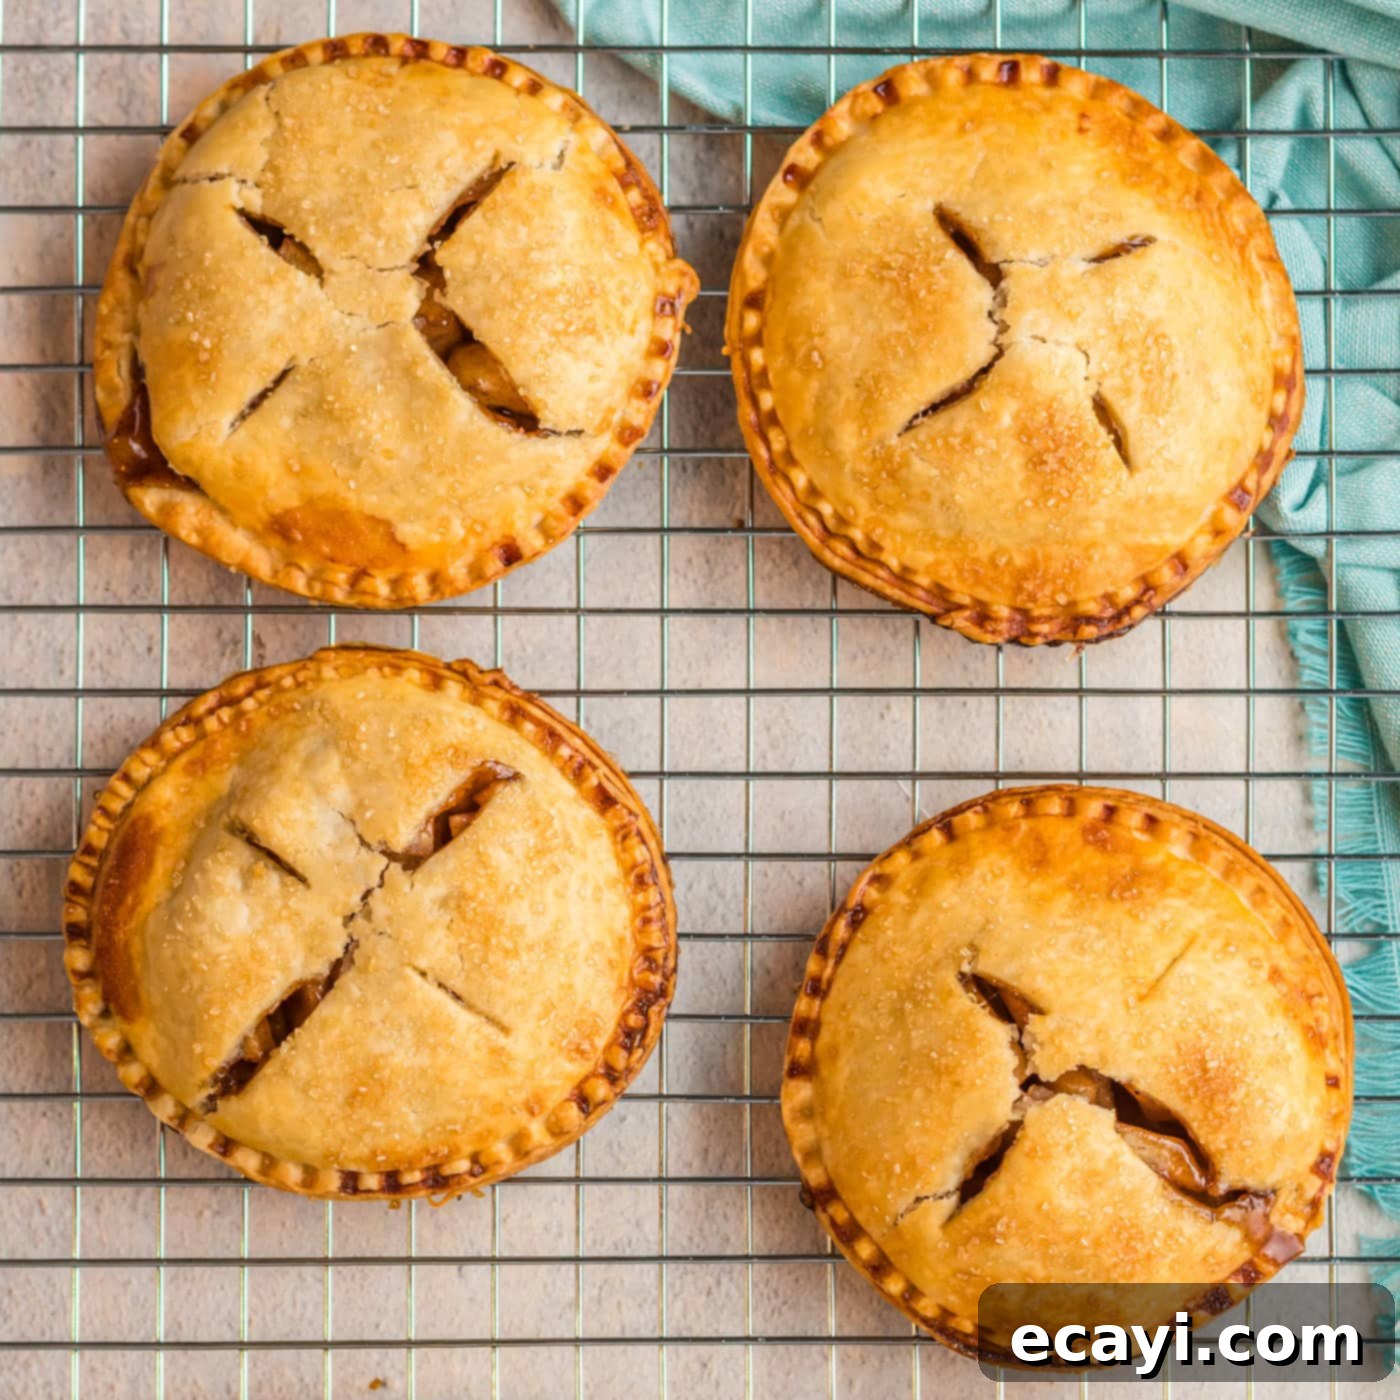
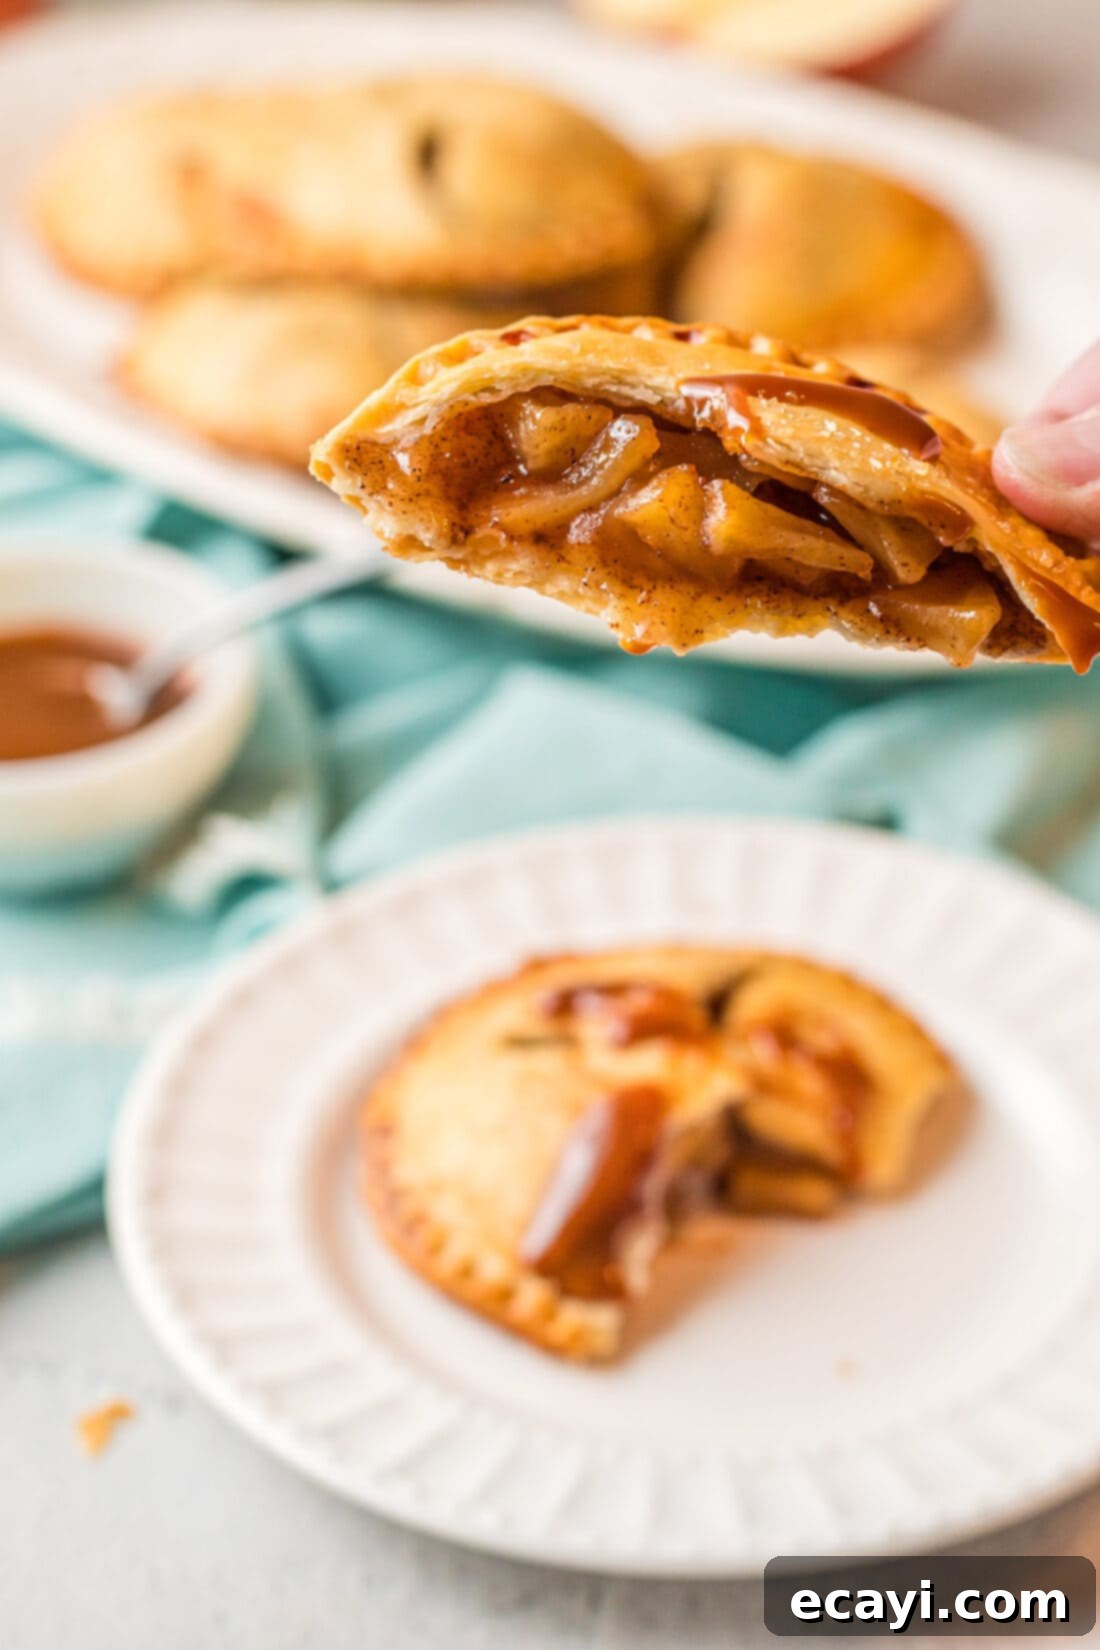
There’s nothing quite like the comforting embrace of a classic apple pie, but these individual apple hand pies take that cherished experience and make it perfectly portable and even more delightful. Featuring tender, sweet-tart apples lovingly cooked down with an aromatic blend of cozy fall spices, encased in a golden, flaky crust, these hand pies are truly an irresistible treat. A generous drizzle of warm caramel sauce elevates them to dessert perfection, making them a must-have for autumn gatherings or a simple, joyful moment at home.
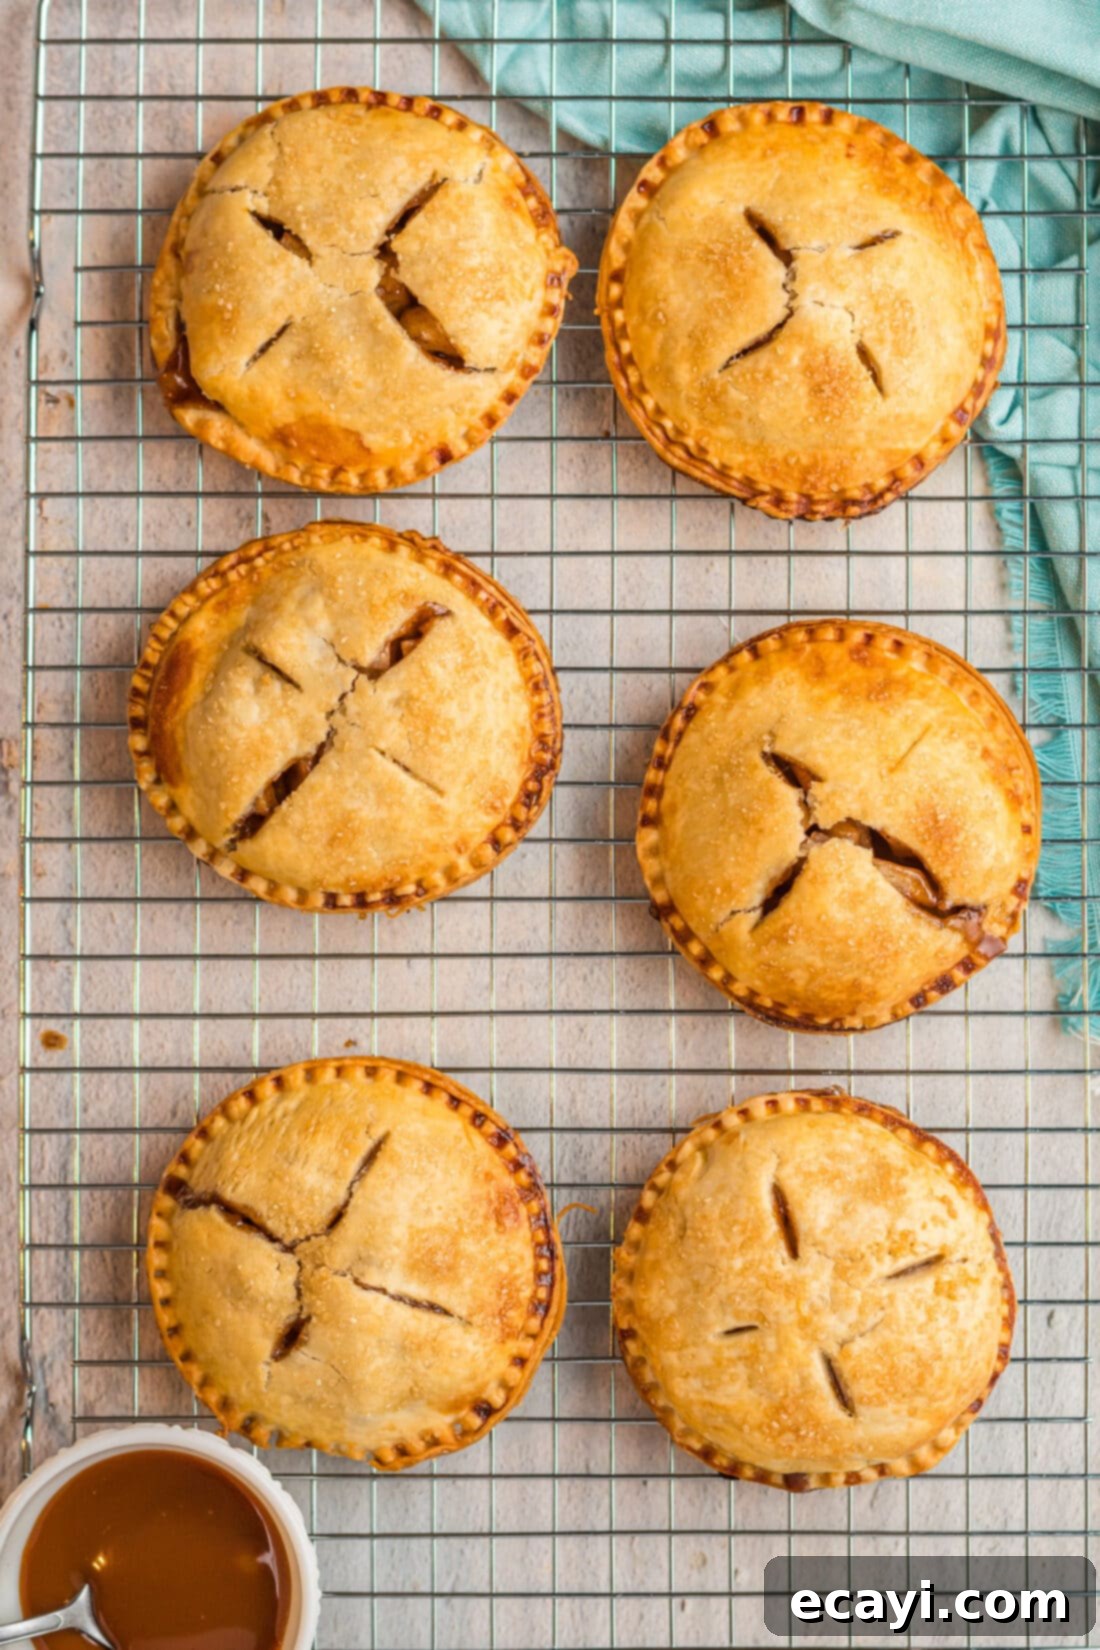
Why You’ll Love This Apple Hand Pie Recipe
These sweet little apple hand pies aren’t just delicious; they’re packed with layers of flavor that make them stand out. The secret? A hint of bourbon, which adds a wonderful depth and warmth that beautifully complements the rich brown sugar and classic fall spices like nutmeg, cinnamon, and allspice. This isn’t just a basic apple pie filling; it’s a sophisticated, comforting mixture designed to awaken your taste buds.
When autumn arrives, bringing with it crisp air and vibrant foliage, there’s a natural longing for comforting flavors. And truly, nothing captures the essence of fall quite like a mini hand pie brimming with the season’s finest ingredients! Forget the fuss of serving a whole pie; these individual portions are not only charming but also incredibly convenient. Crafting a batch of these delectable apple hand pies, perhaps alongside some pumpkin hand pies, is our absolute favorite way to embrace the spirit of fall and usher in the festive atmosphere of Thanksgiving. They’re perfect for sharing, easy to transport, and a delightful single-serving dessert that everyone will adore.
RELATED: For another fantastic hand pie idea, you might also like this recipe – Lemon Blueberry Hand Pies, perfect for a lighter, fruity twist!
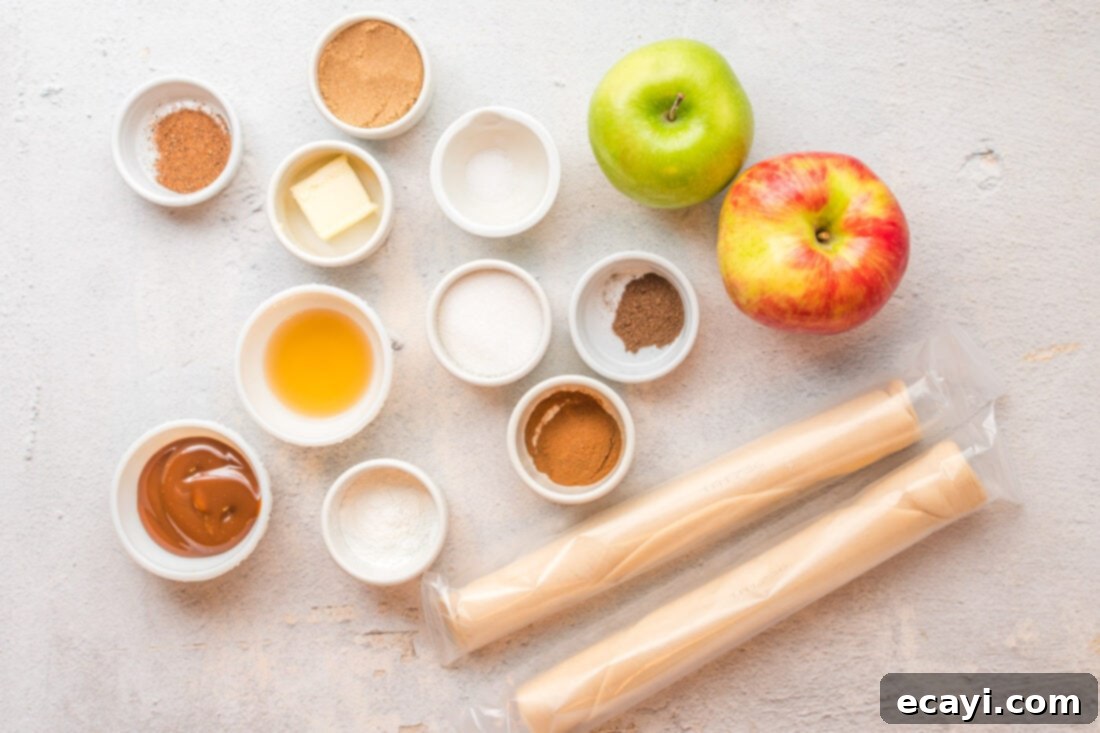
Essential Ingredients for Perfect Apple Hand Pies
Before you embark on this delightful baking adventure, gather all your ingredients. You’ll find a complete list with precise measurements and detailed instructions in the printable recipe card at the very end of this post. Having everything prepped and ready will make the baking process smooth and enjoyable.
Ingredient Spotlight & Smart Substitutions
APPLES – The foundation of any great apple pie is, naturally, the apples themselves! For the best apple hand pies, you’ll want a blend of crisp, sweet, and slightly tart apples that hold their shape beautifully when baked. Excellent choices include Granny Smith (for that essential tartness), Honeycrisp (known for its crisp texture and balanced sweetness), and Gala (a sweet and mild option). Many bakers also love Pink Lady or Golden Delicious. If you have the opportunity, choosing freshly picked apples from a local orchard adds an extra layer of seasonal charm and unparalleled flavor to your hand pies – it truly makes a difference you can taste!
FILLING SAUCE – This is where the magic happens, transforming simple apples into an aromatic, flavorful filling. We use a combination of granulated and light brown sugar for a balanced sweetness; if you prefer a richer, deeper molasses note, feel free to substitute with dark brown sugar. For spices, freshly shaved nutmeg offers an incredible aroma, but a good quality ground nutmeg from a bottle works perfectly fine. Cinnamon and allspice complete the classic fall flavor profile. Our recipe includes a small but impactful amount of bourbon, which imparts a subtle, warming complexity and depth. While we highly recommend trying it for its unique flavor contribution, you can absolutely swap it out for a teaspoon of lemon juice or even apple cider for a non-alcoholic alternative. And for ultimate convenience, if you have a pre-mixed apple pie spice blend on hand, you can substitute all individual spices for that – just ensure you use the equivalent amount suggested on your blend’s packaging for apples.
PIE DOUGH – To keep these apple hand pies wonderfully sweet, simple, and accessible for bakers of all skill levels, we’ve opted for a convenient refrigerator pie crust. You can easily find these pre-rolled crusts in the refrigerated section of your local grocery store. Using store-bought dough dramatically cuts down on prep time, making these pies come together in a snap and simple enough for even little hands to help with! The goal is to get those delicious hand pies baking without unnecessary stress. However, if you’re a purist or simply prefer to make your own from scratch, your favorite homemade pie dough recipe can certainly be substituted. Just ensure it’s well-chilled and rolled to an even thickness for the best results.
EGG WASH & TOPPING – The egg wash (a whisked egg yolk, sometimes with a little water or milk) serves a dual purpose: it gives the pies a beautiful golden-brown sheen and helps any sprinkled sugar adhere. A sprinkle of coarse sugar or granulated sugar on top before baking adds a lovely crunch and visual appeal.
How to Craft Your Own Delightful Apple Hand Pies
These step-by-step photos and detailed instructions are designed to help you visualize each stage of making this delicious recipe. For a concise, printable version of this recipe, complete with precise measurements and instructions, simply Jump to Recipe at the bottom of this page.
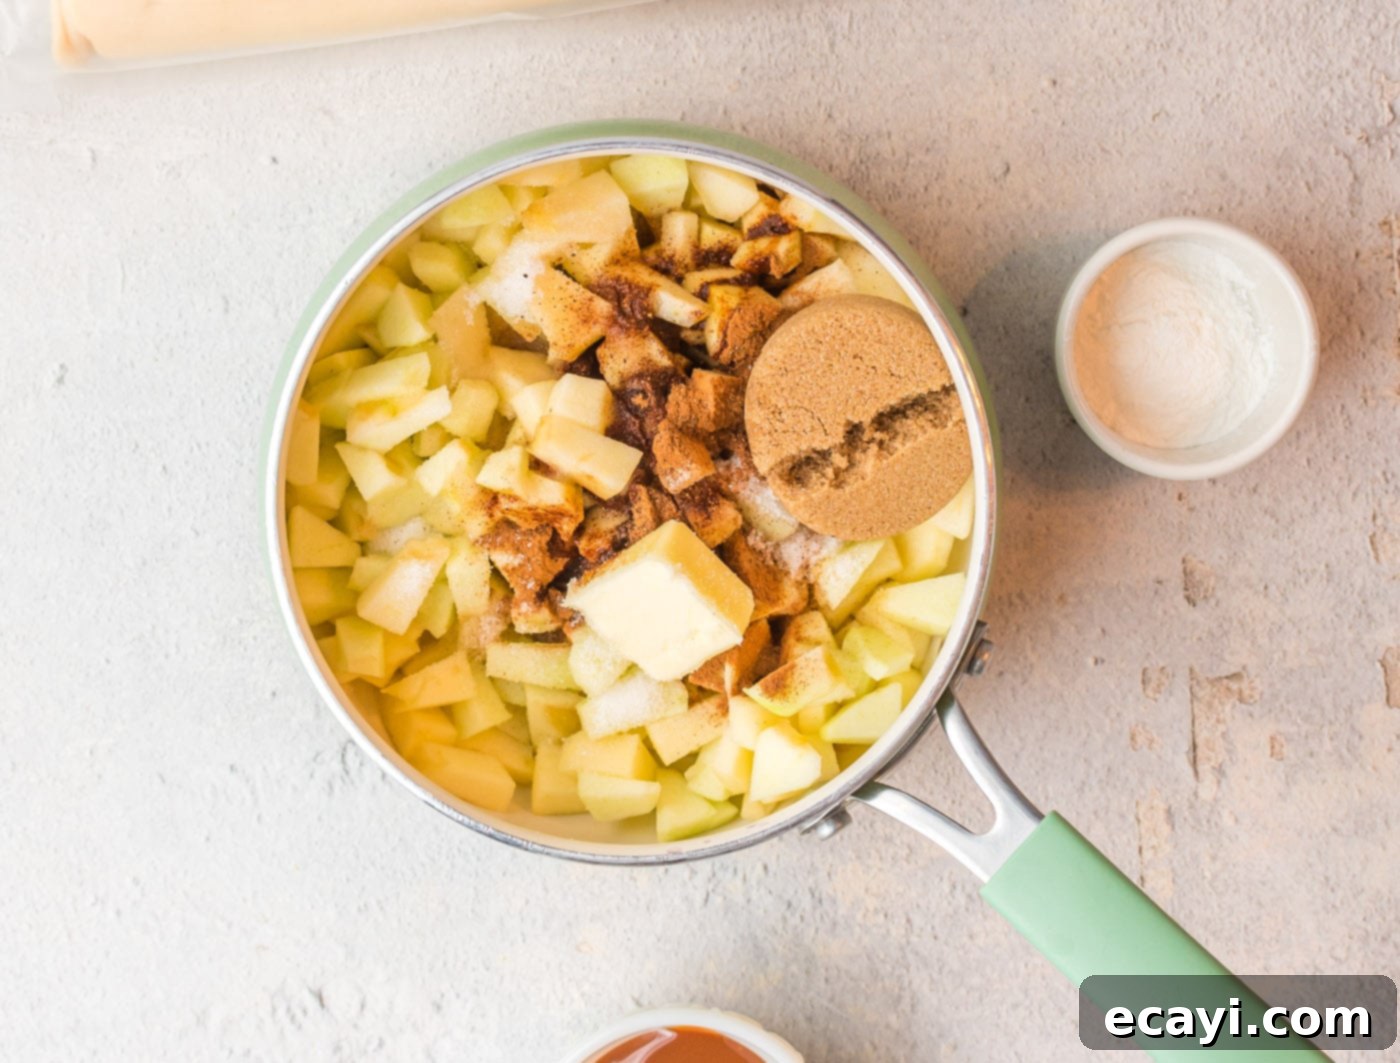
- In a medium saucepan, combine the uniformly diced apples, melted butter, granulated sugar, light brown sugar, ground cinnamon, ground nutmeg, allspice, a pinch of salt, and the bourbon. Stir all these ingredients together thoroughly until the apples are well coated and the sugars and spices are evenly distributed. This step begins to meld the flavors before cooking.

- In a small separate bowl, whisk together the cold water and cornstarch until a smooth slurry forms. This prevents lumps when added to the warm apple mixture. Once combined, pour this cornstarch slurry into the saucepan with the apple mixture, stirring again vigorously to ensure it’s fully incorporated.
- Place the saucepan over medium heat and cook the apple mixture, stirring occasionally, until the apples become wonderfully soft and the sauce thickens to a glossy, syrupy consistency. This usually takes about 8-10 minutes. Once thickened, remove the pan from the stove and allow the filling to cool slightly before assembling the pies.
- While the apple filling cools, preheat your oven to 425°F (220°C). Prepare a baking sheet by lining it with parchment paper. This ensures easy cleanup and prevents your hand pies from sticking.
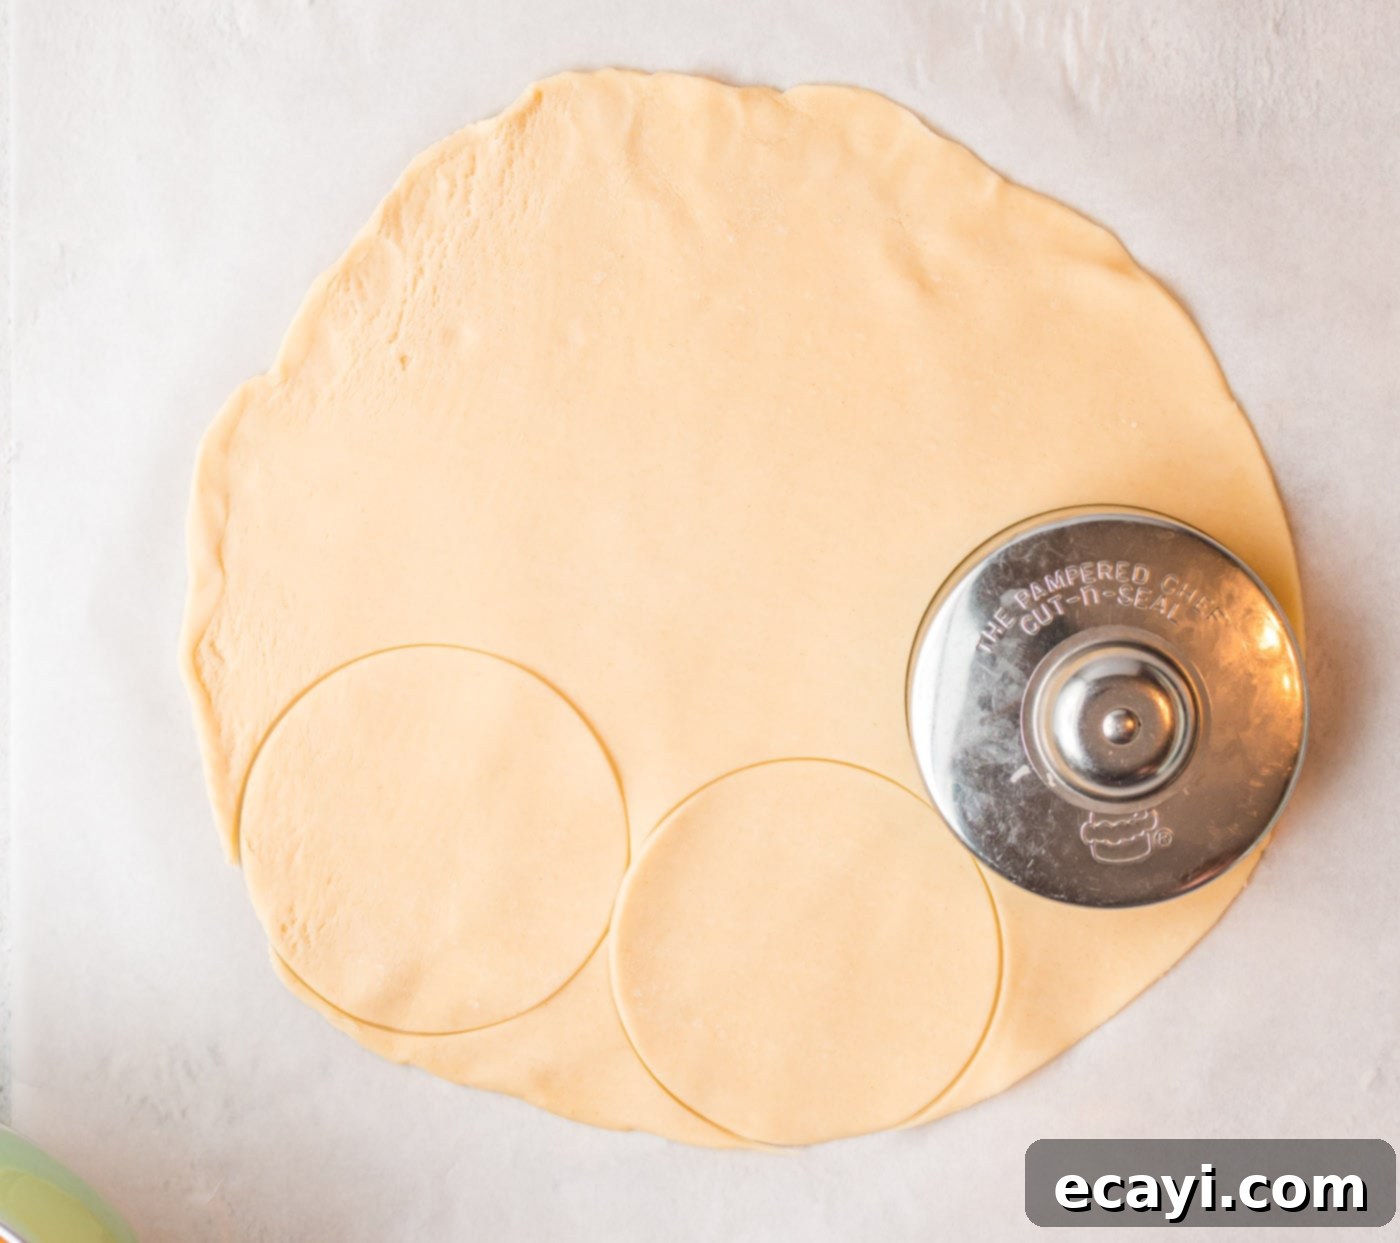
- Carefully unroll the refrigerator pie crusts onto a lightly floured surface. Using a large round cookie cutter (about 4-5 inches in diameter), cut out even circles from the pie dough. If you don’t have a large cookie cutter, an inverted bowl with a sharp knife carefully tracing around it works just as well. You should get about 5-6 circles per sheet. Gather any scraps, gently re-roll them, and cut out additional circles until all dough is used. Aim for an even number of circles, as each hand pie requires two.

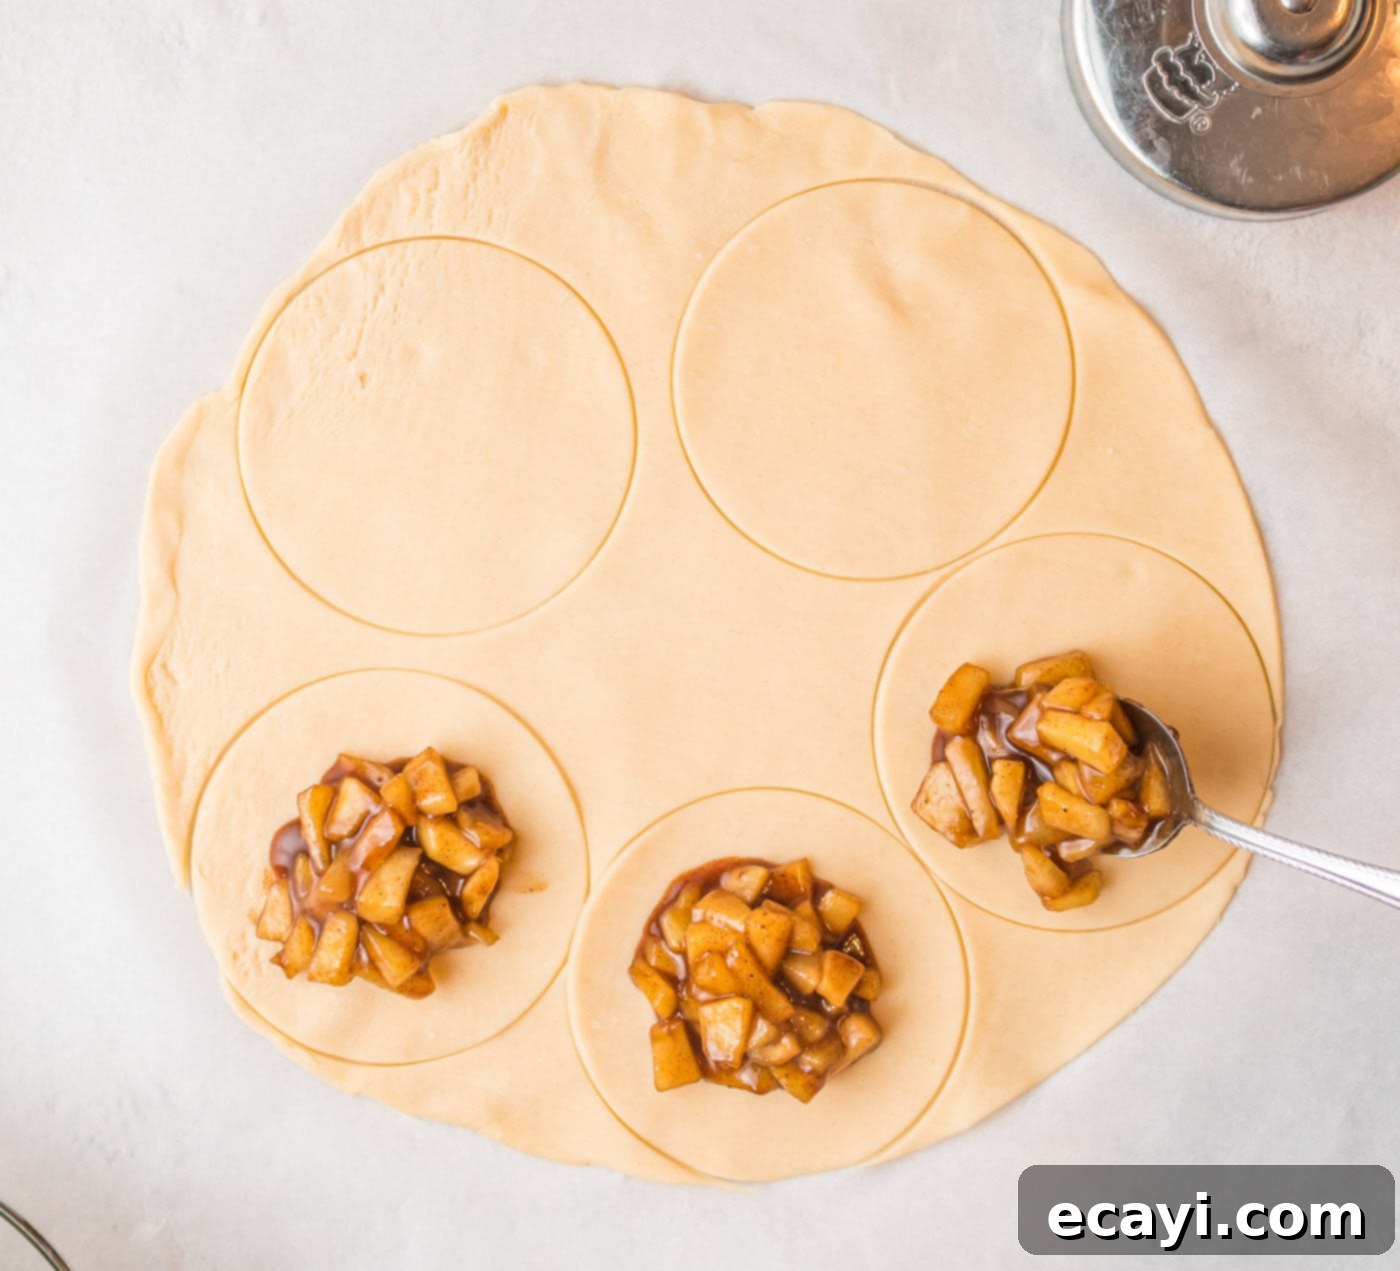
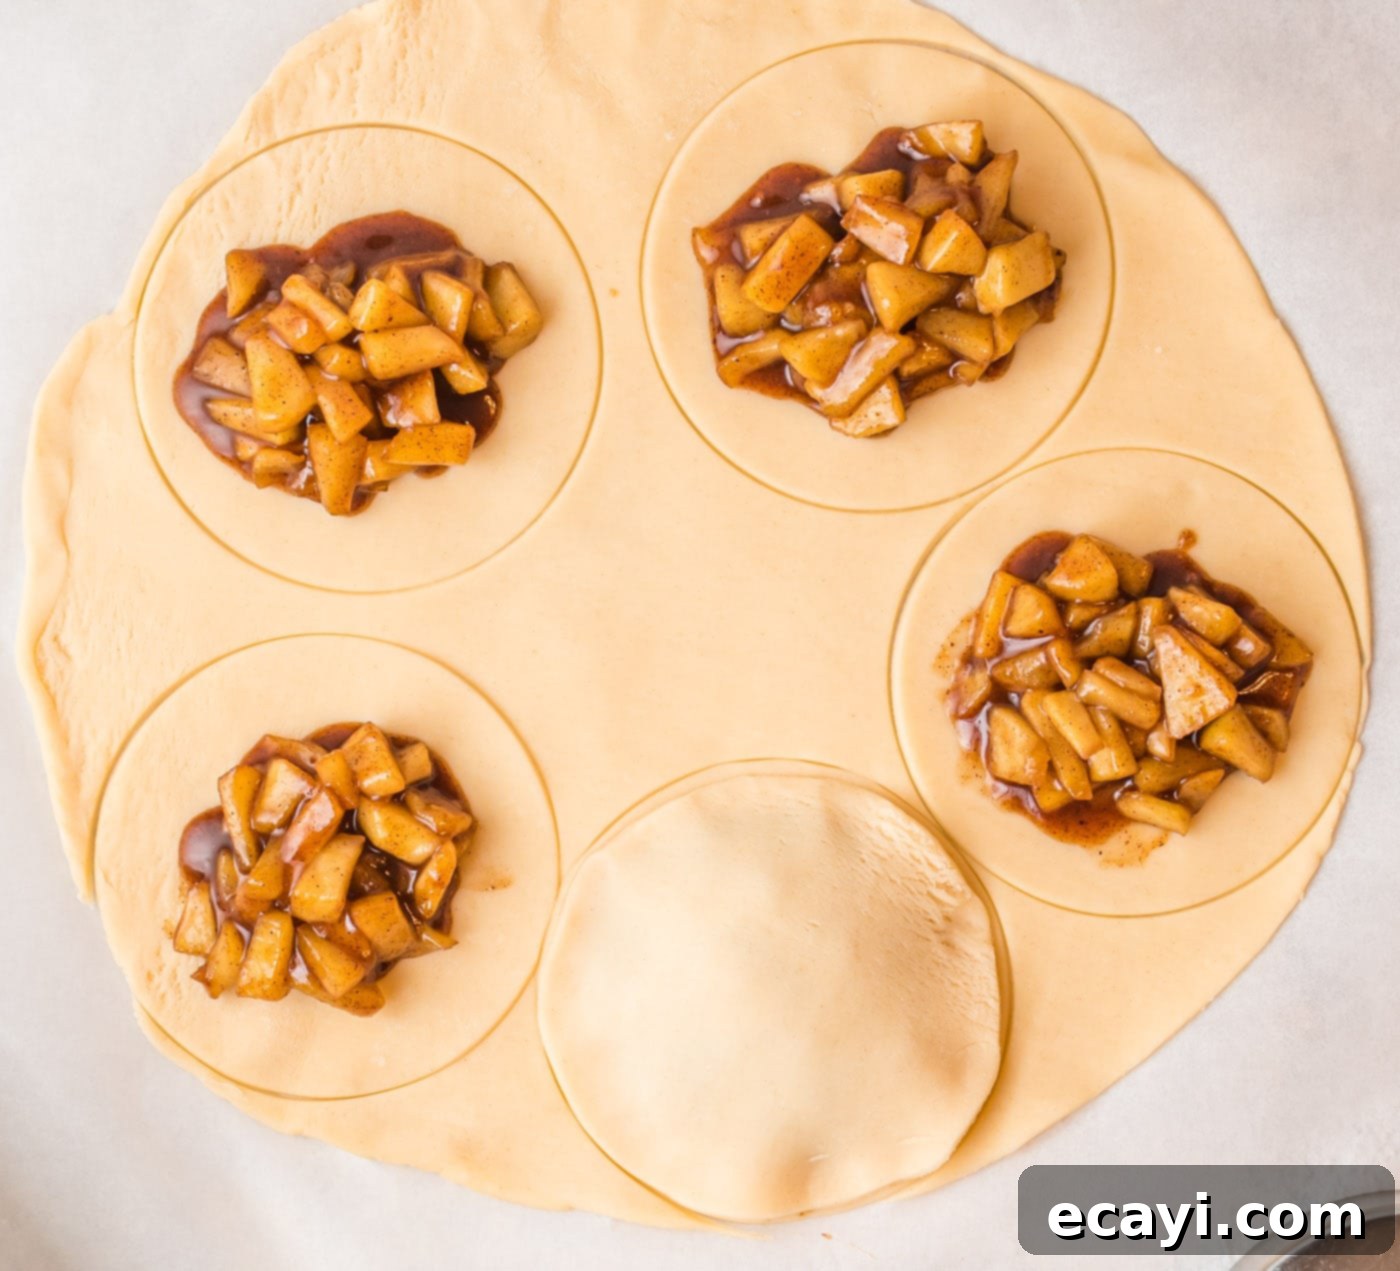
- Place half of your pie dough circles onto the prepared baking sheet. Spoon a heaping tablespoon of the cooled apple filling into the center of each circle. Be mindful not to overfill. Dip your finger in a small bowl of water and lightly moisten the edges of each dough circle. This creates a seal. Carefully place a second dough circle directly on top of the apple filling, aligning the edges with the bottom circle. Press the edges together firmly to seal the pie.
EXPERT TIP– The amount of apple pie mixture is crucial here. A heaping tablespoon is generally sufficient, but this can vary depending on the exact size of your pie crust circles. The key is to leave ample space around the perimeter of the dough circles (at least half an inch) to allow for a proper and secure seal. If the edges aren’t sealed well, the delicious apple filling might bubble out during baking, leading to a messy sheet and lost flavor.


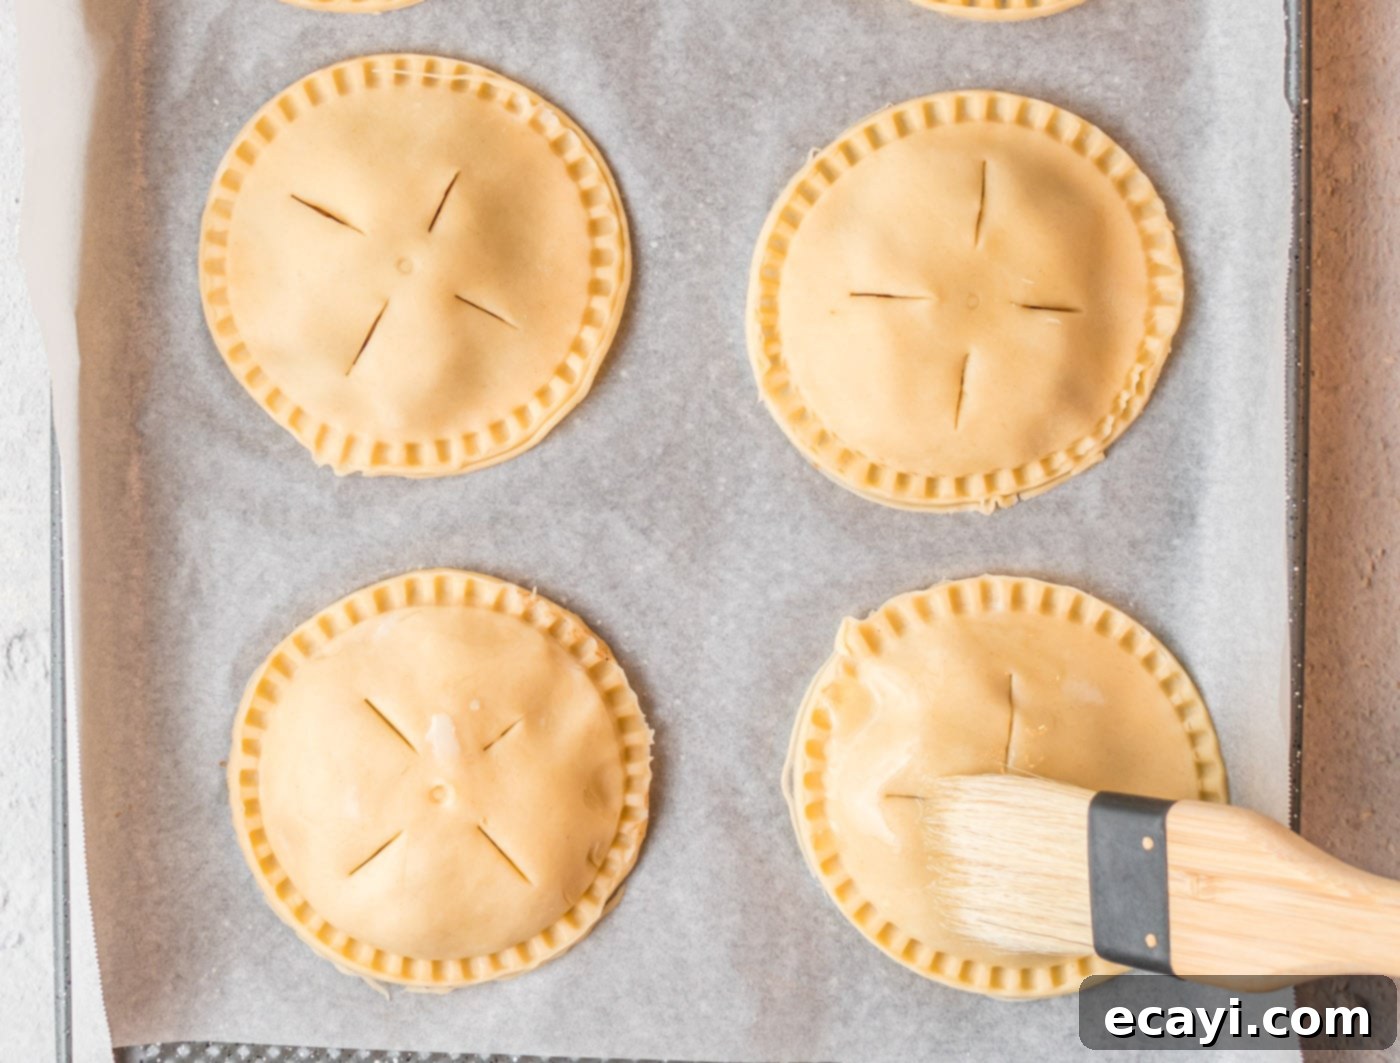
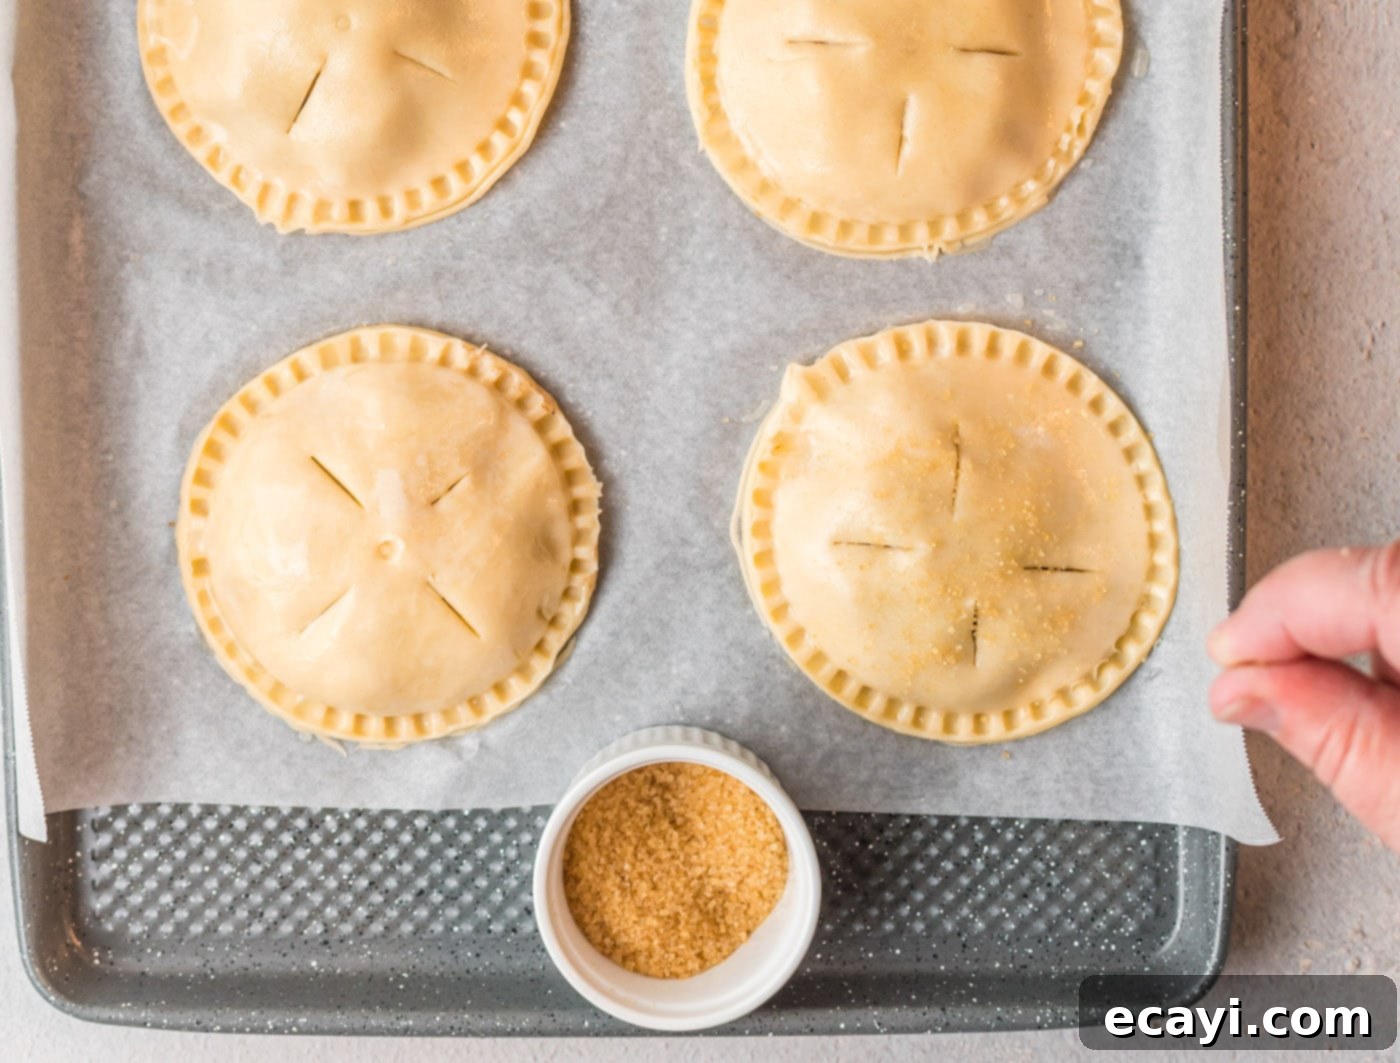
- To ensure a tight seal and add a decorative touch, use the tines of a fork to crimp the sealed edges of each hand pie. Once crimped, transfer all the pies to your prepared baking sheet. In a small bowl, whisk the egg yolk with a tiny splash of water or milk to create an egg wash. Lightly brush the tops of the pies with this egg wash, then generously sprinkle them with granulated sugar for a beautiful golden finish and a hint of sweetness on the crust.


- Using a sharp knife, carefully cut a few small slits (two or three) onto the tops of each pie. These slits are essential as they allow steam to escape during baking, preventing the pies from bursting and ensuring a perfectly flaky crust.
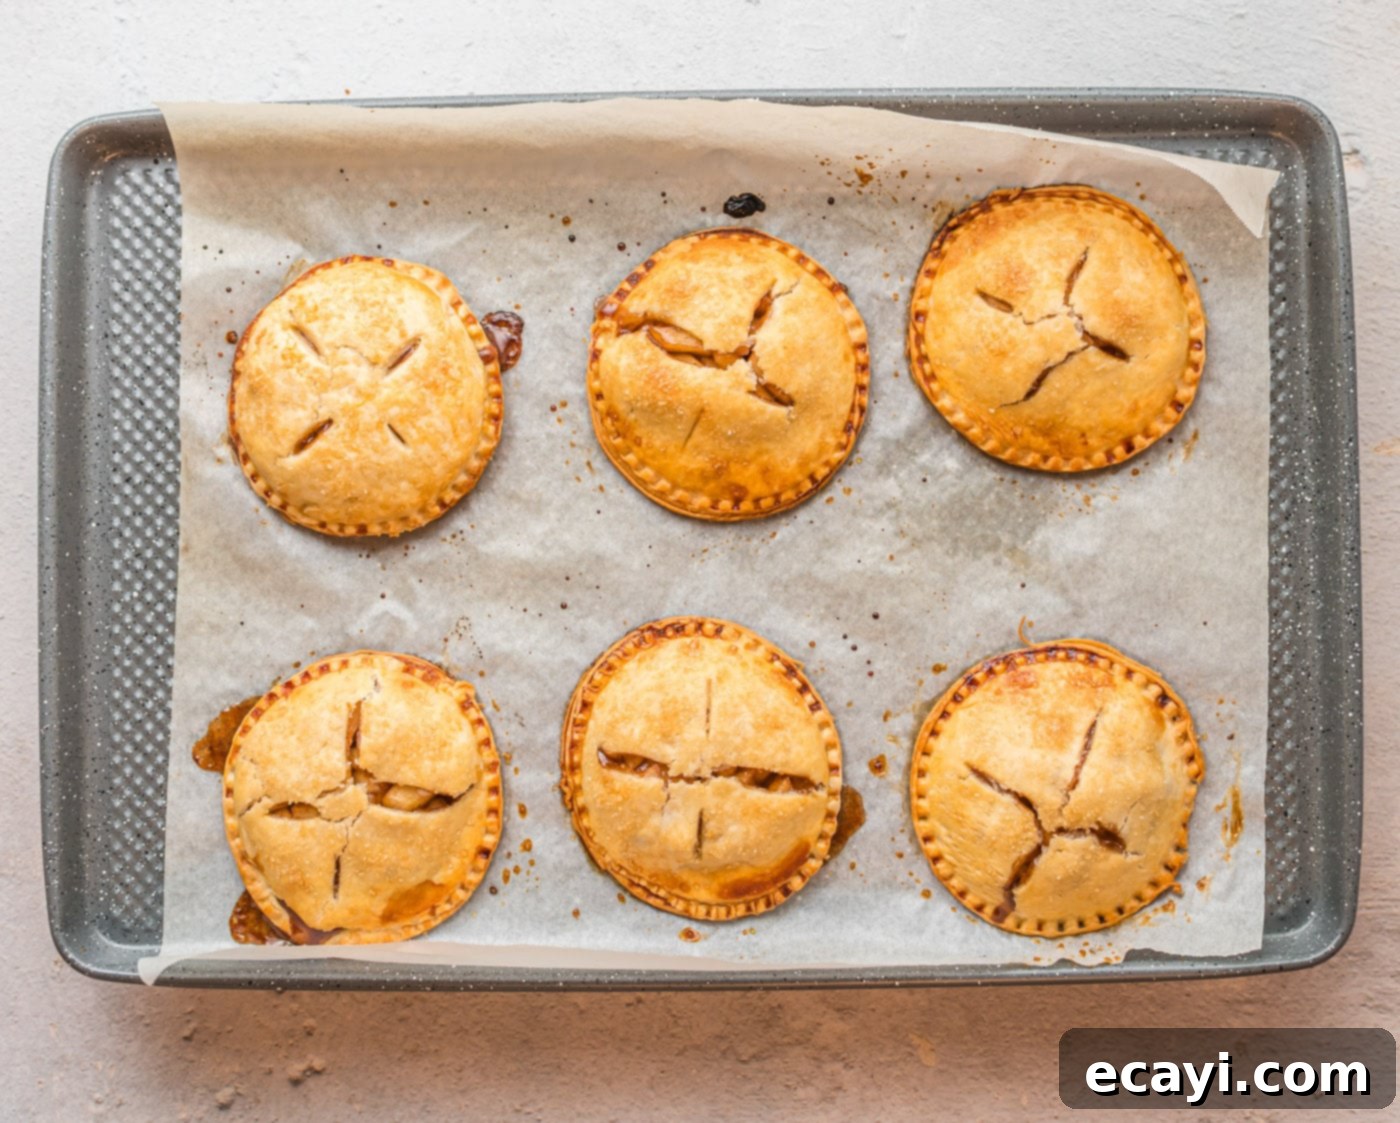
- Place the baking sheet with your prepared apple hand pies into the preheated oven. Bake for approximately 18-20 minutes, or until the crust is beautifully golden brown and the filling is bubbling slightly through the slits. Keep an eye on them, as oven temperatures can vary.

- Once baked to perfection, remove the apple hand pies from the oven and transfer them to a wire rack to cool slightly. Serve them warm, enhanced with a decadent drizzle of caramel sauce for an extra layer of sweetness and richness. Enjoy!
Frequently Asked Questions & Expert Tips for Apple Hand Pies
For apple hand pies, you want apples that are firm enough to hold their shape during baking and offer a good balance of sweet and tart flavor. Not all apples are created equal for baking! We highly recommend using crisp, baking-specific varieties such as Granny Smith (for tartness), Honeycrisp (for sweetness and incredible texture), Gala, Pink Lady, or Golden Delicious. Using a mix of these varieties often yields the most complex and delicious filling. Avoid softer, mealier apples like Red Delicious, which can turn to mush when cooked.
Absolutely, these apple hand pies freeze beautifully! To freeze them, first ensure they are completely cooled to room temperature after baking. Then, arrange the cooled hand pies in a single layer on a baking sheet and place them in the freezer to “flash freeze” for about 1-2 hours until solid. Once frozen, transfer them to a large freezer-safe Ziploc bag or an airtight container, separating layers with parchment paper to prevent sticking. They can be stored in the freezer for up to 2 months. When ready to enjoy, simply reheat them in a preheated oven (around 350°F/175°C) until warmed through and the crust is crisp again.
For optimal freshness and taste, store any leftover apple hand pies in an airtight container. They can be kept at room temperature for up to 2 days, making them a convenient grab-and-go treat. If you want them to last a bit longer, or if your kitchen is particularly warm, you can store them in the refrigerator for 3-4 days. To revive their flaky crust and warm filling, gently reheat them in a toaster oven or a conventional oven for a few minutes before serving.
Using pre-made pie crust is a fantastic time-saver! For the best results, always let the dough come to room temperature for about 10-15 minutes before unrolling; this prevents cracking. If you find the dough is too soft or sticky after cutting, briefly chill the cut circles in the refrigerator before filling. When re-rolling scraps, handle the dough as little as possible to keep it tender, and work quickly to avoid overworking the gluten.
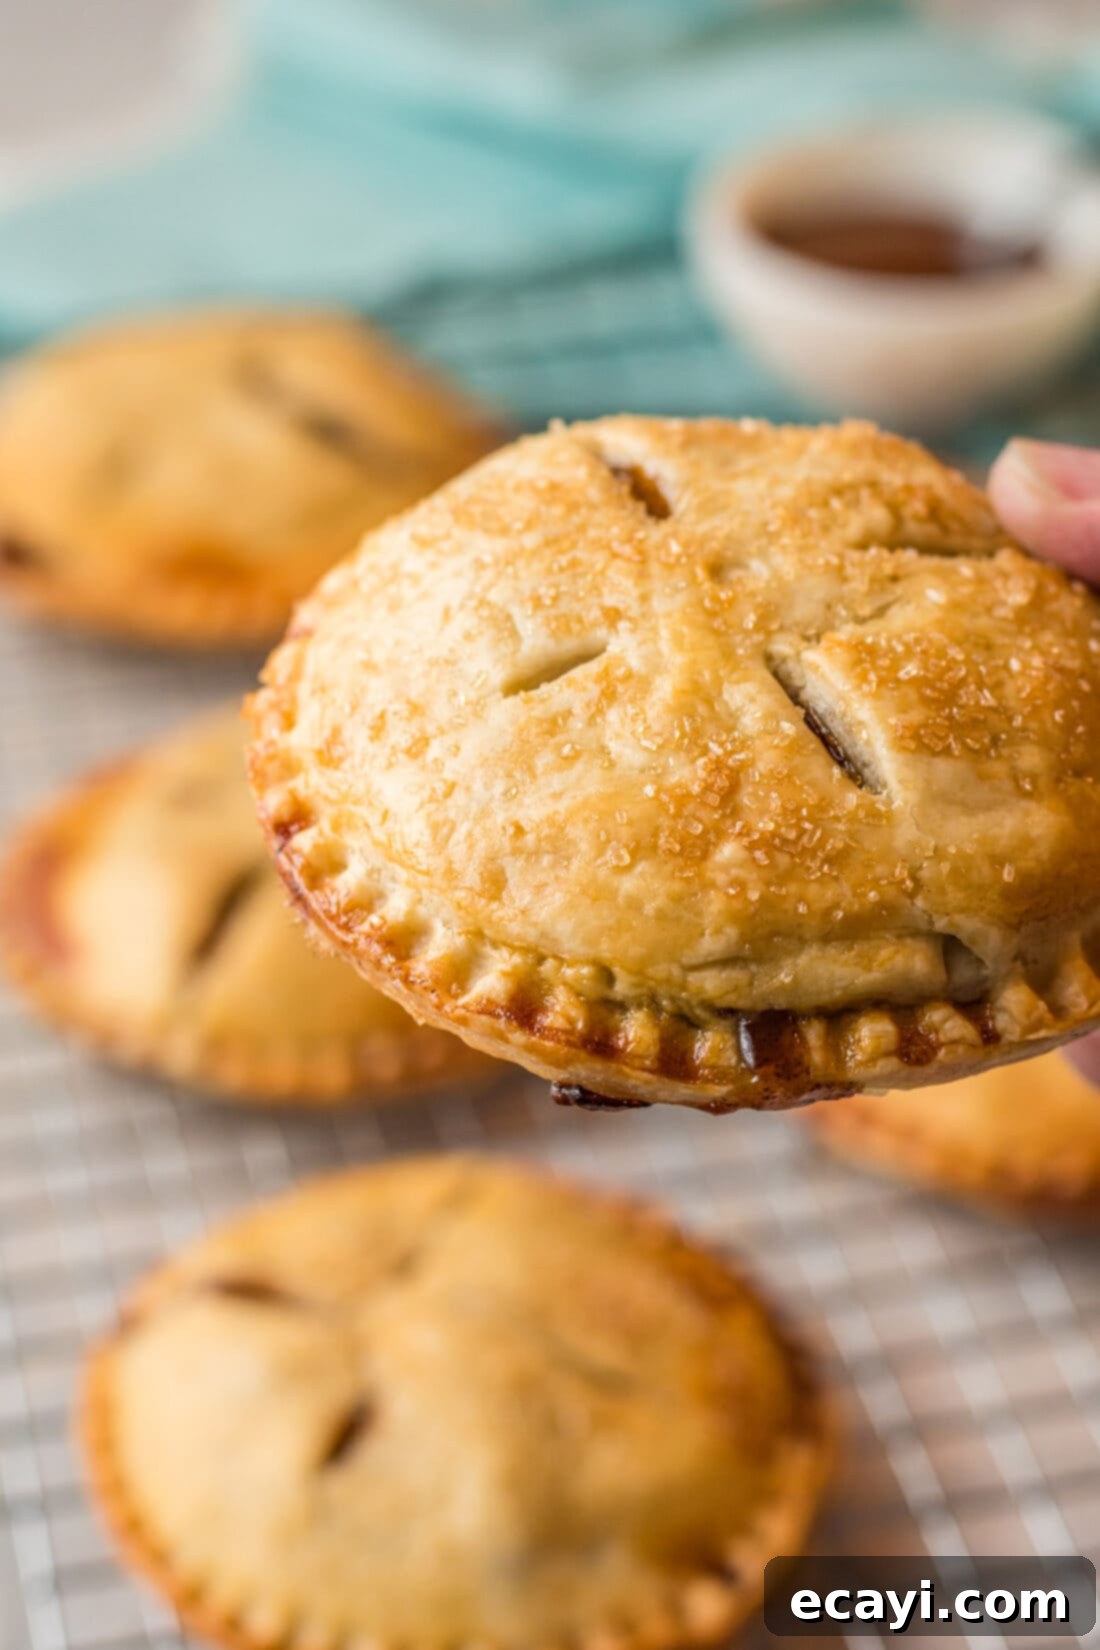
Delightful Serving Suggestions for Apple Hand Pies
These individual apple hand pies are incredibly versatile and make a fantastic little dessert or snack for almost any occasion. They’re essentially miniature, portable versions of your favorite homemade apple pies, making them ideal for gatherings like Friendsgiving or Thanksgiving celebrations where individual servings are appreciated. Beyond holiday festivities, they’re perfect for a mid-day pick-me-up or even a special breakfast treat with your morning coffee. For an extra touch of indulgence, serve them warm with a small scoop of vanilla bean ice cream that gently melts over the spiced apple filling, just as you would with a classic slice of apple pie. A dollop of freshly whipped cream or a sprinkle of toasted pecans can also elevate the experience!
Creative Ways to Top Your Apple Hand Pies
- Classic Caramel Drizzle: The quintessential pairing! A generous drizzle of warm caramel sauce (store-bought or homemade) adds a rich, buttery sweetness that complements the apples and spices beautifully.
- Simple Sugar or Spice Sprinkle: For a less indulgent but equally delicious topping, simply sprinkle your baked hand pies with a bit more granulated sugar, powdered sugar, or a touch of extra apple pie spice for an aromatic finish.
- Homemade Glaze: Create a quick and easy glaze for a touch of elegance. A simple powdered sugar glaze, like the one we used on our blueberry hand pies, adds a lovely sweet sheen and dries to a soft crust. You can even add a tiny hint of vanilla or almond extract to the glaze for extra flavor.
- Cinnamon Sugar Crunch: Before baking, after applying the egg wash, sprinkle a mix of cinnamon and granulated sugar for a sweet, spiced, and slightly crispy crust.
- Streusel Topping: For those who love texture, a simple streusel made from flour, butter, and sugar can be sprinkled on top of the pies before baking for a delightful crumbly crust.
Imagine the enchanting aroma of sweet, spiced apples and buttery, flaky pie dough permeating your home. These homemade apple hand pies are utterly crave-worthy and represent such a fun and comforting way to welcome the glorious flavors of fall!
Discover More Delicious Apple Recipes
If you love the versatility and flavor of apples as much as we do, you’re in for a treat! Explore some of our other favorite apple-inspired recipes, perfect for any season or occasion:
- Mini Apple Pies
- Hot Apple Cider
- Apple Pie Cookies
- Crockpot Cinnamon Apples
- 3-Ingredient Apple Pie Cupcakes
- Apple Pie Bites
I love to bake and cook and share my kitchen experience with all of you! Remembering to come back each day can be tough, that’s why I offer a convenient newsletter every time a new recipe posts. Simply subscribe and start receiving your free daily recipes!

Apple Hand Pies
IMPORTANT – There are often Frequently Asked Questions within the blog post that you may find helpful. Simply scroll back up to read them!
Print It
Pin It
Rate It
Save ItSaved!
Ingredients
- 2 large apples Granny Smith, Gala, or Honey Crisp (peeled, cored, and diced into small pieces)
- 1 Tbsp butter
- 2 Tbsp granulated sugar
- 2 Tbsp light brown sugar
- 1 tsp ground cinnamon
- ¼ tsp ground nutmeg
- ¼ tsp allspice
- ¼ tsp salt
- 2 tsp bourbon (optional, or substitute with lemon juice)
- 2 Tbsp water
- 2 tsp cornstarch
- 1 box refrigerator pie crust (containing 2 sheets, unrolled)
- 2 Tbsp egg yolk (for egg wash, whisked with a touch of water)
- caramel sauce (for drizzling, store-bought or homemade)
- granulated sugar (for sprinkling on top)
Things You’ll Need
-
Baking sheets
-
Saucepan
-
Large round cookie cutter
-
Parchment paper
-
Small bowl
-
Pastry brush
Chef’s Notes & Expert Tips
- The quantity of apple filling is crucial for a well-sealed hand pie. A generous tablespoon is generally sufficient for most standard-sized pie crust circles. Ensure you leave a clear border of at least half an inch around the edges to allow the dough to properly seal. Overfilling can make sealing difficult and may cause the filling to leak out during baking, leading to a sticky mess.
- From one standard box of store-bought refrigerator pie crust (which usually contains two sheets), you should be able to yield approximately 6 to 7 apple hand pies. After cutting the initial circles from each sheet, you may need to gently gather and re-roll the remaining dough scraps. When re-rolling, try to work quickly and handle the dough as little as possible to maintain its flakiness and prevent it from becoming tough.
- For an extra crispy crust and to prevent a soggy bottom, consider baking the hand pies on a preheated baking steel or stone, or simply on a regular baking sheet placed on the lowest rack of your oven.
- If you prefer a non-alcoholic filling, substitute the bourbon with an equal amount of lemon juice or apple cider. These alternatives will still provide a lovely tang and depth of flavor.
- Allowing the apple filling to cool completely before assembling the pies is important. Hot filling can melt the butter in the pie crust, making it harder to handle and less flaky when baked.
Instructions
-
In a medium sauce pan, combine the diced apples, butter, granulated sugar, brown sugar, cinnamon, nutmeg, allspice, salt and bourbon (if using). Stir thoroughly to combine all ingredients.
-
In a small bowl, combine the water and cornstarch, stirring until smooth. Pour this mixture into the pan with the apples and stir well to incorporate.
-
Cook the mixture over medium heat, stirring occasionally, until the apples are tender and the sauce has visibly thickened. Remove from the stove and let cool completely.
-
Preheat your oven to 425°F (220°C). Line a large cookie sheet with parchment paper.
-
Unroll the pie crusts onto a lightly floured surface. Using a large round cookie cutter or an inverted bowl as a guide, cut out large, even circles.
-
Place a heaping tablespoon of the cooled apple filling onto the center of half of the pie crust circles. Lightly moisten the edges of each circle with water. Place a second dough circle on top and press the edges firmly to seal.
-
Use a fork to crimp the sealed edges together for a decorative finish and extra security. Carefully transfer the pies to the prepared baking sheet. Whisk the egg yolk with a splash of water for an egg wash, and brush it over the tops of the pies, then sprinkle with granulated sugar.
-
Using a sharp knife, make a few small slits on the top of each pie to allow steam to escape during baking.
-
Bake in the preheated oven for 18-20 minutes, or until the crust is beautifully golden brown and the filling is bubbly.
-
Remove from the oven and let cool slightly on a wire rack before serving. Drizzle with caramel sauce just before enjoying!
Nutrition Information
The recipes on this blog are tested with a conventional gas oven and gas stovetop. It’s important to note that some ovens, especially as they age, can cook and bake inconsistently. Using an inexpensive oven thermometer can assure you that your oven is truly heating to the proper temperature. If you use a toaster oven or countertop oven, please keep in mind that they may not distribute heat the same as a conventional full sized oven and you may need to adjust your cooking/baking times. In the case of recipes made with a pressure cooker, air fryer, slow cooker, or other appliance, a link to the appliances we use is listed within each respective recipe. For baking recipes where measurements are given by weight, please note that results may not be the same if cups are used instead, and we can’t guarantee success with that method.
This post originally appeared on this blog on Aug 19, 2021. This revised version includes expanded tips and details for an even better baking experience.
