Easy Homemade Cream Puffs: Your Guide to Perfect Light & Airy Choux Pastry
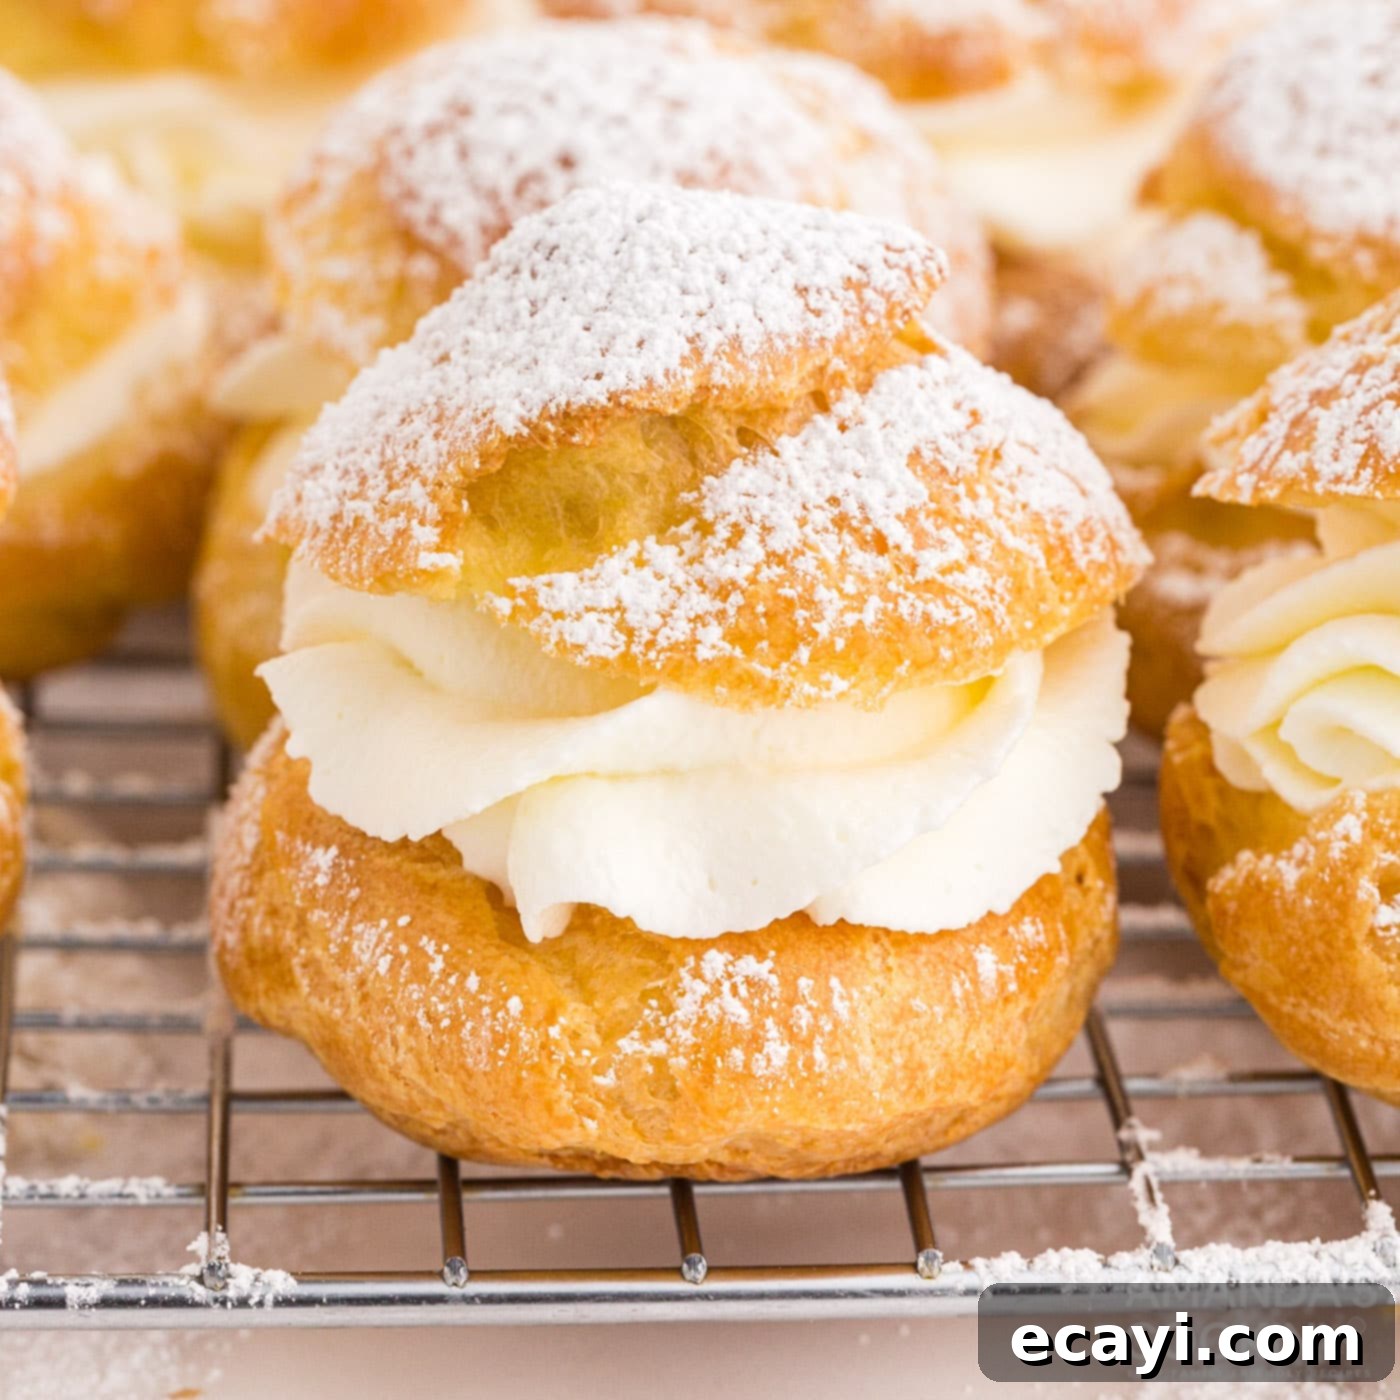
Cream puffs are an embodiment of delicate French pâtisserie, renowned for their light-as-air choux pastry shells and luscious, creamy fillings. Our easy homemade cream puff recipe takes this elegant dessert from intimidating to achievable, even for novice bakers. Each puff is a golden, hollow marvel, expertly baked to achieve that signature crisp exterior, then generously filled with smooth, rich homemade whipped cream and dusted with a sweet veil of powdered sugar. This guide will walk you through every step to create these exquisite treats that are sure to impress.
Why This Easy Cream Puff Recipe Works So Well
A freshly baked cream puff is an absolute delight – a light, airy, and subtly sweet treat that typically cradles a heavenly filling, whether it’s a classic pastry cream or our preferred simple whipped cream, all finished with a dusting of powdered sugar. In some regions, like Wisconsin, this dessert transcends a mere treat; it’s a beloved staple found in the hands of almost all state fairgoers, a testament to its universal appeal and deliciousness.
If you’ve ever attempted choux pastry before, or even if you’re a complete beginner, you’ll be pleasantly surprised by the straightforwardness of this recipe. We’ve simplified the process of creating this classic French choux pastry dough, making it incredibly approachable. Many home bakers shy away from choux pastry, believing it to be complex, but our method is designed to be super simple and easy enough for anyone to tackle with confidence. The key lies in understanding a few fundamental principles of choux, which we’ll demystify for you. This recipe promises consistent results, yielding perfectly puffed, golden shells every time, making it an instant favorite for your dessert repertoire. If you’ve enjoyed the ease of our cream puff chocolate eclair cake or our air fryer churros, you’ll find the dough-making process for these classic cream puffs just as much of a breeze.
Essential Ingredients for Perfect Cream Puffs
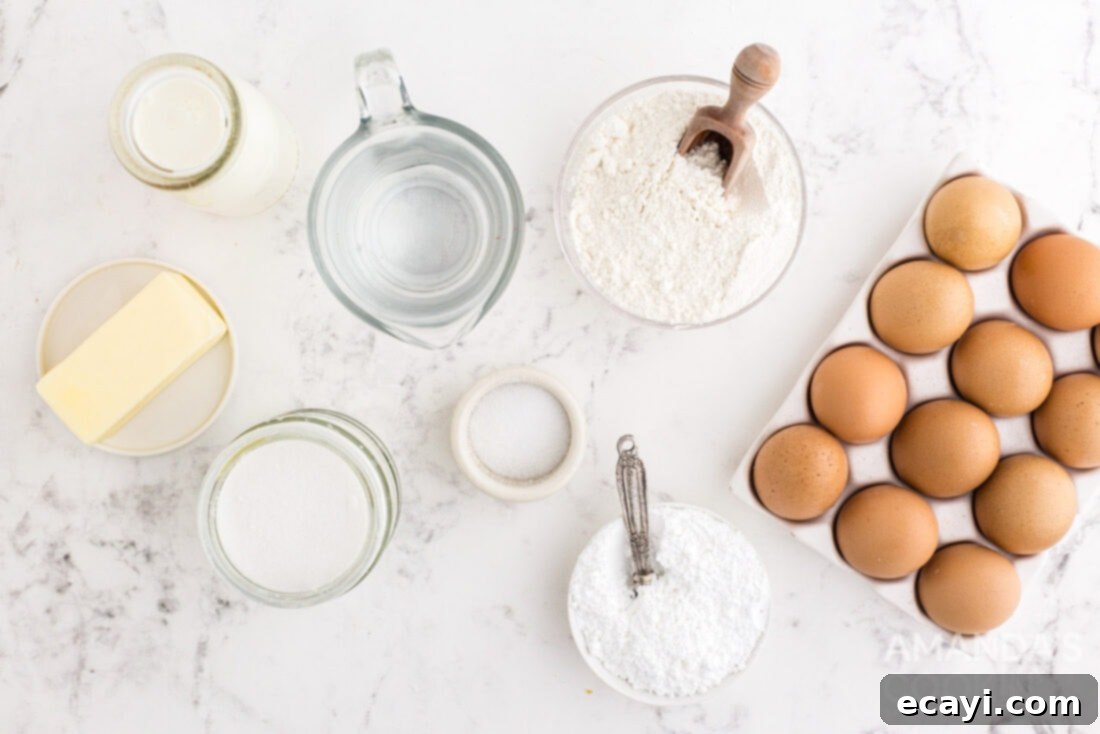
Crafting delicious homemade cream puffs starts with a selection of common pantry staples. You’ll find all the precise measurements, ingredients list, and detailed instructions in the printable recipe card conveniently located at the end of this post. While the list might seem simple, each ingredient plays a crucial role in creating the unique texture and flavor of choux pastry and its delightful filling.
Ingredient Spotlight & Creative Substitutions
Understanding the role of each ingredient in your cream puff recipe can elevate your baking and open doors to delicious variations. For the choux pastry itself, ingredients like unsalted butter, water, a pinch of salt, a touch of granulated sugar, all-purpose flour, and large eggs work in harmony. The butter and water create the steam that makes the pastry hollow, while flour provides structure, and eggs enrich the dough, contributing to its glossy finish and tender crumb.
FILLING: Our recipe champions a simple, homemade whipped cream for its light and airy texture, which perfectly complements the delicate choux shell. This classic choice ensures the cream puffs remain refreshing and not overly heavy. However, the beauty of cream puffs lies in their versatility for fillings. You can certainly venture beyond whipped cream to explore other options:
- Vanilla Pudding: A quick and easy alternative. Ensure it’s well-chilled and thick for the best consistency.
- Classic Pastry Cream (Crème Pâtissière): For a more traditional French experience, a rich, smooth pastry cream adds depth and a silky texture. This custard-based filling is incredibly decadent and can be flavored with vanilla bean, citrus zest, or even chocolate.
- Chocolate Whipped Cream: Simply fold cocoa powder and a little extra powdered sugar into your whipped cream for a chocolatey twist.
- Coffee or Espresso Whipped Cream: Dissolve instant coffee or espresso powder in a tiny bit of hot water, cool it, and add to your heavy cream before whipping for a sophisticated flavor.
Beyond the primary filling, consider adding fresh elements for brightness and an extra layer of flavor and texture. You could layer fresh berries such as sliced strawberries, juicy raspberries, or sweet blueberries between your whipped cream and pastry layers. A light drizzle of fruit coulis or a sprinkle of toasted nuts could also add a gourmet touch to your homemade cream puffs.
Crafting Your Own Cream Puffs: Step-by-Step Instructions
These step-by-step photos and detailed instructions are provided to help you visualize each stage of making this delightful recipe. For a convenient printable version of this recipe, complete with precise measurements and full instructions, please Jump to Recipe at the bottom of this page.
- Prepare Your Baking Environment: Begin by preheating your oven to a steady 400°F (200°C). This initial high heat is crucial for creating the steam that makes the puffs rise. Line two sturdy sheet pans with parchment paper to prevent sticking and ensure easy cleanup. Set them aside, ready for piping.
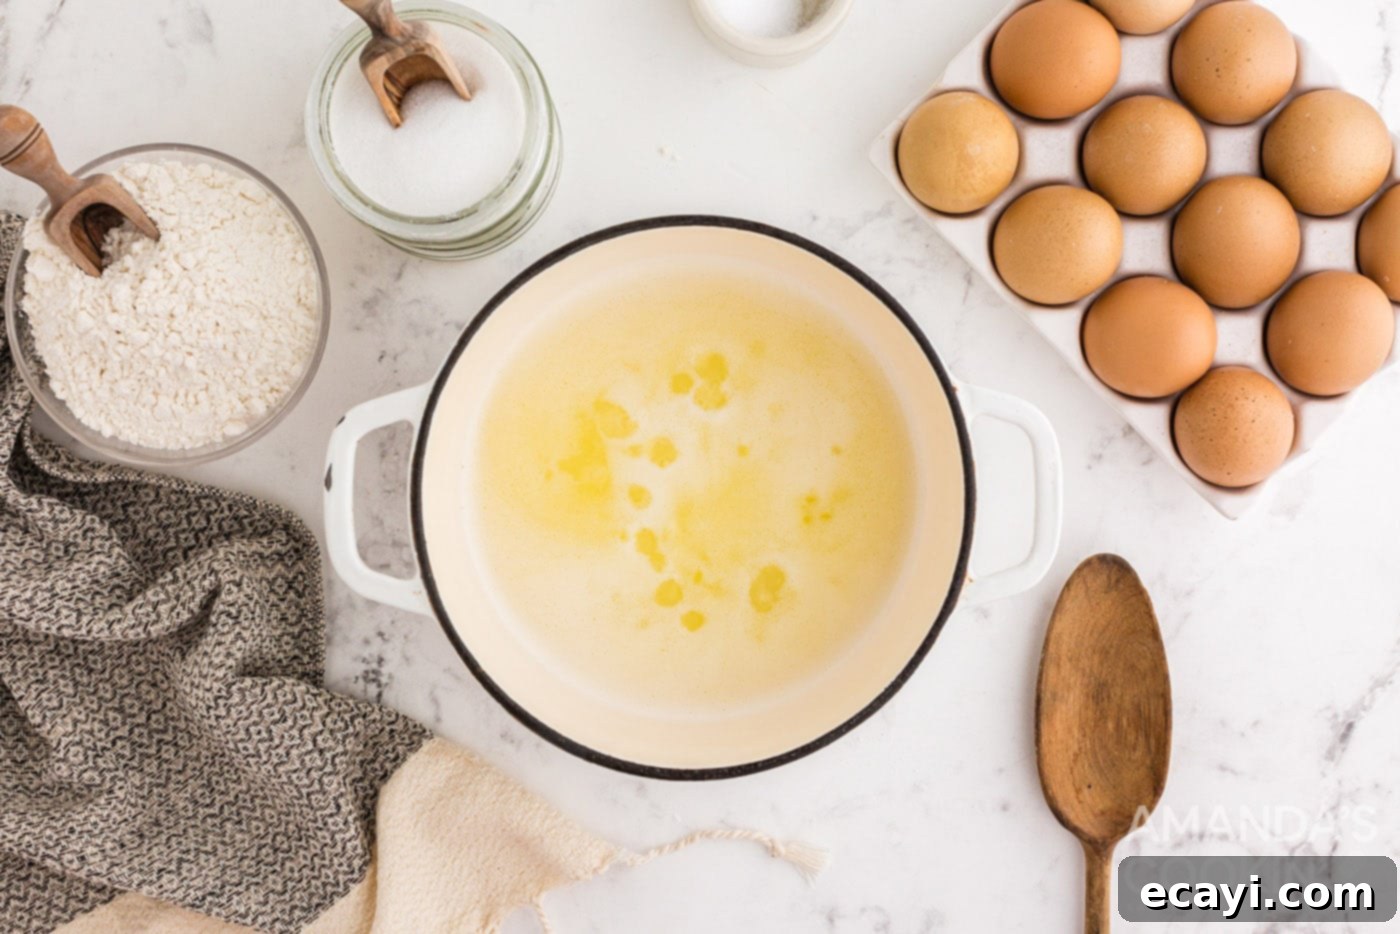
- Start the Choux Base: In a heavy-bottomed saucepan, combine the butter, water, salt, and granulated sugar. Place the saucepan over medium heat, stirring occasionally. The goal here is to melt the butter completely and bring the mixture to a rolling boil. As soon as it reaches this point, immediately remove the pan from the heat to prevent too much water from evaporating.

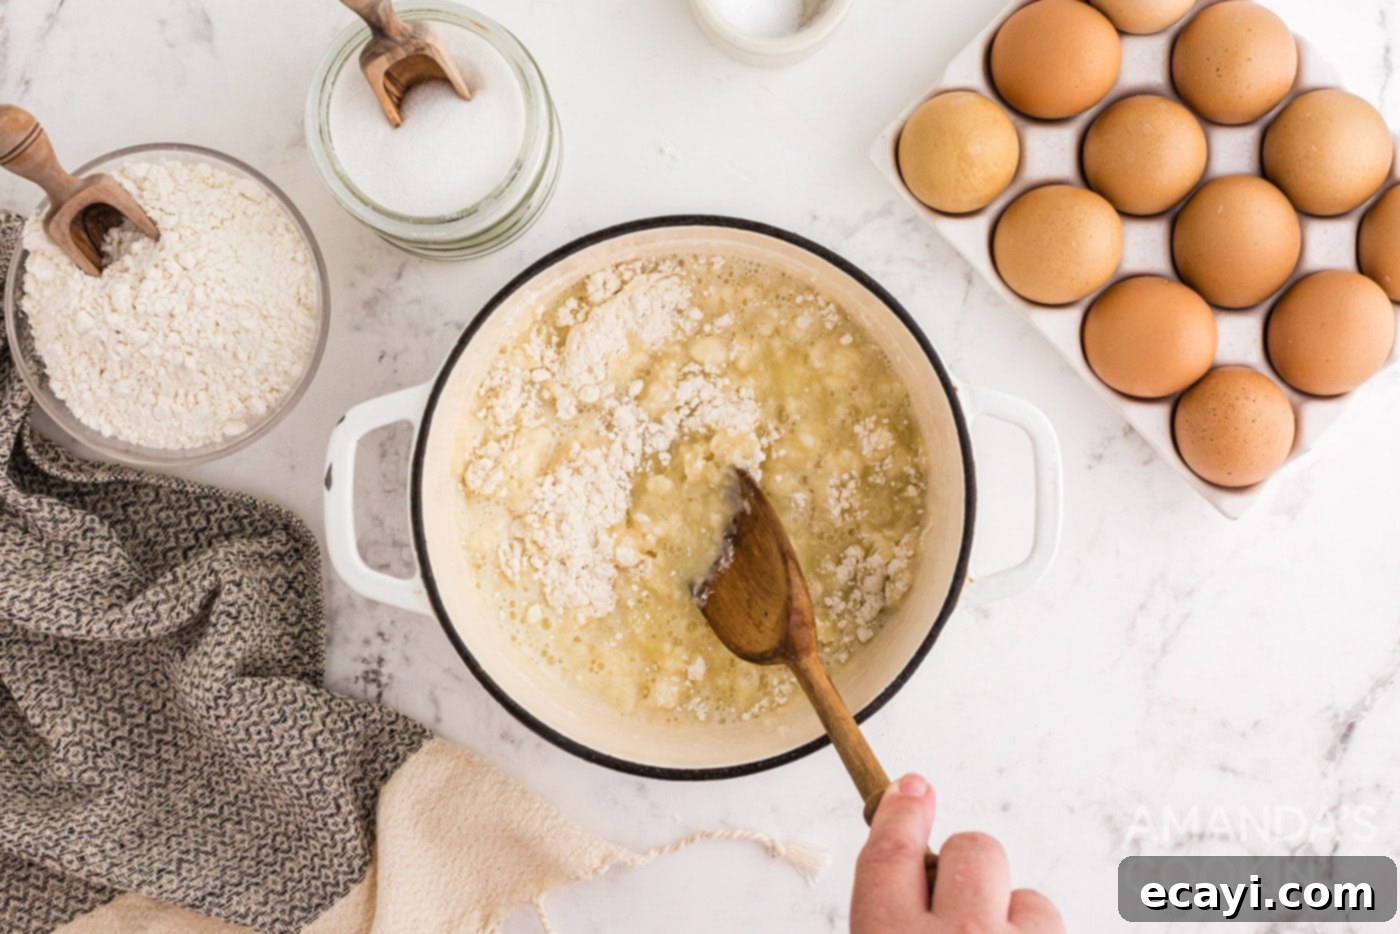
- Incorporate the Flour: Without delay, add all the all-purpose flour into the hot liquid in the saucepan. Stir vigorously with a sturdy wooden spoon or heat-resistant spatula until the flour is completely incorporated and a smooth, cohesive dough forms. It’s essential to work quickly at this stage to prevent lumps.

- Cook the Dough: Return the saucepan with the dough to medium heat. Continue to cook and stir the dough for approximately 2 minutes. During this process, the dough will start to pull away from the sides and bottom of the pan, forming a smooth ball. A thin film might form on the bottom of the pan – this is a good sign, indicating that moisture is being cooked out of the dough, which is vital for achieving a crisp puff.
- Cool Slightly: Remove the cooked dough from the heat and transfer it to a mixing bowl (or leave it in the saucepan if using a hand mixer). Allow the dough to cool for about 5 minutes. This slight cooling prevents the eggs from scrambling when added.
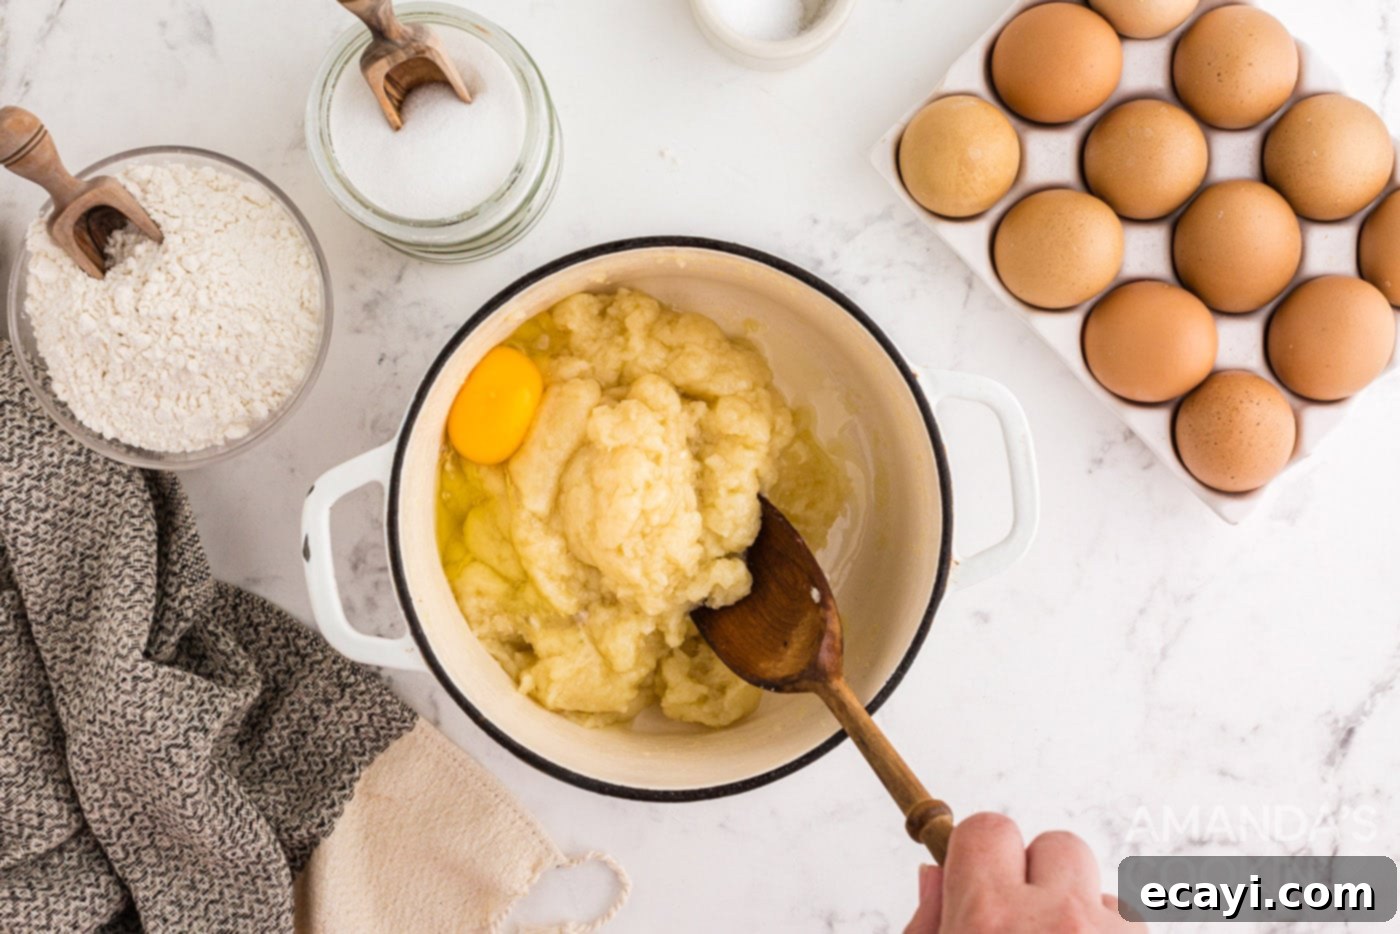
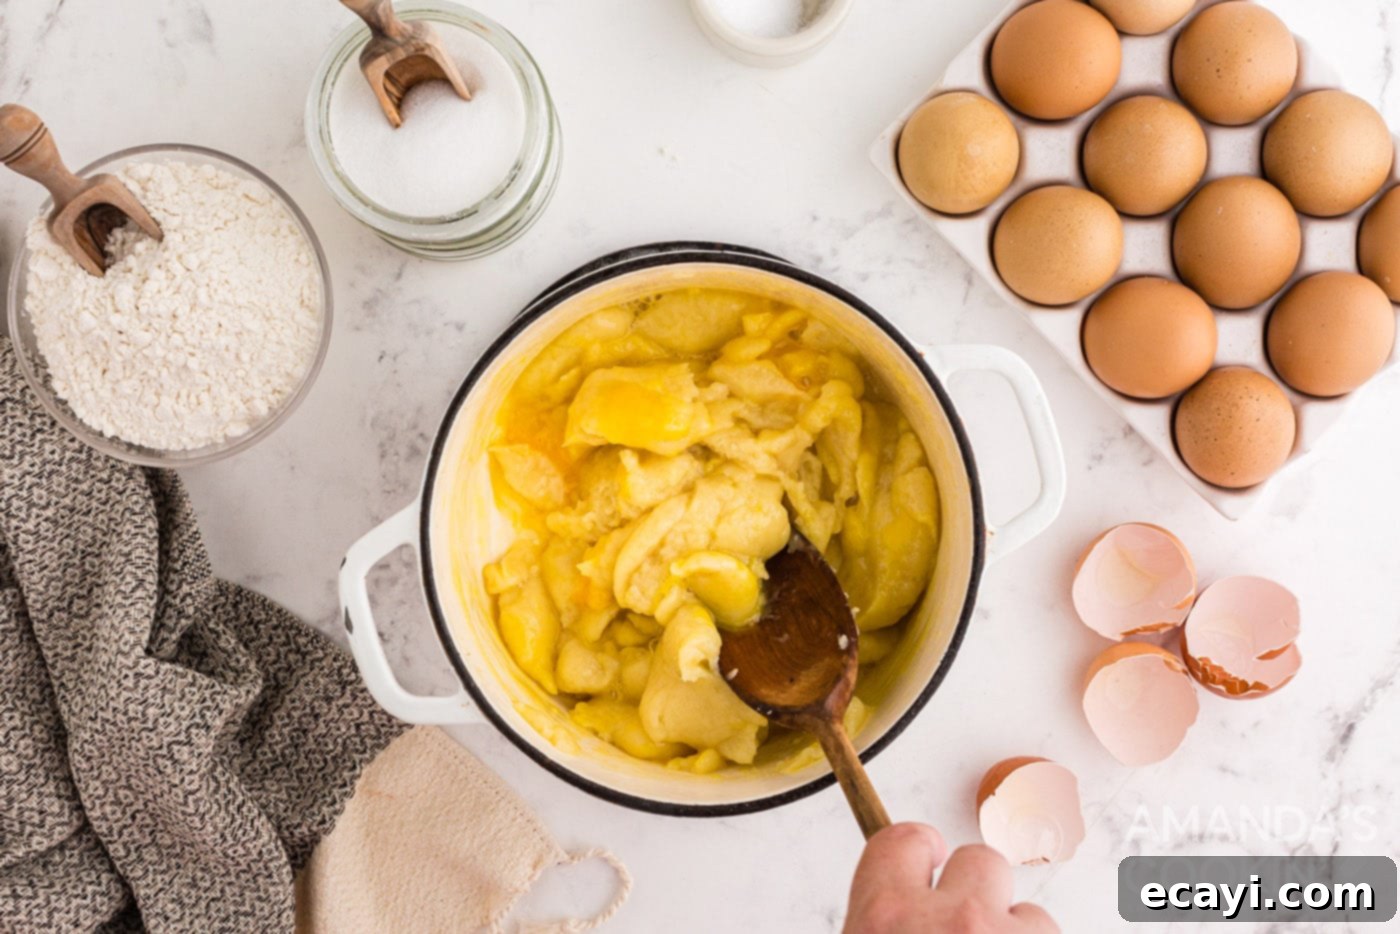
- Add Eggs Gradually: Beat each large egg one at a time into the flour mixture. You can use a wooden spoon for a good arm workout, or for easier incorporation, use a standing mixer fitted with a paddle attachment or a hand mixer. The dough will initially separate and look somewhat curdled with each egg addition, but don’t panic! Continue mixing until the dough comes back together and becomes smooth and glossy before adding the next egg. This gradual addition ensures proper emulsification.


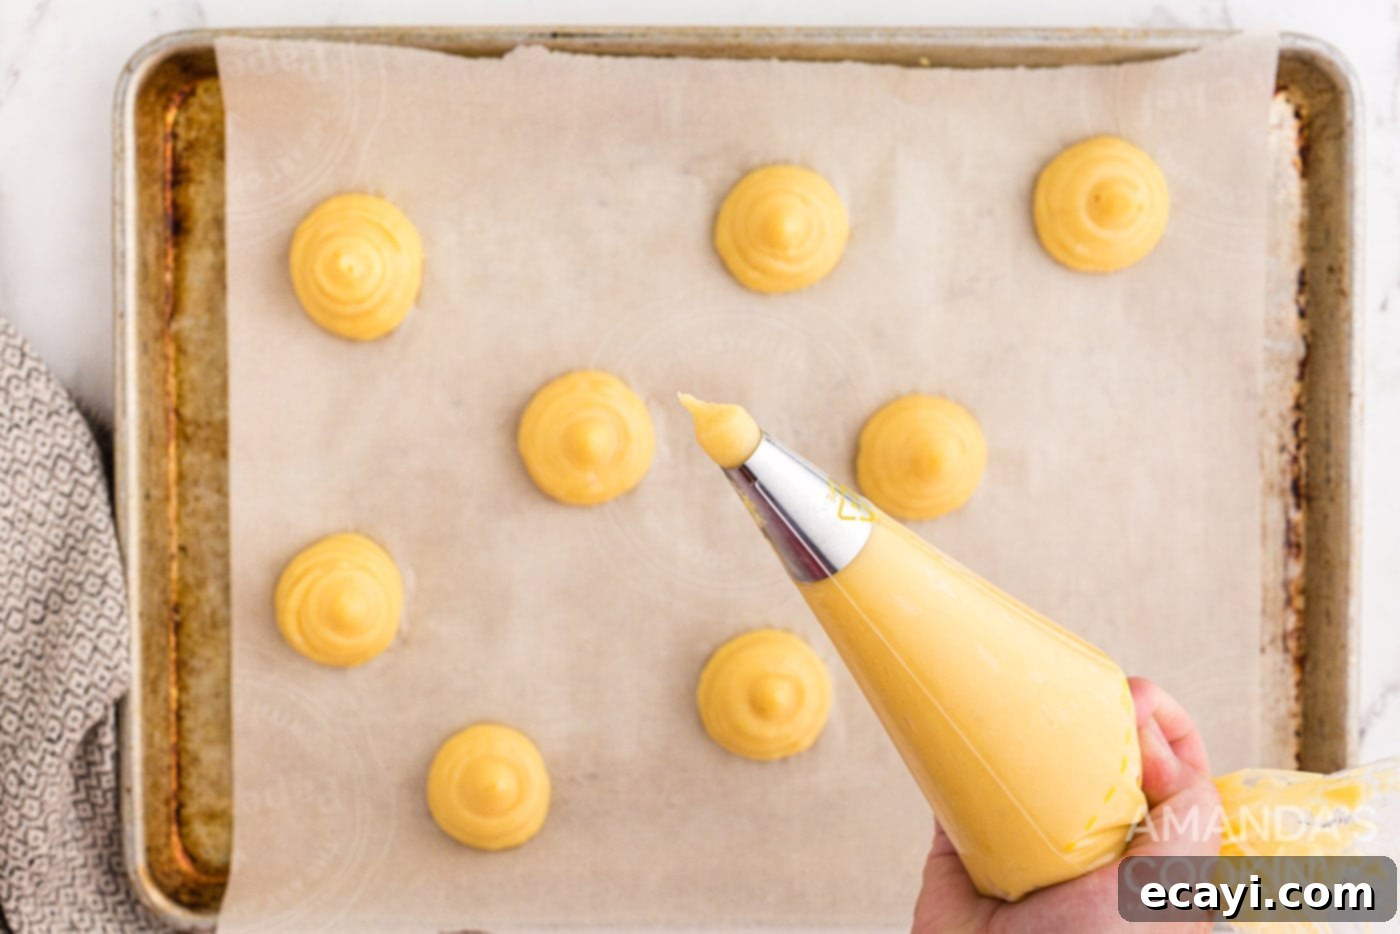
- Prepare for Piping: Once all the eggs have been thoroughly incorporated and the choux pastry mixture is smooth, shiny, and has a consistency that falls from the spoon in a ‘V’ shape, transfer it to a large piping bag fitted with an open round tip (about ½-inch to ¾-inch). If you don’t have a piping bag, you can use two spoons to drop mounds of dough onto the baking sheet.
- Pipe the Puffs: Pipe 1 ½-inch rounds of the dough onto your prepared sheet pans, ensuring each ball is spaced about two inches apart to allow for expansion during baking. Aim for uniform size for even baking.

- Smooth the Peaks: To achieve a perfectly round and smooth cream puff, lightly dip your finger into cold water and gently smooth down any small peaks or swirls left behind from piping. This prevents them from burning and ensures a beautiful final shape.
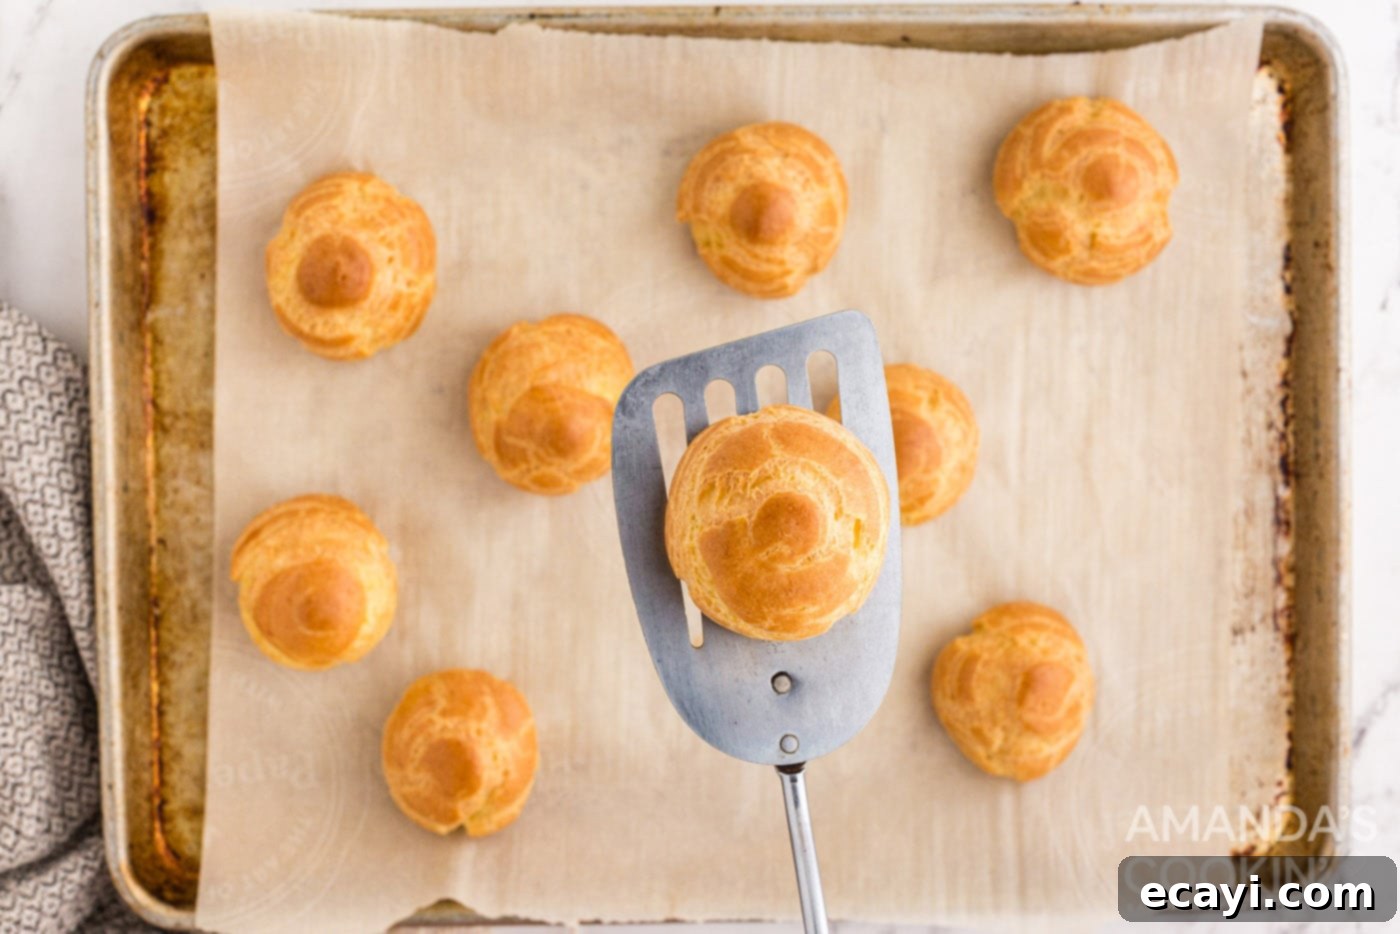
- Bake to Perfection: Place the pans in the preheated 400°F (200°C) oven and bake for 10 minutes. This initial burst of high heat creates significant steam, causing the puffs to rise dramatically. After 10 minutes, reduce the oven temperature to 350°F (175°C) and continue baking for another 20-25 minutes, or until the cream puffs are deeply golden brown and feel light and hollow when lifted.

- Prevent Deflation: This step is critical for maintaining the crispness and hollow interior of your cream puffs. Once baking is complete, turn off the oven but leave the oven door propped open for 15 minutes while the cream puffs remain inside. This allows them to dry out gradually and cool slowly, preventing them from collapsing or becoming soggy.
- Cool Completely: Carefully transfer the cooled cream puffs to a wire cooling rack and allow them to cool completely to room temperature. This is essential before filling to prevent the whipped cream from melting.

- Prepare the Whipped Cream: In the bowl of your standing mixer fitted with a wire whisk attachment, or using a hand mixer, beat the heavy cream on medium-high speed until soft peaks begin to form.
- Sweeten and Stiffen the Cream: Gradually add the powdered sugar to taste (you can adjust the amount based on your preference for sweetness) and continue beating until stiff peaks form. Be vigilant not to overbeat, as heavy cream can quickly turn into butter if mixed for too long.
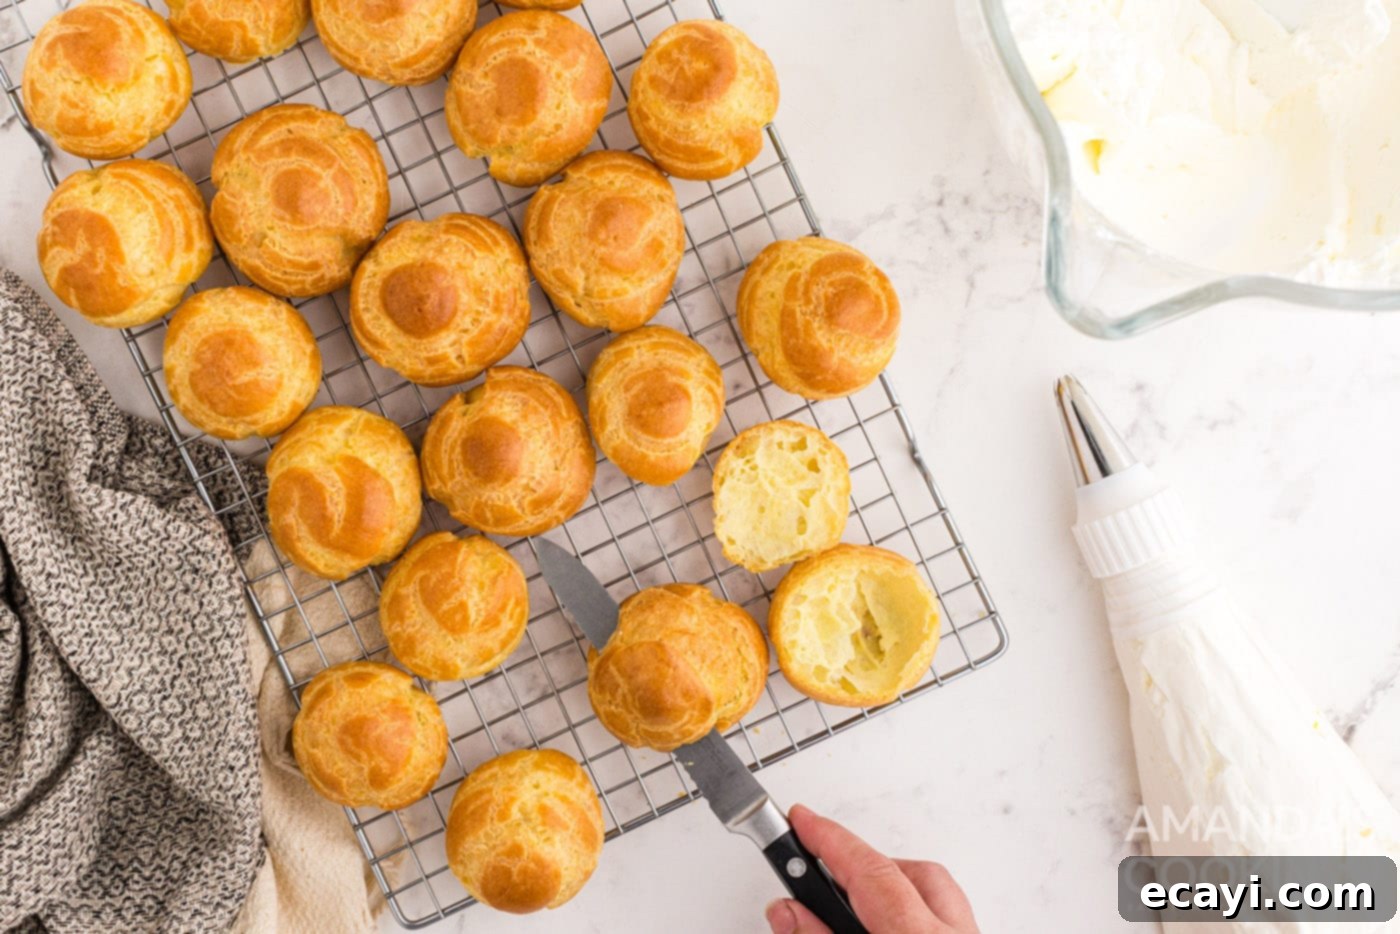
- Slice for Filling: Using a serrated knife, which works best for a clean cut, carefully slice the tops off of each cooled cream puff. This creates a perfect opening for your filling.
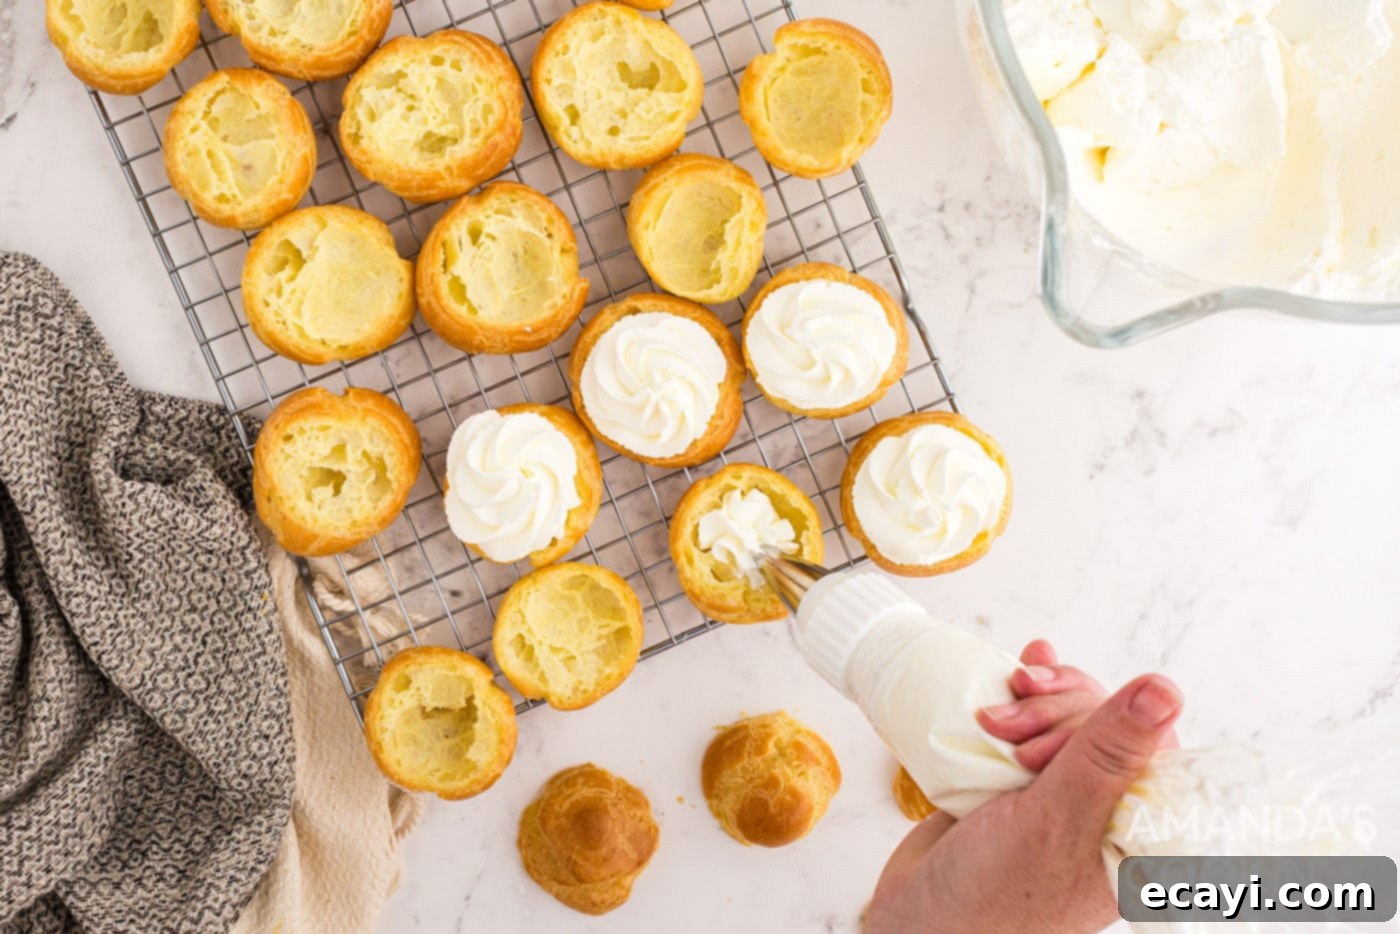
- Fill with Whipped Cream: You can simply mound the prepared whipped cream into the bottom half of each cream puff using a spoon, or for a more elegant presentation, transfer the whipped cream to a pastry bag fitted with an open star tip (Tip #1M) and pipe beautiful swirled whipped cream into the centers.

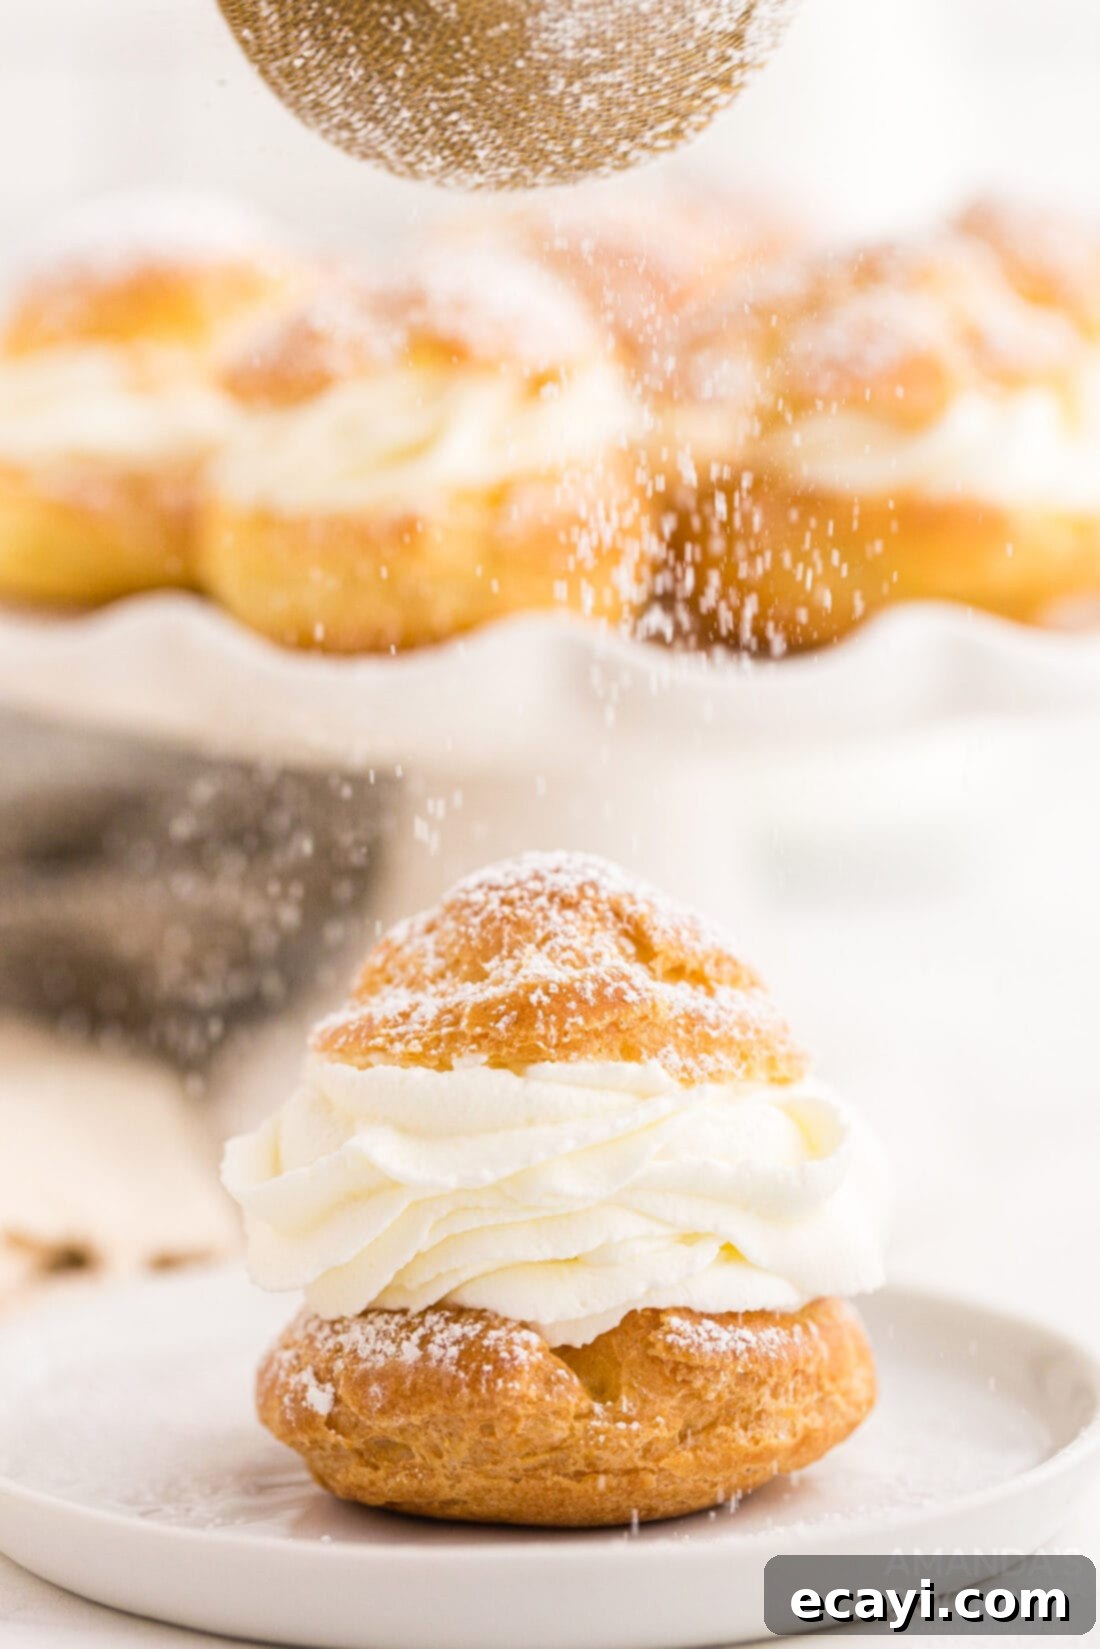
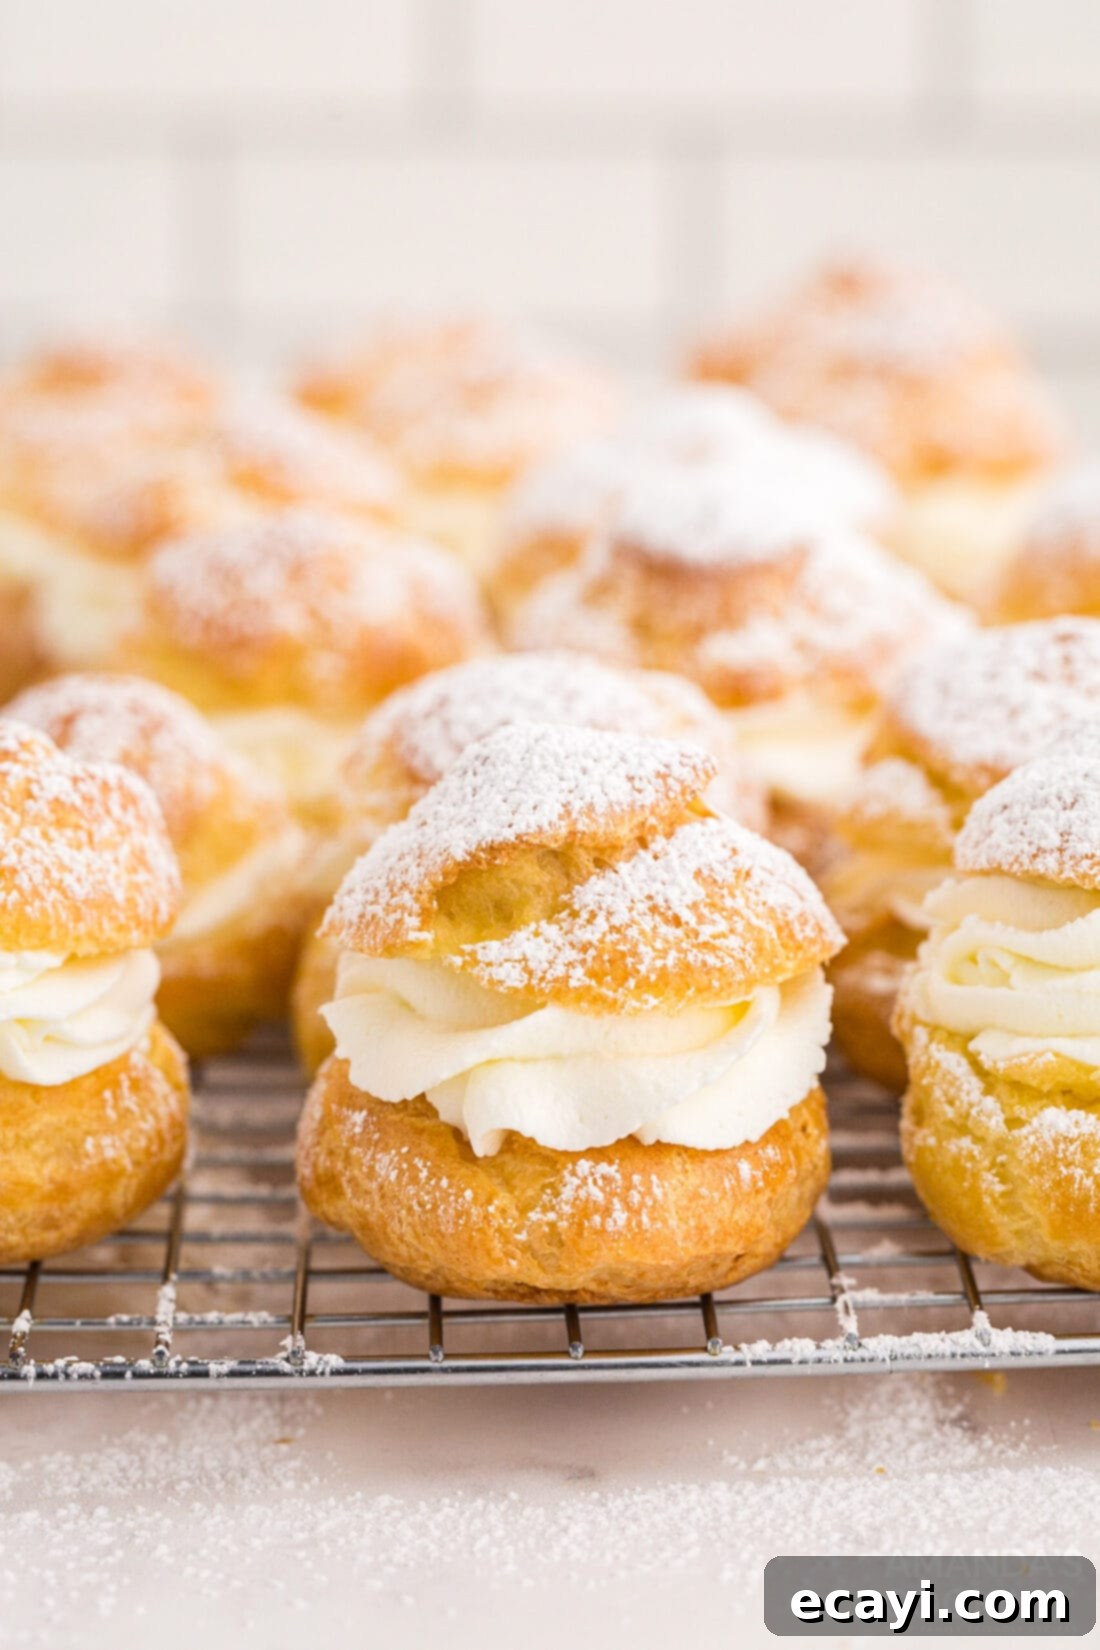
- Assemble and Finish: Gently place the sliced tops back onto the whipped cream filling of each cream puff. For that classic finish, generously sprinkle a final dusting of powdered sugar over the assembled treats just before serving.
Frequently Asked Questions & Expert Tips for Perfect Cream Puffs
Once filled, cream puffs are best enjoyed fresh. However, if you have leftovers, you can store them in an air-tight container in the refrigerator for 2-3 days. The pastry may soften slightly over time due to the moisture from the filling.
Absolutely! While cream puffs are truly at their peak when served the day they are made, you can prepare the choux pastry shells in advance. Unfilled cream puffs can be stored in an air-tight container in the refrigerator for up to 3 days. For longer storage, you can freeze the unfilled shells for up to 1 month. To serve, thaw them (if frozen), then refresh them in a 300°F (150°C) oven for about 5-10 minutes to crisp them up before filling and dusting.
Deflation is a common concern with choux pastry, but it’s easily avoidable with a few key techniques. First, ensure you follow the instructions for propping open the oven door for 15 minutes after baking. This allows the steam to escape slowly and the outer shell to dry out and crisp up while the oven gradually cools, preventing a sudden temperature shock that can cause collapse. Secondly, precise measurement of ingredients, especially the flour, is paramount. Too much or too little can affect the dough’s consistency. Lastly, verify your oven temperature with an independent oven thermometer. Many ovens, particularly older models, can run hotter or cooler than displayed, which can lead to the pastry browning too fast on the outside before it’s fully cooked and stable on the inside, inevitably causing it to deflate or collapse.
No piping bag? No problem! You can use a sturdy resealable plastic bag. Simply spoon the choux pastry dough into one corner of the bag, twist the top to secure, and then snip off a 1/2-inch to 3/4-inch corner to create an opening. Alternatively, you can use two spoons to scoop and drop rounded mounds of dough onto the parchment-lined baking sheets.
There are a few common culprits. Firstly, ensure your oven is at the correct temperature (use an oven thermometer!). If the oven isn’t hot enough, the steam won’t form quickly enough to puff the pastry. Secondly, make sure your dough isn’t too wet. If it’s too runny, it won’t hold its shape. This can happen if you don’t cook out enough moisture in step 4, or if your eggs were too large. Conversely, if the dough is too stiff (not enough eggs), it won’t expand properly.
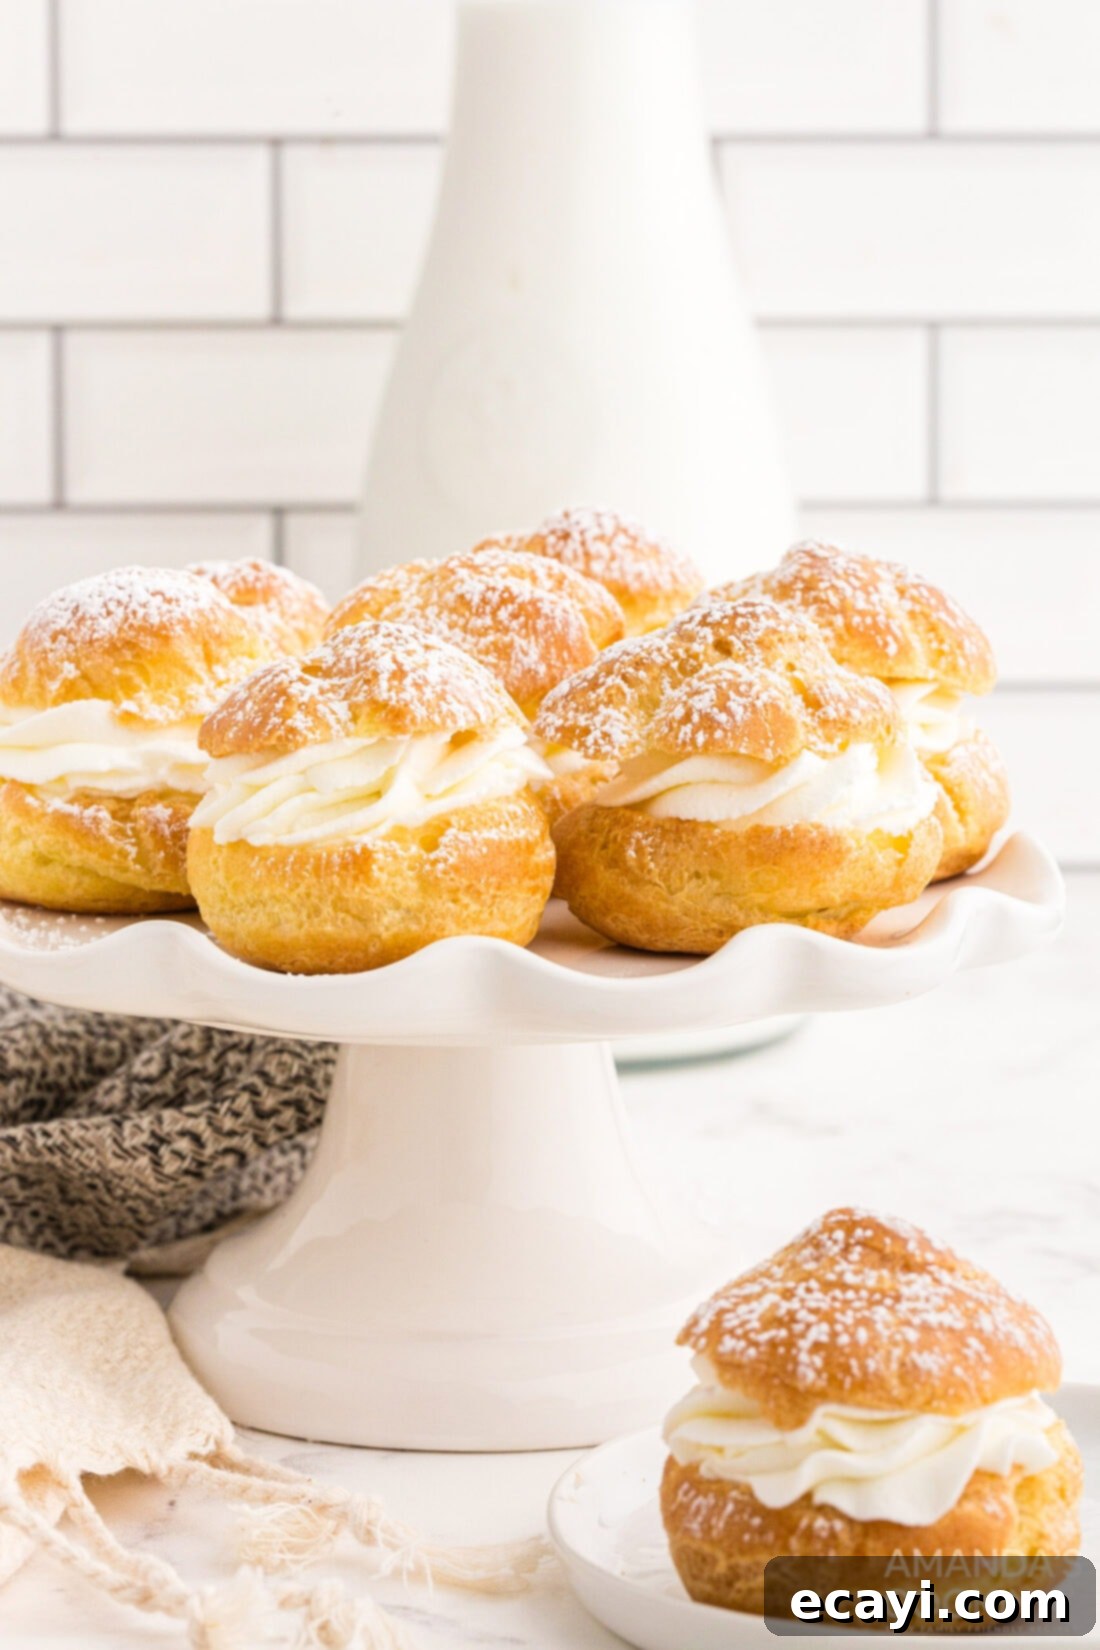
Delightful Serving Suggestions for Cream Puffs
Classic homemade cream puffs, with their light texture and fresh whipped cream filling, are truly at their best when served the day they are made. This ensures the pastry remains delightfully crisp and the filling is perfectly cool and fluffy. While a simple dusting of powdered sugar is traditionally elegant, there are many ways to enhance their presentation and flavor profile.
Consider a decadent drizzle of homemade chocolate ganache over the top of your cream puffs for an extra layer of richness. A light scattering of finely chopped nuts, such as pistachios or almonds, can also add a pleasant crunch and visual appeal. For a seasonal touch, a berry coulis or a vibrant fruit sauce can introduce a tangy counterpoint to the sweet cream.
Cream puffs are a delicate dessert that pairs beautifully with a warm cup of tea, making them ideal for afternoon gatherings or a sophisticated brunch. Their elegant appearance makes them a fantastic choice for special occasions like bridal showers, baby showers, garden parties, or even as a refined finish to a holiday meal. You can also make mini cream puffs for bite-sized delights perfect for a dessert bar.
This versatile choux pastry recipe isn’t limited to just cream puffs. You could also use the same dough to create other classic French pastries:
- Eclairs: Pipe the dough into elongated finger shapes before baking, then fill with pastry cream and top with a chocolate glaze for a traditional eclair.
- Profiteroles: These are essentially smaller cream puffs, often filled with ice cream instead of whipped cream or pastry cream, and frequently served piled high in a croquembouche or simply drizzled with chocolate sauce. They are absolutely delicious and offer a refreshing alternative, especially during warmer months!
No matter how you choose to serve them, homemade cream puffs are a timeless treat that brings a touch of bakery elegance to your home kitchen.
More Irresistible Dessert Recipes to Explore
If you’ve enjoyed mastering the art of cream puffs, you’re likely a fellow dessert enthusiast! We invite you to explore more of our delicious and easy-to-follow dessert recipes:
- S’mores Bars
- Mini Cheesecakes
- Boston Cream Poke Cake
- Lemon Meringue Pie Bars
- Cream Puff Chocolate Eclair Cake
- Blackberry Scones
I genuinely love to bake and cook, and it brings me immense joy to share my kitchen experiences and culinary creations with all of you! Remembering to come back each day for new inspiration can sometimes be tough amidst a busy schedule, which is why I offer a convenient newsletter. Every time a new, delicious recipe posts, it’s delivered straight to your inbox. Simply subscribe today and start receiving your free daily recipes, making sure you never miss out on your next favorite dish!

Cream Puffs
IMPORTANT – There are often Frequently Asked Questions within the blog post that you may find helpful. Simply scroll back up to read them!
Print It
Pin It
Rate It
Save ItSaved!
Ingredients
- ½ cup unsalted butter
- 1 cup water
- ½ teaspoon salt
- 2 Tablespoons granulated sugar
- 1 cup all purpose flour
- 4 large eggs
Filling
- 2 cups heavy whipping cream
- ¼ cup powdered sugar plus more for dusting
Things You’ll Need
-
Insulated baking sheets
-
Electric mixer
-
Star piping tip (Wilton 1M)
Before You Begin
- The choux pastry puffs up, leaving a hollow center due to the moisture in the dough. Leaving the oven cracked open after baking allows the outer shell to dry out and crisp at the same time the oven is cooling off will help avoid the cream puff collapsing.
Instructions
-
Preheat the oven to 400°F. Line two sheet pans with parchment paper and set aside.
-
In a heavy saucepan, heat butter, water, salt, and sugar over medium heat.1/2 cup unsalted butter, 1 cup water, 1/2 teaspoon salt, 2 Tablespoons granulated sugar
-
When butter has melted completely and mixture begins to boil, remove from heat.
-
Immediately dump the flour into the saucepan and stir with a wooden spoon until it is completely incorporated.1 cup all purpose flour
-
Return the mixture to medium heat and cook while stirring, until the dough pulls away from the sides of the pan and forms a smooth ball (about 2 minutes).
-
Remove the dough from the heat and allow to cool for about 5 minutes.
-
Beat each egg, one at a time, into the flour mixture with a wooden spoon (you can also use a standing or hand mixer). The dough will separate when each egg is added, but will come back together after mixing.4 large eggs
-
After all eggs have been incorporated, and the mixture is smooth and glossy, transfer to a large piping bag fit with an open round tip.
-
Pipe 1 1⁄2” rounds of the dough onto the prepared sheet pans, spacing each ball two inches apart.
-
Dip your finger into cold water and smooth down any peaks left behind from piping.
-
Bake the puffs for 10 minutes at 400°F, then 20-25 minutes more at 350°F. Prop open oven door for 15 minutes after baking while keeping the cream puffs inside.
-
Transfer cream puffs to a wire cooling rack and cool completely.
-
Use a wire whisk attachment on your standing mixer or hand mixer to beat heavy cream until soft peaks form.2 cups heavy whipping cream
-
Add the powdered sugar (more or less to taste) and continue beating until stiff peaks form. Do not overbeat or cream will turn to butter.1/4 cup powdered sugar
-
Slice the tops off of the cream puffs (a serrated knife works best).
-
Mound the whipped cream into the cream puff or use a pastry bag fit with an open star tip (Tip #1M) to pipe swirled whipped cream into the centers.
-
Place the tops of the cream puffs onto the whipped cream filling and sprinkle with powdered sugar.
Expert Tips & FAQs
- The unfilled cream puffs can be stored in the refrigerator up to 3 days or frozen for up to 1 month. However, the flavor and texture is best when made and served the same day.
Nutrition
The recipes on this blog are tested with a conventional gas oven and gas stovetop. It’s important to note that some ovens, especially as they age, can cook and bake inconsistently. Using an inexpensive oven thermometer can assure you that your oven is truly heating to the proper temperature. If you use a toaster oven or countertop oven, please keep in mind that they may not distribute heat the same as a conventional full sized oven and you may need to adjust your cooking/baking times. In the case of recipes made with a pressure cooker, air fryer, slow cooker, or other appliance, a link to the appliances we use is listed within each respective recipe. For baking recipes where measurements are given by weight, please note that results may not be the same if cups are used instead, and we can’t guarantee success with that method.
