The Ultimate Homemade Creamed Corn Recipe: Velvety, Rich, and Unforgettable
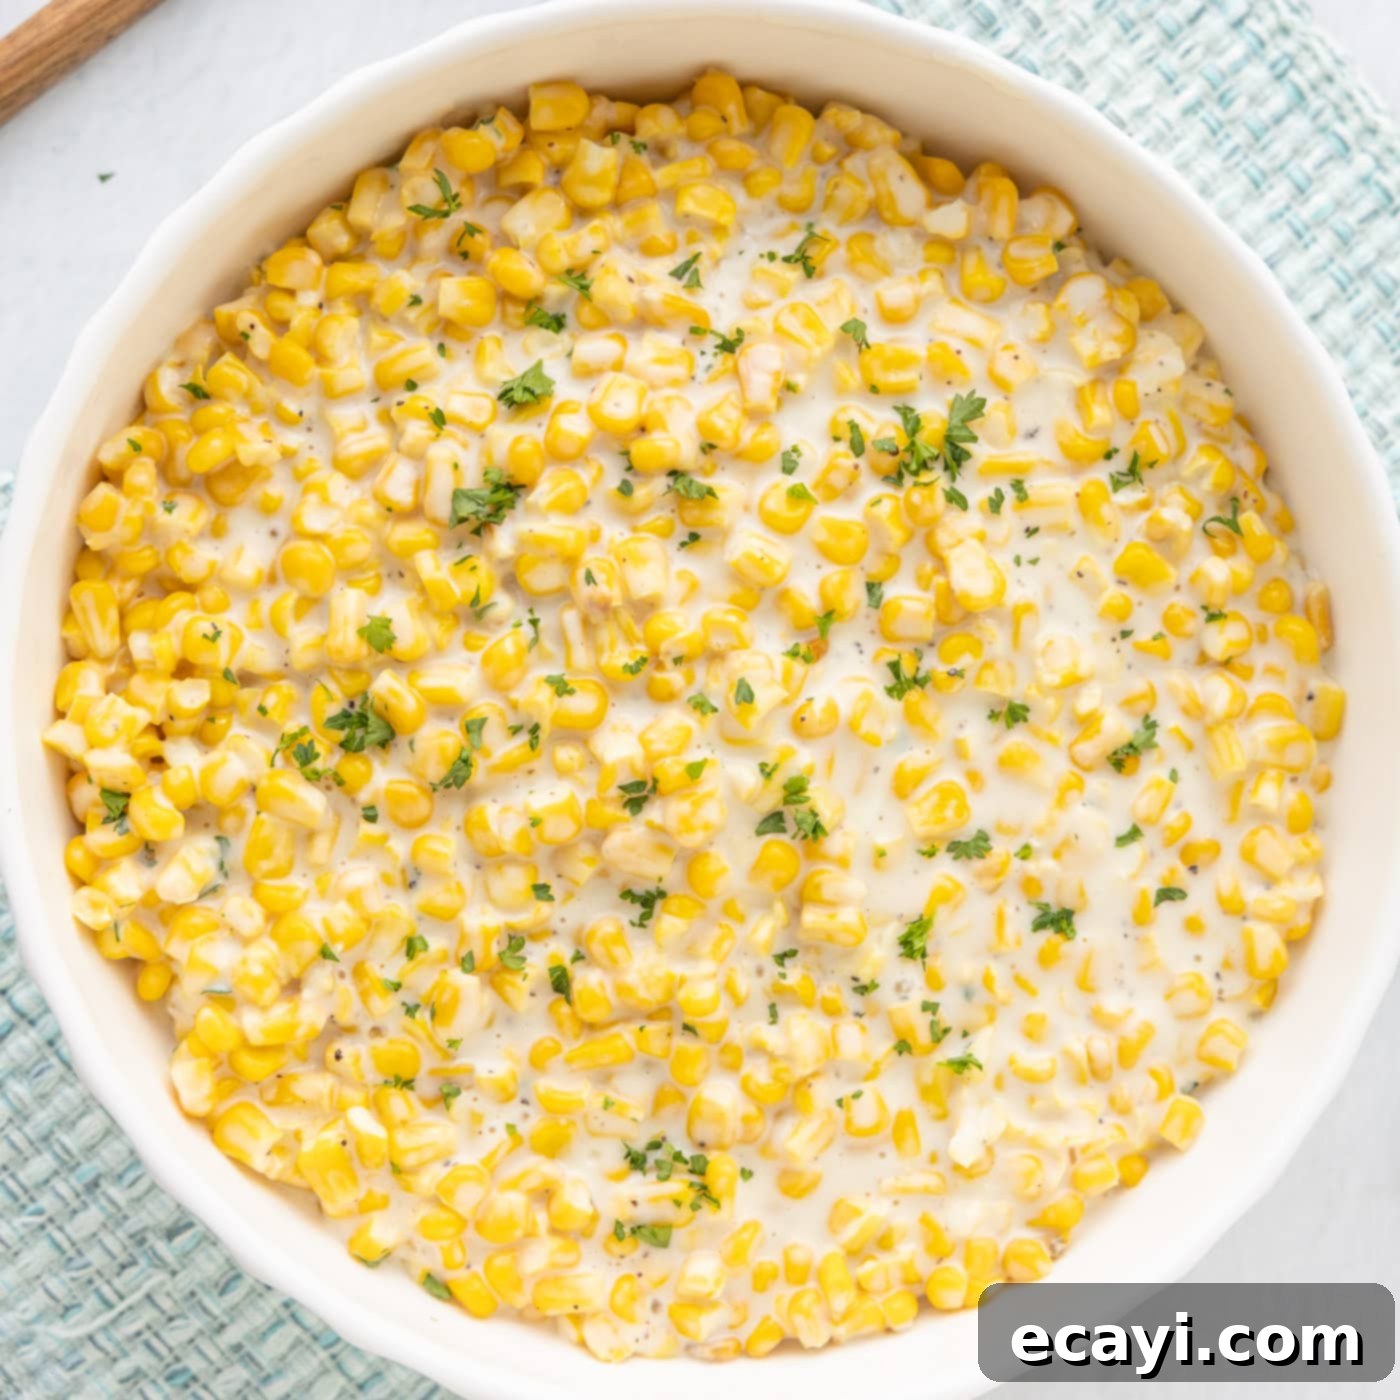
There’s a reason why homemade creamed corn stands head and shoulders above its canned counterpart. Imagine a dish that is luxuriously smooth, incredibly creamy, and bursting with a rich, sweet corn flavor, achieved by using quality ingredients like heavy cream, whole milk, and real butter. This isn’t just a side dish; it’s a culinary experience that elevates any meal, offering comforting warmth during colder months and a delightful, fresh sweetness perfect for summer gatherings. Forget everything you thought you knew about creamed corn, because this recipe is about to redefine your expectations with its velvety texture and unparalleled taste.
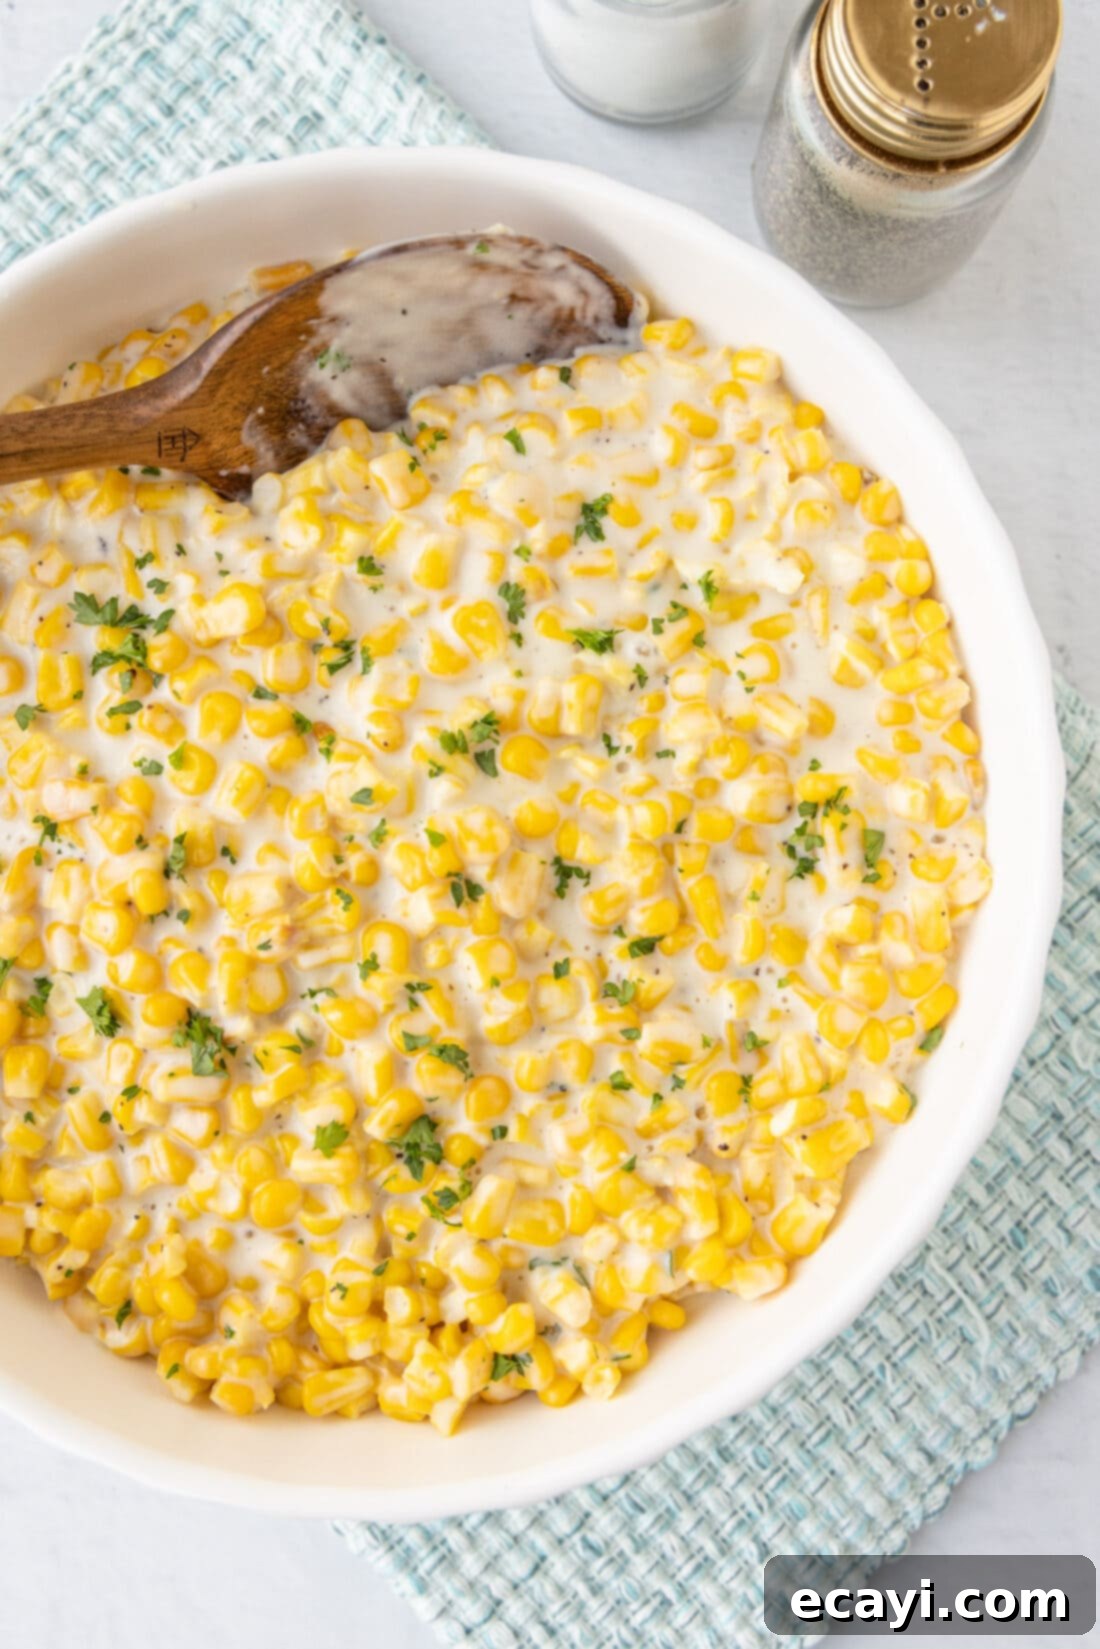
Why This Homemade Creamed Corn Recipe Is a Game Changer
This easy homemade creamed corn recipe isn’t just good; it’s so incredibly superior that it will make you forget canned creamed corn ever existed. The fundamental difference lies in the ingredients and preparation. Canned versions typically rely on a puree of corn kernels, often lacking actual cream and loaded with preservatives and artificial flavors. They tend to be gummy, bland, and fail to capture the natural sweetness and tender bite of corn.
In stark contrast, our recipe uses fresh or frozen corn kernels, combined with the decadent richness of real butter, whole milk, and heavy cream. A touch of sugar enhances the corn’s natural sweetness, while a hint of flour creates that perfectly thick, luscious consistency without being heavy or pasty. The result is a side dish that is:
- **Rich and Creamy:** Thanks to the generous use of dairy, offering a melt-in-your-mouth texture.
- **Bursting with Flavor:** The fresh or frozen corn shines through, complemented by the savory butter and a delicate sweetness.
- **Incredibly Easy:** Despite its gourmet taste, this recipe comes together in under 30 minutes, making it perfect for busy weeknights or special occasions.
- **Versatile:** It pairs beautifully with a wide array of main dishes, from roasted meats to grilled favorites.
Creamed corn truly is a year-round delight. It’s an indispensable addition to summer potlucks and cookouts, providing a comforting contrast to grilled meats and fresh salads. Come the colder months, it transforms into a quintessential holiday side dish, right alongside classics like corn casserole or green bean casserole. Once you dedicate just 30 minutes to making this creamed corn from scratch, you’ll be captivated by its flavor and texture, and we guarantee you’ll never return to buying the canned stuff again!
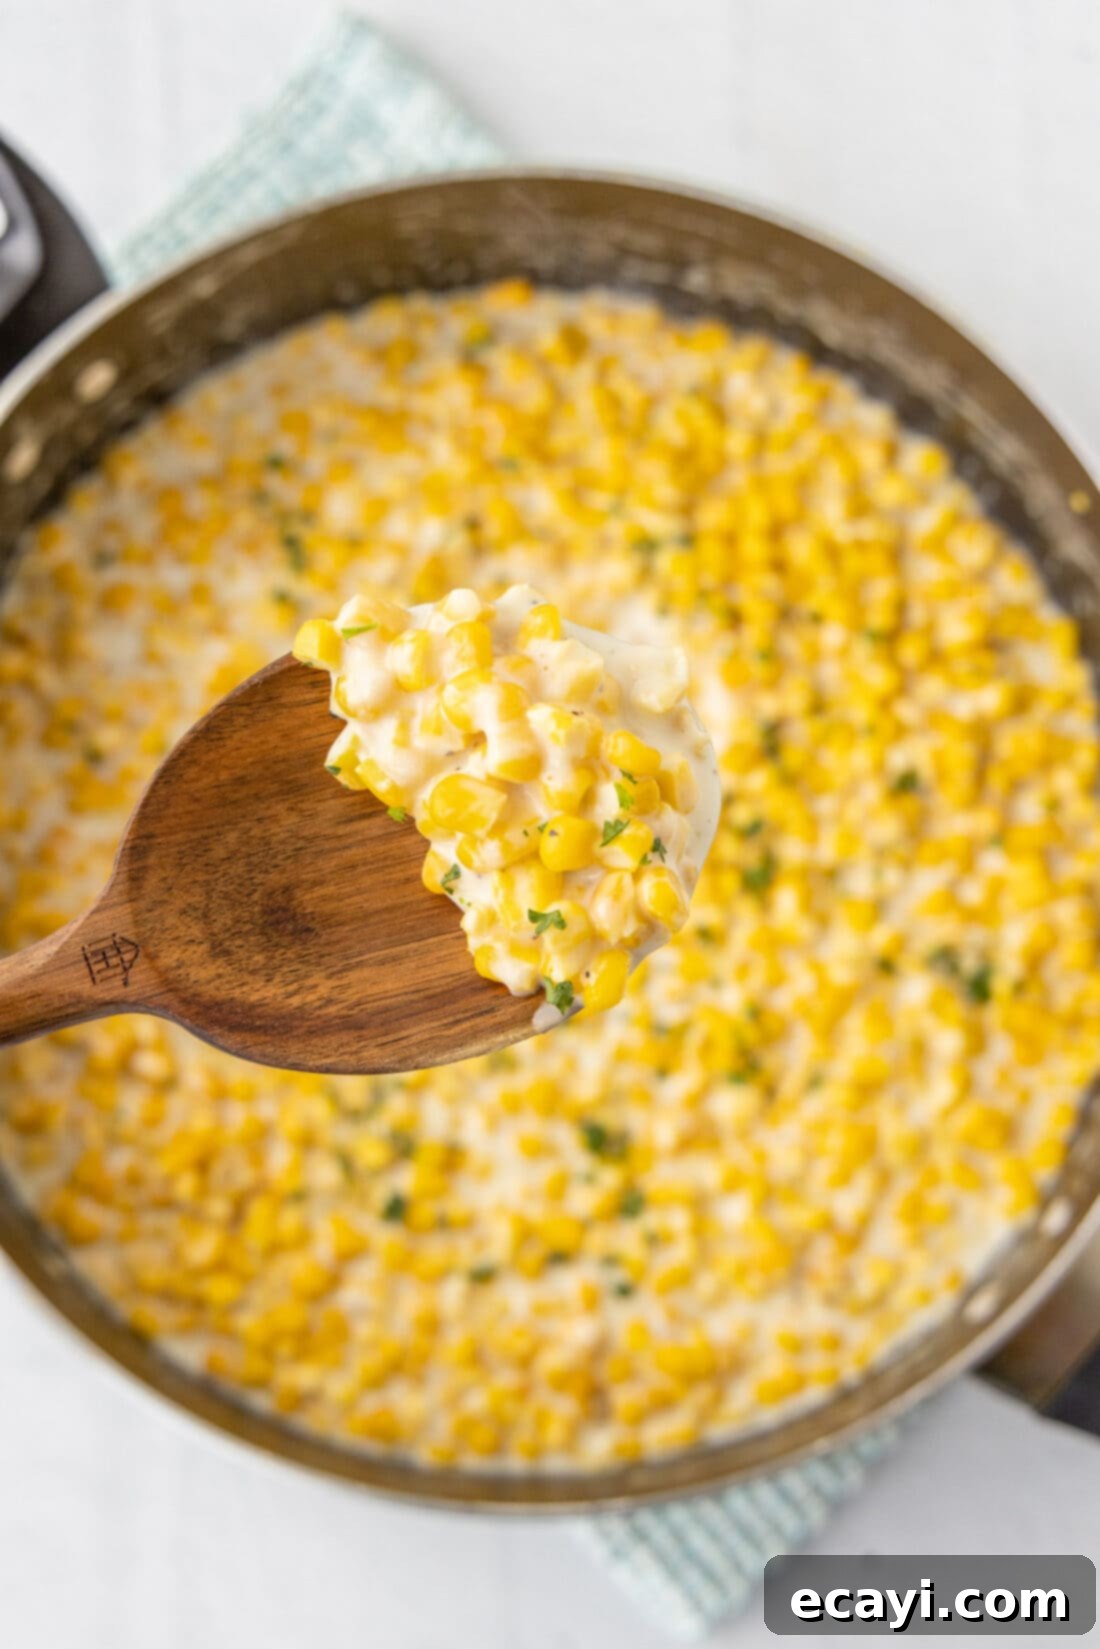
Key Ingredients for the Best Creamed Corn
Crafting the perfect creamed corn requires a handful of simple, wholesome ingredients that work in harmony to create its signature taste and texture. You’ll find all precise measurements, specific ingredients, and detailed instructions in the printable recipe card located at the very end of this post.
Here’s a sneak peek at the star components and why they’re essential:
- Corn: The foundation of our dish, bringing natural sweetness and texture.
- Butter: For rich flavor and a silky mouthfeel.
- Whole Milk: Contributes to the creamy base and helps to create the right consistency.
- Heavy Whipping Cream: The secret to that luxurious, velvety smoothness and unparalleled richness.
- Granulated Sugar: Enhances the corn’s natural sweetness, balancing the savory notes.
- Black Pepper and Salt: Essential seasonings to bring out all the flavors.
- All-Purpose Flour: Acts as a thickening agent, giving the creamed corn its desired body without being too heavy.
Each ingredient plays a crucial role in achieving the perfect balance of sweetness, savoriness, and a wonderfully creamy texture that makes this dish so irresistible.
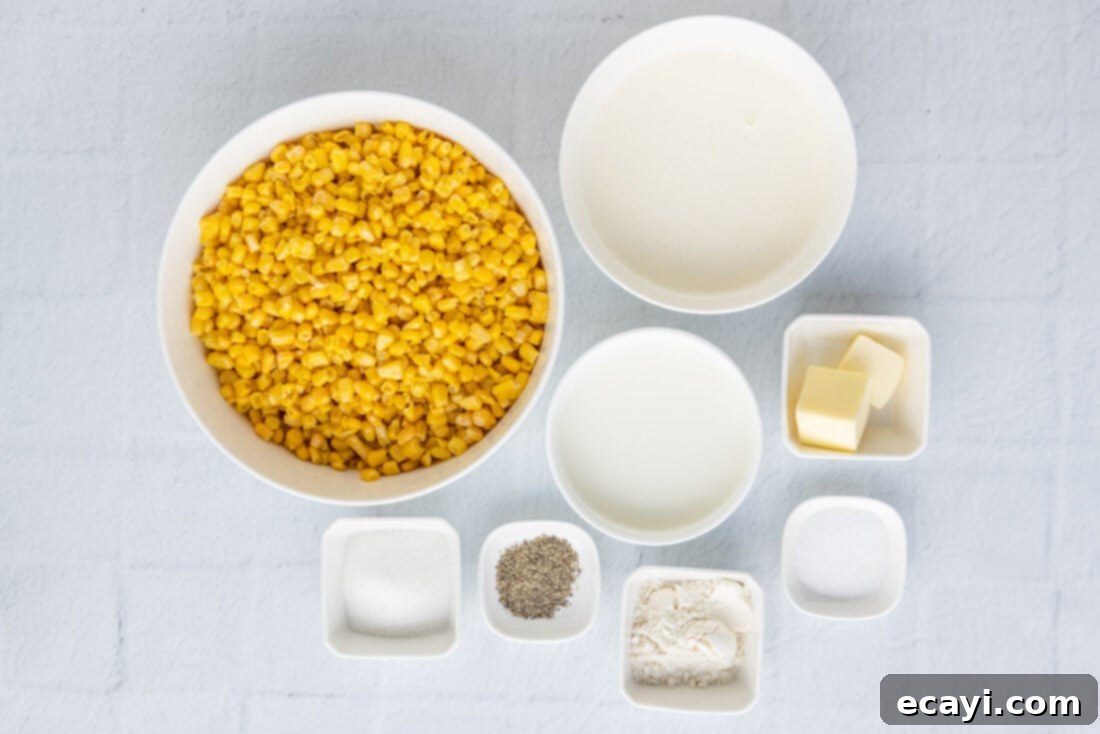
Ingredient Spotlight & Smart Substitutions
Understanding each ingredient’s role and knowing possible substitutions can empower you to customize this creamed corn recipe to your taste and what you have on hand.
CORN: Fresh vs. Frozen
Our recipe primarily uses frozen corn kernels, and for good reason. They are picked at peak ripeness and flash-frozen, locking in their sweetness and flavor. The key with frozen corn is to ensure they are fully thawed before you begin cooking. This prevents them from releasing too much water into your sauce and becoming mushy once cooked. To speed up the thawing process, simply spread the frozen corn out in a single layer on a baking sheet. This allows for even thawing, much faster than leaving them in a mound in a bowl.
If you’re making this during the warmer months when corn is in season, don’t hesitate to use fresh corn! It adds an unbeatable crispness and vibrant flavor. You’ll need about 4-5 medium ears of corn to yield 16 ounces of kernels. To remove the kernels, stand an ear of corn upright in a large bowl (to catch the kernels) and carefully slice downwards with a sharp knife, rotating the cob as you go. You can even scrape the cobs with the back of your knife after cutting to extract any remaining “milk” from the corn, which will further enhance the flavor and creaminess of your dish.
DAIRY: The Foundation of Creaminess
The trio of heavy cream, butter, and whole milk forms the rich, flavorful, and truly decadent base of our creamed corn. This combination is what gives it that signature velvety texture that sets it apart from bland, watery versions.
- Heavy Cream: This is non-negotiable for achieving true richness and the silky smooth consistency. Its high fat content ensures the sauce is lush and doesn’t curdle easily.
- Whole Milk: Provides additional liquid and creaminess without making the dish overly heavy. While whole milk is recommended for its fat content and flavor, you can substitute it with 2% milk if you’re looking to slightly reduce the richness. Keep in mind that using lower-fat milk might result in a slightly thinner consistency and less luxurious mouthfeel. Skim milk is generally not recommended as it lacks the fat needed for the desired creaminess.
- Butter: Unsalted butter is preferred, as it gives you control over the overall saltiness of the dish. If you only have salted butter, simply reduce the amount of added salt in the recipe. Butter adds a beautiful richness and depth of flavor that complements the sweet corn perfectly.
THICKENER: All-Purpose Flour
All-purpose flour is used to thicken the sauce, creating a smooth, cohesive texture. It’s mixed with milk to form a slurry, which prevents lumps when added to the hot liquid. If you need a gluten-free option, you can substitute the all-purpose flour with a 1:1 gluten-free flour blend or use cornstarch. If using cornstarch, mix 1-1.5 tablespoons with an equal amount of cold water to create a slurry before adding it to the simmering cream mixture; it will thicken very quickly.
SEASONINGS: Salt, Pepper, and Sugar
- Salt and Black Pepper: These are fundamental for seasoning. Adjust to taste, but start with the recommended amounts. Freshly ground black pepper offers the best flavor.
- Granulated Sugar: A small amount of sugar works wonders by enhancing the natural sweetness of the corn, rather than making the dish overtly sugary. It balances the richness of the dairy and brings out the best in the corn. Don’t skip it, even if you prefer savory dishes; it’s a flavor enhancer, not a sweetener in this context.
Step-by-Step Guide: How to Make Creamed Corn
These step-by-step photos and detailed instructions are provided to help you visualize each stage of making this incredibly delicious creamed corn. For a quick reference or to print the recipe, you can Jump to Recipe to get the printable version of this recipe, complete with precise measurements and instructions at the bottom of this post.
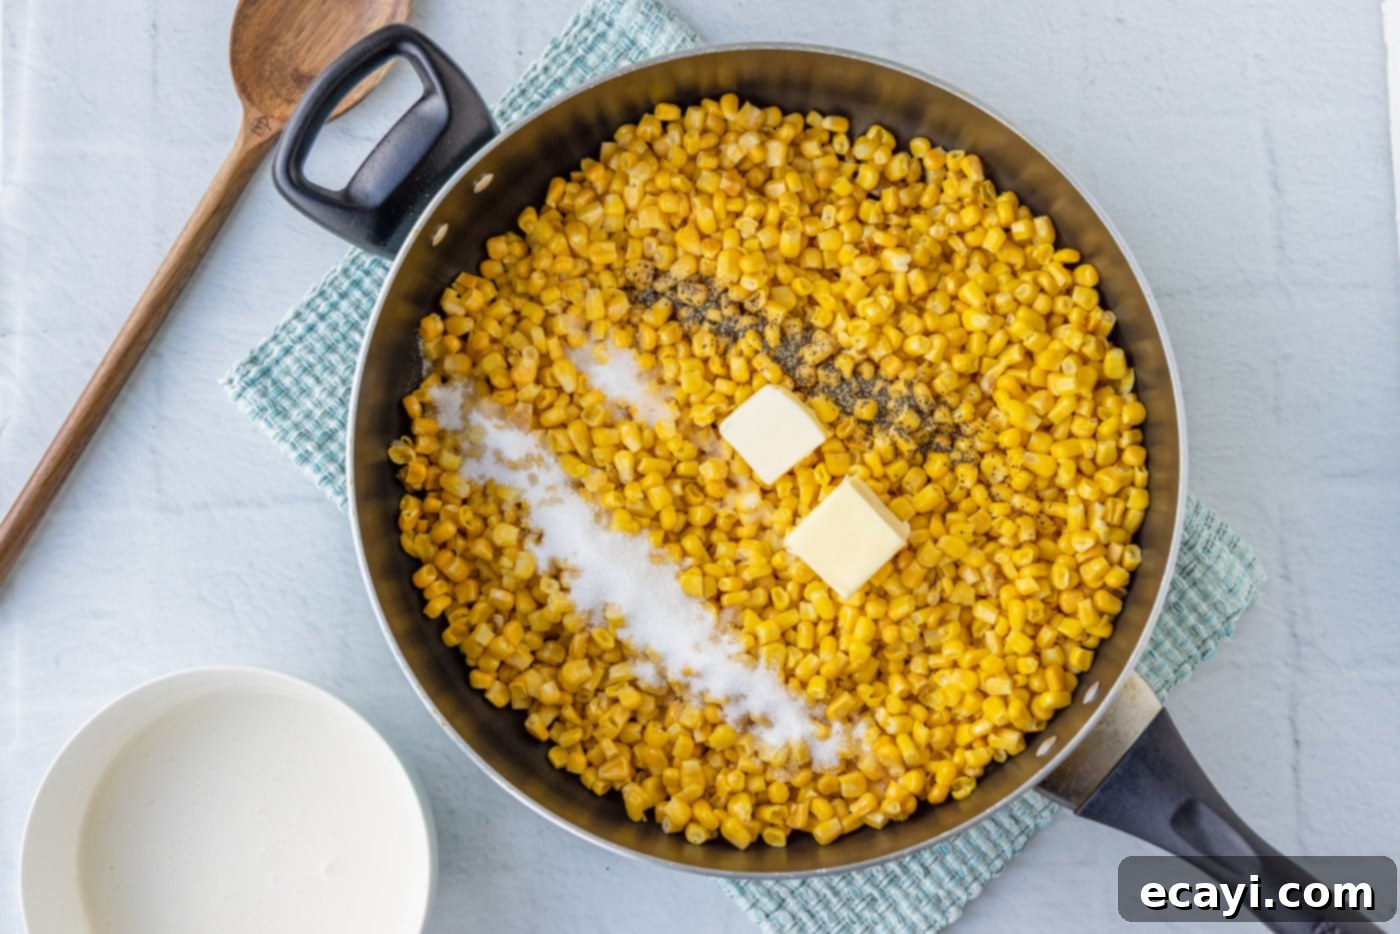
- Combine Ingredients in Skillet: In a large heavy-bottomed skillet (this is important for even heat distribution and preventing scorching), combine your thawed corn kernels, unsalted butter, salt, black pepper, and granulated sugar. Stir everything together gently to ensure the corn is coated and the seasonings are evenly distributed. Cook over medium heat for a few minutes until the butter is melted and the corn is heated through, allowing the flavors to start melding.

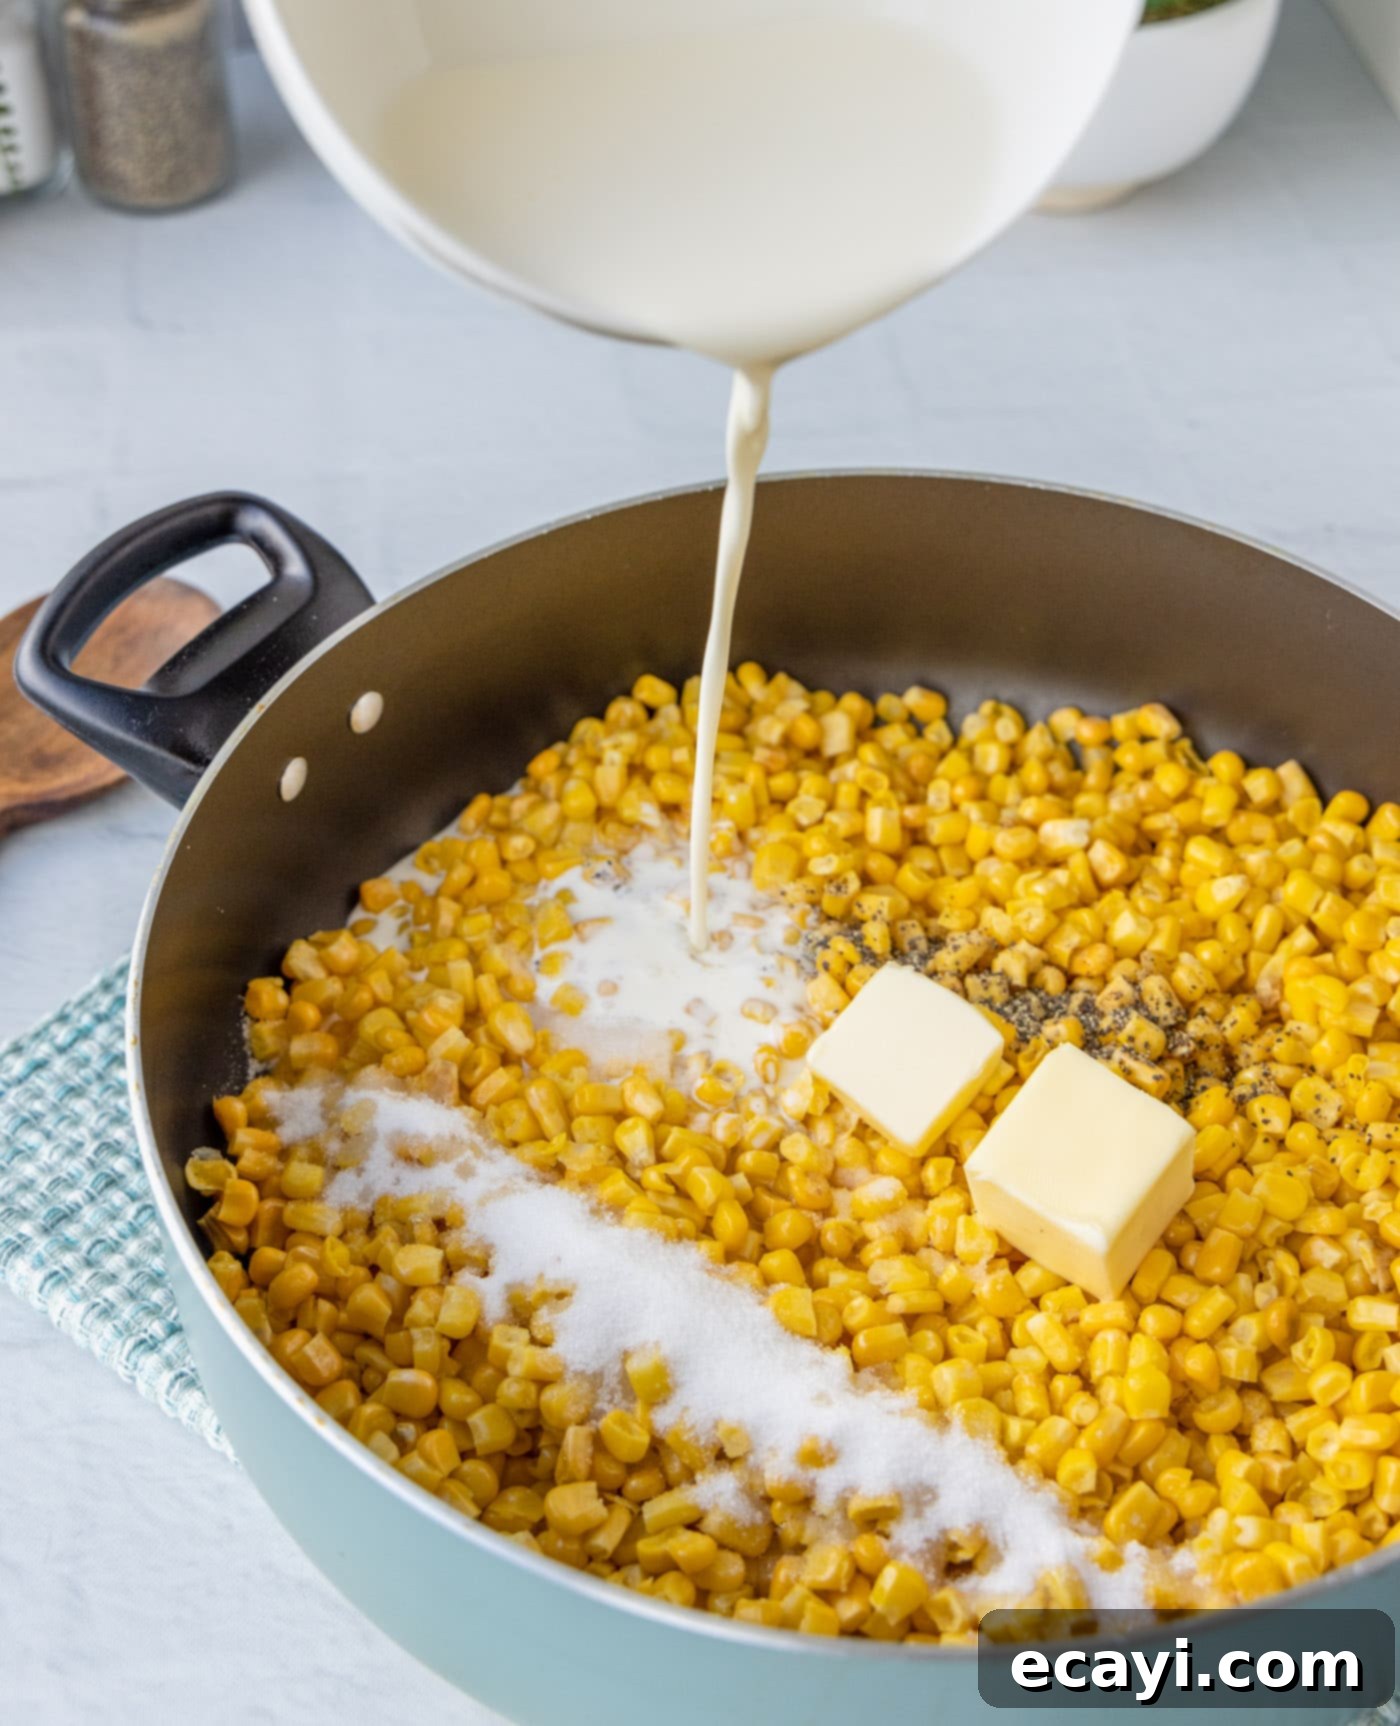
Begin by combining corn, butter, and seasonings in a sturdy skillet. - Add Heavy Cream and Bring to a Boil: Pour in the heavy cream. Increase the heat to medium-high and bring the mixture to a gentle boil, stirring occasionally. Be attentive during this stage to prevent the cream from boiling over or scorching on the bottom of the pan. As it heats, the cream will become more fragrant and begin to simmer.

Pour in the heavy cream and heat until it begins to boil. 
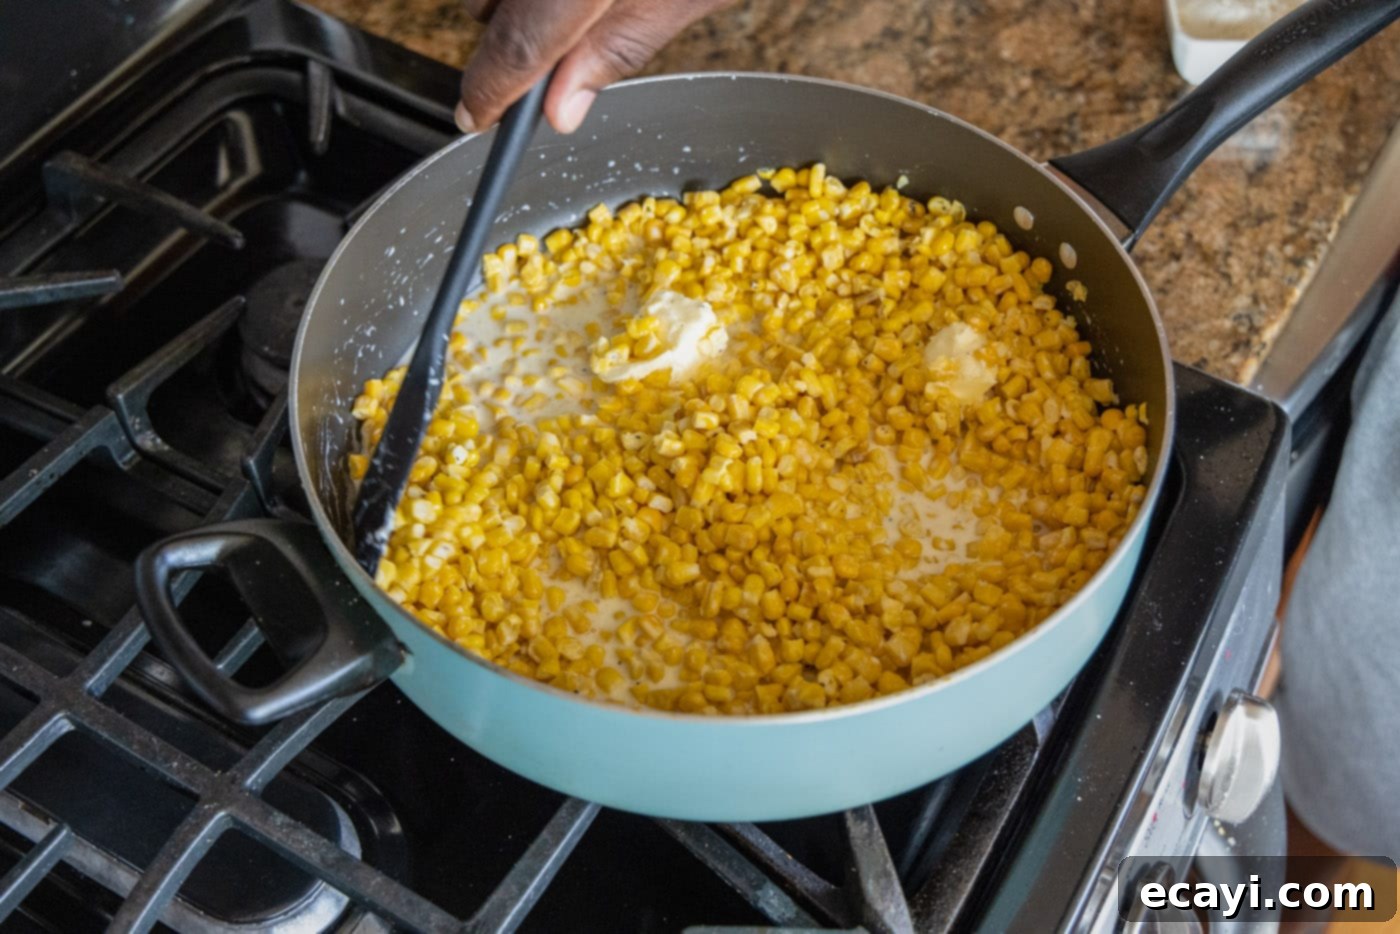
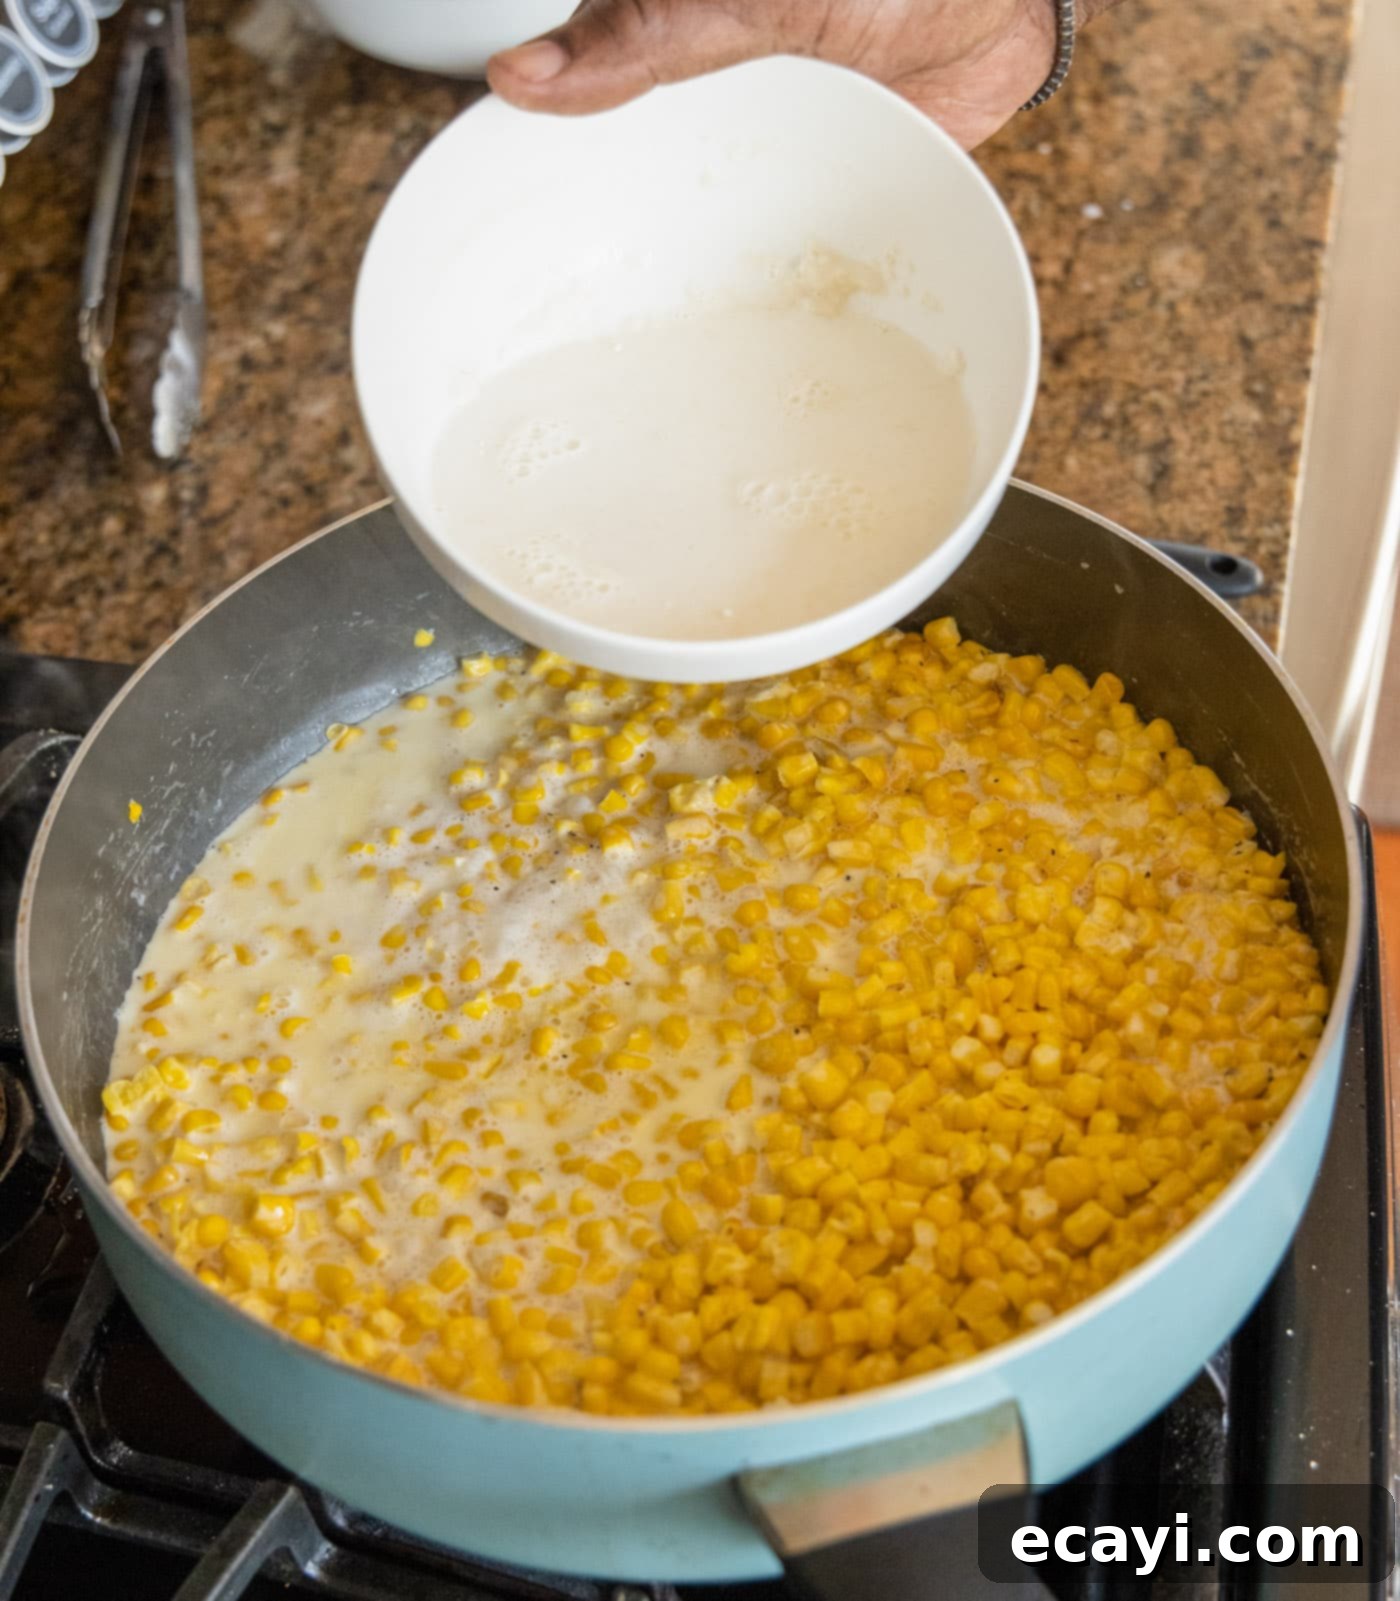
Stir well to ensure all ingredients are thoroughly combined. - Prepare and Add Milk-Flour Mixture: In a separate medium-sized bowl, whisk together the whole milk and all-purpose flour until completely smooth and no lumps remain. This step is crucial for achieving a smooth, lump-free sauce. Once the creamed corn mixture in the skillet is boiling, slowly pour the milk and flour mixture into the skillet while continuously stirring. This will prevent lumps and ensure the thickener is evenly distributed.

Whisk milk and flour separately, then gradually add to the corn mixture. 
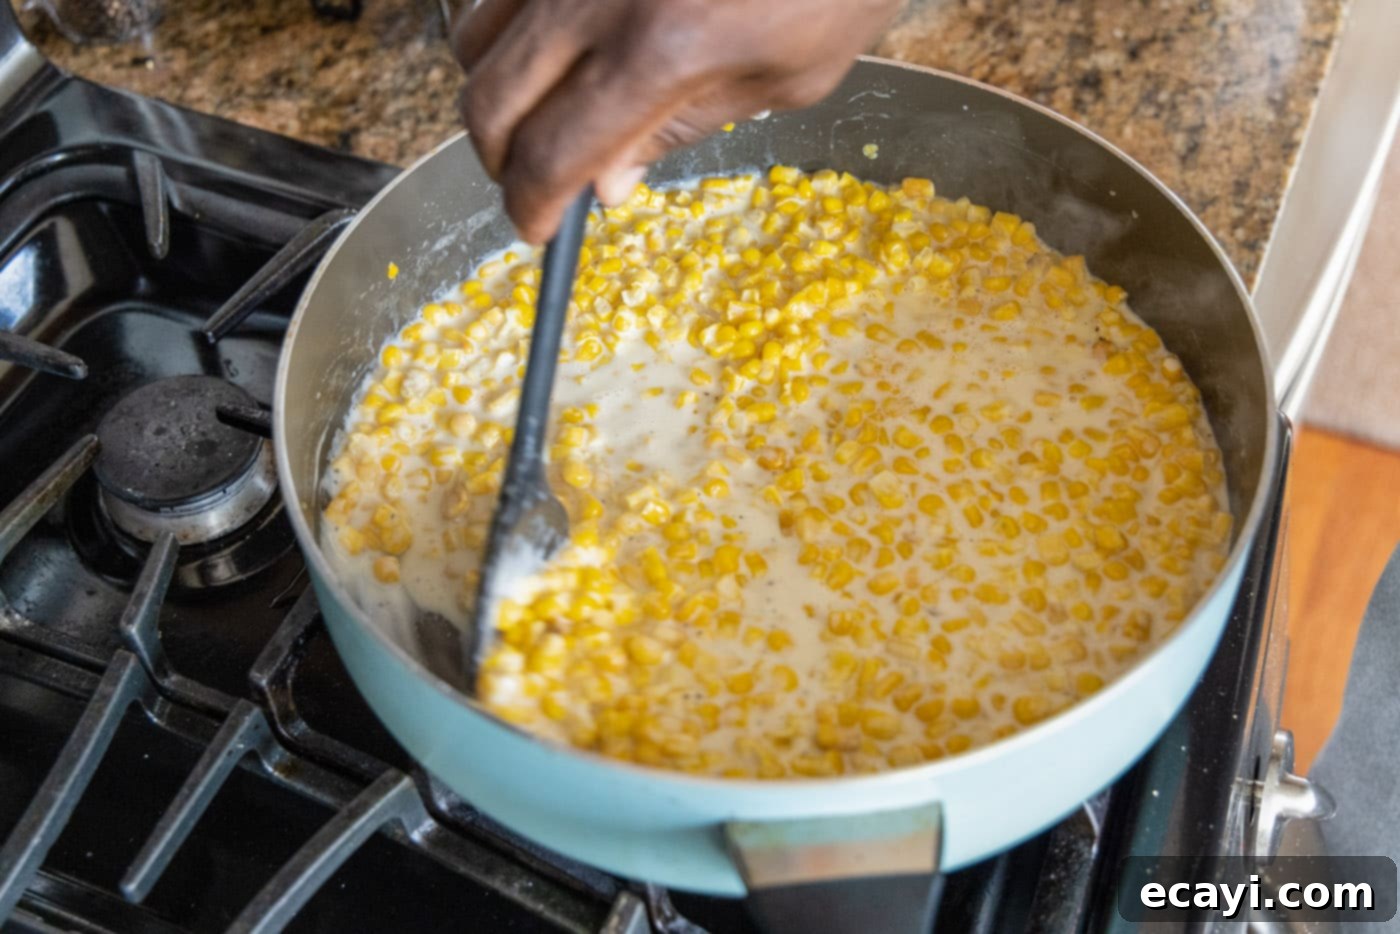
Continue stirring as the mixture thickens into a rich, creamy sauce. - Simmer to Thicken: Bring the entire mixture back to a boil, then immediately reduce the heat to low. Let it simmer gently for about 10 minutes, stirring frequently. During this simmering period, the flour will fully cook, and the sauce will thicken beautifully to a rich, creamy consistency. Taste and adjust seasonings as needed before serving. Serve hot and enjoy the homemade goodness!
Frequently Asked Questions & Expert Tips for Creamed Corn
The possibilities are truly endless when it comes to customizing your creamed corn! To enhance its flavor and texture, consider these fantastic add-ins:
- Diced Cooked Bacon: Crispy bacon bits add a savory, smoky depth that complements the sweet corn wonderfully.
- Jalapeños: For a touch of heat, finely diced fresh or pickled jalapeños work beautifully. If you prefer less spice, remove the seeds and membranes before dicing.
- Onions and Bell Peppers: Sautéing finely diced sweet onions or colorful bell peppers (red, yellow, or orange) with the corn at the beginning of the cooking process can add aromatic layers and visual appeal.
- Cheeses: A sprinkle of freshly grated Parmesan, sharp cheddar, or even a blend of Monterey Jack can add a delicious cheesy kick. Stir it in at the end until melted.
- Fresh Herbs: Chopped fresh chives, parsley, or cilantro as a garnish can add a bright, fresh finish.
- Spices: A pinch of smoked paprika or a dash of cayenne pepper can introduce subtle warmth and complexity.
If you prefer an ultra-smooth, velvety texture similar to a puree, there’s a simple trick. Once your creamed corn has finished simmering and thickened, carefully transfer about half of the mixture to a food processor or blender. Process until it reaches your desired smoothness. Then, return the pureed portion back to the skillet with the remaining chunky corn and stir well to combine. For a slightly less smooth but still creamy texture, you can use a potato masher directly in the skillet to gently break down some of the corn kernels.
To maintain its freshness and flavor, store any leftover creamed corn in an airtight container. Place it in the refrigerator promptly after cooling. It will keep well for up to 3 days. Reheat gently on the stovetop over low heat, stirring frequently, or in the microwave. If it seems too thick after refrigeration, you can add a splash of milk or cream while reheating to restore its original consistency.
Absolutely! Creamed corn is an excellent dish to prepare ahead of time, which makes it perfect for holiday meals or busy weeknights. You can fully prepare and cook the creamed corn a day or two in advance. Once it has cooled completely, transfer it to an airtight container and store it in the refrigerator. When you’re ready to serve, reheat it gently on the stovetop over low heat, adding a tablespoon or two of milk or cream if needed to achieve the desired consistency. Stir constantly to prevent sticking and ensure even heating. Avoid high heat as it can cause the dairy to separate.
While it is technically possible to freeze creamed corn, it’s generally not recommended for optimal texture. Dairy-heavy sauces can sometimes separate or become grainy after thawing and reheating due to the fat content. If you must freeze it, store it in a freezer-safe airtight container for up to 1-2 months. Thaw it in the refrigerator overnight and reheat very gently over low heat, whisking constantly, and be prepared to add extra milk or cream to smooth out the texture.
Don’t worry, these are easy fixes! If your creamed corn is too thin, create a small slurry with 1 teaspoon of flour (or 1/2 teaspoon of cornstarch) and 1 tablespoon of milk or water. Whisk it until smooth, then slowly stir it into the simmering creamed corn and continue to cook for a few more minutes until it thickens. If it’s too thick, simply stir in a splash more whole milk or heavy cream, a tablespoon at a time, until it reaches your desired consistency.
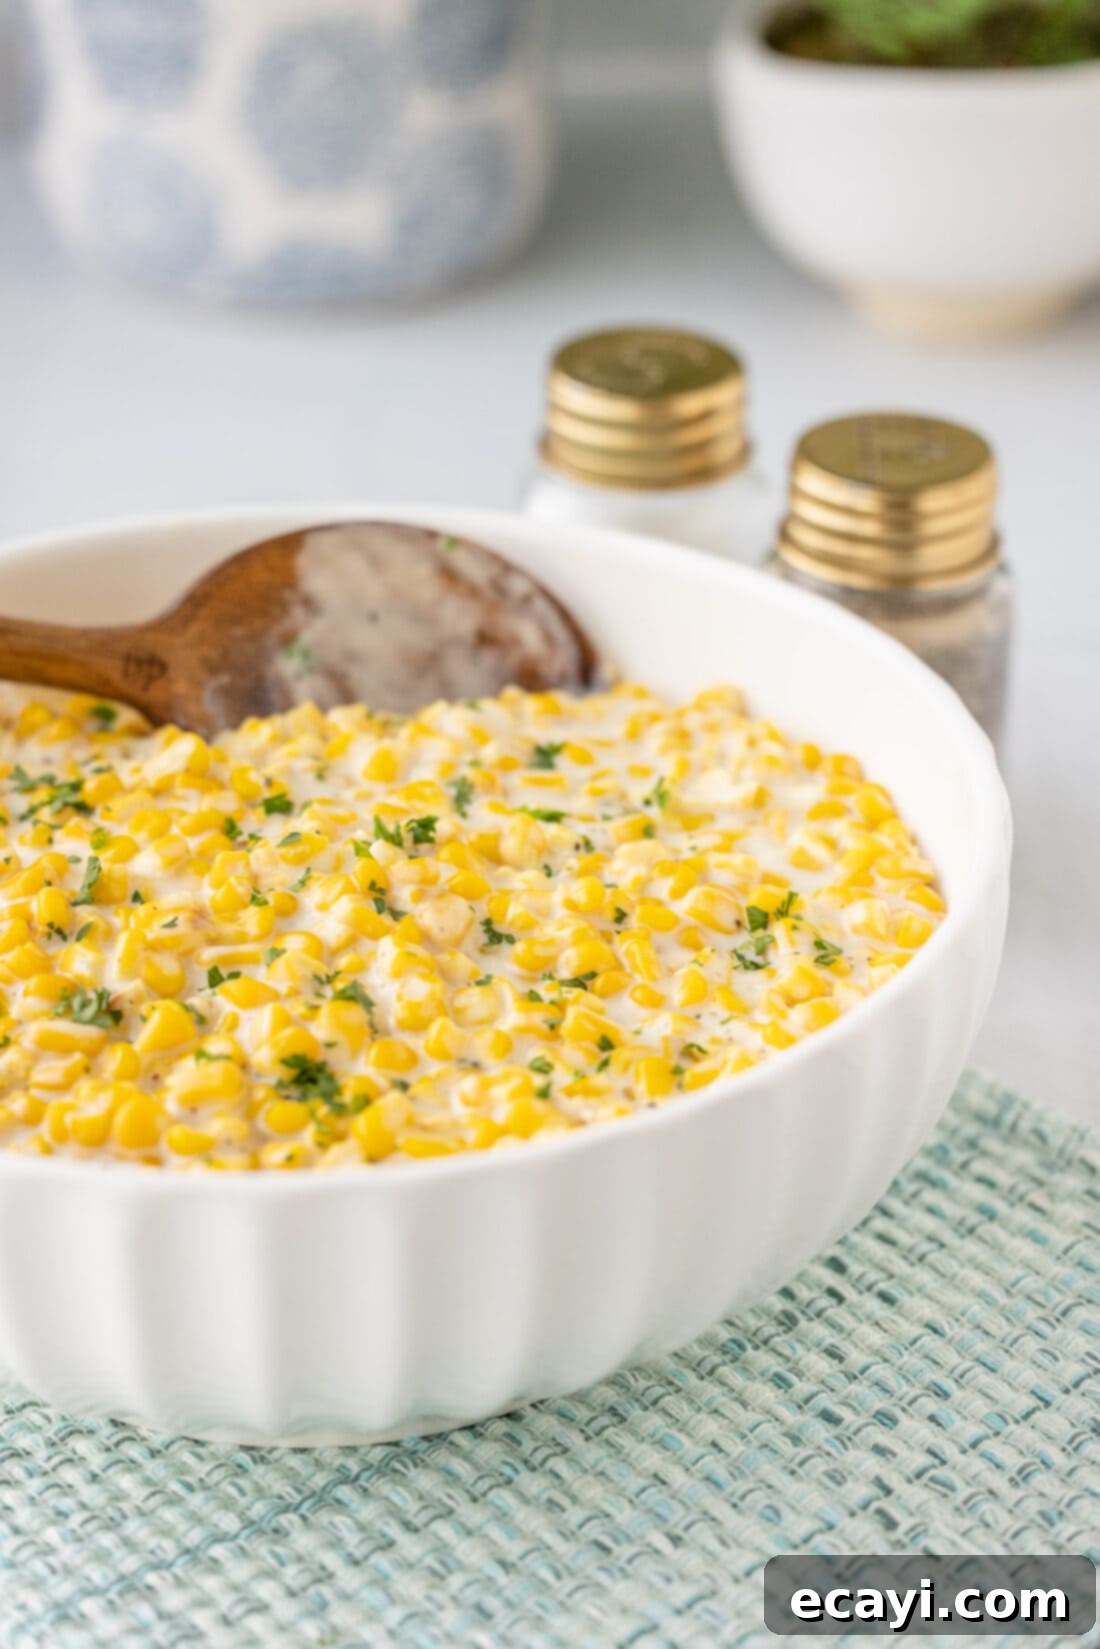
Delicious Serving Suggestions for Creamed Corn
Creamed corn is truly the quintessential versatile side dish, capable of complementing a vast array of main courses and adapting to any season. Its rich, sweet, and savory profile makes it a welcome addition to nearly any plate.
Here are some delectable serving suggestions to inspire your next meal:
- Holiday Feast Staple: It’s an absolute must-have for Thanksgiving and Christmas dinner, pairing beautifully with roasted turkey, glazed ham, or prime rib. Its comforting warmth and richness are perfect for festive tables.
- Barbecue & Grilling Companion: During the summer months, creamed corn shines alongside barbecue favorites like smoky ribs, pulled pork, grilled chicken, and beef brisket. Its creamy sweetness cuts through the savory, smoky flavors of grilled meats.
- Weeknight Dinner Elevation: Transform a simple weeknight meal by serving creamed corn with pan-seared pork chops, juicy roasted chicken, or even a classic meatloaf. It adds a touch of indulgence without extra effort.
- Steak Dinner Side: For a more elegant meal, creamed corn is a fantastic accompaniment to a perfectly cooked steak or pan-seared scallops, providing a creamy contrast to rich proteins.
- Comfort Food Pairings: It’s a natural fit with other comfort food classics such as fried chicken, country fried steak, or even as a decadent topping for shepherd’s pie.
- With Other Vegetables: Don’t limit yourself! Creamed corn can be part of a vibrant vegetable medley, sitting happily alongside roasted asparagus, green bean almondine, or a fresh garden salad.
No matter the occasion or the main course, this homemade creamed corn brings a delightful taste of home and a touch of gourmet comfort that will earn rave reviews every time.
Explore More Delicious Side Dish Recipes
If you’re looking for more inspiration to round out your meals, here are some other fantastic and easy-to-make side dish recipes that are sure to become family favorites:
- Refreshing Corn Salad
- Sweet and Savory Glazed Carrots
- Classic Baked Mac and Cheese
- Hearty Slow Cooker Pinto Beans
- Indulgent Loaded Mashed Potato Casserole
- Comforting Scalloped Corn
I absolutely adore spending time in the kitchen, experimenting with new flavors and perfecting classic dishes, and I’m thrilled to share my culinary adventures with all of you! Remembering to visit the blog daily for new recipes can be tricky amidst a busy schedule. That’s why I offer a convenient newsletter that delivers a brand-new recipe straight to your inbox every time one posts. Don’t miss out on any delicious creations – simply subscribe today and start receiving your free daily recipes, making meal planning and cooking easier and more enjoyable!
Creamed Corn
IMPORTANT – There are often Frequently Asked Questions within the blog post that you may find helpful. Simply scroll back up to read them!
Print It
Pin It
Rate It
Save ItSaved!
Ingredients
- 16 ounces frozen corn thawed
- 2 Tablespoons unsalted butter
- 1 cup whole milk
- 1 ½ cups heavy whipping cream
- 2 Tablespoons granulated sugar
- 1 teaspoon black pepper
- ½ teaspoon salt
- 2 ½ Tablespoons all purpose flour
Things You’ll Need
-
Large heavy bottomed skillet
Before You Begin
- To help the corn thaw faster and more evenly, spread it out on a baking sheet in a single layer rather than leaving it in a mound in a bowl.
- For an exceptionally smooth and velvety consistency, consider pureeing about half of the finished creamed corn mixture through a food processor or blender, then stirring it back into the remaining corn.
- This recipe is perfect for advance preparation. You can prepare and cook the creamed corn a day or two beforehand. Once it’s cooled, simply store it in an airtight container in the refrigerator.
- Store any leftover creamed corn in an airtight container in the refrigerator for up to 3 days to maintain optimal freshness and flavor.
Instructions
-
In a large heavy-bottomed skillet, combine the thawed corn, butter, salt, pepper, and sugar. Stir gently to mix.
-
Add the heavy cream and bring the mixture to a gentle boil over medium-high heat, stirring occasionally.
-
In a separate medium bowl, whisk together the milk and flour until smooth. Slowly add this mixture to the skillet, stirring continuously.
-
Bring the mixture back to a boil, then reduce the heat to low and simmer for 10 minutes, stirring frequently until thickened to your desired consistency.
Nutrition
The recipes on this blog are tested with a conventional gas oven and gas stovetop. It’s important to note that some ovens, especially as they age, can cook and bake inconsistently. Using an inexpensive oven thermometer can assure you that your oven is truly heating to the proper temperature. If you use a toaster oven or countertop oven, please keep in mind that they may not distribute heat the same as a conventional full sized oven and you may need to adjust your cooking/baking times. In the case of recipes made with a pressure cooker, air fryer, slow cooker, or other appliance, a link to the appliances we use is listed within each respective recipe. For baking recipes where measurements are given by weight, please note that results may not be the same if cups are used instead, and we can’t guarantee success with that method.
