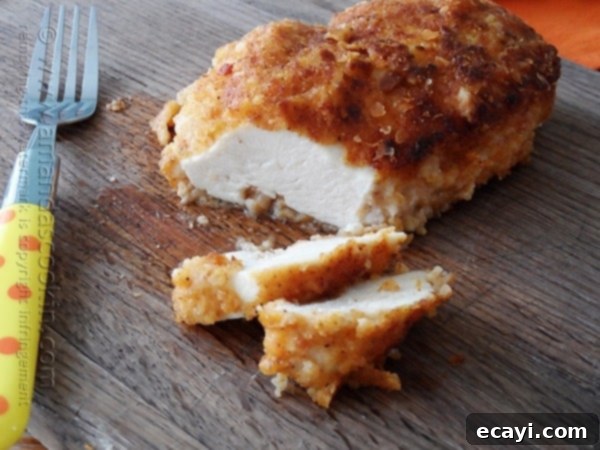
Crispy & Juicy Oven Fried Chicken Breasts: A Healthier, Flavorful Alternative
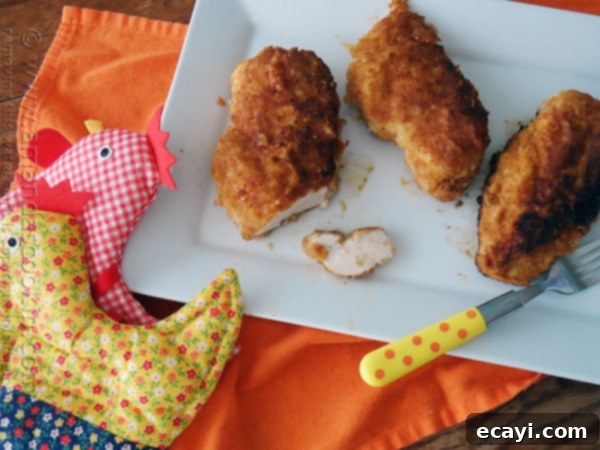
There’s undeniable magic in a perfectly cooked piece of fried chicken – that golden, crispy exterior giving way to tender, juicy meat. It’s a classic comfort food, beloved by many for its irresistible texture and rich flavor. However, the deep-fried indulgence often comes with a side of guilt due to the oil content. But what if you could achieve that same incredible crispiness and flavor without all the excess oil? This oven fried chicken breast recipe is the ultimate game-changer, offering a delicious and healthier alternative that doesn’t compromise on taste or texture. Prepare to fall in love with a dish that’s both satisfyingly crunchy and delightfully moist, featuring a breading with just the right amount of zing to elevate your dinner experience.
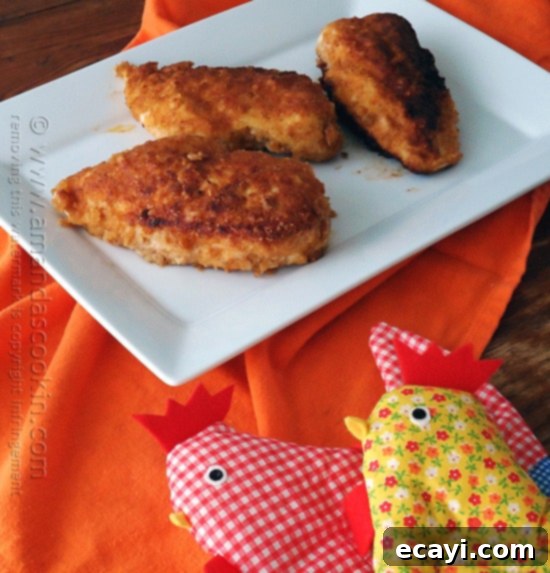
This recipe transforms ordinary chicken breasts into an extraordinary meal. Each bite delivers a burst of flavor, thanks to a carefully crafted breading that’s both savory and subtly spicy. The chicken remains incredibly tender and juicy on the inside, a direct result of our secret ingredient (well, not so secret now!): a good buttermilk soak. This crucial step ensures the chicken stays moist throughout the baking process, preventing it from drying out, which is a common concern with leaner chicken breasts. The exterior is wonderfully zippy and crispy, providing that satisfying crunch you crave from traditional fried chicken, but with the added benefit of being oven-baked. It’s a fantastic dish that’s sure to become a regular in your meal rotation. If you give it a try, please do let us know what you think!
Why Choose Oven Fried Chicken? The Healthier, Flavorful Alternative
Opting for oven fried chicken isn’t just about cutting down on fat; it’s about embracing a cooking method that brings out the best in chicken breasts while keeping things lighter and more wholesome. Traditional deep frying submerges the chicken in oil, leading to a higher calorie and fat content. By baking in the oven, we significantly reduce the amount of oil absorbed, yet we still achieve a remarkably crispy crust. This makes it an ideal choice for anyone looking to enjoy their favorite comfort foods without the added heaviness. Plus, oven frying is often less messy and requires less active supervision than stovetop frying, freeing you up to prepare side dishes or simply relax while dinner bakes to perfection. It’s truly a win-win situation for both your taste buds and your well-being.
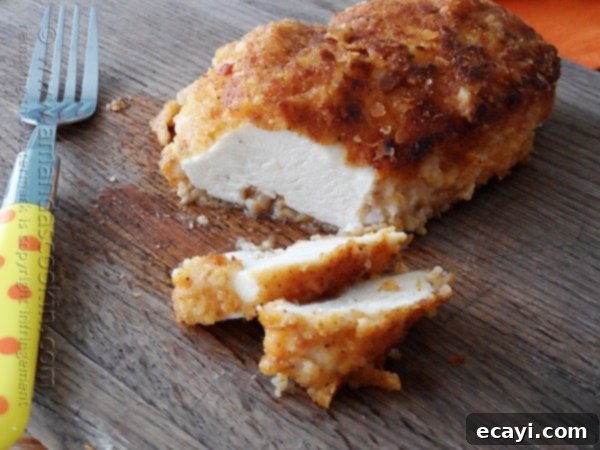
The Secret to Succulent Chicken: Buttermilk Brining
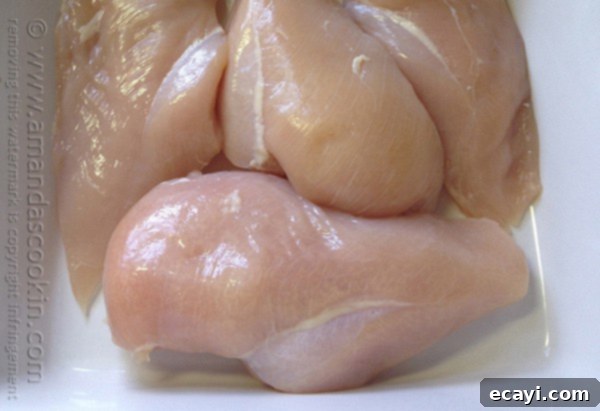
The foundation of truly tender and flavorful oven fried chicken lies in the buttermilk brine. Buttermilk, with its slightly acidic nature, acts as a fantastic tenderizer without making the chicken tough. It gently breaks down the protein fibers, resulting in incredibly juicy and moist chicken breasts. Beyond tenderness, buttermilk also helps the breading adhere better to the chicken, creating a more uniform and crispy coating. To start, trim any excess fat from your boneless, skinless chicken breasts to ensure an even cook and a cleaner taste. Place them carefully into a 9×9 baking dish or a glass casserole dish.
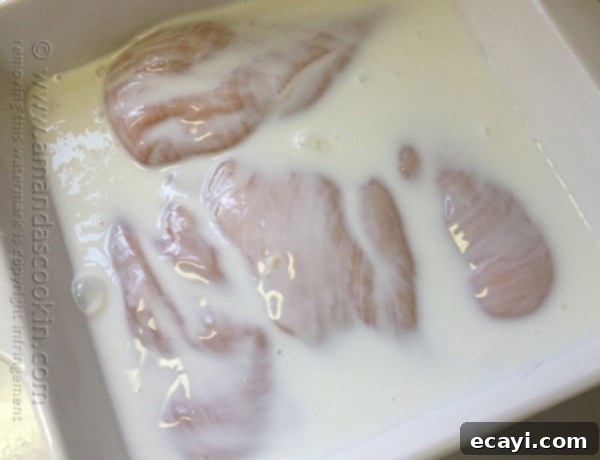
Once the chicken breasts are in the dish, generously cover them with buttermilk. Make sure each piece is fully submerged or at least well-coated. This is where the magic truly begins. After covering, place the dish in the refrigerator and allow the chicken to soak for a minimum of 2 hours. While you can soak them longer, up to 4-6 hours, 2 hours is typically sufficient to achieve excellent results. This brining step is non-negotiable for achieving that signature moist and tender texture that sets this oven fried chicken apart.
Crafting the Perfect Crispy Breading
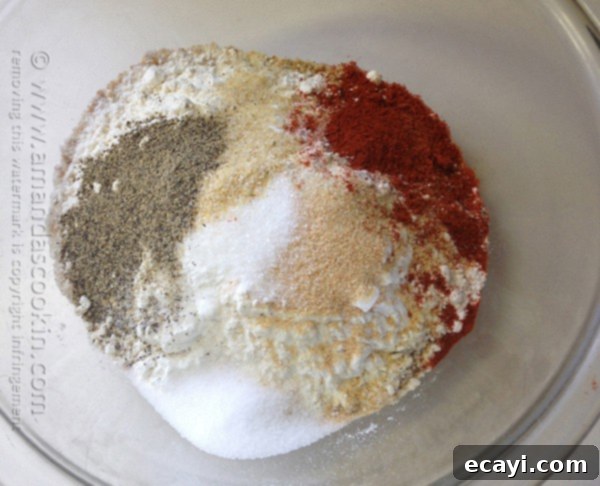
While the chicken is brining, you can prepare the aromatic and crispy breading mixture. This blend is what gives our oven fried chicken its distinctive flavor and satisfying crunch. In a separate bowl, combine all the remaining ingredients listed in the recipe, with the exception of the olive oil. This includes your choice of breading crumbs (panko for extra crispiness, or traditional breadcrumbs), dried potato flakes for added texture, flour for binding, and a harmonious mix of spices: onion powder, garlic powder, cornstarch, sugar, garlic salt, salt, pepper, and paprika. Each spice plays a vital role, contributing to the depth and warmth of the flavor profile, while cornstarch helps achieve that extra crispy coating.
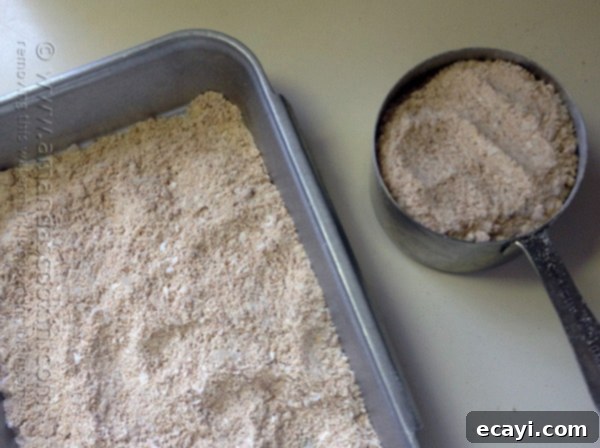
Once thoroughly combined, transfer this flavorful breading mixture into a shallow dish. A wide, shallow dish works best for easy dredging of the chicken. Ensure the mixture is spread evenly to make the coating process as efficient as possible.
The Breading and Browning Process
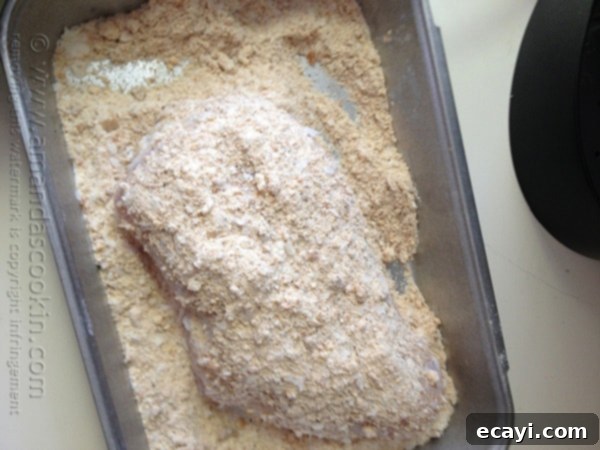
After the chicken has soaked sufficiently, remove one chicken breast from the buttermilk, allowing any excess liquid to drip off. You want the chicken to be moist enough for the breading to stick, but not dripping wet. Place the chicken breast directly into the crumb mixture. Turn and press firmly to coat all sides evenly. Ensure every inch of the chicken is covered with the breading; this creates the best crispy crust. Repeat this process for each chicken breast, setting aside the coated chicken on a clean plate.
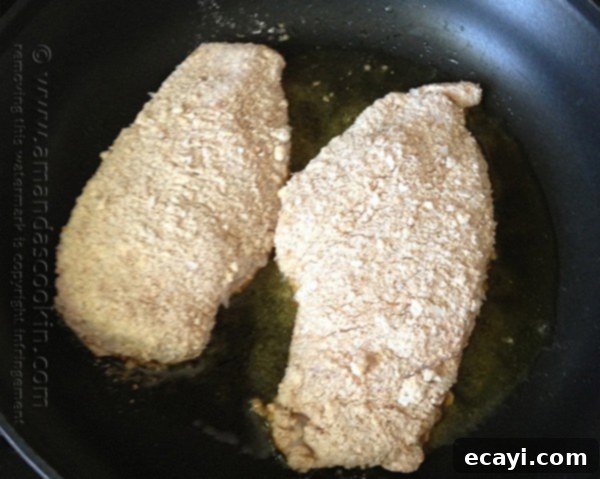
Preheat your oven to 350°F (175°C). While the oven preheats, heat the olive oil in a large skillet over medium-high heat. The pre-browning step is key to achieving that beautiful golden color and an extra layer of crispiness before the chicken goes into the oven. Once the oil is hot, carefully place the crumb-coated chicken breasts in the skillet. Brown them for about 3-5 minutes per side, until they develop a light golden crust. Be careful not to overcrowd the pan; work in batches if necessary to ensure even browning.
Baking to Perfection
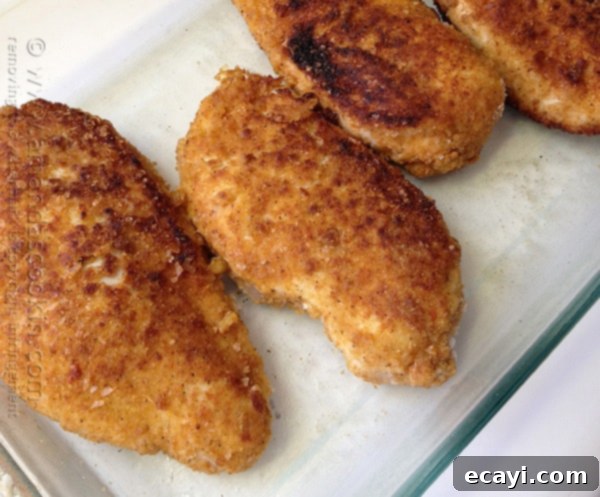
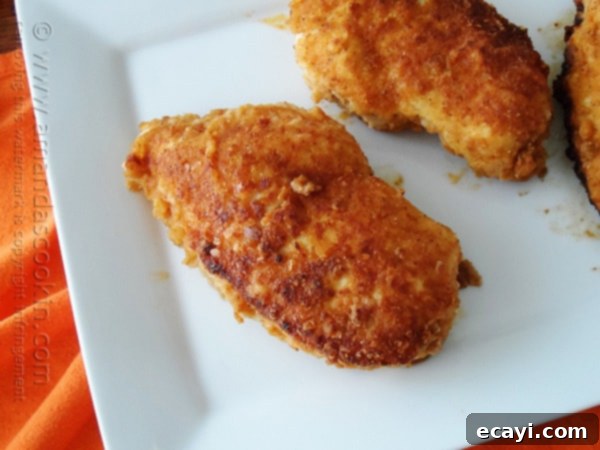
Once browned, transfer the chicken breasts to a 13×9 inch baking dish. Arrange them in a single layer to allow for even baking and crisping. Bake uncovered in your preheated oven for 30 minutes, or until the internal temperature of the chicken reaches 165°F (74°C) with a meat thermometer. Baking uncovered allows the moisture to evaporate, contributing to that desirable crispy texture. Once done, remove from the oven and let them rest for a few minutes before serving. This allows the juices to redistribute, ensuring every bite is as tender and succulent as possible.
Tips for the Crispiest Oven Fried Chicken
- Don’t Skimp on the Buttermilk Soak: As mentioned, this is crucial. It tenderizes the meat and helps the breading stick.
- Pat Chicken Dry (After Soaking, Before Breading): While the buttermilk is essential, excess liquid can make the breading soggy. Let the excess drip off, then lightly pat the chicken to remove surface moisture, allowing the breading to adhere better.
- Press the Breading Firmly: Don’t just toss and coat. Press the breading onto the chicken to ensure a thick, even layer that will crisp up beautifully.
- Pre-Browning is Key: Searing the chicken in olive oil on the stovetop before baking kickstarts the browning process, locking in moisture and adding an extra layer of crispiness and flavor that baking alone might miss.
- Don’t Crowd the Pan: Whether browning or baking, leave space between chicken pieces. Crowding traps steam, preventing a crispy exterior.
- Use a Wire Rack for Extra Crispy Bottom: For even crisper results, place the browned chicken breasts on a wire rack set inside your baking dish. This allows air to circulate around all sides of the chicken, ensuring a uniformly crispy crust.
- Oven Temperature Matters: Ensure your oven is fully preheated. A hot oven helps the coating crisp up quickly.
Perfect Pairings and Serving Suggestions
This oven fried chicken is incredibly versatile and pairs wonderfully with a variety of side dishes. For a classic comfort meal, serve it alongside creamy mashed potatoes and green beans. A fresh garden salad with a light vinaigrette makes for a refreshing contrast, or you could opt for roasted vegetables like asparagus or broccoli. Corn on the cob, coleslaw, or a tangy potato salad are also excellent choices that complement the savory chicken beautifully. Don’t forget a squeeze of fresh lemon juice over the finished chicken to brighten the flavors!
Frequently Asked Questions About Oven Fried Chicken Breasts
Can I use bone-in chicken?
Yes, you can use bone-in, skin-on chicken pieces, but you will need to adjust the cooking time. Bone-in chicken typically takes longer to cook. Ensure the internal temperature reaches 165°F (74°C). The skin will also contribute to a richer flavor and potentially crispier exterior.
What kind of crumbs should I use?
The recipe calls for “crumbs,” which is flexible. You can use regular breadcrumbs, panko breadcrumbs (for extra crunch), or even crushed crackers (like Ritz or saltines) for a different flavor profile. Each will yield a slightly different texture, so experiment to find your favorite!
Can I prepare the chicken ahead of time?
You can definitely prep some components in advance. The chicken can soak in buttermilk in the refrigerator for up to 24 hours. The dry breading mixture can also be prepared and stored in an airtight container for several days. However, for the best results, coat and cook the chicken just before serving.
How do I store and reheat leftovers?
Store any leftover oven fried chicken in an airtight container in the refrigerator for up to 3-4 days. To reheat and maintain crispiness, it’s best to use your oven or an air fryer. Preheat your oven to 350°F (175°C) and bake until heated through and crispy, about 15-20 minutes. An air fryer at 350°F (175°C) for 5-7 minutes also works wonderfully.
Can I make this recipe gluten-free?
Absolutely! Simply substitute the all-purpose flour with a gluten-free all-purpose flour blend and use gluten-free breadcrumbs. The dried potato flakes are naturally gluten-free, but always double-check labels for any hidden gluten in spices or crumbs if you have severe sensitivities.
More Oven Fried Chicken Recipes to Explore
Crispy Oven Fried Chicken – Cookin’ Canuck
Potato Chip Oven Fried Chicken – Farm Girl Gourmet
Spicy Oven Fried Chicken – Bon Appetit

Oven Fried Chicken Breasts
IMPORTANT – There are often Frequently Asked Questions within the blog post that you may find helpful. Simply scroll back up to read them!
Print It
Pin It
Rate It
Save ItSaved!
Ingredients
- 4 boneless skinless chicken breasts
- 1 cup buttermilk
- 1 cup crumbs bread, cracker, etc
- ⅓ cup dried potato flakes
- ½ cup flour
- 1 teaspoon onion powder
- 1 teaspoon garlic powder
- 1 teaspoon cornstarch
- 1 teaspoon sugar
- 1 teaspoon garlic salt
- 1 teaspoon salt
- 1 teaspoon pepper
- 1 teaspoon paprika
- 2 tablespoons olive oil
Instructions
-
Place chicken breasts into a glass bowl or dish and cover with buttermilk. Place in the refrigerator and allow it to soak for 2 hours.
-
Combine remaining ingredients, except for the olive oil. Place mixture into a shallow dish.
-
Preheat oven to 350 F. Heat olive oil in a skillet over medium-high heat.
-
Remove a chicken breast from the buttermilk and allow excess to drip off. Place chicken breast in the crumb mixture. Turn and press to coat. Repeat for each chicken breast.
-
Brown crumb coated chicken breasts in the skillet, about 3-5 minutes per side. Place browned chicken breasts in a 13×9 baking dish and bake uncovered in preheated oven for 30 minutes.
The recipes on this blog are tested with a conventional gas oven and gas stovetop. It’s important to note that some ovens, especially as they age, can cook and bake inconsistently. Using an inexpensive oven thermometer can assure you that your oven is truly heating to the proper temperature. If you use a toaster oven or countertop oven, please keep in mind that they may not distribute heat the same as a conventional full sized oven and you may need to adjust your cooking/baking times. In the case of recipes made with a pressure cooker, air fryer, slow cooker, or other appliance, a link to the appliances we use is listed within each respective recipe. For baking recipes where measurements are given by weight, please note that results may not be the same if cups are used instead, and we can’t guarantee success with that method.
