The Ultimate Crispy Fried Perch Recipe: Flaky Fish with Perfect Cornmeal Breading
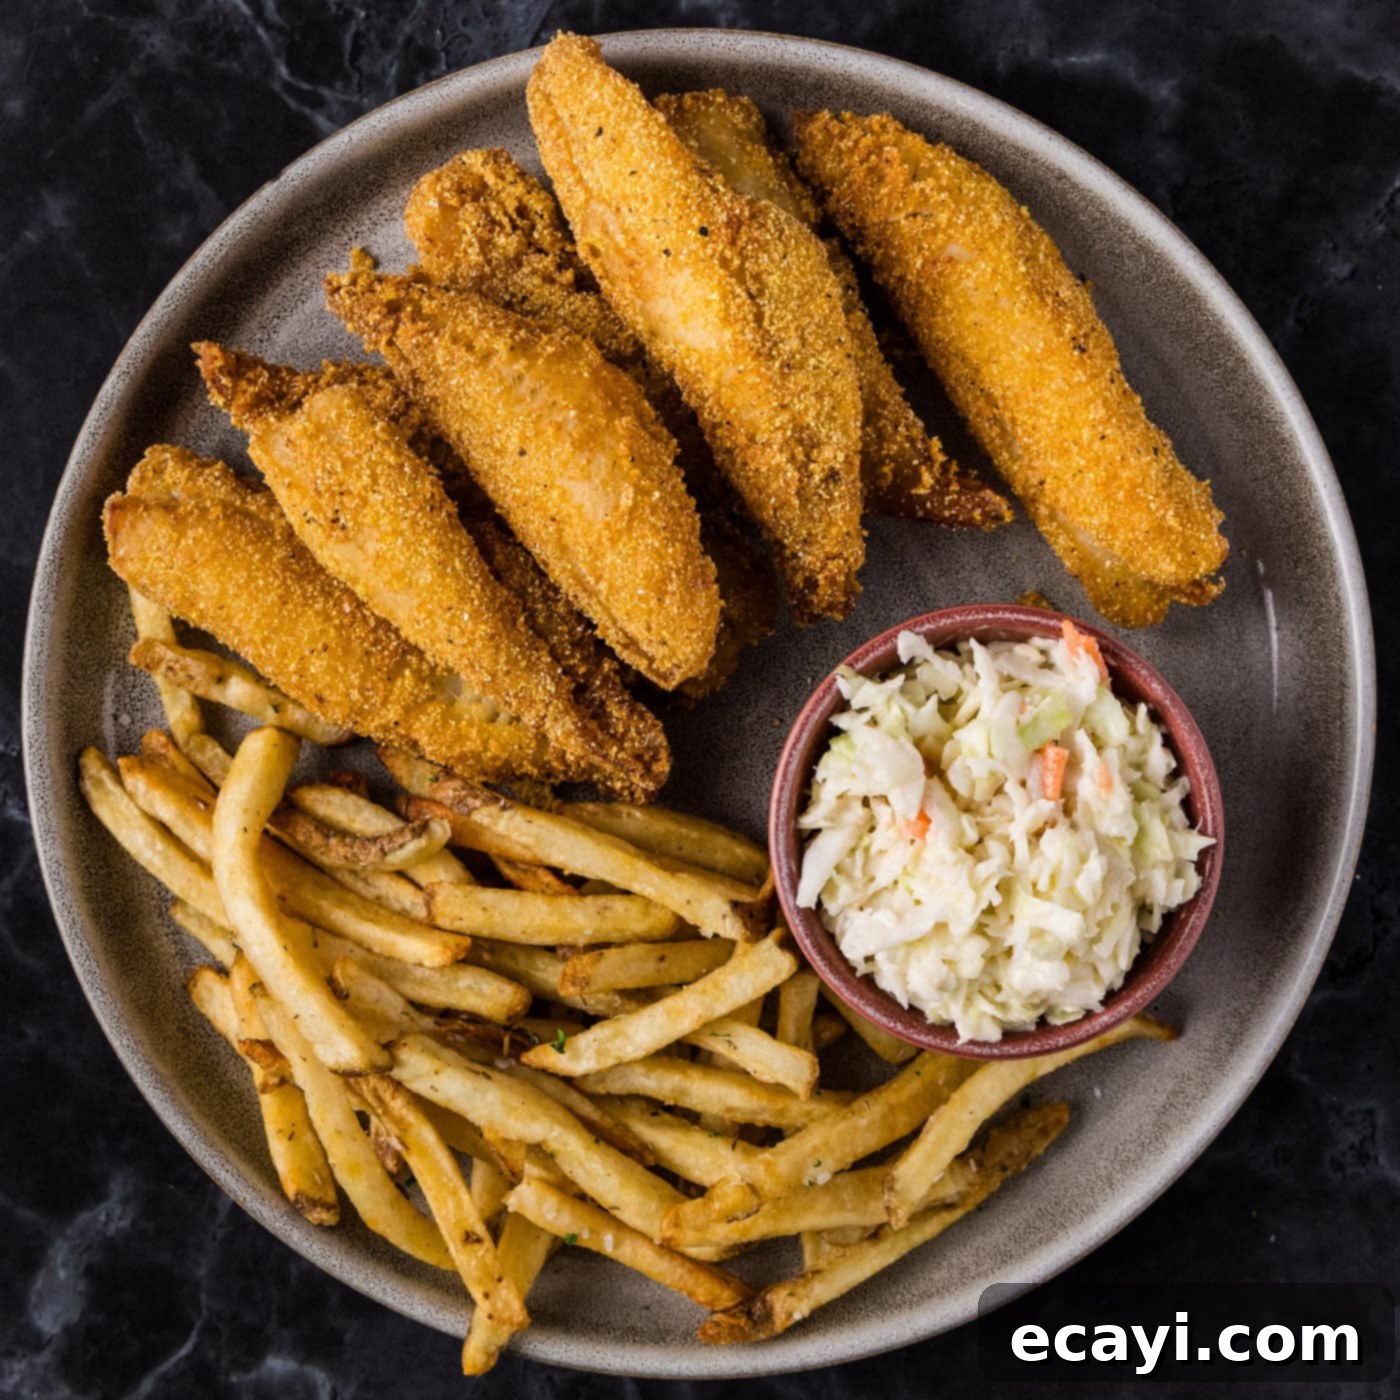
Welcome to the definitive guide for crafting the most delectable fried perch! This recipe delivers an unbeatable crispy, crunchy cornmeal breading that works flawlessly with both ocean and lake perch. Prepare to elevate your seafood game with perfectly golden-brown fillets that are tender, flaky, and packed with flavor. Whether you’re a seasoned angler or simply love a good fish fry, this recipe guarantees a mouthwatering experience that will have everyone asking for seconds. Say goodbye to soggy fish and hello to your new favorite way to enjoy perch!
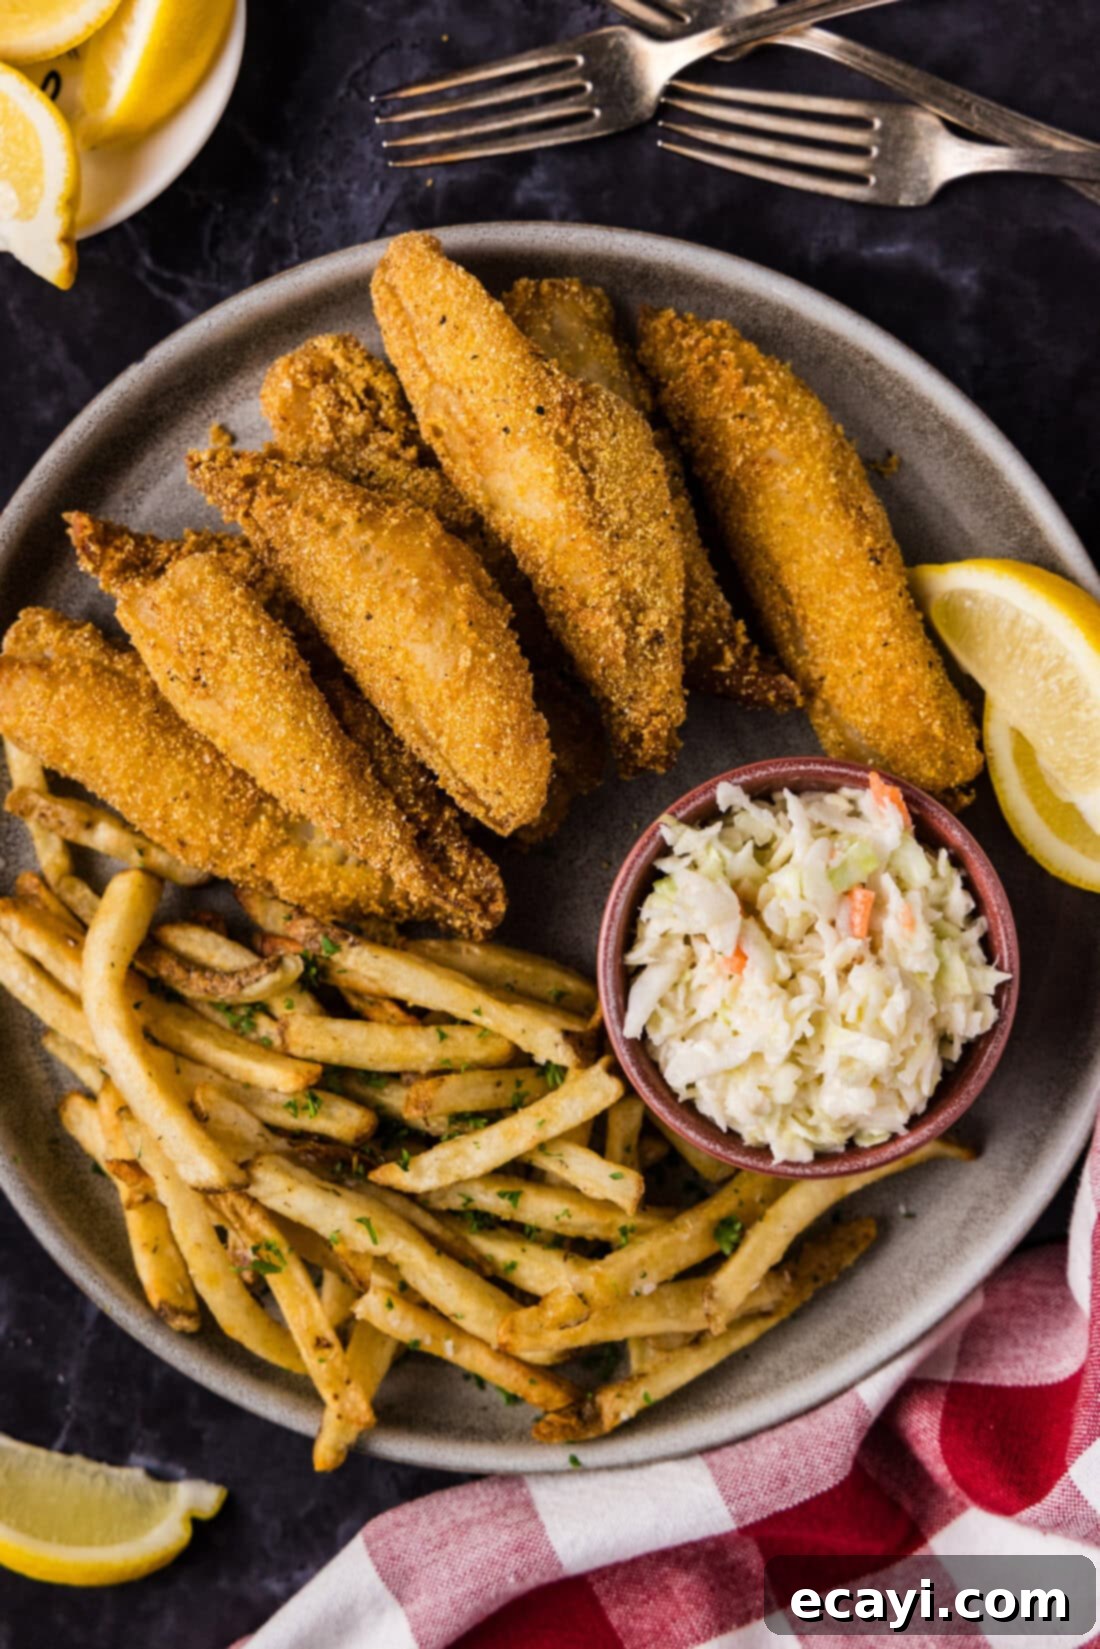
Why This Crispy Fried Perch Recipe Is a Must-Try
Fried perch holds a special place in the hearts of seafood lovers, right alongside classics like beer-battered tilapia. It’s renowned for its incredibly mild, delicate flavor and tender, flaky flesh, making it an ideal candidate for frying. When coated in our signature crispy, golden-brown breading, perch transforms into a culinary delight that’s hard to resist. This recipe is particularly beloved in the Midwest, where a perfect fish fry is practically a way of life! We’ve meticulously developed and tested this method to ensure consistently delicious results every time.
What truly sets this recipe apart is its versatile breading, designed to create a phenomenal crunch that complements the fish without overpowering it. We’ve perfected the blend of cornmeal, flour, and a curated mix of seasonings to achieve that desirable crispy exterior. Furthermore, this recipe is incredibly adaptable, working beautifully with both ocean and lake perch. While the fundamental taste and texture remain superb across both varieties, you might find that ocean perch requires just a couple more minutes in the hot oil to reach optimal doneness. This minor adjustment ensures perfect results, whether your fish comes from a freshwater lake or the vast ocean. Our goal is to provide you with a foolproof method that consistently delivers restaurant-quality fried perch in your own kitchen.
Essential Ingredients for Your Perfect Fried Perch
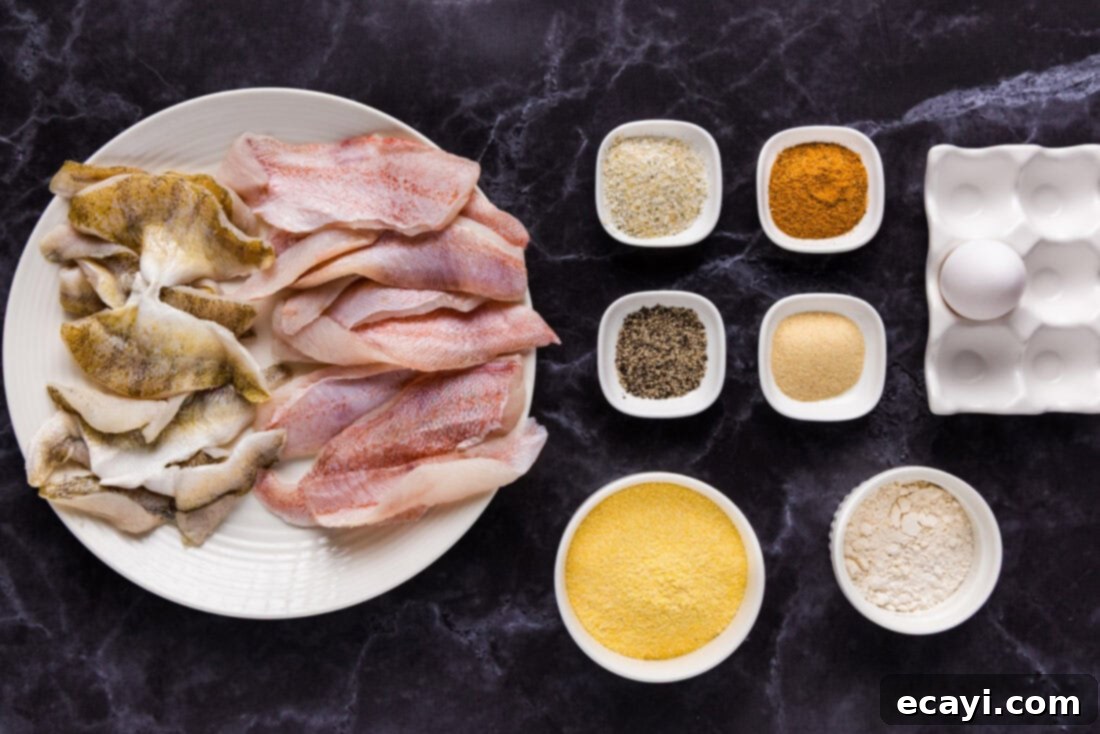
To begin your journey to the best-fried perch, you’ll need a selection of simple yet powerful ingredients that contribute to its exceptional flavor and texture. All precise measurements, a complete list of ingredients, and detailed instructions can be found in the printable recipe card located at the conclusion of this article. For now, let’s explore the key components that bring this dish to life.
Ingredient Spotlight: Tips for Best Results
FISH – The star of our show! This recipe is incredibly versatile and performs exceptionally well with various types of perch. Whether you’re using freshly caught lake perch, store-bought ocean perch fillets, or even frozen options, the key is to ensure your fish is completely thawed before you begin the breading process. A fully thawed fillet cooks more evenly and prevents excess moisture from making the breading soggy. We’ve extensively tested this recipe with both lake perch and ocean perch. Both yield fantastic results, delivering that mild, sweet flavor and delicate, flaky texture we all love. The only slight difference we observed is that ocean perch tends to be a bit thicker and may require an additional 2-3 minutes of frying time to cook through perfectly. Beyond that, the preparation and delicious outcome remain consistent.
BREADING MIX – Our secret to that irresistible crunch! This blend combines yellow cornmeal and all-purpose flour for the perfect texture. The cornmeal provides that signature crispiness and golden hue, while the flour helps bind everything together and ensures an even coating.
SEASONINGS – A carefully selected combination transforms plain fish into a flavor sensation. We use black pepper for a hint of warmth, garlic salt for savory depth, onion powder for a subtle aromatic sweetness, and the essential Old Bay seasoning. Old Bay is a classic choice for seafood, offering a unique blend of spices that perfectly complements the perch without overpowering its natural flavor. It adds that quintessential “fish fry” taste that makes this recipe truly special.
EGG WASH – A simple mixture of one large egg and ¼ cup of water creates the essential adhesive for our breading. The egg wash ensures that the dry cornmeal and flour mixture adheres firmly to the fish fillets, guaranteeing a uniform, crispy crust. This crucial step prevents the breading from separating during frying, ensuring every bite is perfectly coated.
FRYING OIL – For deep frying, a neutral-flavored oil with a high smoke point is crucial. Canola oil or vegetable oil are excellent choices as they won’t impart any unwanted flavors to your delicate perch and can withstand the high temperatures needed for proper frying. Using enough oil to submerge the fish (at least 2 inches deep) is vital for achieving an even cook and that signature crispy texture.
Step-by-Step Guide: How to Make Crispy Fried Perch
These step-by-step photos and detailed instructions are designed to help you visualize each stage of making this delicious recipe. For a convenient printable version of this recipe, complete with precise measurements and instructions, simply Jump to Recipe at the bottom of this post.
- Prepare the Dry Breading Mixture: In a large mixing bowl, thoroughly whisk together the yellow cornmeal, all-purpose flour, black pepper, garlic salt, onion powder, and Old Bay seasoning. Ensure all ingredients are well combined for an even flavor distribution. Once mixed, pour this dry breading mixture into one of your breading trays. This setup allows for easy dipping and coating.
- Create the Egg Wash: In a second breading tray (or a shallow dish), whisk together the large egg and water until well combined. This egg wash will act as the binder for the dry breading, helping it adhere perfectly to the fish fillets.
- Preheat the Frying Oil: If you’re using a deep fryer, preheat the oil to 345°F (174°C). If you’re opting for a deep-sided skillet, fill it with about 2 inches of neutral oil (like canola or vegetable oil) and heat it to the same temperature, using an oil thermometer to ensure accuracy. Proper oil temperature is crucial for crispy, non-greasy fish.
-
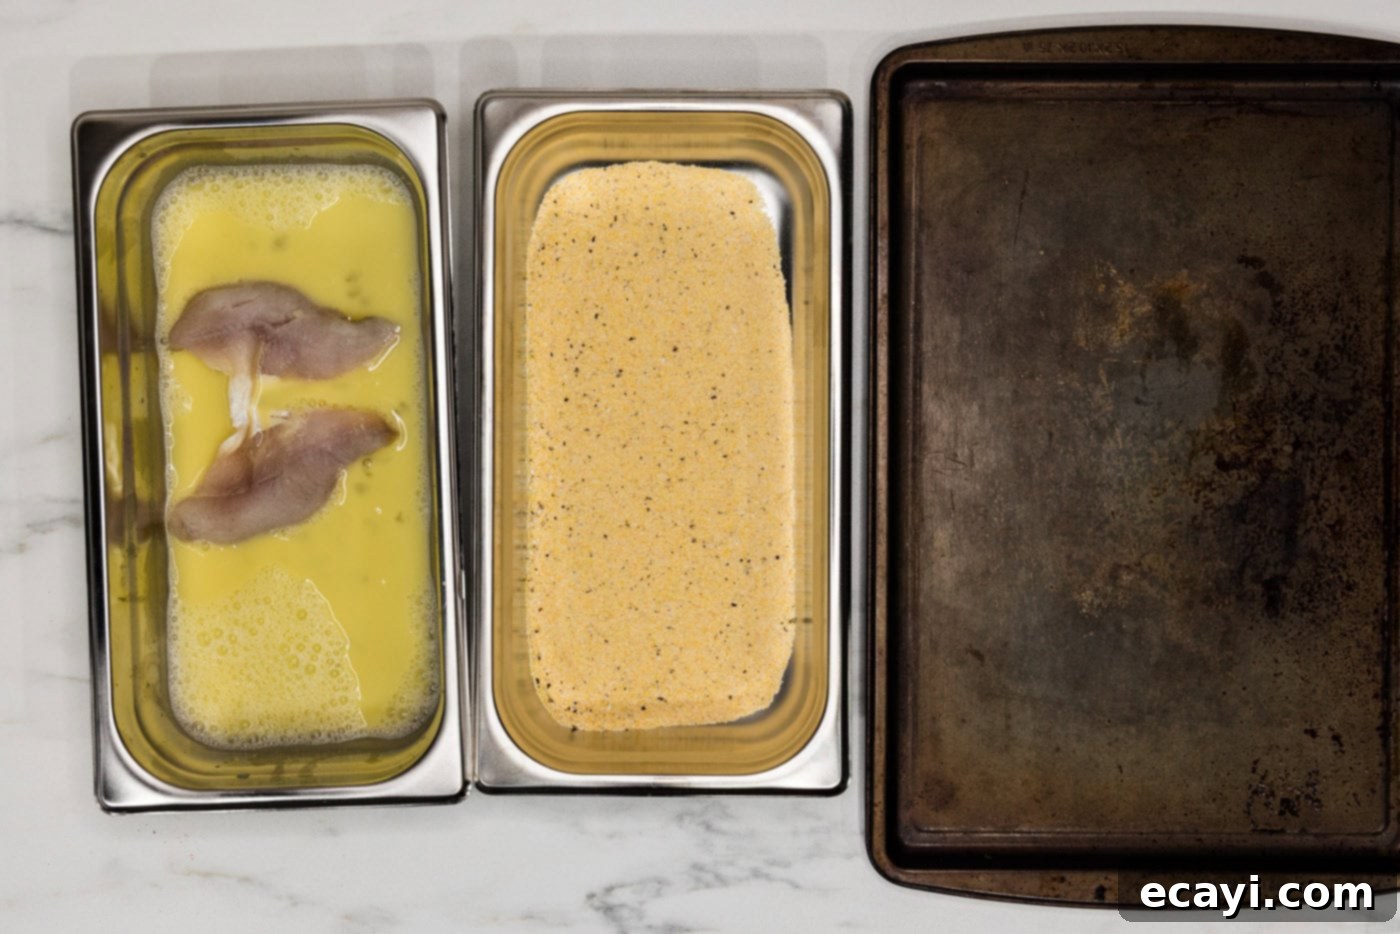
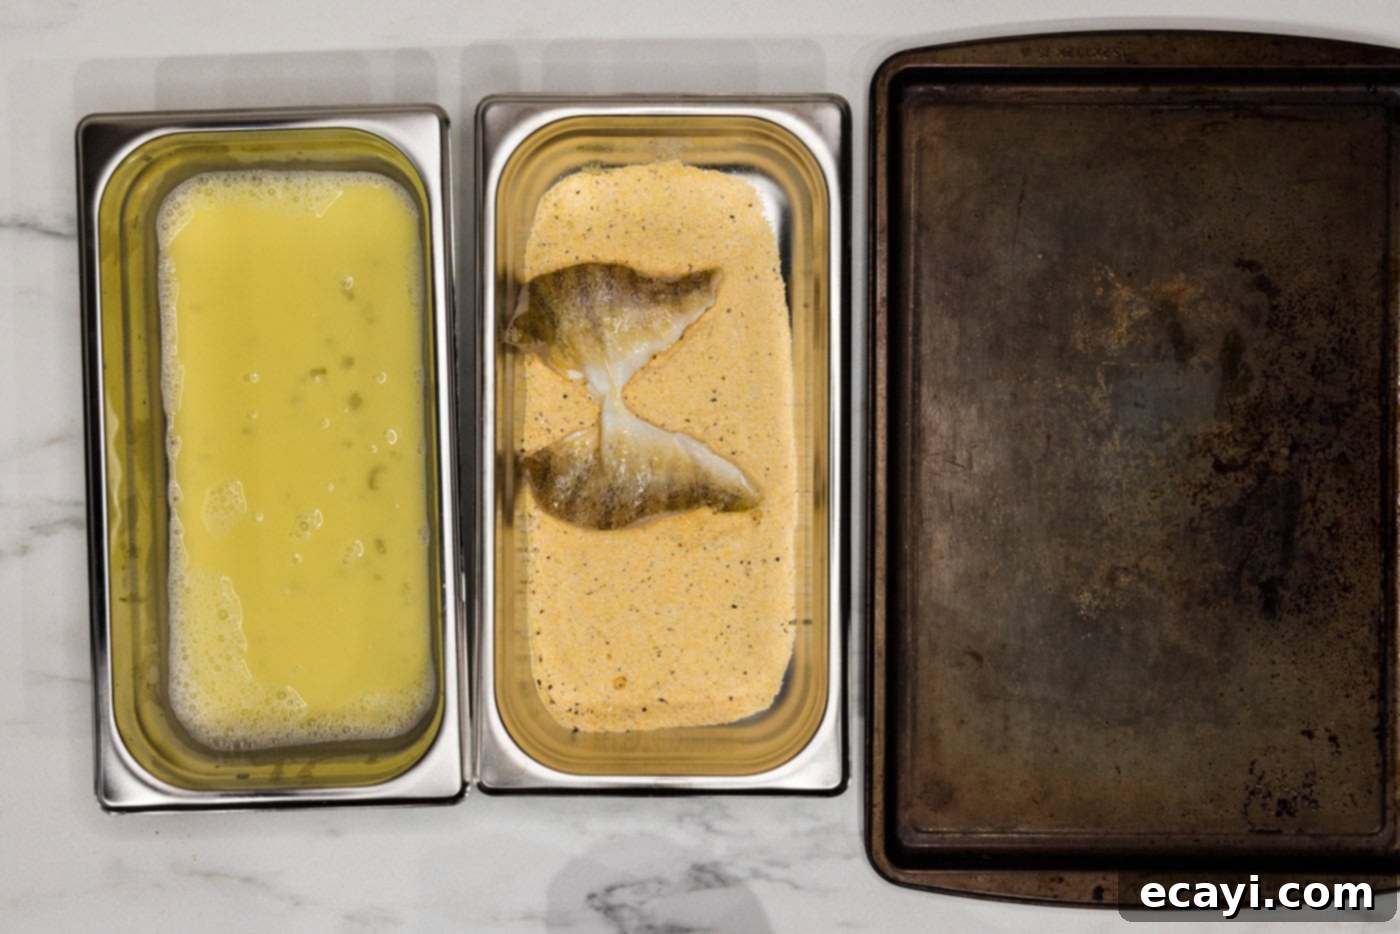
Breading the Perch Fillets: Take one perch fillet and dip it completely into the egg mixture, allowing any excess to drip off. Immediately transfer the egg-coated fillet to the dry cornmeal mixture, pressing gently to ensure a thorough and even coating on all sides. It’s important to only bread enough fish that will fit comfortably in your fryer for one batch. Avoid breading all the fish at once, as allowing the breaded fish to sit can cause the coating to become soggy or fall off. This “bread as you go” technique ensures the freshest, crispiest results.


-
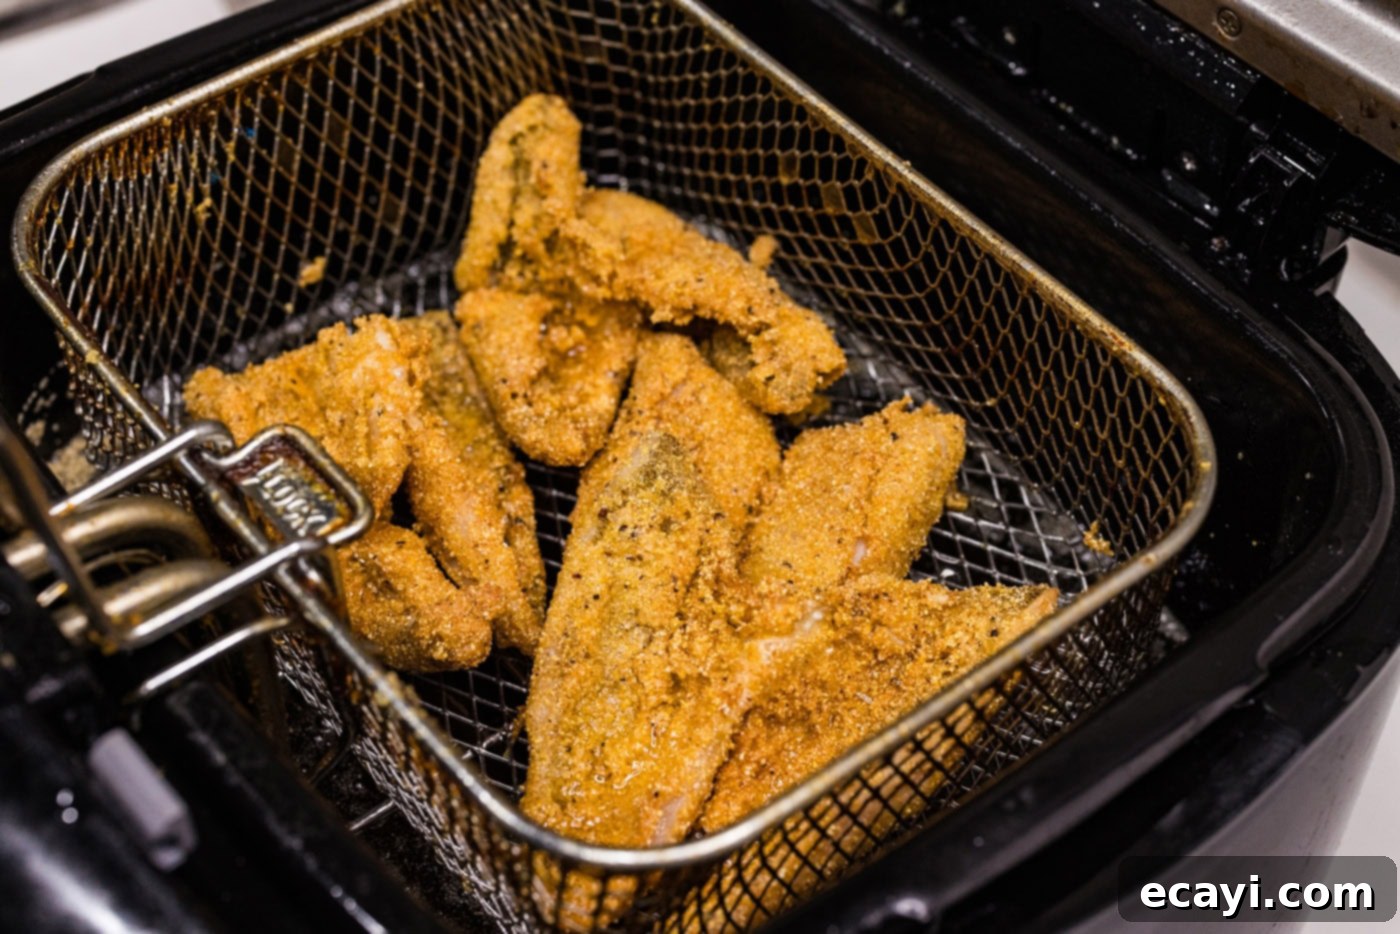
Frying the Perch: Carefully place the breaded fish fillets into the preheated deep fryer. Cook for approximately 3-4 minutes, or until the fillets are beautifully golden brown and the internal temperature reaches 145°F (63°C) and the fish flakes easily with a fork. Remember, thicker ocean perch might need an extra minute or two.

- Drain and Repeat: Once cooked, remove the fried perch from the oil and transfer them to a plate lined with paper towels to drain any excess oil. This helps maintain their crispiness. While the first batch drains, proceed to bread and fry the next batch of fish. Continue this process until all your delicious perch fillets are perfectly fried and ready to serve.
Frequently Asked Questions & Expert Tips for Perfect Fried Perch
The secret to non-greasy fried fish lies in the oil temperature. It is absolutely critical to preheat your frying oil to a precise 345°F (174°C) before adding the fish. If the oil is not hot enough, the breading and fish will absorb too much oil, resulting in a heavy, greasy texture. Properly heated oil creates an instant crust on the exterior, preventing excessive oil absorption and ensuring a light, crispy finish. Investing in a reliable thermometer (whether for a deep fryer or a skillet) is your best defense against greasy fish.
No deep fryer? No problem! You can easily achieve fantastic results using a large deep-sided skillet or Dutch oven. The key is to ensure you have enough oil – typically about 2 inches deep, or roughly halfway up the side of your skillet. To accurately gauge the oil temperature, an oil thermometer or laser thermometer is highly recommended. If you don’t have a thermometer, a good visual cue is to wait until the oil begins to shimmer lightly. A classic trick is to dip the handle of a wooden spoon into the hot oil. If tiny bubbles quickly form around the wood and float to the surface, your oil is ready. If it bubbles too rapidly or smokes, turn the heat down; oil that’s too hot will burn the breading before the fish cooks through. Patience with preheating is key!
To store leftover fried perch, first allow the fish to cool completely to room temperature. Then, transfer the cooled fillets to an airtight container lined with a paper towel. The paper towel helps absorb any residual moisture, which can otherwise make the breading soggy. Store the container in the refrigerator for 2-3 days. When reheating, avoid the microwave if possible, as it tends to make the breading rubbery and doesn’t restore crispiness. For best results, reheat the fried fish in an oven or air fryer preheated to 375°F (190°C) for about 10 minutes, or until thoroughly warmed through and the breading has re-crisped. I personally find the air fryer to be an excellent tool for bringing leftover fried fish back to its crispy glory!
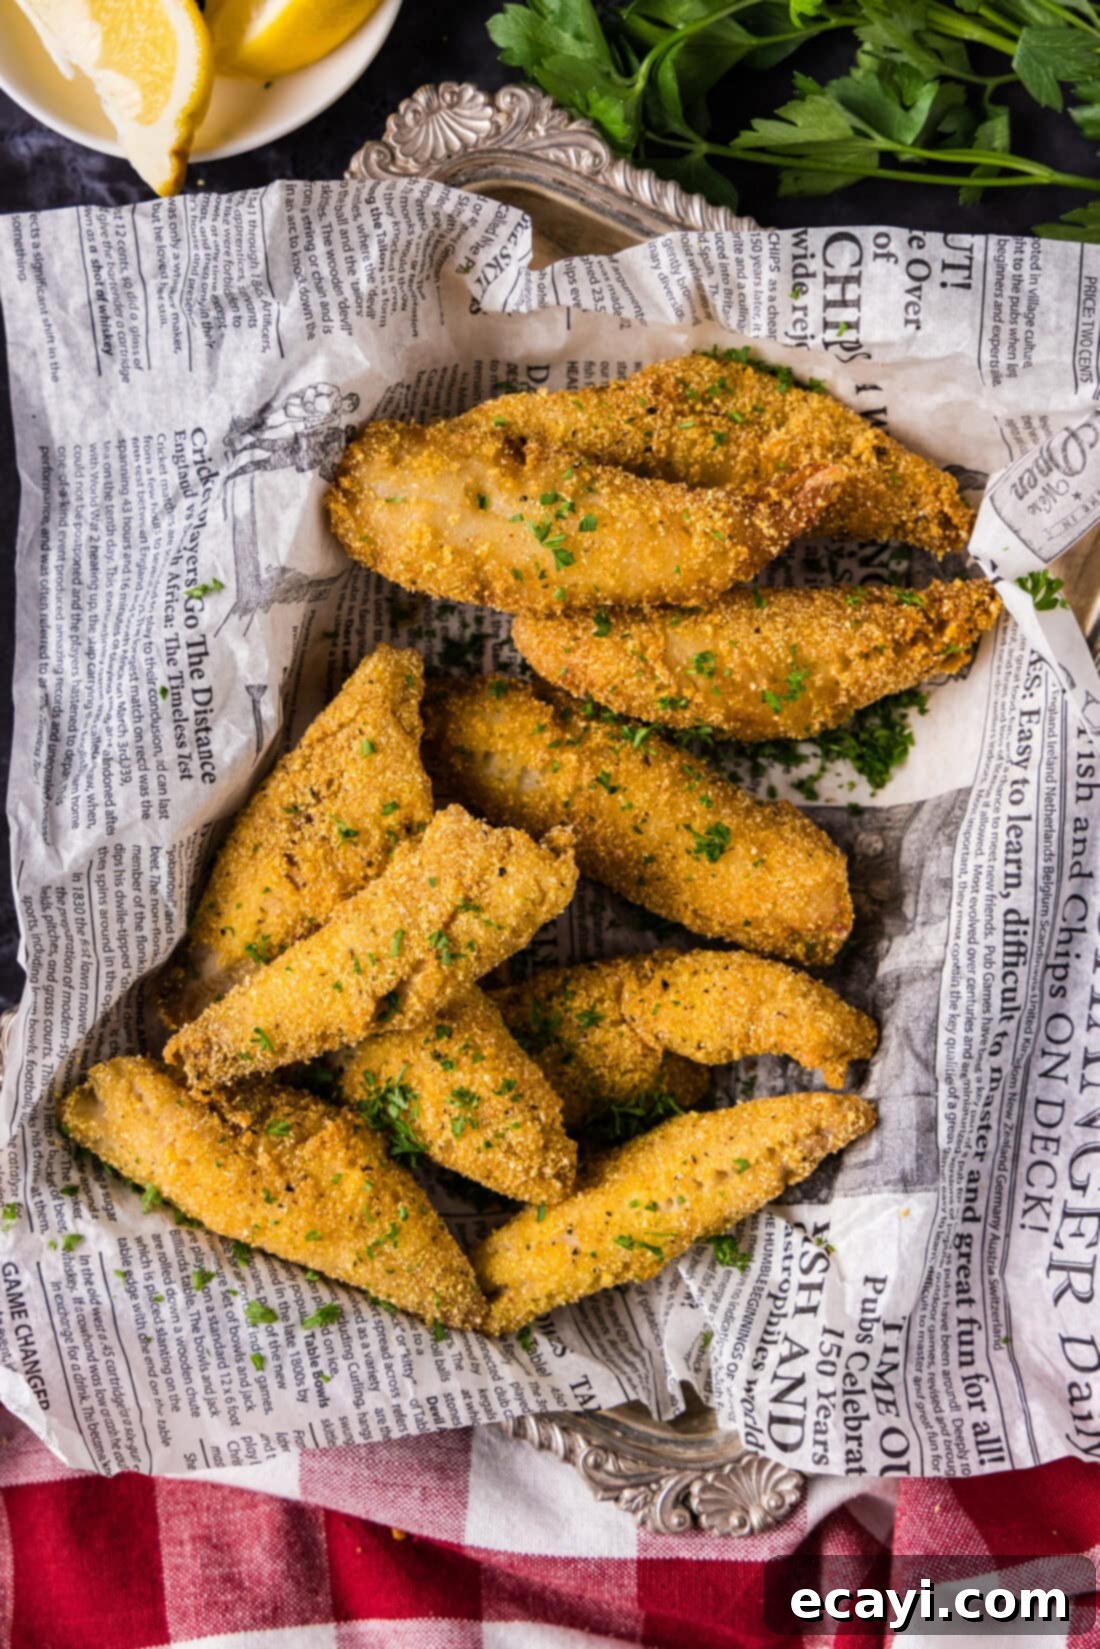
Delicious Serving Suggestions for Fried Perch
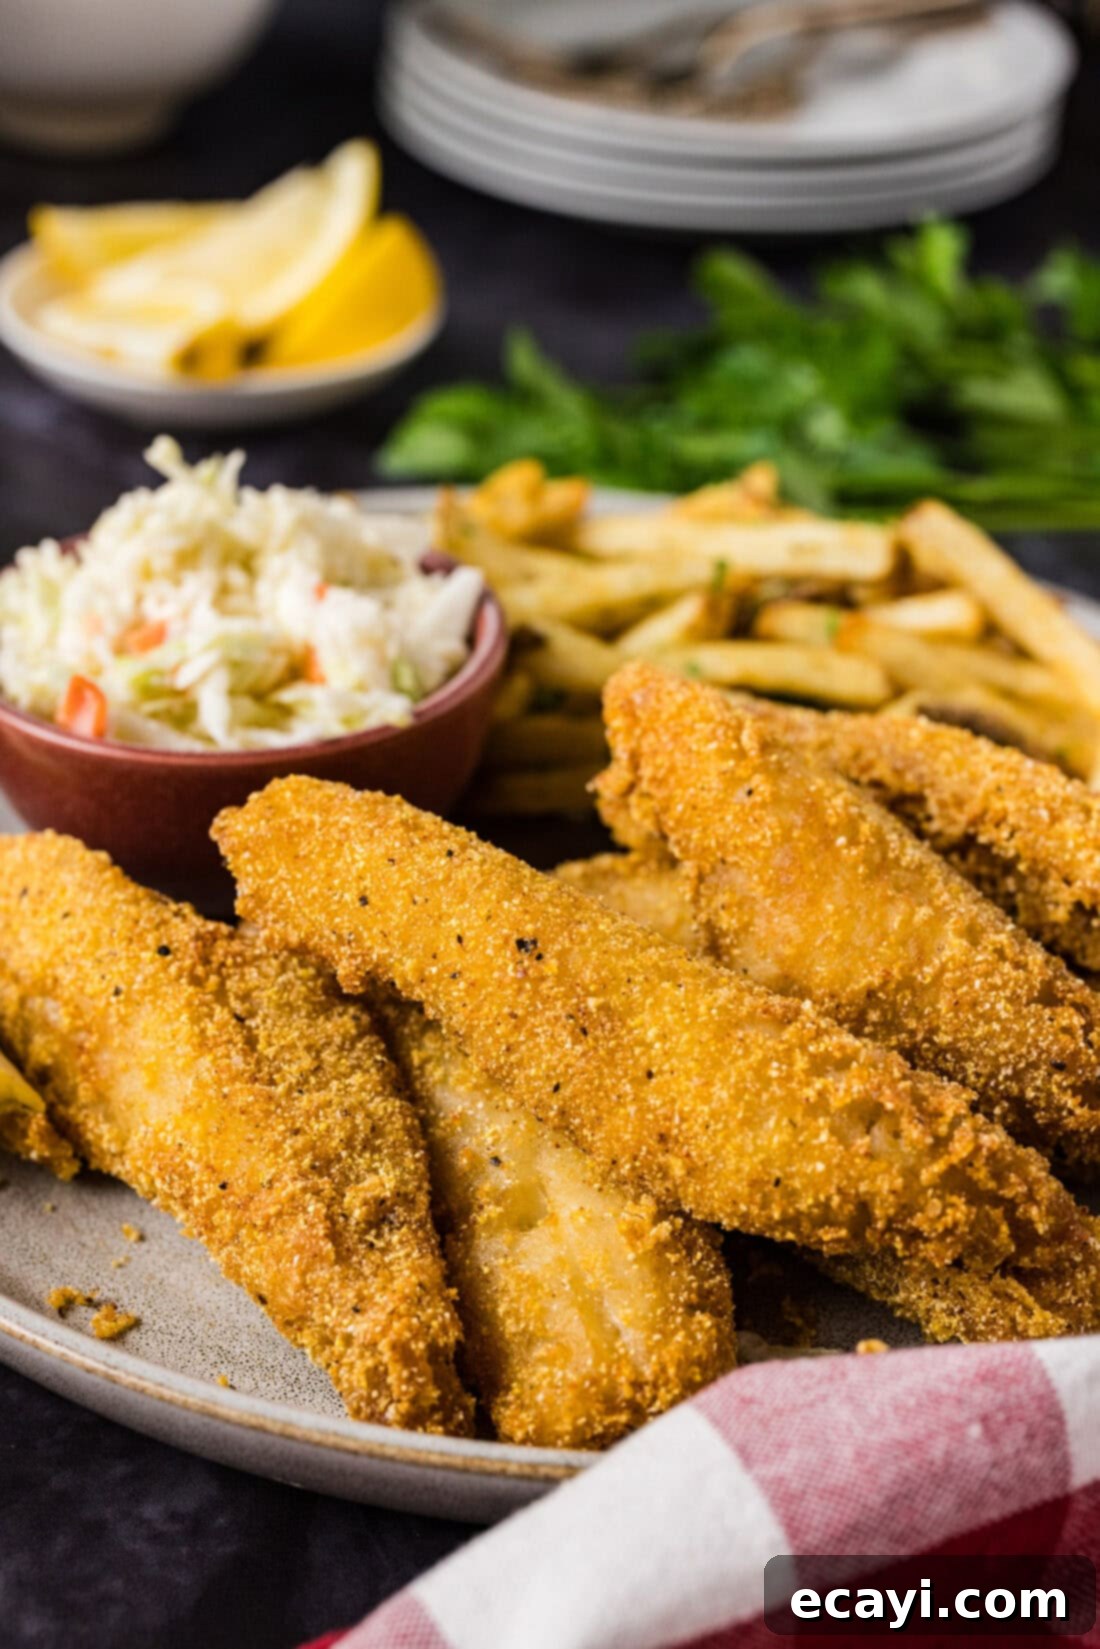
Fried perch is a meal in itself, but it truly shines when paired with classic comfort food sides. Create a quintessential fish fry experience by serving your crispy perch alongside golden french fries, a generous scoop of creamy coleslaw, and a tangy pickle spear. No fried fish meal is complete without a side of homemade tartar sauce for dipping. For an extra burst of freshness, garnish your plate with lemon wedges, allowing guests to squeeze fresh lemon juice over their fish for a bright, zesty finish. Other fantastic additions could include hush puppies, a simple green salad, or even some roasted vegetables for a balanced meal.
Explore More Delicious Fish Recipes
If you’ve enjoyed this fried perch recipe and are looking to expand your seafood repertoire, we have plenty more delightful fish dishes for you to discover. From quick weeknight meals to impressive weekend spreads, there’s something for every occasion.
- Savory Fish Cakes
- Flavorful Fish Tacos
- Perfectly Smoked Trout
- Quick Air Fryer Fish
- Zesty Grilled Mahi Mahi
I absolutely adore spending time in the kitchen, creating and perfecting recipes, and then sharing my culinary adventures with all of you! Remembering to visit daily for new inspiration can be tricky, which is why I offer a convenient newsletter delivered straight to your inbox every time a new recipe is posted. Simply subscribe here and start receiving your free daily recipes, ensuring you never miss out on your next favorite dish!
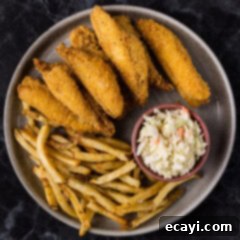
Fried Perch
IMPORTANT – There are often Frequently Asked Questions within the blog post that you may find helpful. Simply scroll back up to read them!
Print It
Pin It
Rate It
Save It
Saved!
Prevent your screen from going dark
Course:
Dinner
Cuisine:
American
3
servings
20
minutes
614
Amanda Davis
Ingredients
-
½
cup
yellow cornmeal -
¼
cup
all purpose flour -
1
teaspoon
black pepper -
2
teaspoons
garlic salt -
1
teaspoon
onion powder -
2
teaspoons
Old Bay seasoning -
1
large
egg -
¼
cup
water -
1
pound
perch
lake or ocean -
oil
for frying. such as canola or vegetable
Things You’ll Need
-
Large mixing bowl -
Whisk -
2 Breading trays -
Baking sheet -
Deep fryer
or deep sided skillet
Before You Begin
- Important Note About Breading and Frying: For the crispiest results and to ensure the breading adheres properly, it’s always best to bread your fish fillets just before you’re ready to fry them. Avoid breading all the pieces at once and letting them sit, as this can cause the coating to become soggy or even fall off during cooking. Instead, bread enough fillets to comfortably fit in your fryer for one batch (typically 3-4 pieces in a deep fryer, or more if using a large skillet). Fry this batch, remove it to drain, and then proceed to bread and fry the next batch. This sequential process maximizes the crunch and freshness of each piece.
- This recipe yields excellent results with both ocean and lake perch. Regardless of the type you choose, ensure the fish is fully thawed before you begin preparation. We’ve tested with both, and the primary difference you’ll encounter is that ocean perch, often being a bit thicker, may require an additional few minutes of cooking time to achieve perfect flakiness. Otherwise, the steps and delicious outcome remain consistent.
- If you don’t own a dedicated deep fryer, a large, deep-sided skillet or Dutch oven can be an excellent substitute. For optimal frying, aim to fill the skillet with at least 2 inches of oil, ensuring the fish can be mostly submerged. The critical factor is maintaining the oil temperature at a steady 345°F (174°C) before you introduce the fish. Use a reliable kitchen thermometer to monitor this; correct temperature prevents greasy fish and promotes a golden, crispy crust.
Instructions
-
In a large bowl, whisk together yellow cornmeal, all-purpose flour, black pepper, garlic salt, onion powder, and Old Bay seasoning until thoroughly combined. Transfer this dry mixture into a breading tray, spreading it evenly.1/2 cup yellow cornmeal,
1/4 cup all purpose flour,
1 teaspoon black pepper,
2 teaspoons garlic salt,
1 teaspoon onion powder,
2 teaspoons Old Bay seasoning -
In a second breading tray (or a shallow dish), whisk together the large egg and water until the mixture is smooth and well combined, creating your egg wash.1 large egg,
1/4 cup water -
Preheat the oil in your deep fryer (or deep-sided skillet) to a precise 345°F (174°C). Ensure the oil reaches this temperature before proceeding to prevent greasy fish.
-
Take one perch fillet and dip it entirely into the egg mixture, allowing any excess to drip off. Immediately transfer the fillet to the cornmeal mixture, pressing gently to ensure a complete and even coating on all sides. Only bread enough fish that will comfortably fit in your fryer for one batch. Wait until this first batch is removed from the fryer before breading the next. This crucial step helps the breading adhere better and ensures maximum crispiness.1 pound perch
-
Carefully place the breaded fish into the preheated deep fryer. Cook for approximately 3-4 minutes, or until the fish is golden brown, cooked through, and flakes easily with a fork (internal temperature should reach 145°F/63°C). Thicker ocean perch may require an extra minute or two. Remove the fried fish to a plate lined with paper towels to drain excess oil, then bread and fry the subsequent batches.
Expert Tips & FAQs
- STORAGE: For storing leftover fried perch, first ensure the fish has cooled completely to room temperature. Transfer the cooled fillets to an airtight container, placing a layer of paper towel at the bottom and optionally between layers of fish. Store in the refrigerator for up to 2-3 days. To reheat, avoid the microwave, as it will make the breading soggy and the fish rubbery. For best results, reheat in an oven or air fryer set to 375°F (190°C) for approximately 10 minutes, or until the fish is warmed through and the breading has regained its delightful crispiness. The air fryer is particularly effective for restoring that fresh-fried crunch.
- CHOOSING YOUR FISH: Both lake perch and ocean perch are excellent choices for frying due to their mild flavor and tender flesh. If you have access to fresh lake perch, it often offers a slightly sweeter, more delicate taste. Ocean perch, while still mild, can sometimes be a bit firmer. This recipe works beautifully with both, so choose what’s most accessible and fresh for you.
- SEASONING ADJUSTMENTS: Feel free to customize the seasoning blend to your preference. If you enjoy more heat, a pinch of cayenne pepper or a dash of hot sauce in the egg wash can add a welcome kick. For an herbaceous touch, consider adding dried dill or parsley to the cornmeal mixture.
- OIL SAFETY: When deep frying, always exercise caution. Ensure your fryer or skillet is on a stable, level surface. Never overcrowd the fryer, as this drops the oil temperature and leads to greasy fish. Always add fish away from you to prevent splashing. If you encounter an oil fire, never use water; instead, cover the pot with a lid or use a fire extinguisher designed for grease fires.
Nutrition
Serving:
1
serving (6 ounces)
|
Calories:
614
cal
|
Carbohydrates:
29
g
|
Protein:
34
g
|
Fat:
40
g
|
Saturated Fat:
6
g
|
Polyunsaturated Fat:
22
g
|
Monounsaturated Fat:
9
g
|
Trans Fat:
0.3
g
|
Cholesterol:
154
mg
|
Sodium:
1654
mg
|
Potassium:
535
mg
|
Fiber:
3
g
|
Sugar:
1
g
|
Vitamin A:
111
IU
|
Vitamin C:
3
mg
|
Calcium:
147
mg
|
Iron:
3
mg
Tried this Recipe? Pin it for Later!
Follow on Pinterest @AmandasCookin or tag #AmandasCookin!
The recipes on this blog are tested with a conventional gas oven and gas stovetop. It’s important to note that some ovens, especially as they age, can cook and bake inconsistently. Using an inexpensive oven thermometer can assure you that your oven is truly heating to the proper temperature. If you use a toaster oven or countertop oven, please keep in mind that they may not distribute heat the same as a conventional full sized oven and you may need to adjust your cooking/baking times. In the case of recipes made with a pressure cooker, air fryer, slow cooker, or other appliance, a link to the appliances we use is listed within each respective recipe. For baking recipes where measurements are given by weight, please note that results may not be the same if cups are used instead, and we can’t guarantee success with that method.
