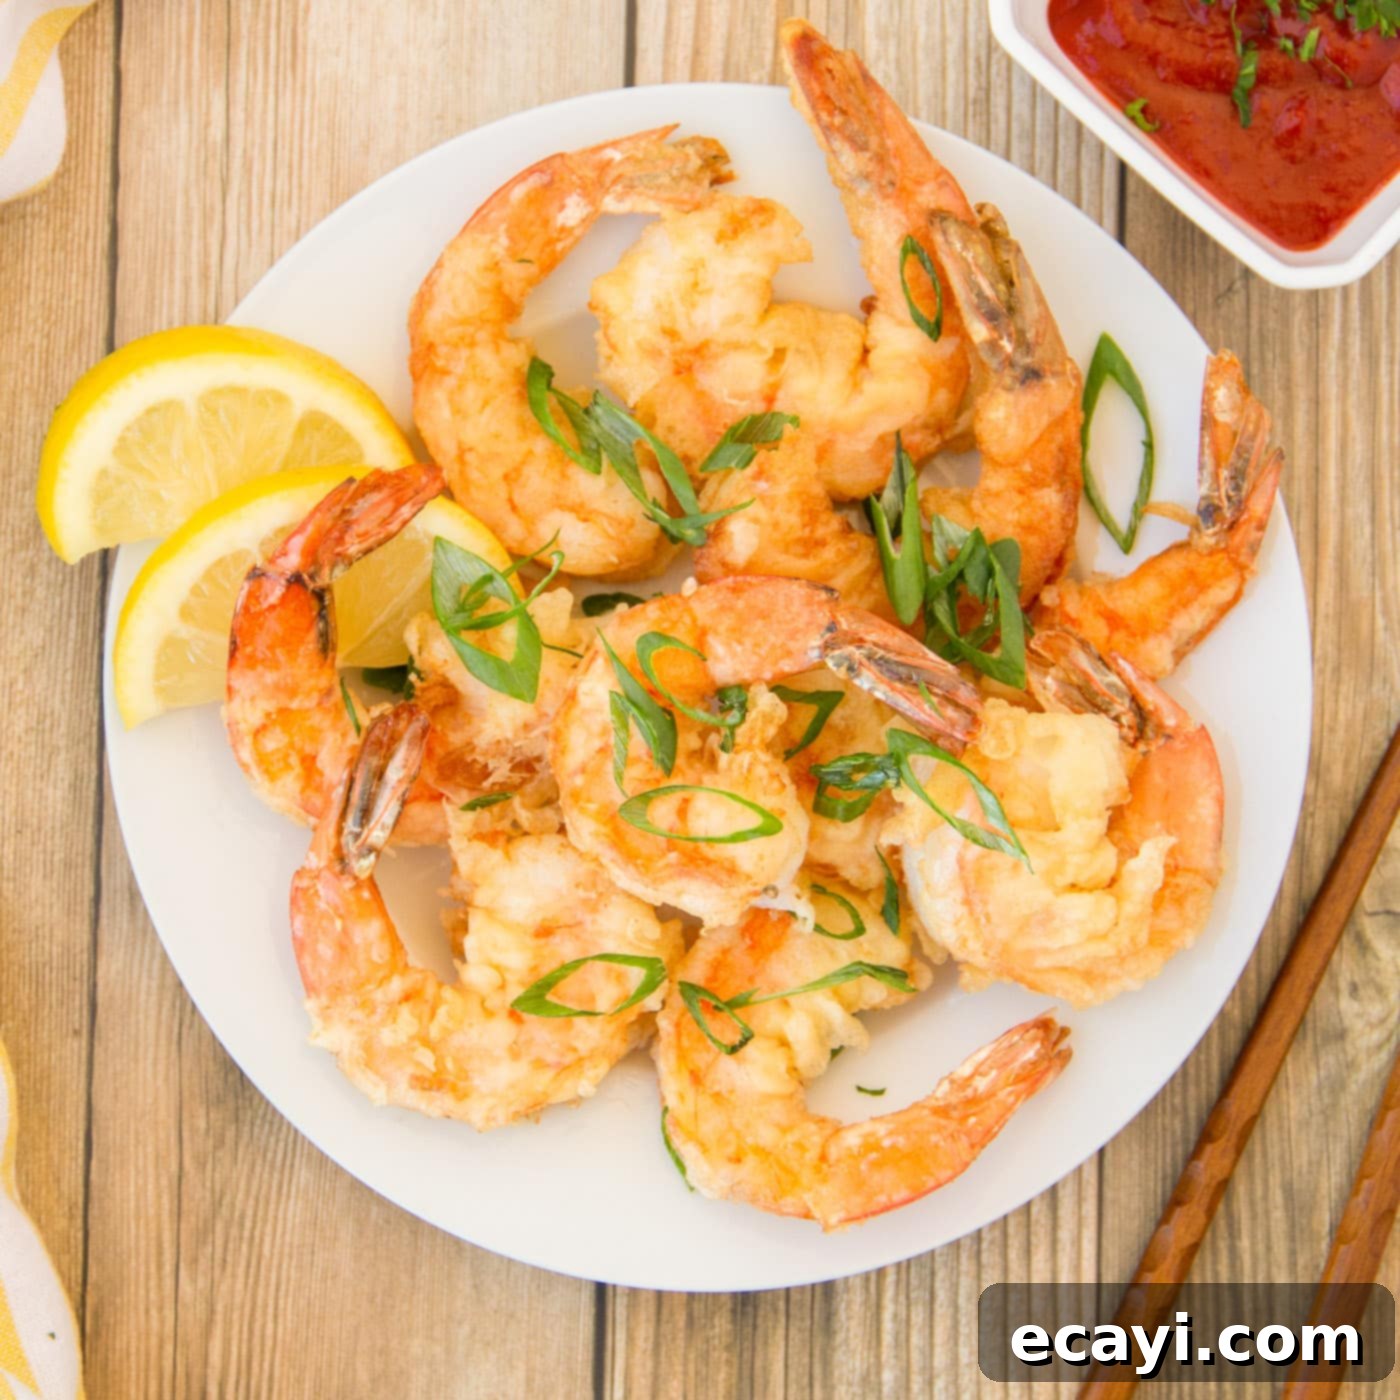
The Ultimate Crispy Shrimp Recipe: Perfectly Golden, Lightly Breaded & Delicious
Craving perfectly plump shrimp with an irresistible crunch? Look no further! This easy crispy shrimp recipe delivers just the right amount of golden-brown crispiness without being overly breaded, allowing the natural sweetness of the shrimp to shine through. With minimal effort and a few simple ingredients, you can transform ordinary shrimp into an extraordinary dish that’s ideal for a quick weeknight dinner, a delightful appetizer for gatherings, or a tasty side. Just a quick pan-fry in hot oil until they achieve that coveted crisp, golden perfection, and you’ll have a restaurant-quality meal ready in minutes. Get ready to elevate your shrimp game with this unbelievably simple yet incredibly satisfying recipe for homemade crispy shrimp!
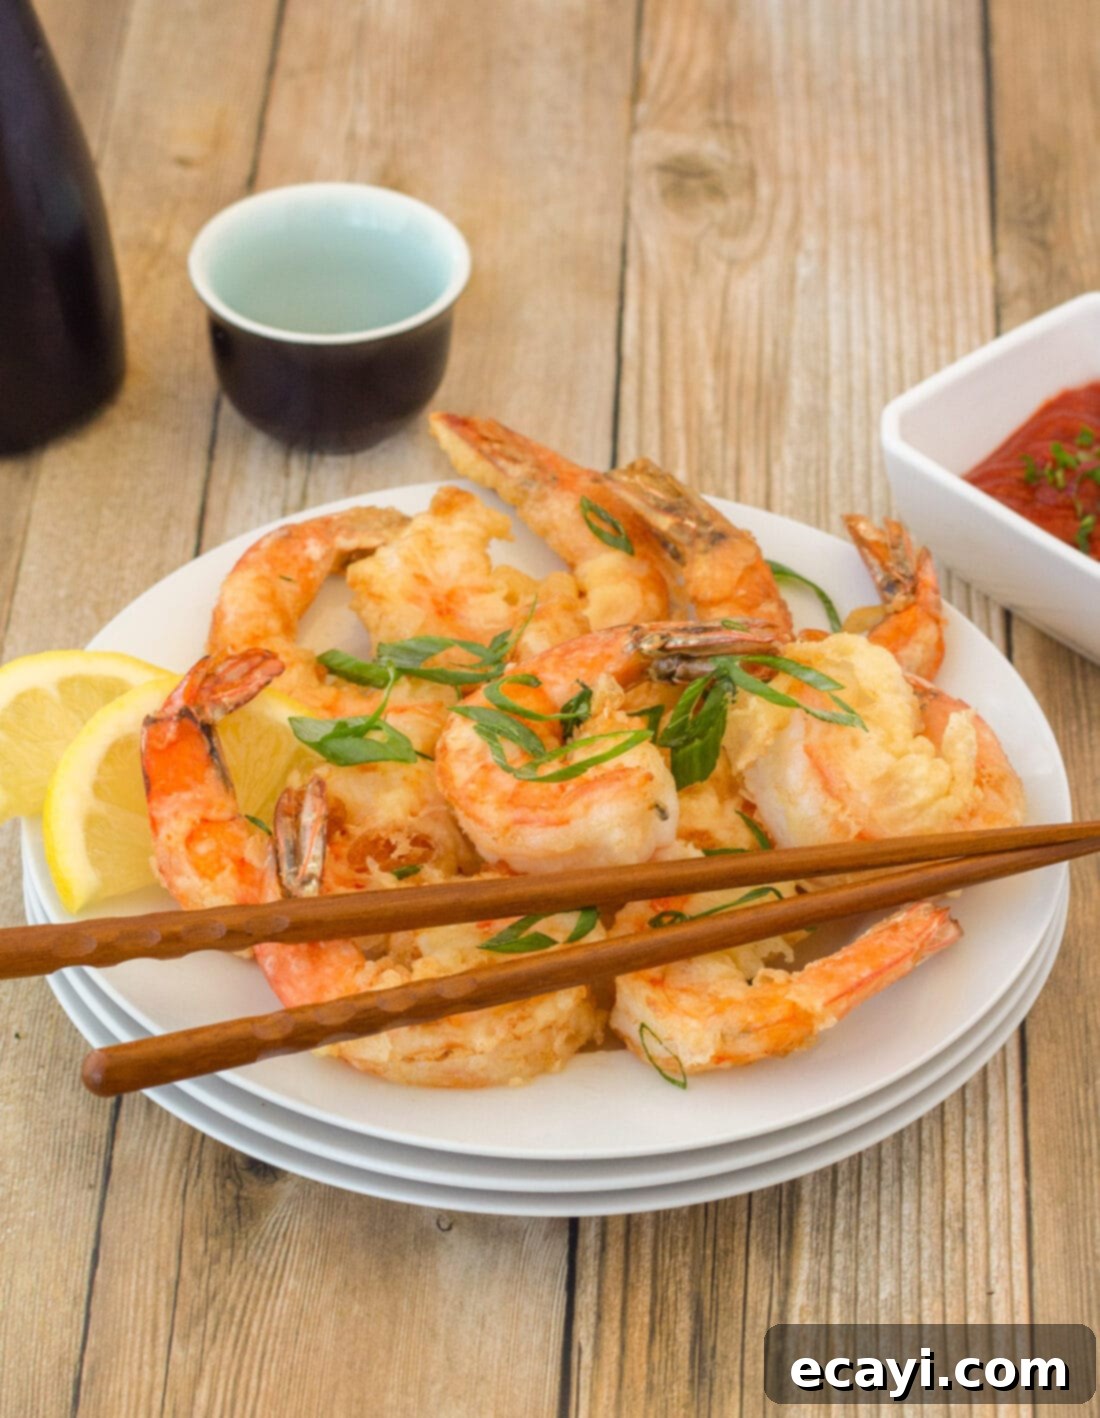
Why This Crispy Pan-Fried Shrimp Recipe Is a Must-Try
This crispy shrimp recipe truly stands out for its simplicity, speed, and incredibly satisfying results. You might be surprised at how easy it is to achieve such a gourmet-tasting dish with just a handful of pantry staples and about 20 minutes from start to finish. The magic lies in our carefully balanced, light batter, which creates a delicate coating that crisps up beautifully without overpowering the natural sweetness and texture of the shrimp. Unlike heavier breadings that can make fried shrimp feel greasy or dense, this recipe offers an airy, delicate crunch that’s truly addictive. It’s an excellent way to introduce variety to your meal rotation, turning regular sautéed shrimp into a festive treat perfect for parties, a delicious family dinner, or even a quick, indulgent snack.
While similar in its frying method to Shrimp Tempura, our approach results in a distinctly crispier, less doughy texture. The secret to this superior crispiness is our thinner batter, specifically designed to form a wonderfully light coating that achieves a superb crunch and a beautiful golden-brown finish when pan-fried. This means you get all the delightful texture and incredible flavor without the heavy breading, highlighting the succulent quality of the shrimp itself. The final result is a wonderfully flavored and textured dish that’s both elegant and approachable, making it a guaranteed crowd-pleaser every single time. It’s the perfect solution for anyone looking for an easy, yet impressive, homemade crispy shrimp dish.
Essential Ingredients for Perfect Crispy Shrimp
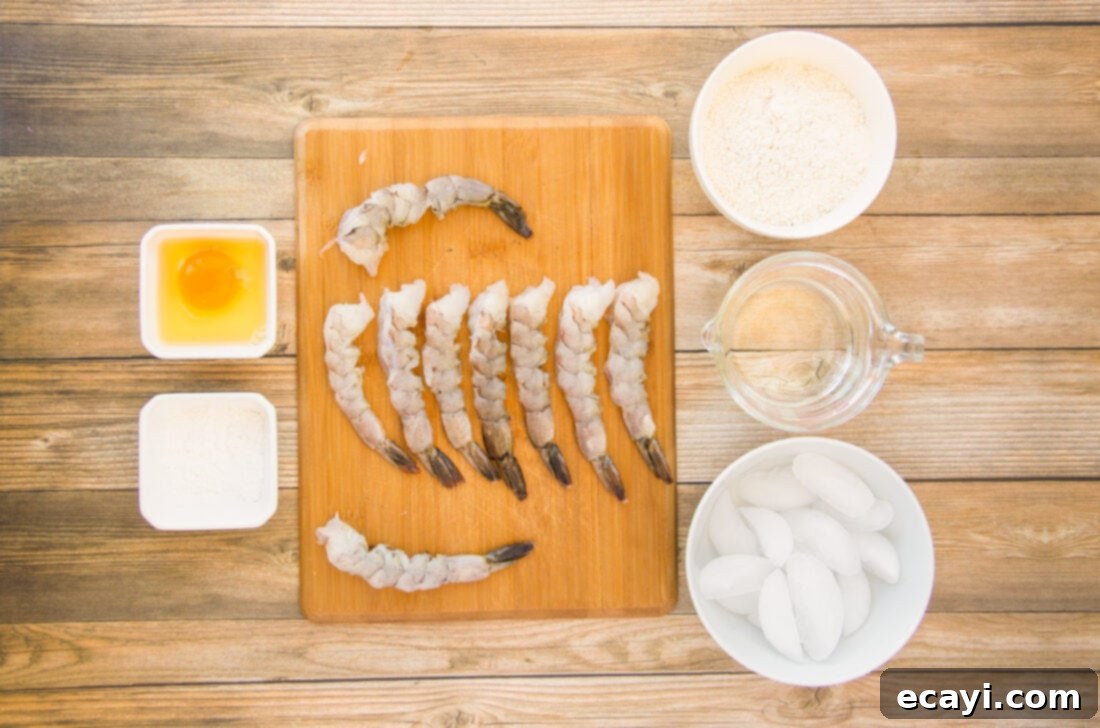
Crafting these delectable crispy shrimp requires just a handful of accessible ingredients, most of which you likely already have in your pantry. You’ll find a complete list of precise measurements and detailed instructions in the printable recipe card at the very end of this post. For now, let’s delve into what makes each component crucial for achieving that ultimate crunch and flavor, ensuring your pan-fried shrimp are nothing short of spectacular.
Ingredient Spotlight & Expert Substitution Tips for Crispy Shrimp
Let’s take a closer look at the key players in this crispy shrimp recipe and how to make the best choices or smart substitutions to ensure your pan-fried shrimp turn out perfectly every time:
SHRIMP – We used 1/2 pound of fresh grilling shrimp, which are typically medium to large in size and boast a fantastic texture when cooked. However, the true beauty of this recipe lies in its versatility; almost any kind of fresh shrimp will work wonderfully. If you’re opting for frozen shrimp, remember that it’s absolutely crucial to allow them to thaw completely before proceeding. After thawing, pat them thoroughly dry with paper towels. Removing excess moisture is the enemy of crispiness, as it will prevent the batter from properly adhering and can lead to a soggy or less-than-ideal result. For convenience, look for shrimp that are already peeled and deveined, but if they come with shells, ensure you remove them before starting your prep.
CORNSTARCH – This ingredient is our secret weapon for achieving extra crispiness! A light, even dusting of cornstarch over the shrimp before dipping them in the batter serves a dual purpose: it creates a superior barrier that helps the batter stick more effectively, and it contributes significantly to the final crunchy texture. It also helps absorb any lingering surface moisture from the shrimp. If you find yourself without cornstarch, a very light dusting of all-purpose flour can work as a substitute, though the resulting crispiness might be slightly less intense and the coating not quite as light.
EGG – The egg plays a vital role in our batter, acting as a powerful binder that helps the flour adhere seamlessly to the shrimp. It also provides essential structure to the batter, contributing to its light and airy quality once fried. A large egg is generally the perfect size for this quantity of shrimp. In this particular type of batter, there are no common substitutions for egg that won’t significantly alter the texture and binding properties.
ALL-PURPOSE FLOUR – As the primary structural component of our light batter, all-purpose flour provides the foundation for the crispy coating. While you could experiment with various gluten-free flour blends, be aware that results may vary in terms of texture and adherence. For the most consistent and best batter consistency, always ensure your all-purpose flour is fresh.
ICED WATER – This is another incredibly crucial element for creating a truly light and exceptionally crispy batter, a technique borrowed from traditional tempura preparation. The extremely cold temperature of the water helps to significantly inhibit gluten development in the flour. This inhibition is key to preventing the batter from becoming chewy or tough. Furthermore, when this cold batter hits the hot oil, the rapid temperature change creates a burst of steam, which in turn leads to a quicker, airier, and ultimately crisper fried exterior. Always make sure your water is very cold, but remember to avoid adding actual ice cubes directly into the batter itself, as they can melt and dilute the consistency over time.
OLIVE OIL – Used for pan-frying, olive oil provides a good flavor profile and can withstand medium-high heat effectively. You can easily substitute it with other high smoke point oils that are suitable for frying, such as vegetable oil, canola oil, or peanut oil. The essential thing is to use enough oil to partially submerge the shrimp (about 1/4 inch deep), ensuring even cooking and crisping on all sides for that perfect golden finish.
Step-by-Step Guide: How to Achieve Perfectly Crispy Shrimp
These step-by-step photos and detailed instructions are provided to help you visualize each stage of making this delicious crispy shrimp recipe. For a concise, printable version of this recipe, complete with exact measurements and instructions, you can Jump to Recipe at the bottom of this post.
- Prepare the Shrimp: Begin by thoroughly rinsing your shrimp under cold running water. Once rinsed, it is absolutely essential to pat them very dry with paper towels. Removing as much surface moisture as possible is crucial for achieving that coveted crisp exterior, as moisture inhibits the batter from sticking and crisping.
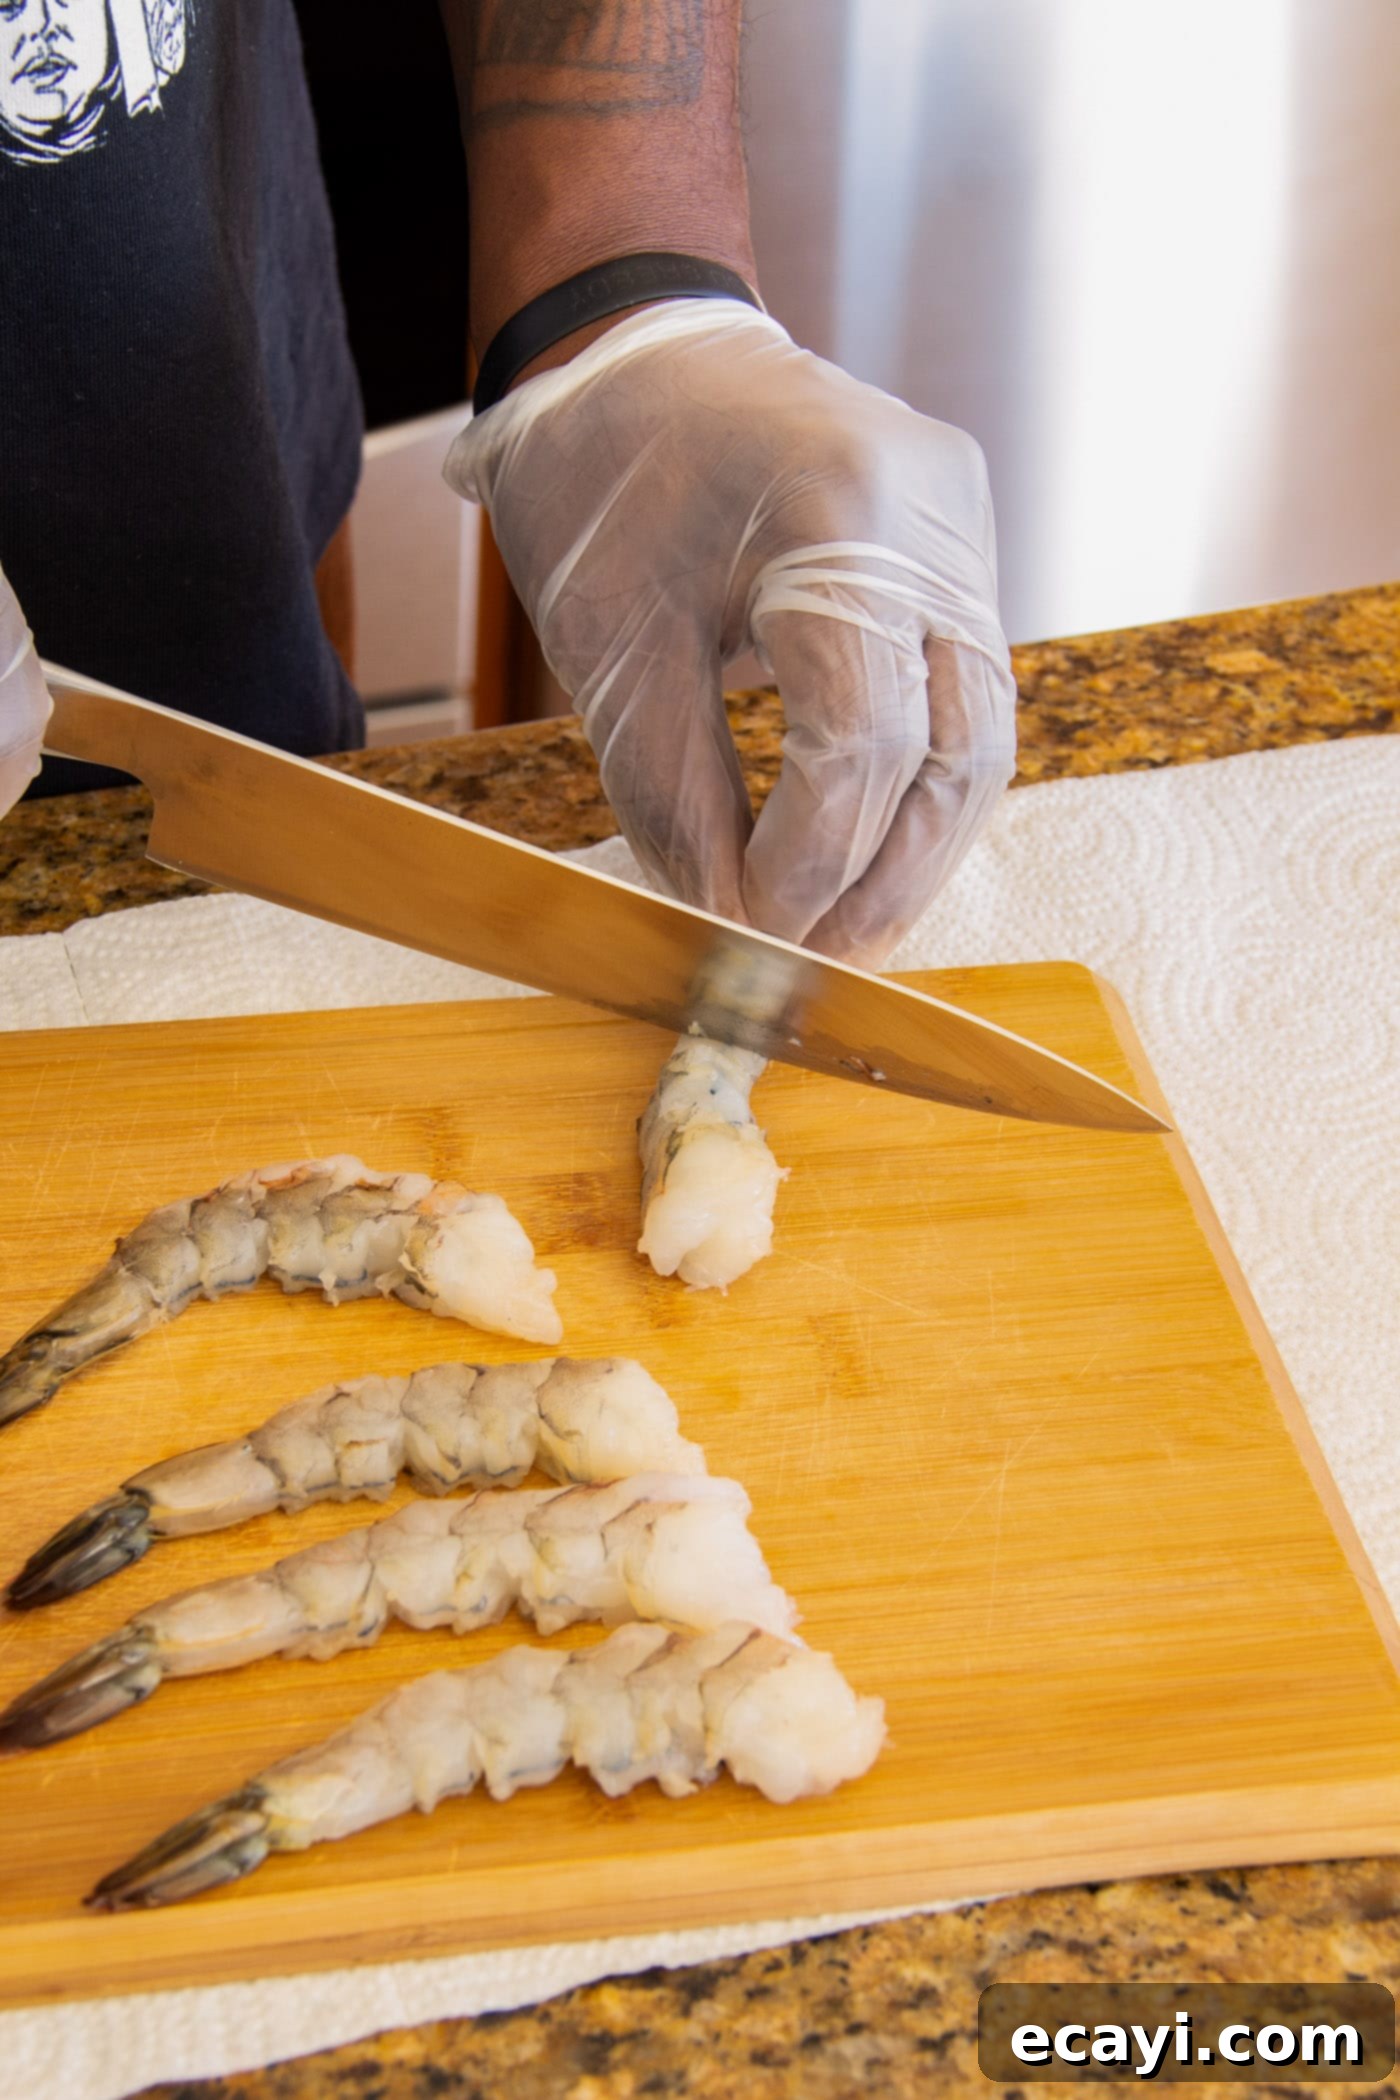
- Score the Shrimp for Straightness: To prevent the shrimp from curling up tightly into a ball during cooking, a simple yet highly effective scoring technique is recommended. On the underside (the belly side) of each shrimp, make two shallow scores with a sharp knife, cutting through the vein but not all the way through the shrimp flesh. Make one score near the head and another farther down near the tail. This technique helps them retain a straighter shape as they cook, making them easier to handle, more appealing visually, and ensuring more even cooking.
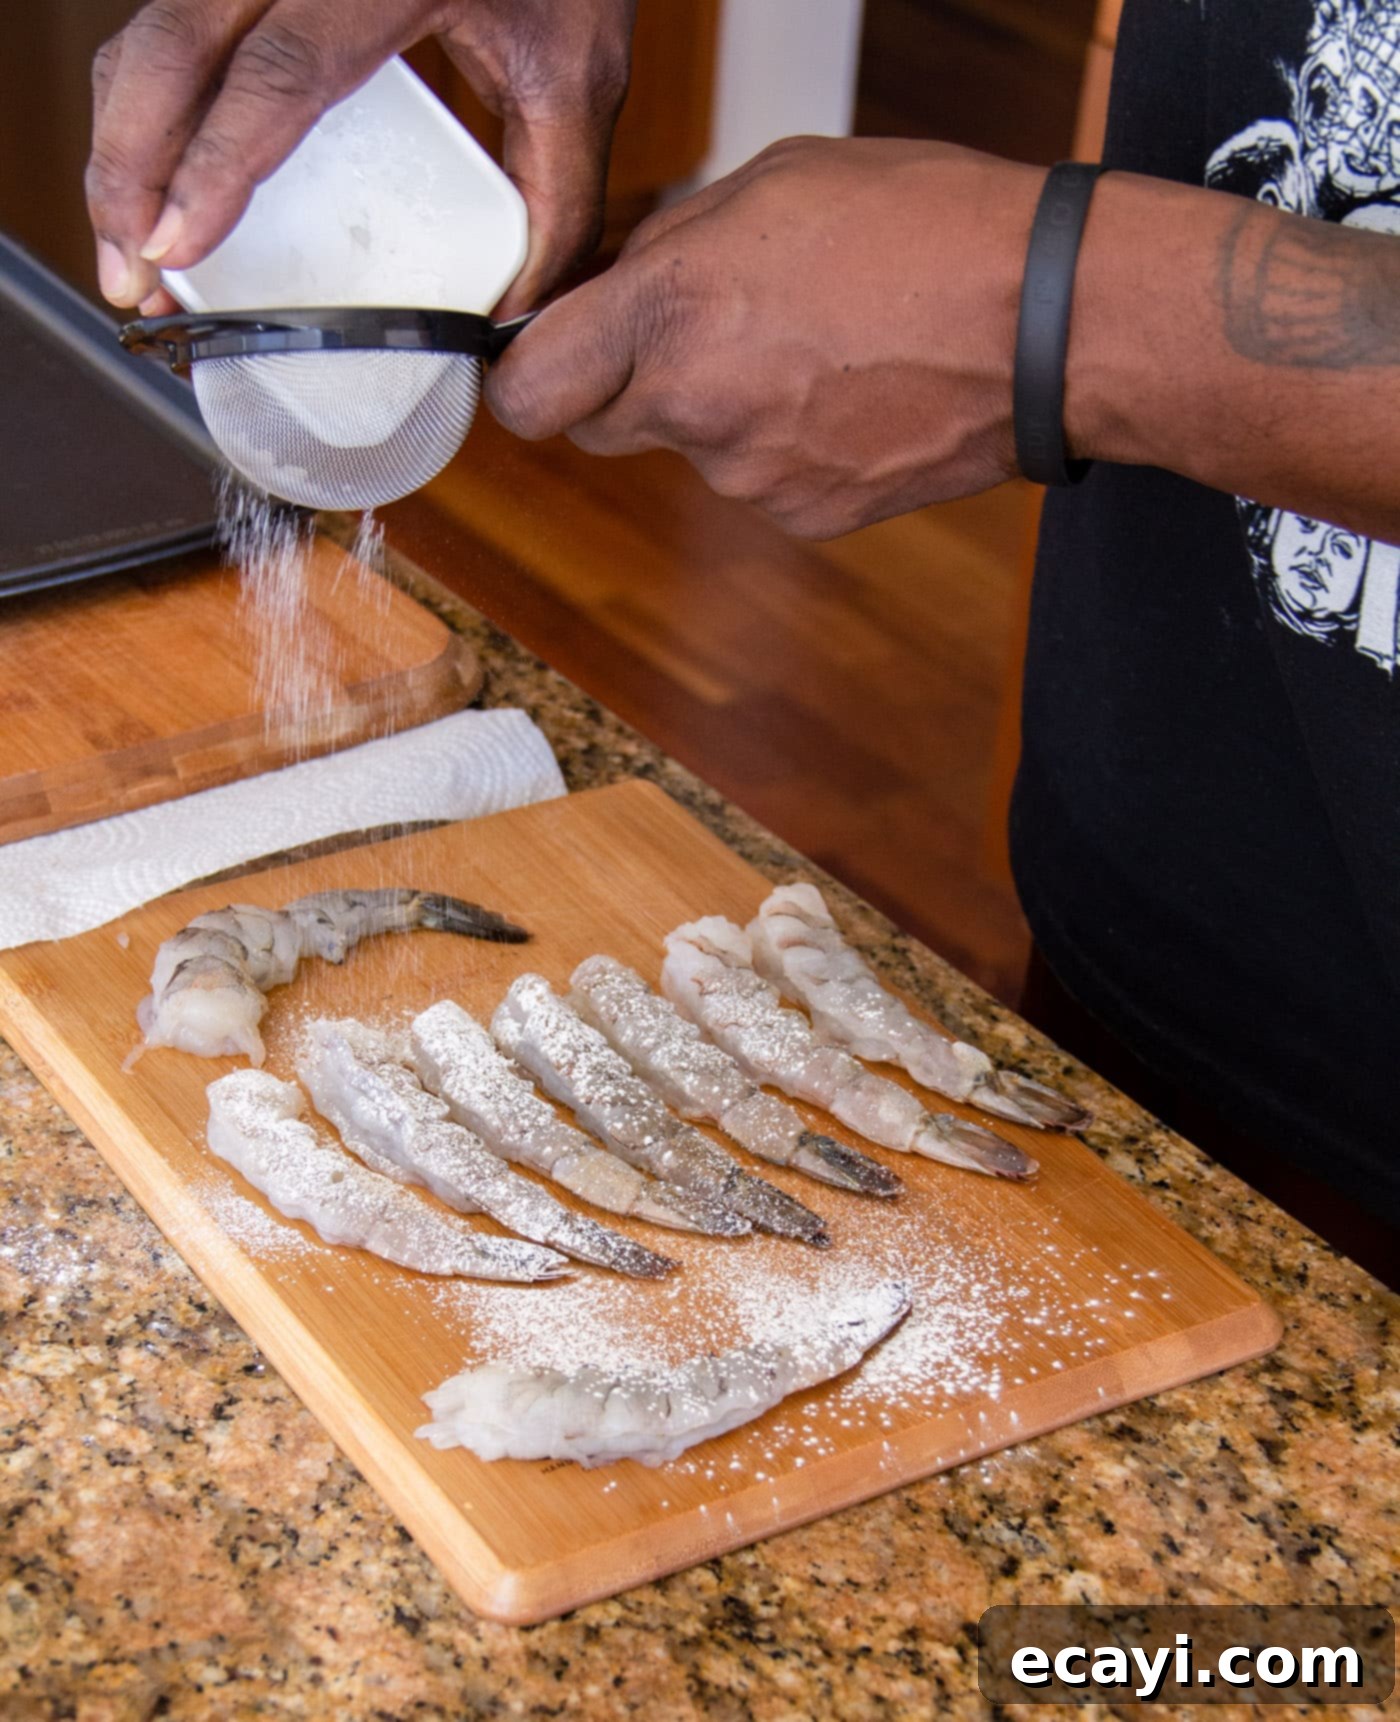
- Dust with Cornstarch: Place the prepared, dry shrimp on a clean cutting board. Take a sifter and lightly add cornstarch to it. Hold the sifter above the shrimp and gently sift a thin, even layer of cornstarch over them. Turn the shrimp over and repeat the process on the other side. The goal is a light, barely visible dusting; you may not need to use all of the cornstarch. This crucial step helps the batter adhere better and contributes significantly to the irresistible crispiness.
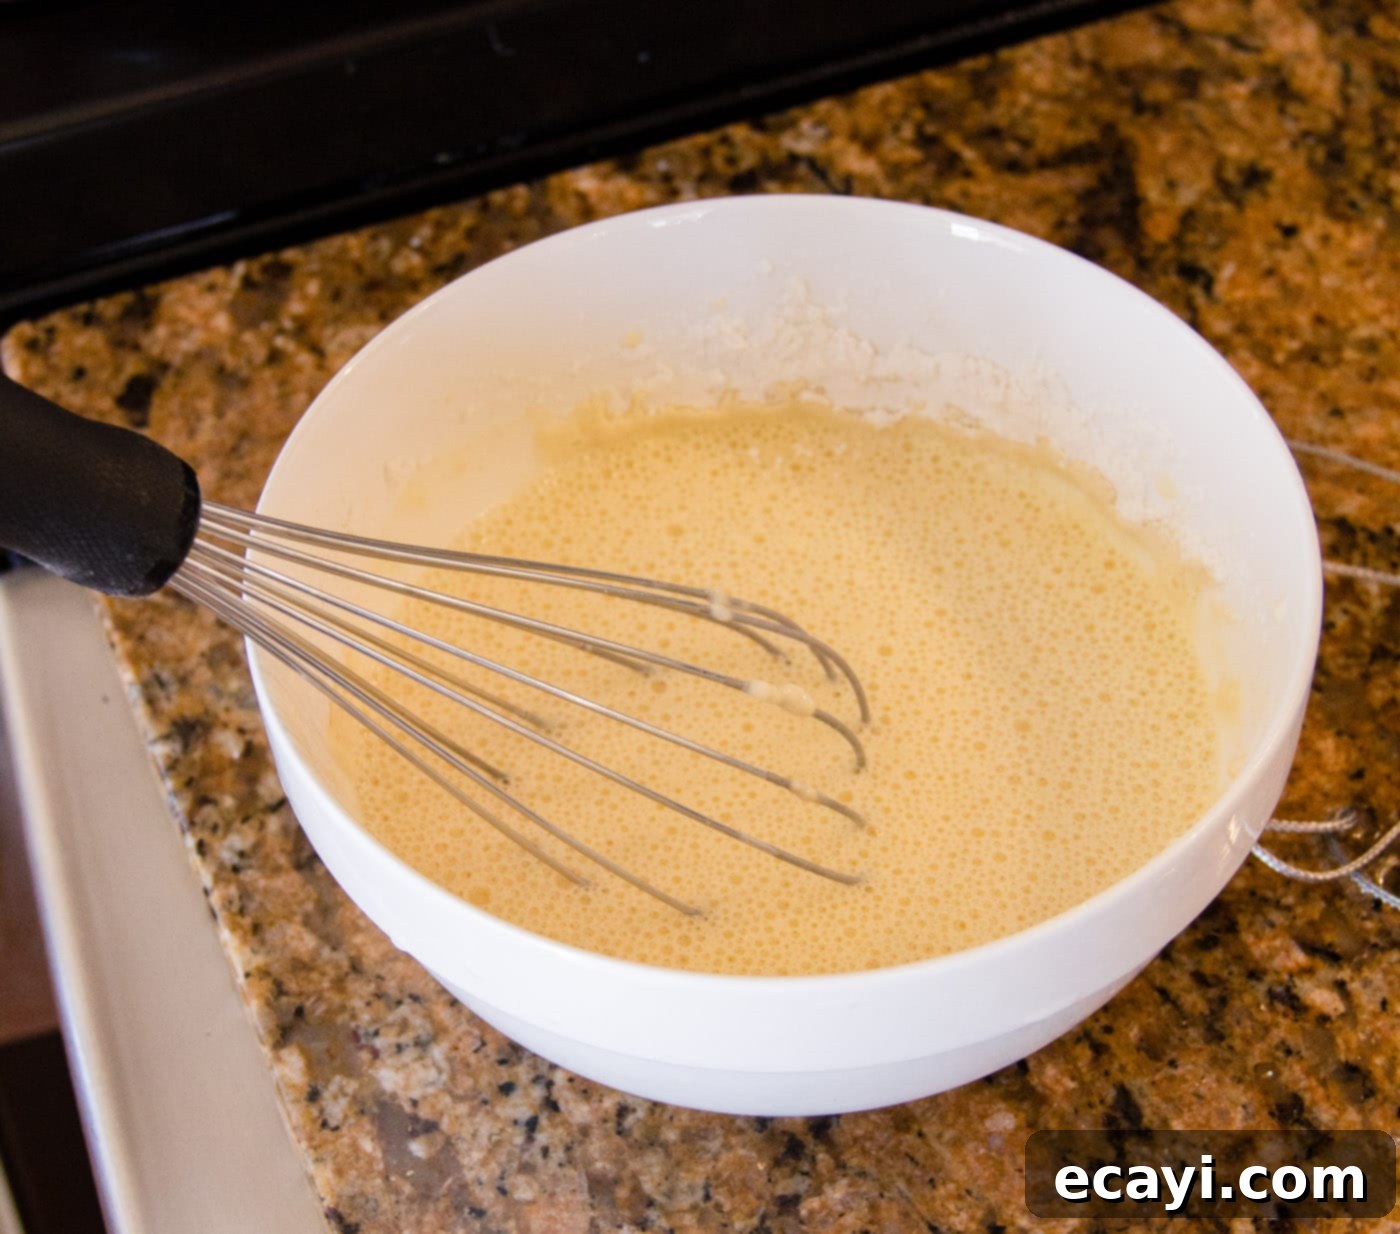
- Prepare the Batter: In a medium-sized bowl, combine the egg, all-purpose flour, and iced water. Using a whisk, beat them together vigorously until you achieve a smooth, lump-free batter. Remember to use only the iced water, leaving any actual ice cubes out, to maintain the perfect cold temperature and consistency. A cold batter is one of the key secrets for a light, incredibly crispy finish on your shrimp.
- Preheat the Oil: Pour enough olive oil into your skillet to reach about 1/4-inch up the sides. Place the skillet over medium-high heat and allow the oil to preheat to a temperature between 150-175°C (approximately 300-350°F). Using a candy thermometer is the most accurate way to gauge the temperature, ensuring your shrimp cook perfectly without burning or becoming greasy. If you don’t have a thermometer, you can test the oil with a tiny drop of batter; it should sizzle immediately and float to the surface.
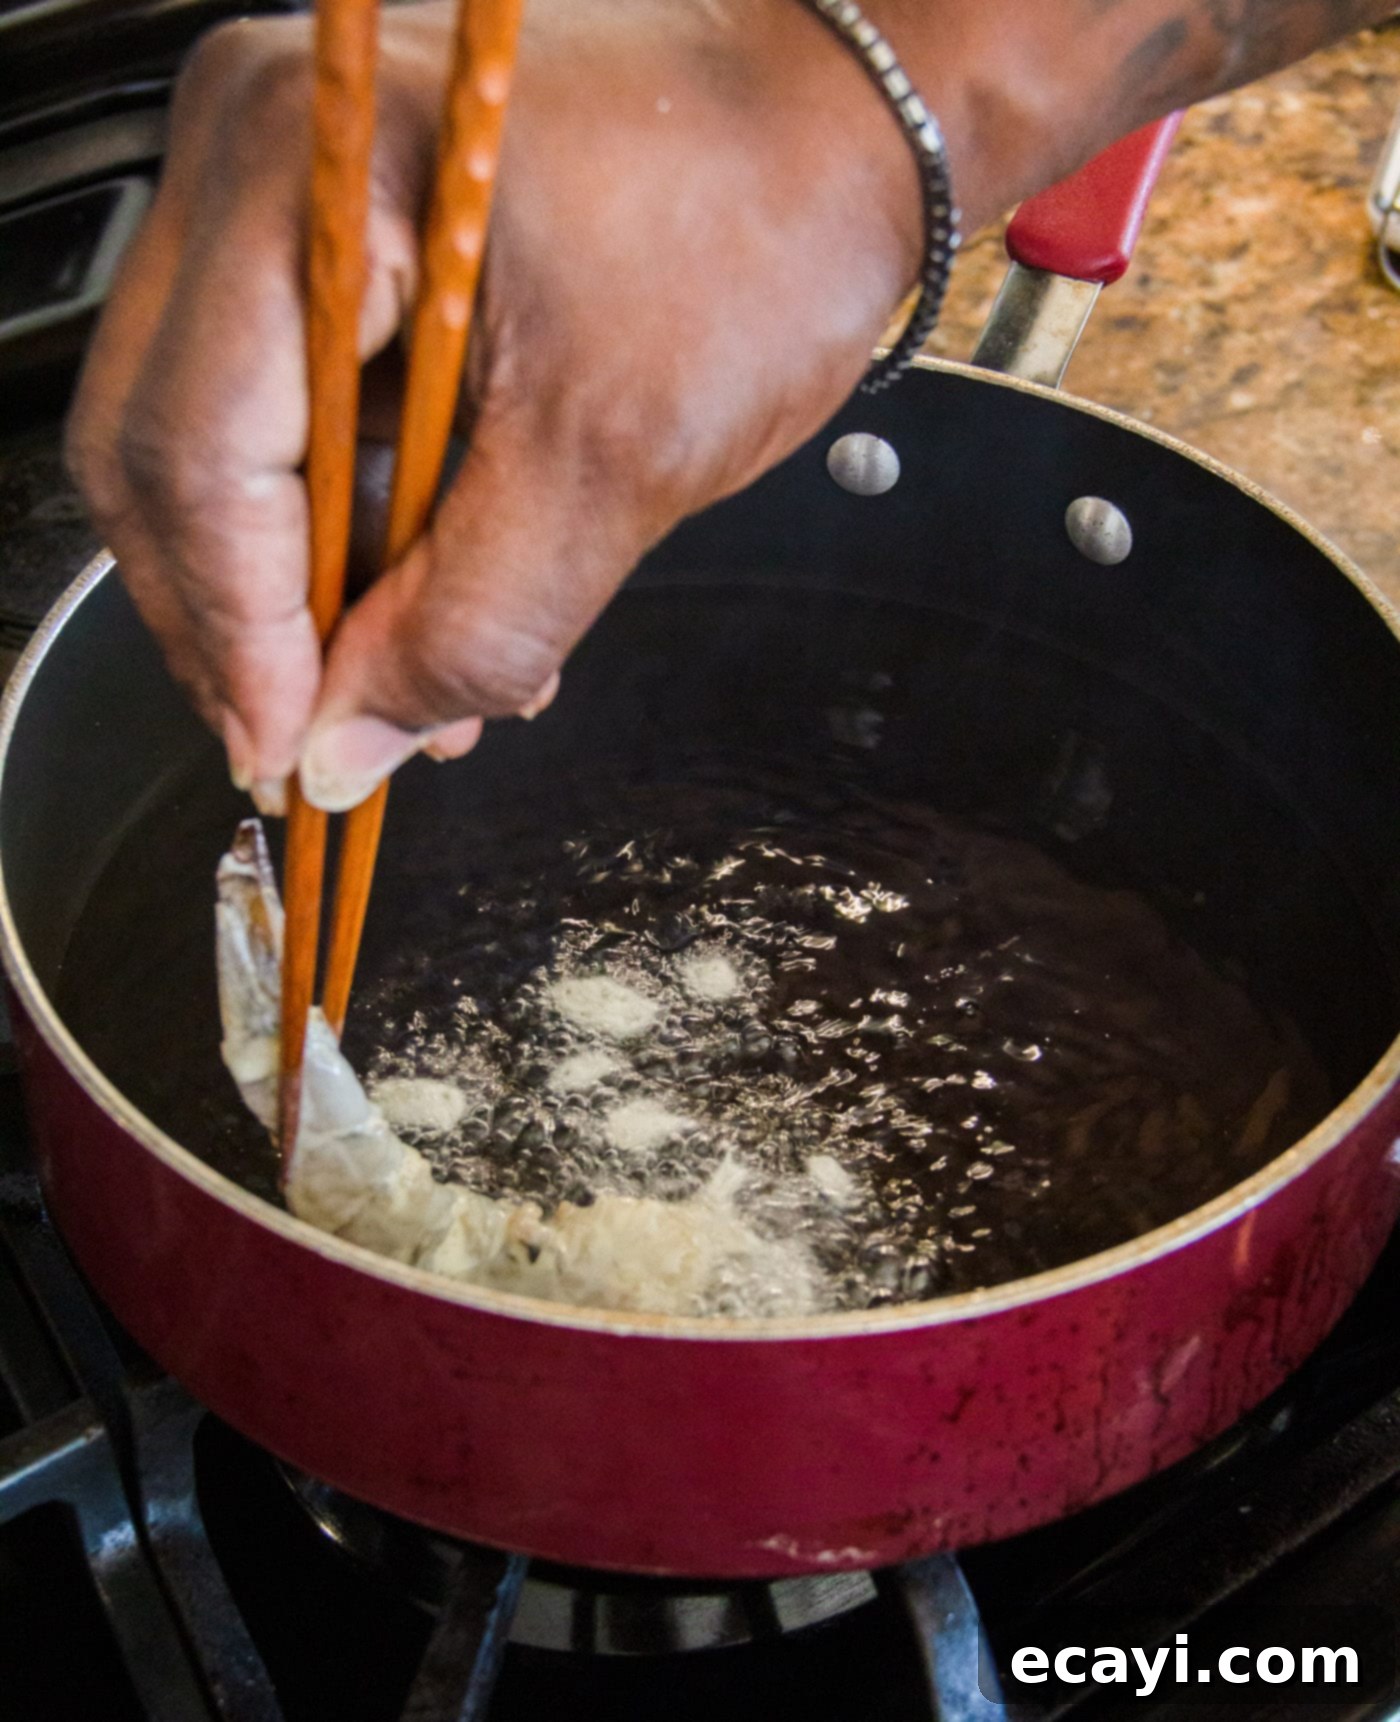
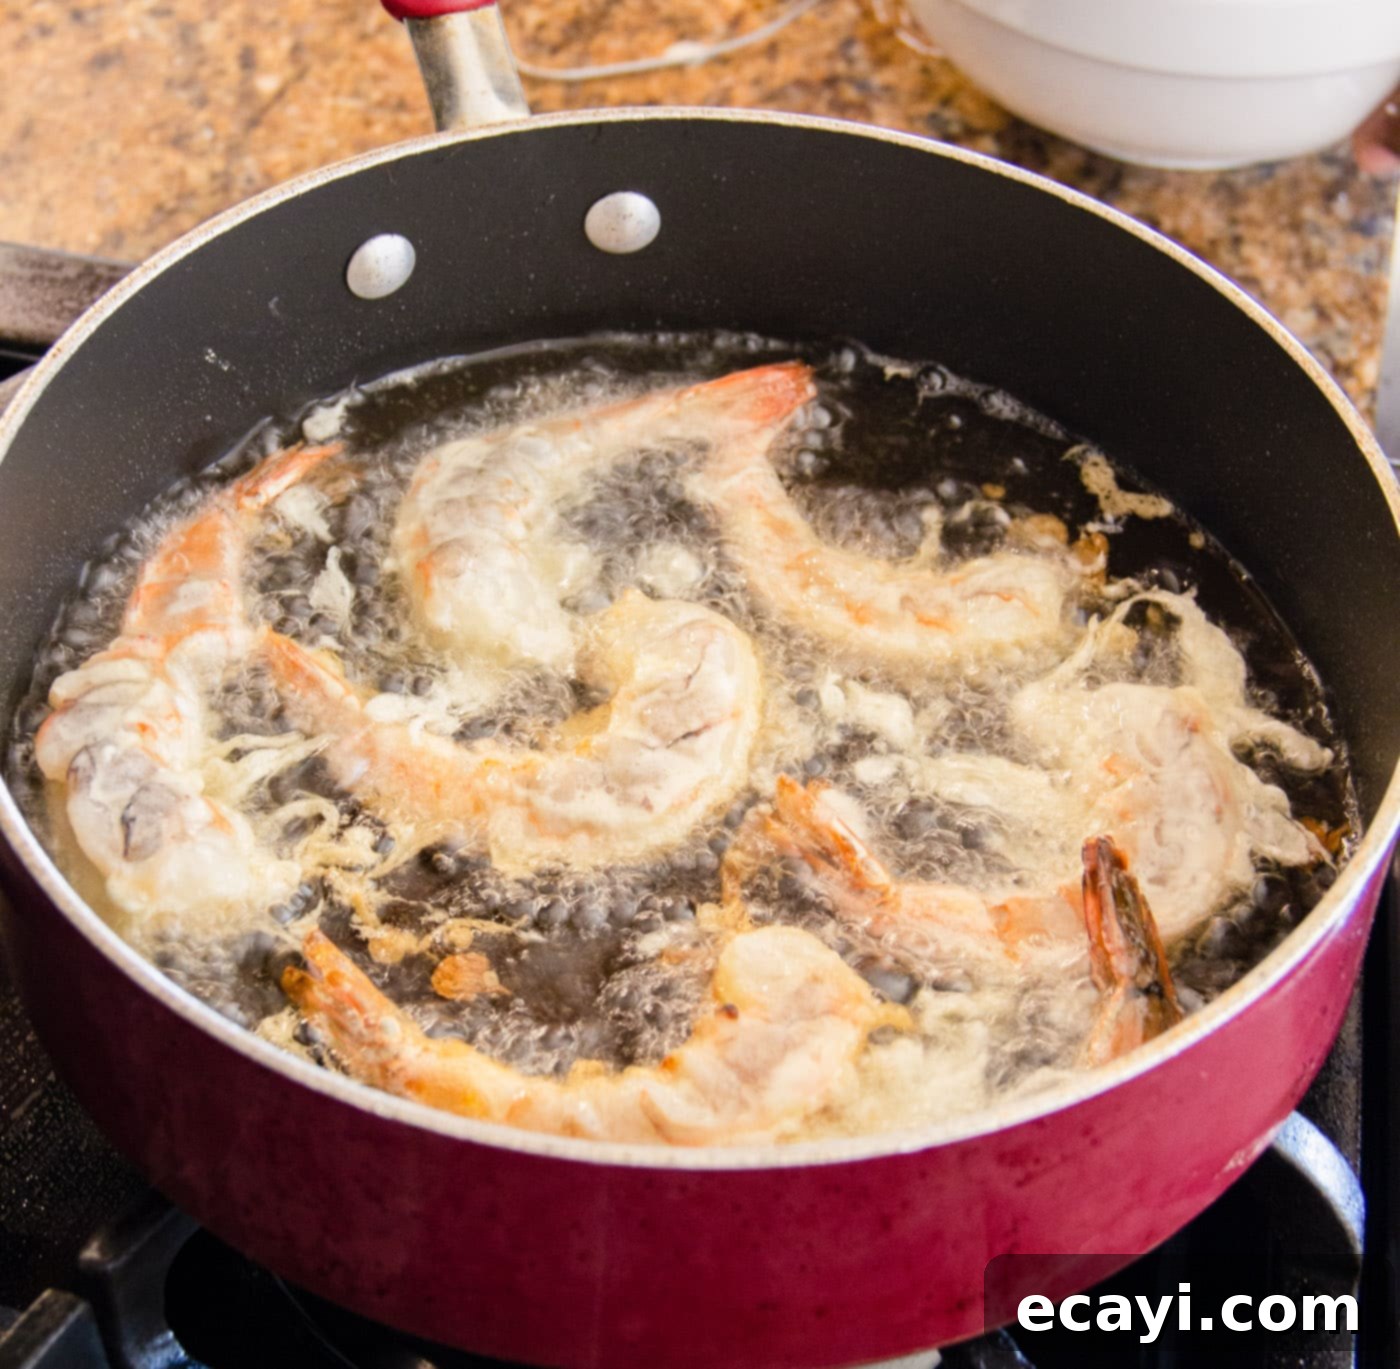
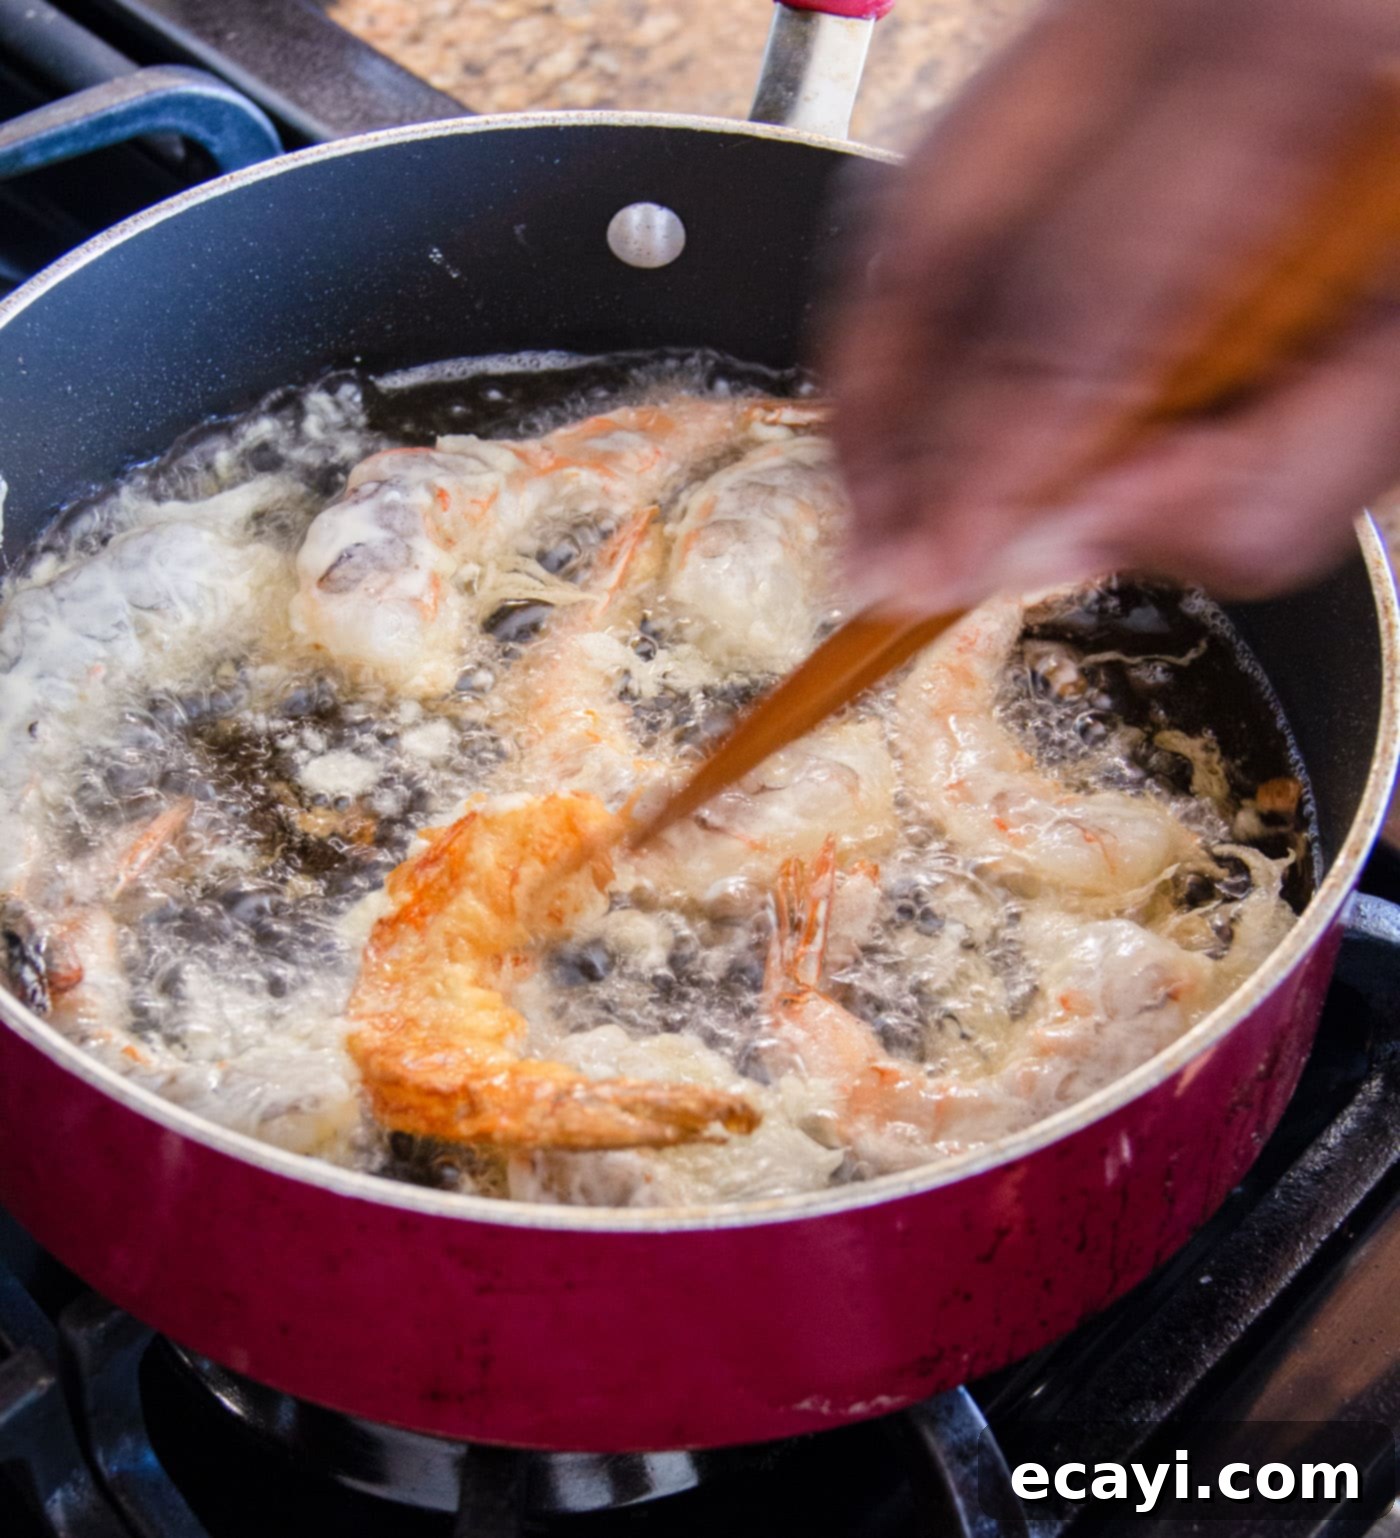
- Batter and Fry the Shrimp: Once the oil is at the correct temperature, you’ll need to work efficiently. Using tongs, carefully dip each shrimp into the prepared cold batter, ensuring it’s evenly coated but not excessively thick. Allow any excess batter to drip off for just a second before gently placing the shrimp into the hot oil. Repeat this process with the remaining shrimp, being mindful not to overcrowd the skillet. Frying in small batches ensures the oil temperature doesn’t drop too much, which can lead to soggy, rather than crispy, shrimp.
- Cook to Golden Perfection: Cook the shrimp for approximately 3 minutes on each side. They should turn a beautiful golden brown and be opaque and pink throughout, indicating they are cooked through. The exact cooking time may vary slightly depending on the size of your shrimp and the precise heat of your oil. Again, it’s vital not to overcrowd the skillet, as this can drastically lower the oil temperature and prevent the shrimp from becoming properly crispy.
- Drain and Serve: Once cooked to a perfect golden crisp, remove the shrimp from the skillet using tongs and transfer them to a plate generously lined with paper towels. This will help absorb any excess oil, ensuring they remain delightfully crisp and not greasy. Serve immediately with your favorite dipping sauces.
Frequently Asked Questions & Expert Tips for Crispy Shrimp Success
If you’re fortunate enough to have any of these delicious crispy shrimp leftover, you can store them in an airtight container in the refrigerator for up to 3-4 days. For the best texture when reheating, it’s best to avoid the microwave, as it can make them soggy. Instead, pop them back into a skillet with a small amount of oil over medium heat, or use an air fryer until they are heated through and regain their delightful crispiness. This method prevents them from becoming rubbery and brings back that desirable crunch.
For pan-frying crispy shrimp, a high smoke point oil with a neutral flavor is ideal. Olive oil works very well as recommended in this recipe. Other excellent choices that can withstand the necessary medium-high heat include vegetable oil, canola oil, peanut oil, or even grapeseed oil. These oils will ensure your shrimp get perfectly golden and crispy without burning or imparting an undesirable flavor.
Shrimp cook incredibly quickly, so careful timing is key. When fully cooked, they will turn opaque and pink, and their flesh will become firm. While we’re scoring them to help prevent excessive curling, you should primarily look for that uniform opaque, pink color. Be cautious not to overcook shrimp, as it can quickly make them tough and rubbery. Typically, 2-3 minutes per side is sufficient, but this can vary slightly based on the size of your shrimp and the heat of your oil.
Absolutely! While this recipe is optimized for pan-frying for its ease and reduced oil usage, you can certainly adapt it for deep frying. If deep frying, you’ll need significantly more oil (enough to fully submerge the shrimp) and a reliable thermometer to maintain the oil temperature consistently around 350-375°F (175-190°C). Deep frying will often result in an even crispier and more uniformly golden coating. Just remember not to overcrowd the fryer and ensure you drain the cooked shrimp well on a wire rack over paper towels.
The cold temperature of the iced water is a key trick for achieving a remarkably light and crispy batter, a technique often seen in traditional tempura. Cold water effectively inhibits the development of gluten in the flour, which is crucial for preventing the batter from becoming chewy or tough. When this very cold batter hits the hot oil, the rapid and intense temperature change creates a burst of steam. This steam then causes the batter to puff up and become exceptionally light, airy, and extra-crispy. Don’t skip this essential step – just make sure to use very cold water, not ice cubes in the batter itself, to maintain the perfect consistency and temperature.
This is perhaps the most critical tip for ensuring perfectly crispy shrimp every single time. Frying too many shrimp at once will cause a significant and immediate drop in the oil’s temperature. When the oil isn’t hot enough, the shrimp will tend to steam rather than fry. This leads to a greasy, soggy coating instead of the delightful crisp one you’re aiming for. Always work in small batches, leaving plenty of space around each shrimp, and allow the oil to return to its optimal temperature between each batch for the best results.
Delicious Serving Suggestions for Crispy Shrimp
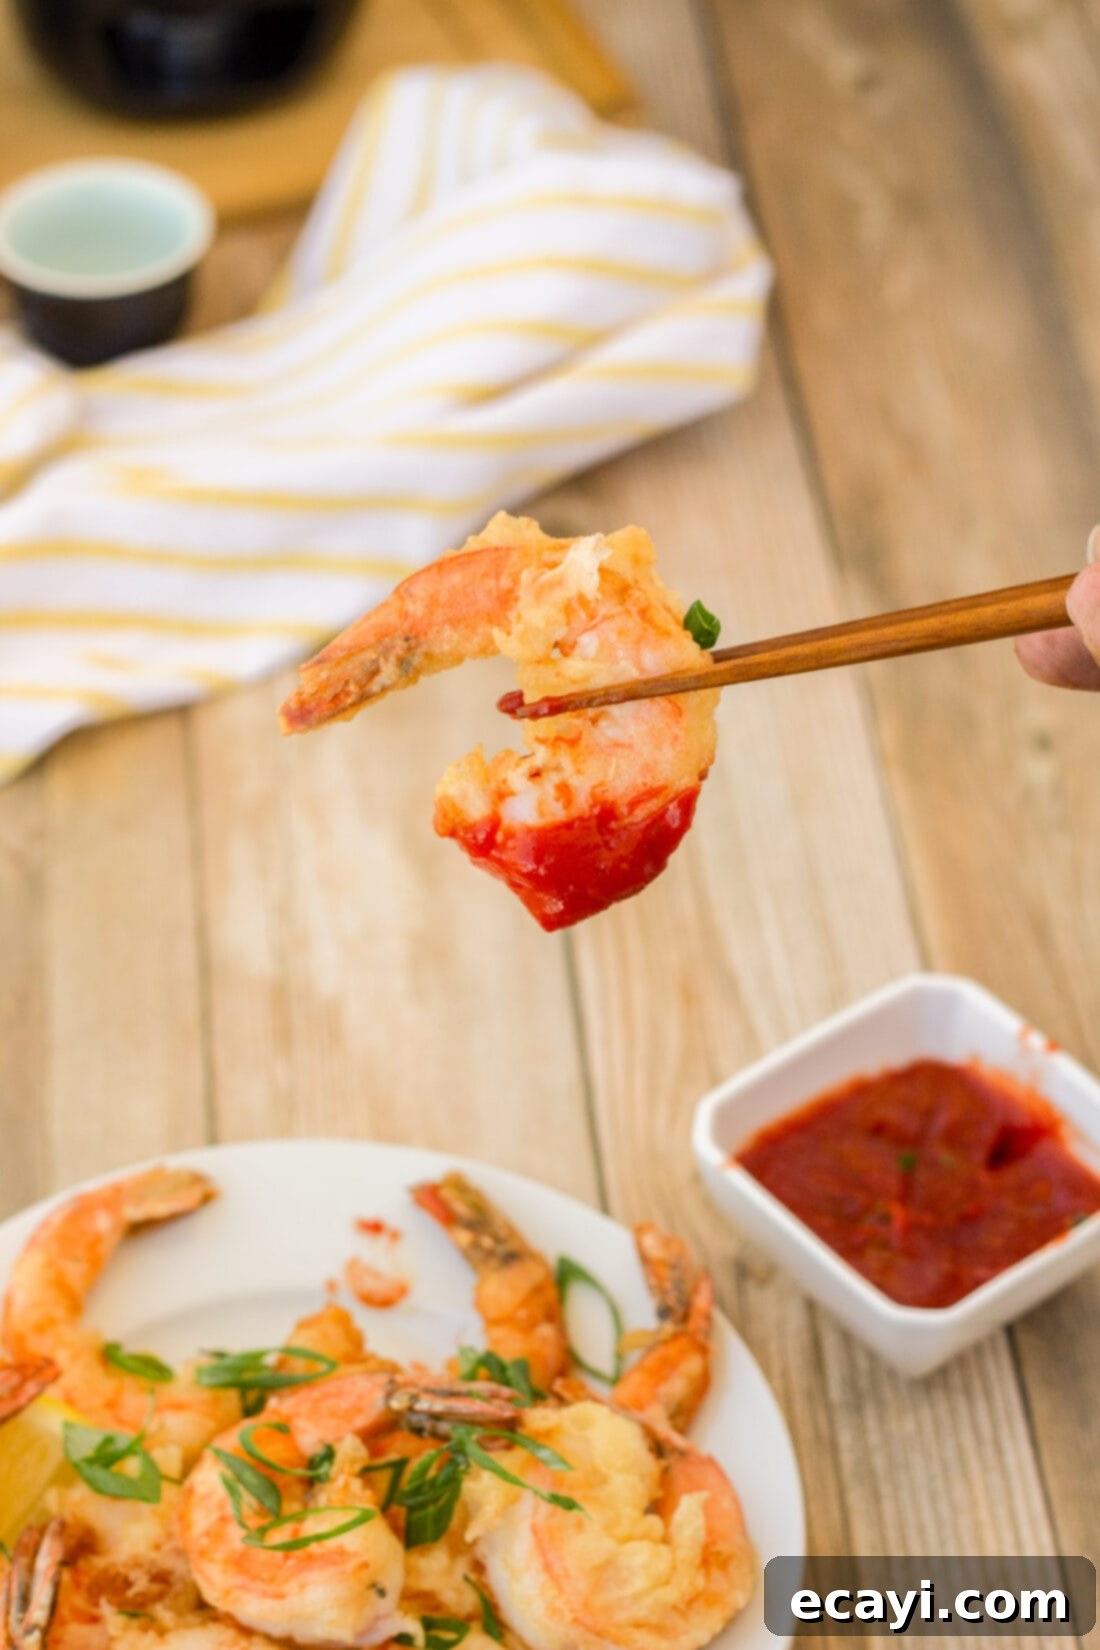
These crispy pan-fried shrimp are incredibly versatile and make a fantastic appetizer or a delightful main course. Here are some ideas to serve them:
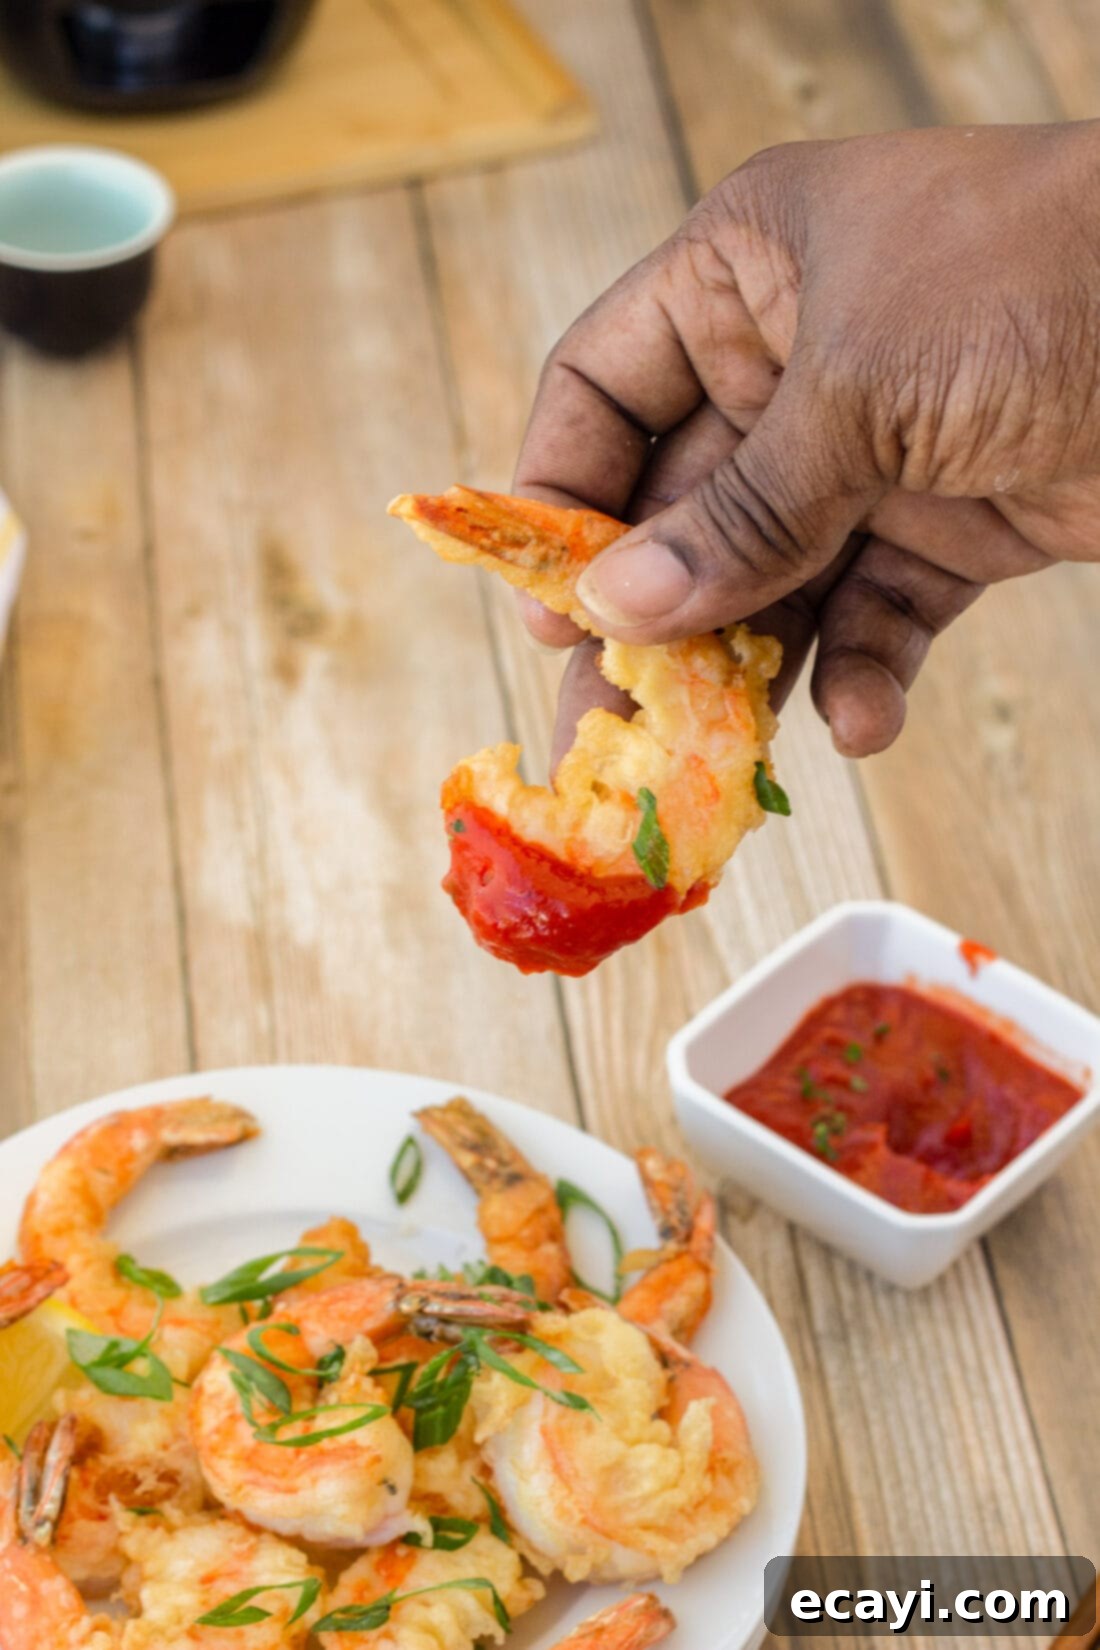
- Dipping Sauces: The right sauce can truly elevate your crispy shrimp experience. Classic choices include tangy cocktail sauce, rich garlic butter, a spicy remoulade, or even a simple squeeze of fresh lemon juice. For something unique, try our Alabama white sauce, which offers a creamy, zesty, and peppery kick. Sweet chili sauce, sriracha mayo, or a vibrant cilantro-lime crema also pair wonderfully.
- Main Course Pairings: For a complete and satisfying meal, serve your crispy shrimp alongside a refreshing green salad with a light vinaigrette, a bed of fluffy rice (such as jasmine or basmati), or a creamy, crisp coleslaw. They also go exceptionally well with roasted vegetables like asparagus or broccoli, or a side of crispy oven-baked fries for a more indulgent comfort food option.
- Tacos or Wraps: Easily transform these into delicious shrimp tacos! Just add them to warm tortillas with some shredded cabbage or lettuce, a drizzle of lime crema or avocado sauce, and a sprinkle of fresh cilantro and pickled red onions.
- On a Salad: For a lighter meal, add them as a flavorful protein boost to your favorite garden salad, Caesar salad, or even a grain bowl for a satisfying and nutritious lunch or light dinner.
Discover More Irresistible Shrimp Recipes
If you love shrimp as much as we do, you’re in for a treat! Explore some of our other fantastic shrimp recipes that are sure to inspire your next meal, whether you’re looking for a quick weeknight dinner or something special for a gathering:
- Shrimp Tacos – A fresh, vibrant, and incredibly flavorful take on taco night.
- Shrimp Pasta – Classic comfort food elevated with succulent, perfectly cooked shrimp.
- Grilled Shrimp – Ideal for summer barbecues, offering a healthy and smoky flavor.
- Shrimp Salad – A light, refreshing, and protein-packed option perfect for lunch or a light dinner.
- Shrimp Fajitas – Sizzling and spicy, these fajitas are perfect for a festive and interactive meal.
- Shrimp Kabobs – Easy to prepare and grill, packed with delicious flavors and vegetables.
- Air Fryer Shrimp – Achieve wonderful crispy results with significantly less oil, a healthier alternative.
- Chile Lime Shrimp – A zesty and vibrant dish that packs a delightful sweet and spicy punch.
I love to bake and cook and share my kitchen experience with all of you! Remembering to come back each day can be tough, that’s why I offer a convenient newsletter every time a new recipe posts. Simply subscribe and start receiving your free daily recipes!
Crispy Pan-Fried Shrimp
IMPORTANT – There are often Frequently Asked Questions within the blog post that you may find helpful. Simply scroll back up to read them!
Print It
Pin It
Rate It
Save ItSaved!
Ingredients
- ½ pound grilling shrimp
- 1 Tablespoon cornstarch
- 1 large egg
- 1 cup all-purpose flour
- ¾ cup iced water
- olive oil for pan
Things You’ll Need
-
Sifter
-
Skillet
-
Chef’s knife
-
Candy thermometer
-
Tongs
Before You Begin
- Ensure you leave enough room around each shrimp while frying to prevent them from sticking together and to maintain the oil temperature for optimal crispiness. This is key for truly crunchy results.
- Store any leftover crispy shrimp in an airtight container in the refrigerator for 3-4 days. For the best texture when reheating, use a skillet or an air fryer to help them regain their crispiness.
Instructions
-
Rinse shrimp thoroughly under cold water and pat them very dry with paper towels to remove all excess moisture.
-
On the underside of each shrimp, make two shallow scores through the vein (one near the head, one near the tail) to prevent curling during cooking. Do not cut all the way through.
-
Place shrimp on a cutting board. Lightly sift cornstarch over one side, then flip and sift over the other side, ensuring a thin, even coating.
-
In a medium bowl, whisk together the egg, all-purpose flour, and iced water until a smooth, lump-free batter forms. Ensure no ice cubes are added.
-
Add olive oil to your skillet to cover the bottom by about 1/4-inch. Preheat the oil to 150-175°C (300-350°F) over medium-high heat. Use a candy thermometer for accuracy.
-
Once oil is hot, work quickly. Dip each shrimp into the batter, letting excess drip off, then carefully place into the hot oil. Fry in batches to avoid overcrowding.
-
Cook shrimp for approximately 3 minutes on each side until golden brown, opaque, and cooked through. Do not overcrowd the skillet to maintain oil temperature.
-
Remove the cooked crispy shrimp from the skillet and place them on a paper towel-lined plate to drain any excess oil before serving immediately.
Nutrition
The recipes on this blog are tested with a conventional gas oven and gas stovetop. It’s important to note that some ovens, especially as they age, can cook and bake inconsistently. Using an inexpensive oven thermometer can assure you that your oven is truly heating to the proper temperature. If you use a toaster oven or countertop oven, please keep in mind that they may not distribute heat the same as a conventional full sized oven and you may need to adjust your cooking/baking times. In the case of recipes made with a pressure cooker, air fryer, slow cooker, or other appliance, a link to the appliances we use is listed within each respective recipe. For baking recipes where measurements are given by weight, please note that results may not be the same if cups are used instead, and we can’t guarantee success with that method.
