Crispy Golden Fried Shrimp: Your Ultimate Guide to Restaurant-Quality Seafood at Home
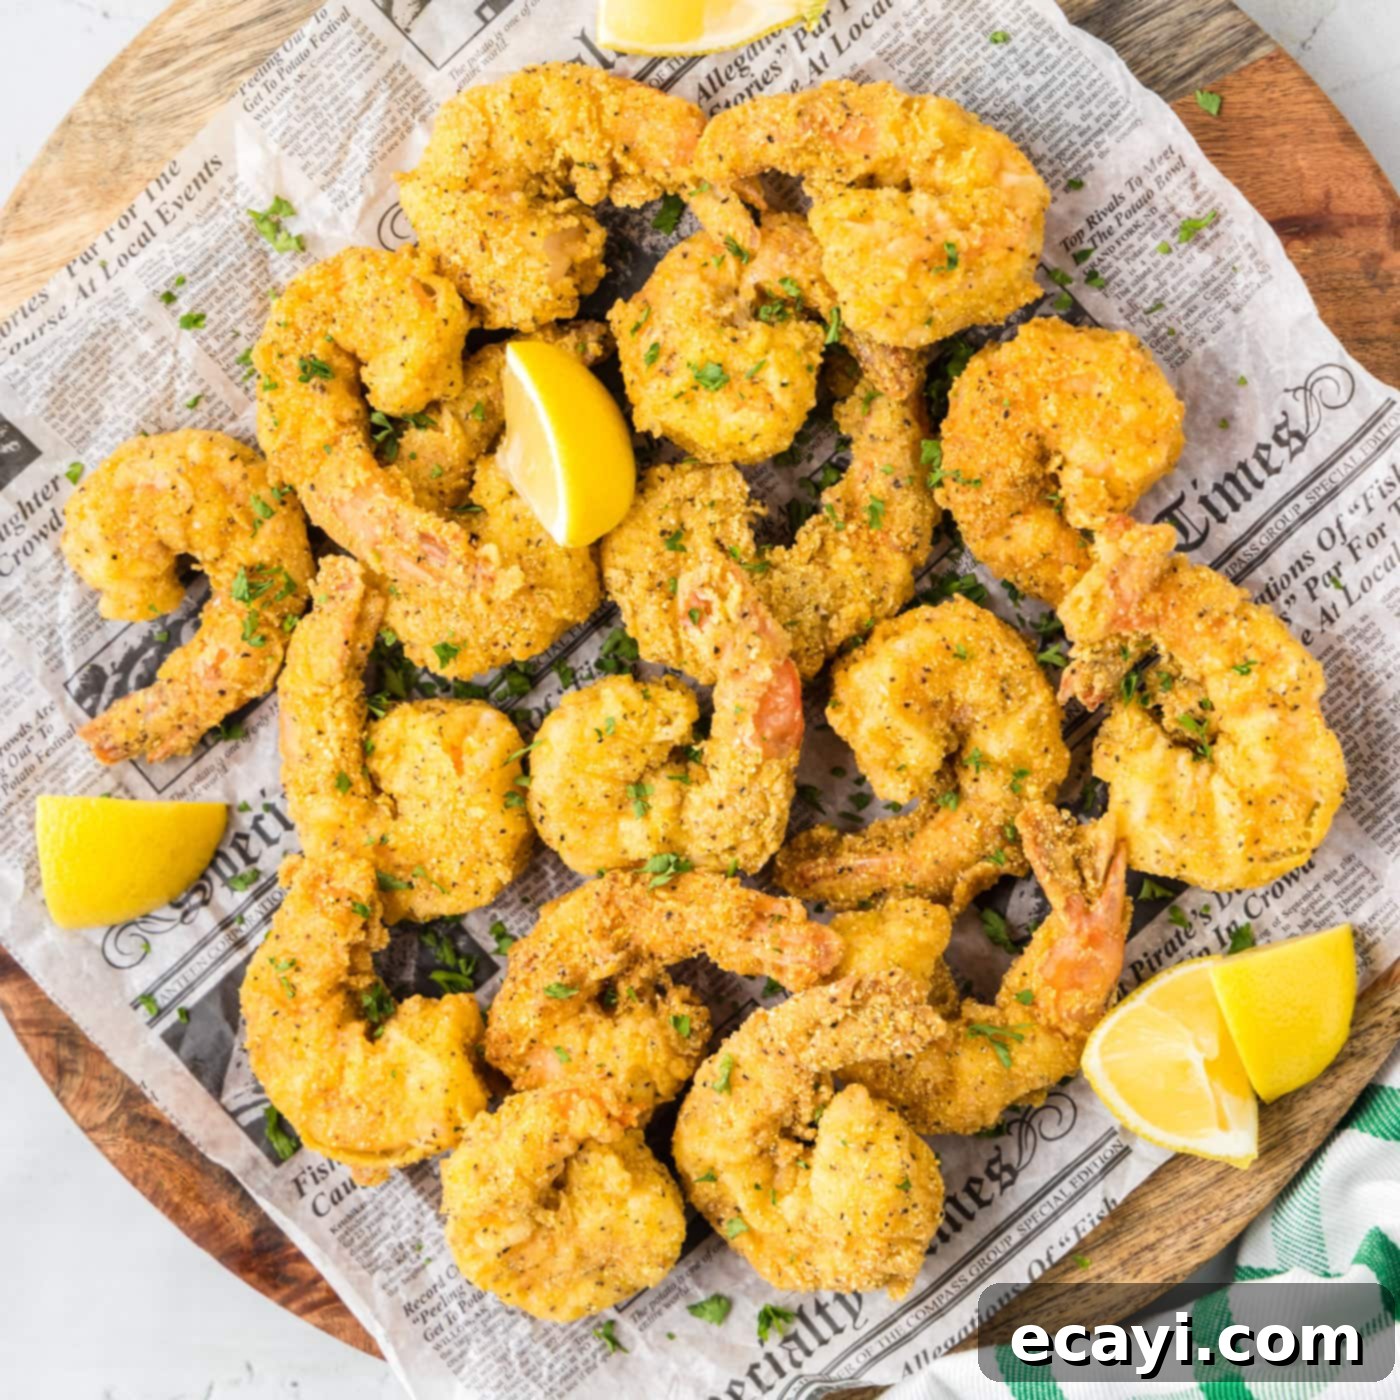
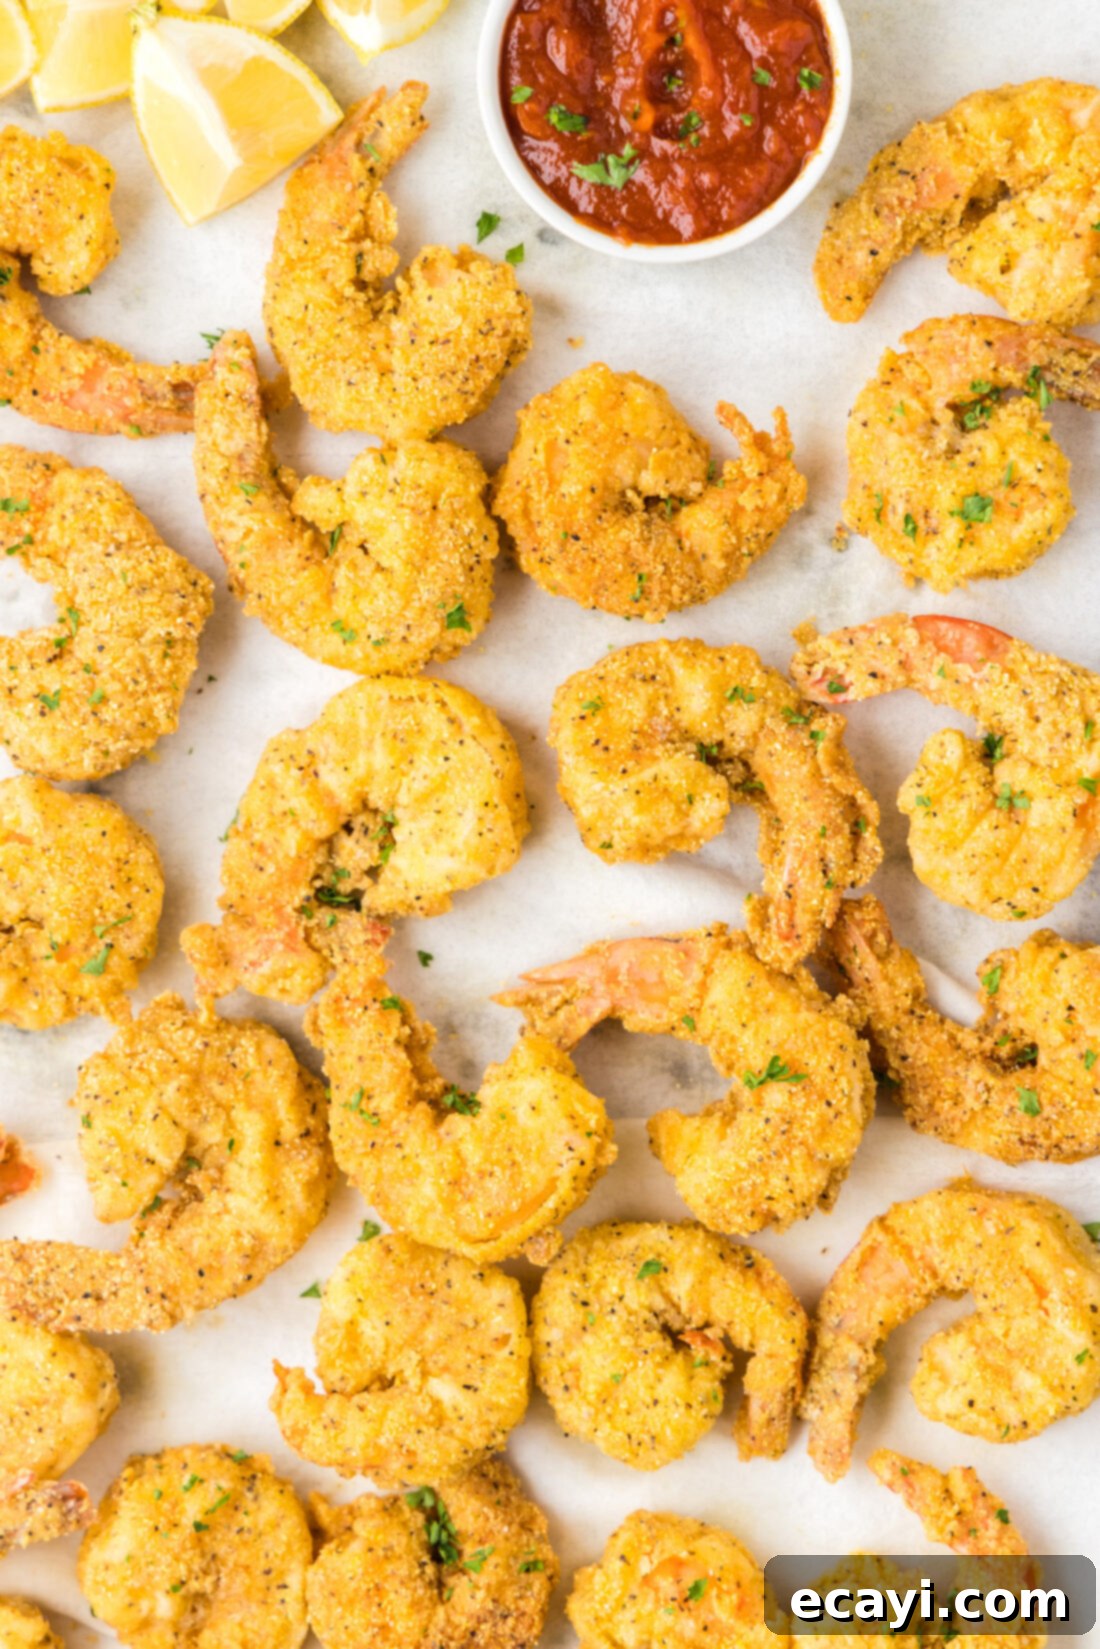
There’s nothing quite like biting into a piece of perfectly cooked fried shrimp – a golden-brown crust that yields an audible crunch, followed by the tender, juicy sweetness of fresh shrimp. This incredible recipe brings that restaurant-quality experience right into your kitchen, ready to be savored in just 20 minutes from start to finish. Our secret? A special breading mixture featuring cornmeal that guarantees an unparalleled crispy texture, making these golden morsels an instant hit for any meal or appetizer.
Why This Recipe Delivers Unbeatable Crispy Fried Shrimp Every Time
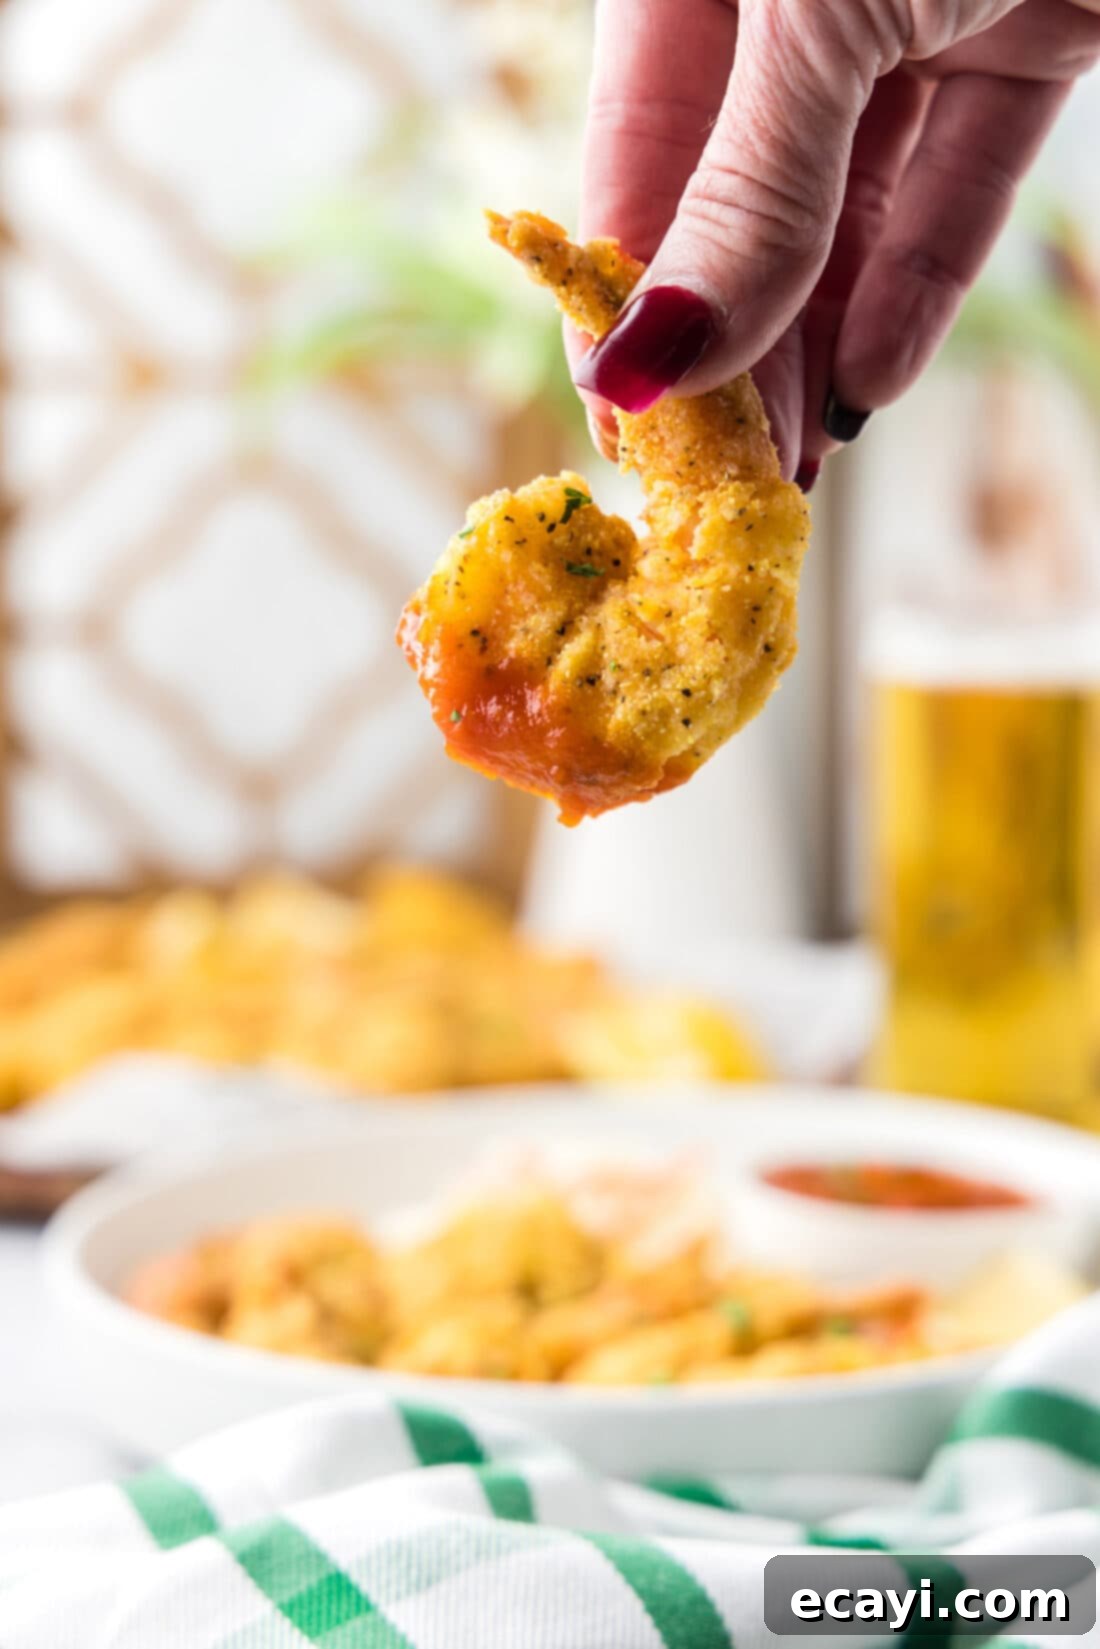
Get ready to discover your new favorite way to enjoy seafood. With just one satisfying, crunchy bite of these perfectly seasoned and juicy fried shrimp, you’ll be transported to your favorite seafood shack, but with the added pride of having created this culinary masterpiece yourself. This recipe consistently delivers results that often surpass your go-to restaurant appetizer.
You might be wondering, what sets this particular recipe apart from other crispy shrimp preparations? The answer lies in the strategic addition of **cornmeal** to our breading mixture. While many recipes rely solely on flour, cornmeal introduces a coarser texture and distinct crispness that creates an extra layer of delightful crunch, elevating the entire experience. Both flour-only and cornmeal-enhanced variations are excellent, but if you’re seeking that unmistakable, extra-crispy exterior that truly stands out, this cornmeal-infused breading is the choice for you. It’s a simple yet impactful difference that makes all the difference in achieving that perfectly golden, shatteringly crisp coating.
Key Ingredients You Will Need to Make Perfect Fried Shrimp
To whip up a batch of these irresistible fried shrimp, you’ll need a handful of accessible ingredients. The full list with precise measurements and detailed instructions can be found in the printable recipe version at the very end of this post. Gather your components and get ready to create something truly delicious!
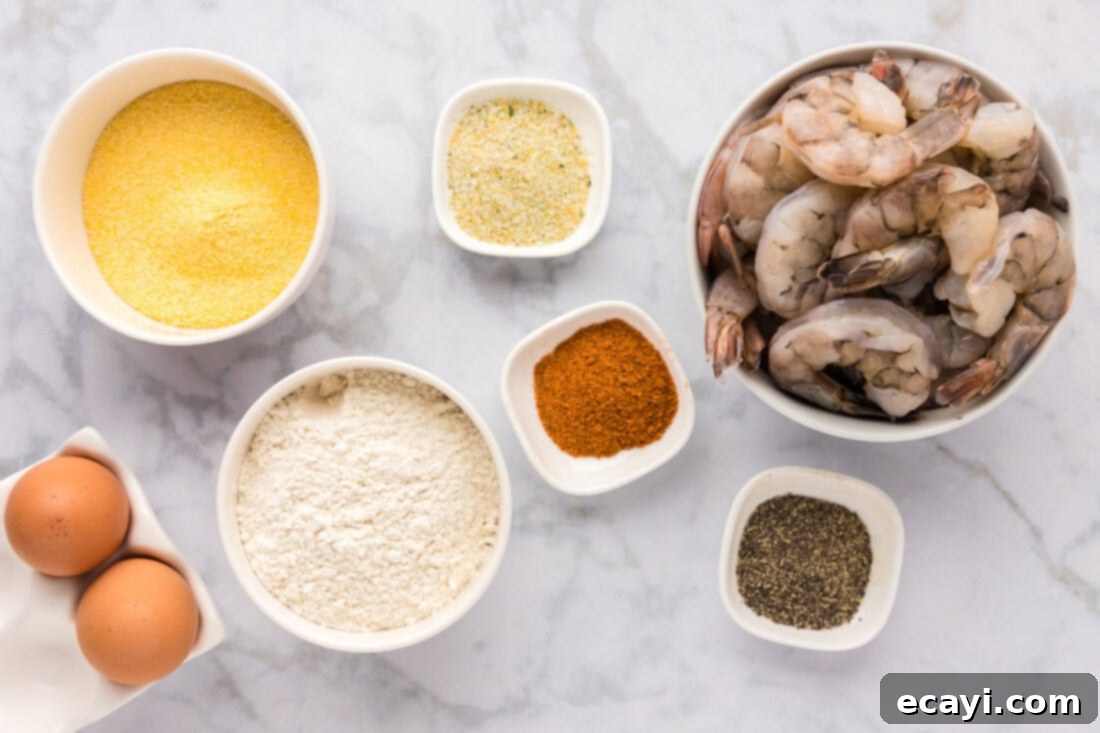
Ingredient Spotlight & Smart Substitution Ideas
Understanding your ingredients is key to successful cooking. Here’s a closer look at what you’ll need for our crispy fried shrimp, along with helpful tips and potential substitutions:
SHRIMP: We recommend using fresh grilling shrimp for their excellent texture and flavor, but this recipe is incredibly versatile. You can use almost any kind of fresh shrimp, from medium to large. If using frozen shrimp, which is perfectly acceptable and often more convenient, it’s crucial to thaw them completely first. Once thawed, pat them thoroughly dry with paper towels. Excess moisture will prevent the breading from sticking properly, leading to a less crispy result. For best results, consider shrimp that are already peeled and deveined, or take the time to prepare them yourself for a truly clean taste. The smaller the shrimp, the faster they will cook, so keep an eye on them while frying.
CORNMEAL: This is the star ingredient that gives our shrimp its signature crunch. Cornmeal, particularly a fine or medium grind, adds a delightful, slightly gritty texture that crisps up beautifully when fried. It provides a superior crunch compared to flour alone. If you don’t have yellow cornmeal, you can experiment with white cornmeal, though the color of the final product might vary slightly. For a different texture, you could try panko breadcrumbs, but they won’t replicate the unique, rustic crispness of cornmeal.
ALL-PURPOSE FLOUR: Flour serves as the essential first layer in our breading process. It adheres to the shrimp and provides a base for the egg wash and the cornmeal mixture to stick to, ensuring an even and robust coating. Standard all-purpose flour works perfectly for this recipe.
EGGS & WATER: Whisked together, eggs and water form the crucial “glue” that binds the dry breading to the shrimp. The egg wash helps create a moist surface for the seasoned cornmeal mixture to adhere to, leading to a thick, consistent, and crispy crust. You can substitute water with milk or buttermilk for a slightly richer flavor and even better adhesion, though water works just fine.
SEASONINGS (Garlic Salt, Black Pepper, Old Bay seasoning): These spices are carefully chosen to infuse the shrimp with savory depth and a classic seafood flavor. Garlic salt provides a foundational savory note, while black pepper adds a hint of mild spice. Old Bay seasoning is particularly important; its unique blend of herbs and spices is synonymous with seafood and brings an authentic, zesty, and aromatic profile to the dish. Feel free to adjust the amounts to your taste, or add other complementary seasonings like paprika, onion powder, or a pinch of cayenne pepper for a subtle kick.
VEGETABLE OIL FOR FRYING: Choosing the right oil is vital for frying. We recommend vegetable oil, canola oil, or peanut oil because they have high smoke points, meaning they can be heated to the required temperature without burning and imparting off-flavors. You’ll need enough oil to cover the bottom of your skillet by about 1/2 inch, allowing the shrimp to fry evenly. Proper oil temperature control is essential for crispy, non-greasy results.
How to Make Crispy Fried Shrimp: Step-by-Step Guidance
These step-by-step photos and detailed instructions are designed to help you visualize each stage of making this delicious recipe. For a convenient, printable version of this recipe, complete with all measurements and instructions, simply Jump to Recipe at the bottom of this page.
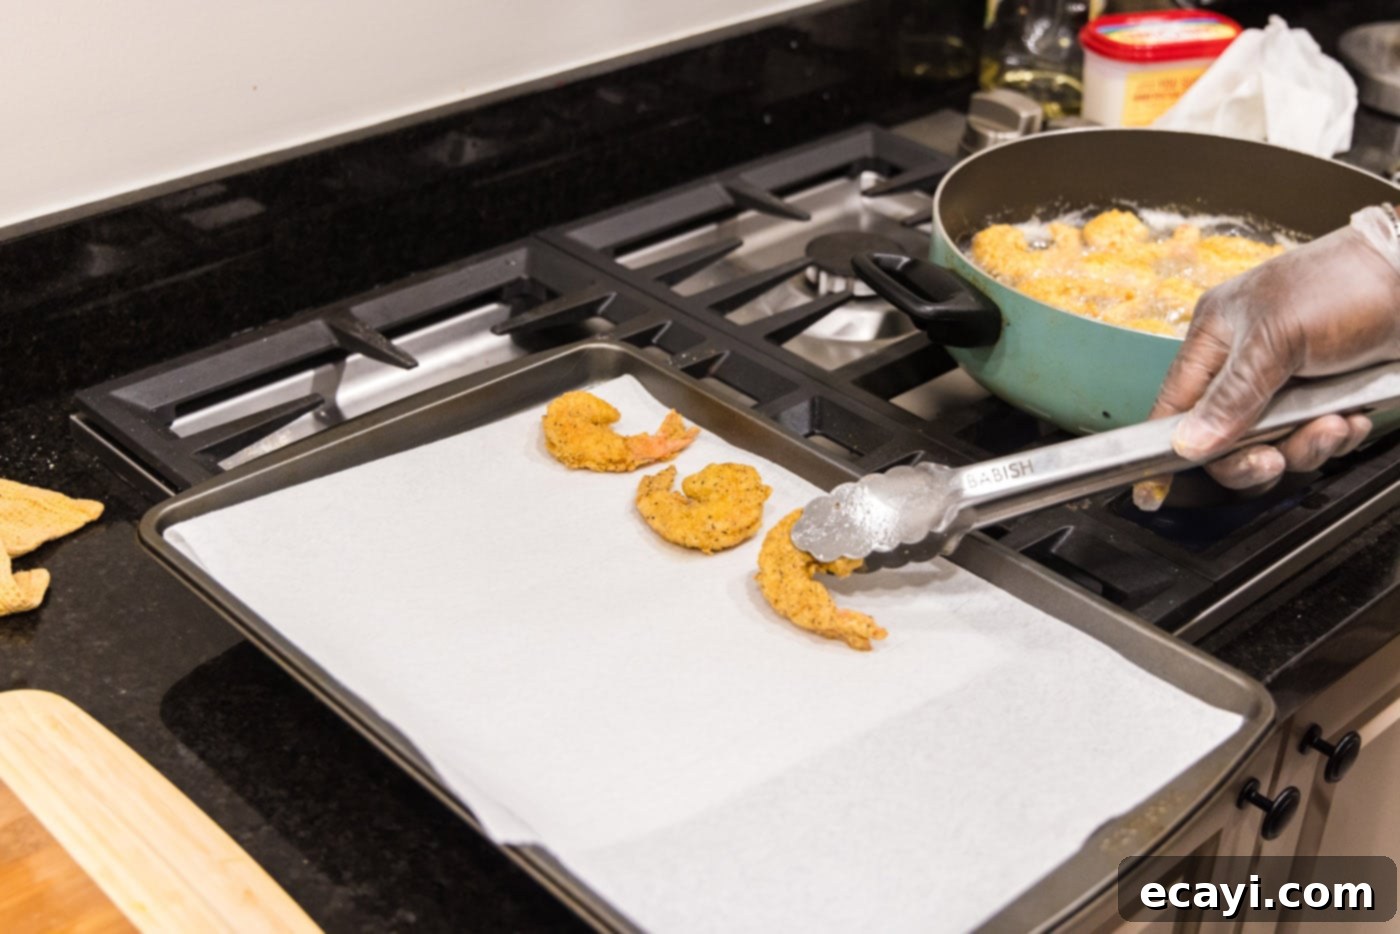
- **Prepare Your Workspace:** First, set up a large baking sheet by lining it with several layers of paper towels. This will be where you place the freshly fried shrimp to drain excess oil, ensuring they remain perfectly crispy.
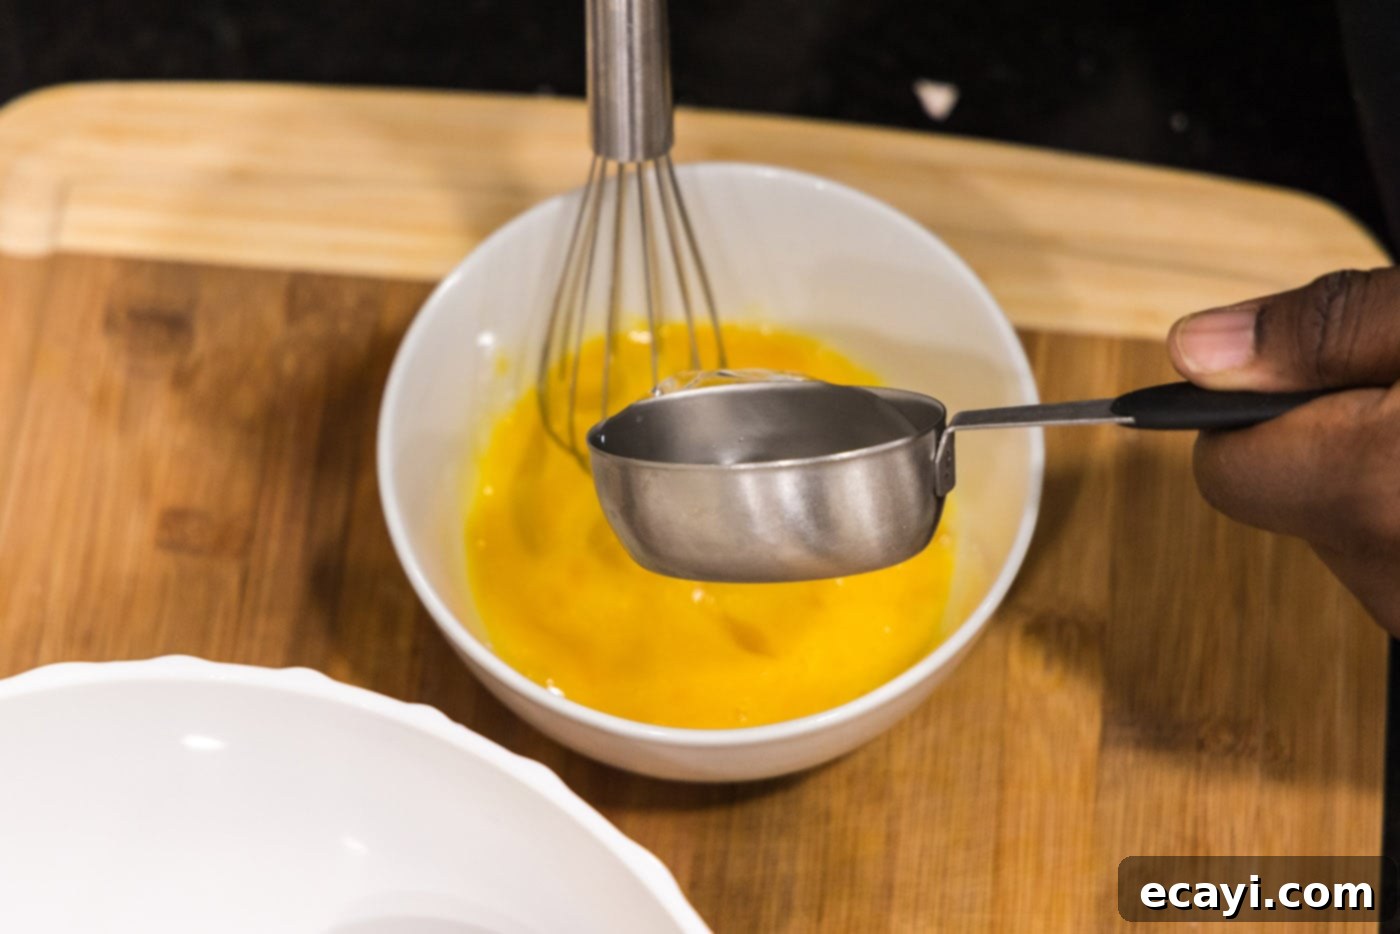
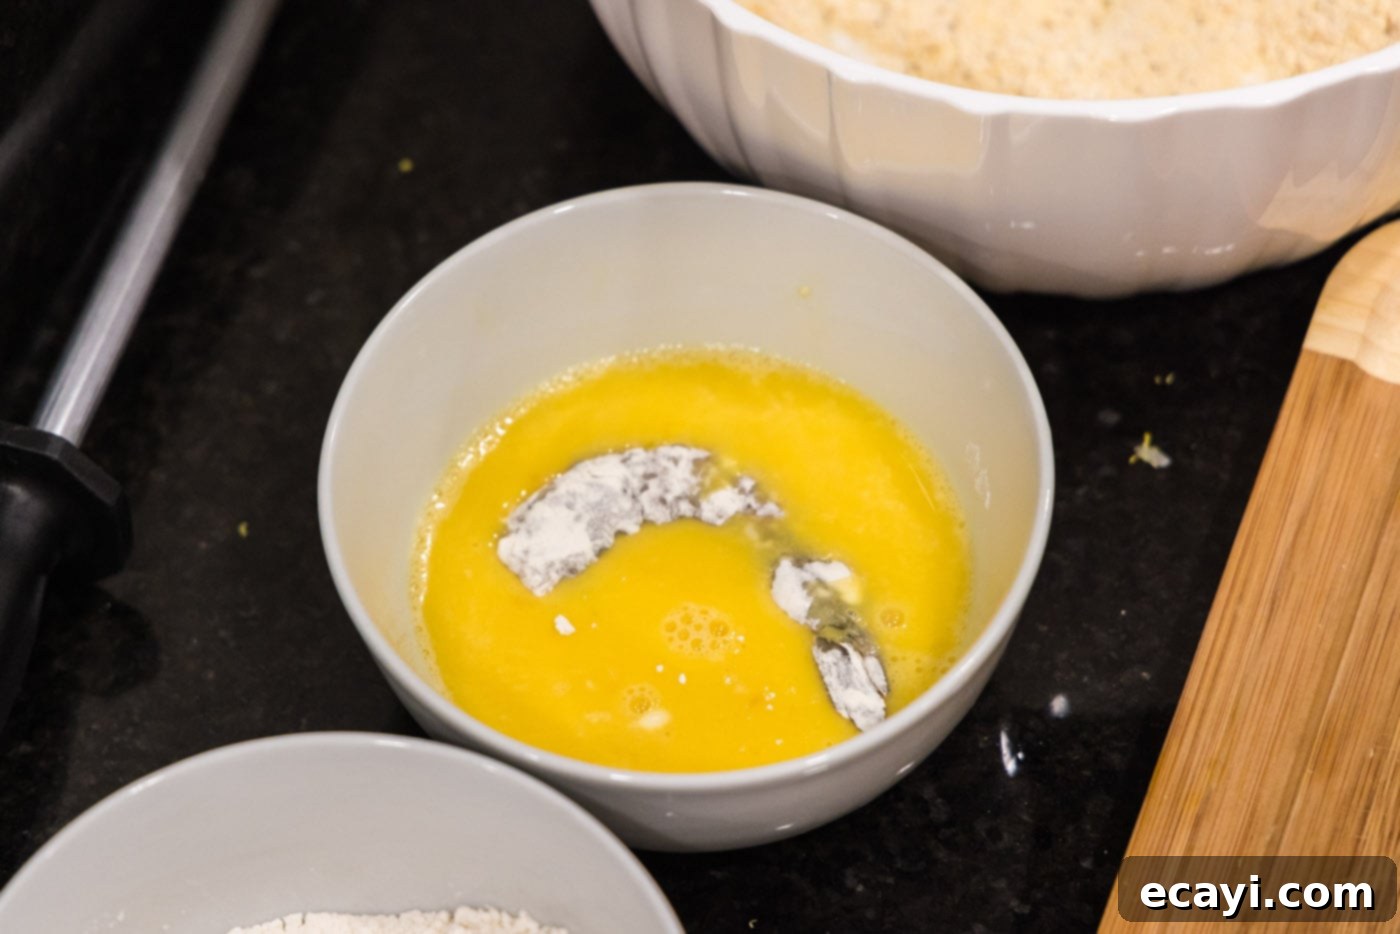
- **Create the Egg Wash:** In a medium-sized bowl, combine the eggs and water. Whisk them together thoroughly until the mixture is well combined and slightly frothy. This egg wash will act as the binding agent for our crispy breading.

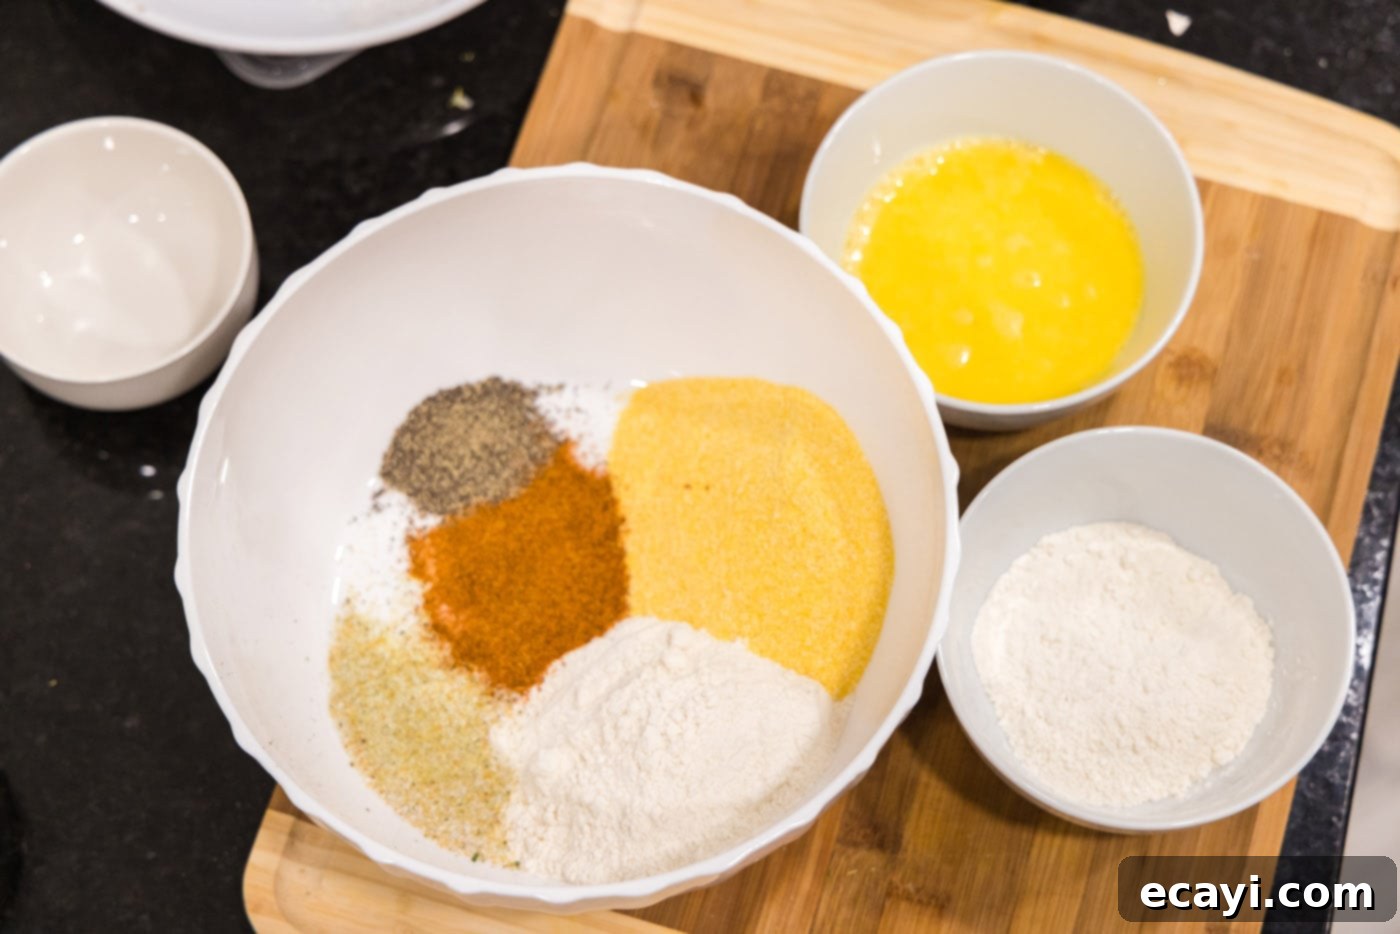
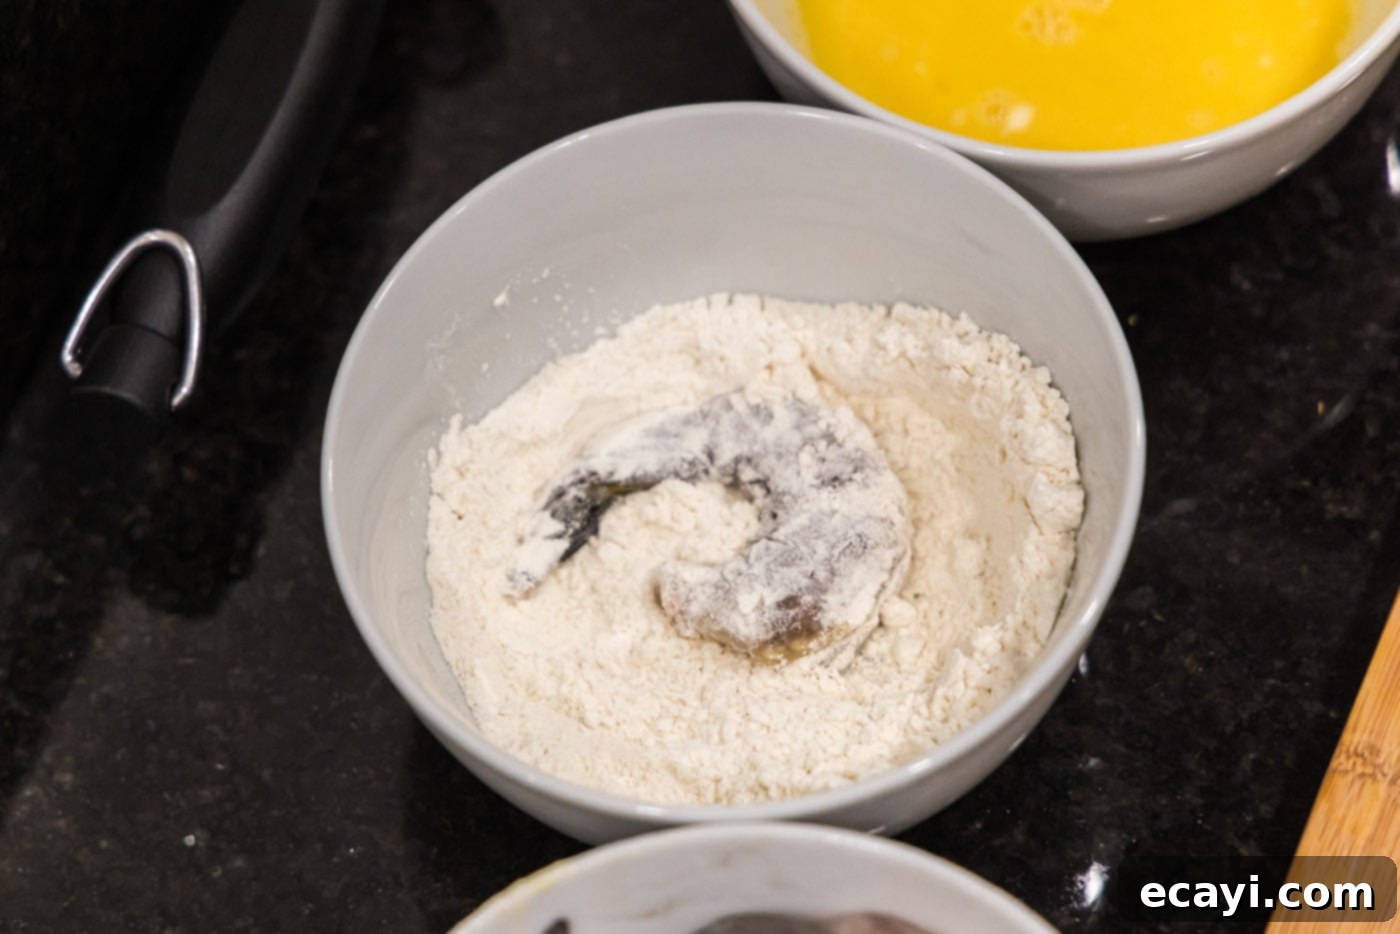
- **Set Up the Flour Station:** Take your all-purpose flour and divide it. Pour approximately half of the flour into one medium bowl, and the remaining half into a separate, larger bowl. This two-part flour setup is crucial for our breading process.
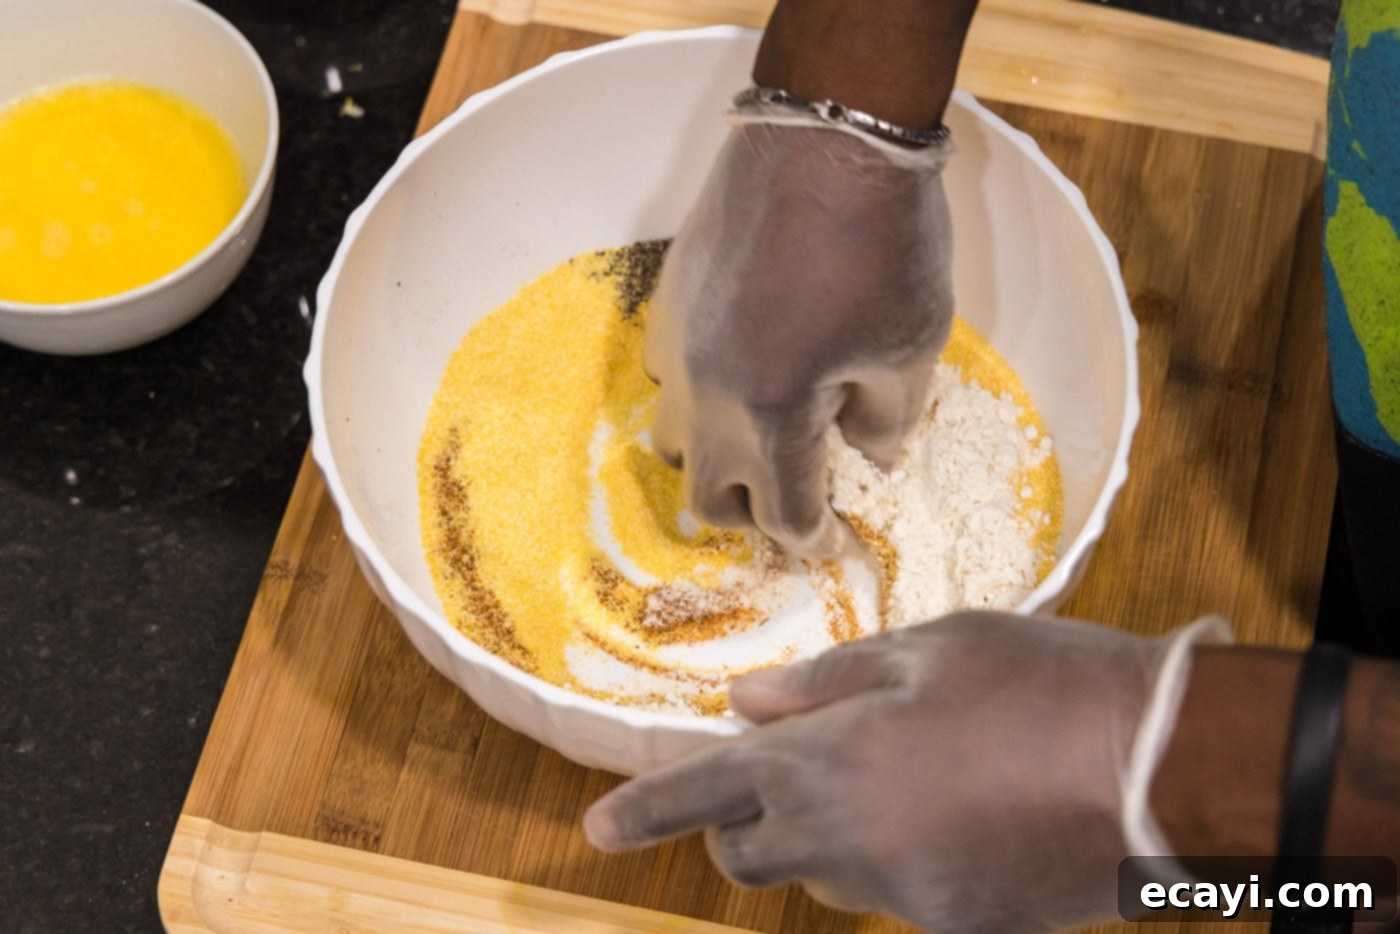
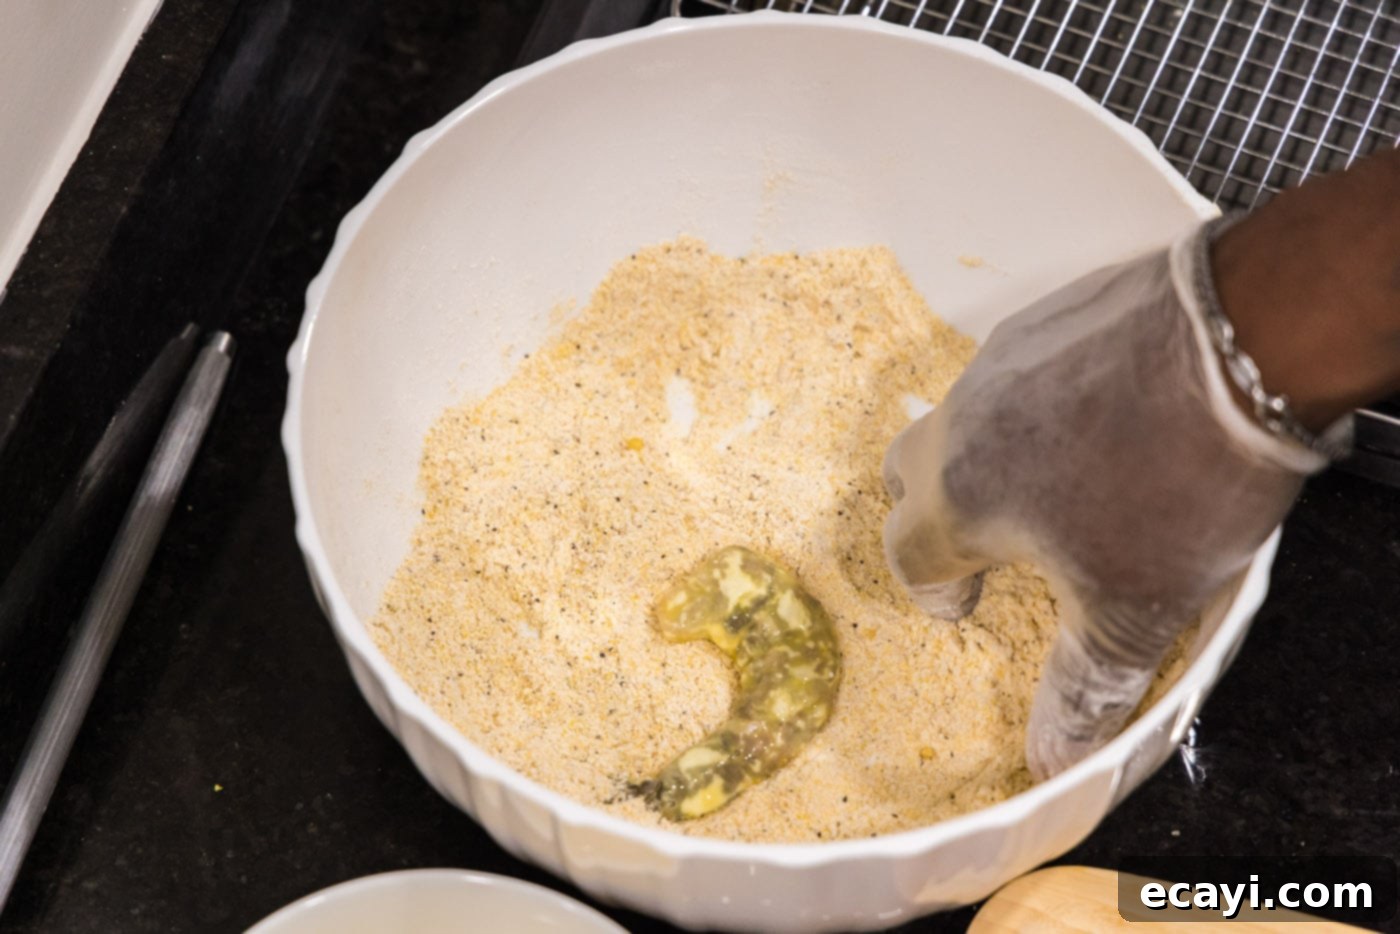
- **Season the Cornmeal Breading:** Into the large bowl containing half of the flour, add the yellow cornmeal, garlic salt, black pepper, and Old Bay seasoning. Using gloved hands (to prevent sticky fingers and ensure even mixing) or a whisk, thoroughly combine all the dry ingredients. Make sure the seasonings are evenly distributed throughout the flour and cornmeal mixture, creating a flavorful and consistent breading.


- **Breading the Shrimp:** Now it’s time to coat your shrimp. Create an assembly line:
- First, dredge each individual shrimp in the medium bowl with the plain flour, shaking off any excess. This initial flour layer helps the egg wash stick better.

- Next, dip the floured shrimp into the whisked egg mixture, allowing any excess to drip off.

- Finally, thoroughly coat the shrimp in the cornmeal breading mixture, pressing gently to ensure a thick and even layer adheres to all sides.

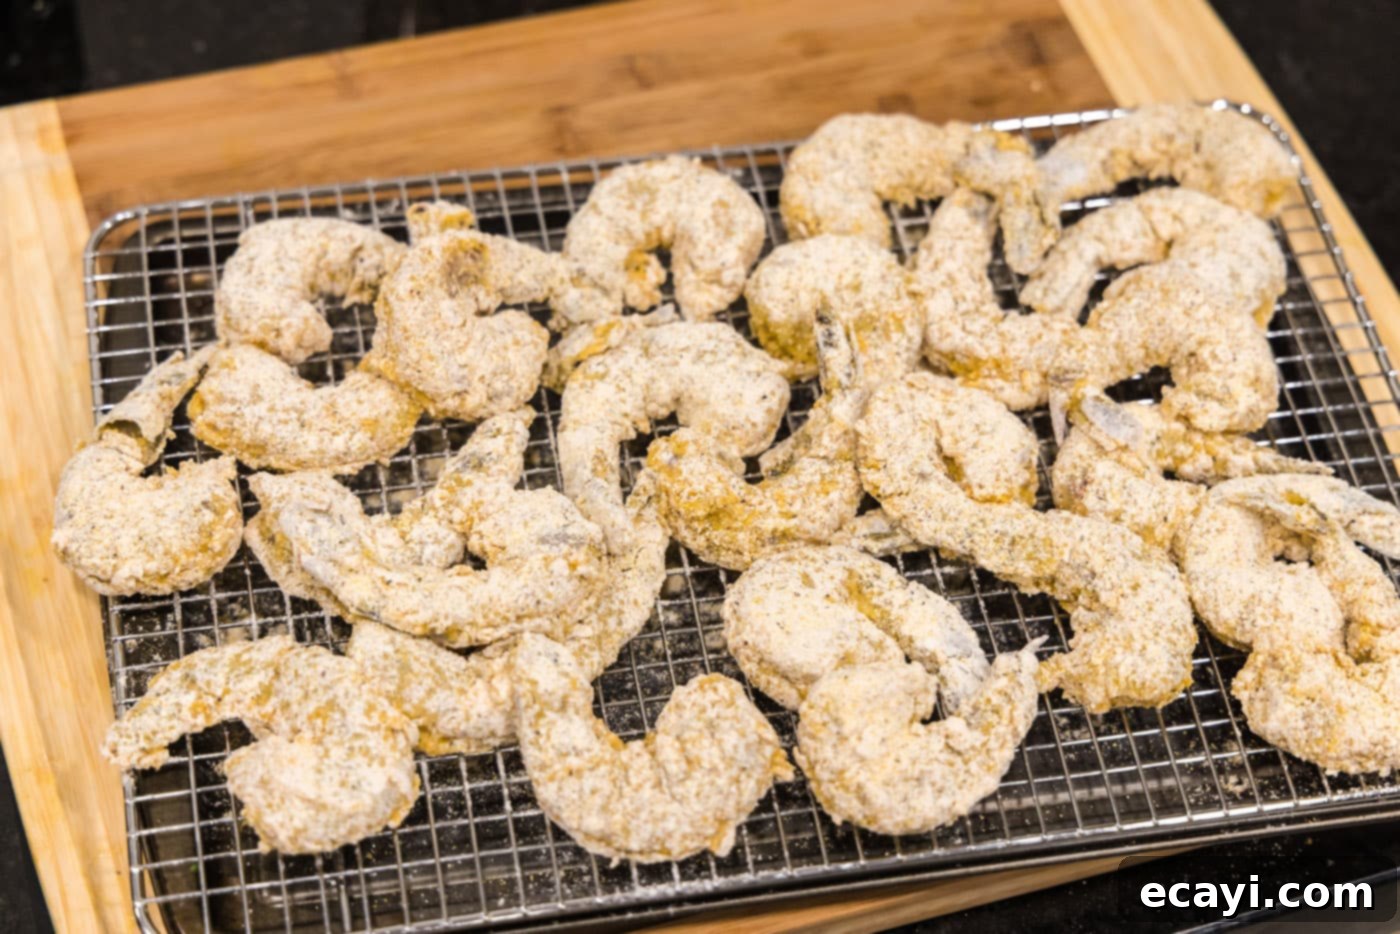
As each shrimp is breaded, move it to a wire rack. Continue this process until all shrimp are beautifully coated, ready for frying. The wire rack allows for air circulation, preventing the breading from becoming soggy.

- First, dredge each individual shrimp in the medium bowl with the plain flour, shaking off any excess. This initial flour layer helps the egg wash stick better.
- **Heat the Frying Oil:** Pour enough vegetable oil into a large, deep skillet to reach a depth of about 1/2-inch up the sides of the pan. Place the skillet over medium-high heat. Allow the oil to heat up until it begins to shimmer, indicating it’s ready for frying. You can test the oil by dropping a tiny pinch of the breading mixture; if it sizzles immediately, the oil is at the right temperature.
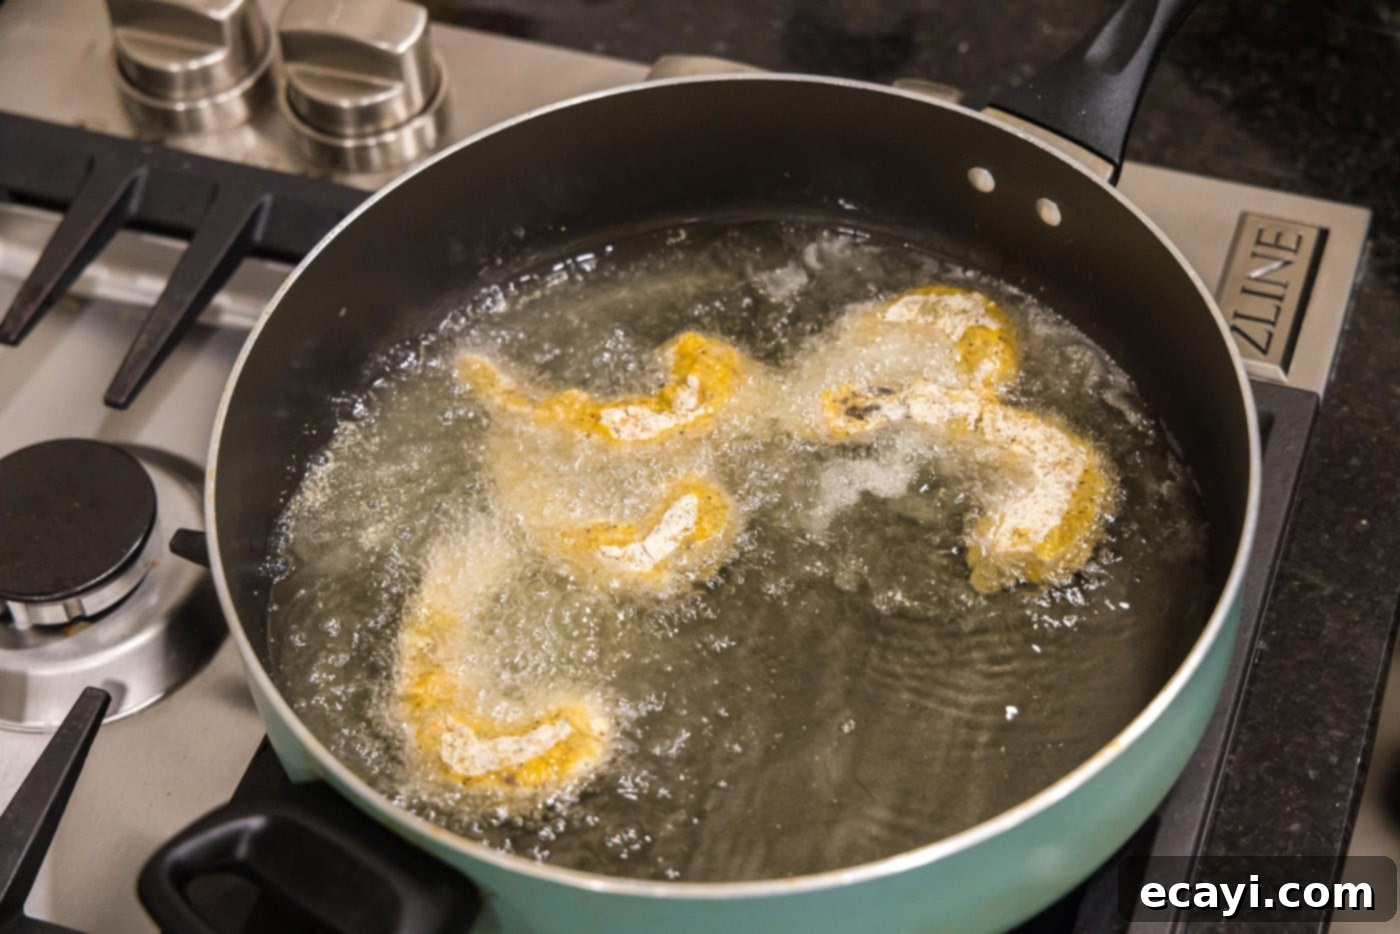
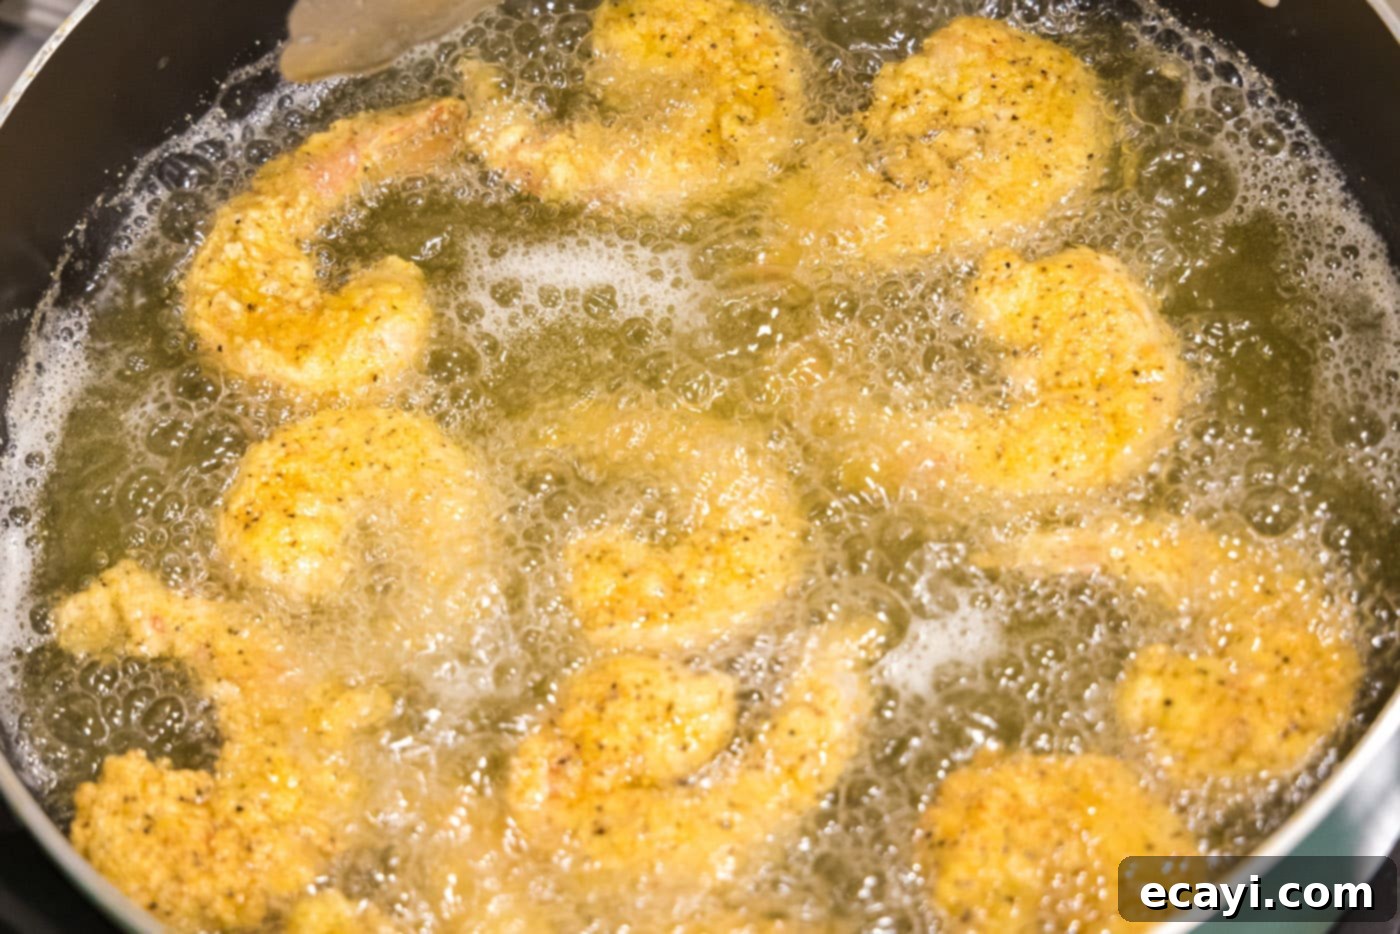
- **Fry the Shrimp in Batches:** Carefully place the breaded shrimp into the hot oil. It’s crucial not to overcrowd the skillet, as this will lower the oil temperature and result in greasy, less crispy shrimp. Work in batches if necessary, giving each shrimp enough space. Cook for 2-3 minutes on one side until golden brown and crispy.


- **Flip and Finish Frying:** Using tongs, carefully turn each shrimp over to cook the other side. Continue frying for another 2-3 minutes, or until the shrimp are uniformly golden brown, opaque throughout, and perfectly crispy.
- **Drain and Serve:** Once cooked, remove the fried shrimp from the skillet using tongs. Transfer them immediately to the paper towel-lined baking sheet to drain any excess oil. This step is vital for maintaining their crispness. Serve your delicious, hot, and crispy fried shrimp immediately with your favorite dipping sauces and sides!

Frequently Asked Questions & Expert Tips for Perfect Fried Shrimp
To ensure your fried shrimp remain as fresh as possible, allow them to cool completely to room temperature. Once cooled, transfer them to an airtight container and store them in the refrigerator. Properly stored, they will stay fresh and delicious for 3-4 days. While they’re best enjoyed immediately for peak crispness, they still make for a delightful snack or meal later on!
Reheating fried shrimp effectively is key to maintaining their delicious texture. We recommend a few methods:
- **Skillet Method:** Place a skillet over medium-low heat and add a very small amount of oil (just enough to lightly coat the bottom). Once the oil is warm, add the fried shrimp in a single layer. Reheat for about 1-2 minutes per side, just until warmed through. Be careful not to reheat them for too long, as shrimp can quickly become tough and chewy.
- **Air Fryer Method:** This is an excellent option for restoring crispness. Preheat your air fryer to 350°F (175°C). Arrange the shrimp in a single layer in the air fryer basket, ensuring they are not overcrowded. Cook for 3-5 minutes, shaking the basket halfway through, until heated through and crispy again.
- **Oven Method:** Preheat your oven to 375°F (190°C). Place the shrimp on a baking sheet in a single layer. Bake for about 5-7 minutes, or until warmed through and crisp.
No matter the method, keep a close eye on them to prevent overcooking.
Expert Tips for Flawless Fried Shrimp
- Pat the Shrimp Dry: This cannot be emphasized enough. Excess moisture on the shrimp will create steam, preventing the breading from sticking and achieving that desired crispiness.
- Don’t Overcrowd the Pan: Fry shrimp in batches to maintain a consistent oil temperature. Overcrowding drops the oil temperature, leading to soggy, greasy shrimp instead of crispy ones.
- Monitor Oil Temperature: The ideal frying temperature is usually around 350-375°F (175-190°C). If you have a thermometer, use it! If not, a small piece of breading should sizzle gently but not violently when dropped in the oil.
- Avoid Overcooking: Shrimp cooks very quickly, typically just 2-3 minutes per side. Overcooked shrimp become rubbery and tough. Look for a beautiful golden-brown color on the breading and opaque, curled shrimp.
- Season Your Shrimp Directly (Optional): For an extra layer of flavor, lightly season the raw shrimp with a pinch of salt and pepper before dredging them in flour.
- Mise en Place: Prepare all your ingredients and set up your breading station (flour, egg wash, cornmeal mix) before you start. This makes the process much smoother and faster.
- Use a Wire Rack: After frying, always place shrimp on a wire rack set over paper towels. This allows air to circulate around them, preventing the bottoms from steaming and becoming soggy.

Serving Suggestions for Your Crispy Fried Shrimp
Crispy fried shrimp are incredibly versatile and pair beautifully with a variety of sides and dipping sauces, making them perfect as an appetizer or a main course. For classic side dishes, consider serving them alongside creamy coleslaw, golden french fries, or fluffy hush puppies. A light, crisp green salad or a scoop of potato salad also makes an excellent accompaniment.
The beauty of fried shrimp truly shines with a great dipping sauce. Elevate your experience with:
- **Classic Cocktail Sauce:** The tangy, zesty kick of a good cocktail sauce is an undeniable favorite.
- **Rich Garlic Butter:** Melted butter infused with garlic provides a luxurious, savory complement.
- **Alabama White Sauce:** A unique, tangy, and slightly spicy mayonnaise-based sauce that offers a surprising and delicious twist.
- **Homemade Tartar Sauce:** Creamy and herbaceous, a good tartar sauce is a natural partner for fried seafood.
- **Spicy Sriracha Mayo:** For those who love a bit of heat, a blend of sriracha and mayonnaise offers a creamy, fiery dip.
- **Fresh Lemon Wedges:** Sometimes, all you need is a squeeze of fresh lemon juice to brighten the flavors and cut through the richness of the fried coating.
Don’t hesitate to experiment with your personal favorite sauces – the possibilities are endless!
Explore More Delicious Shrimp Recipes
If you’ve enjoyed this crispy fried shrimp recipe, you’ll be thrilled to discover more exciting ways to prepare shrimp. From light and quick sautés to other crispy delights, our collection of shrimp recipes has something for everyone. Dive into these other popular options:
- Sauteed Shrimp
- Popcorn Shrimp
- Butterfly Shrimp
- Blackened Shrimp
- Air Fryer Coconut Shrimp
I absolutely adore cooking and baking, and my greatest joy comes from sharing my kitchen adventures and recipes with all of you! Remembering to check back for new recipes can be a challenge, which is why I offer a convenient newsletter delivered straight to your inbox every time a new recipe is posted. Simply subscribe today and start receiving your free daily recipes to inspire your next meal!
Fried Shrimp
IMPORTANT – There are often Frequently Asked Questions within the blog post that you may find helpful. Simply scroll back up to read them!
Print It
Pin It
Rate It
Save ItSaved!
Ingredients
- 1 ¼ pounds grilling shrimp
- 2 large eggs
- ¼ cup water
- 1 cup all-purpose flour divided
- ½ cup yellow cornmeal
- 1 Tablespoon garlic salt
- 2 teaspoons black pepper
- ½ Tablespoon Old Bay seasoning
- vegetable oil for frying
Things You’ll Need
-
Large skillet
-
Tongs
-
Vinyl gloves
Before You Begin
- We used fresh grilling shrimp, though you can use almost any kind of fresh shrimp for this recipe. Frozen shrimp will also work, but be sure you allow them to thaw then pat them dry so the breading can stick. The smaller the shrimp you use, the less time it will take them to fry in the oil. Shrimp cooks quickly, once they begin to turn golden and curl up, they should be finished cooking.
- Store leftovers in an air-tight container kept in the refrigerator for 3-4 days.
- To reheat, add the fried shrimp to a skillet over medium-low heat with a small amount of oil. Reheat until warmed through, about 1-2 minutes. Be careful not to reheat them too long as the shrimp can become tough and chewy. You can also reheat them in the air fryer.
Instructions
-
Line a large baking sheet with paper towels.
-
In a medium bowl, whisk together eggs and water.
-
In another medium bowl add half of the flour. Pour the remaining half into a large bowl.
-
In the large bowl with the flour, add cornmeal, garlic salt, black pepper, and Old Bay seasoning. Using gloved hands or a whisk, combine flour, cornmeal, and seasonings.
-
Dredge each shrimp in flour then dip into egg mixture, and finally in the cornmeal mixture. Move each breaded shrimp to a wire rack until all shrimp are coated.
-
Pour enough vegetable oil into a large, deep skillet to come about 1/2-inch up the sides of the pan. Heat over medium-high until oil is shimmering.
-
Being careful not to crowd the shrimp (you may need to work in batches), place each piece into the hot oil and cook for 2-3 minutes. Using tongs, turn shrimp over and cook another 2-3 minutes. Remove to paper towel lined baking sheet.
Nutrition
The recipes on this blog are tested with a conventional gas oven and gas stovetop. It’s important to note that some ovens, especially as they age, can cook and bake inconsistently. Using an inexpensive oven thermometer can assure you that your oven is truly heating to the proper temperature. If you use a toaster oven or countertop oven, please keep in mind that they may not distribute heat the same as a conventional full sized oven and you may need to adjust your cooking/baking times. In the case of recipes made with a pressure cooker, air fryer, slow cooker, or other appliance, a link to the appliances we use is listed within each respective recipe. For baking recipes where measurements are given by weight, please note that results may not be the same if cups are used instead, and we can’t guarantee success with that method.
