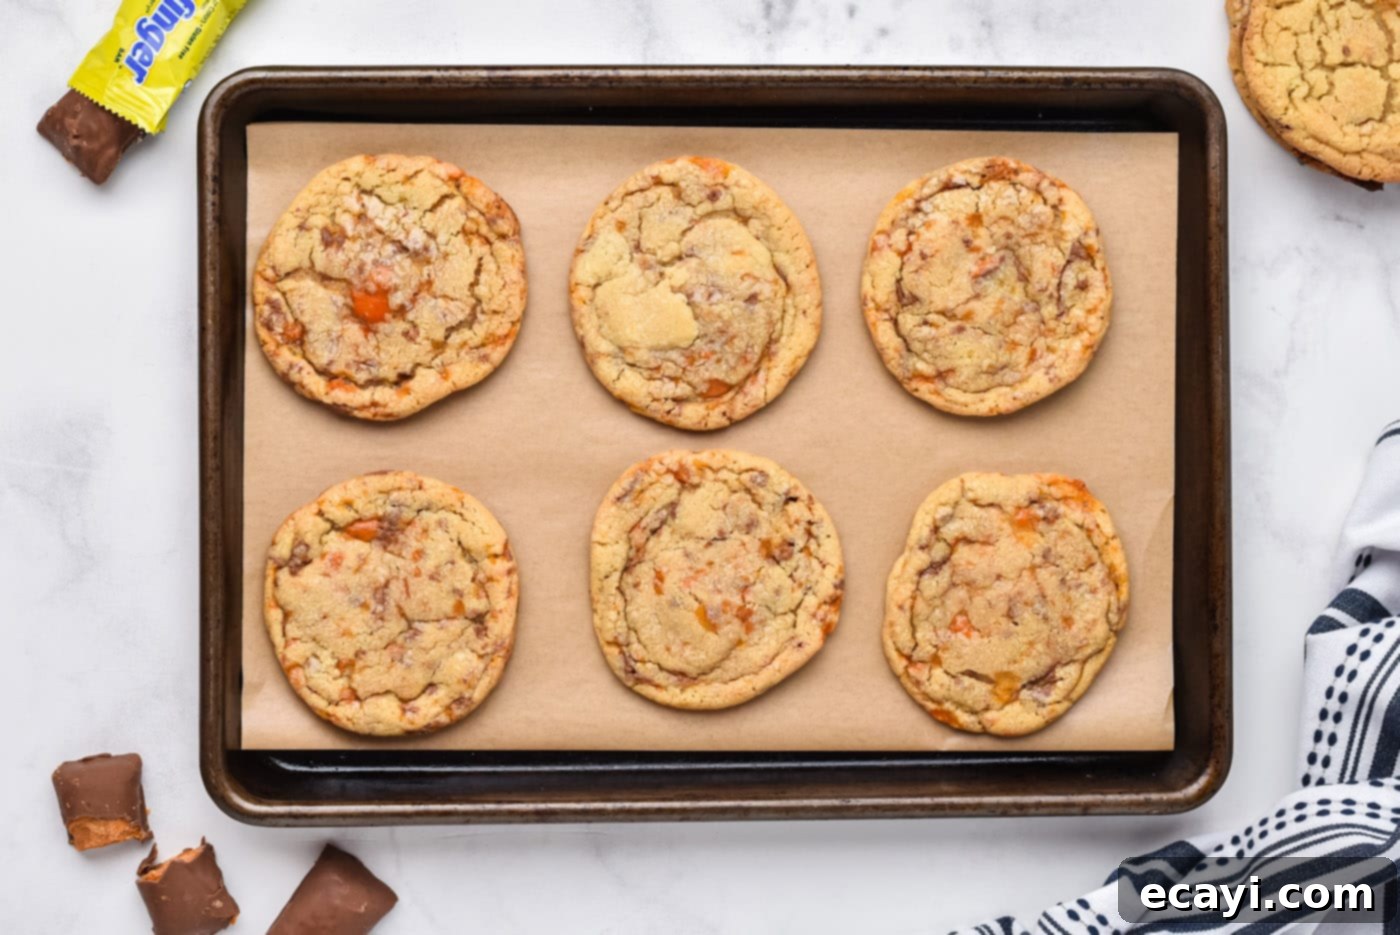
Irresistible Homemade Butterfinger Cookies: Chewy, Crunchy, and Utterly Delicious
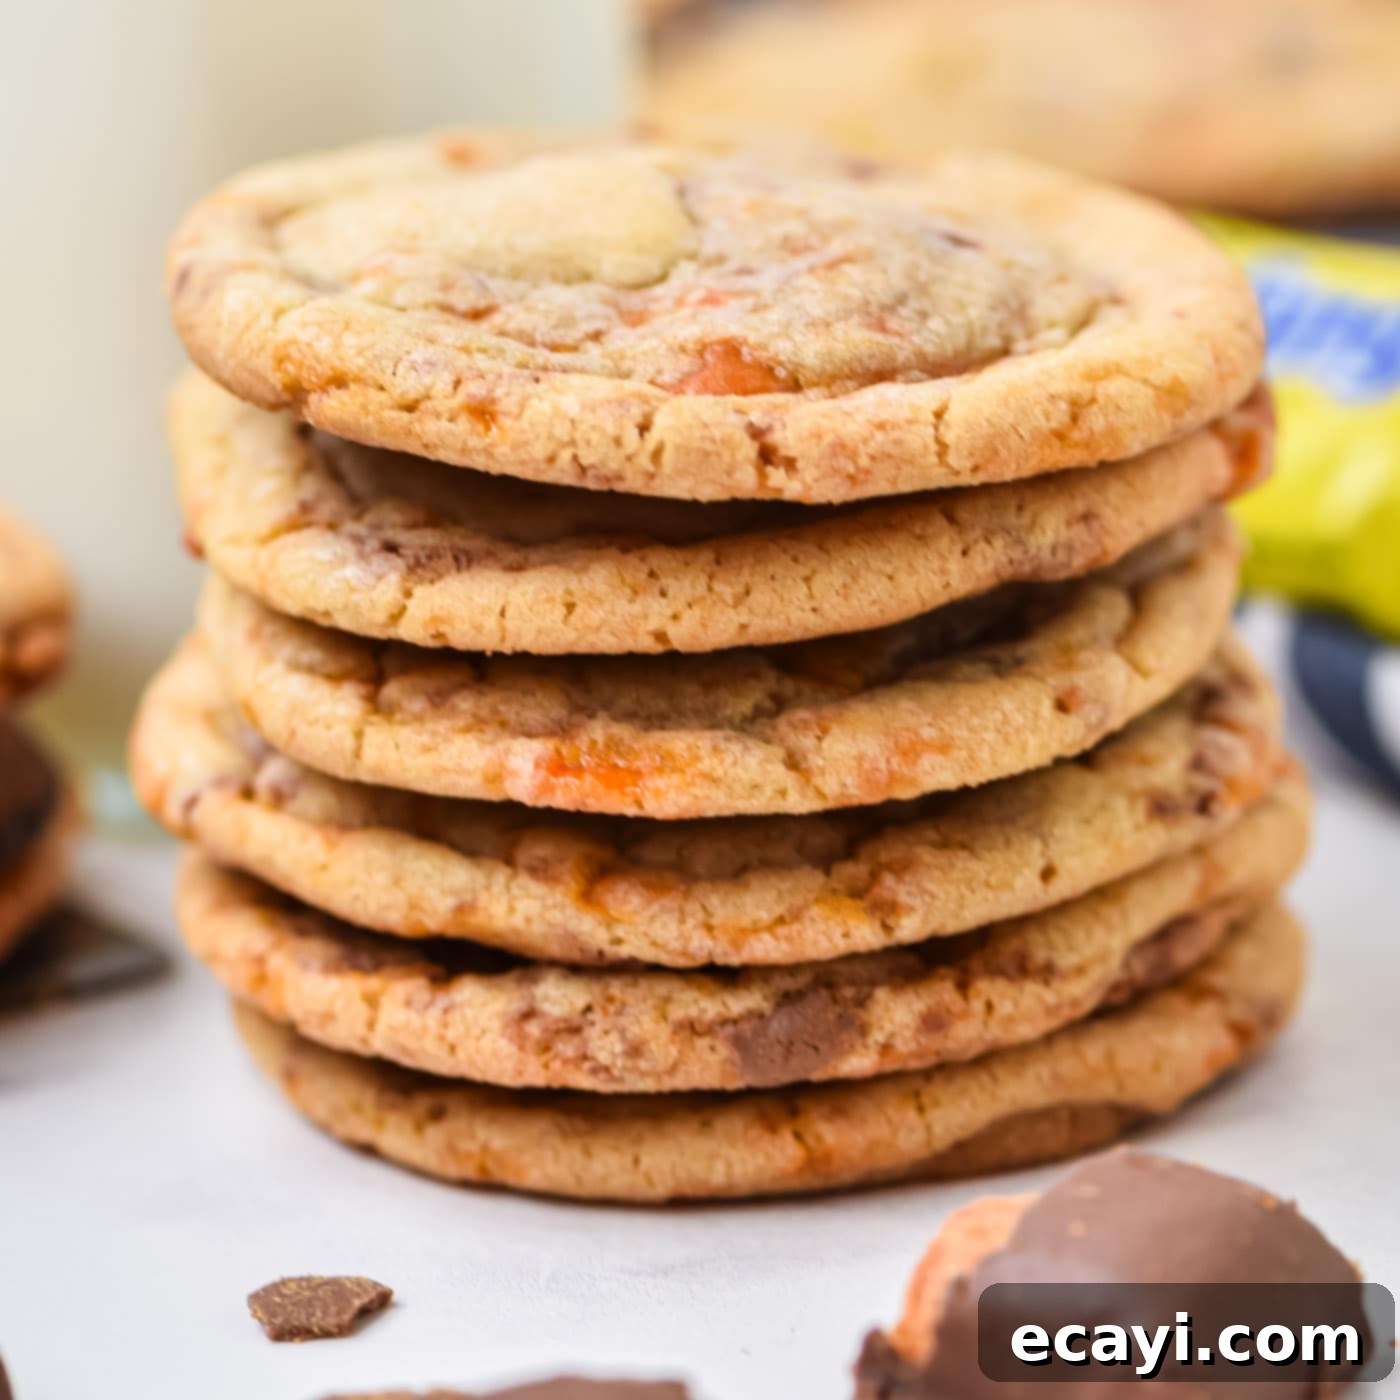
If you’re a devoted fan of the iconic, delightful, stick-to-your-teeth crunch that Butterfinger candy bars are famous for, then prepare to fall head over heels for these incredible Butterfinger cookies. Imagine a perfectly soft and delightfully chewy cookie base, generously studded with generous chunks of flakey, peanut-buttery candy. Each bite delivers that signature crispity, crunchy texture and irresistible flavor combination that makes Butterfinger so unique, elevated within a warm, homemade cookie. These are more than just cookies; they’re a celebration of peanut butter and chocolate, with a textural surprise that will keep you coming back for more.
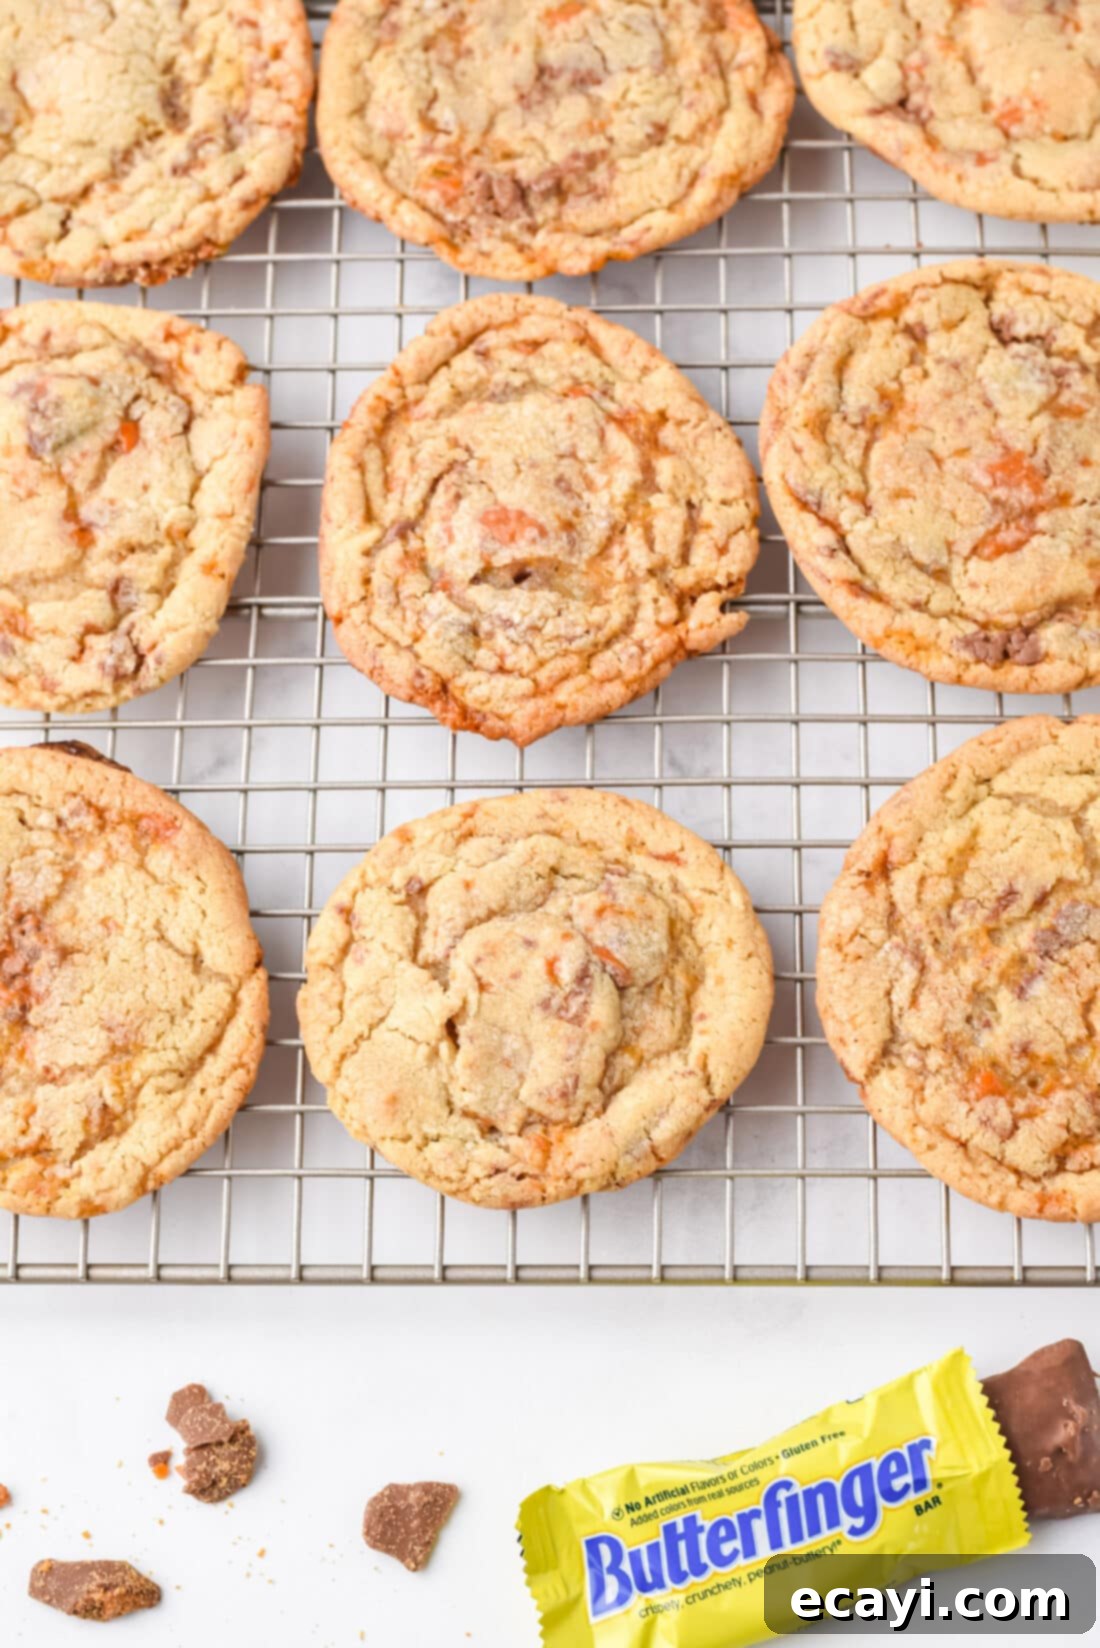
Why This Butterfinger Cookie Recipe Is a Must-Try
This recipe isn’t just another cookie; it’s a testament to the power of a perfect cookie base combined with an iconic candy. We initially developed these cookies to be the star component of our popular Butterfinger ice cream sandwiches. However, it quickly became evident that their sheer deliciousness demanded a spotlight all their own. They are truly exceptional and deserve their moment to shine as a standalone treat.
The magic begins with our acclaimed big, soft chocolate chip cookie recipe, which serves as the foundational dough. This base is renowned for its incredible chewiness, slightly crisp edges, and perfectly soft interior – qualities that translate beautifully when introducing new mix-ins. Into this ideal cookie canvas, we incorporate a generous amount of flakey, chewy Butterfinger bits, which are the secret to that signature “sticky bliss” texture and unmistakable peanut butter and chocolate flavor. The result is a batch of jumbo cookies that are truly “large and in charge,” brimming with an abundance of chocolate-peanut-butter deliciousness. Trust us, once you bite into one of these, sharing will be a monumental challenge.
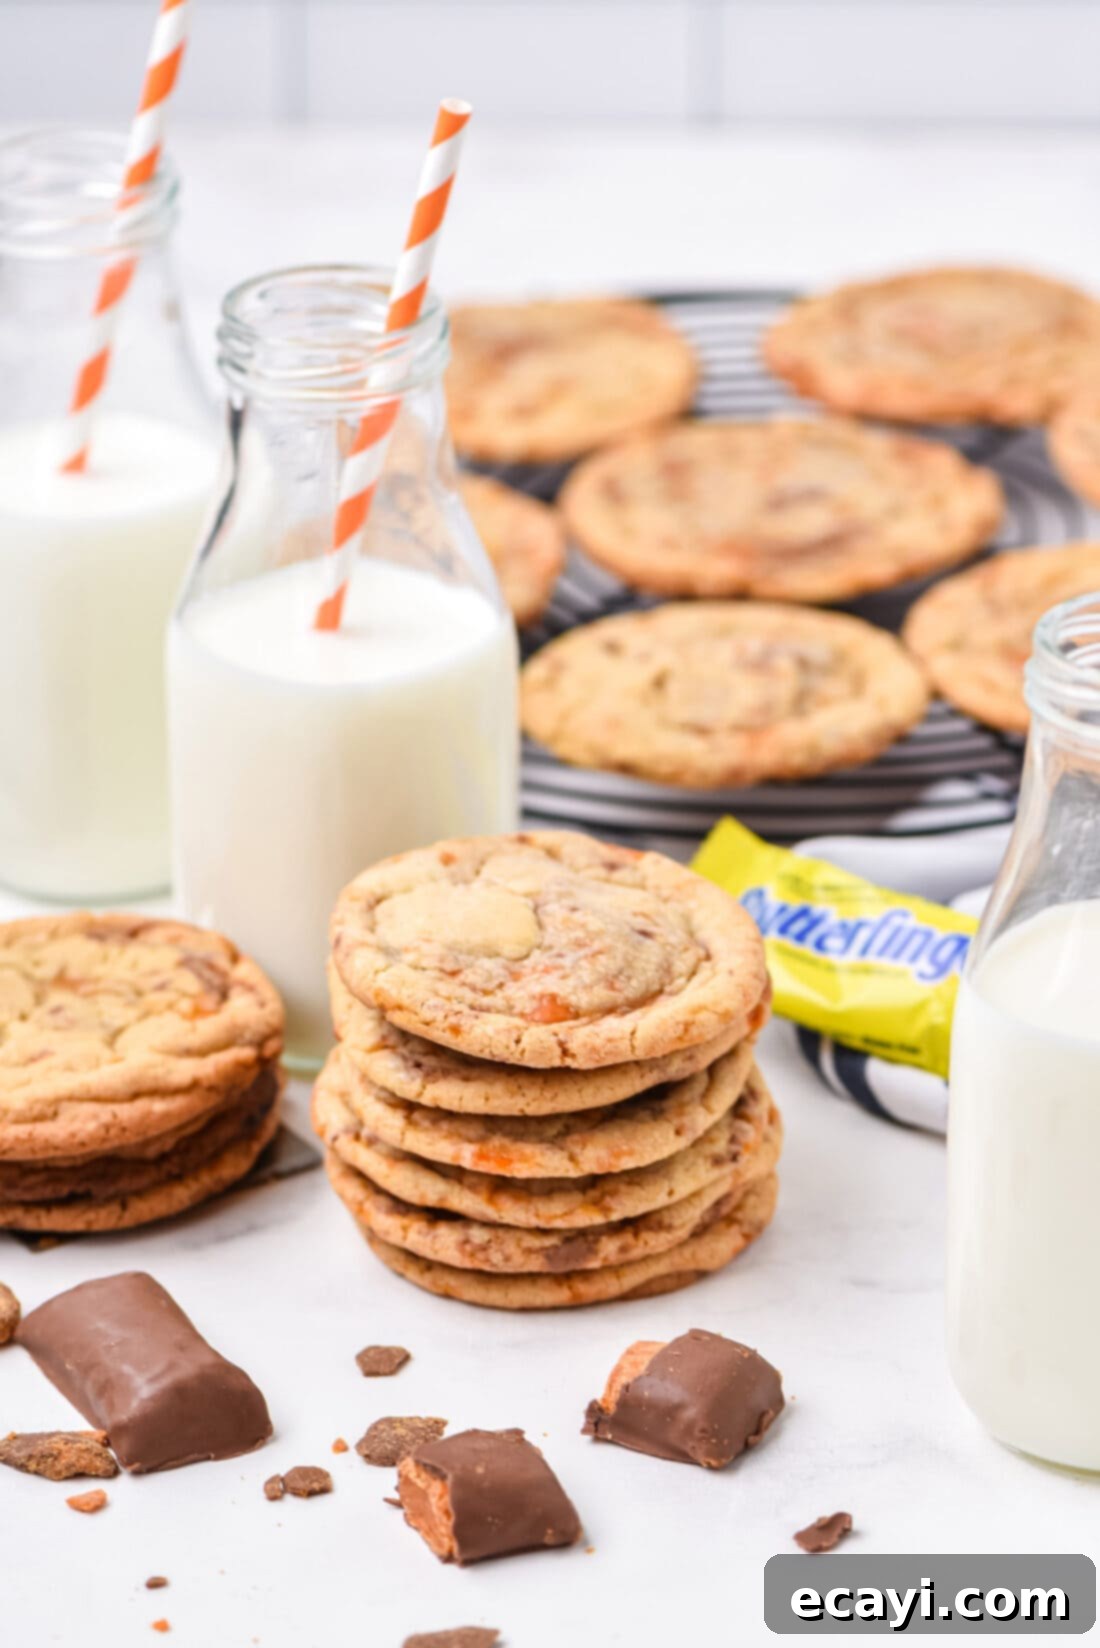
Essential Ingredients for Your Butterfinger Cookies
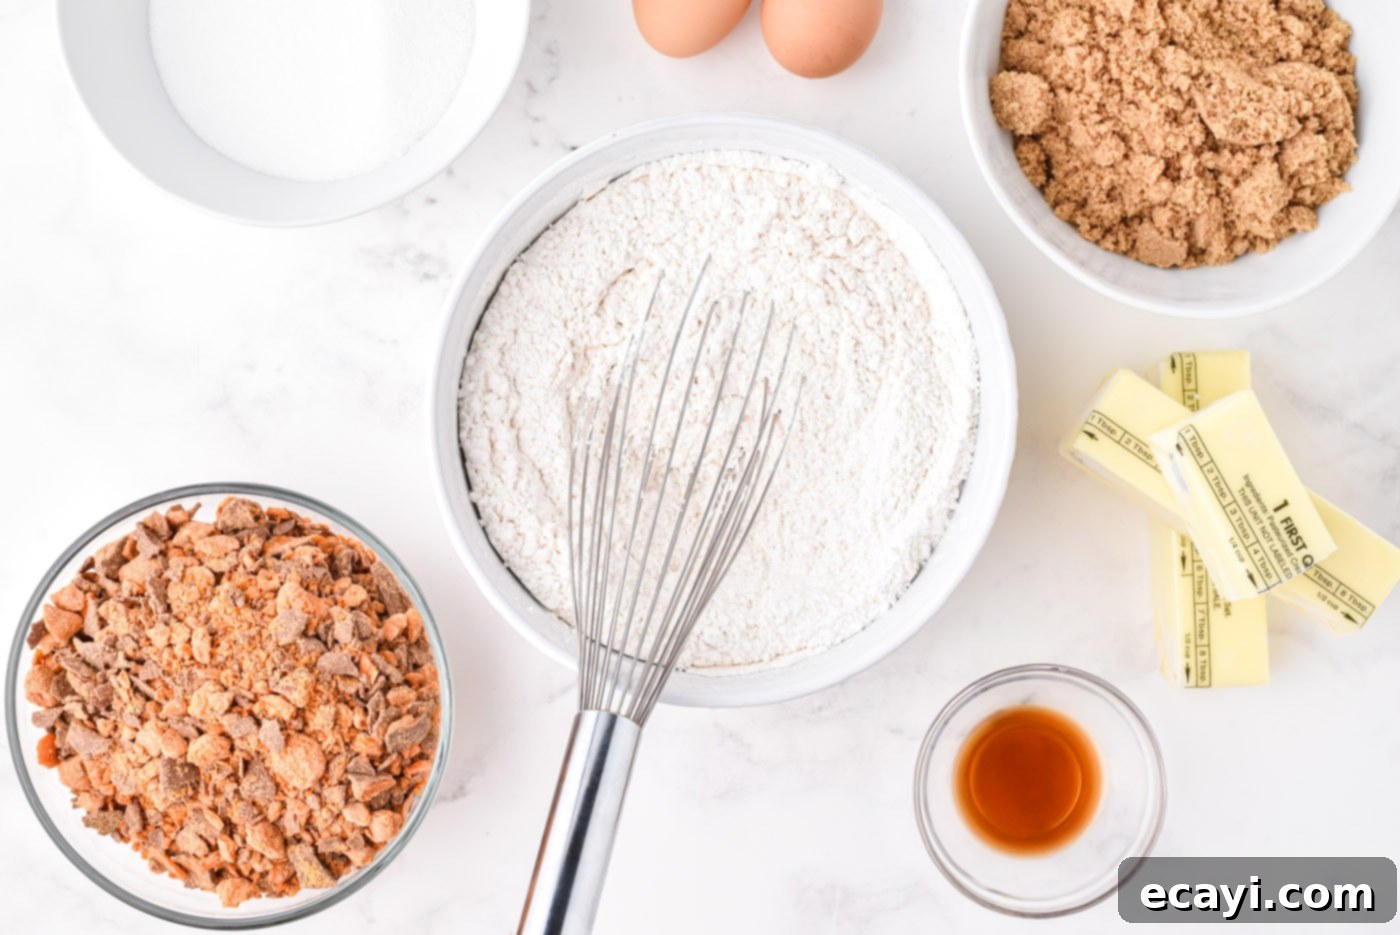
Crafting the perfect Butterfinger cookie begins with understanding the role of each ingredient. Below, you’ll find a detailed list of everything you need, along with helpful tips and substitution suggestions. For precise measurements and step-by-step instructions, refer to the printable recipe card located at the end of this post.
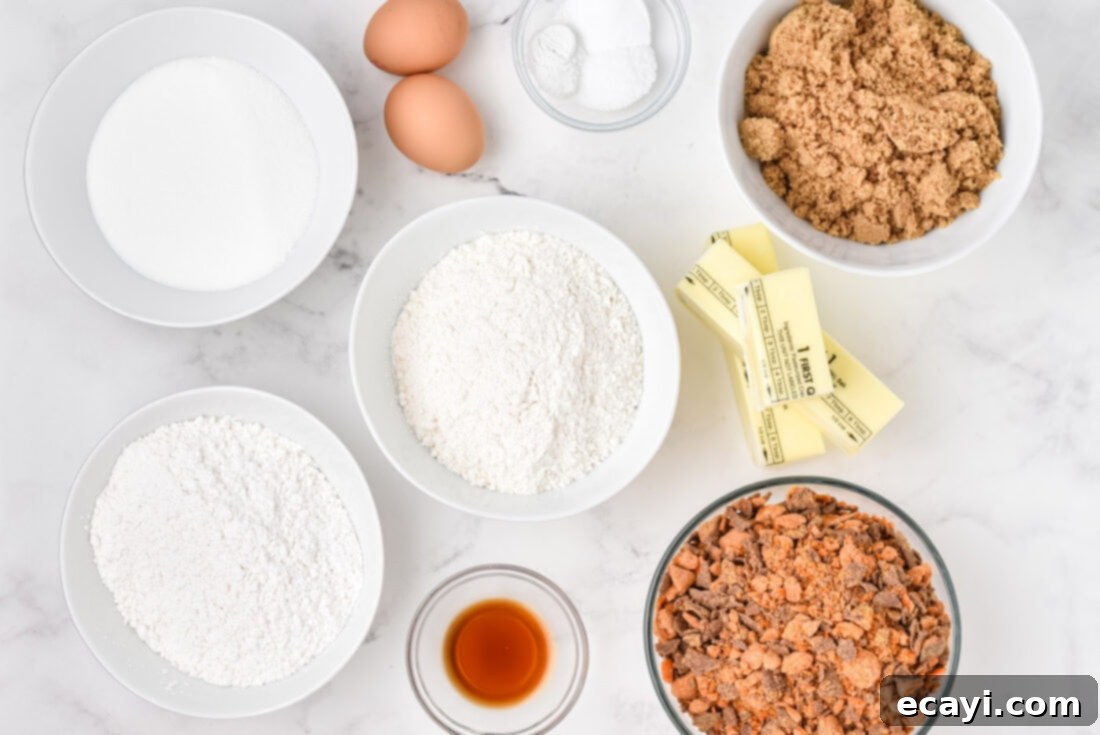
Ingredient Spotlight & Expert Tips
Understanding your ingredients is key to baking success. Here’s a closer look at what goes into these delectable cookies and how to get the best results:
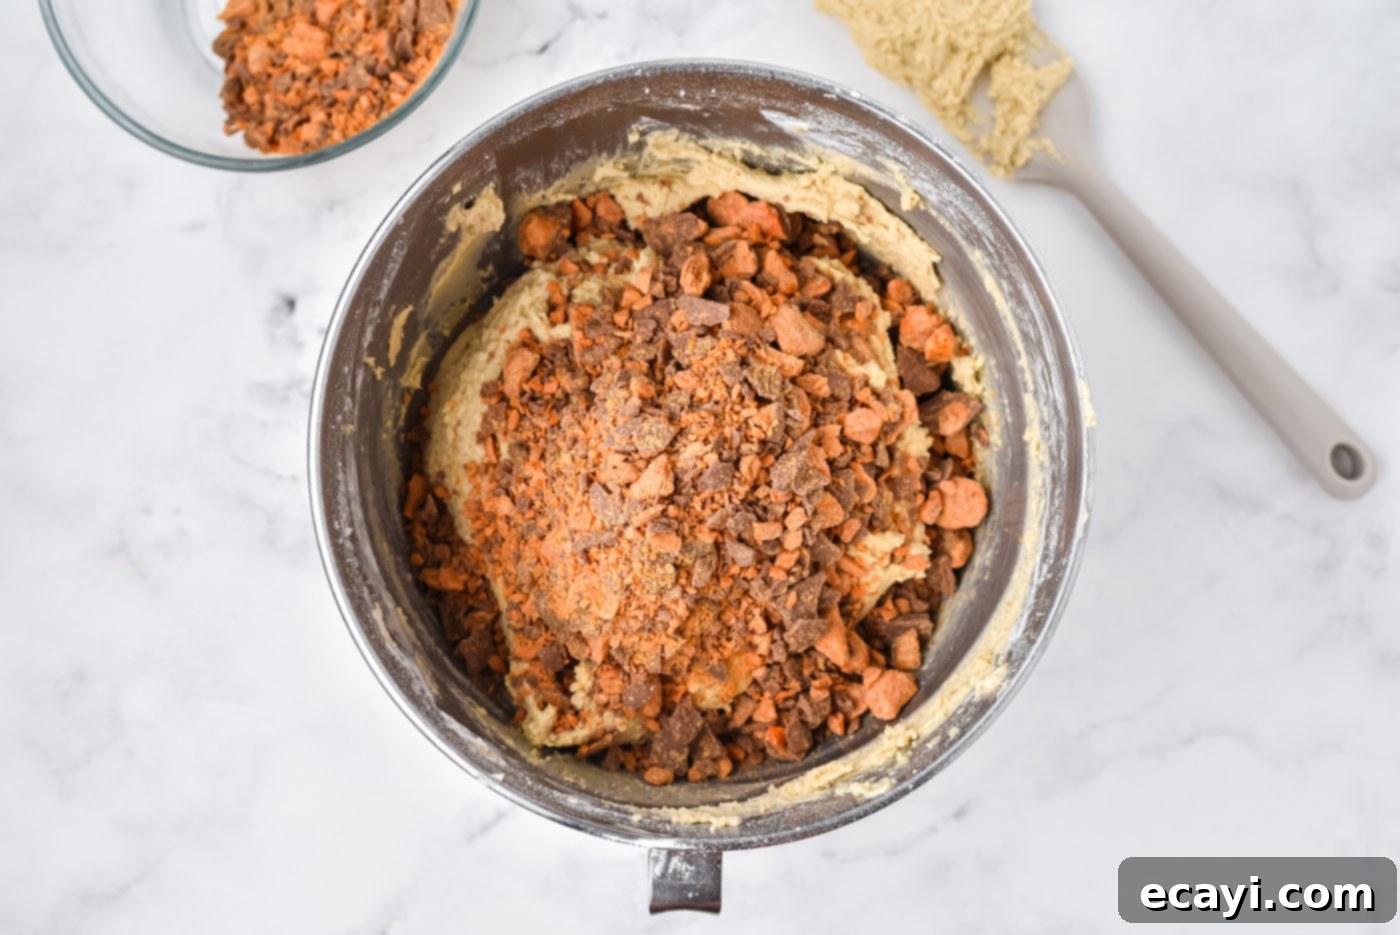
BUTTERFINGER: The star of the show! You’ll need 15 ounces of Butterfinger baking bits. These are conveniently pre-chopped, making them easy to incorporate into your dough. If baking bits aren’t available at your local store, don’t fret! You can easily achieve the same fantastic outcome by purchasing regular-sized Butterfinger candy bars or the mini versions and chopping them yourself. Just aim for roughly ¼ to ½-inch pieces to ensure that signature flakey crunch throughout each cookie.
FLOURS (Cake Flour & All-Purpose Flour): This recipe calls for a combination of 8 ½ ounces of cake flour (approximately 2 ¼ cups) and 8 ½ ounces of all-purpose flour (approximately 2 cups). This blend is crucial for achieving that desired soft and chewy texture. Cake flour contributes tenderness and a finer crumb, while all-purpose flour provides the necessary structure. It’s incredibly important to use a kitchen scale to weigh your flours for the most accurate results. Measuring by volume (cups) can be highly inconsistent due to variations in how flour is packed. For best results, place an empty bowl on your scale, tare it to zero, then carefully add the flour until the desired weight is reached.
DOUGH BASE: As mentioned, this recipe utilizes our proven cookie dough base. To ensure consistent results, especially when it comes to the flours and sugars, always rely on a kitchen scale. Precision in baking, particularly with dry ingredients, makes all the difference in the final texture and spread of your cookies. Weighing your ingredients ensures you get the exact amount specified, leading to perfectly baked cookies every time. Remember to always reset your scale to zero (“tare”) after placing an empty bowl or before adding each new ingredient.
BUTTER: You’ll need 1 ¼ cups (2 ½ sticks) of unsalted butter, softened to room temperature. Proper softening is crucial for achieving a light and fluffy creamed butter and sugar mixture, which is the foundation of a tender cookie. To correctly soften butter, remove it from the refrigerator and cut it into tablespoon-sized pieces. Allow it to sit on your counter for about 20-30 minutes, or until it’s pliable enough to leave an indentation when gently pressed, but not melted or greasy. Using unsalted butter gives you control over the overall saltiness of the cookies.
SUGARS (Light Brown Sugar & Granulated White Sugar): A blend of 10 ounces (1 ¼ cups packed) of light brown sugar and 8 ounces (1 cup plus 3 tablespoons) of granulated white sugar is used. Brown sugar contributes moisture and a delicious caramel-like flavor, ensuring a chewy cookie. Granulated sugar, on the other hand, aids in spreading and provides a delicate crispness to the edges. Together, they create a balanced sweetness and ideal texture.
EGGS: Two large eggs, preferably at room temperature, act as a binder and add richness and moisture. Room temperature eggs emulsify better with the creamed butter and sugar, resulting in a smoother, more uniform dough.
VANILLA EXTRACT: Two teaspoons of vanilla extract enhance all the other flavors, adding a warm, aromatic depth that is essential in any great cookie recipe.
BAKING SODA & BAKING POWDER: These leavening agents work in harmony to give the cookies their rise and characteristic texture. Baking soda reacts with the acidic brown sugar, while baking powder provides an additional lift, ensuring a soft and slightly puffy cookie.
KOSHER SALT: One and a half teaspoons of Kosher salt might seem like a lot, but it’s essential for balancing the sweetness and enhancing the rich flavors of chocolate and peanut butter. Don’t skip it!
Crafting Your Butterfinger Cookies: A Step-by-Step Guide
These step-by-step photos and instructions are here to help you visualize how to make this recipe successfully. For a quick print-out version, you can Jump to Recipe to get the printable version of this recipe, complete with precise measurements and detailed instructions at the bottom of this post.
- Prepare Your Oven and Baking Sheets: Begin by preheating your oven to 350 degrees F (175 degrees C). This ensures your oven is at the correct temperature when the cookies go in, preventing uneven baking. Line insulated baking sheets with parchment paper or a silicone baking mat. This prevents sticking, promotes even baking, and makes cleanup a breeze.
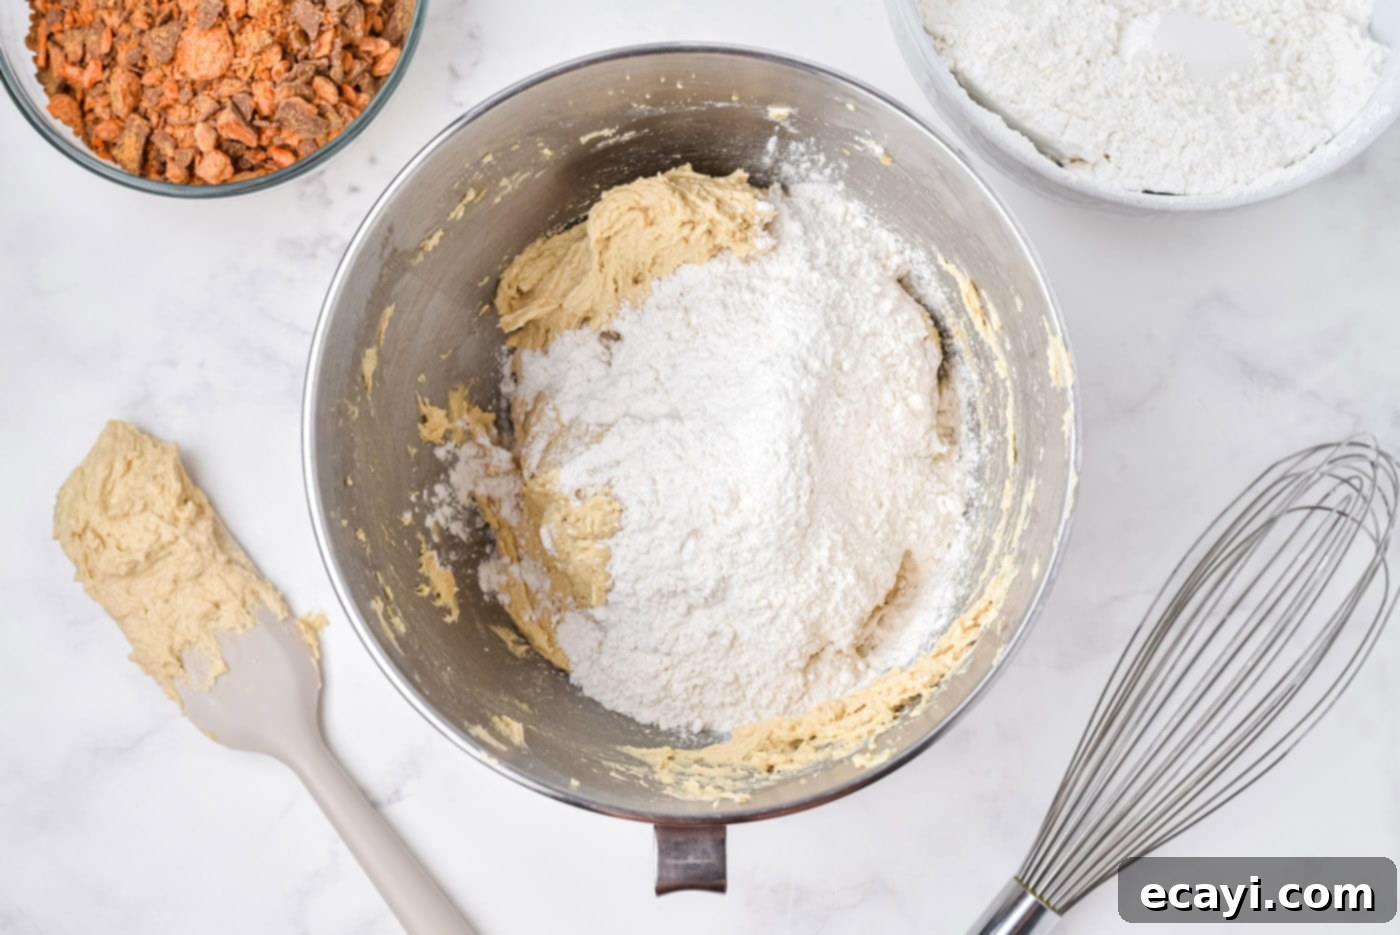
- Combine Dry Ingredients: In a medium-sized bowl, sift together the cake flour, all-purpose flour, baking soda, baking powder, and Kosher salt using a wire whisk. Sifting helps to aerate the flours and ensures all the dry ingredients are evenly distributed, preventing pockets of leavening agents or salt in your cookies. Set this mixture aside.

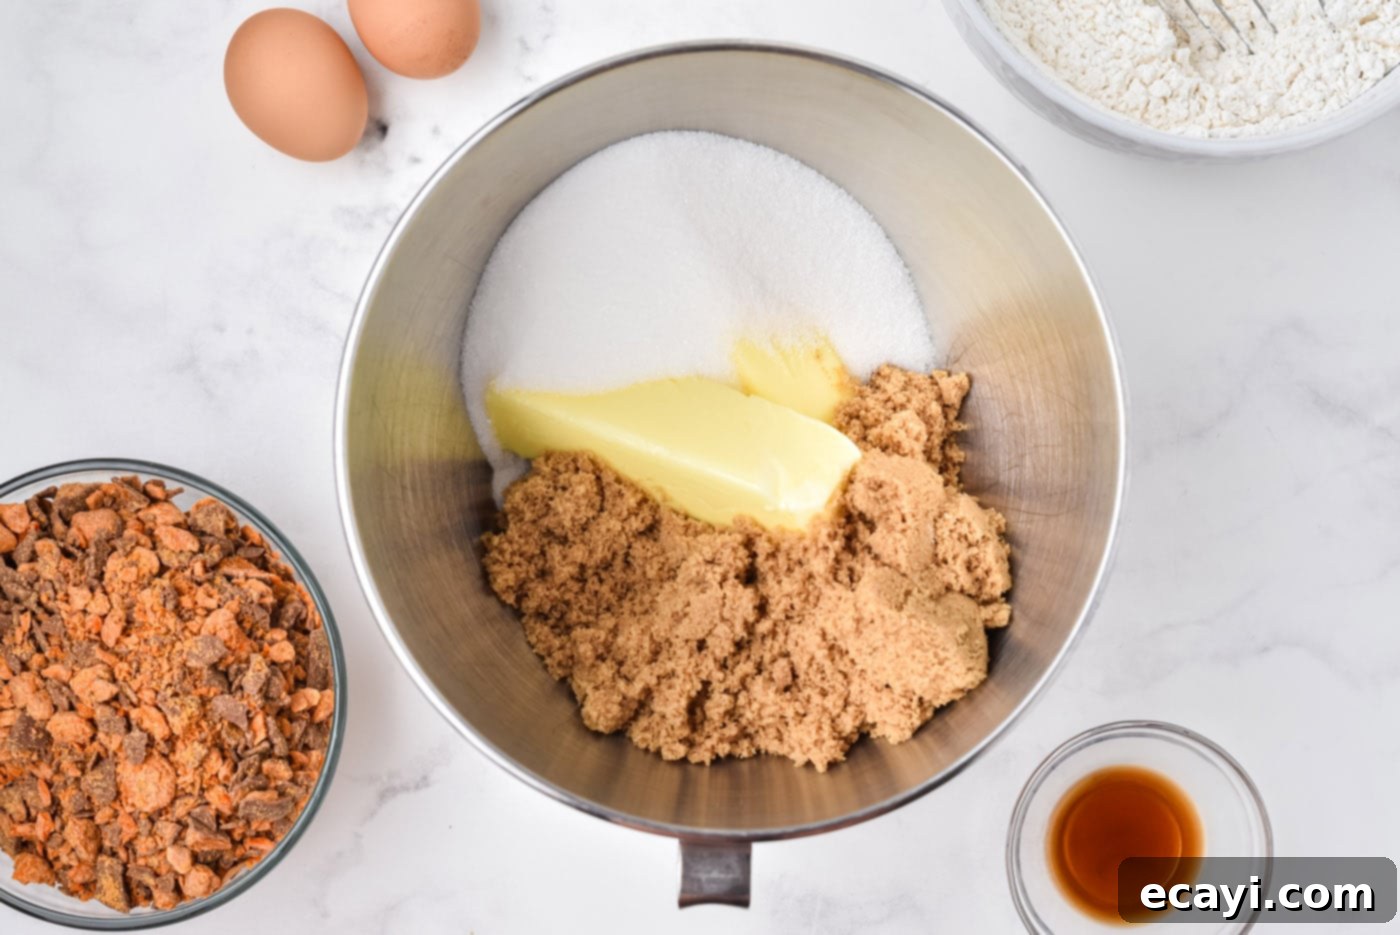
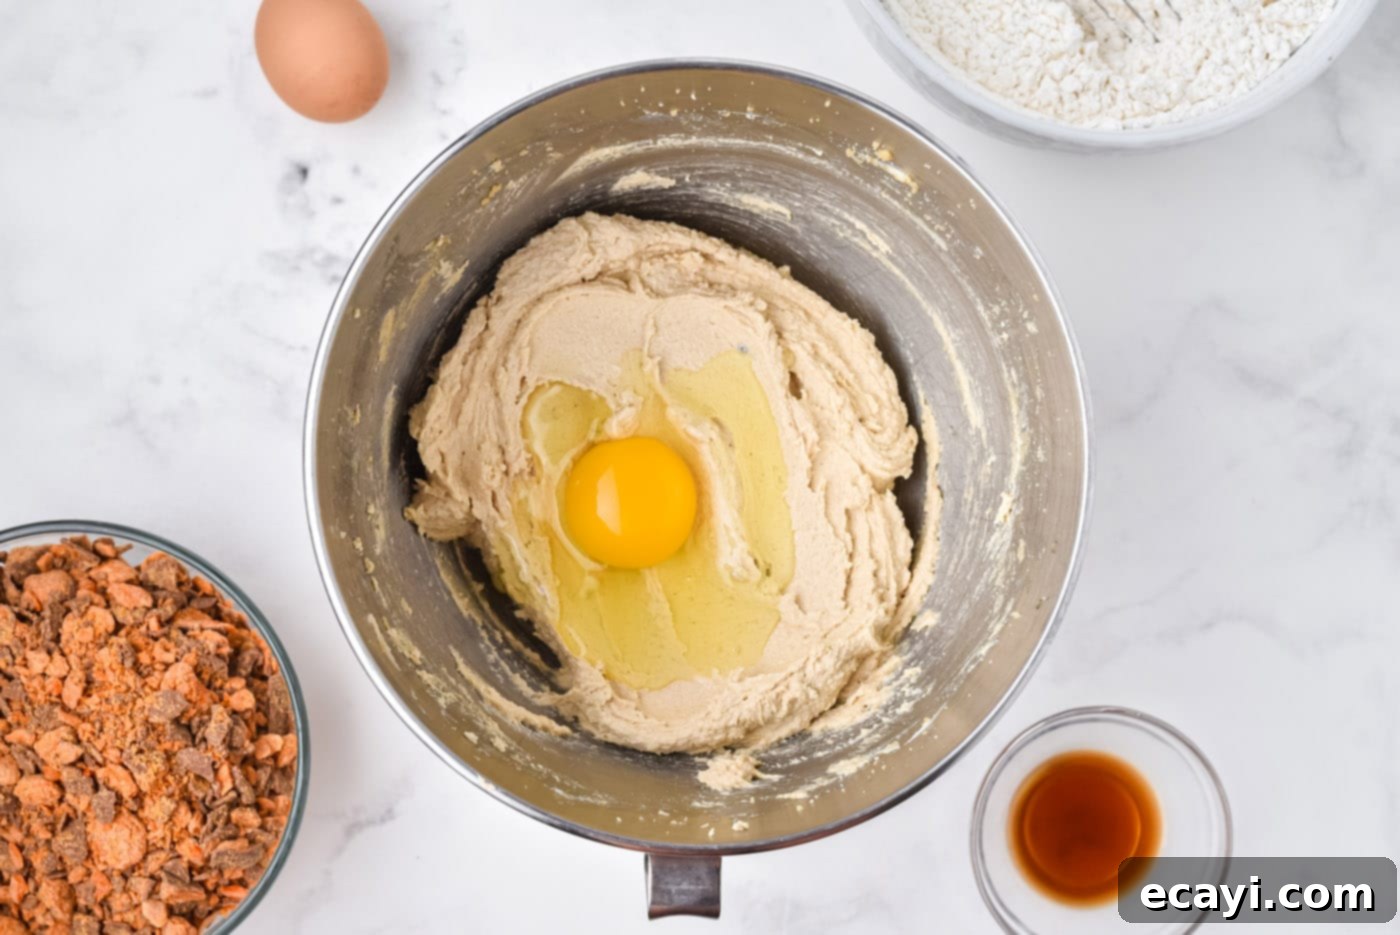
- Cream Wet Ingredients: In the bowl of an electric mixer (stand mixer or hand mixer), cream together the softened unsalted butter and both types of sugars (light brown and granulated white). Beat this mixture on medium-high speed until it becomes very light, fluffy, and pale in color, typically taking about five minutes. This step incorporates air into the butter, contributing to the cookies’ light texture. Add the eggs one at a time, mixing well after each addition to fully incorporate them. Finally, stir in the vanilla extract until just combined. Scrape down the sides of the bowl as needed to ensure everything is thoroughly mixed.


- Combine and Add Butterfinger: With the electric mixer on low speed, gradually add the dry ingredients to the wet ingredients. Mix just until combined and no streaks of flour remain. Be careful not to overmix, as this can develop the gluten in the flour, leading to tough cookies. Once the dough comes together, remove the bowl from the mixer and use a rubber spatula to gently fold in the Butterfinger baking bits. Ensure the bits are evenly distributed throughout the dough without crushing them too much, which would lose their signature crunch.


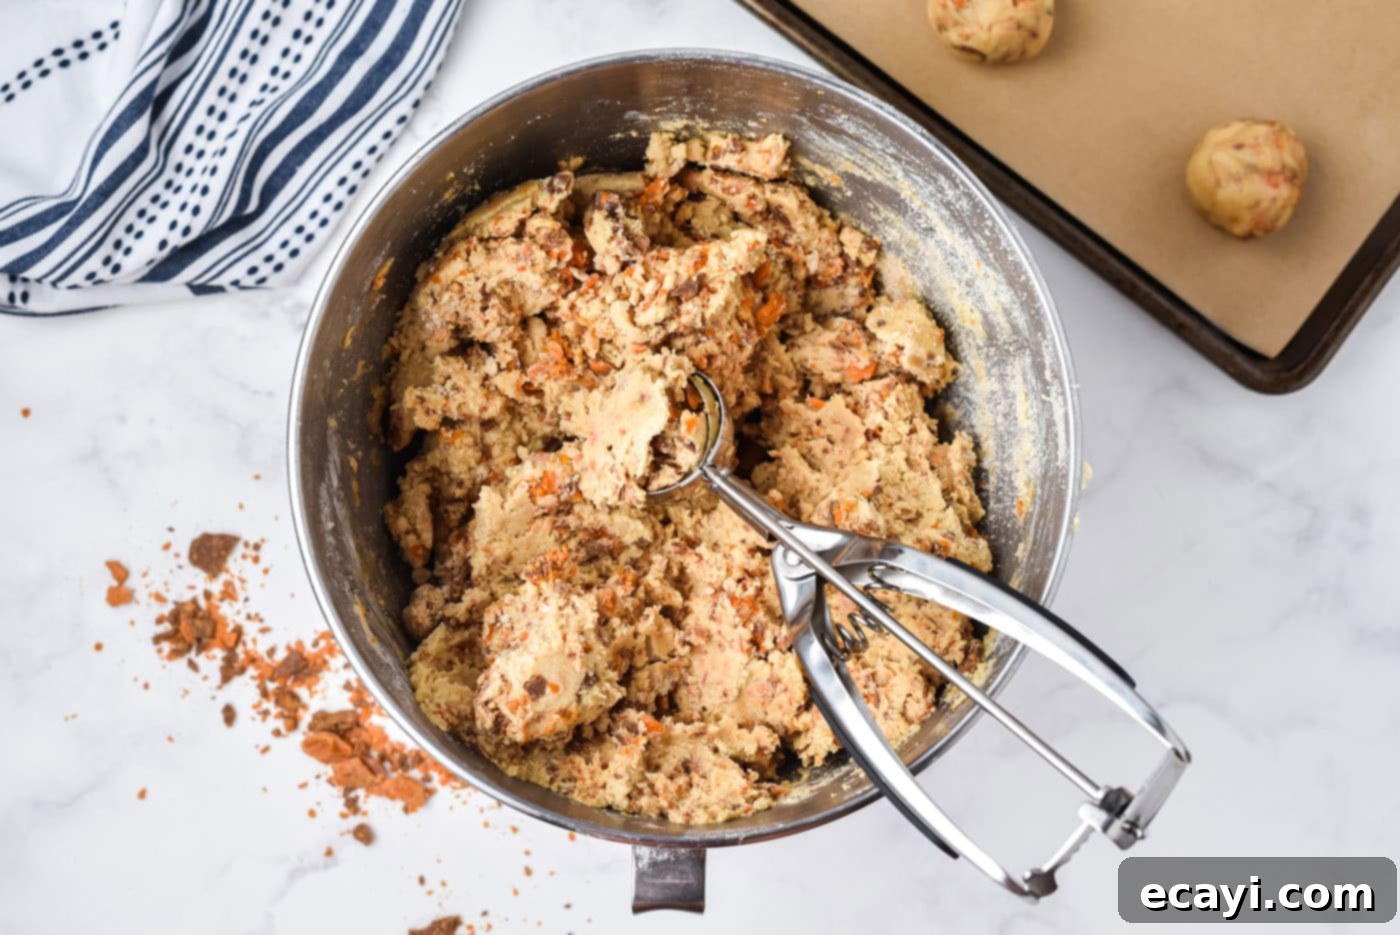
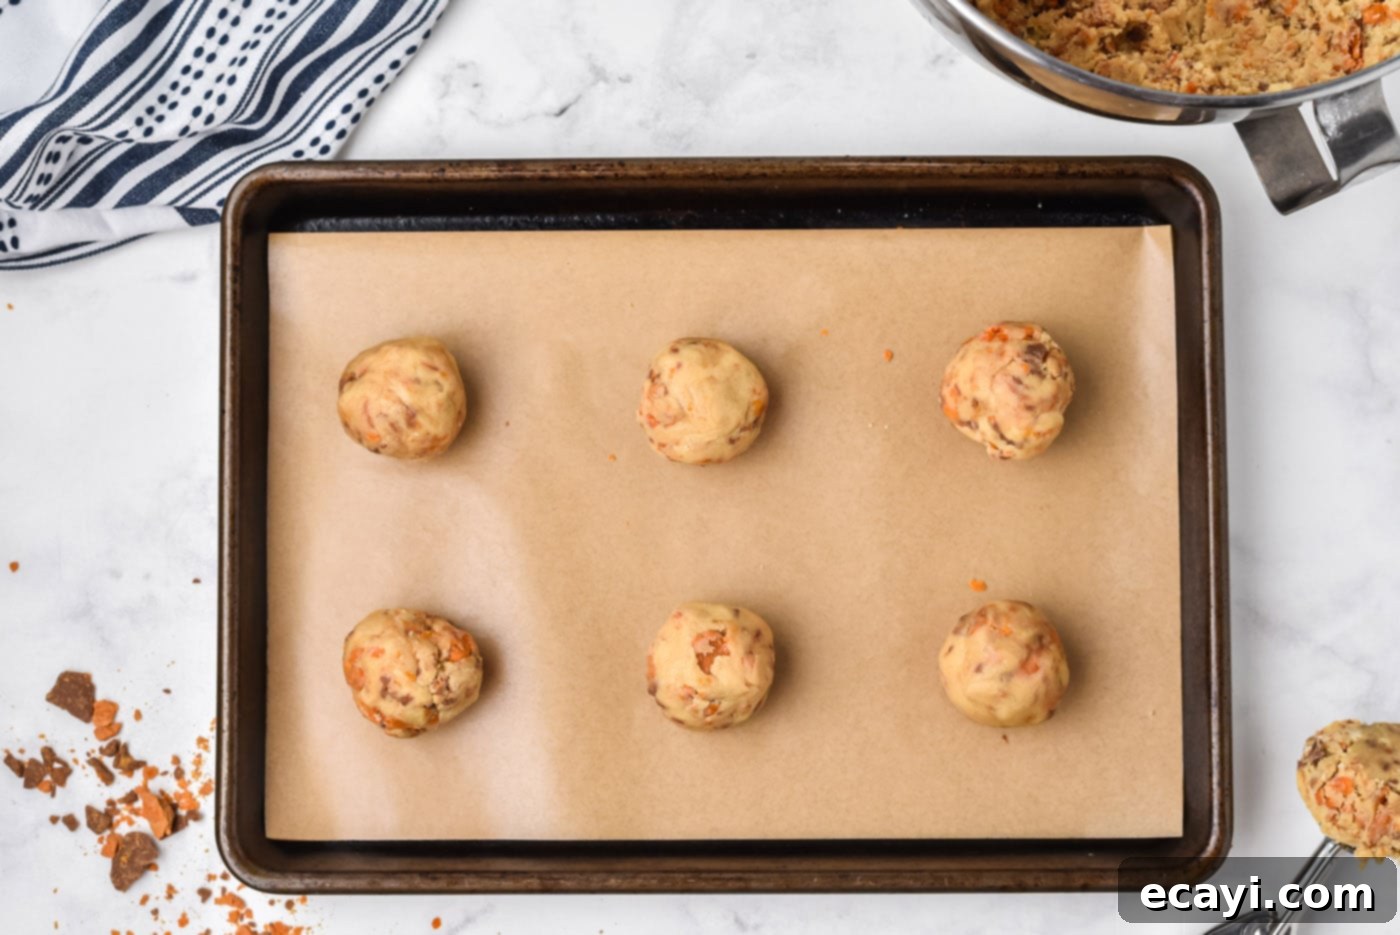
- Scoop and Bake: Using an ice cream scoop (to create those impressive jumbo cookies), scoop uniform balls of dough and place them onto your prepared baking sheets, leaving enough space between each cookie for spreading. Bake in the preheated oven for 14-19 minutes. Baking times can vary based on your oven and desired cookie texture. Look for edges that are lightly golden brown and centers that still appear slightly soft, as the cookies will continue to set as they cool.


- Shape for Perfection: This is a pro tip for achieving perfectly round, bakery-style cookies! Immediately after removing the baking sheet from the oven, use the back of a spatula or a large round cookie cutter to gently push and shape the outer edges of the warm cookies. This helps to create a beautiful, even, and uniformly round shape while the cookies are still hot and pliable.

- Cool: Allow the cookies to cool on the baking sheet for about 5 minutes. This allows them to firm up slightly before you move them. Then, carefully transfer them to wire cooling racks to cool completely. Cooling on a rack prevents the bottoms from getting soggy and ensures even cooling throughout the cookie.
Frequently Asked Questions & Expert Tips for Butterfinger Cookies
Absolutely! This versatile cookie recipe serves as an excellent base for a wide variety of candy bar additions. Feel free to experiment with your favorite chocolate or caramel-based candies. Some delicious ideas include Snickers for a nougat and caramel twist, Kit-Kat for wafer crunch, Twix for shortbread and caramel, Crunch Bar for crispy rice, Whatchamacallit for more peanut butter and crispy texture, Heath for toffee bits, or Reese’s for an extra peanut butter punch. Just chop them into similar-sized pieces as the Butterfinger bits (roughly ¼ to ½-inch) before folding them into the dough.
Yes, these Butterfinger cookies freeze beautifully, both as unbaked dough and baked cookies.
To freeze unbaked dough: Scoop the dough into balls as instructed, then flash freeze them on a parchment-lined baking sheet until they are firm to the touch (about 30-60 minutes). Once firm, transfer the dough balls to a large freezer-safe zip-top bag or airtight container. They will keep well for 3-4 months. When ready to bake, remove the desired number of dough balls from the freezer and allow them to partially thaw on a baking sheet while your oven preheats. You do not need to fully thaw them. You might need to add an extra 1-3 minutes to the baking time.
To freeze baked cookies: Allow the cookies to cool completely. Once cooled, place them in a single layer on a baking sheet and flash freeze for about an hour until solid. Transfer the frozen cookies to a freezer-safe airtight container or zip-top bag, separating layers with parchment paper to prevent sticking. They can be frozen for up to 2-3 months. Thaw at room temperature for several hours or warm gently in the microwave for a few seconds.
To maintain their freshness and chewiness, store baked Butterfinger cookies in an airtight container at room temperature. They will remain delicious for up to 7 days. For optimal taste and texture, consume them within 3-5 days. Avoid refrigerating cookies unless specifically instructed, as it can often dry them out and alter their texture.
Absolutely! Our recipe yields rather large, jumbo-sized cookies when using an ice cream scoop. If you prefer more regular-sized cookies, simply use a smaller cookie scoop (typically 1.5 to 2 tablespoons). You will need to adjust the baking time accordingly. For smaller cookies, bake for approximately 8-11 minutes, or until the edges are golden and the centers are just set. Keep a close eye on them as they will bake much faster.
Achieving perfectly round cookies is a simple trick used by many professional bakers! The key is to act quickly as soon as the cookies come out of the oven. While they are still hot and pliable on the baking sheet, use the back of a large spatula or a round cookie cutter (slightly larger than your cookies) to gently shape the edges. Simply tap or gently push the edges inwards, working your way around each cookie until it forms a perfectly round shape. This must be done right away, before the cookies begin to cool and set up.
Additional Expert Tips for Cookie Success:
- Don’t Overmix the Dough: Once you add the dry ingredients to the wet, mix only until just combined. Overmixing develops the gluten in the flour, resulting in tough, dry cookies instead of soft, chewy ones.
- Room Temperature Ingredients are Key: Ensure your butter and eggs are at room temperature. This allows them to emulsify properly, creating a smoother dough and a more consistent texture in your baked cookies. Cold ingredients won’t cream correctly and can lead to a lumpy dough.
- Don’t Overbake: For soft and chewy cookies, it’s better to slightly underbake than overbake. The cookies might look slightly undone in the center when you pull them out, but they will continue to cook and set on the hot baking sheet. If you prefer a crunchier cookie, bake for the longer end of the recommended time.
- Chill the Dough (Optional but Recommended): While not strictly required for this recipe, chilling your cookie dough for 30 minutes to an hour (or even overnight) can deepen the flavors, reduce spread, and result in a chewier cookie.
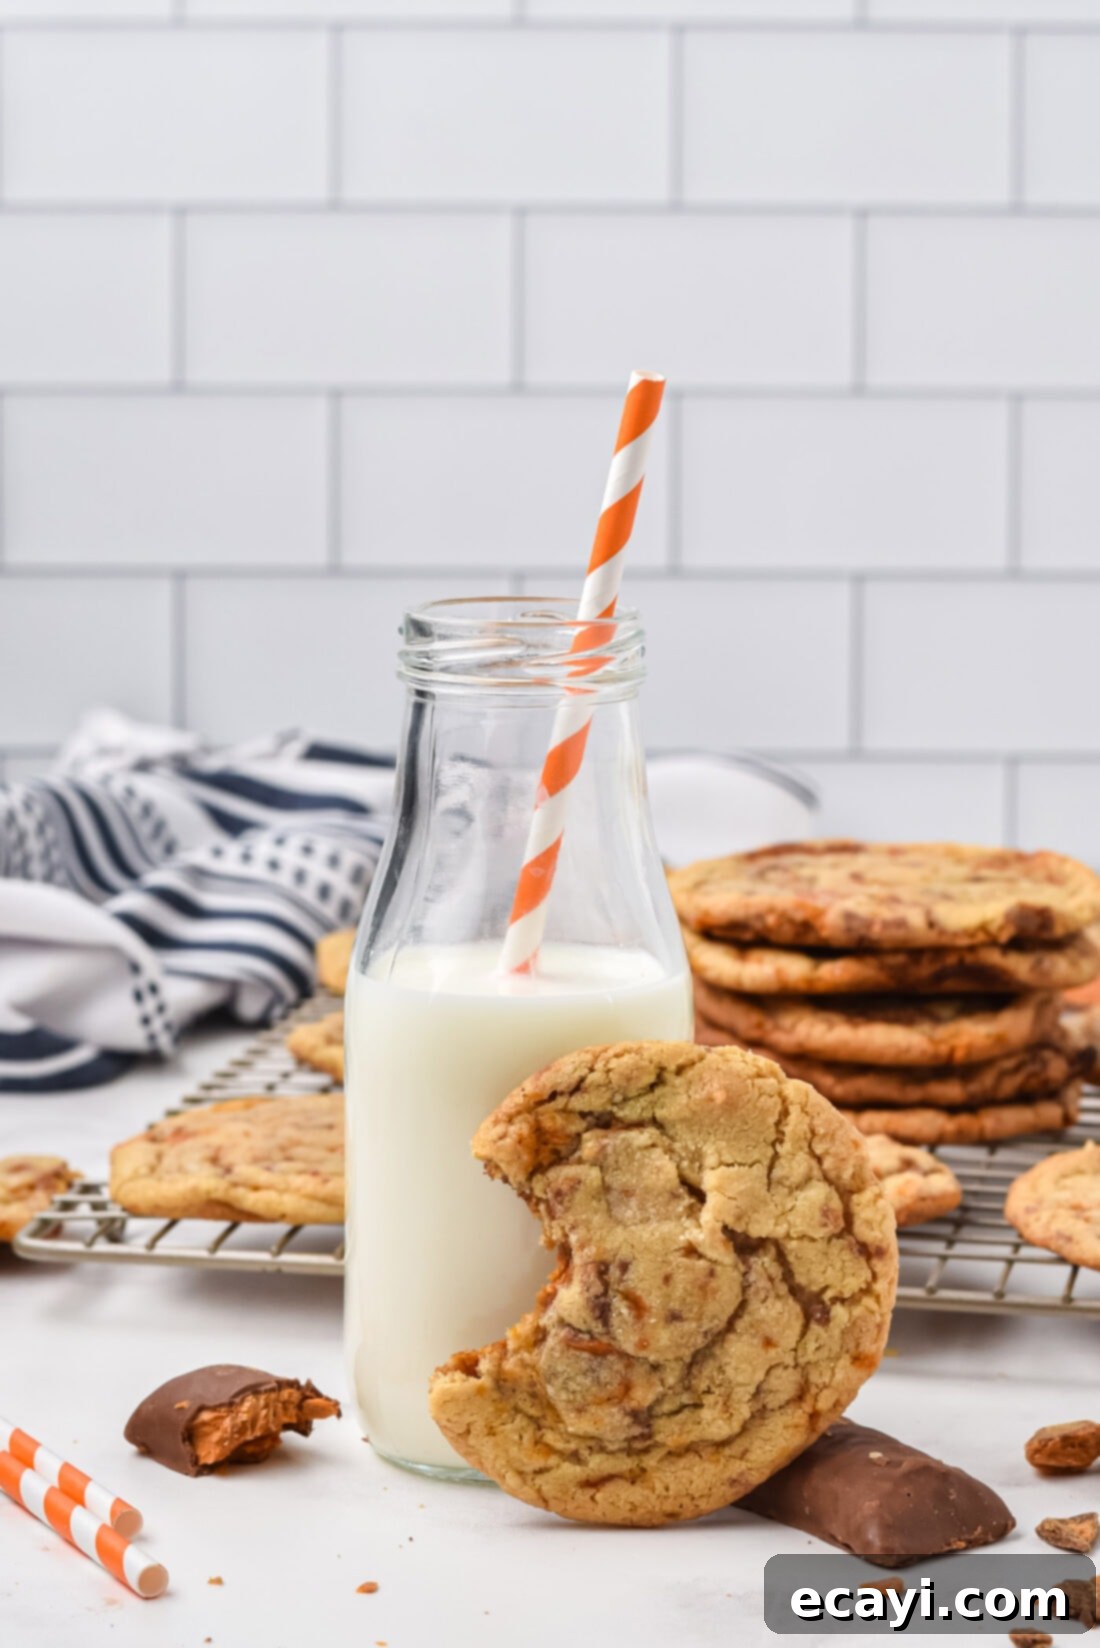
Serving Suggestions for Your Butterfinger Cookies
These glorious Butterfinger cookies are a treat in themselves, but here are some ideas to make them even more special. Like almost all cookies, they truly shine when paired with a tall, cold glass of milk – a classic combination that never disappoints. Enjoy them warm, straight from the oven, when the Butterfinger bits are slightly gooey and the cookie is incredibly soft. They are equally delightful at room temperature, offering a perfect chewy texture with that signature crispity candy crunch.
Consider serving them alongside a scoop of vanilla or chocolate ice cream for a decadent dessert. They also make fantastic additions to a dessert platter for gatherings, or a thoughtful homemade gift for friends and family. A warm Butterfinger cookie with a cup of coffee or tea is a truly comforting experience.
Explore More Delicious Cookie Recipes
If you’ve enjoyed baking these Butterfinger cookies, you might be eager to explore more delightful cookie creations. Here are some of our other favorite cookie recipes that are sure to satisfy your sweet tooth:
- S’mores Cookies
- Monster Cookies
- Frosted Sugar Cookie Bars
- Skillet Chocolate Chip Cookie
- Chocolate Peanut Butter Cookies
- Doubletree Chocolate Chip Cookies
- Fluffernutter Cookies
I love to bake and cook and share my kitchen experience with all of you! Remembering to come back each day can be tough, that’s why I offer a convenient newsletter every time a new recipe posts. Simply subscribe and start receiving your free daily recipes!
Butterfinger Cookies
IMPORTANT – There are often Frequently Asked Questions within the blog post that you may find helpful. Simply scroll back up to read them!
Print It
Pin It
Rate It
Save ItSaved!
Ingredients
- 8 ½ ounces cake flour 2 1/4 cups
- 8 ½ ounces all-purpose flour 2 cups
- 1 ¼ teaspoons baking soda
- 1 ½ teaspoons baking powder
- 1 ½ teaspoons Kosher salt
- 1 ¼ cup unsalted butter 2 1/2 sticks at room temperature*
- 10 ounces light brown sugar 1 1/4 cups packed
- 8 ounces granulated white sugar 1 cup plus 3 tablespoons
- 2 large eggs
- 2 teaspoons vanilla extract
- 15 ounces Butterfinger baking bits
Things You’ll Need
-
Electric mixer
-
Ice cream scoop or regular cookie scoop for smaller cookies
-
Insulated baking sheets
-
Mixing bowls
Before You Begin
- *The weights are given so that you get the correct amount of each flour. Flour needs to be measured with the scoop and sweep method. 8 oz of cake flour yields a different cup measurement than 8 oz of all-purpose flour because of the difference in density.
- For BEST results be sure to use a kitchen scale to weigh your ingredients using the weights in the recipe. This is the most accurate way to get the perfect cookies. Remember, place an empty bowl on your scale and reset the tare to zero before adding the ingredients.
- To correctly soften butter, remove it from the refrigerator and cut it into tablespoons. Allow it to sit on the counter for 20 minutes, or until pliable but not melted.
- To make regular sized cookies use a cookie scoop and bake for 8-11 minutes.
- If you like crunchy edges, bake your cookies on the longer side of the suggested baking time. For soft chewy cookies, bake them on the shorter side of the range, they will only be lightly browned.
- Ensure your butter and eggs are at room temperature for optimal creaming and dough consistency.
- Do not overmix the dough once the flour is added, as this can lead to tough cookies.
Instructions
-
Preheat oven to 350 degrees F. Line insulated baking sheets with parchment paper or a silicone baking mat.
-
Sift flours, baking soda, baking powder and salt into a bowl with a wire whisk. Set aside.
-
In the bowl of an electric mixer, cream together softened butter and sugars until very light and fluffy, about five minutes. Add eggs, one at a time, mixing well after each addition. Stir in the vanilla.
-
With mixer on low, add dry ingredients and mix just until combined. Stir in Butterfinger baking bits with a rubber spatula until evenly distributed.
-
Scoop dough into balls using an ice cream scoop and place onto the prepared baking sheet, ensuring adequate spacing. Bake for 14-19 minutes, or until edges are lightly golden and centers are slightly soft.
-
As soon as you remove the baking sheet from the oven, use a spatula (or a slightly larger round cookie cutter) to gently shape the outer edge of the cookies, making them nice, round, and even.
-
Allow cookies to cool on the baking sheet for 5 minutes before transferring them to cooling racks to cool completely.
Nutrition
The recipes on this blog are tested with a conventional gas oven and gas stovetop. It’s important to note that some ovens, especially as they age, can cook and bake inconsistently. Using an inexpensive oven thermometer can assure you that your oven is truly heating to the proper temperature. If you use a toaster oven or countertop oven, please keep in mind that they may not distribute heat the same as a conventional full sized oven and you may need to adjust your cooking/baking times. In the case of recipes made with a pressure cooker, air fryer, slow cooker, or other appliance, a link to the appliances we use is listed within each respective recipe. For baking recipes where measurements are given by weight, please note that results may not be the same if cups are used instead, and we can’t guarantee success with that method.
