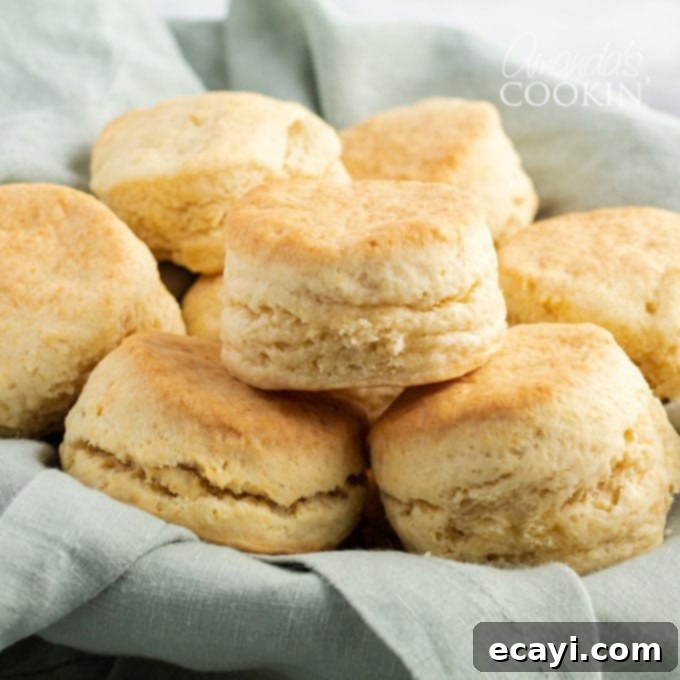
Fluffy & Flaky Homemade Biscuits: The Ultimate 5-Ingredient Recipe for Quick Comfort
There’s nothing quite like the warmth and comfort of a homemade biscuit, fresh from the oven. While these fluffy and incredibly delicious delights are often associated with holiday feasts and special occasions, this simple recipe makes them perfect for any day of the year. Requiring just five essential ingredients and coming together in a flash, you can have a batch of these glorious, flaky biscuits on your table in roughly half an hour. Get ready to experience the pure joy of baking with this foolproof method that promises a delightful rise and a tender, layered texture that melts in your mouth.
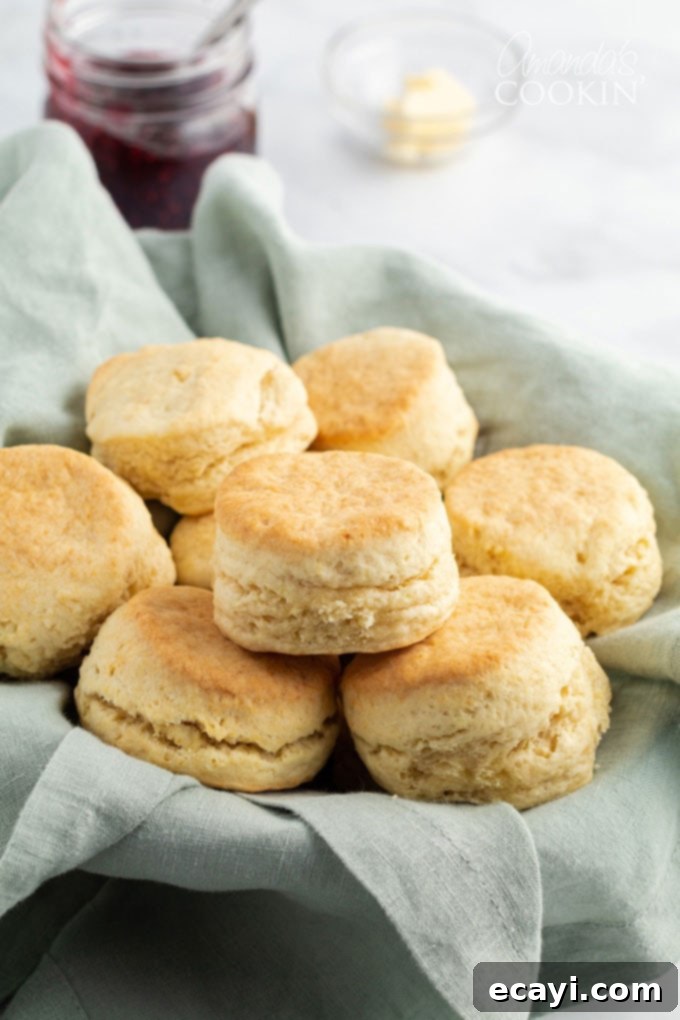
Why You’ll Absolutely Adore This Quick Biscuit Recipe
This isn’t just another biscuit recipe; it’s a game-changer for anyone seeking speed, simplicity, and spectacular results. If your goal is to bake truly exceptional biscuits with minimal fuss, you’ve found your perfect match. We are head over heels for this particular recipe for several compelling reasons:
- Effortless Speed: From mixing bowl to oven, these biscuits are designed for quick preparation, ensuring you can enjoy a warm batch even on a busy weekday morning or as a last-minute addition to dinner.
- Beautiful Bake: Watch in delight as these biscuits bake up beautifully, achieving a remarkable rise that promises light and airy interiors.
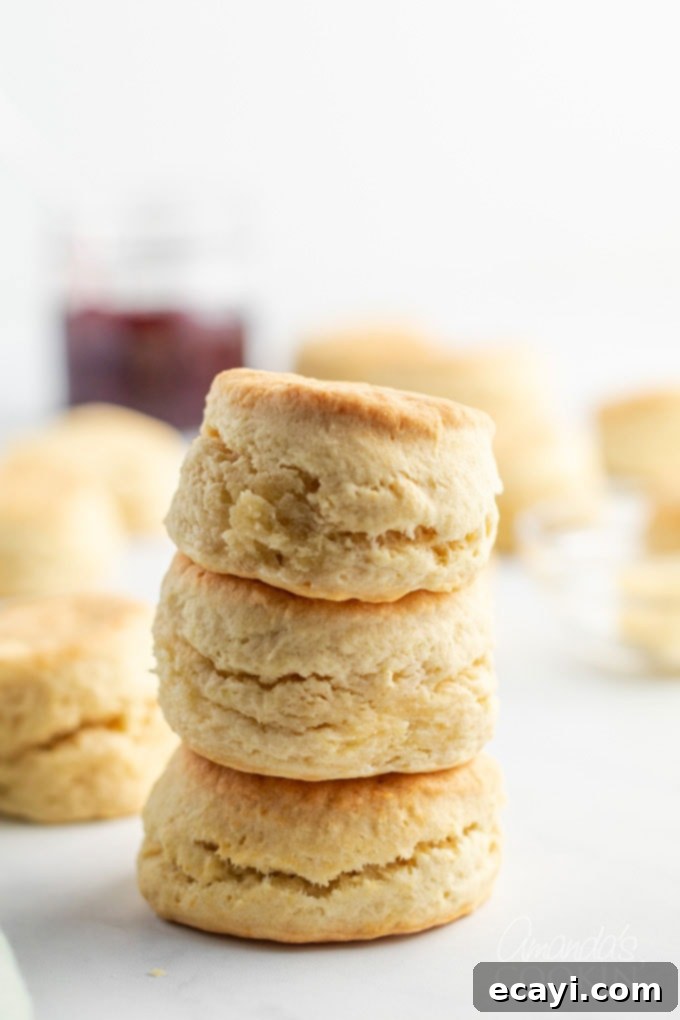
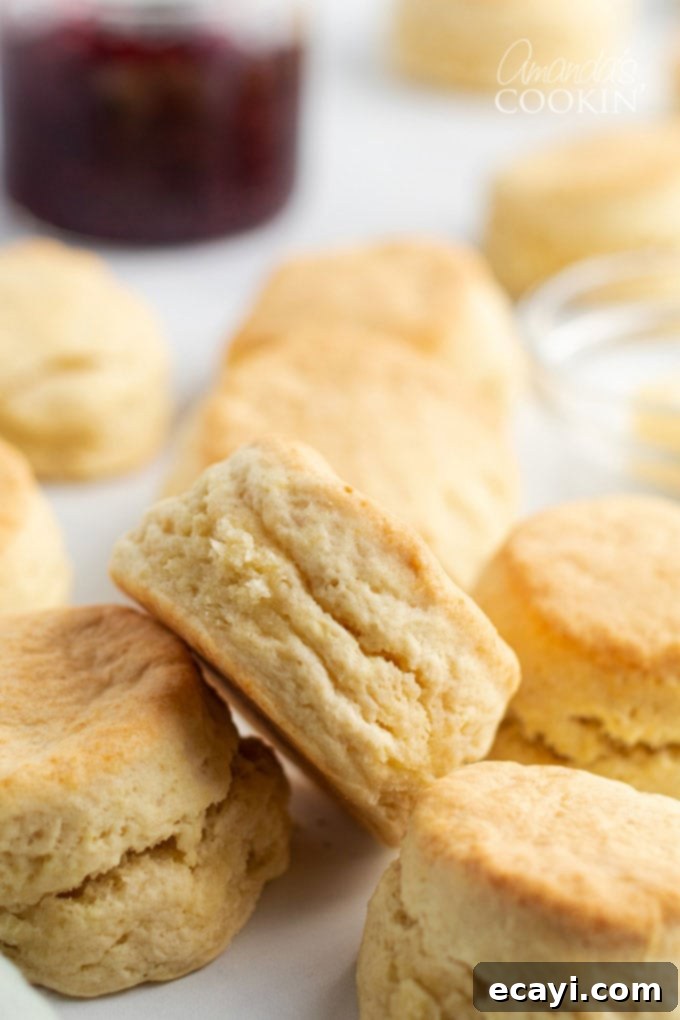
- Incredible Flakiness: The hallmark of a truly great biscuit is its flaky layers, and this recipe delivers in spades. Each bite reveals tender, buttery layers that practically dissolve on your tongue.
- Only 5 Ingredients: Yes, you read that right! With just five common ingredients, you can create magic in your kitchen. This minimalist approach simplifies your grocery list and streamlines the baking process, proving that deliciousness doesn’t have to be complicated.
- Versatile Comfort Food: Biscuits are the quintessential comfort food, gracing holiday tables and everyday meals across the country. They are incredibly versatile, serving as a canvas for both sweet and savory toppings, making them suitable for any meal.
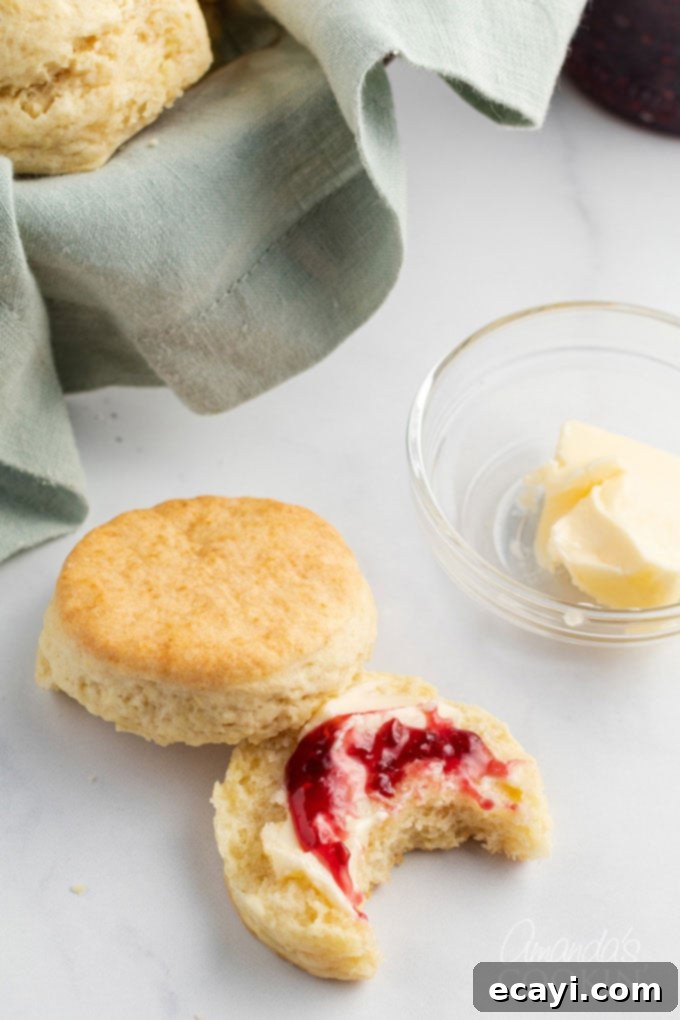
Imagine starting your day with these warm, golden-brown biscuits, slathered generously with butter and a dollop of your favorite homemade berry jam. Or, for a hearty and classic Southern experience, serve them alongside a rich, savory sausage gravy – a pairing that’s pure bliss. These biscuits are more than just a side; they’re an experience.
Essential Ingredients You Will Need to Make These Flaky Homemade Biscuits
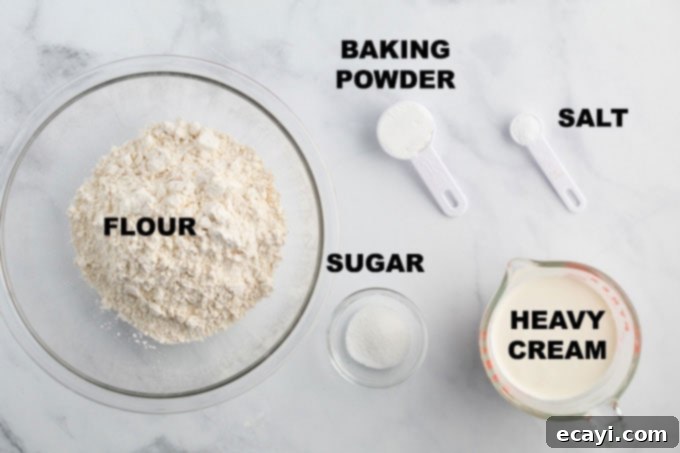
One of the true beauties of this recipe is its simplicity, relying on just five common ingredients that you likely already have in your pantry and refrigerator. The key to its success lies not in a long list, but in the quality and proper combination of these basic elements. You might notice the absence of butter and milk, commonly found in biscuit recipes, and that’s because our star ingredient, heavy cream, brilliantly fulfills both the fat and liquid requirements, simplifying the process even further.
Get all measurements, ingredients, and detailed instructions in the printable recipe card at the very end of this post.
Here’s what you’ll need:
- Dry Ingredients:
- All-Purpose Flour: The foundation of our biscuits. Make sure to measure it correctly by spooning it into a measuring cup and leveling it off, rather than scooping directly from the bag, to avoid a dense biscuit.
- Baking Powder: This is our primary leavening agent, responsible for those beautiful tall rises and fluffy texture. Ensure your baking powder is fresh for best results.
- Granulated Sugar: A touch of sugar enhances the flavor and promotes a lovely golden-brown crust, balancing the savory notes without making the biscuits overly sweet.
- Salt: Essential for bringing out all the flavors in your biscuits. Don’t skip it!
- Wet Ingredient:
- Heavy Whipping Cream: The hero of this 5-ingredient recipe! Heavy cream provides both the necessary fat (for flakiness and richness) and the liquid (to bind the dough) in one convenient ingredient. This eliminates the need for separate butter cutting and milk, streamlining the process significantly. Use cold heavy cream for the best results, as the cold fat helps create those desirable flaky layers when it interacts with the heat of the oven.
That’s it! With these simple components, you’re just moments away from baking incredible homemade biscuits.
How to Master the Art of Making These Homemade Biscuits
These step-by-step photos and detailed instructions are designed to visually guide you through the process of making this delightful recipe. For a concise, printable version of the instructions, please scroll down to the recipe card below!
Before you begin, proper preparation is key. Start by preheating your oven to a robust 425 degrees F. This high temperature is crucial for activating the leavening agents quickly, ensuring a significant rise and a crisp exterior. Line your preferred baking sheet with either parchment paper or a silicone baking mat. This simple step prevents sticking and makes for easy cleanup.
- Combine Dry Ingredients: In a medium-sized mixing bowl, combine the all-purpose flour, baking powder, granulated sugar, and salt. Use a whisk to thoroughly blend these dry ingredients together. This ensures that the baking powder and salt are evenly distributed throughout the flour, which is vital for an even rise and consistent flavor in every biscuit.
- Add Cream and Form a Shaggy Dough: Pour about 1 cup of the cold heavy cream over your dry ingredients. Using a fork, gently begin to toss the ingredients together. The mixture will start to come together, forming a “shaggy” dough – a loose, somewhat crumbly consistency with visible streaks of dry flour. If the dough appears too dry and won’t come together, add more cream, one spoonful at a time, until you achieve a soft, cohesive dough that’s not too sticky or wet. The goal is to just bring it together, avoiding overmixing.
- Gentle Kneading: Now, reach into the bowl with your clean hands and give the dough a quick, gentle kneading. Just 3 or 4 turns are usually enough to fully incorporate the ingredients and smooth out the dough slightly. The key here is “gentle” and “quick” – overworking the dough will develop the gluten in the flour, resulting in tough, chewy biscuits instead of light and flaky ones.
- Pat or Roll the Dough: Lightly dust a clean work surface with a small amount of flour. Turn the biscuit dough out onto this surface. Dust the top of the dough very lightly with flour. Using your hands, gently pat the dough out, or use a rolling pin, until it is about 1/2 inch thick. Don’t stress about perfect accuracy or a completely even shape; a light, quick touch is far more important for maintaining the tender texture of the biscuits than striving for perfection.
- Cut Out the Biscuits: Grab your biscuit cutter (a 2-inch diameter cutter works well, or even a drinking glass if you’re in a pinch). Dip the cutter in a little flour to prevent sticking, then press straight down into the dough without twisting. Twisting can seal the edges of the biscuit, preventing a good rise. Cut out as many biscuits as you can, trying to place the cuts close together to minimize scraps. This helps ensure you get the most yield from your first round.
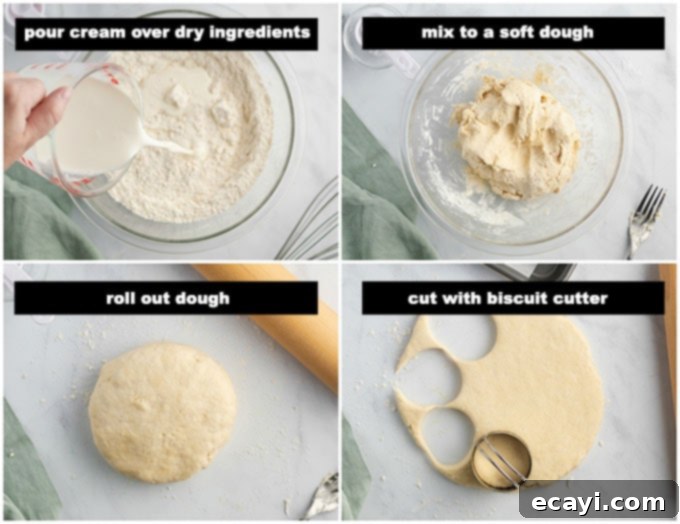
- Transfer to Baking Sheet: Carefully transfer the cut biscuits to your prepared baking sheet. You can do this by hand or with a small spatula. Arrange them a couple of inches apart to allow for even baking and browning.
- Rework Scraps (Minimally): Gather together any dough scraps. Gently press them together to form a new disc, working them as little as possible to avoid overdeveloping gluten. Pat this re-formed dough out to a 1/2-inch thickness again and cut out any additional biscuits. Transfer these to the baking sheet as well. Keep in mind that biscuits from re-worked dough may not rise quite as high as the first batch, but they will still be delicious.
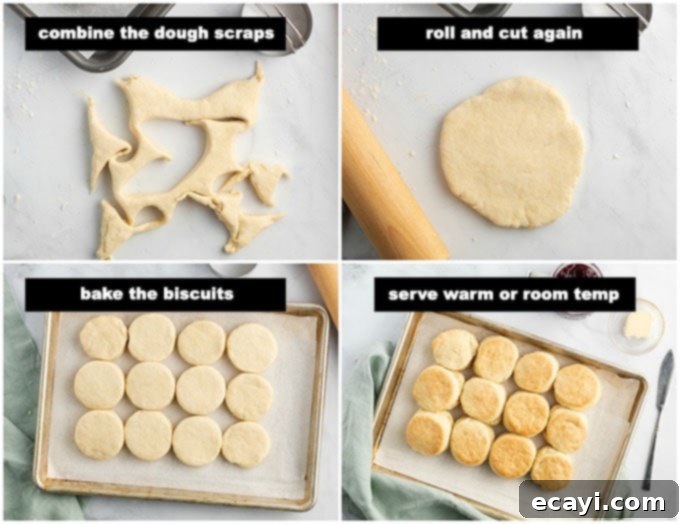
- Bake to Golden Perfection: Place the baking sheet in your preheated oven and bake the biscuits for 14 to 18 minutes. Keep a close eye on them; they are ready when they have risen tall, look nicely puffed, and have achieved a beautiful golden-brown color on top and bottom. Once baked, carefully transfer them to a serving basket or cooling rack. Serve warm for the best experience!
Essential Baking Tips for Perfect Biscuits Every Time
Achieving biscuit perfection is easier than you think with these expert tips:
- Avoid Overworking the Dough: This is perhaps the most crucial tip for light, flaky biscuits. When you knead or handle the dough too much, you develop the gluten in the flour. Over-developed gluten leads to a tough, dense biscuit rather than the tender, airy texture we’re aiming for. Use a light, quick touch, and only work the dough until it just comes together.
- Freezing for Future Enjoyment: You can easily prepare these biscuits ahead of time and freeze them for later. Simply make the dough and cut out the biscuits as directed, up to the point just before baking. Arrange them on a baking sheet and freeze until solid. Once frozen, transfer the unbaked biscuits to an airtight container or freezer-safe bag. They will keep beautifully in the freezer for up to 2 months. When you’re ready to bake, there’s no need to defrost them! Just place the frozen biscuits on a baking sheet and add a couple more minutes to the oven time. This is a fantastic way to have fresh biscuits on demand.
- Optimal Serving Suggestion: For the ultimate biscuit experience, aim for an oven-to-table delivery. There’s nothing quite like a warm biscuit enjoyed immediately after baking. They are heavenly when served with cold, sweet butter that slowly melts into their flaky layers. Consider a drizzle of local honey, maple syrup, or a variety of fruit jams for extra indulgence.
- Storing Leftover Biscuits: While biscuits are undeniably best fresh, you can store any leftovers. Place them in a plastic bag or an airtight container overnight. The next day, you can give them a quick warm-up in the oven or microwave. Be aware, however, that reheating won’t fully recapture their freshly made flakiness, though they will still be wonderfully soft and comforting. For best texture, try to eat them the day they are made.
Delightful Pairings: What to Serve Alongside Homemade Biscuits
Homemade biscuits are incredibly versatile and can elevate almost any meal. Their light, flaky texture and subtle richness make them a perfect accompaniment to a wide range of dishes, from hearty stews to savory roasts and even sweet treats.
- Hearty Stews and Soups: Biscuits are simply divine with comforting, spoon-worthy meals. My personal favorite for a cold day is Crockpot Beef Stew. Dipping a warm, fluffy biscuit into the rich, savory gravy of a stew is an experience of pure bliss, soaking up every drop of flavor. They also pair wonderfully with a robust bowl of chili, offering a delightful contrast to the spice, much like homemade sweet cornbread. Another excellent match is my Dutch Oven Goulash, where the biscuits perfectly complement the tender meat and rich sauce.
- Savory Roasts and Pot Roasts: For a comforting Sunday dinner, these biscuits are the ideal sidekick. They pair beautifully with slow-cooked meats, such as my Crockpot Roast Beef or the incredibly flavorful Mississippi Pot Roast. The biscuits are perfect for soaking up the delicious pan juices and gravies, turning every bite into a savory delight.
- Classic Breakfast & Brunch: Beyond the beloved Biscuits and Gravy, serve them with scrambled eggs, crispy bacon, and fresh fruit for a complete breakfast. Or try them with fried chicken for a true Southern spread.
- Sweet Delights: Don’t forget their sweet potential! Split them, toast lightly, and top with fresh berries and whipped cream for an easy “shortcake” dessert. They’re also fantastic with just butter and honey, or even a smear of Nutella for a quick treat.
This phenomenal recipe dates back to my “Tuesdays with Dorie” baking days in the mid-2000s. You can find the original inspiration for this quick and easy biscuit recipe on page 23 of Dorie Greenspan’s beloved cookbook, Baking From My Home to Yours, a true classic for any home baker.
I am passionate about baking, cooking, and sharing my delicious recipes with you! I understand how easy it is to forget to check back for new culinary inspiration, so I’ve made it simple for you with my weekly newsletter! You can subscribe for free, and I’ll send mouth-watering recipes directly to your email inbox every single week, ensuring you never miss a new favorite.
More Delicious Bread and Rolls Recipes to Explore
If you love baking homemade breads and rolls, be sure to check out these other popular recipes:
- Garlic Knots
- Parmesan Garlic Rolls
- Homemade Hawaiian Rolls
- Homemade Pull Apart Dinner Rolls
- Air Fryer Garlic Parmesan Twists

Homemade Biscuits
IMPORTANT – There are often Frequently Asked Questions within the blog post that you may find helpful. Simply scroll back up to read them!
Print It
Rate It
Save ItSaved!
Ingredients
- 2 cups all-purpose flour
- 1 Tbsp. baking powder
- 2 tsp. sugar
- ½ tsp. salt
- 1 ¼ cups heavy whipping cream
Things You’ll Need
-
Biscuit cutters
-
Whisk
-
Mixing bowls
-
Measuring cups and spoons
-
Rolling pin
-
Baking sheets
-
Silicone baking mat
Before You Begin
- Freezing: The biscuits can be made to the point right before baking and frozen on the baking sheet. When frozen, wrap them airtight and they can be kept in the freezer for up to 2 months. Bake without defrosting – just add a couple more minutes to the oven time.
- Serving: Ideally these biscuits should go from oven to table and be served with cold sweet butter.
- Storing: You can keep the biscuits in a plastic bag overnight and give them a quick warm-up in the oven the next day, but you won’t recapture their freshly made flakiness.
Instructions
-
Getting Ready: Center a rack in your oven and preheat to 425 degrees F. Prepare your baking sheet by lining it with parchment paper or a silicone baking mat. Have a sharp 2-inch-diameter biscuit cutter (a sturdy drinking glass can also work) ready.
-
Mix Dry & Wet Ingredients: In a medium bowl, whisk together the flour, baking powder, sugar, and salt. Pour about 1 cup of the cold heavy cream over the dry ingredients. Using a fork, gently toss the ingredients together. If the dough seems too dry, add more cream one spoonful at a time until you achieve a soft, cohesive, “shaggy” dough. Then, with your hands, give the dough a quick, gentle kneading—3 or 4 turns are usually sufficient to bring everything together without overworking.
-
Shape the Dough: Lightly dust your work surface with flour and turn out the dough. Lightly dust the top of the dough with flour, then gently pat it out with your hands or roll it with a pin until it is approximately 1/2 inch thick. Remember, a quick, light touch is more important than achieving perfectly even thickness at this stage.
-
Cut Biscuits & Rework Scraps: Use your biscuit cutter to cut out as many biscuits as possible, pressing straight down without twisting and placing cuts close together. Carefully transfer these to your prepared baking sheet. Gather the dough scraps, gently press them together without overworking, pat them out to 1/2-inch thickness, and cut out any remaining biscuits, transferring them to the sheet. (At this point, you can freeze unbaked biscuits on the baking sheet, then wrap airtight for up to 2 months. Bake from frozen, adding a couple more minutes to the cooking time.)
-
Bake & Serve: Bake the biscuits for 14 to 18 minutes, or until they are tall, beautifully puffed, and golden brown. Transfer them immediately to a serving basket and enjoy them warm with your favorite accompaniments!
Nutrition
The recipes on this blog are tested with a conventional gas oven and gas stovetop. It’s important to note that some ovens, especially as they age, can cook and bake inconsistently. Using an inexpensive oven thermometer can assure you that your oven is truly heating to the proper temperature. If you use a toaster oven or countertop oven, please keep in mind that they may not distribute heat the same as a conventional full sized oven and you may need to adjust your cooking/baking times. In the case of recipes made with a pressure cooker, air fryer, slow cooker, or other appliance, a link to the appliances we use is listed within each respective recipe. For baking recipes where measurements are given by weight, please note that results may not be the same if cups are used instead, and we can’t guarantee success with that method.
This post originally appeared here on Apr 20, 2010.
