Crispy Fried Cauliflower: Your Ultimate Game Day & Party Appetizer
Prepare to delight your taste buds with these incredibly crispy, crunchy fried cauliflower florets! They are the quintessential appetizer for any game day gathering, lively party, or even a simple family dinner. With a perfectly seasoned golden-brown coating and a tender interior, these delectable bites are guaranteed to be a crowd-pleaser. Simply dredge them in our flavorful mixture, fry until beautifully golden, and serve alongside your favorite dipping sauces for an unforgettable experience.
Why This Crispy Fried Cauliflower Recipe Is a Must-Try
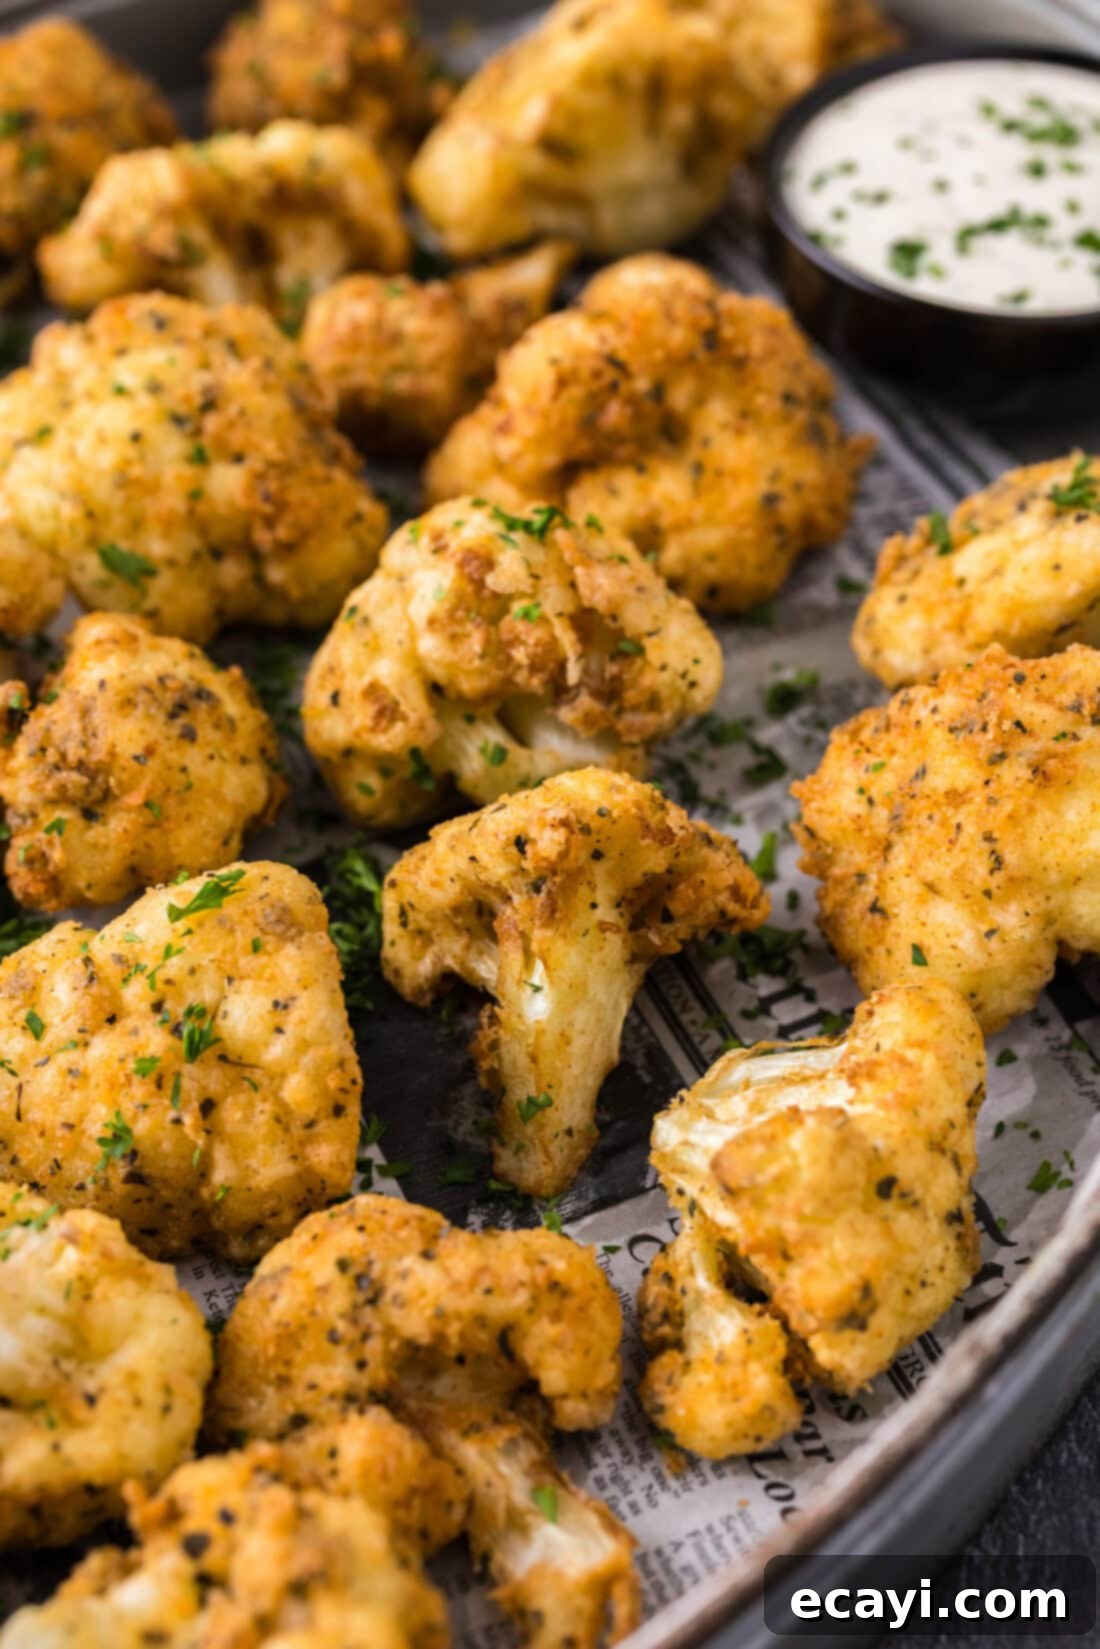
This fried cauliflower recipe stands out for several compelling reasons, making it a guaranteed hit every time. It all begins with a meticulously seasoned coating that, when fried, transforms into a glorious golden shell, delicately embracing every curve and crevice of the cauliflower florets. The result is a magnificent contrast: a light, satisfyingly crisp exterior that gives way to a perfectly cooked, wonderfully tender interior. Unlike some deep-fried vegetables that can be overwhelmed by excessive breading, these cauliflower nuggets strike the ideal balance, offering all the delightful qualities of a great fried snack without feeling heavy.
These golden cauliflower bites are not just incredibly delicious; they are also remarkably easy to prepare. Their irresistible appeal makes them one of the first appetizers to disappear from any football party spread, holiday gathering, or casual get-together. The best part? You can have your first batch of these mouthwatering morsels served up in less than 25 minutes, making them a fantastic last-minute addition to your menu. So, if you’re looking for a simple yet impressive dish that consistently earns rave reviews, this crispy fried cauliflower is precisely what you need. Let’s dive into how you can bring this amazing dish to life in your kitchen.

Essential Ingredients for Perfect Fried Cauliflower
Before you begin, gather all your ingredients to ensure a smooth cooking process. You can find all specific measurements, quantities, and detailed instructions in the printable recipe card located at the end of this post. For now, let’s talk about the key components that bring this fantastic dish together.
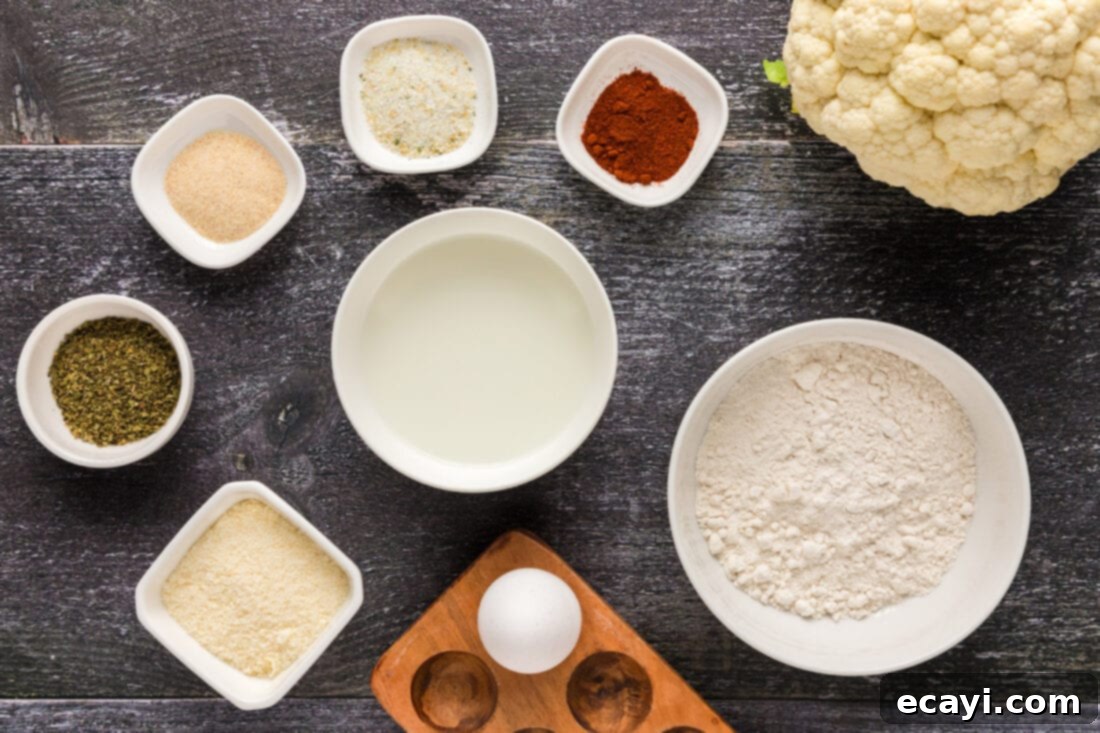
Ingredient Information and Smart Substitutions
Cauliflower: The Star of the Show
Choosing the right head of cauliflower is crucial for the best results. Look for a head that is firm, dense, and creamy white, with no dark spots or discoloration. The leaves should be fresh and green, clinging tightly to the head. To prepare your cauliflower, the easiest and most efficient way to cut it into uniform florets is to place the head upright and slice it cleanly in half through the center. This action exposes the central core and the individual stems of each floret. Using the tip of a sharp knife, carefully cut the florets away from the main stem. Aim for florets that are roughly uniform in size, as this ensures even cooking and consistent crispiness. Smaller florets will cook faster and get crispier, while larger ones will remain more tender inside.
The Flavorful Coating: Your Key to Golden Perfection
Our carefully selected blend of spices provides the perfect foundation for a delicious and aromatic coating. Paprika adds a lovely warm color and a mild, sweet peppery flavor, while dried oregano brings an earthy, herbaceous note. Onion powder and garlic salt contribute essential savory depth, creating a balanced and irresistible profile. Finally, grated Parmesan cheese not only adds a salty, umami kick but also helps create that desirable crispy texture.
Spice it Up: Feel free to customize your coating! If you enjoy a kick, consider incorporating a tablespoon of Cajun seasoning into the flour mixture. However, if you do, remember to taste your mixture before adding extra salt, as many Cajun spice blends already contain a significant amount of sodium. Other delicious additions could include a pinch of cayenne pepper for heat, smoked paprika for a deeper flavor, or even a touch of cumin for an unexpected twist. For an extra layer of flavor, experiment with other dried herbs like thyme or rosemary.
Gluten-Free Option: To make this recipe gluten-free, simply substitute the all-purpose flour with a high-quality gluten-free all-purpose flour blend. Many blends are designed to behave similarly to wheat flour, ensuring your cauliflower still gets perfectly crispy.
Dairy-Free/Vegan Alternatives: For a dairy-free version, use your favorite unsweetened plant-based milk (almond, soy, or oat milk work well) instead of cow’s milk. To make the recipe completely vegan, you can replace the egg with a “flax egg” (1 tablespoon ground flaxseed mixed with 3 tablespoons water, let sit for 5 minutes) or a commercial egg replacer, and omit the Parmesan cheese or use a vegan Parmesan alternative.
Egg and Milk: The Binding Agents
The egg and milk mixture serves as the essential binder, allowing the flavorful flour coating to adhere beautifully to each cauliflower floret. The egg provides structure and helps create a rich, golden crust, while the milk adds a touch of moisture and helps tenderize the cauliflower slightly.
Oil for Frying: Choosing the Right Fat
The type of oil you use significantly impacts the final taste and crispiness of your fried cauliflower. Opt for oils with a high smoke point, such as vegetable oil, canola oil, peanut oil, or sunflower oil. These oils can withstand high temperatures without breaking down or imparting undesirable flavors. Ensure you use enough oil to fully submerge the cauliflower florets, allowing them to cook evenly and achieve maximum crispiness.
Step-by-Step Guide to Making Crispy Fried Cauliflower
These step-by-step photos and detailed instructions are provided to help you visualize each stage of making this delicious recipe. For a complete printable version, including all precise measurements and instructions, please jump to the recipe card at the bottom of this post.
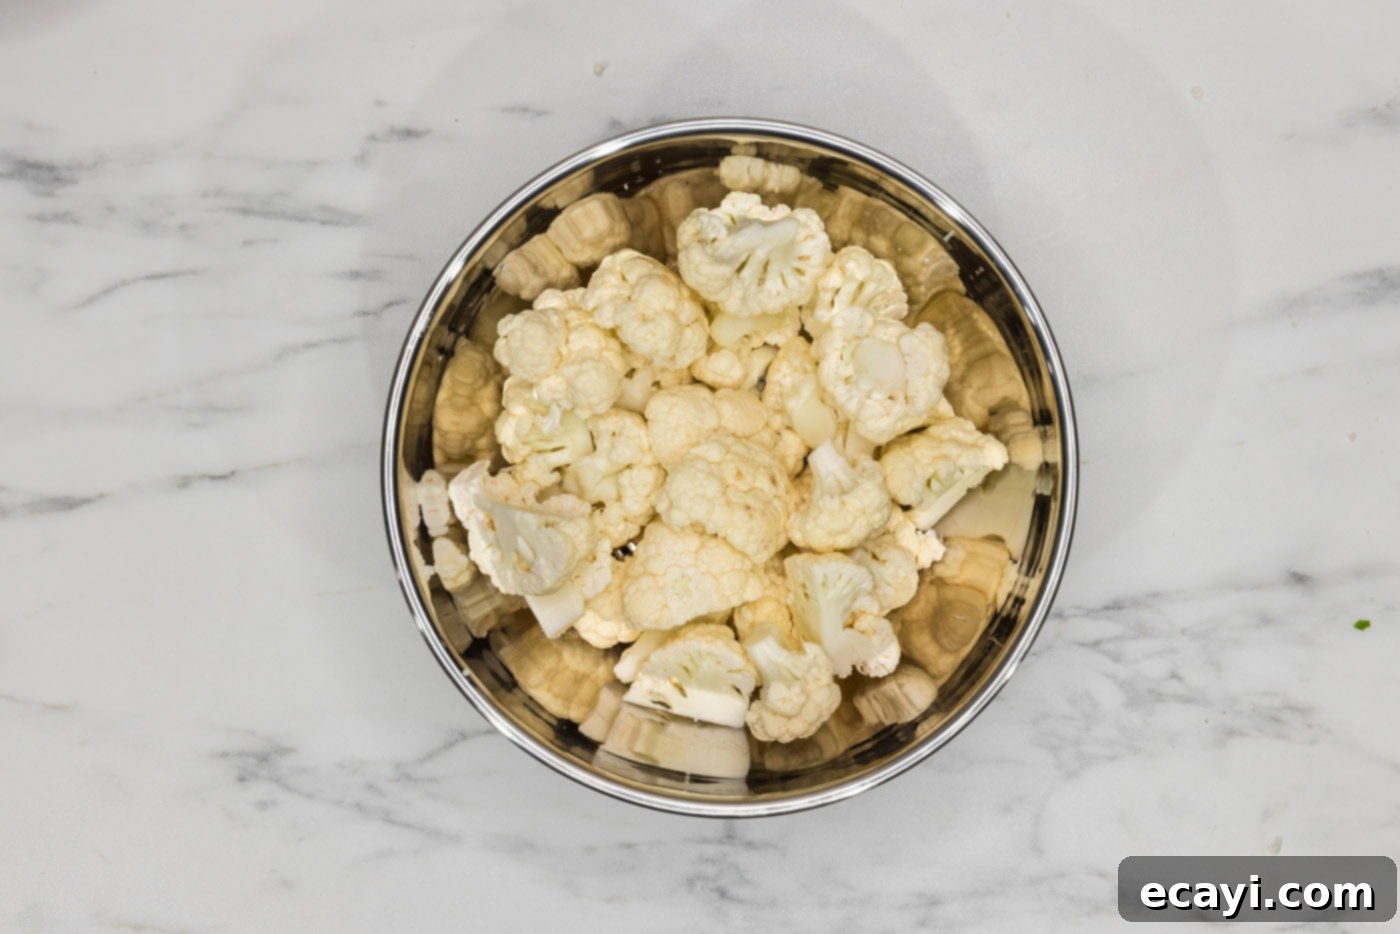
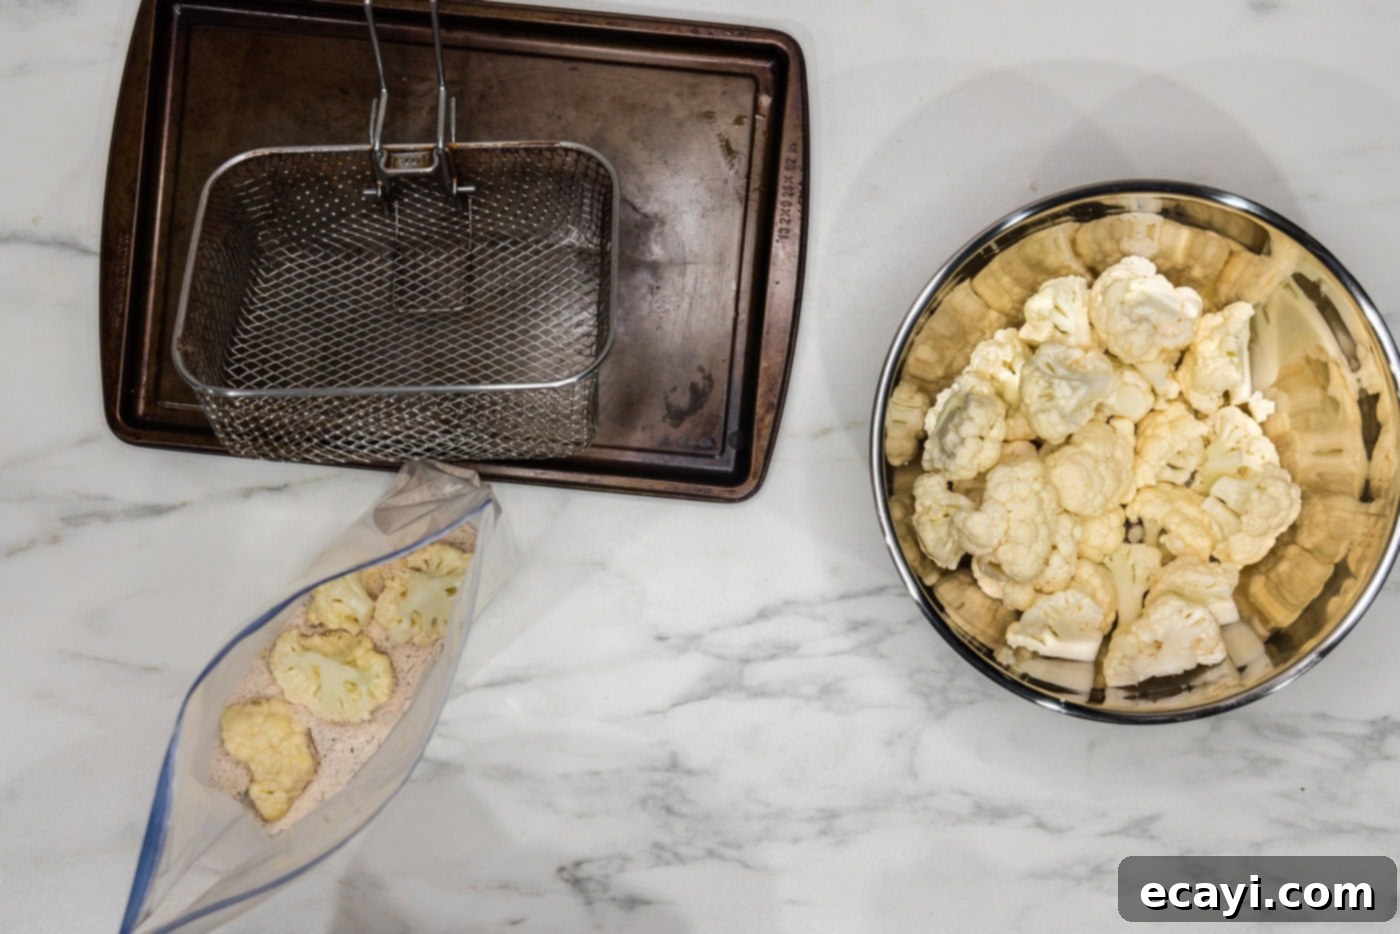
- Prepare the Cauliflower: Start by cutting your medium head of cauliflower into large, bite-sized florets. Aim for pieces that are roughly the same size to ensure they cook evenly. A simple trick is to cut the entire head in half, then use the tip of your knife to separate the florets from the central core and stems. Place the prepared florets in a large bowl.

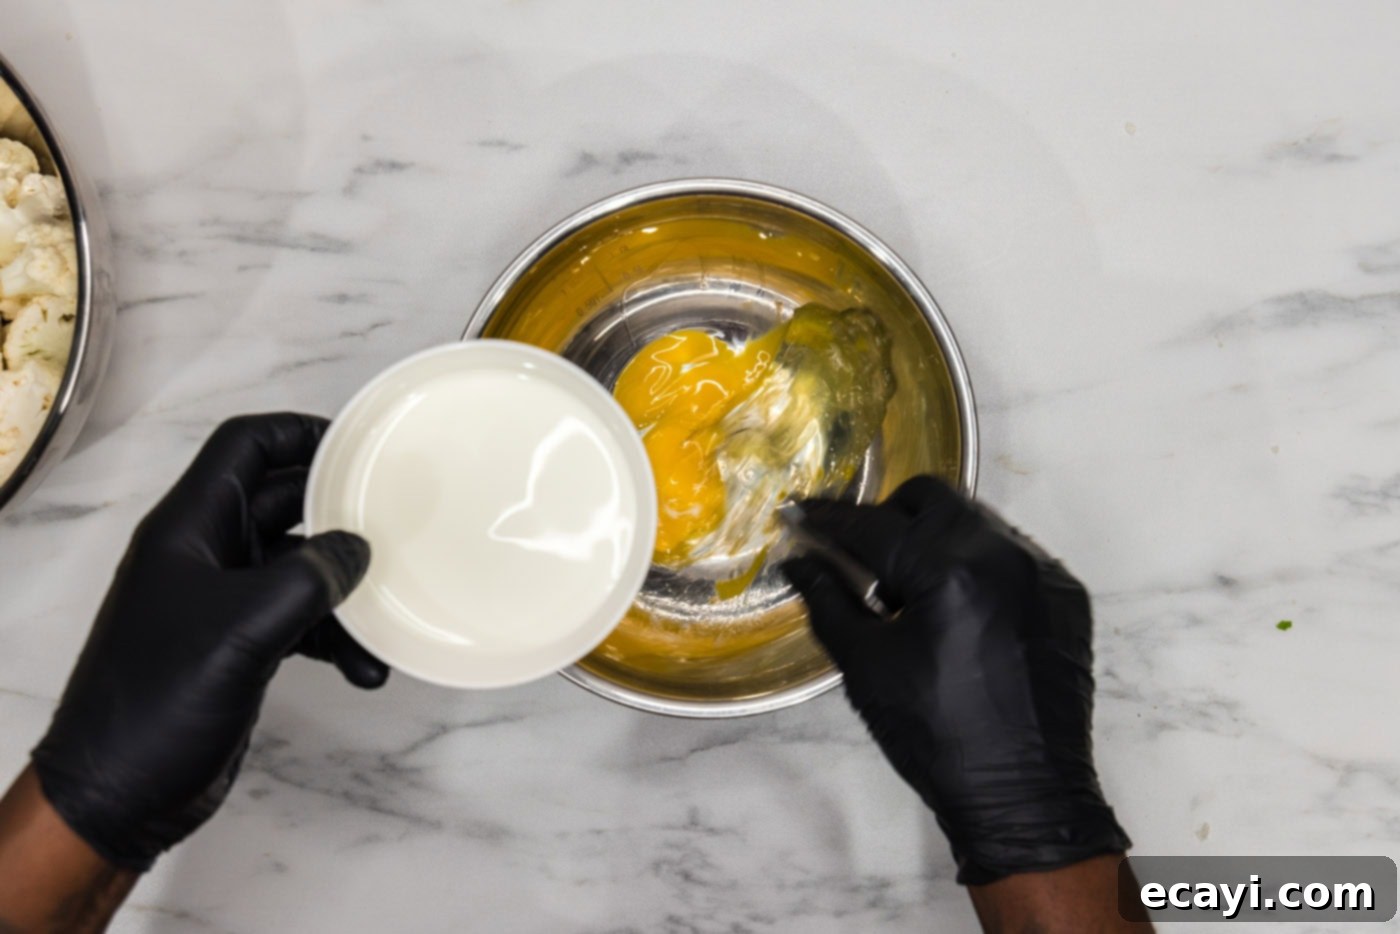
- Create the Egg Wash: In a separate large bowl, whisk together the large egg and ¾ cup of milk until well combined and no streaks of egg yolk remain. This egg wash will act as the binder for your seasoned flour coating.

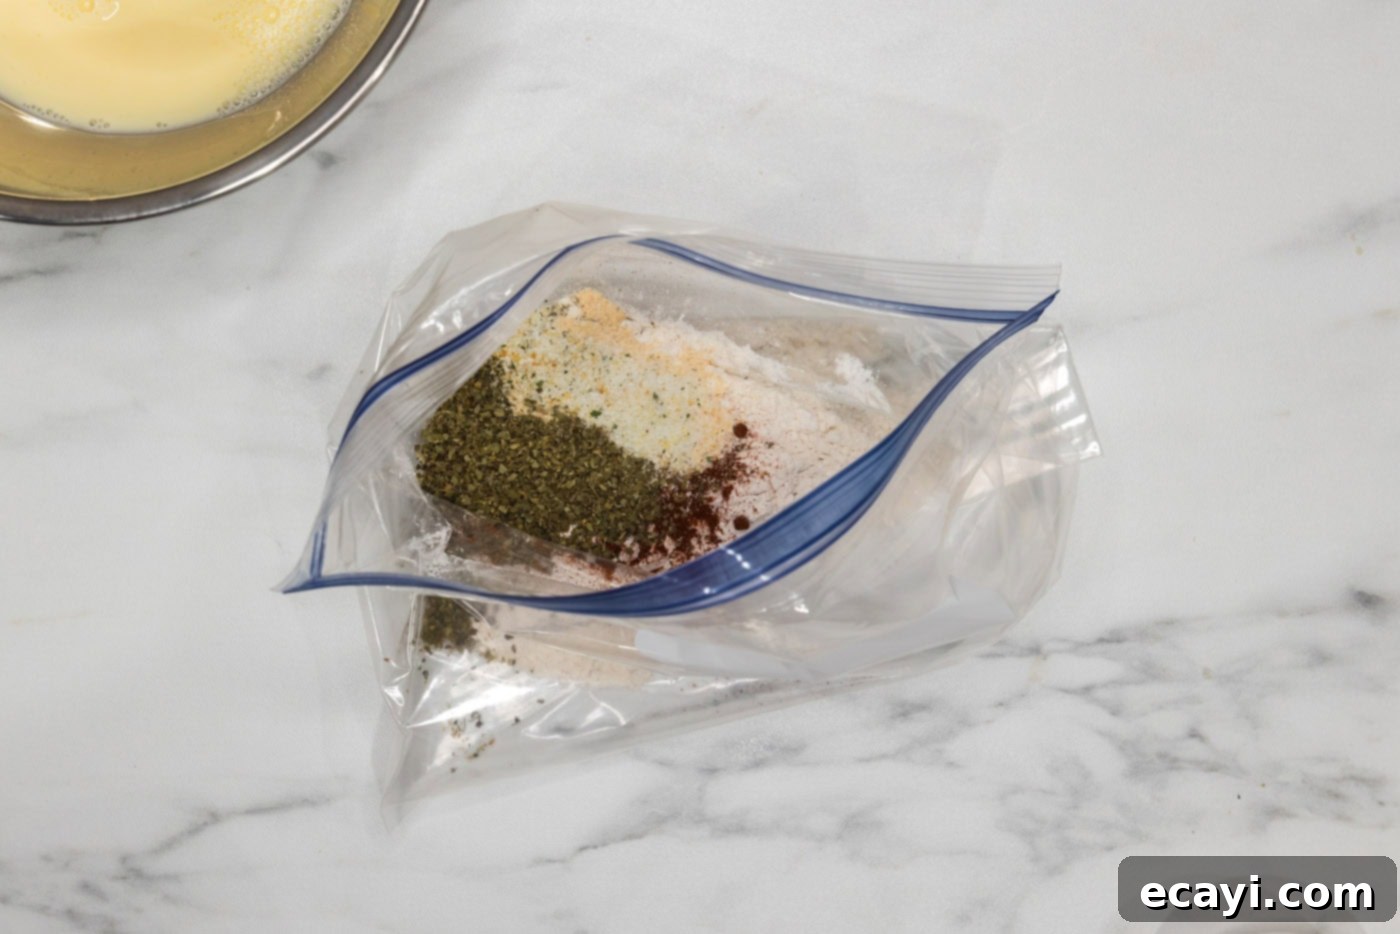
- Prepare the Dry Coating: Take a gallon-sized zipper-top bag and add 1 cup of all-purpose flour. Then, add your seasonings: 2 teaspoons of paprika, 1 tablespoon of dried oregano, 2 teaspoons of onion powder, 2 teaspoons of garlic salt, and ¼ cup of grated Parmesan cheese. Close the bag tightly, ensuring no air can escape, and shake vigorously until all the ingredients are thoroughly combined and evenly distributed. This method ensures every floret gets perfectly coated.

- Preheat the Oil: Add your chosen frying oil to a deep fryer or a large, deep-sided skillet (see FAQ section for skillet tips). Heat the oil to 335°F (168°C). Maintaining the correct oil temperature is crucial for crispy, non-greasy results. Use a deep-fry thermometer if you’re not using a deep fryer with temperature control.
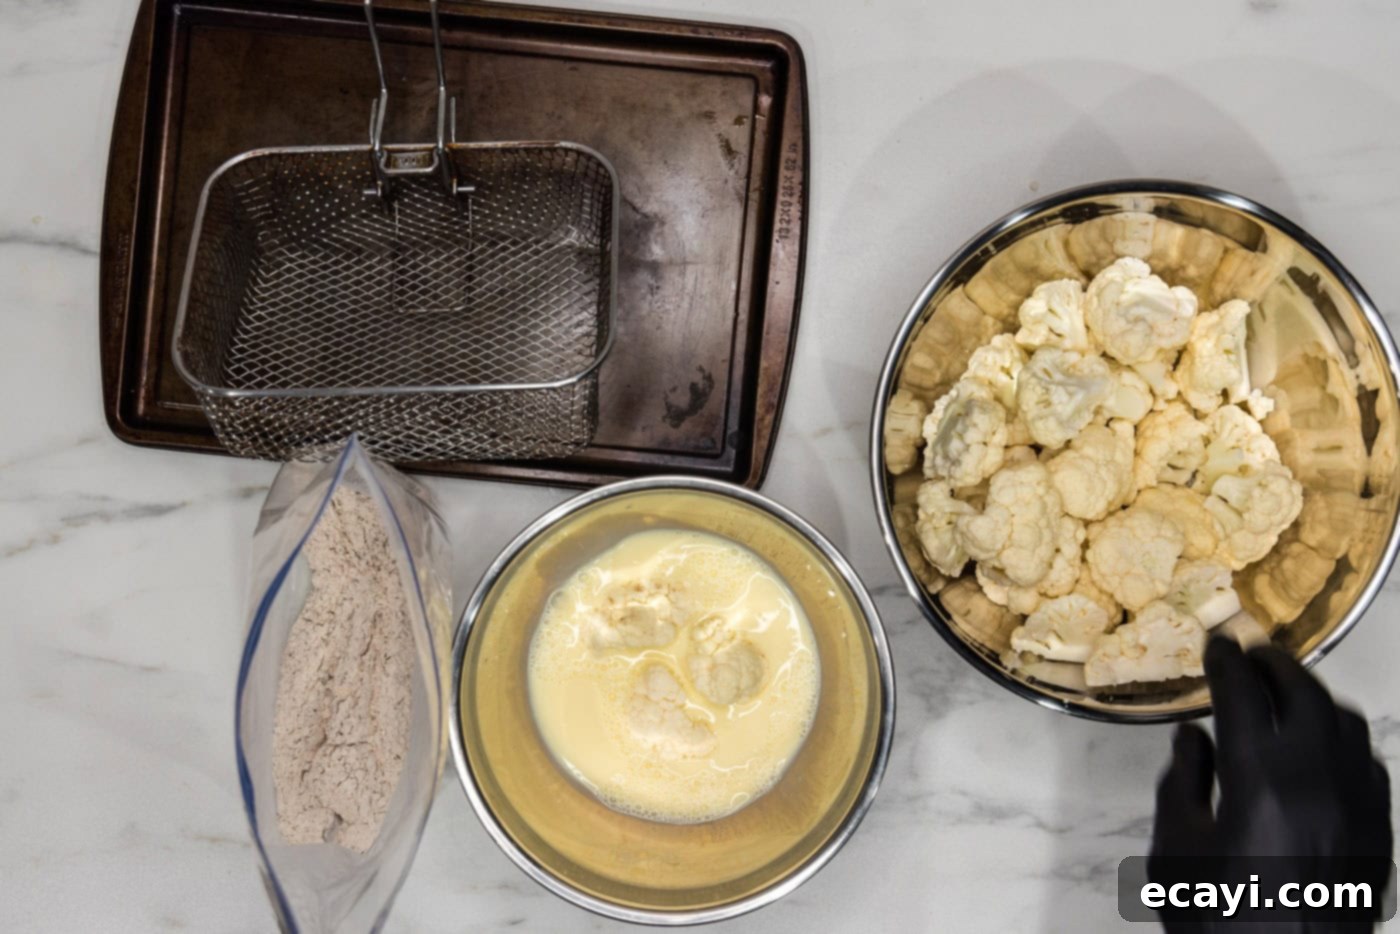
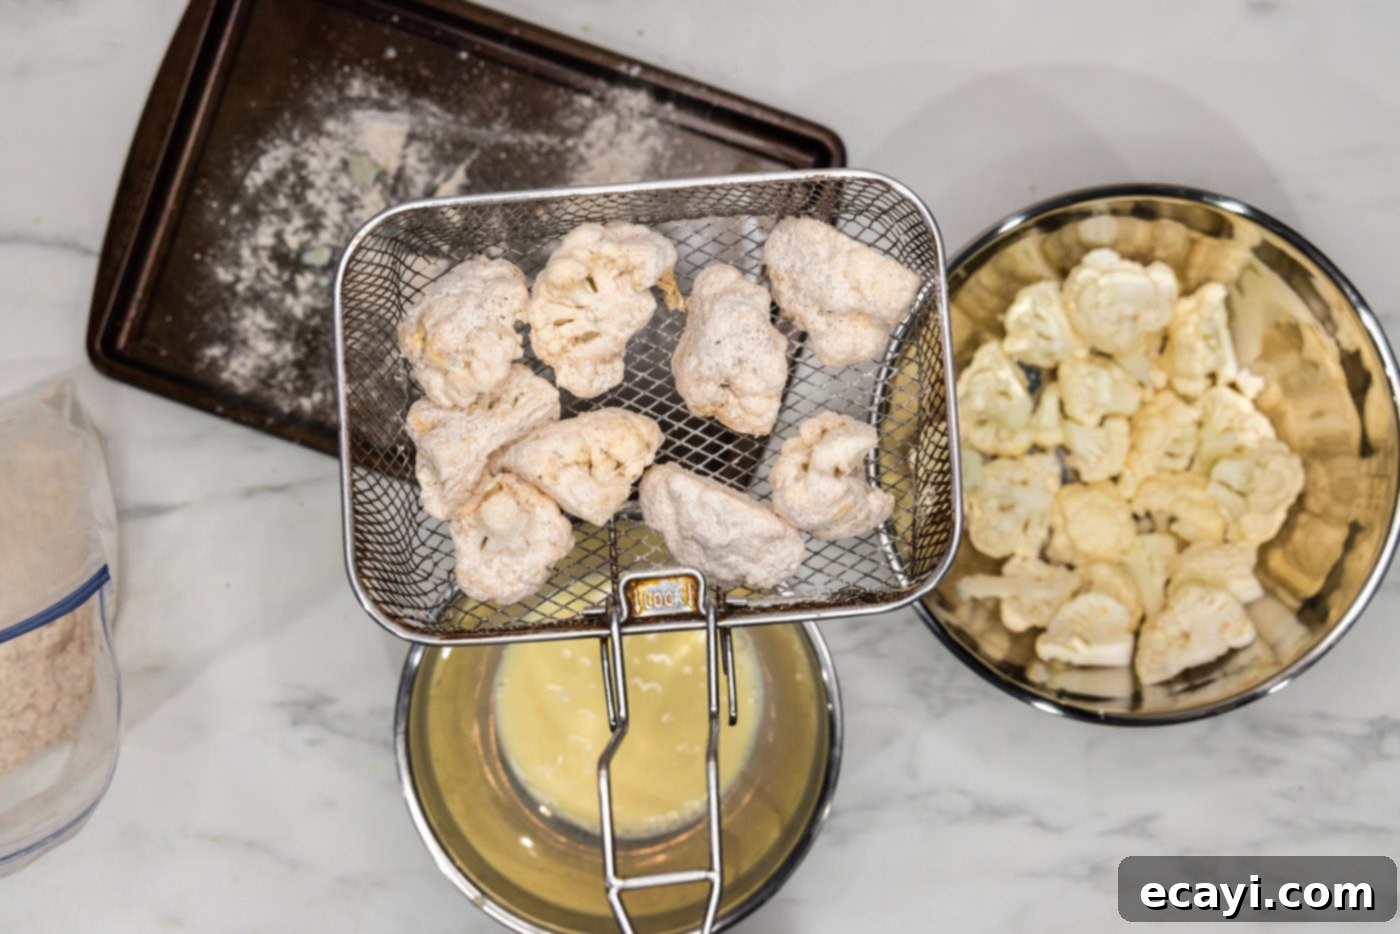
- Dredge the Cauliflower: While the oil is heating, begin breading your cauliflower. Drop a few cauliflower florets at a time into the egg mixture, ensuring they are fully submerged and coated. Allow any excess egg wash to drip off, then transfer these wet florets into the bag with the seasoned flour mixture. Close the bag and shake it well, ensuring each floret is completely covered with the dry coating. Once breaded, carefully remove them and place them into the fryer basket, ready for frying.


- Repeat the Process: Continue dredging the remaining cauliflower florets in batches, preparing them for the fryer.
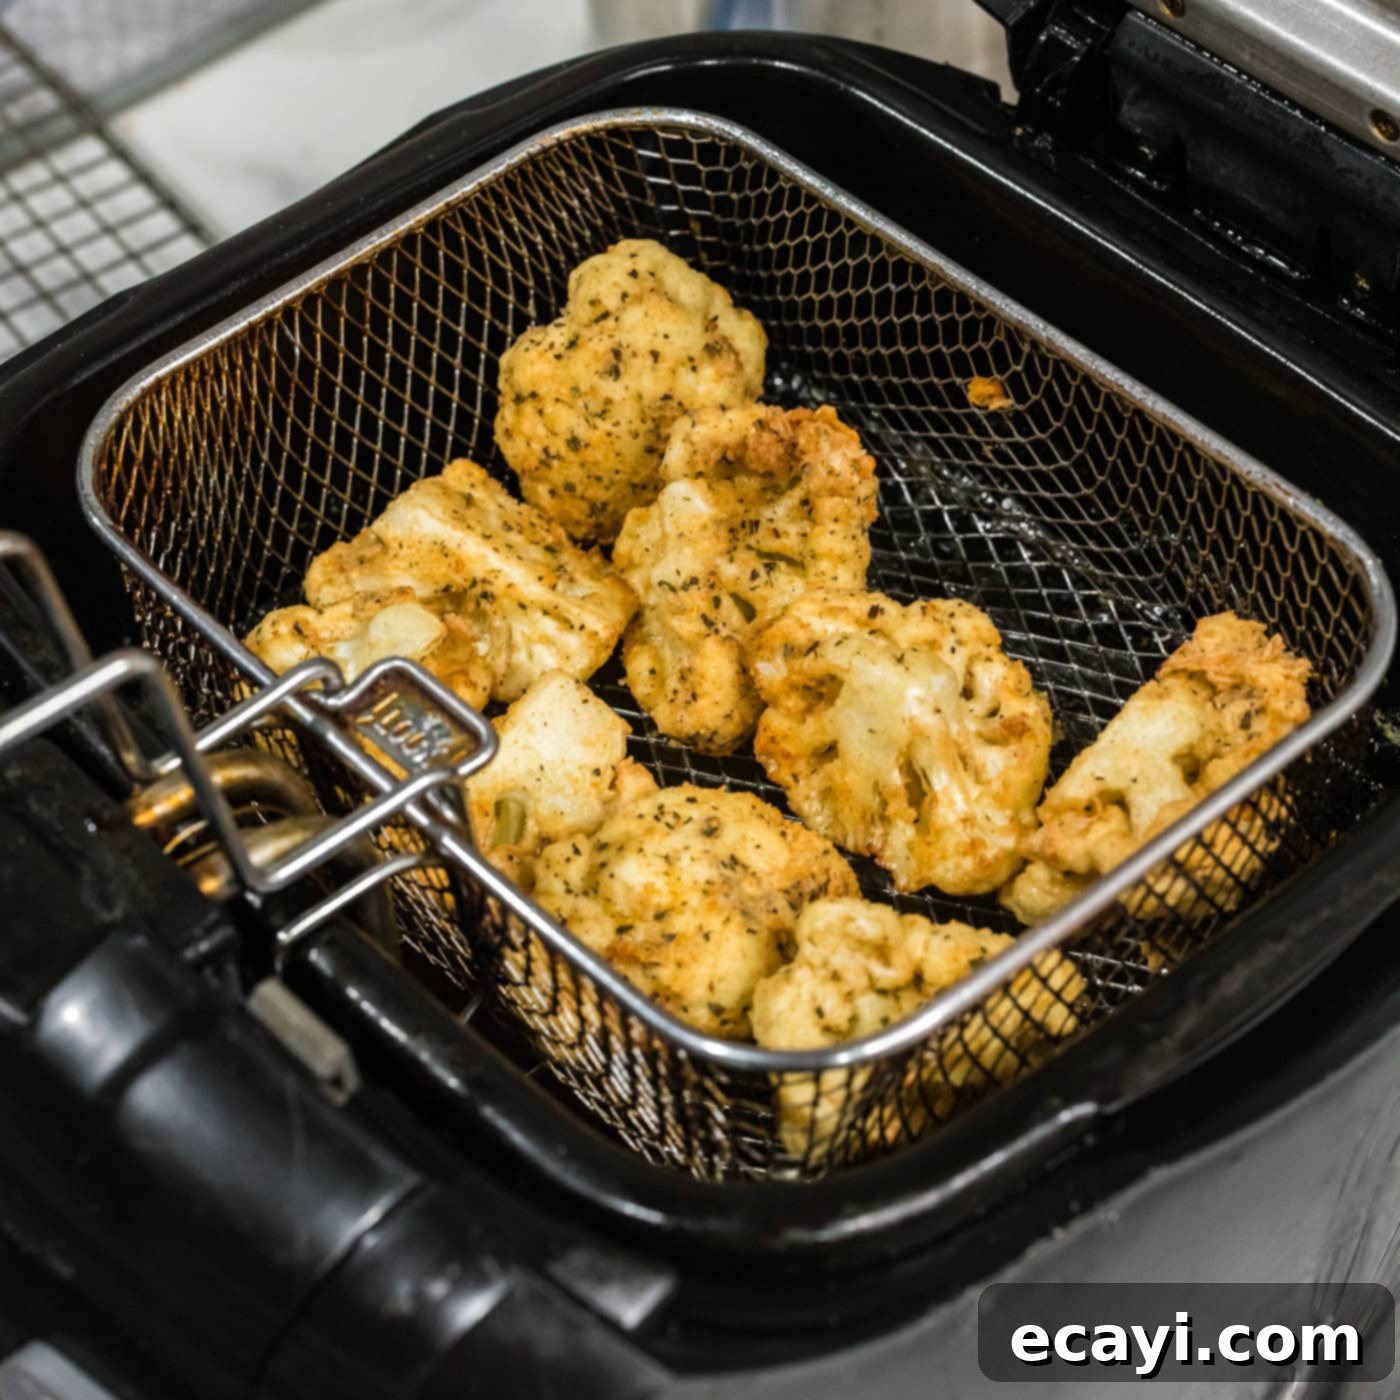
- Fry to Golden Perfection: Fry one basketful of breaded cauliflower at a time for approximately 2-3 minutes. Keep a close eye on them; they should turn a beautiful golden brown and become wonderfully crispy. In our tests, 2 ½ minutes yielded perfect results. Frying in batches is important to maintain the oil temperature and prevent the cauliflower from becoming soggy.

- Drain and Serve: Once fried, carefully remove the basket and transfer the crispy cauliflower to a paper towel-lined tray or a wire rack set over a baking sheet to drain any excess oil. This step is essential for maintaining their crispiness. Serve immediately with your favorite dips!
Frequently Asked Questions & Expert Tips for Fried Cauliflower
To keep your fried cauliflower delicious, allow it to cool completely before transferring it to an air-tight container. Store it in the refrigerator for up to 3-4 days. For reheating, skip the microwave! Microwaving will steam the cauliflower, turning that beautiful crisp crust into a soggy mess. Instead, for best results, reheat in an air fryer using its reheat function for 5-7 minutes, or place them on a baking sheet and pop them in a preheated oven at 350°F (175°C) for about 10-15 minutes, or until thoroughly warmed through and crispy again. The goal is to evaporate moisture and restore that satisfying crunch.
Yes, absolutely! You can achieve excellent results using a large, deep-sided skillet or Dutch oven on your stovetop. Simply add enough oil to ensure the florets will be fully submerged, typically about 3-4 inches deep. When deep frying in a skillet, precise temperature control is paramount. I highly recommend using a clip-on thermometer to accurately gauge the oil’s temperature. If the oil isn’t hot enough (below 335°F), your cauliflower can absorb too much oil and become greasy and soggy. Conversely, if the oil is too hot, the exterior will burn quickly while the interior remains raw or dry. Aim for a consistent 335°F (168°C) to 350°F (175°C). It’s also important to maintain this temperature between batches; allow the oil to return to temperature before adding more cauliflower to ensure uniform cooking and crispiness.
For an even crispier coating, you can try a “double dredge” method. After dipping the cauliflower in the egg wash and then the seasoned flour, dip it back into the egg wash briefly, and then once more into the seasoned flour. This creates a thicker crust. Additionally, adding a tablespoon of cornstarch to your flour mixture can significantly increase crispiness.
Yes, with simple substitutions! For a gluten-free version, use an all-purpose gluten-free flour blend in place of regular flour. For a vegan option, substitute the egg with a “flax egg” (1 tablespoon ground flaxseed meal mixed with 3 tablespoons water, allowed to sit for 5 minutes until gelled) or a commercial vegan egg replacer. Replace cow’s milk with an unsweetened plant-based milk (almond, soy, or oat milk work well). You can either omit the Parmesan cheese or use a high-quality vegan Parmesan alternative to maintain that cheesy flavor.
For deep frying, it’s best to use oils with a high smoke point that can withstand high temperatures without burning or imparting off-flavors. Excellent choices include vegetable oil, canola oil, peanut oil, sunflower oil, or corn oil. These oils are relatively neutral in flavor and allow the seasoning on the cauliflower to shine. Avoid olive oil, as it has a lower smoke point and will burn easily.
Besides looking for a beautiful golden-brown color on the exterior, you can check for doneness by carefully piercing a floret with a fork or a small knife. It should feel tender and easily pierced, indicating that the cauliflower inside is perfectly cooked and soft, contrasting wonderfully with the crispy coating.

Delicious Serving Suggestions for Fried Cauliflower
These crispy fried cauliflower florets are incredibly versatile and pair well with a wide array of dipping sauces. For game day or party settings, offer a selection of classic favorites like creamy ranch dressing, spicy buffalo sauce, tangy blue cheese dip, or a vibrant sriracha-mayo mixture for a bit of heat. Don’t be afraid to get creative with other options such as honey mustard, sweet chili sauce, a rich marinara, or a zesty garlic aioli. Beyond appetizers, these golden nuggets make a fantastic side dish for everyday dinners, complementing grilled chicken, burgers, or even as a flavorful addition to wraps and salads. They’re a delicious way to enjoy vegetables in a fun and exciting way!
More Irresistible Appetizer Recipes to Explore
If you love this fried cauliflower recipe, be sure to check out some of our other popular appetizer ideas that are perfect for sharing:
- Spicy Wings
- Fried Zucchini
- Fried Asparagus
- Appetizer Veggie Pizza
- Air Fryer Fried Cauliflower
I love to bake and cook and share my kitchen experience with all of you! Remembering to come back each day can be tough, that’s why I offer a convenient newsletter every time a new recipe posts. Simply subscribe and start receiving your free daily recipes!

Fried Cauliflower
IMPORTANT – There are often Frequently Asked Questions within the blog post that you may find helpful. Simply scroll back up to read them!
Print It
Pin It
Rate It
Save ItSaved!
Ingredients
- 1 medium head of cauliflower
- 1 large egg
- ¾ cup milk
- 1 cup all purpose flour
- 2 teaspoons paprika
- 1 Tablespoon dried oregano
- 2 teaspoons onion powder
- 2 teaspoons garlic salt
- ¼ cup grated parmesan cheese
- oil for frying
Things You’ll Need
-
Deep fryer or large deep sided skillet
-
Gallon sized zipper bag
Before You Begin
- You can use a large deep-sided skillet in place of a deep fryer, simply add enough oil to come up about 3-4 inches on the sides (or enough to submerge the florets). When deep frying in a skillet I would recommend using a clip-on thermometer to gauge the temperature. If the temperature of the oil isn’t high enough you can end up with soggy fried cauliflower, and if it’s too hot, you can dry them out or end up burning them. Maintaining the temperature in between batches is also important.
- The easiest way to cut a head of cauliflower into florets is to place the head facing up and slice it in half through the center. This will expose the core and all the individual floret’s stems. Use the tip of your knife to cut the florets off at the stems.
Instructions
-
Cut cauliflower into large florets.
-
Whisk egg and milk in a large bowl.
-
Place flour in a gallon zipper top bag. Add paprika, oregano, onion powder, garlic salt, and parmesan cheese. Close bag and shake to combine ingredients.
-
Add oil to deep fryer and preheat to 335 F.
-
While oil is heating up, bread the cauliflower. Drop the cauliflower into the egg mixture, a few at a time, then drop into the flour mixture. Close and shake the bag to coat the florets. Move to the fryer basket.
-
Repeat for all florets.
-
Fry, one basketful at a time for 2-3 minutes. Ours were perfect at 2 1/2 minutes.
-
Move to paper towel lined tray or rack to drain.
Expert Tips & FAQs
- Store cooled leftovers in an air-tight container kept in the refrigerator for 3-4 days. Rewarm in an air fryer using the reheat function or pop them in the oven at 350F for around 10 minutes or until warmed through. I wouldn’t recommend reheating them in the microwave as with most fried foods, it can cause them to become soggy.
Nutrition
The recipes on this blog are tested with a conventional gas oven and gas stovetop. It’s important to note that some ovens, especially as they age, can cook and bake inconsistently. Using an inexpensive oven thermometer can assure you that your oven is truly heating to the proper temperature. If you use a toaster oven or countertop oven, please keep in mind that they may not distribute heat the same as a conventional full sized oven and you may need to adjust your cooking/baking times. In the case of recipes made with a pressure cooker, air fryer, slow cooker, or other appliance, a link to the appliances we use is listed within each respective recipe. For baking recipes where measurements are given by weight, please note that results may not be the same if cups are used instead, and we can’t guarantee success with that method.

