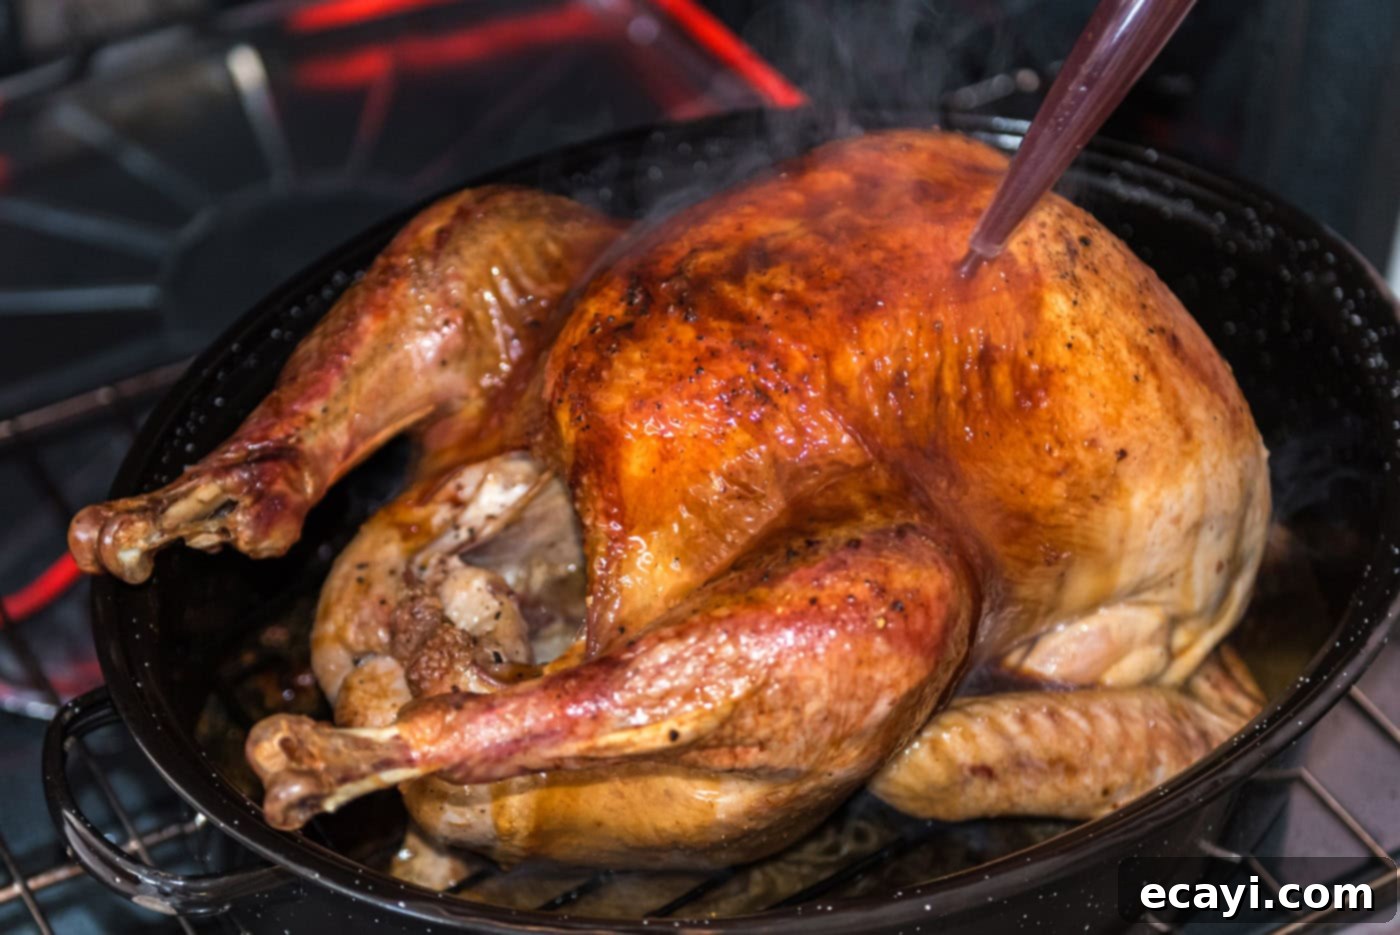
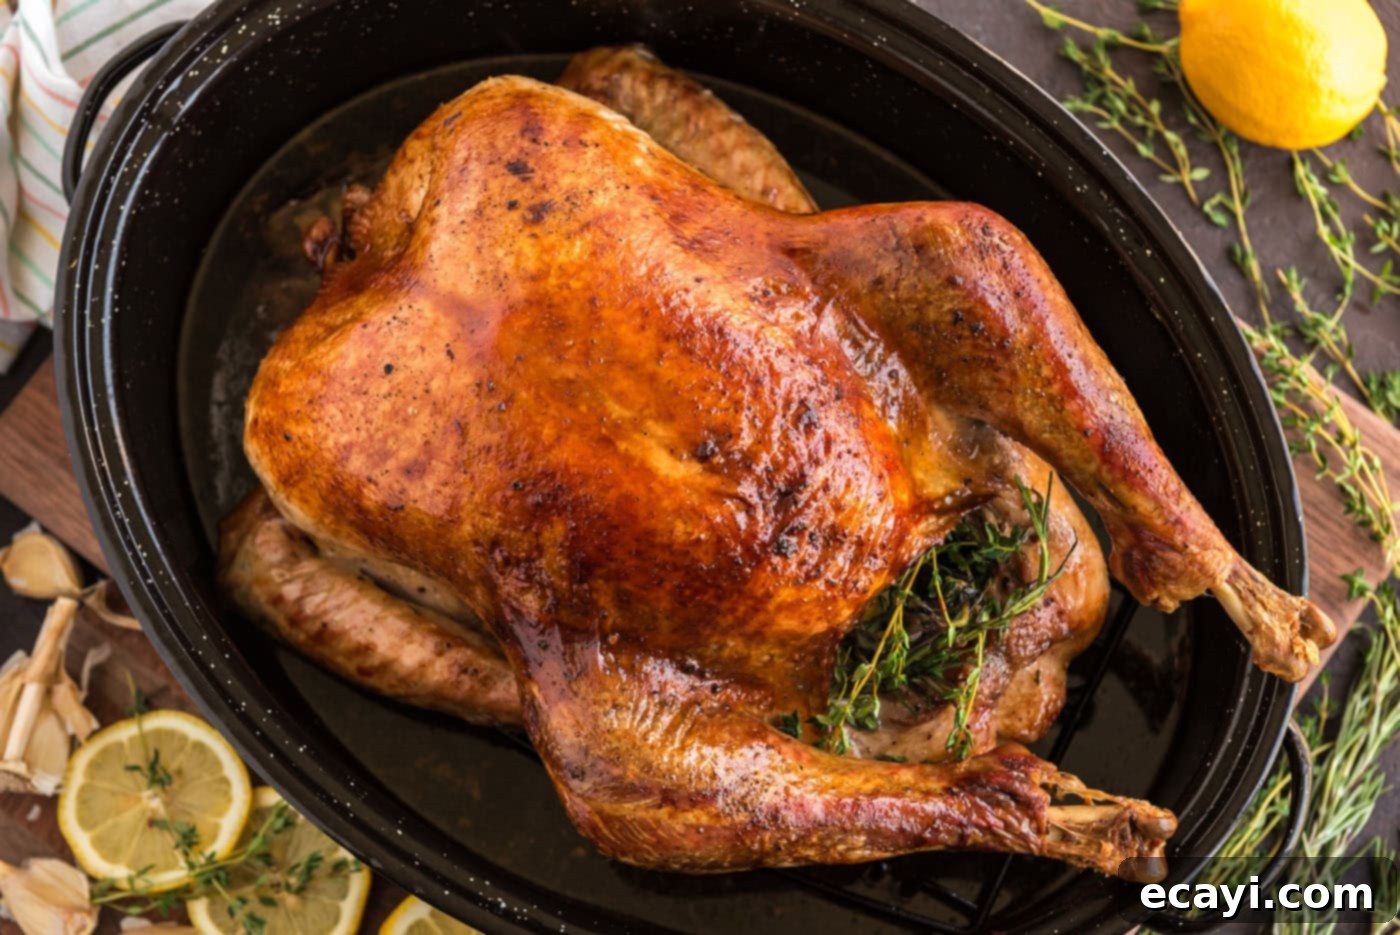
Easy Roasted Turkey Recipe: Achieve Golden, Crispy Skin and Juicy Meat for Any Occasion
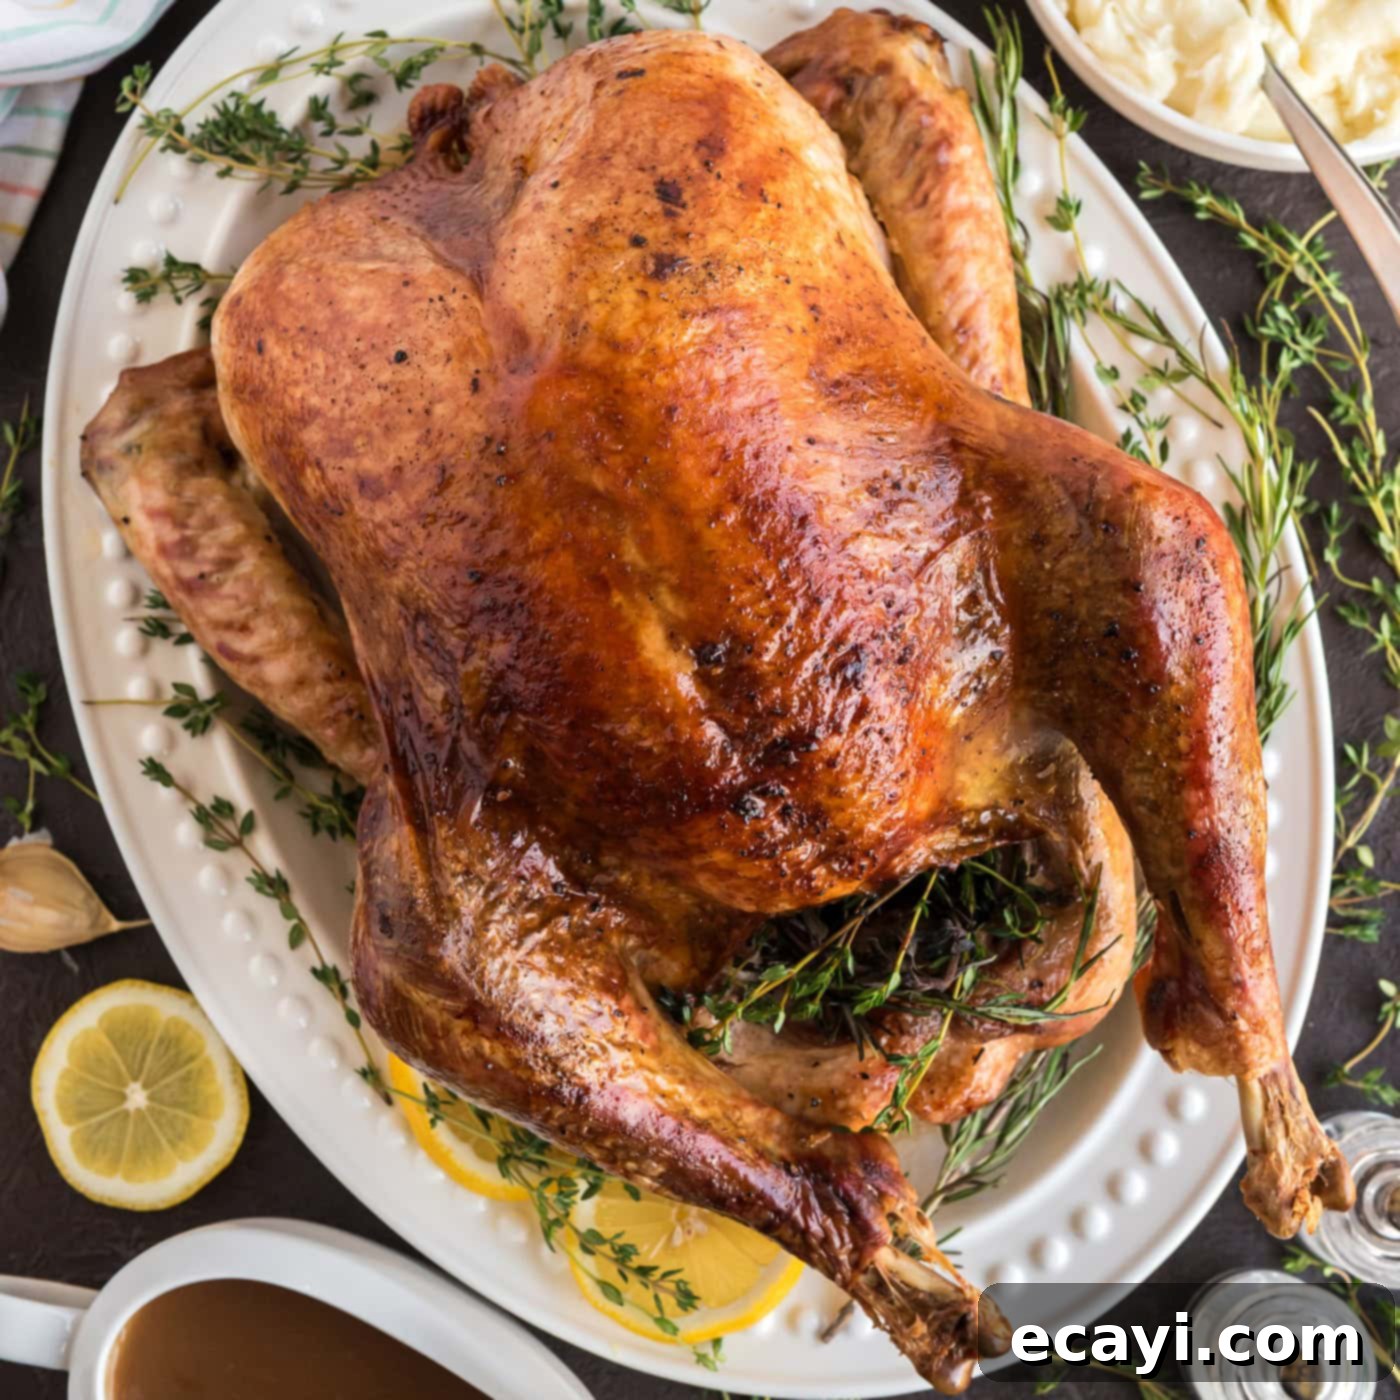
Transform your holiday table or any special meal with our foolproof, easy roasted turkey recipe. This guide ensures you achieve that coveted golden, crispy skin and incredibly juicy, tender meat every single time. Forget complicated brining or elaborate steps; with just a few simple ingredients and our expert techniques, you’ll create a show-stopping centerpiece that’s bursting with flavor. Whether you’re a seasoned chef or a first-time turkey roaster, this recipe provides all the essential tips and tricks for a truly magnificent bird.
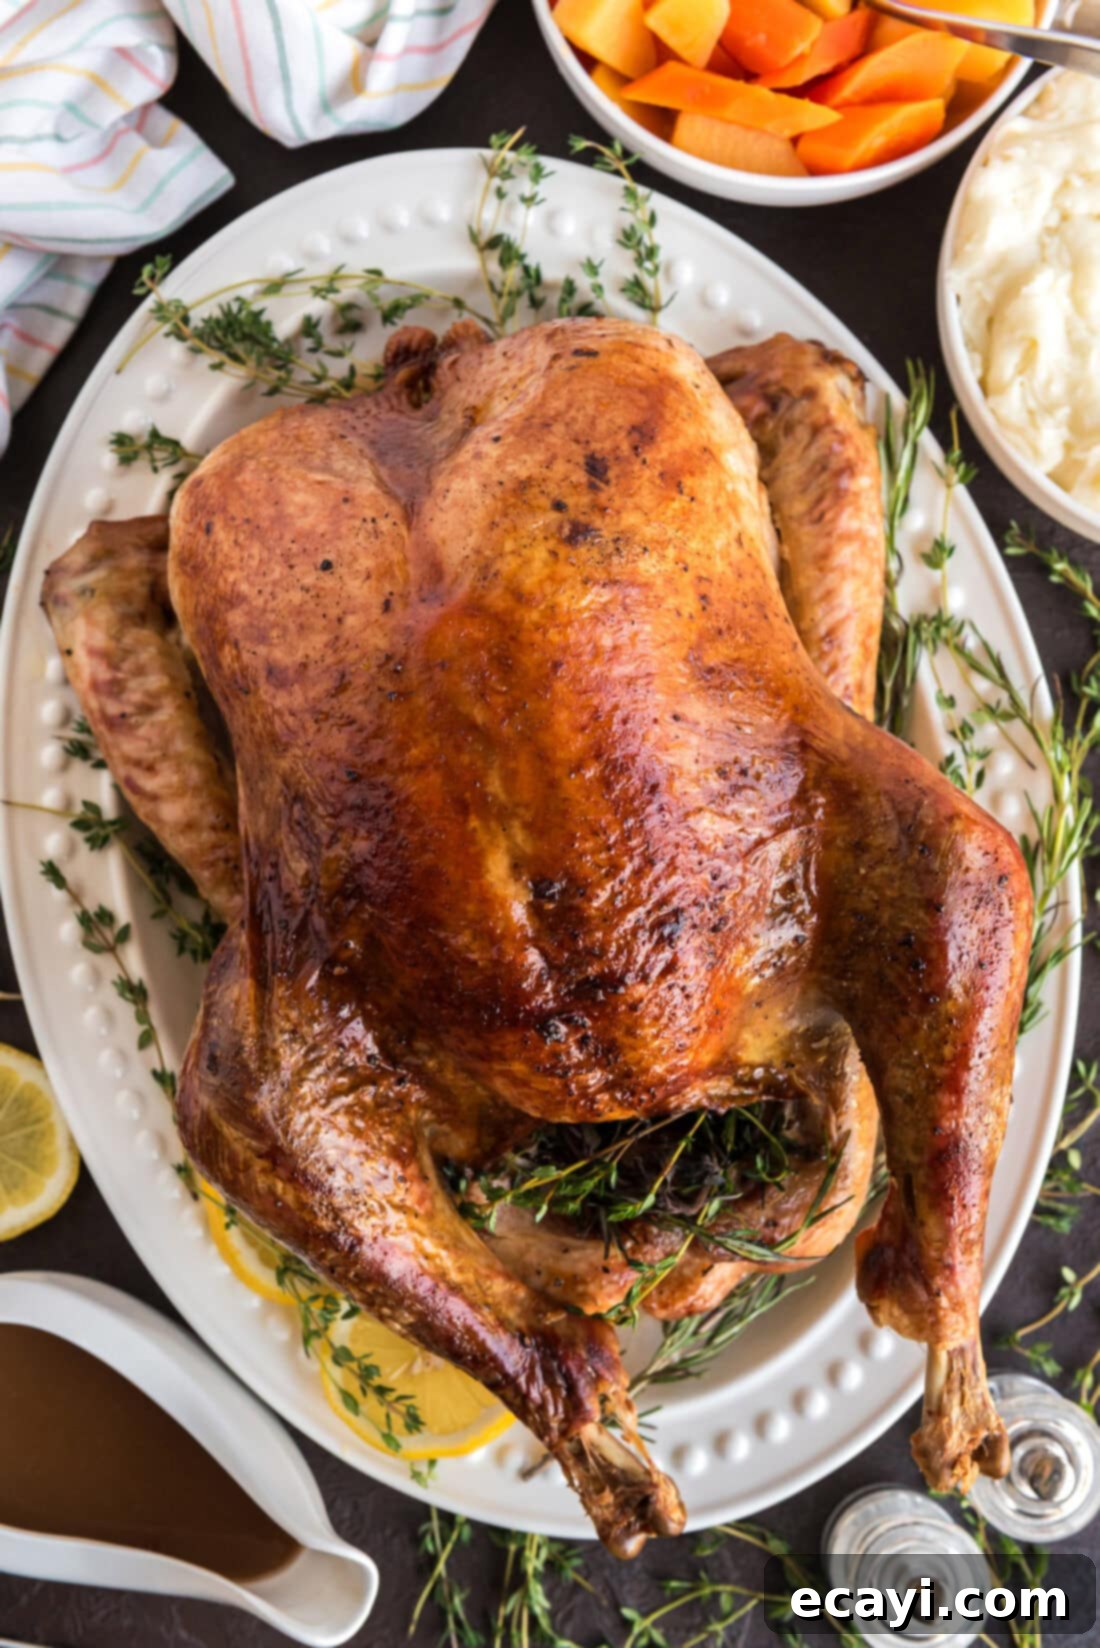
Why This Roasted Turkey Recipe Delivers Perfect Results
Creating the perfect roasted turkey doesn’t have to be a source of stress or require hours of complex preparation. This recipe simplifies the entire process, making it accessible even for beginners, while guaranteeing exceptional flavor and texture. You’ll only need a handful of common ingredients: rich butter, savory broth, essential salt and pepper, and a fragrant blend of aromatic herbs to elevate the natural taste of the turkey. The magic truly happens through our carefully outlined method, focusing on achieving that desirable golden-brown, crispy skin and ensuring every bite of meat is incredibly moist and succulent.
One of the best aspects of this recipe is the opportunity to maximize flavor by utilizing the delicious pan drippings. These flavorful juices, infused with the essence of turkey, butter, and seasonings, can be effortlessly transformed into a rich, homemade turkey gravy. Imagine smothering your perfectly cooked turkey and sides with a warm, velvety gravy made right in your kitchen – it’s a truly unbeatable combination that elevates the entire meal. This approach not only minimizes waste but also enhances the overall dining experience, making it a win-win for both taste and convenience.
We’ve meticulously covered everything you need for a successful turkey roast, serving as your essential crash course for beginners. From crucial tips on safely thawing your turkey to understanding the ideal internal temperature for doneness and calculating precise cooking times, we guide you through each critical stage. Our goal is to empower you with the knowledge and confidence to cook a magnificent bird that will impress everyone at your table, making holiday cooking or any special occasion meal a truly enjoyable experience.
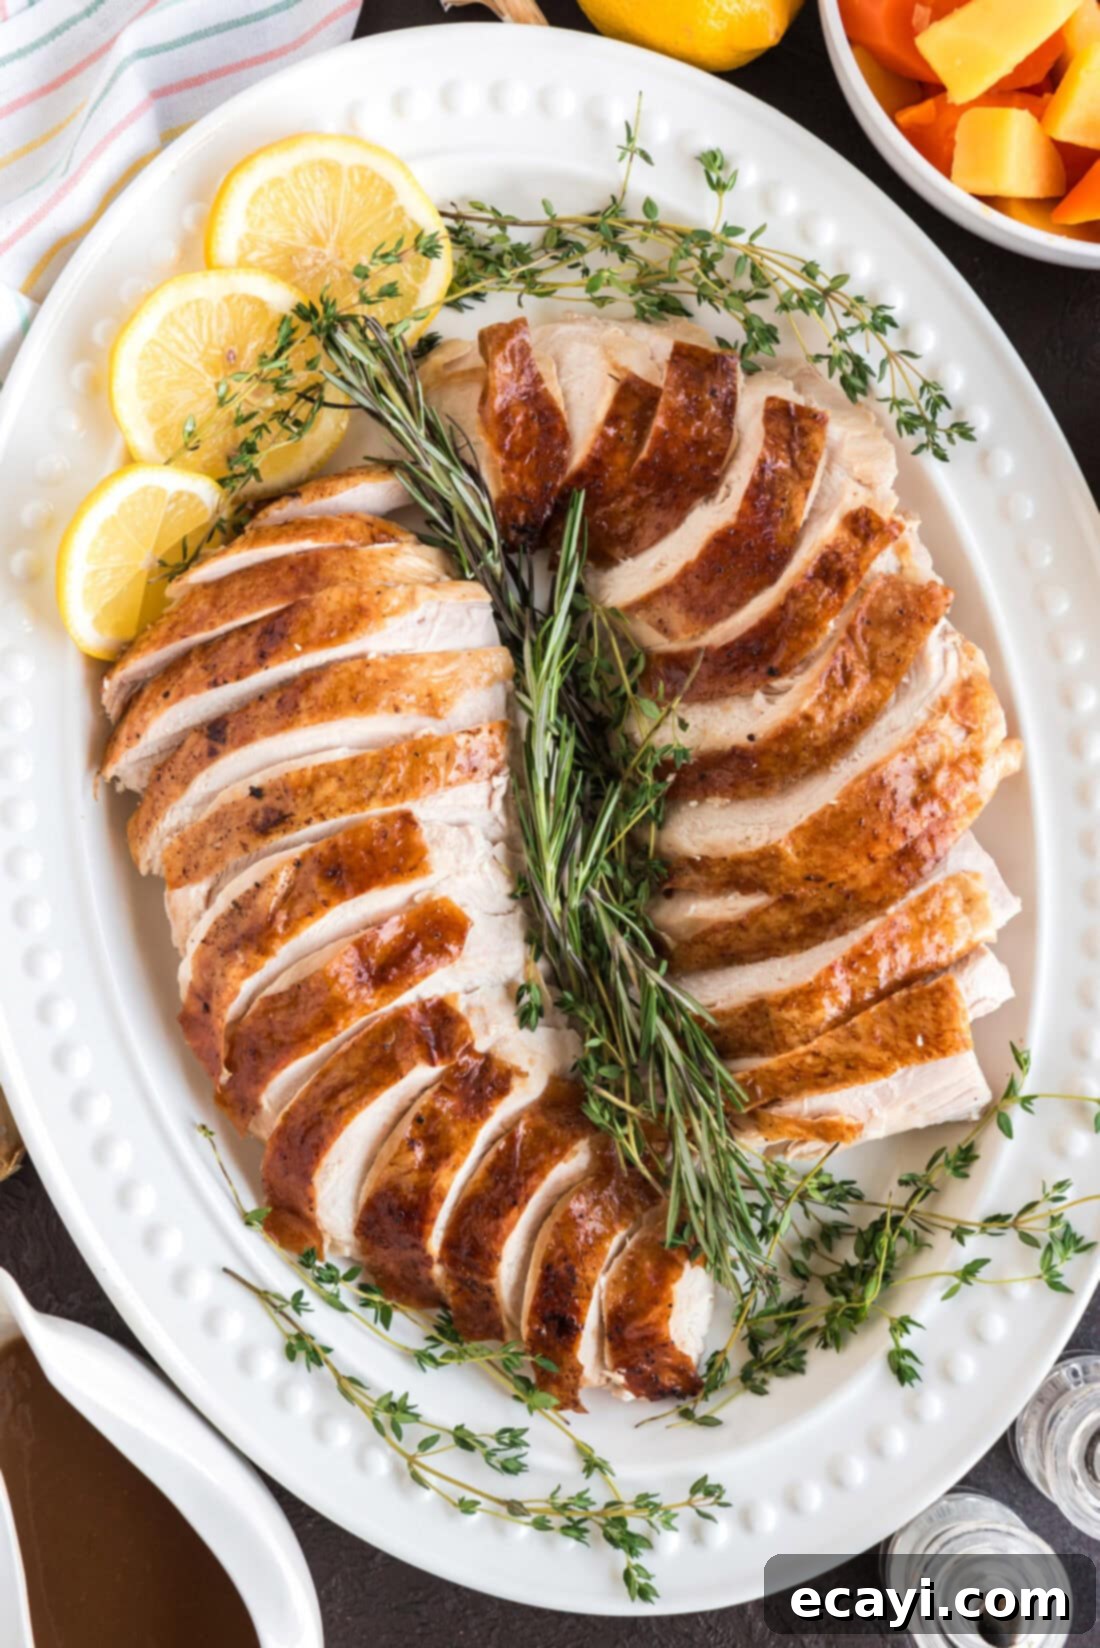
Essential Ingredients for Your Roasted Turkey
Gathering your ingredients is the first step to a delicious roasted turkey. For precise measurements, a full list of ingredients, and detailed instructions, refer to the printable recipe card available at the conclusion of this post. While the ingredient list is short, each component plays a vital role in developing the incredible flavor and texture of your turkey.
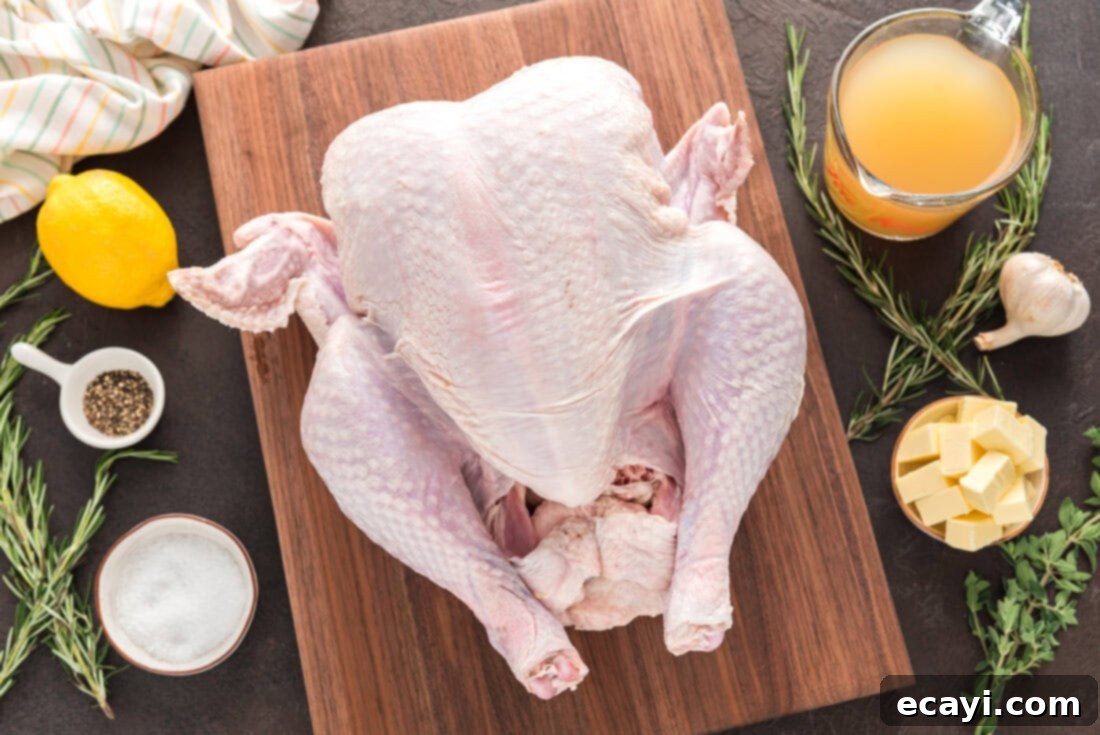
Ingredient Information and Substitution Suggestions for Perfect Roasting
Understanding each ingredient and how it contributes to the final dish is key to mastering this roasted turkey recipe. Here’s a breakdown to help you make the best choices:
TURKEY – This recipe is specifically optimized for a whole turkey weighing between 13-14 pounds, with a maximum recommended size of 16 pounds. Larger turkeys may require significant adjustments to cooking times and could benefit from different roasting techniques. A general guideline for roasting an unstuffed turkey is to cook it for approximately 13 minutes per pound. Use this metric to accurately calculate the roasting time based on your turkey’s exact weight. For instance, a 13-14 pound turkey typically requires just under 3 hours in the oven to reach perfection. It’s crucial not to truss the turkey legs tightly; instead, allow them to remain open. This is vital for promoting proper air circulation within the cavity during roasting, which ensures the turkey cooks evenly and the dark meat reaches its ideal temperature without overcooking the breast.
BUTTER – We highly recommend using unsalted butter for this recipe. Butter is exceptional for creating that coveted golden, crispy skin and contributes a rich, savory flavor that permeates the turkey. Ensure your butter is softened to room temperature for easier application. If you prefer, or if you’re looking for a dairy-free alternative, high-quality olive oil can be used as a direct substitute. While olive oil also helps achieve crispy skin, the flavor profile will be slightly different, so consider your preference.
BROTH – Chicken stock or broth is our go-to for adding moisture to the roasting pan and creating a flavorful base for pan drippings. You can easily substitute chicken broth with vegetable broth for a similar effect, or simply use water if neither broth is available. The liquid in the pan helps prevent the turkey drippings from burning and contributes to a humid environment, which aids in keeping the turkey moist.
SALT & PEPPER – Kosher salt is preferred for its coarser texture, which allows for better seasoning control and adherence to the skin. Freshly ground black pepper, or a peppercorn medley, provides a more vibrant and aromatic kick than pre-ground pepper. Adjust the amounts to your personal taste, but don’t be shy – a well-seasoned turkey is a delicious turkey!
OPTIONAL AROMATICS – Sliced lemon, fresh rosemary, fresh thyme, and minced garlic add incredible depth and aroma to your roasted turkey. Placing these inside the turkey cavity infuses the meat from within, while also scenting your kitchen with delightful holiday aromas. While optional, these ingredients significantly enhance the overall flavor profile.
How to Make a Perfectly Roasted Turkey
These step-by-step photos and detailed instructions are designed to help you visualize each stage of making this incredibly delicious roasted turkey. For a convenient printable version of this recipe, complete with precise measurements and instructions, you can easily Jump to Recipe at the bottom of this page.
- **Prepare the Oven:** Preheat your oven to a high temperature of 450 degrees F. This initial high heat is crucial for developing that beautiful golden-brown, crispy skin right from the start.
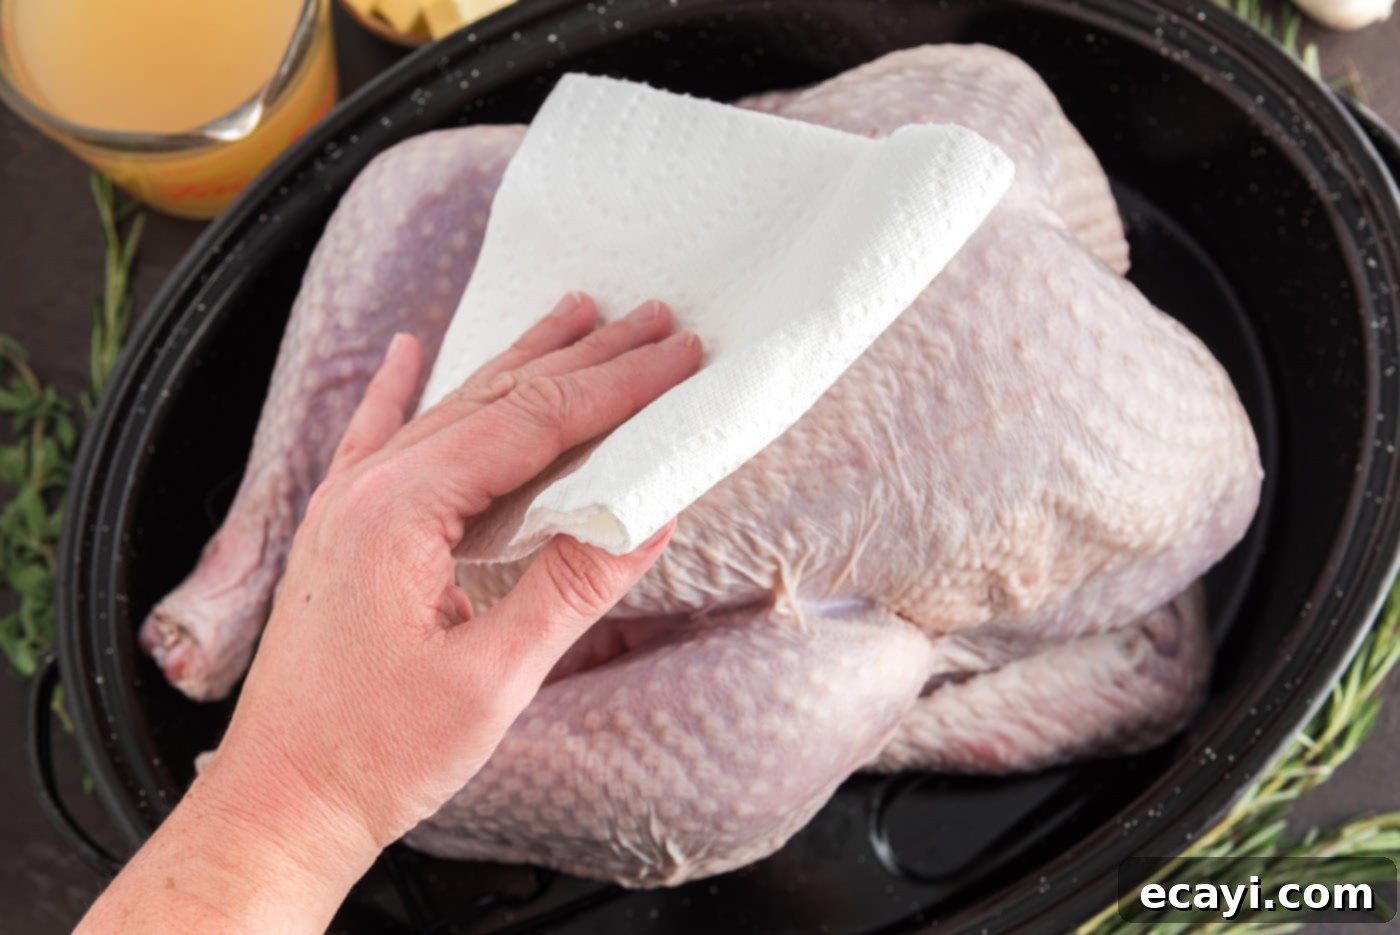
- **Pat Turkey Dry:** Thoroughly pat the entire surface of the turkey dry with paper towels. This step is non-negotiable for achieving crispy skin, as excess moisture will steam the skin instead of allowing it to crisp. Discard the used paper towels immediately to maintain hygiene.

- **Prepare the Turkey:** Carefully place the dried turkey into a sturdy roasting pan. Locate and remove the giblets and neck from the turkey’s cavity. You can save these for making stock or gravy, or simply discard them. Gently tuck the wing tips behind the turkey’s shoulders; this helps prevent them from burning and keeps the turkey looking neat. If you’re using the optional aromatics (lemon, herbs, garlic), place them inside the turkey’s cavity at this stage to infuse the meat with flavor.
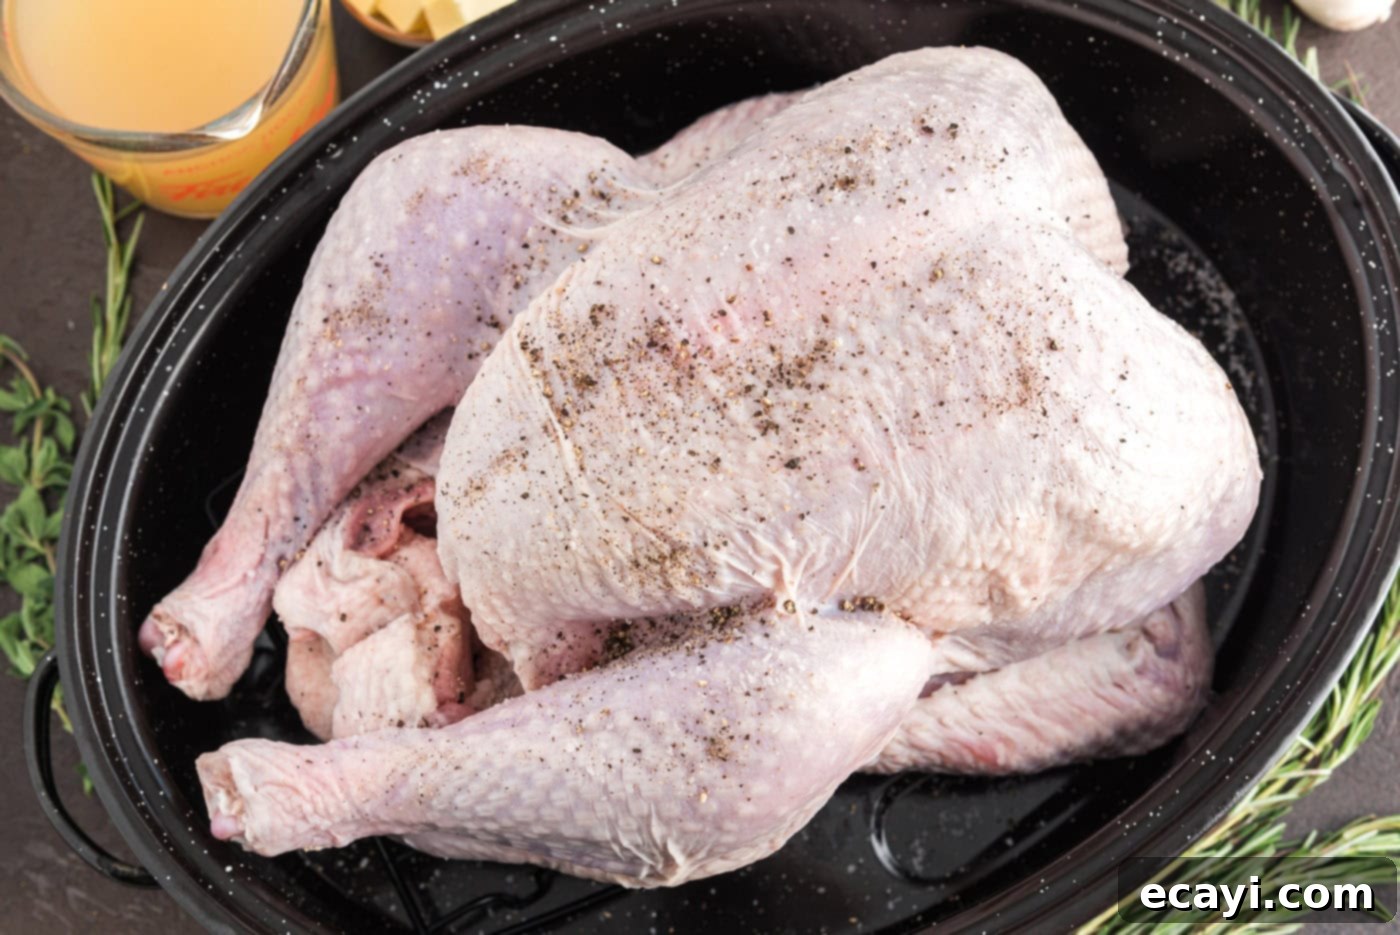
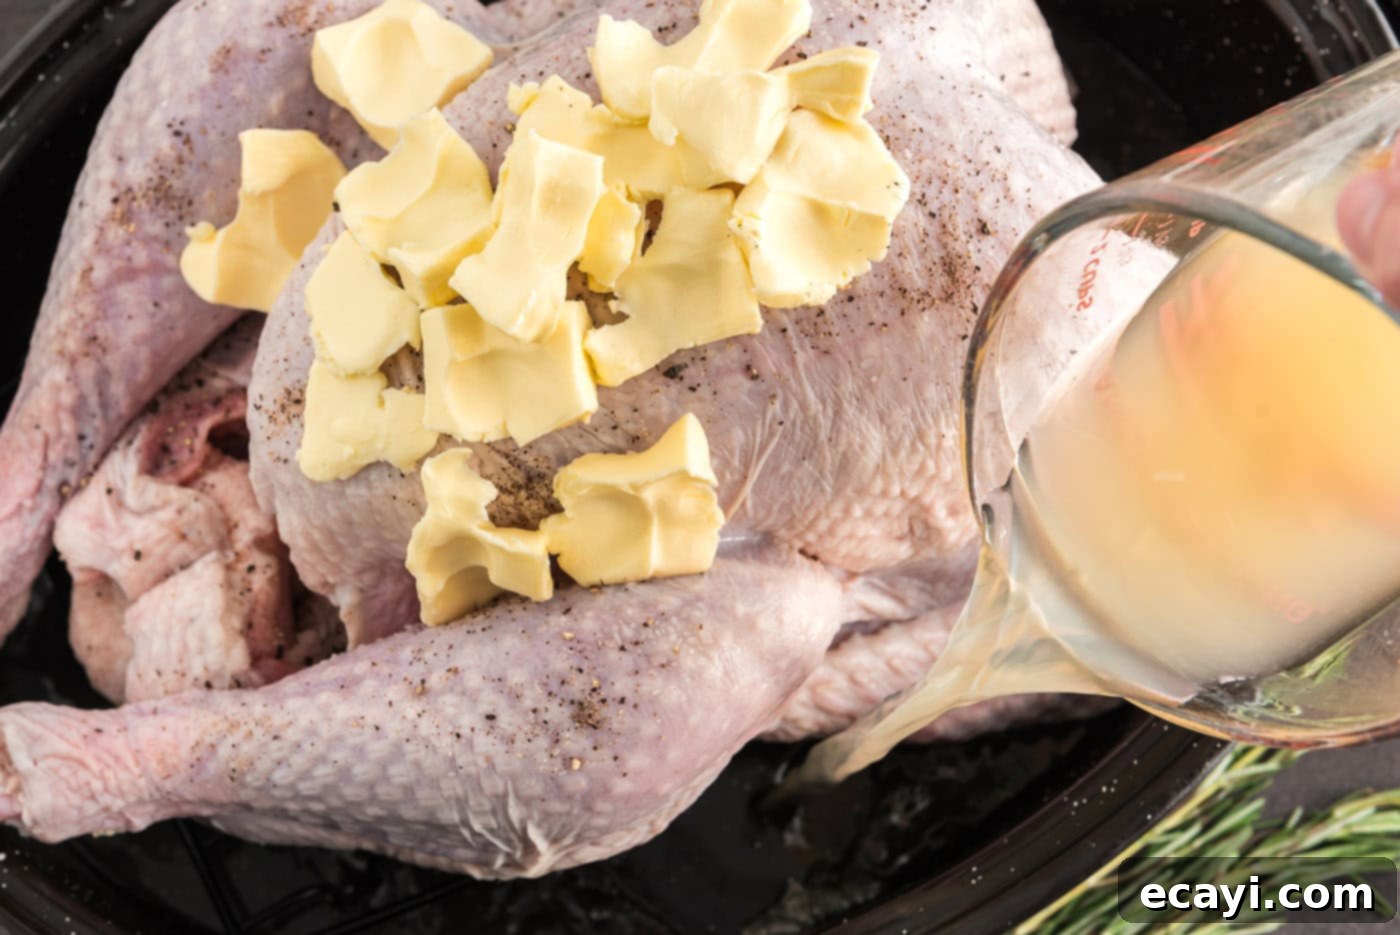
- **Season and Butter:** Liberally sprinkle Kosher salt and freshly ground black pepper all over the exterior of the turkey, ensuring good coverage. Next, spread the softened butter generously over the entire top surface of the turkey. The butter will melt and baste the skin, promoting a rich golden color and exceptional crispiness.

- **Add Pan Liquid:** Pour 2 cups of chicken broth (or vegetable broth or even water) into the bottom of the roasting pan, surrounding the turkey. This liquid will prevent drippings from burning, add moisture to the oven environment, and form the flavorful base for your homemade gravy.

- **Roast the Turkey:** Place the roasting pan with the prepared turkey onto the center rack of your preheated oven. Immediately close the oven door and reduce the heat to 350 degrees F. Roast for approximately 13 minutes per pound. For a typical 13-14 pound turkey, this means a total cooking time of just under 3 hours.
- **Baste and Monitor:** Using a turkey baster, periodically baste the turkey with the flavorful pan drippings every 45 minutes or so. Basting helps keep the skin moist, encourages even browning, and builds layers of flavor. As the turkey approaches its estimated cooking time, keep a close eye on the skin. If it starts to brown too quickly or appears to be getting too dark, loosely tent the top of the turkey with aluminum foil to shield it from excessive heat and prevent over-browning.

- **Check for Doneness:** The most accurate way to determine if your turkey is fully cooked is by using a reliable meat thermometer. Insert the thermometer into the thickest part of the breast (avoiding bone) and into the thickest part of the thigh. The turkey is safely cooked when it registers an internal temperature of 165 degrees F in both locations. Alternatively, many experienced cooks prefer to remove the turkey from the oven when it reaches 160F, as its internal temperature will continue to rise during the resting period (carryover cooking) to reach the safe 165F. This helps ensure maximum juiciness.

- **Rest Before Carving:** Once the turkey reaches its target temperature, remove it from the oven and transfer it to a large cutting board. Allow the turkey to rest, loosely tented with foil, for a minimum of 15-20 minutes before carving. This crucial resting period allows the juices to redistribute throughout the meat, resulting in a much more tender and flavorful turkey.
Frequently Asked Questions & Expert Tips for Roasting Turkey
For food safety, a whole roasted turkey should reach an internal temperature of 165°F. You should use an instant-read thermometer inserted into the thickest portion of the breast, ensuring it doesn’t touch any bone. The thickest part of the thigh should also register 175°F. To achieve maximum juiciness, I often remove my turkey from the oven when the breast reaches 160°F. The turkey will continue to cook and its internal temperature will rise a few degrees during the resting period (known as carryover cooking), bringing it to the safe 165°F.
Proper thawing is essential for both safety and optimal cooking. The safest method is refrigerator thawing, where you should allot approximately 24 hours for every 5 pounds of turkey. Place the turkey, still in its original packaging, on a rimmed baking sheet or in a large pan to catch any drips, and store it in the refrigerator. I always recommend giving yourself at least one extra day for thawing in the refrigerator, just in case. If you’re pressed for time and your turkey is still frozen, you can opt for the cold water method. Submerge the packaged turkey in a cooler or a clean sink filled with cold water. Change the water every 30 minutes to ensure it remains cold and consistently thaws the turkey. It is crucial never to use warm or hot water for thawing, as this can encourage bacterial growth on the outer layers before the inside thaws.
While it’s a traditional practice for some, it is generally recommended to cook your stuffing separately in a casserole dish or prepare a batch of crockpot stuffing on the side. The primary reason is that you want ample air circulation within the turkey cavity to ensure the turkey cooks evenly and thoroughly. When the cavity is packed with stuffing, it insulates the interior of the bird, causing the turkey to cook at different rates and extending the overall cooking time. This can lead to the breast meat drying out while the stuffing tries to reach a safe internal temperature (165°F). Cooking stuffing separately ensures both the turkey and the stuffing achieve their ideal textures and temperatures.
Proper storage is key to enjoying your delicious leftovers. Store any leftover roasted turkey in an airtight container and keep it refrigerated for up to 3 to 4 days. For longer storage, you can freeze leftovers in an airtight container or a heavy-duty ziptop freezer bag for up to 3 months. While freezing is a great option, be aware that turkey meat can sometimes dry out slightly when frozen and then thawed. To mitigate this, consider freezing turkey meat with a little gravy or broth to maintain moisture. Leftover turkey is fantastic for sandwiches, soups, casseroles, or even turkey tacos!
Absolutely, letting your turkey rest after it comes out of the oven is one of the most critical steps for ensuring a juicy bird. As the turkey cooks, the muscle fibers contract, pushing the internal juices towards the center. If you carve into the turkey immediately, all those flavorful juices will run out onto your cutting board, leaving you with dry meat. Allowing the turkey to rest for 15-20 minutes, loosely tented with foil, provides time for these juices to redistribute back through the meat fibers. This process results in a significantly more tender, moist, and flavorful turkey. You can use this resting time efficiently to whip up some turkey gravy on the stovetop using the pan drippings, or put the finishing touches on your side dishes.
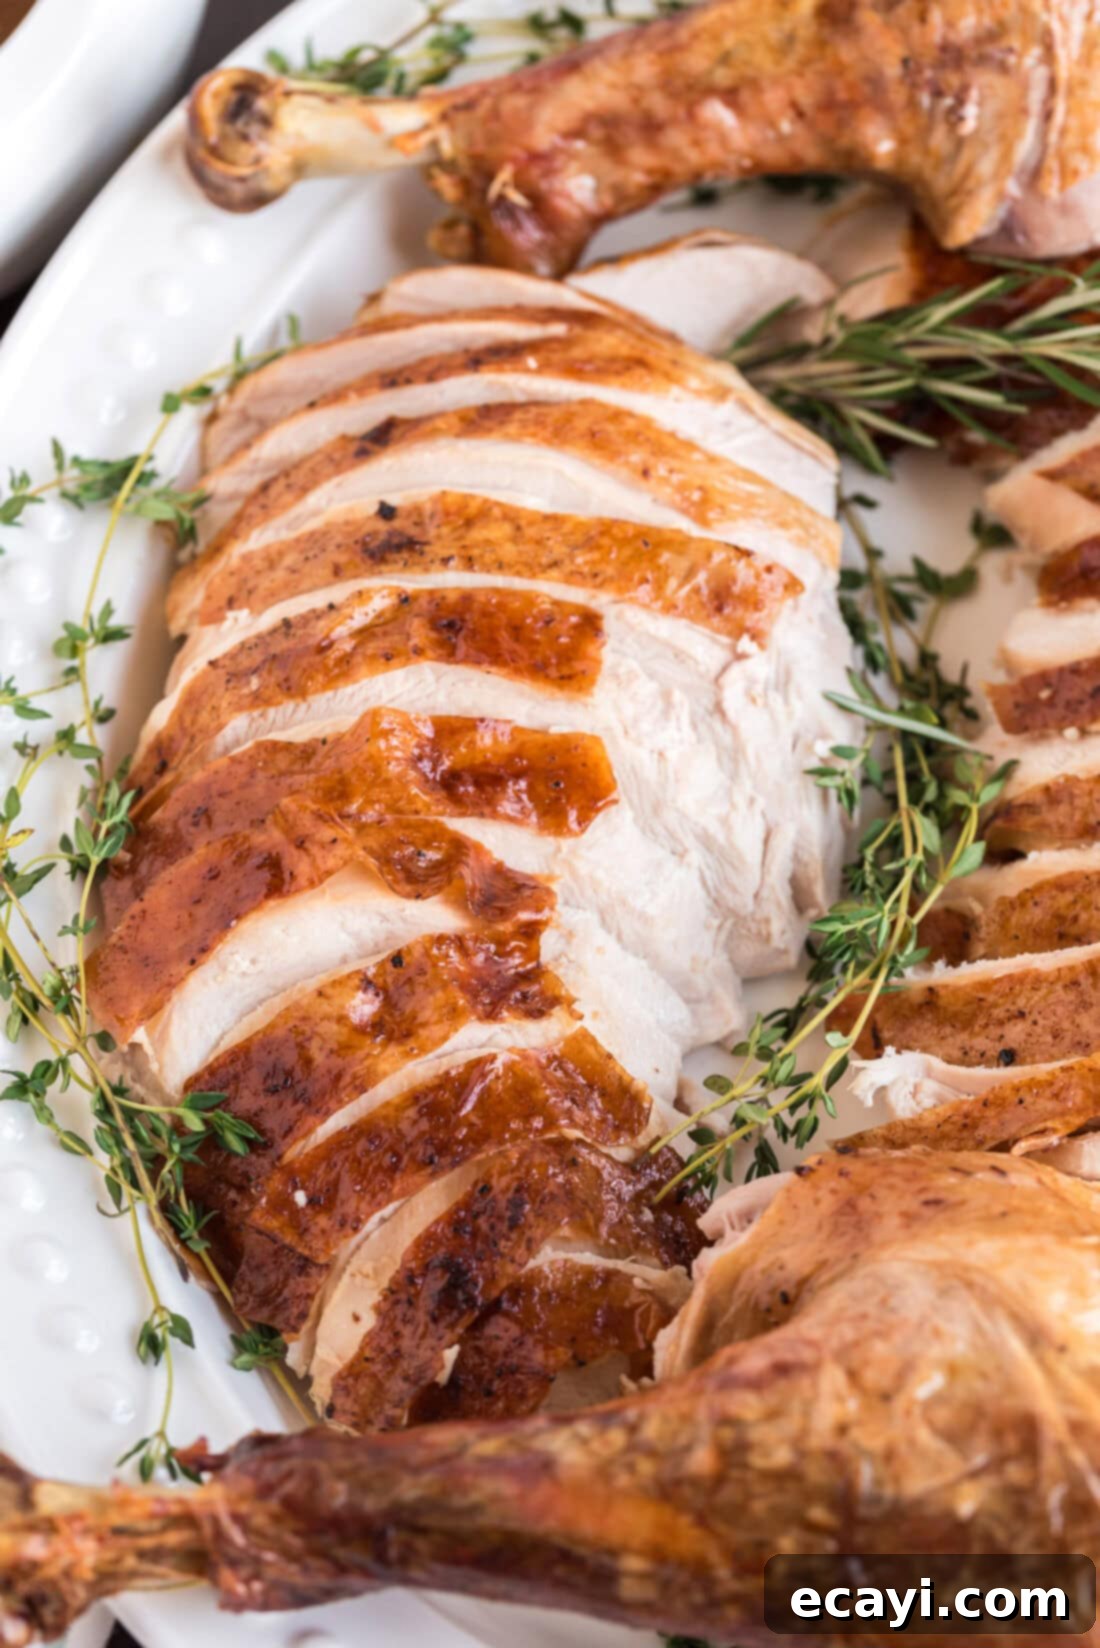
Serving Suggestions for Your Roasted Turkey
Roasted turkey traditionally takes center stage at grand holiday feasts, from Thanksgiving and Easter to Christmas celebrations, becoming the beloved centerpiece that brings everyone together. However, its deliciousness isn’t limited to specific times of the year; this flavorful dish can be enjoyed year-round for any special gathering or even a comforting family meal. To create a truly memorable spread, serve your magnificent roasted turkey with a selection of classic and complementary side dishes. Crowd-pleasing options include creamy sweet potato casserole, savory crockpot green bean casserole, and fluffy garlic mashed potatoes. Don’t forget a rich homemade gravy made from the turkey’s pan drippings, and perhaps some cranberry sauce or freshly baked rolls to complete your impressive meal.
More Delicious Related Recipes
If you loved this roasted turkey recipe and are looking for more delicious poultry dishes or holiday meal ideas, explore some of our other popular recipes:
- Roast Duck
- Roasted Chicken
- Spatchcock Chicken
- Crockpot Turkey Breast
I love to bake and cook and share my kitchen experience with all of you! Remembering to come back each day can be tough, that’s why I offer a convenient newsletter every time a new recipe posts. Simply subscribe and start receiving your free daily recipes!
Roasted Turkey
IMPORTANT – For additional insights on thawing, internal temperatures, and other helpful tips, please refer to the Frequently Asked Questions and Expert Tips section within the blog post above!
Print It
Pin It
Rate It
Save ItSaved!
Ingredients
- 14 pound whole turkey thawed or fresh (ideal for crispy skin)
- 2 cups chicken stock or substitute the same amount water or vegetable stock
- ½ cup unsalted butter 1 stick, softened to room temperature (for golden skin)
- 1-2 Tablespoons Kosher salt or amount to taste
- ½ teaspoon fresh ground black pepper or peppercorn medley or amount to taste
Optional Aromatics
- 1 lemon sliced
- 2-4 sprigs fresh rosemary
- 4 sprigs fresh thyme
- 2-4 cloves garlic minced
Things You’ll Need
-
roasting pan
-
turkey baster
-
Instant read thermometer
Before You Begin: Essential Tips
- We highly recommend using butter for coating the turkey, as it consistently yields that beautiful golden-brown, crispy skin and adds incredible flavor. However, if you prefer, you can easily substitute with olive oil for a similar effect.
- For even cooking and crispier skin, avoid trussing the turkey legs. Allowing the legs to remain untrussed promotes better air circulation in the cavity while in the oven, ensuring both white and dark meat cook more evenly and efficiently.
- Thawing Your Turkey: The safest and most recommended method for thawing is in the refrigerator. Allocate approximately 24 hours for every 5 pounds of turkey. Place the turkey, still in its original packaging, on a baking sheet or in a large pan to catch any potential drips, and store it in the coldest part of your fridge. It’s always wise to add an extra day to your thawing schedule just in case.
- If time is of the essence and your turkey is still frozen, you can use the cold water thawing method. Submerge the completely packaged turkey in a cooler or a clean sink filled with cold water. You must change the water every 30 minutes to keep it cold and ensure continuous thawing. Never use warm or hot water, as this can bring the turkey into the temperature danger zone and promote bacterial growth.
- A whole roasted turkey is done when an instant-read thermometer registers 165°F in the thickest part of the breast and 175°F in the thickest part of the thigh, avoiding bone contact. To prevent overcooking and ensure the juiciest results, I typically remove my turkey from the oven when the breast reaches 160°F. The temperature will continue to rise to 165°F during the resting period due to carryover cooking.
Instructions
-
Preheat your oven to 450 degrees F. This high initial heat helps crisp the skin beautifully.
-
Thoroughly pat the turkey dry with paper towels to remove all surface moisture. This is crucial for achieving golden, crispy skin. Discard the paper towels.
-
Place the turkey in a roasting pan. Remove the giblets and neck from the cavity; save for gravy or discard. Tuck the wing tips behind the turkey’s shoulders. If desired, add optional aromatics (lemon slices, fresh rosemary, thyme, garlic) to the turkey’s cavity.
-
Sprinkle Kosher salt and fresh ground black pepper generously all over the turkey’s exterior. Apply the softened butter evenly over the top of the turkey.
-
Pour 2 cups of chicken broth (or vegetable broth or water) into the bottom of the roasting pan. This liquid will prevent drippings from burning and create a flavorful base for gravy.
-
Place the roasting pan with the prepared turkey in the center rack of your preheated oven. Close the door and reduce the oven heat to 350 degrees F. Bake for approximately 13 minutes per pound. A 13-14 pound turkey should be done in just under 3 hours.
-
Using a turkey baster, baste the liquids over the top of the turkey every 45 minutes to keep it moist and promote browning. If the top skin begins to brown too much before the turkey is fully cooked, loosely tent it with aluminum foil to prevent over-browning.
-
Check for doneness using a meat thermometer inserted into the thickest part of the breast and thigh (avoiding bone). The turkey is fully cooked when it registers 165 degrees F in the breast and 175 degrees F in the thigh. For juicier results, you can remove it when the breast reaches 160F, as it will continue to cook as it rests.
-
Allow the roasted turkey to rest, loosely tented with foil, for 15-20 minutes before carving. This crucial step allows the juices to redistribute, ensuring a tender and moist turkey.
Expert Tips & FAQs for Success
- Don’t forget to save every drop of those delicious pan juices to make homemade turkey gravy! It’s incredibly simple and adds a fantastic finishing touch to your meal.
- Leftovers should be stored in an airtight container in the refrigerator for up to 4 days. For longer preservation, you can freeze leftovers in an airtight container or a large ziptop bag for up to 3 months. Be aware that turkey may dry out slightly when frozen and thawed, so consider adding a bit of broth when reheating.
- To enhance flavor even further, consider seasoning your turkey the night before. Apply salt and pepper, then loosely cover and refrigerate. This allows the seasoning to penetrate the meat.
Nutrition
The recipes on this blog are tested with a conventional gas oven and gas stovetop. It’s important to note that some ovens, especially as they age, can cook and bake inconsistently. Using an inexpensive oven thermometer can assure you that your oven is truly heating to the proper temperature. If you use a toaster oven or countertop oven, please keep in mind that they may not distribute heat the same as a conventional full sized oven and you may need to adjust your cooking/baking times. In the case of recipes made with a pressure cooker, air fryer, slow cooker, or other appliance, a link to the appliances we use is listed within each respective recipe. For baking recipes where measurements are given by weight, please note that results may not be the same if cups are used instead, and we can’t guarantee success with that method.
This post originally appeared here on Mar 17, 2019 and has since been updated with new photos and expert tips.
