Perfectly Grilled Corn on the Cob: Your Ultimate Guide to Sweet, Smoky Kernels
There’s nothing quite like the taste of fresh corn on the cob, especially when it’s kissed by the flames of a grill. This simple yet incredibly rewarding side dish is a staple at any summer gathering, barbecue, or weeknight dinner. Imagine biting into tender, golden kernels bursting with sweet, smoky flavor, perfectly complemented by a melting pat of butter, your favorite seasonings, and a sprinkle of fresh parsley. Grilling corn on the cob is surprisingly easy, and we’re here to guide you through every step to ensure you achieve flawless results every time. Get ready to elevate your outdoor cooking experience and delight your guests with this quintessential warm-weather treat.
Why Grilling Corn in the Husk is a Game-Changer
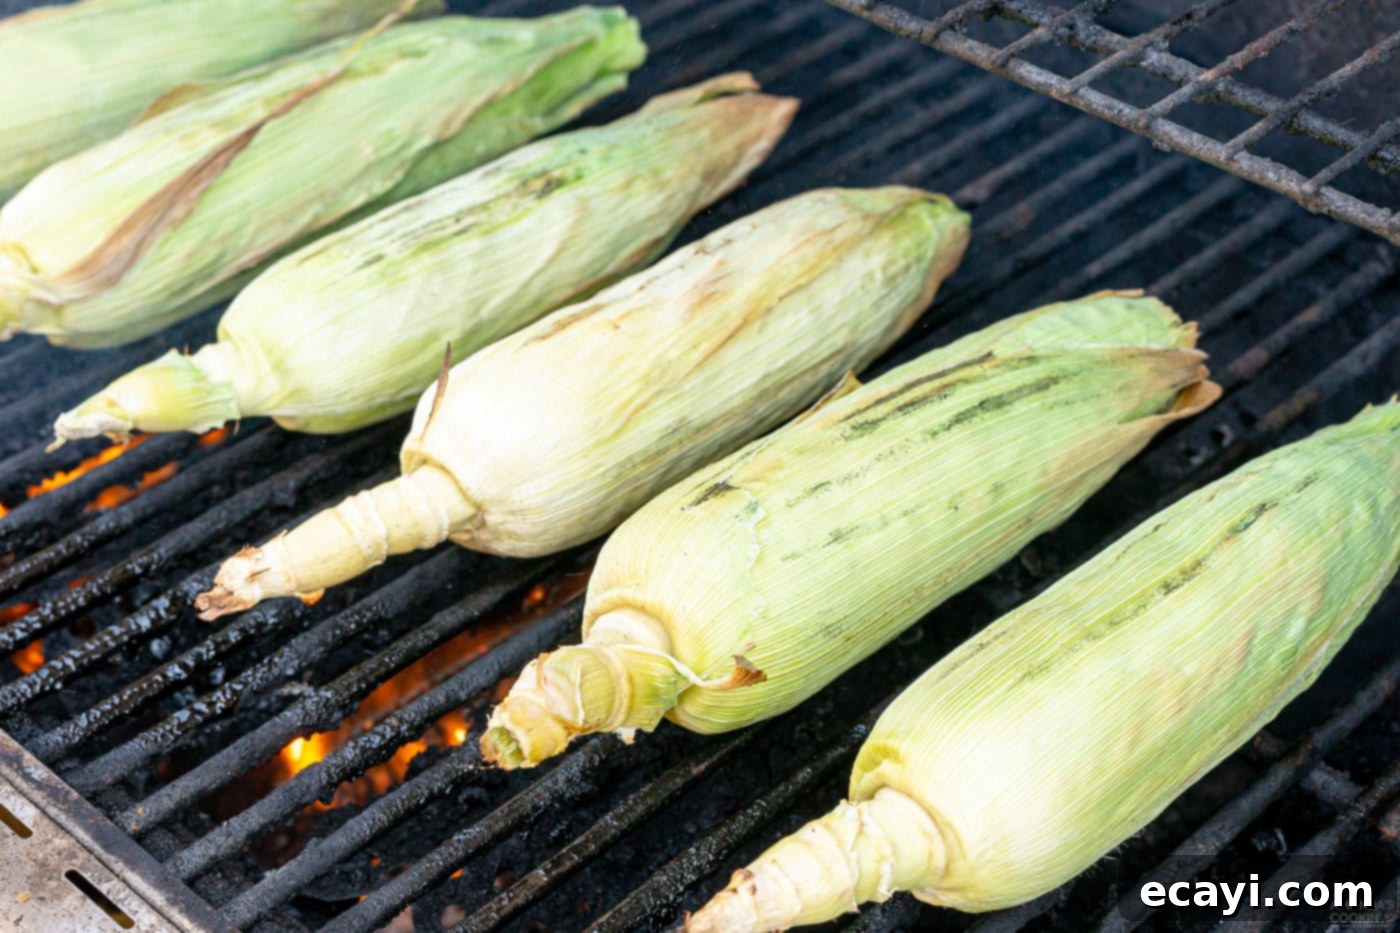
Our preferred method for achieving perfectly tender and incredibly juicy grilled corn on the cob involves keeping the husks on during the grilling process. This technique isn’t just a matter of convenience; it’s a culinary secret weapon. The husks act as a natural steaming pouch, trapping moisture around the corn kernels as they cook over the heat. This creates a beautifully tender-crisp texture that’s impossible to replicate with naked corn. The outer layers of the husk protect the kernels from direct flame, preventing them from drying out or burning, while still allowing the sweet corn to absorb that desirable smoky flavor from the grill.
Beyond the grill, there are other fantastic ways to enjoy corn on the cob. If the weather isn’t cooperating or you’re looking for an effortless indoor option, our crockpot corn on the cob recipe delivers equally tender results without the need for bundling up. And don’t let any delicious corn go to waste! Leftover grilled corn is a culinary gem, perfect for tossing into vibrant dishes like this savory grilled corn and zucchini salad, adding a burst of flavor and texture to any meal.
Simple Ingredients for Irresistible Grilled Corn
One of the beauties of grilled corn on the cob is its simplicity. You only need a few key ingredients to bring this sensational side dish to life. The star, of course, is fresh corn, but we’ll also discuss optional additions that can elevate its flavor profile even further. All precise measurements, a full list of ingredients, and detailed instructions are available in the printable recipe card located at the end of this post. For now, let’s focus on selecting the best components.
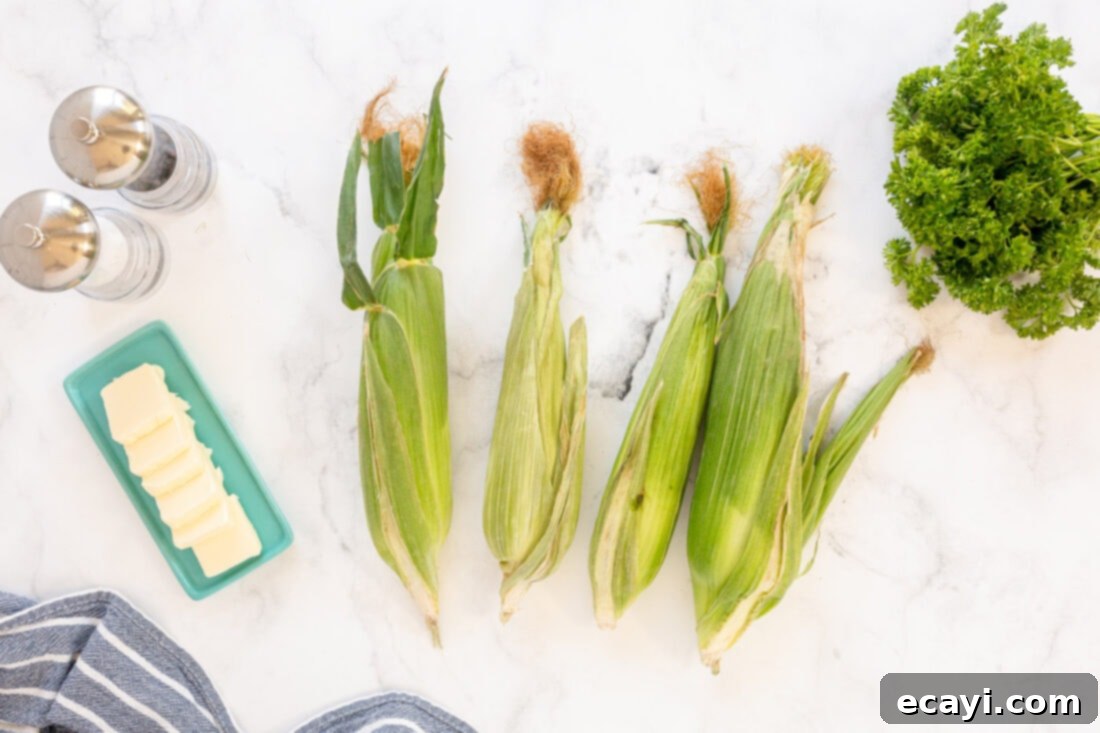
Ingredient Spotlight: Choosing the Best Corn
CORN – The foundation of this recipe is fresh sweet corn. When selecting corn at the grocery store or farmer’s market, always prioritize freshness for the best flavor and texture. Look for ears with bright green husks that are tightly wrapped around the cob and feel slightly damp to the touch. The silks (the hair-like threads at the top) should be brown and sticky, not dry or black. Gently feel through the husks to ensure the kernels underneath are plump and firm all the way to the tip. Avoid any corn with husks that are dry, yellowed, or show signs of insect damage. Sweet corn is naturally delicious, but if you’re feeling adventurous, experiment with different varieties like bi-color or white corn for subtle variations in sweetness and crunch.
WATER – For soaking the corn. This is crucial for preventing the husks from burning on the grill and for creating that perfect steamy environment for the kernels.
SALT or SUGAR (Optional) – While fresh, in-season corn often doesn’t need it, some prefer to add a touch of salt or sugar to the soaking water to enhance sweetness or flavor. Use a couple of tablespoons of sugar for a sweeter corn or a couple of teaspoons of salt for a slightly savory note. This step is entirely up to personal preference.
BUTTER (Optional, but highly recommended!) – A pat of butter melting over hot grilled corn is a classic for a reason. You can use regular salted or unsalted butter. For an extra treat, consider making a compound butter with herbs like chives, cilantro, or garlic powder for an aromatic twist.
FRESH PARSLEY (Optional) – A sprinkle of fresh, chopped parsley adds a pop of color and a fresh, herbaceous note that beautifully complements the sweetness of the corn.
Mastering the Grill: Step-by-Step Grilled Corn on the Cob
These step-by-step photos and instructions are provided to help you visualize the entire process of making this delicious grilled corn. For a convenient, printable version of this recipe, complete with precise measurements and comprehensive instructions, simply Jump to Recipe at the bottom of this page.
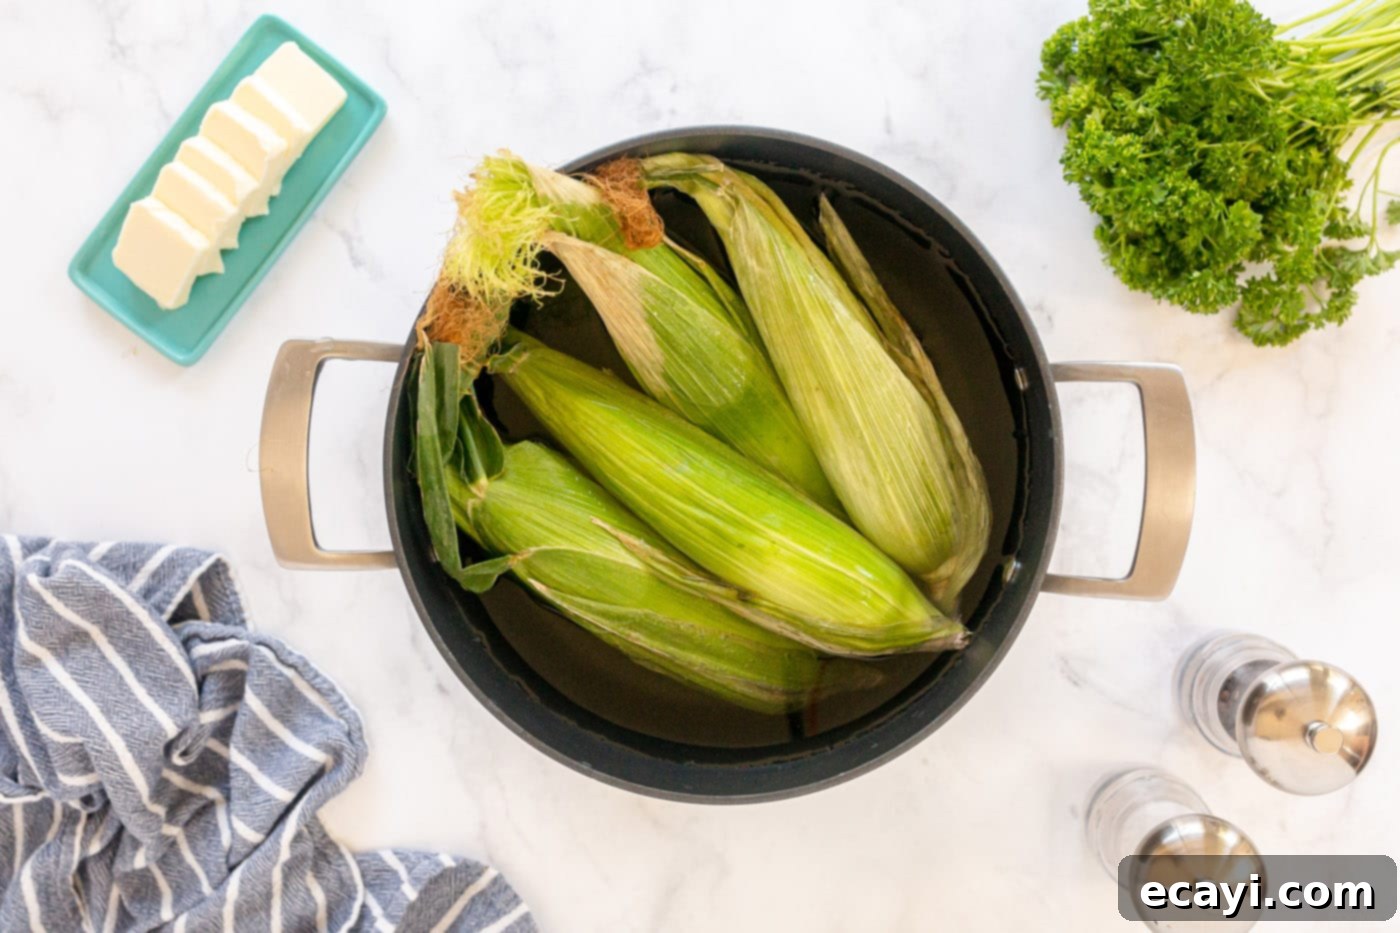
- Soak the Corn: Begin by placing your corn on the cob, husks intact, into a large stockpot or container. Fill the pot with enough cold water to completely submerge all the corn. Let the corn soak for at least one hour. This crucial step saturates the husks with moisture, preventing them from catching fire on the grill and allowing the corn to steam beautifully inside its natural wrapper, resulting in exceptionally juicy kernels.

- Prepare the Grill and Drain the Corn: While the corn finishes soaking, preheat your grill to medium heat. Once the soaking time is complete, remove the corn from the water and place it on paper towels to drain for about 5 minutes. This removes excess surface water, ensuring a clean grilling experience.

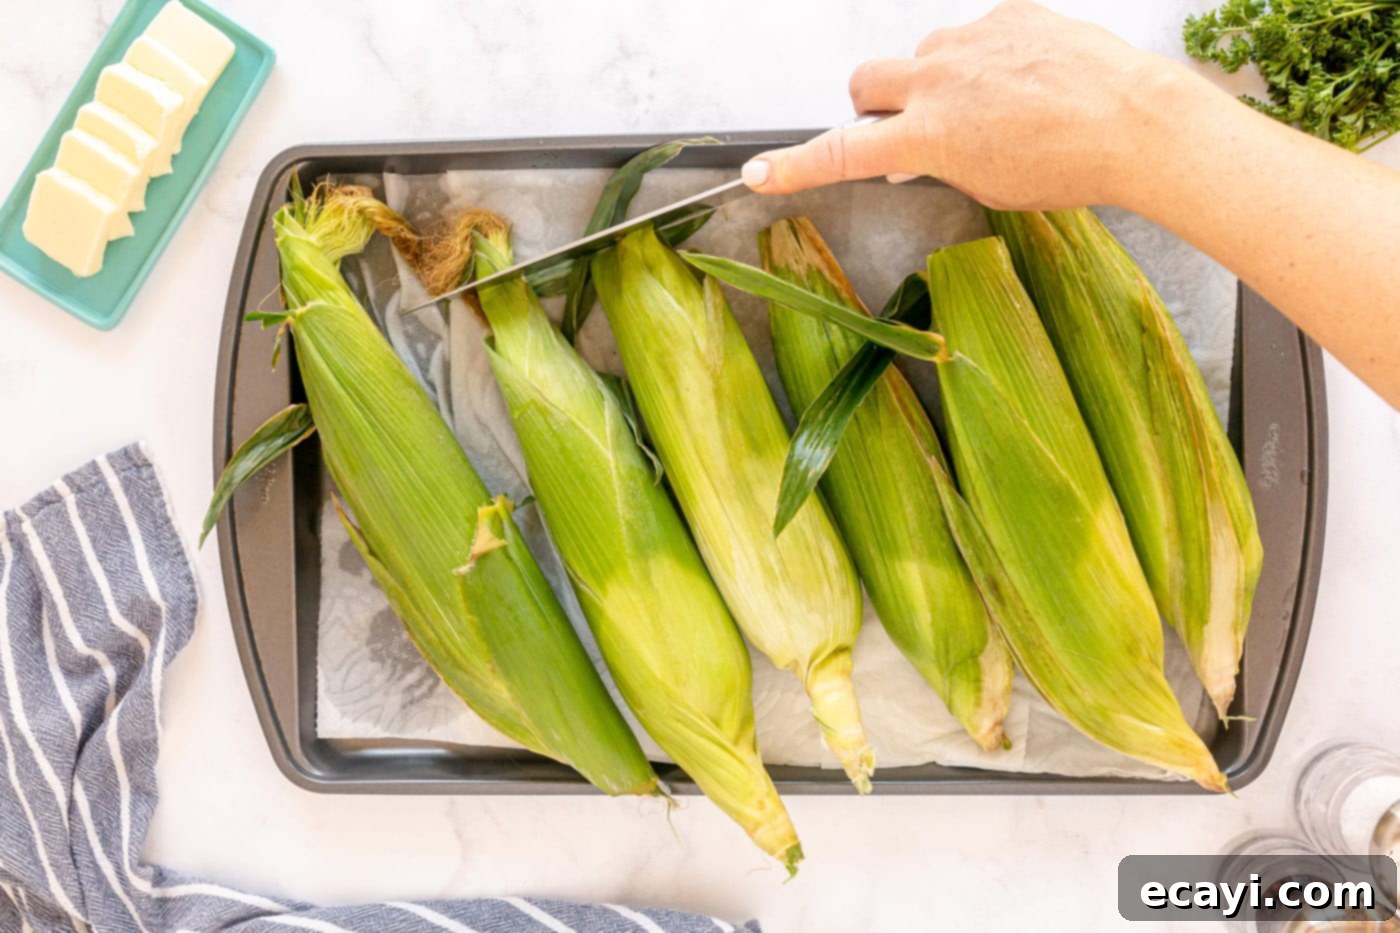
- Trim the Husks: Using kitchen shears or a sharp knife, carefully trim the very tips of the husks. This helps remove any loose silks or hairs that might extend beyond the cob and potentially burn during grilling, keeping your grill cleaner and safer.
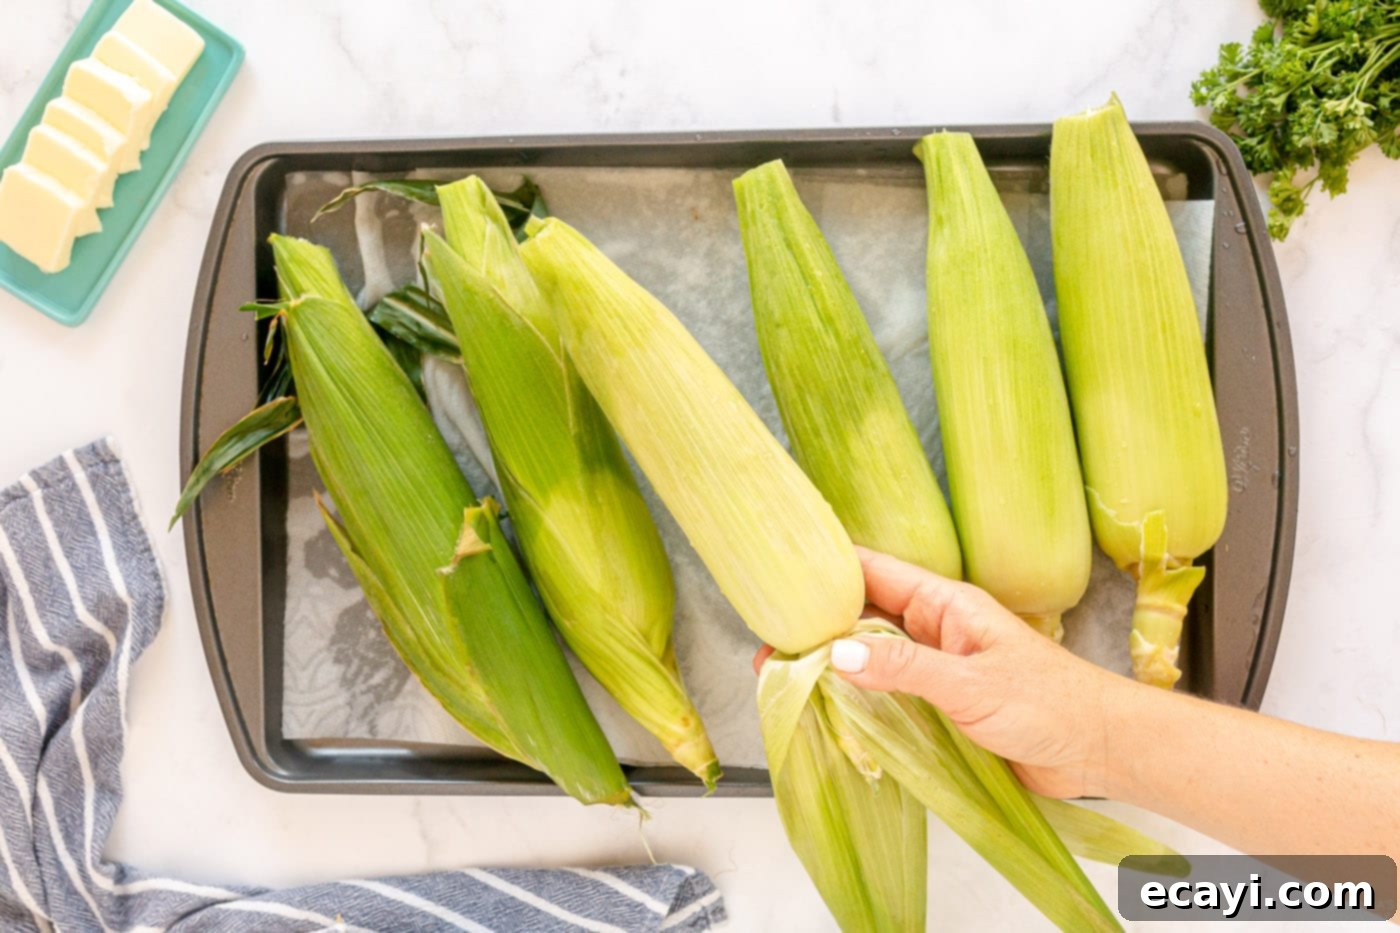
- Remove Outer Layers: Gently peel back and remove just the toughest outer layers of the husks. Typically, this means 1 to 2 layers, depending on their thickness. You want to leave enough husk to protect and steam the corn effectively. Also, trim any loose husk tips sticking out from the sides to prevent them from catching fire. Remember, do NOT peel back all the husks or remove the silks at this stage – they are essential for the steaming process.

- Grill the Corn: Place the prepared corn directly onto the preheated grill over medium heat. Close the lid to help circulate the heat and maintain a consistent cooking temperature. Grill for a total of 15-20 minutes, turning the ears with tongs approximately every 5 minutes to ensure even cooking and light charring on all sides of the husk. The corn is ready when the husks are charred and the kernels feel tender when gently squeezed (through the husk).

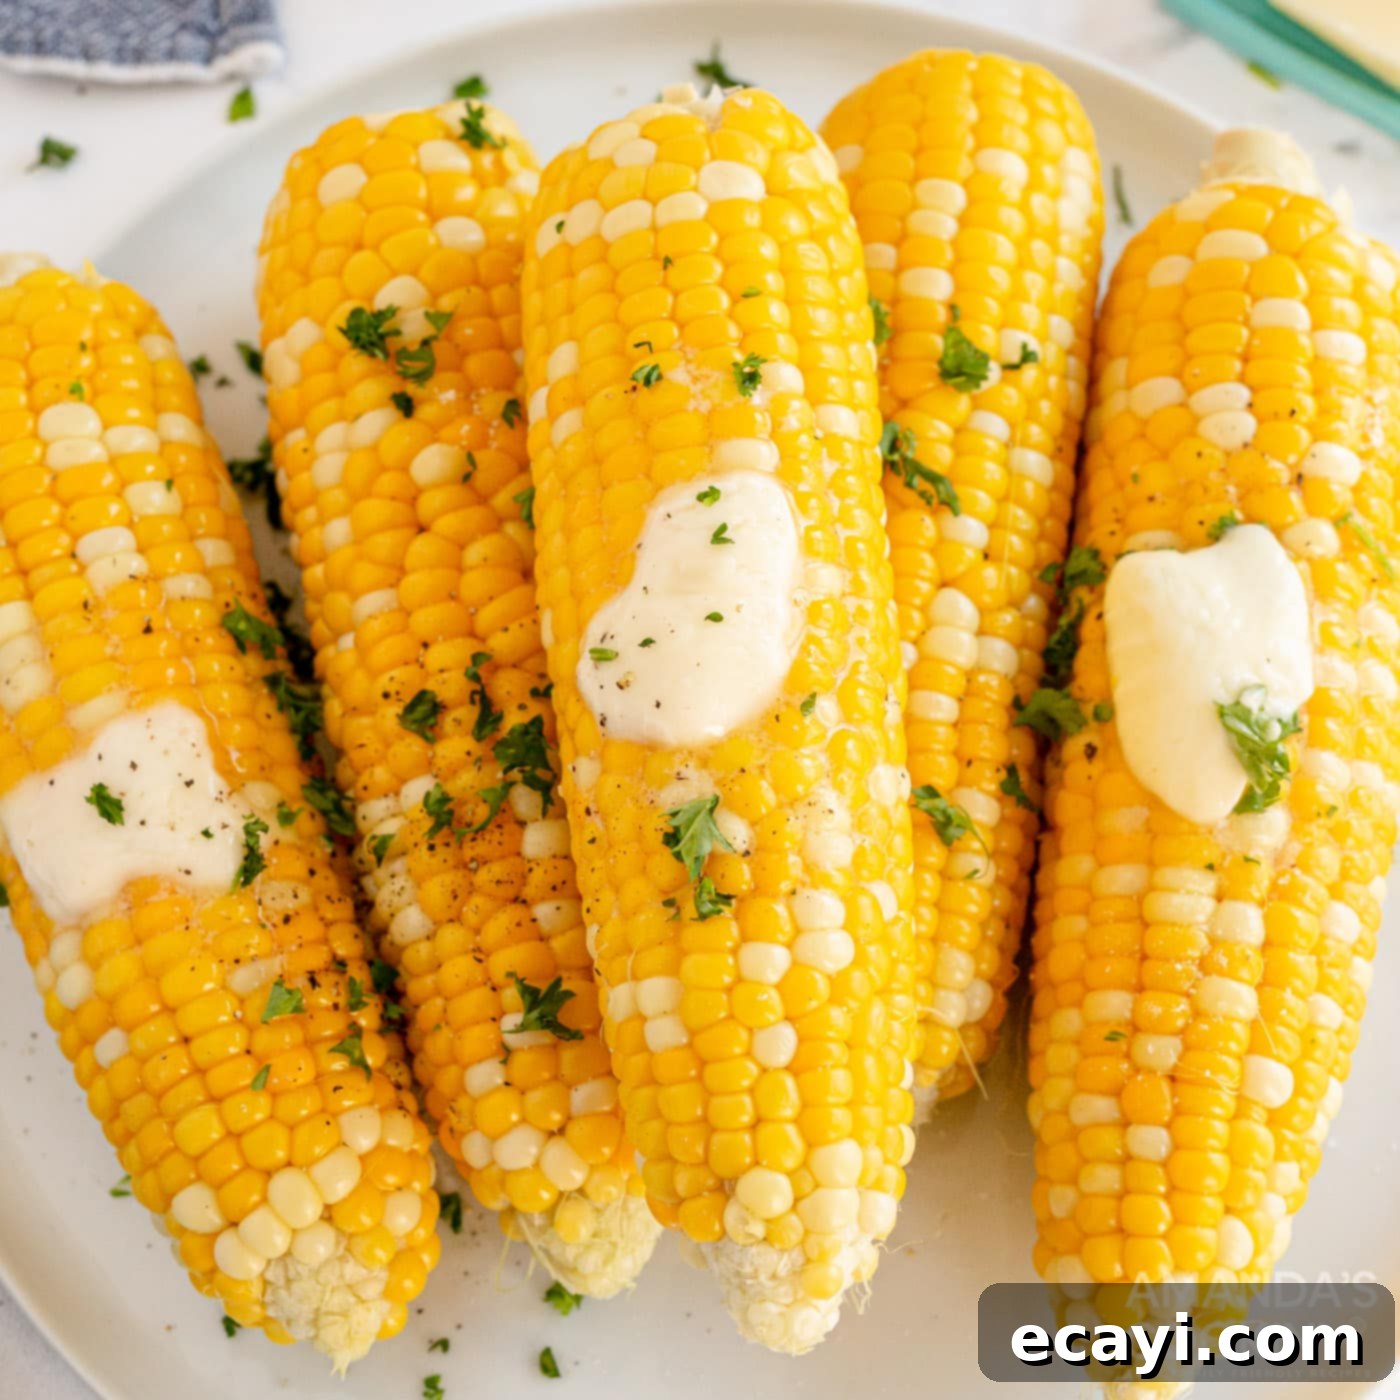
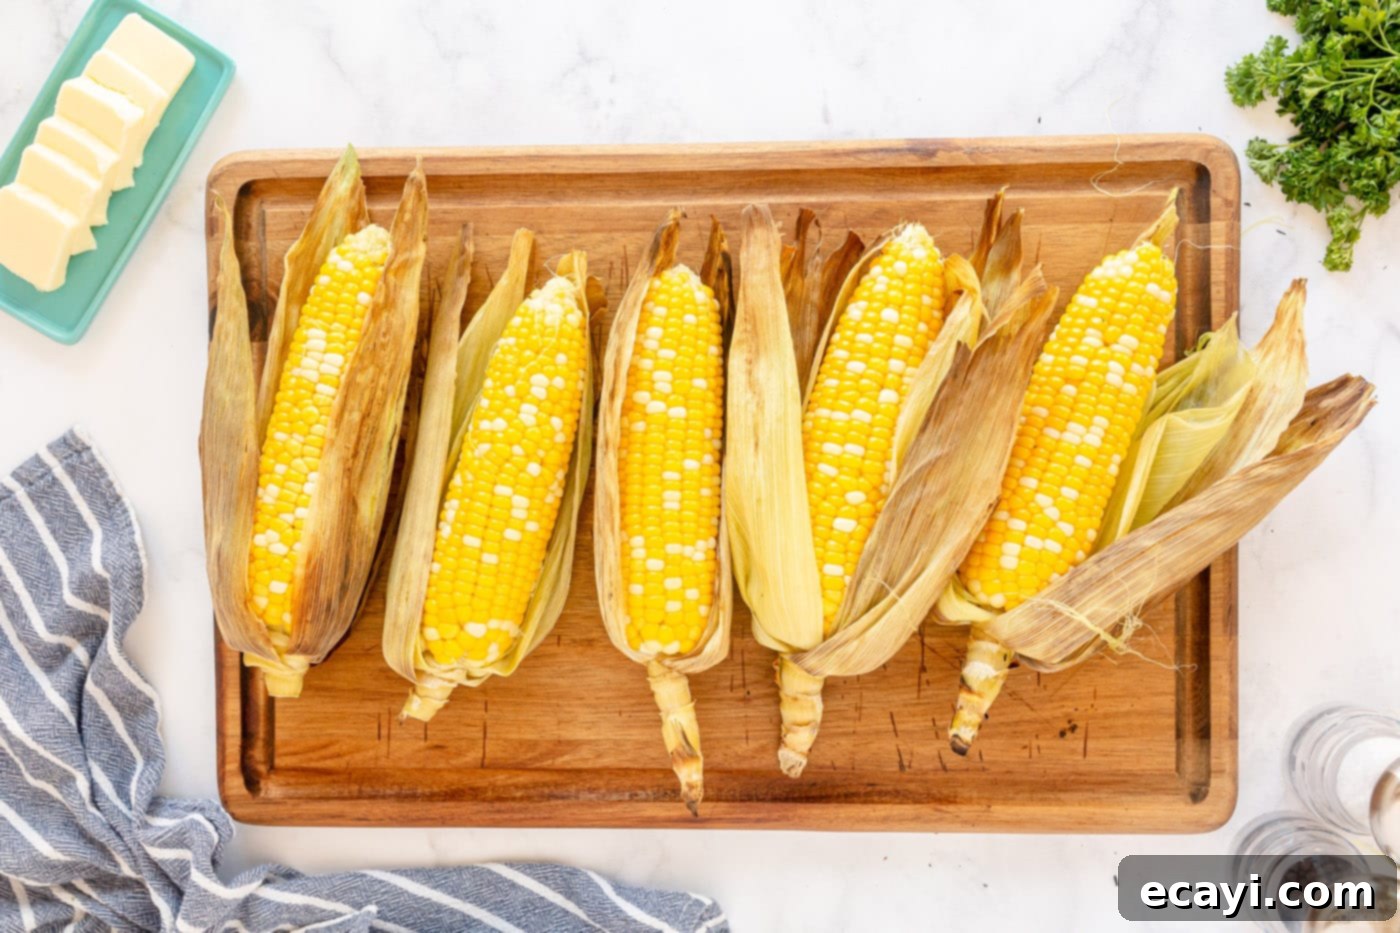
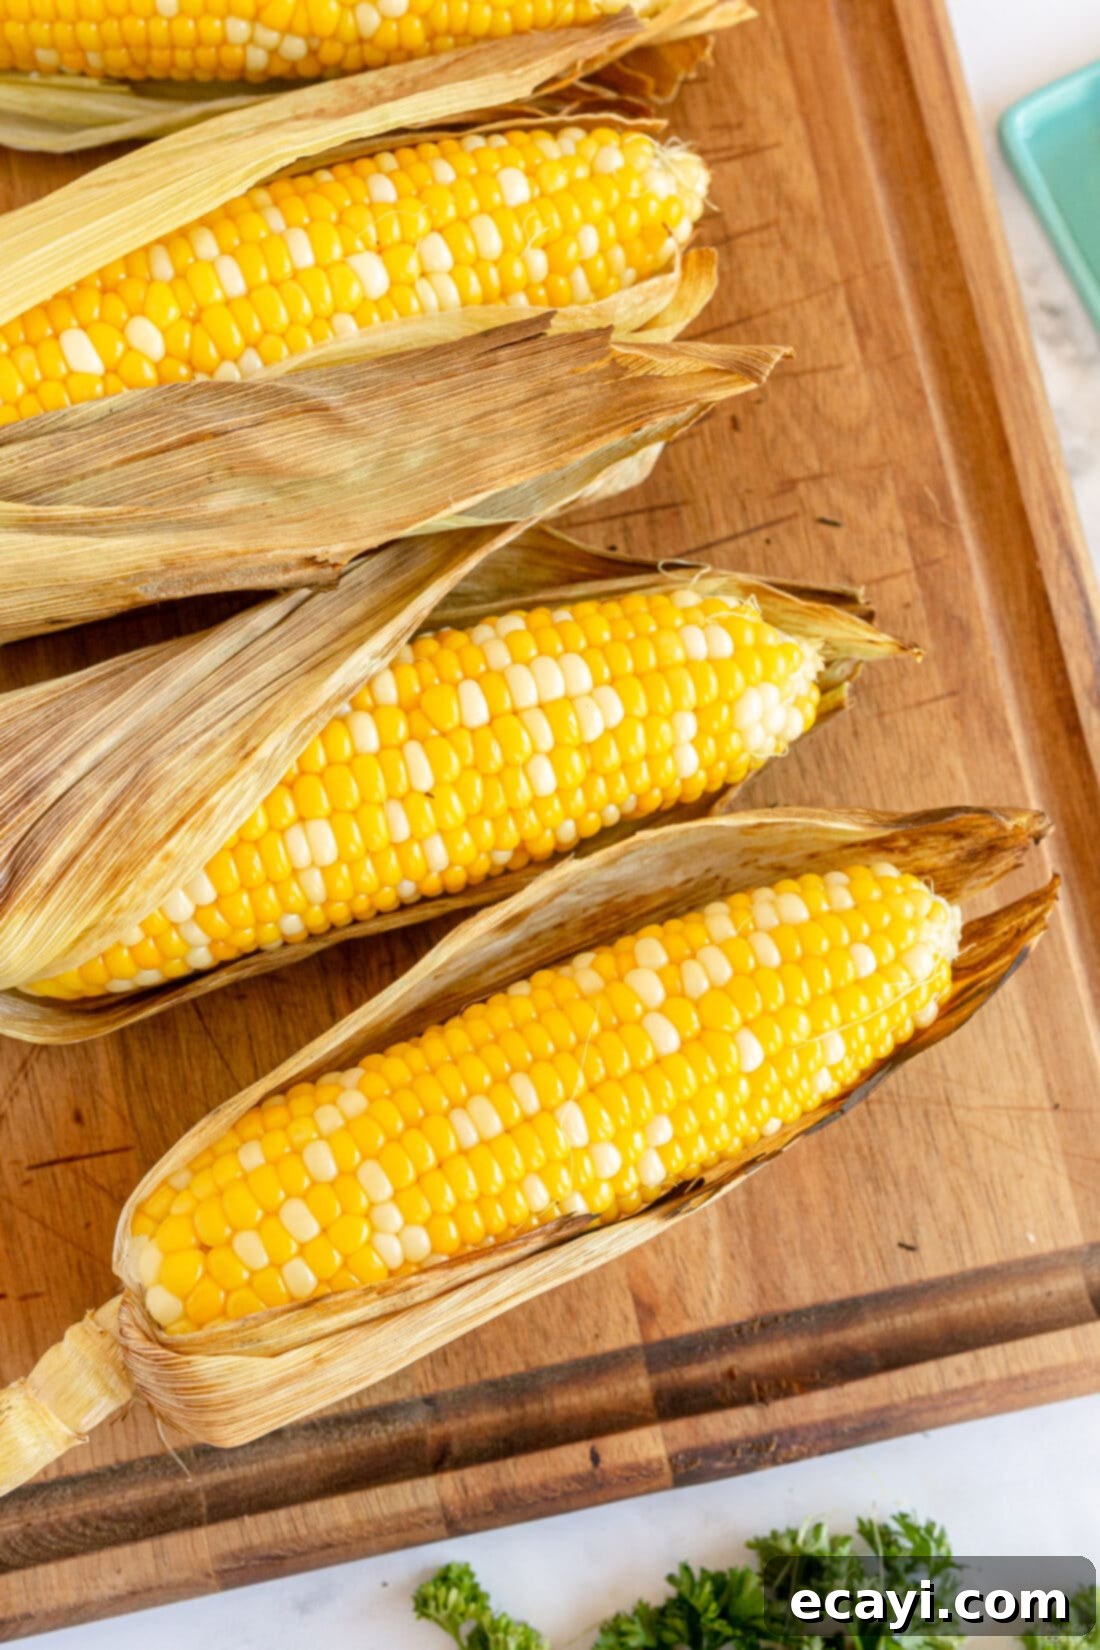
- Peel and Serve: Carefully remove the grilled corn from the heat and allow it to cool for a few minutes until it’s comfortable enough to handle. Now, it’s time for the reveal! Peel back the husks and remove the silks. You’ll find that the silks come off much more easily after cooking. The husks can be completely removed or left attached to form a convenient “handle” for holding the corn. Serve your perfectly grilled corn on the cob immediately with a generous pat of butter, a sprinkle of your favorite seasoning, and fresh parsley for an unbeatable flavor experience.

Frequently Asked Questions & Expert Tips for Grilled Corn
Selecting the best sweet corn is key to a delicious grilled experience. Always look for ears with bright, vibrant green husks that are tightly wrapped and feel slightly moist. Avoid any corn with dry, yellowed, or brittle husks, as this often indicates older corn. The silks, located at the top of the ear, should be brown and sticky; if they are dry, black, or slimy, the corn is likely past its prime. Gently squeeze the ear of corn through the husk to check for plump, firm kernels that extend all the way to the tip. Any soft spots or gaps suggest underdeveloped or damaged kernels. A fresh ear of corn should also feel heavy for its size, indicating good moisture content.
Shucking grilled corn can be much easier than shucking raw corn. One popular method is to carefully cut off the very bottom of the ear of corn (the stem end) after it has cooled slightly. Then, simply grasp the husks firmly and slide the corn cob out the bottom. The husks and silks should come away easily. Alternatively, you can simply peel back the husks and silks by hand, using the husks that remain attached as a convenient handle for holding and eating your corn. The heat from grilling helps to loosen the silks, making them much less stubborn to remove.
Soaking corn in the husk before grilling is a vital step for several reasons. Firstly, it saturates the husks with water, preventing them from completely burning or igniting on the hot grill grates. This ensures a safer grilling process. Secondly, and perhaps more importantly, the absorbed moisture creates a steamy environment inside the husk as the corn cooks. This gentle steaming action results in incredibly tender, juicy kernels that retain their natural sweetness and don’t dry out. Without soaking, the husks would quickly char and the corn itself could become tough or scorched.
While you can technically peel back the husks and remove the silks before grilling if you prefer, we strongly recommend against it for this particular method. The husks are essential for creating that steamy, protective environment that keeps the corn moist and tender. Removing them prematurely exposes the delicate kernels directly to the grill’s heat, which can lead to dry, scorched corn. Furthermore, you’ll find that the silks are significantly easier to remove *after* the corn has cooked. The heat helps to loosen their grip, making peeling a breeze compared to struggling with raw corn silks.
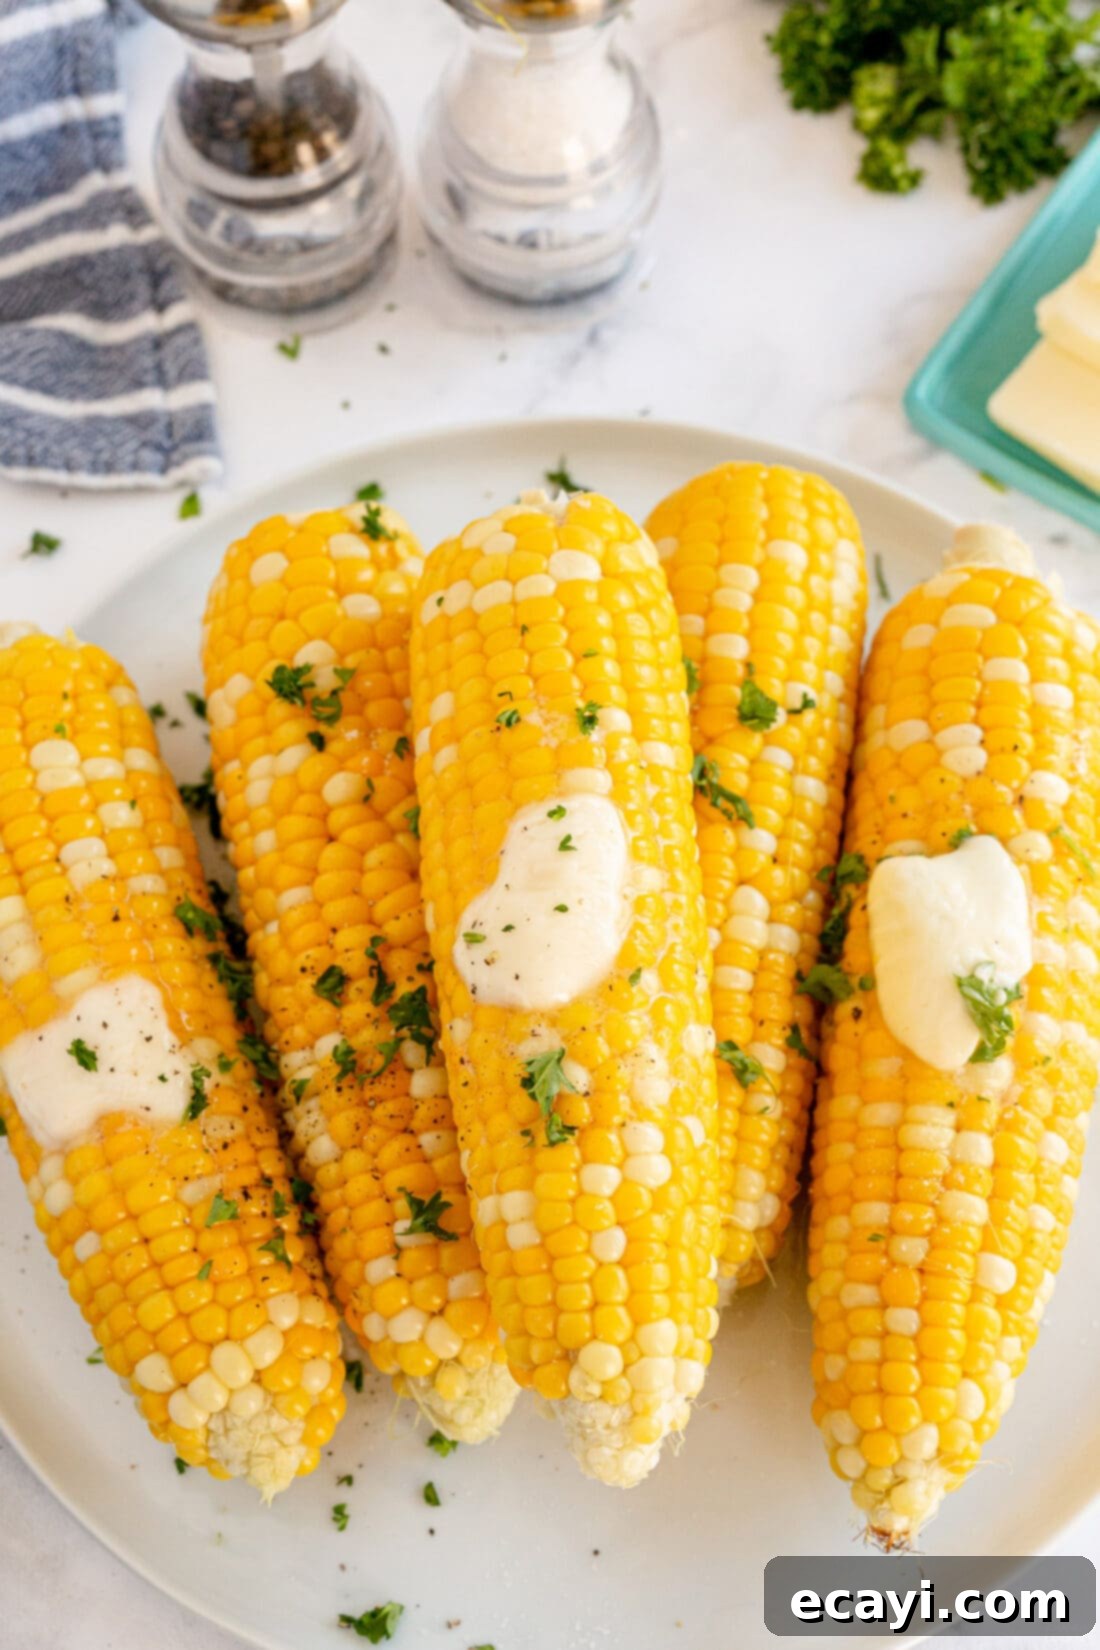
Serving Suggestions for Your Grilled Corn
Fresh, sweet grilled corn is an undisputed champion of backyard barbecues and summer gatherings. Its versatility makes it a perfect pairing for an incredibly wide array of main dishes. It’s simple to prepare and adds a burst of vibrant flavor and satisfying texture to any meal. Consider serving it alongside succulent grilled pork chops, tender grilled chicken, or flaky grilled salmon. The sweet, smoky notes of the corn complement rich meats and fresh seafood beautifully.
Beyond traditional butter, don’t hesitate to get creative with your toppings! Elevate your corn with a dusting of seasonings like smoked paprika, a blend of salt and freshly ground black pepper, pungent garlic salt, or earthy onion powder. For a truly unforgettable experience, transform your grilled corn into a delicious Mexican Street Corn (Elote) by slathering it with a tangy mixture of mayonnaise, cotija cheese, chili powder, and a squeeze of fresh lime juice. The possibilities are endless!
To fully enjoy your grilled corn on the cob, make sure to have your corn holders ready to go – they make handling hot corn a breeze! And, as part of your grilling routine, don’t forget to check out our essential guide on how to clean your gas grill to keep it in top shape for many more delicious cookouts.
Discover More Delicious Grill Recipes
Once you’ve mastered this grilled corn on the cob, you’ll be eager to fire up your grill for more culinary adventures. The grill is an incredible tool for infusing food with smoky flavors and achieving perfect textures. Explore some of our other fantastic grilling recipes to expand your outdoor cooking repertoire and impress your family and friends:
- Chile Lime Chicken: A zesty and flavorful chicken dish perfect for a quick and vibrant meal.
- Marinated Grilled Chicken Skewers: Easy to prepare and packed with savory goodness, these skewers are a crowd-pleaser.
- Cilantro Lime Grilled Chicken Breasts: A simple yet incredibly delicious recipe that’s bright, fresh, and juicy.
- Campfire Foil Packets: Ideal for camping or backyard fun, these packets cook a complete meal with minimal cleanup.
- Cedar Plank Salmon: Imparts a unique smoky flavor to perfectly cooked, flaky salmon.
- Grilled Lamb Chops: Tender and juicy lamb chops, expertly seasoned and grilled to perfection.
I love to bake and cook and share my kitchen experience with all of you! Remembering to come back each day can be tough, that’s why I offer a convenient newsletter every time a new recipe posts. Simply subscribe and start receiving your free daily recipes!
Grilled Corn on the Cob
IMPORTANT – There are often Frequently Asked Questions within the blog post that you may find helpful. Simply scroll back up to read them!
Print It
Pin It
Rate It
Save ItSaved!
Ingredients
- 4 ears fresh corn with husks on
- water for soaking
- salt or sugar optional, for soaking water – see notes
- butter optional, for serving
- fresh parsley optional, chopped, for garnish
Things You’ll Need
-
Large Stockpot
-
Chef’s knife or Kitchen Shears
-
Grilling Tongs
Before You Begin
- If you like, you can add a couple tablespoons of sugar or a couple teaspoons of salt to the soaking water. While this is an optional step, it can slightly enhance the flavor of your corn. However, with fresh-picked, in-season corn, we’ve found it’s often not truly necessary, as the corn is already naturally sweet and delicious.
- The nutritional information provided ONLY includes the corn itself. Any additional ingredients like butter, salt, sugar, or other seasonings applied after grilling are not factored into these values.
Instructions
-
To start, fill a large stockpot or a spacious basin with cold water. Submerge the ears of corn, with their husks still completely intact, into the water. Ensure they are fully covered. Allow them to soak for a minimum of one hour. This vital step saturates the husks, protecting them from burning on the grill and creating a steam-filled environment for incredibly juicy corn.
-
Approximately 5-10 minutes before your corn has finished its soaking time, take a moment to preheat your grill. Set it to a medium heat setting, preparing it for even and thorough cooking.
-
Once the corn has soaked for the full hour, carefully remove each ear from the water. Place them on a layer of paper towels on a baking sheet or clean surface to drain any excess moisture for about 5 minutes. This prevents dripping on the grill and helps prevent excessive flare-ups.
-
Using either a sharp chef’s knife or a pair of kitchen shears, trim just the very tips of the husks off. This step removes any straggling silks or loose, dry husk pieces that could potentially burn or fall into the grill during cooking.
-
Next, carefully peel back and remove only the toughest, outermost layers of the husks. Depending on the thickness of the husks, this might be 1 to 2 layers. Be sure to leave enough husk to tightly encase the corn. If you notice any loose or stray husk tips protruding from the sides, trim these off as well to prevent them from catching fire. It’s crucial not to peel back the husks completely or attempt to remove the silks at this stage, as they are essential for the perfect grilling method.
-
Place the prepared ears of corn directly onto the grill grates over medium heat. Close the grill lid to allow the heat to circulate evenly. Grill the corn for a total of 15-20 minutes. During this time, remember to turn the corn every 5 minutes using grilling tongs. This ensures that the husks char evenly and the corn cooks thoroughly on all sides, resulting in perfectly tender kernels.
-
Once the grilling time is up and the husks show a nice char, carefully remove the corn from the grill. Place the hot ears on a platter or cutting board and allow them to cool for a few minutes. This makes them easier to handle and stops the cooking process gently.
-
With the corn now slightly cooled, it’s time to reveal those golden kernels. Peel back the remaining husks. You will find that the silks are now much easier to remove compared to when the corn was raw. They should practically slide off! You can either discard the husks entirely or leave a few layers attached to create a convenient handle for eating.
-
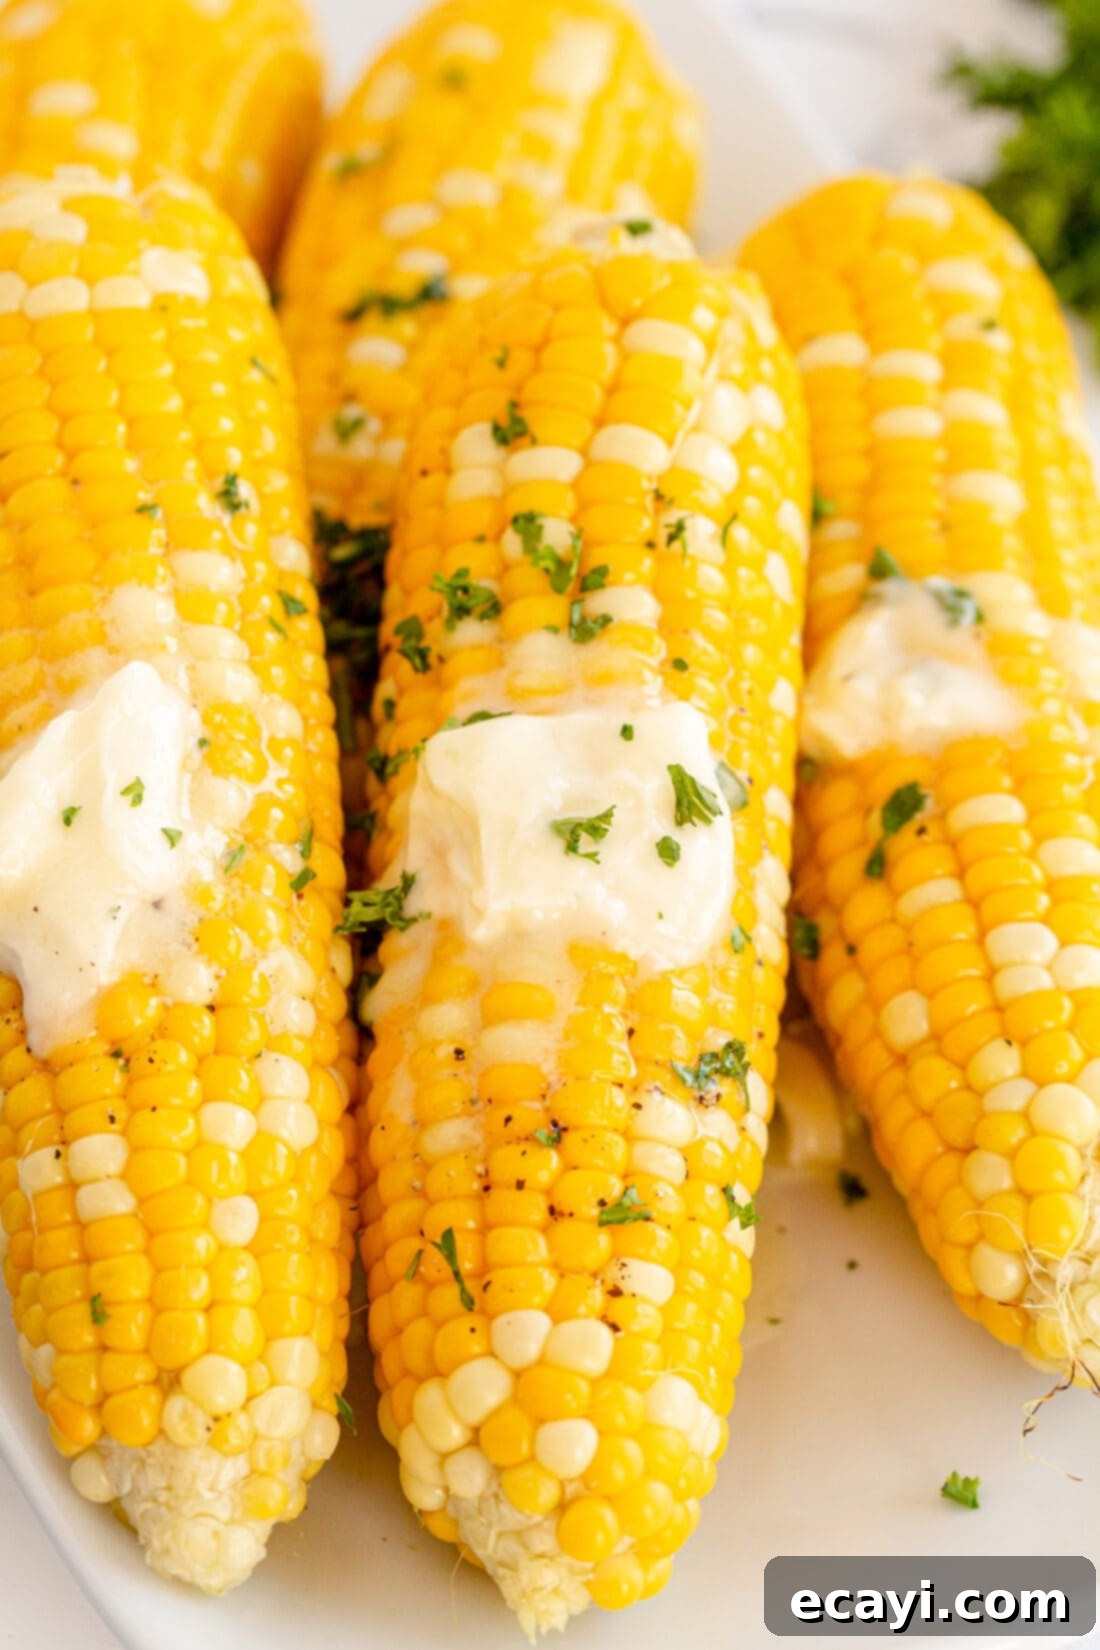
Serve your perfectly grilled corn on the cob immediately. Enhance its natural sweetness and smoky flavor with a generous pat of butter that melts right into the hot kernels. Sprinkle with your favorite seasonings, such as a pinch of salt, pepper, or smoked paprika, and finish with a scattering of fresh chopped parsley for a burst of color and herbaceous freshness. Enjoy!
Nutrition
The recipes on this blog are tested with a conventional gas oven and gas stovetop. It’s important to note that some ovens, especially as they age, can cook and bake inconsistently. Using an inexpensive oven thermometer can assure you that your oven is truly heating to the proper temperature. If you use a toaster oven or countertop oven, please keep in mind that they may not distribute heat the same as a conventional full sized oven and you may need to adjust your cooking/baking times. In the case of recipes made with a pressure cooker, air fryer, slow cooker, or other appliance, a link to the appliances we use is listed within each respective recipe. For baking recipes where measurements are given by weight, please note that results may not be the same if cups are used instead, and we can’t guarantee success with that method.
This post was originally published here on May 16, 2021, and has been updated to provide more comprehensive information and tips for perfect grilled corn.
