The Ultimate Crispy Homemade Onion Rings Recipe: Golden Perfection in Under 25 Minutes!
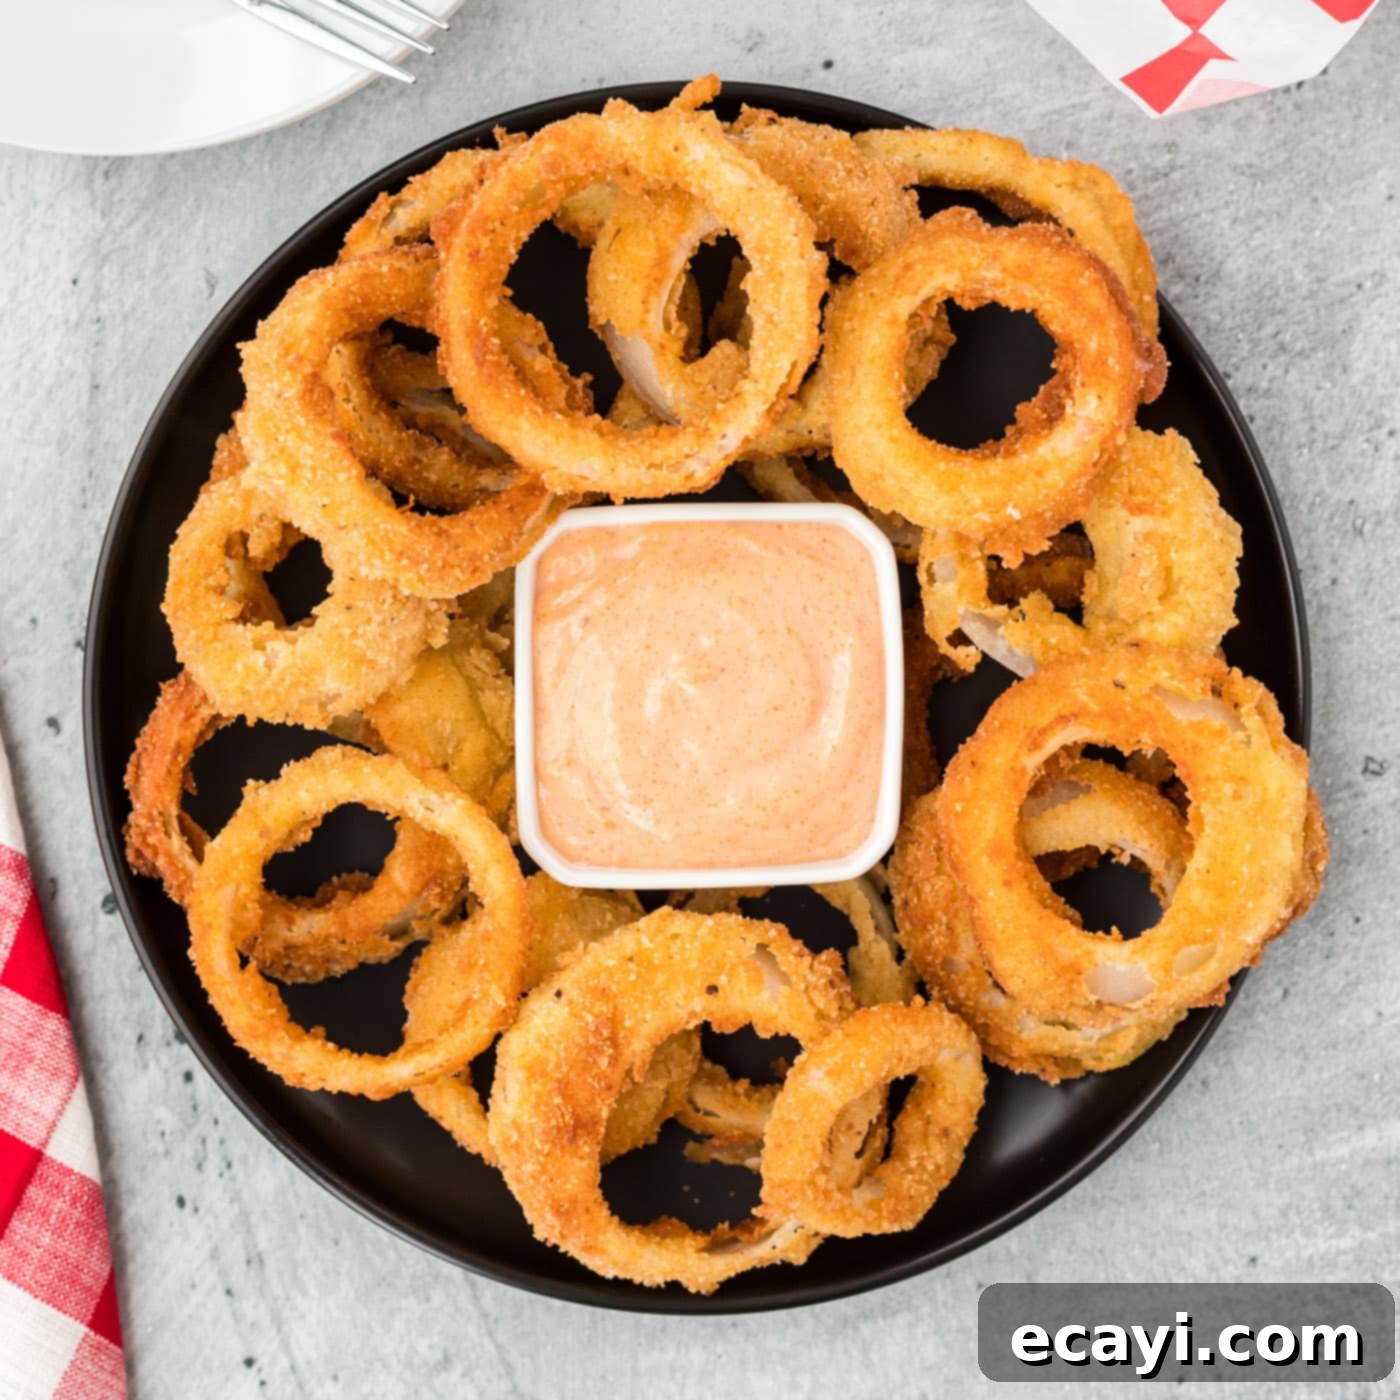
There’s nothing quite like the satisfying crunch of a perfectly fried onion ring. Golden brown, incredibly crispy, and bursting with sweet onion flavor, these homemade delights are a game-changer. Forget soggy, bland frozen versions; this recipe guides you through creating irresistibly delicious onion rings from scratch in under 25 minutes. Bathed in a light, flavorful batter and coated generously in breadcrumbs, each ring transforms into a mouth-watering masterpiece that will have everyone reaching for more. Perfect as a classic side dish or an addictive appetizer, prepare to elevate your comfort food experience!
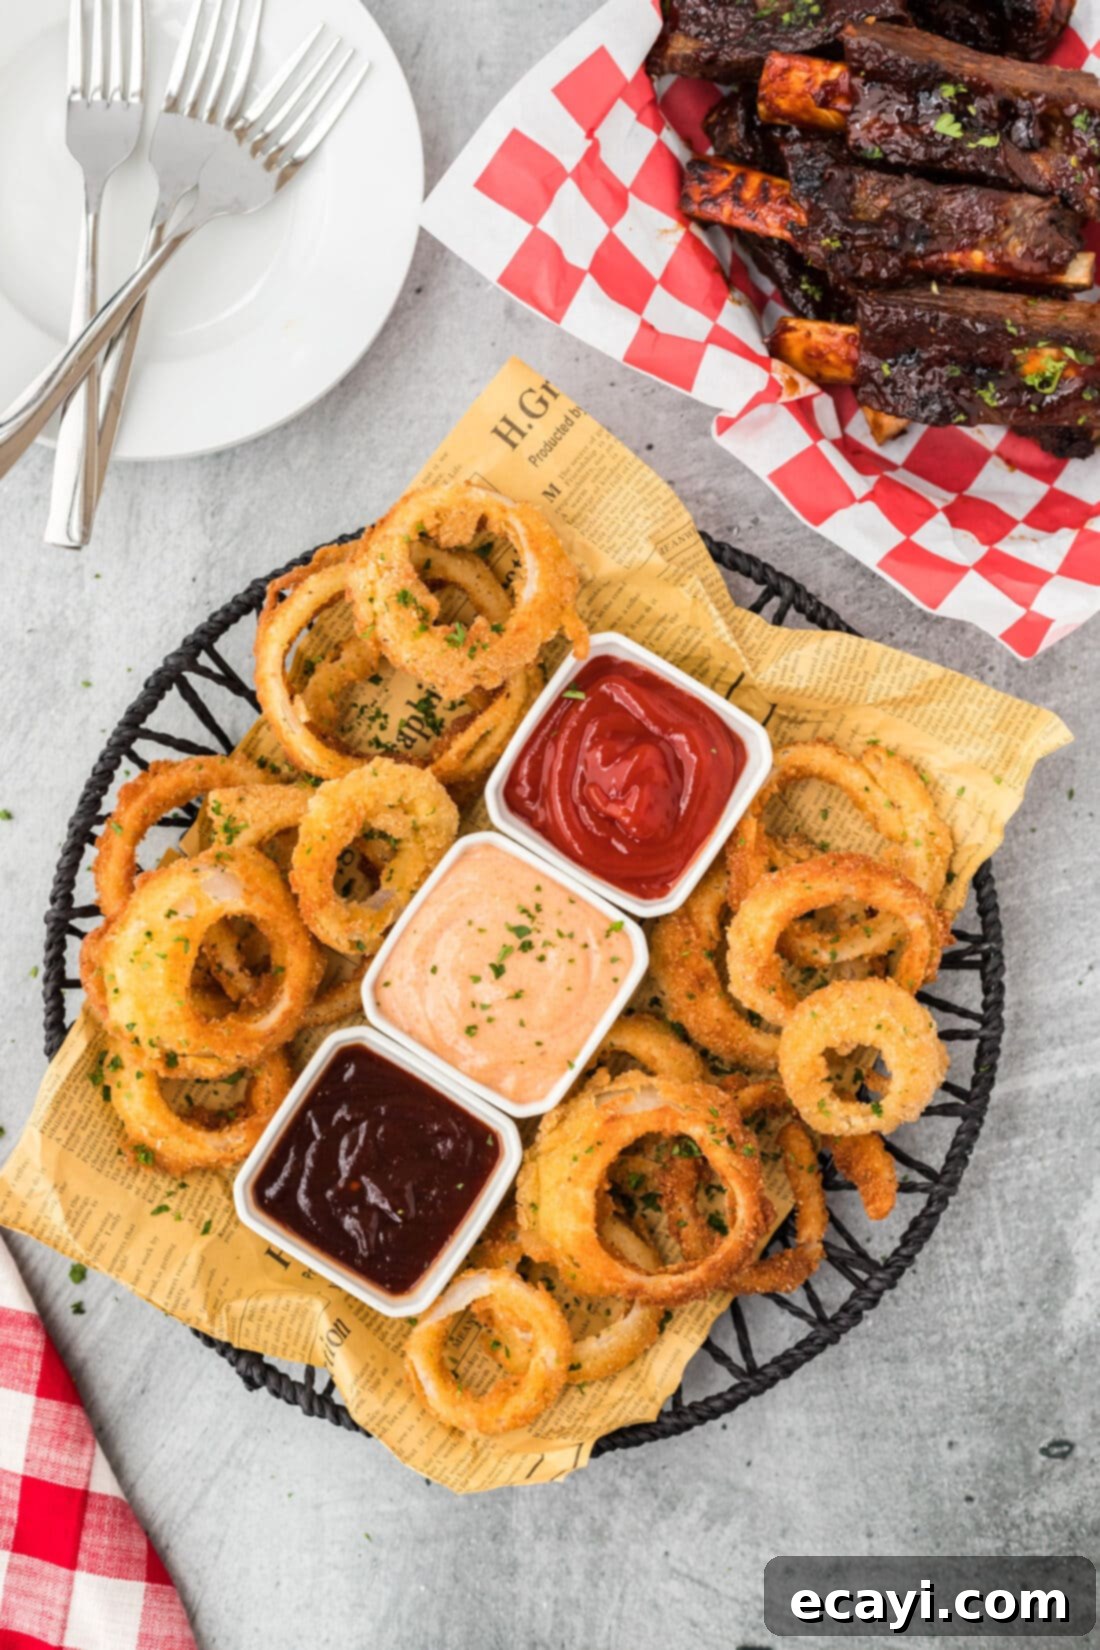
Why This Homemade Onion Ring Recipe Works Wonders
Is there anything truly better than a generous side of perfectly crunchy, golden-fried onion rings? We think not! While comfort food often has a special place in our hearts, these homemade onion rings genuinely stand out. This recipe is designed for both simplicity and maximum deliciousness, ensuring that even novice cooks can achieve restaurant-quality results in their own kitchen. The magic lies in our straightforward three-step coating process: a simple slice of fresh onion, followed by a dip in our seasoned batter, and finally, a thorough roll in breadcrumbs. This method creates an exceptional crust that fries up beautifully, locking in moisture while delivering that irresistible crunch. You’ll simply add them to a pan of hot oil and watch them sizzle until they achieve a gorgeous, appetizing golden-brown hue.
Unlike many recipes that can be overly complicated or time-consuming, our approach focuses on efficiency without compromising on flavor or texture. We believe everyone deserves to enjoy the unparalleled taste of freshly made onion rings. This recipe also works because it offers versatility. Not keen on deep frying? We understand! You’ll love our equally delicious air fryer onion rings recipe, which offers a lighter, less oil-intensive alternative while still delivering fantastic crispiness. So whether you prefer the classic deep-fried experience or a healthier option, we have you covered.
Essential Ingredients You Will Need
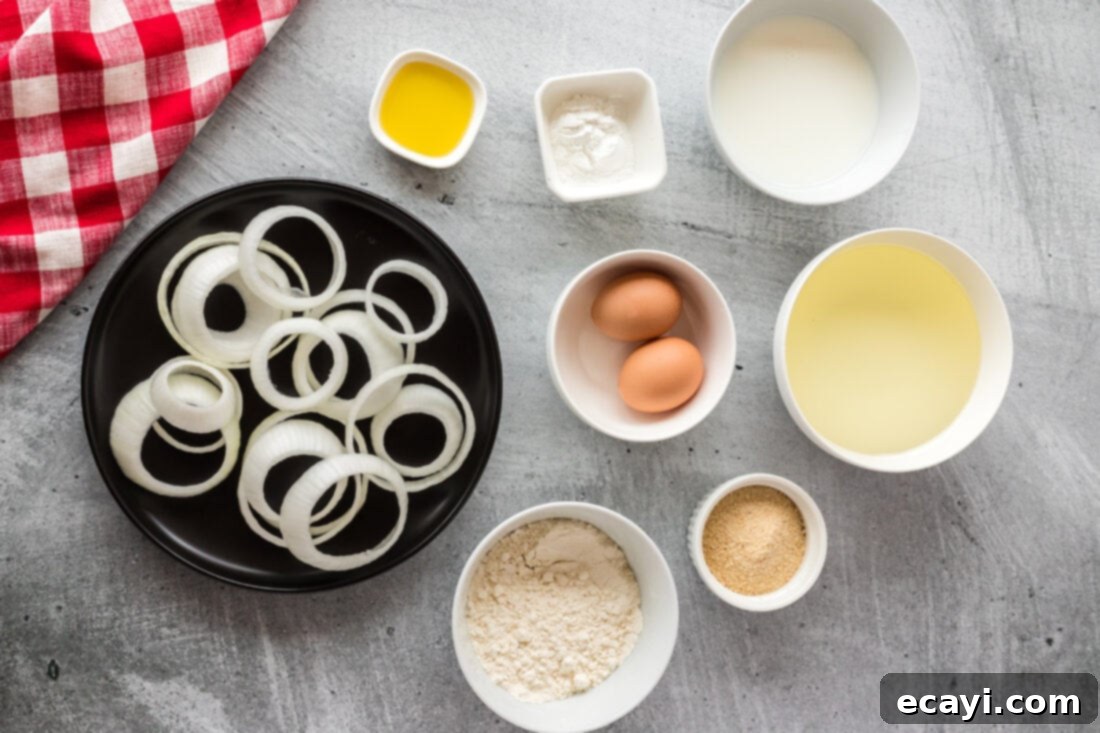
Crafting the perfect batch of homemade onion rings requires a few simple, readily available ingredients. The quality of these components plays a crucial role in the final flavor and texture. Here’s what you’ll need to gather:
- **Onion:** A large yellow or sweet onion is ideal.
- **Olive Oil:** For tossing the onion rings before coating.
- **Egg:** To help bind the batter and breading.
- **All-Purpose Flour:** The base for our dry coating and batter.
- **Baking Powder:** Key to achieving a light and crispy batter.
- **Milk:** Adds richness and smooth consistency to the batter.
- **Breadcrumbs:** The secret to that ultimate crunch.
- **Vegetable Oil:** For frying, choose one with a high smoke point.
You can find all precise measurements, ingredient quantities, and detailed instructions in the printable recipe card located towards the end of this post. Having everything prepped and measured before you start will make the cooking process seamless and enjoyable.
Ingredient Insights and Expert Substitution Suggestions
Understanding your ingredients is key to successful cooking. Here’s a deeper dive into the components of our crispy onion rings recipe and how you can customize them to your liking:
Onion Selection
The type of onion you choose significantly impacts the final taste. For this recipe, we prefer using a **sweet onion** due to its milder flavor profile, which caramelizes beautifully when fried and offers a delightful contrast to the savory breading. However, you have several excellent options:
- Sweet Onions (Vidalia, Walla Walla): These are generally the top choice for onion rings because of their low sulfur content, which translates to less pungency and a naturally sweeter taste. They become incredibly tender and flavorful when cooked.
- Yellow Onions: A versatile and widely available option, yellow onions have a balanced flavor that becomes sweet and savory when cooked. They hold up well to frying.
- White Onions: These are on the stronger, more pungent side compared to sweet or yellow onions. While they still make great onion rings, expect a sharper, more distinct onion flavor. If you prefer a bolder taste, white onions are a good choice.
- Red Onions: Offering a slightly peppery and sweet flavor, red onions can also be used. They tend to be a bit more delicate after frying but add a beautiful pop of color if you’re going for visual appeal.
Ultimately, the best onion for your rings boils down to individual preference. Feel free to experiment to find your favorite!
Crafting the Perfect Breading
Our two-stage breading process is crucial for achieving the ultimate crispy texture. The flour coating ensures the wet batter adheres properly, and the breadcrumbs create the satisfying crunch. Here’s how to enhance it:
- Seasoning the Breading: Don’t hesitate to infuse your breadcrumbs with extra flavor! Excellent additions include a teaspoon of paprika for a smoky depth and color, garlic powder, onion powder (to amplify the onion flavor even more), or a pinch of cayenne pepper for a subtle kick. You can also incorporate dried herbs like oregano or thyme. Alternatively, using pre-seasoned breadcrumbs can save time and add a consistent flavor profile.
- Type of Breadcrumbs: While regular breadcrumbs work well, consider using **Panko breadcrumbs** for an exceptionally light and extra-crispy exterior. Panko crumbs are coarser and absorb less oil, resulting in a superior crunch.
- Eggs in the Batter: In the ingredient photo, you might spot two eggs, but for the batch specified in the recipe card, one large egg is typically sufficient to create the perfect batter consistency. If you’re making a significantly larger batch or prefer a slightly thicker batter, using two eggs won’t negatively affect the outcome. It simply provides more binding power and volume.
- Flour Mixture: The combination of all-purpose flour and baking powder is essential. The baking powder reacts with the heat, creating tiny air bubbles that make the batter light and puffy, contributing to that desired crispiness.
Frying Oil
Choose a neutral-flavored oil with a high smoke point, such as **vegetable oil**, canola oil, or peanut oil. These oils can withstand high temperatures without breaking down or imparting undesirable flavors to your onion rings.
How to Make Homemade Crispy Onion Rings: Step-by-Step Guide
These step-by-step photos and detailed instructions are here to help you visualize how to make this recipe perfectly. For a concise, printable version of this recipe, complete with measurements and instructions, please Jump to Recipe at the bottom of the page.
- Prepare the Onions: Begin by peeling your chosen large onion. Carefully slice it into rings, aiming for a thickness of about 1/2-inch to 1-inch. Thicker rings offer more substantial onion flavor, while thinner rings get crispier faster. Gently separate the rings from each other.
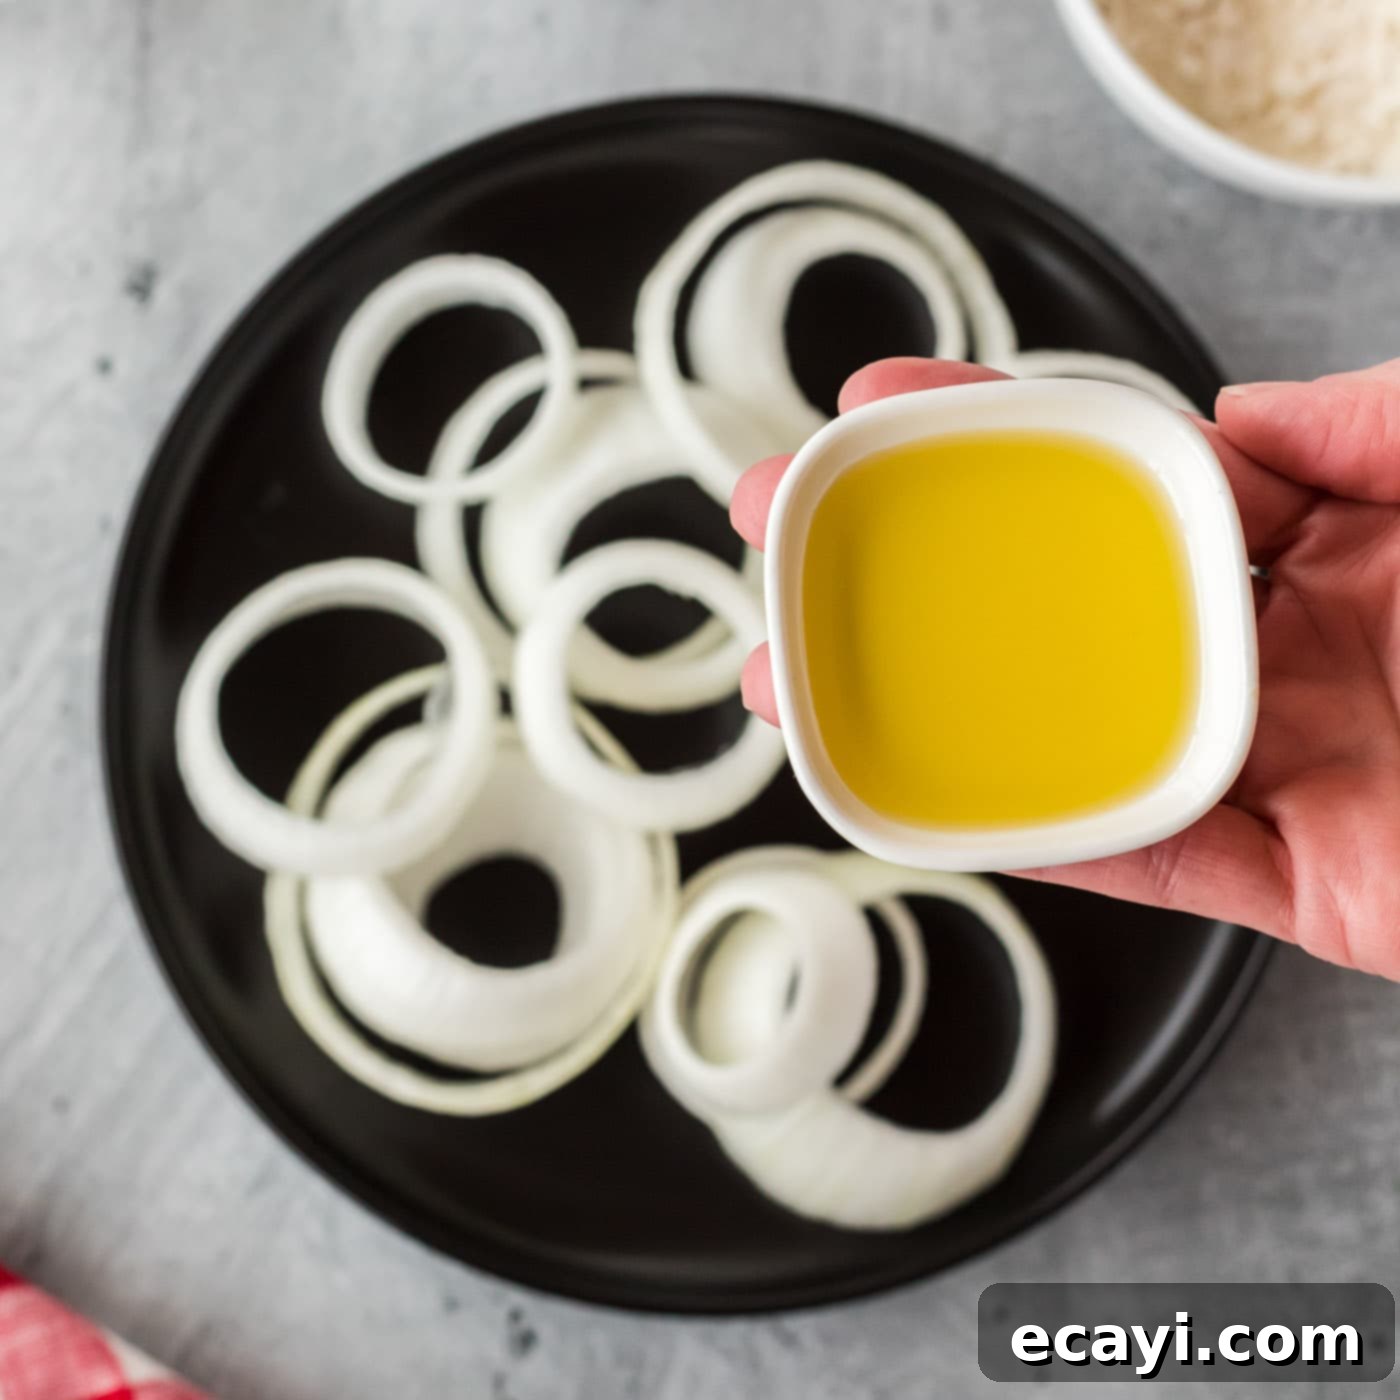
- Lightly Oil the Rings: In a bowl, gently toss the separated onion rings with 1 tablespoon of olive oil. This light coating helps the flour adhere more effectively in the next step, creating a better base for your batter.

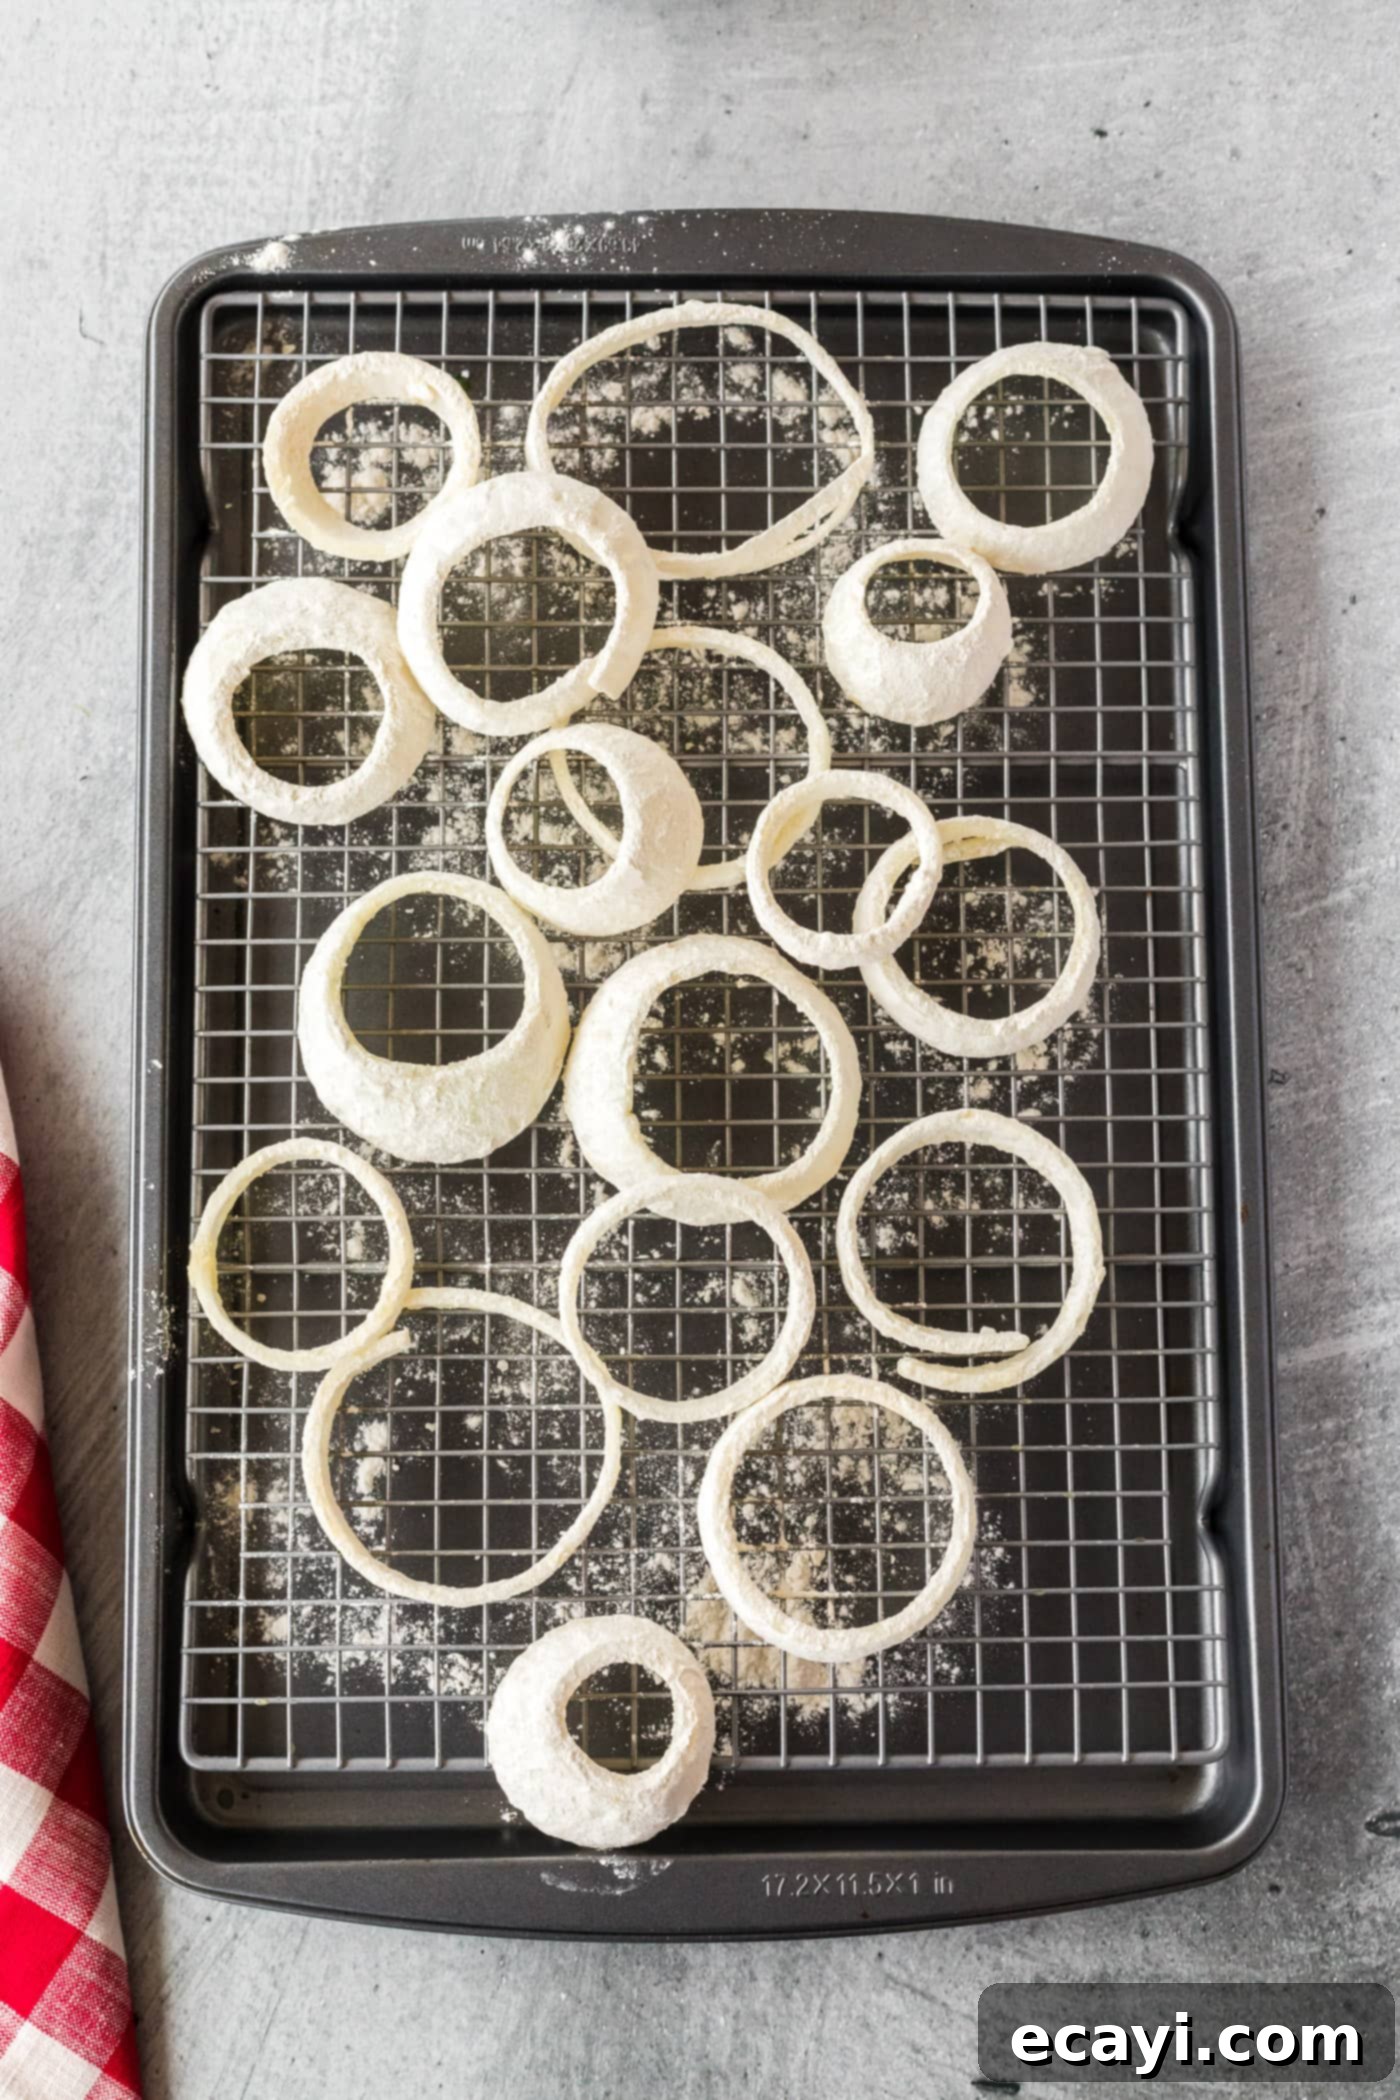
Tossing freshly sliced onion rings with olive oil to prepare them for coating. - First Flour Coating: In a medium bowl, thoroughly whisk together your all-purpose flour and baking powder. This dry mixture creates the first layer of crispiness. Take each oiled onion ring, one at a time, and place it into the flour mixture, turning it to ensure an even and complete coat. Shake off any excess flour. As you coat them, place the floured rings on a wire rack set over a baking sheet. This allows for air circulation and keeps them from sticking.

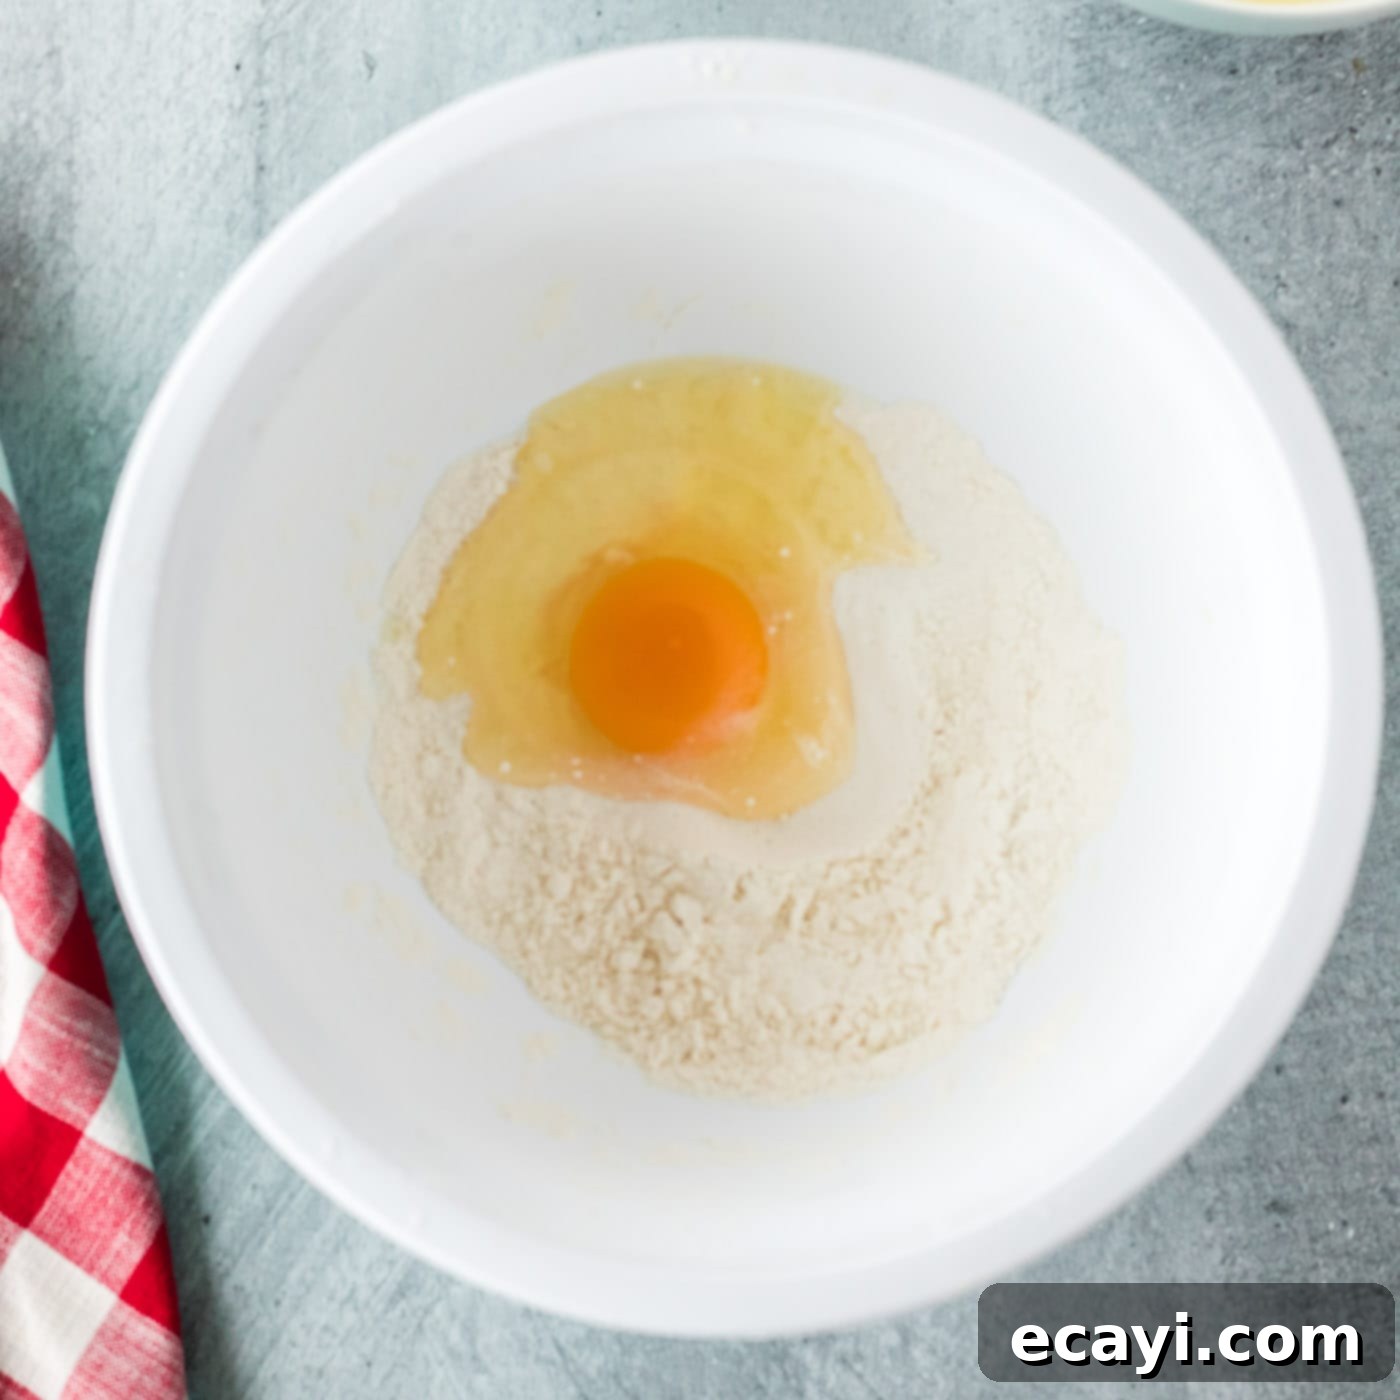
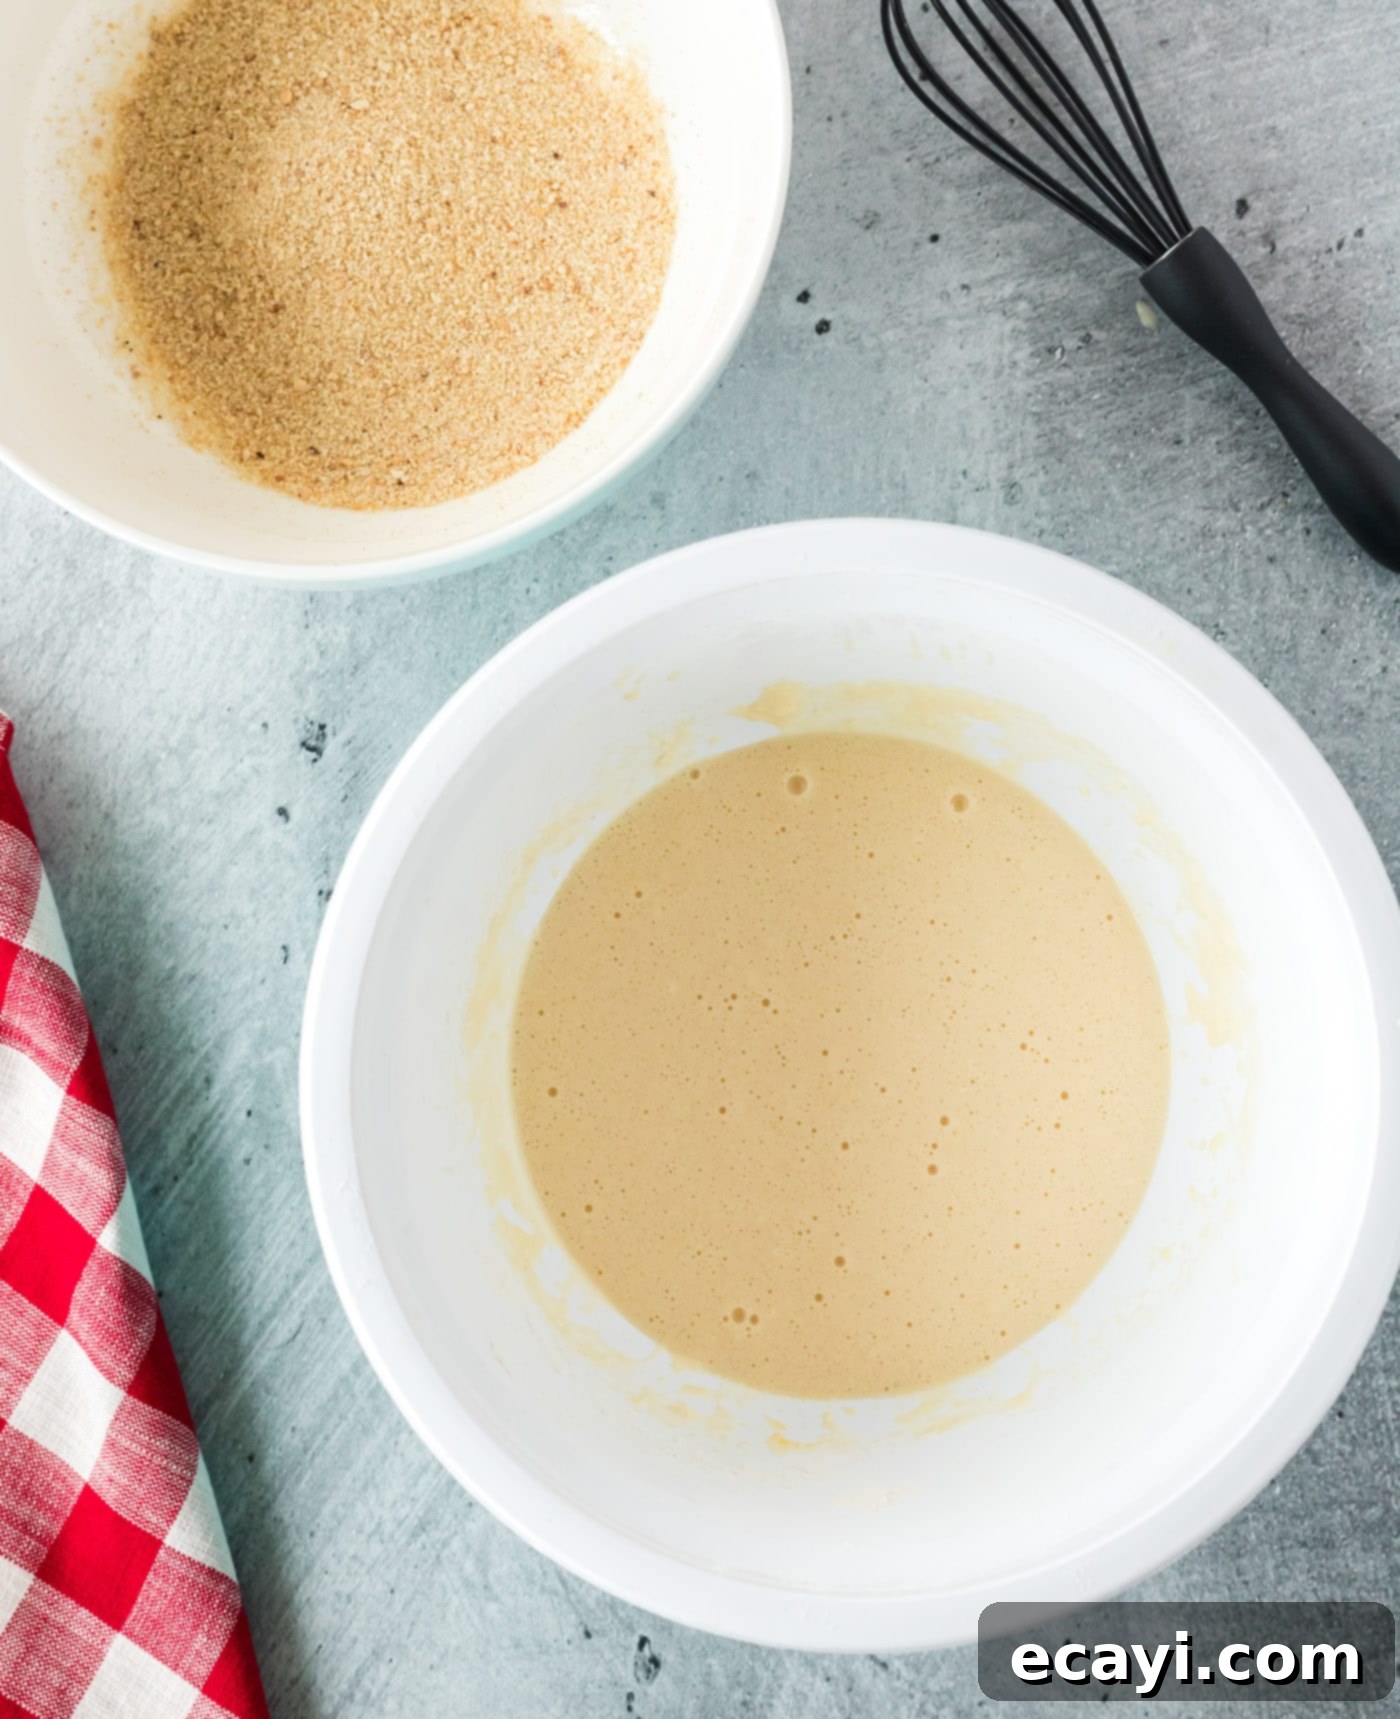
Ensuring each onion ring is fully coated in the flour and baking powder mixture. - Prepare the Batter: To the remaining flour mixture (the one you just used for coating), add the large egg and milk. Whisk thoroughly until you achieve a smooth, lump-free batter. The baking powder in this mixture will help create a light, airy, and incredibly crispy exterior once fried.

Combining wet ingredients with the flour mixture for the batter. 
The finished, smooth batter in a bowl. - Set Up Breading Station: Place your breadcrumbs in a separate medium bowl. This is your final coating station.
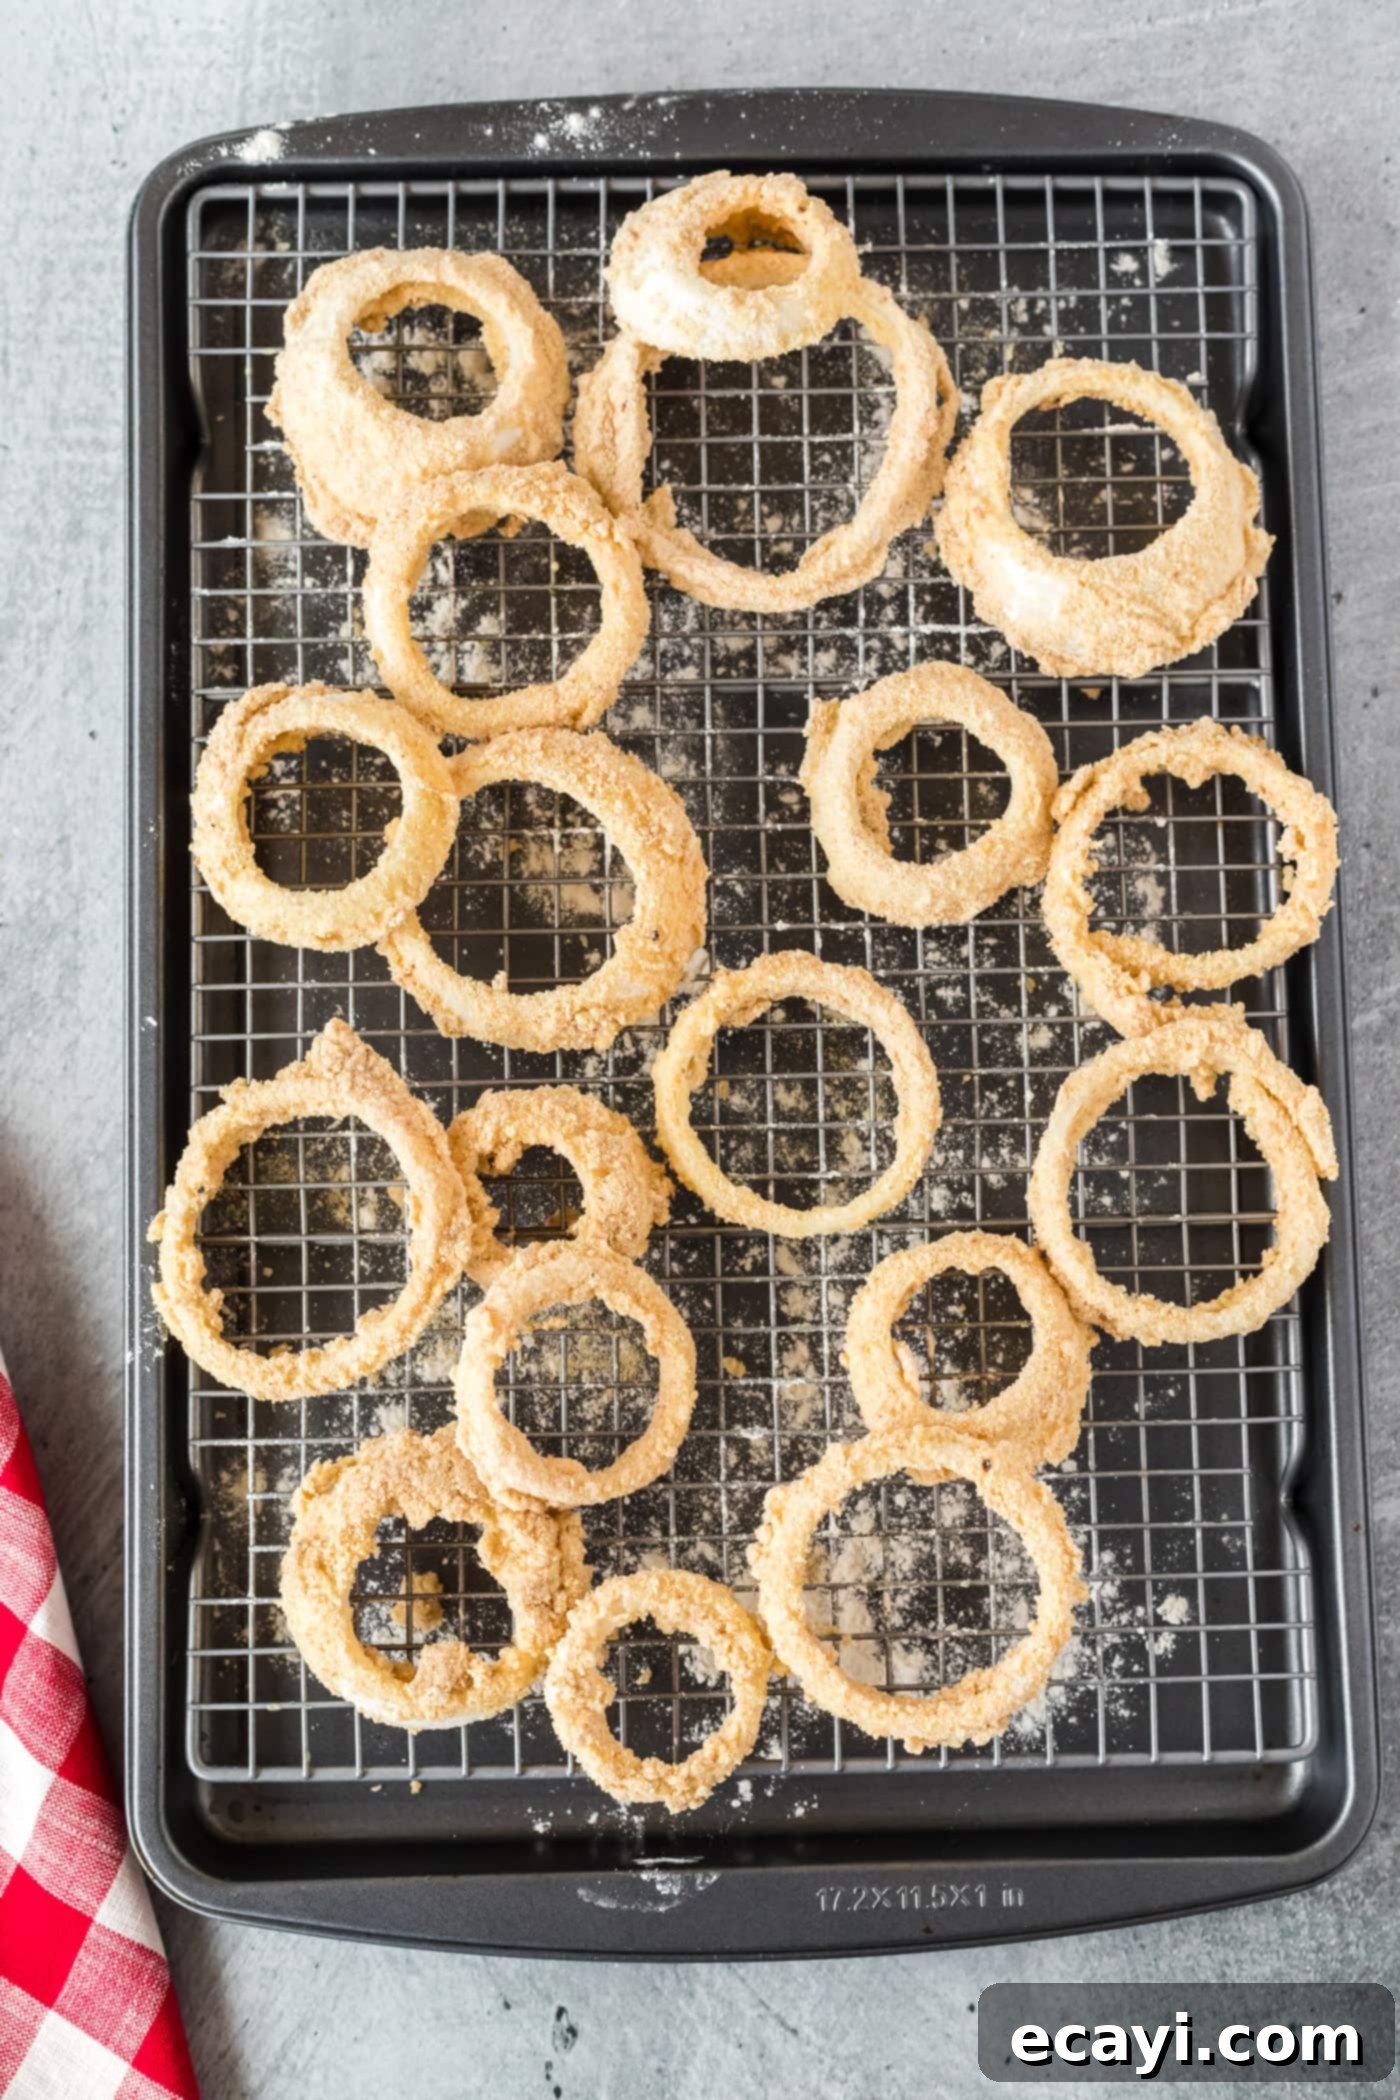
- Batter and Crumb Coating: Now for the crucial double-coating! Dip each floured onion ring, one at a time, into the wet batter, ensuring it’s completely coated. Allow any excess batter to drip off back into the bowl; too much batter can lead to a less crispy result. Immediately transfer the battered ring into the bowl of breadcrumbs. Toss and turn it a few times, gently pressing to ensure it’s well-coated on all sides. Place the fully breaded ring back onto a clean section of the wire rack and continue this process with the remaining rings.
EXPERT TIP: As you bread more rings, the breadcrumbs will inevitably clump due to the wet batter. To maintain an even coating, it’s helpful to stop halfway through and sift out these clumps. This ensures a consistent, crisp texture for all your onion rings.

Fully breaded onion rings awaiting their turn in the hot oil. - Heat the Oil: Pour enough vegetable oil into a large, sturdy skillet or Dutch oven to reach a depth of about 2-3 inches. Heat the oil over medium-high heat until it reaches 350°F (175°C). Use a candy or deep-fry thermometer to accurately monitor the temperature. Maintaining the correct oil temperature is vital for crispiness – too low and your rings will be greasy; too high and they’ll burn before cooking through. You may need to slightly reduce the heat once 350°F is reached to prevent it from getting hotter.
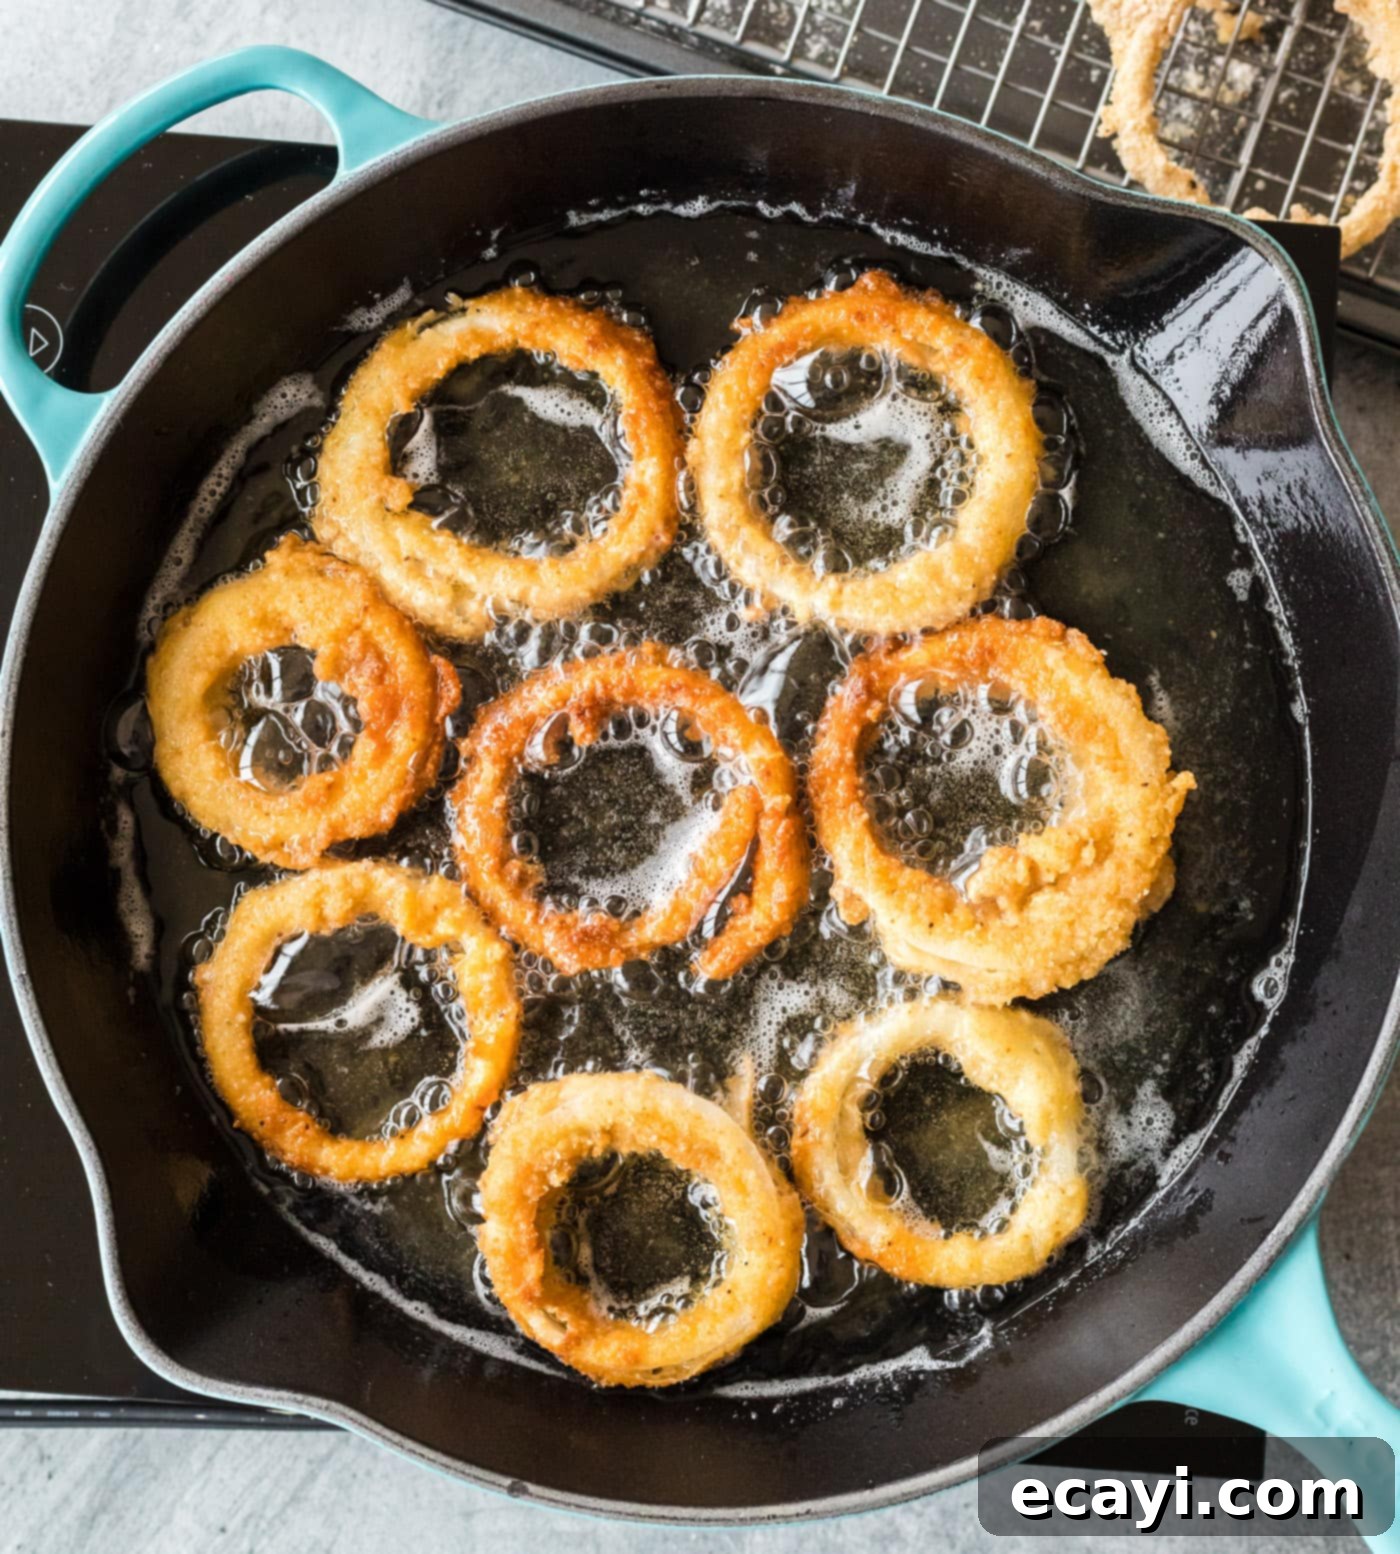
- Fry the Onion Rings: Carefully place a few breaded onion rings into the hot oil. Do not overcrowd the skillet, as this will lower the oil temperature and result in soggy rings. Cook them until the visible edges begin to turn a beautiful golden brown, which typically takes about 2 minutes. Using tongs, gently flip them over and cook for another 2 minutes, or until both sides are evenly golden brown and crispy.

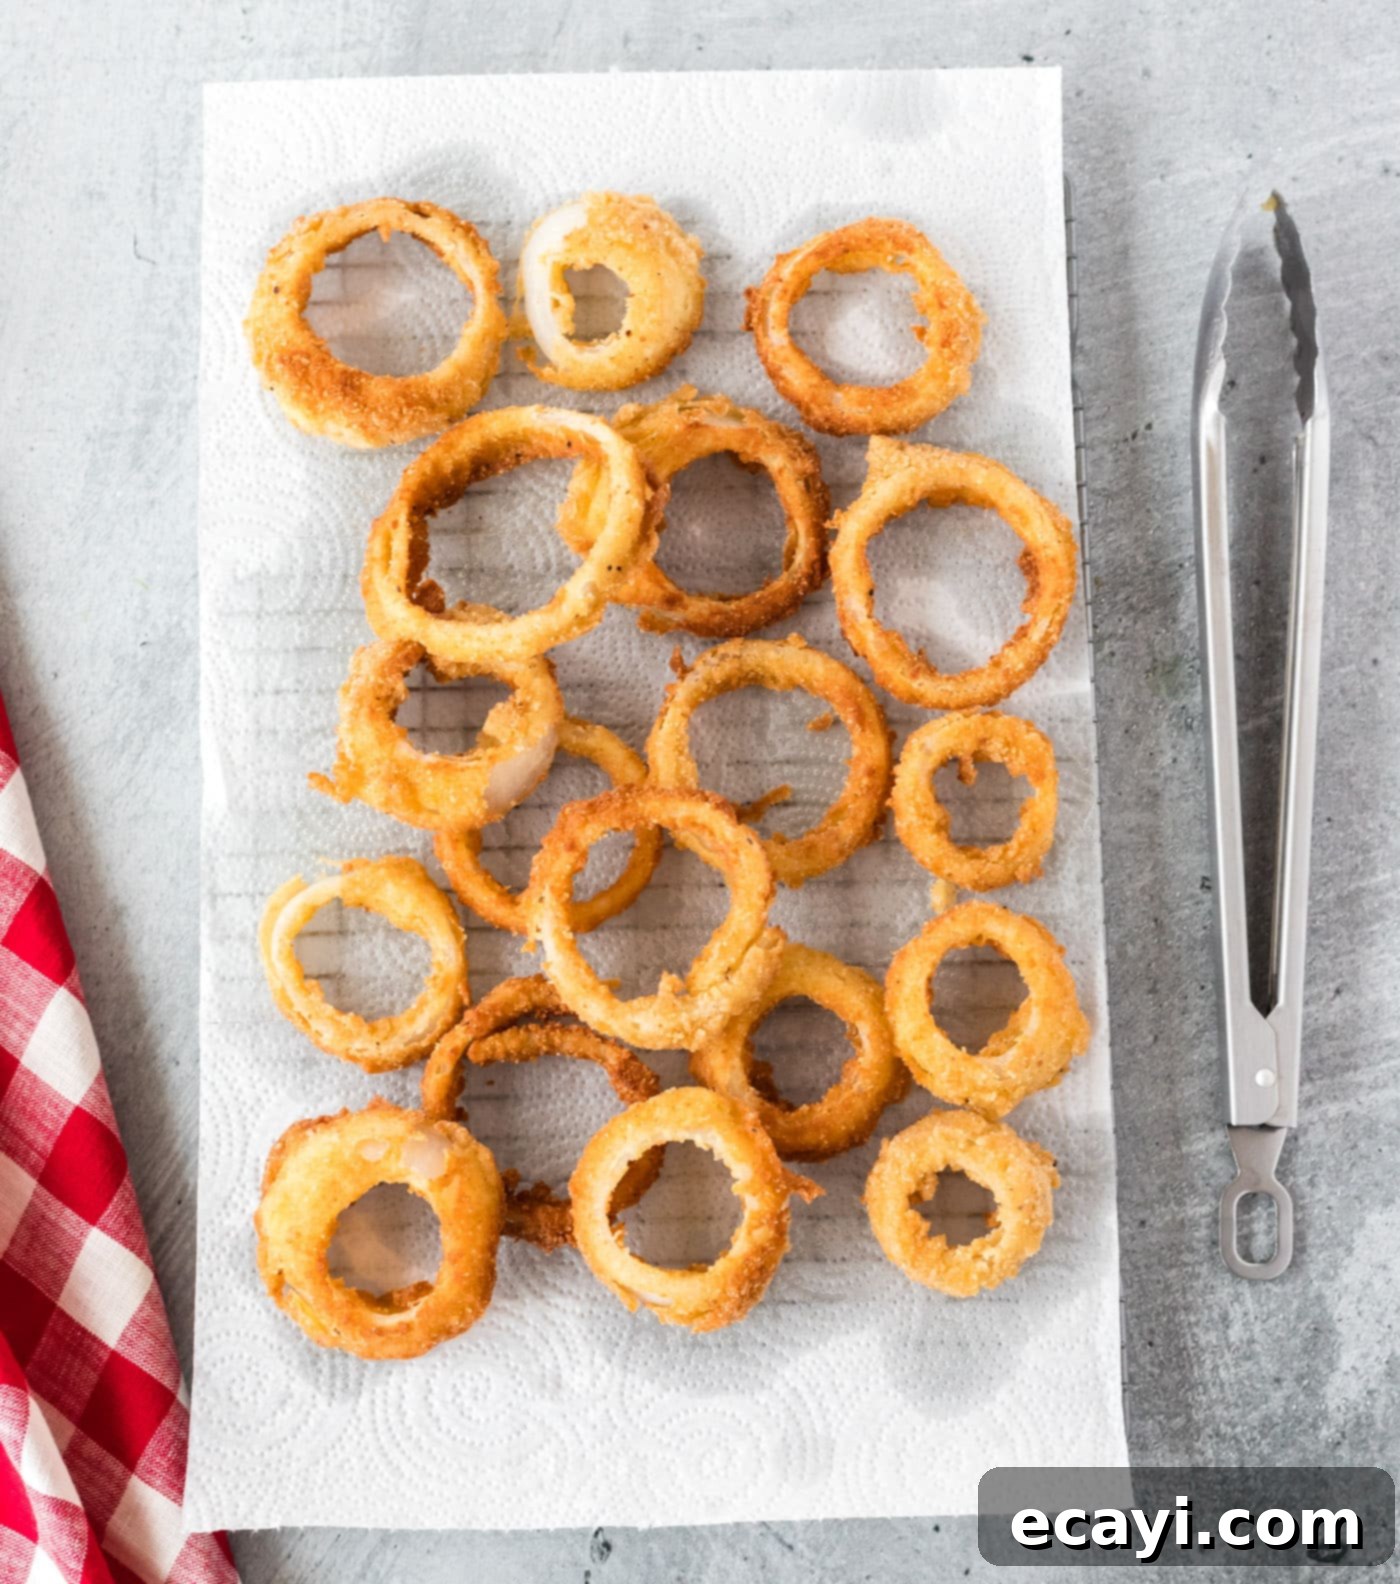
Deep-frying onion rings until they achieve a perfect golden crispness. - Drain and Serve: Once golden brown, remove the onion rings from the oil using a slotted spoon or spider, allowing excess oil to drip off. Transfer them immediately to a plate lined with paper towels to drain any remaining oil. This crucial step helps keep them crispy. Repeat with the remaining onion rings, ensuring the oil returns to 350°F before adding each new batch. Serve immediately and enjoy!

Draining excess oil from the freshly fried onion rings for optimal crispness.
Frequently Asked Questions & Expert Tips for Perfect Onion Rings
Yes, you can absolutely freeze your fried onion rings for later enjoyment! To do so, allow the onion rings to cool completely after frying. Once cooled, arrange them in a single layer on a baking sheet and freeze for about an hour until solid. This prevents them from sticking together. Then, transfer the frozen onion rings to a large zip-top freezer bag, pressing out any excess air before sealing. They can be stored in the freezer for up to 3 months. To reheat, you can bake them in a preheated oven at 375°F (190°C) for 10-15 minutes, or until heated through and crispy. Alternatively, an air fryer works wonders: air fry at 350°F (175°C) for 5-8 minutes, shaking the basket halfway through. For best results, consider slightly undercooking your onion rings before freezing, so they don’t overcook or burn during reheating.
Soggy onion rings are usually a result of incorrect oil temperature or overcrowding the fryer. If the oil isn’t hot enough (below 350°F/175°C), the batter will absorb too much oil instead of frying quickly and becoming crispy. Overcrowding also drops the oil temperature significantly. To prevent sogginess, always use a thermometer to maintain a steady 350°F (175°C) oil temperature, fry in small batches, and drain the cooked rings immediately on a paper towel-lined plate or wire rack after removing them from the oil.
Achieving that ultimate crispiness comes down to a few factors. First, the double-coating method (flour, then batter, then breadcrumbs) creates a robust shell. Using Panko breadcrumbs instead of regular ones will provide a lighter, crunchier texture. Secondly, ensuring your oil is at the correct temperature (350°F/175°C) is paramount, as is not overcrowding the pan. Lastly, draining the onion rings on paper towels or a wire rack immediately after frying helps wick away excess oil, preventing them from becoming greasy and losing their crunch.
While you can mix the dry ingredients (flour and baking powder) ahead of time, it’s best to mix the wet ingredients (egg and milk) into the dry mixture just before you’re ready to fry. The baking powder will start to react once it comes into contact with the liquid, and its leavening power is most effective when fresh, contributing to a lighter, crispier batter. Preparing the onion rings and breading them shortly before frying also ensures the freshest and crispiest results.
For deep frying, you’ll want a neutral-flavored oil with a high smoke point. Excellent choices include vegetable oil, canola oil, peanut oil, or sunflower oil. These oils can withstand the high temperatures required for frying without smoking or imparting unwanted flavors to your delicious onion rings.
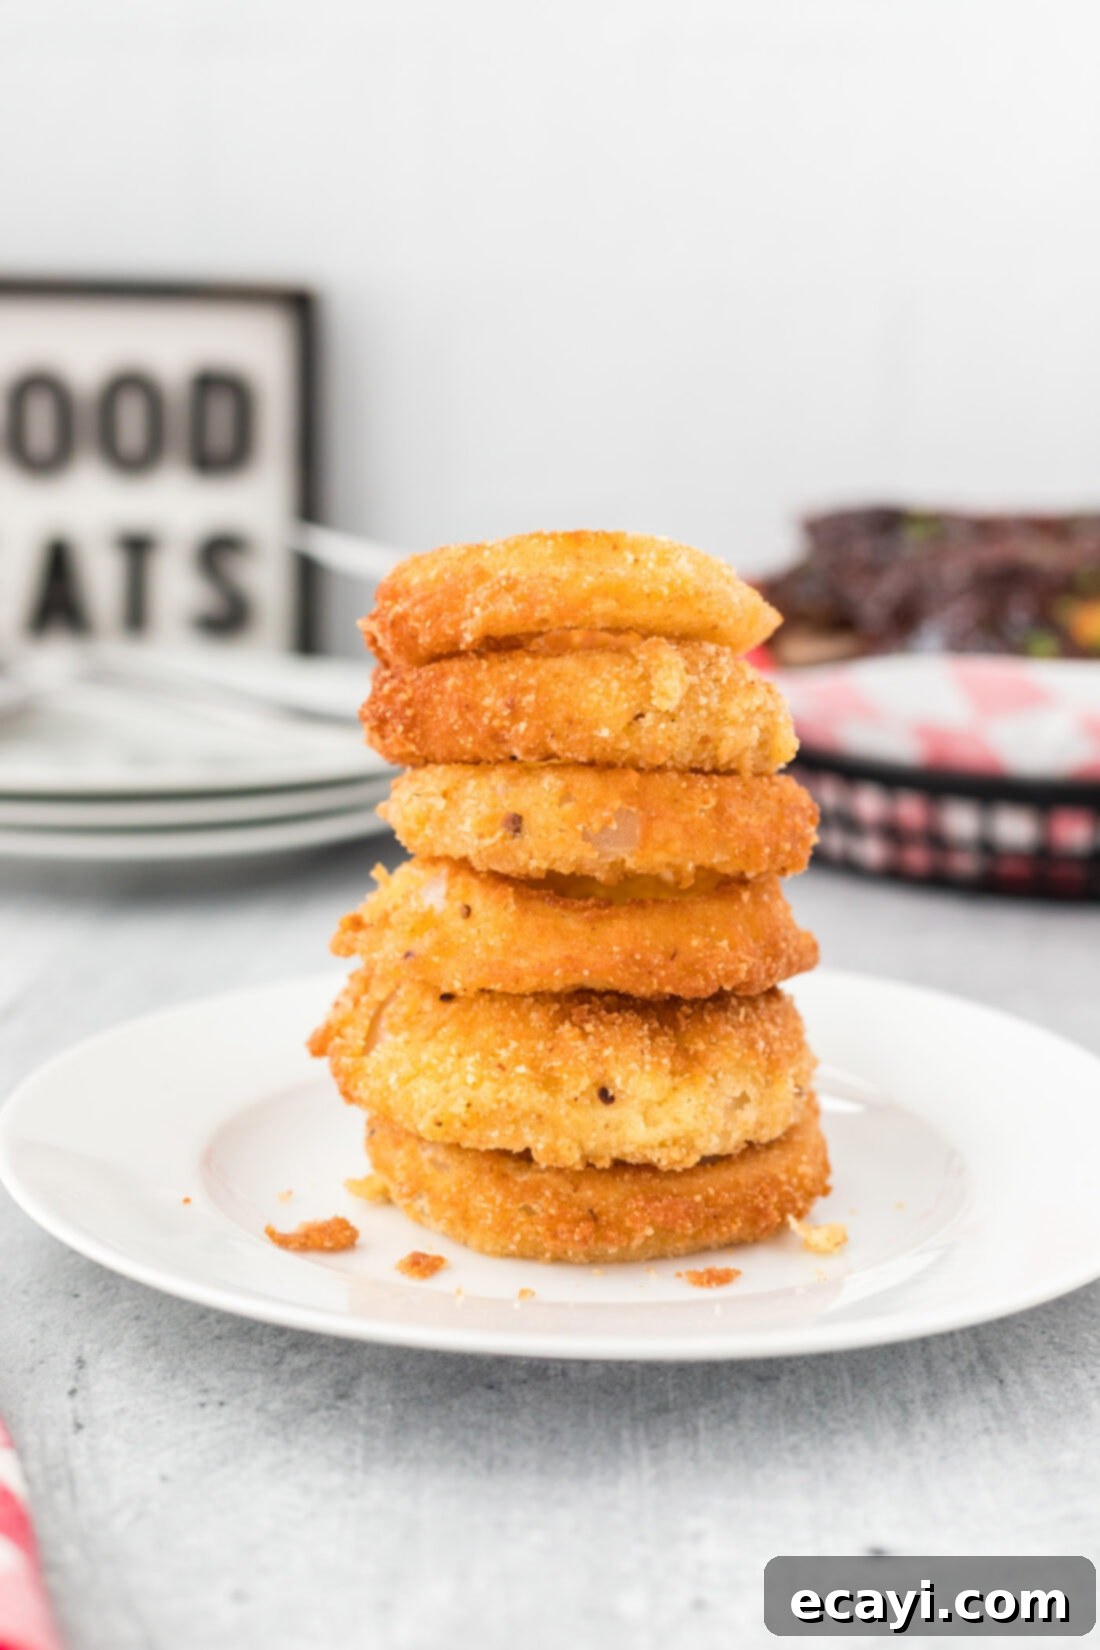
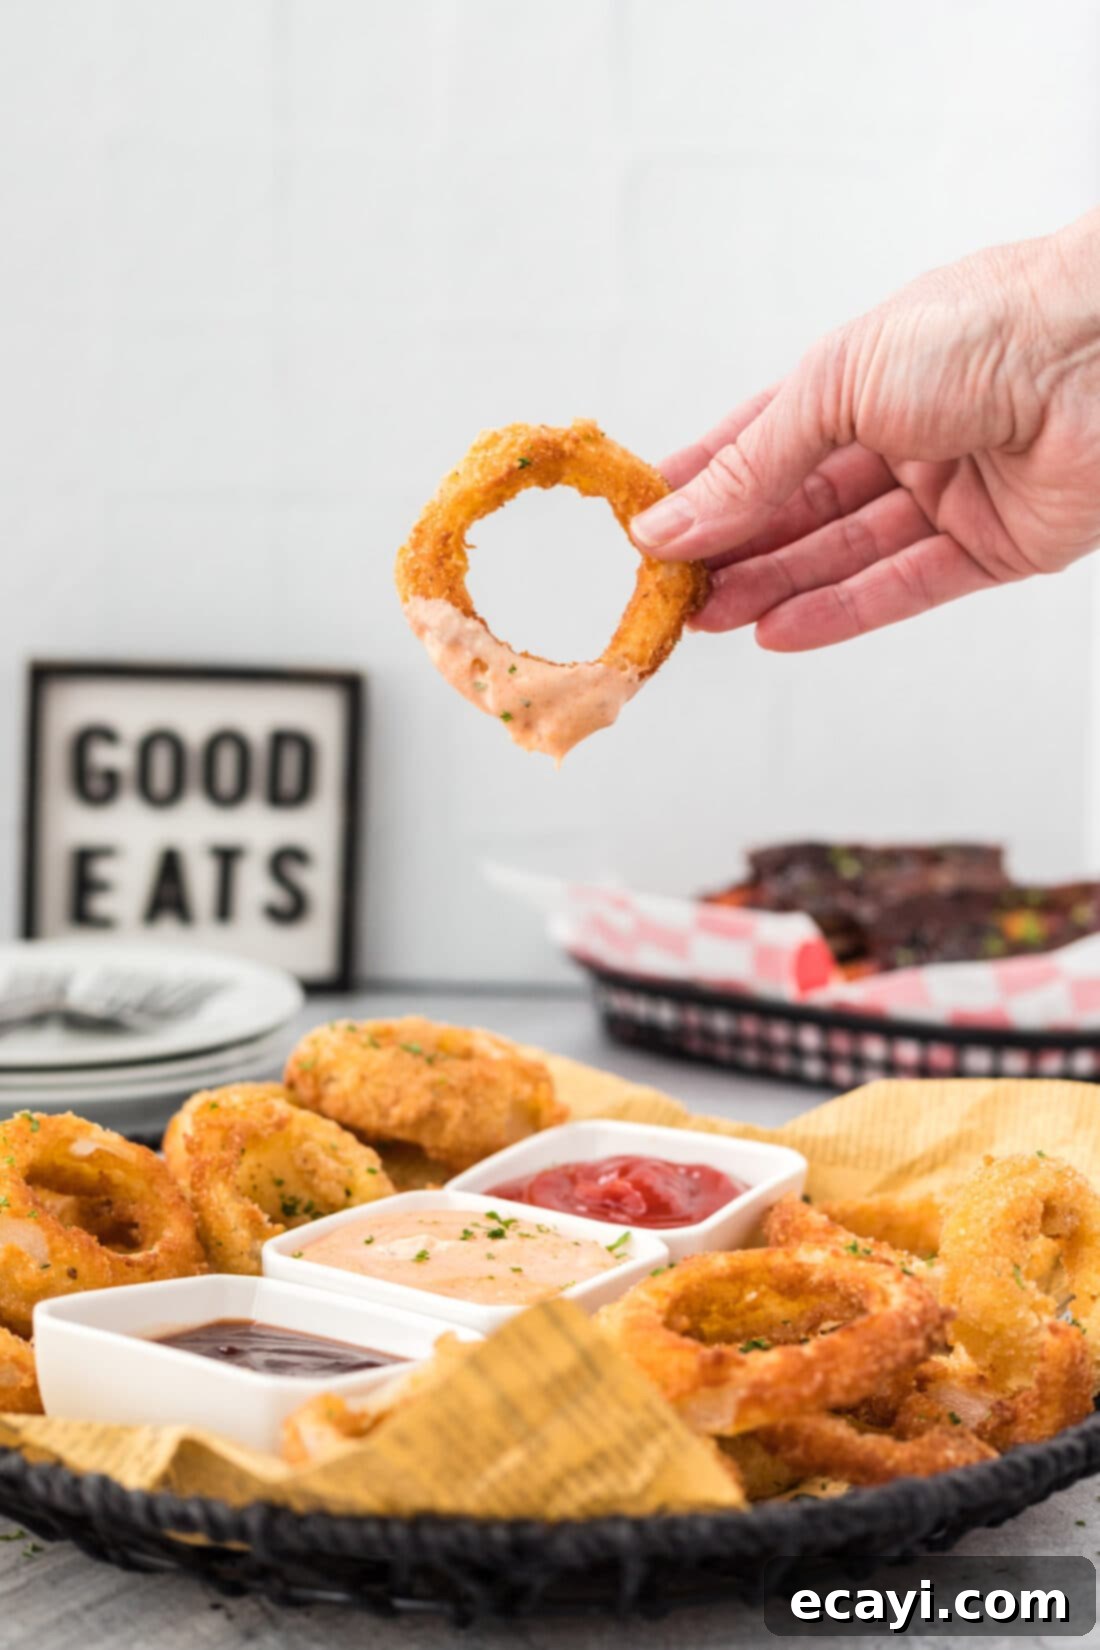
Delicious Serving Suggestions for Your Homemade Onion Rings
These crispy homemade onion rings are incredibly versatile and pair wonderfully with a variety of meals and sauces. They’re a classic comfort food for a reason!
- Burger’s Best Friend: Pile them high on your favorite burgers for an added layer of crunch and flavor, or serve them alongside for the ultimate diner-style meal.
- Appetizer Extravaganza: Offer them as a standout appetizer with a selection of dipping sauces for gatherings, game nights, or special occasions.
- Dipping Delights: The right sauce can elevate your onion rings to new heights. Classic choices include French fry sauce, tangy BBQ sauce, zesty Alabama white sauce, sweet and savory honey mustard, creamy ranch, or a fiery spicy mayo. Don’t be afraid to get creative with your dips!
- Perfect Side Dish: Beyond burgers, onion rings make a fantastic side for wraps, sandwiches of all sorts, and hearty mains like oven beef ribs.
- Anytime Snack: Let’s be honest, sometimes you just crave a crispy, savory snack. These onion rings are perfect for satisfying that craving whenever it strikes.
More Irresistible Appetizer Recipes to Explore
If you love these crispy onion rings, you’ll surely enjoy these other fantastic appetizer recipes:
- Blooming Onion
- Jalapeno Poppers
- French Bread Pizza
- Cheesy Garlic Bread
- Air Fryer Fried Pickles
- Air Fryer Green Bean Fries
I absolutely love creating and sharing delicious recipes with all of you! To make sure you never miss out on a new culinary adventure, consider subscribing to my convenient newsletter. You’ll receive free daily recipes delivered straight to your inbox every time a new post goes live. Simply subscribe here and start enjoying fresh inspiration!
Crispy Homemade Onion Rings
These onion rings are truly easy to make. Starting with a simple slice of onion, a quick dip in our special batter, and a generous roll in breadcrumbs, they are transformed. Fry them in hot oil and watch as they sizzle to a beautiful, golden-brown perfection.
Pin Recipe
Ingredients
- 1 large onion (yellow or sweet onion recommended)
- 1 Tablespoon olive oil
- 1 large egg
- ½ cup all-purpose flour
- 1 Tablespoon baking powder
- ½ cup milk
- 2 cups breadcrumbs (Panko for extra crispiness)
- 2 cups vegetable oil (for frying)
Equipment You’ll Need
- Large skillet or Dutch oven
- Wire cooling rack
- Baking sheet (to place under the wire rack)
- Candy thermometer or deep-fry thermometer
- Mixing bowls
- Tongs or slotted spoon
Before You Begin (Helpful Tips)
- For enhanced flavor, consider adding seasonings like paprika, garlic powder, onion powder, or a pinch of pepper to your breadcrumbs. You can also opt for pre-seasoned breadcrumbs.
- While our ingredient photo may show two eggs, one large egg is typically sufficient for the batter in this recipe. Using two will not negatively affect the outcome if you prefer a slightly thicker batter or are making a larger batch.
- The choice of onion is personal: sweet onions (like Vidalia) offer a milder flavor, while yellow or white onions provide a more robust taste. All make delicious onion rings!
Instructions
- Slice your chosen large onion into rings, approximately 1/2-inch to 1-inch thick. Gently separate the rings.
- In a bowl, toss the onion rings with 1 tablespoon of olive oil to help the flour adhere.
- In a medium bowl, whisk together the all-purpose flour and baking powder. Coat each oiled onion ring thoroughly in this dry mixture, shaking off excess, then place on a wire rack set over a baking sheet.
- To make the batter, add the large egg and milk to the remaining flour mixture. Whisk until smooth and free of lumps.
- Place the breadcrumbs in a separate medium bowl.
- Dip each floured onion ring into the batter, ensuring full coverage. Allow any excess batter to drip off.
- Immediately transfer the battered ring into the breadcrumbs. Toss and turn to coat well, gently pressing the crumbs onto the surface. Place the fully breaded ring back on the wire rack and repeat for all remaining rings. Tip: Sift out any clumps from the breadcrumbs halfway through to ensure even coating.
- Pour vegetable oil into a large skillet or Dutch oven to a depth of 2-3 inches. Heat to 350°F (175°C) over medium-high heat, using a candy thermometer to monitor. Adjust heat to maintain temperature.
- Carefully place a few breaded onion rings into the hot oil, ensuring not to overcrowd the pan. Cook for about 2 minutes per side, or until golden brown and crispy.
- Remove fried onion rings with a slotted spoon and drain thoroughly on paper towels or a clean wire rack. Serve immediately for best crispiness.
Nutrition Information
Calories: 297cal |
Carbohydrates: 13g |
Protein: 3g |
Fat: 26g |
Saturated Fat: 4g |
Polyunsaturated Fat: 14g |
Monounsaturated Fat: 6g |
Trans Fat: 0.2g |
Cholesterol: 11mg |
Sodium: 186mg |
Potassium: 128mg |
Fiber: 1g |
Sugar: 1g |
Vitamin A: 52IU |
Vitamin C: 1mg |
Calcium: 65mg |
Iron: 1mg
Tried this Recipe? Pin it for Later!
Follow on Pinterest @AmandasCookin or tag #AmandasCookin!
The recipes on this blog are meticulously tested using a conventional gas oven and stovetop. It is important to acknowledge that oven performance can vary, especially with older models, leading to inconsistent cooking and baking. We highly recommend using an inexpensive oven thermometer to ensure your oven maintains the precise temperature. If you opt for a toaster oven or countertop oven, please note that their heat distribution might differ from a full-sized conventional oven, potentially requiring adjustments to your cooking or baking times. For recipes prepared with appliances like pressure cookers, air fryers, or slow cookers, a link to the specific appliances we use is provided within each relevant recipe. When baking, if measurements are given by weight, results may not be identical if cups are used instead, and we cannot guarantee success with volumetric measurements in such cases.
