Crispy Chicken Katsu: Your Guide to Perfect Japanese Fried Chicken at Home
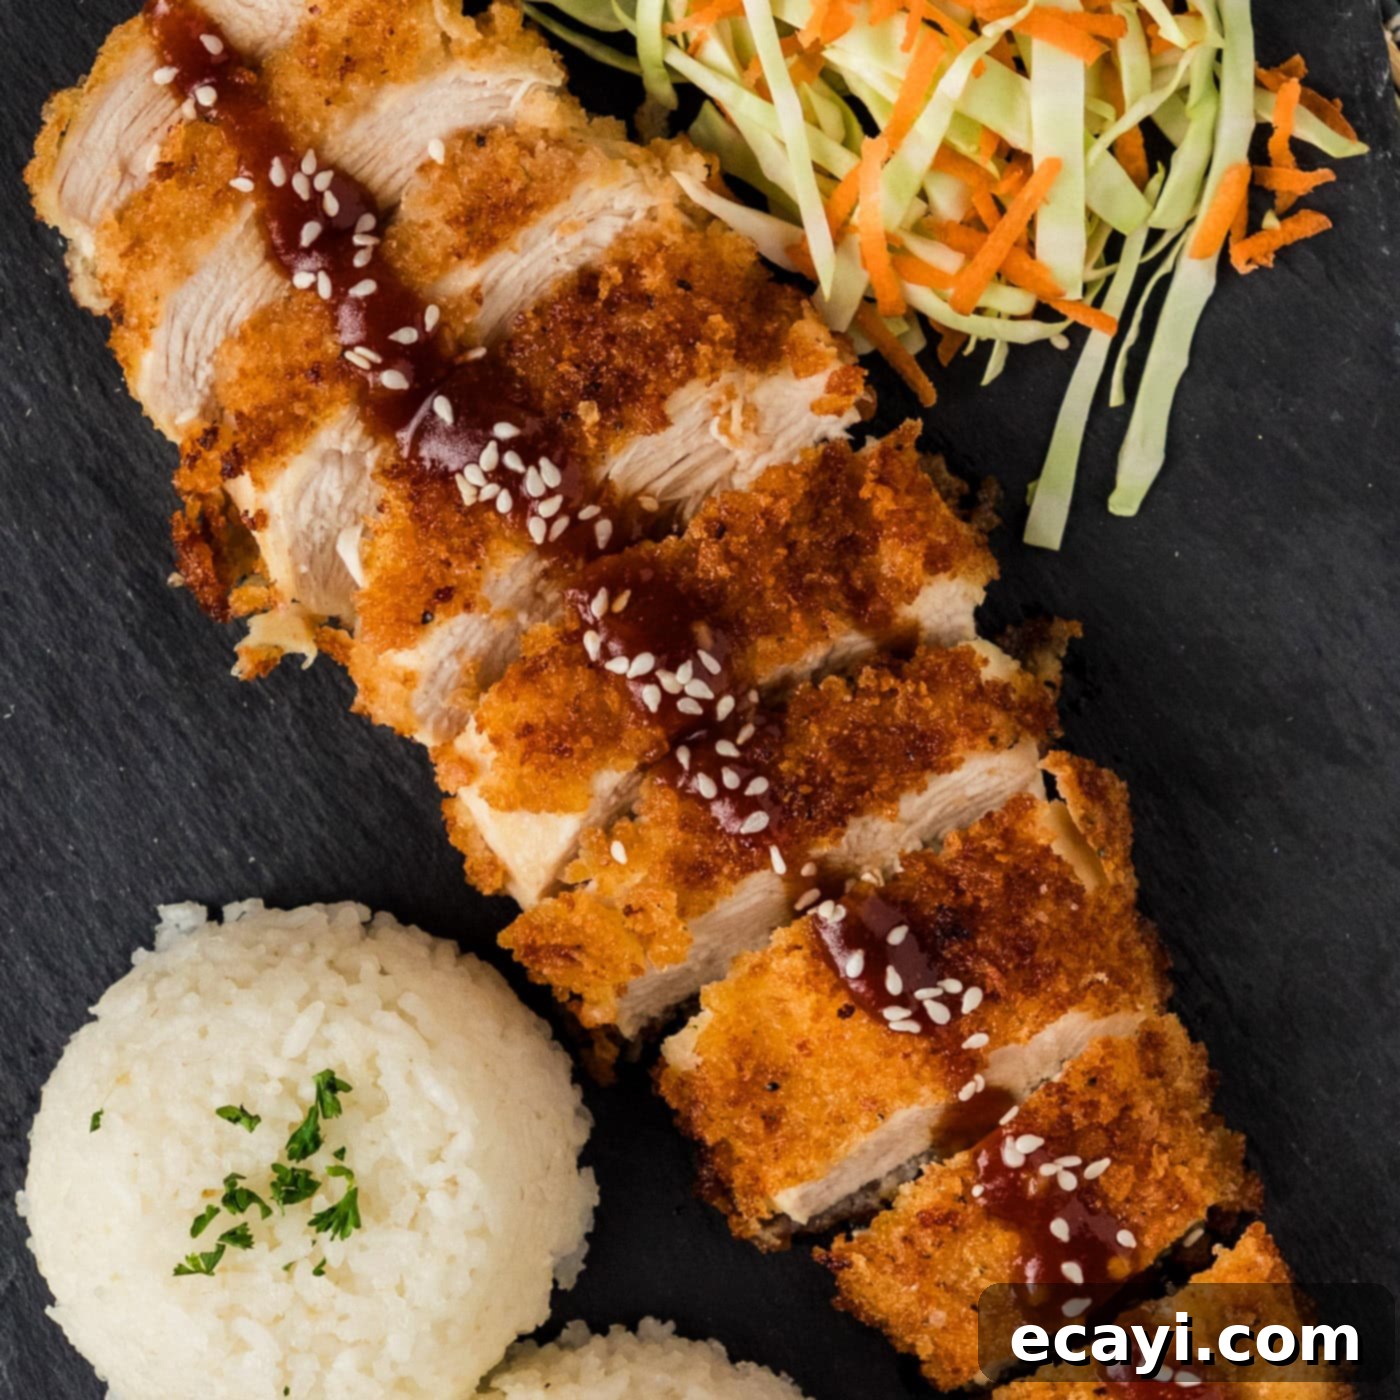
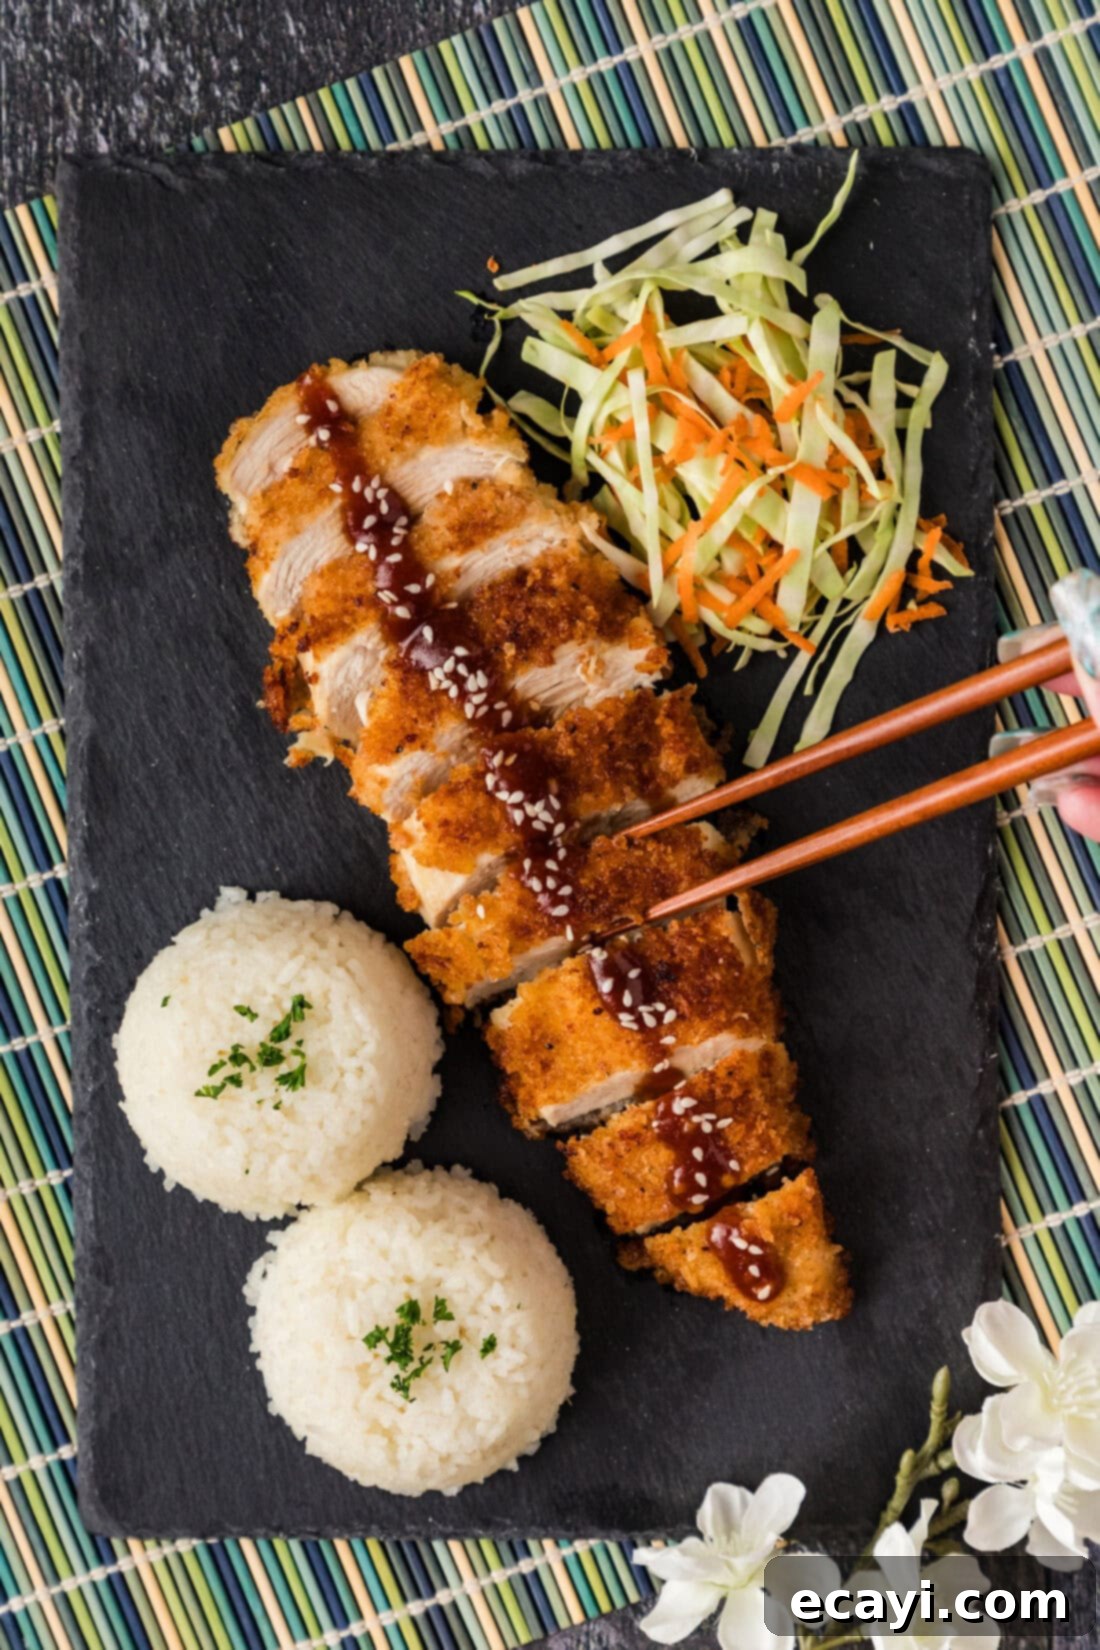
Craving the satisfying crunch of authentic Japanese fried chicken? Our simple yet incredibly flavorful **Crispy Chicken Katsu** recipe delivers a restaurant-quality meal right to your dinner table in just 35 minutes! This beloved classic features tender chicken breast, meticulously dredged and coated in extra-crispy panko breadcrumbs, then fried to a beautiful golden perfection. Paired with our easy-to-make, sweet and savory homemade Katsu sauce, this dish is guaranteed to become a family favorite.
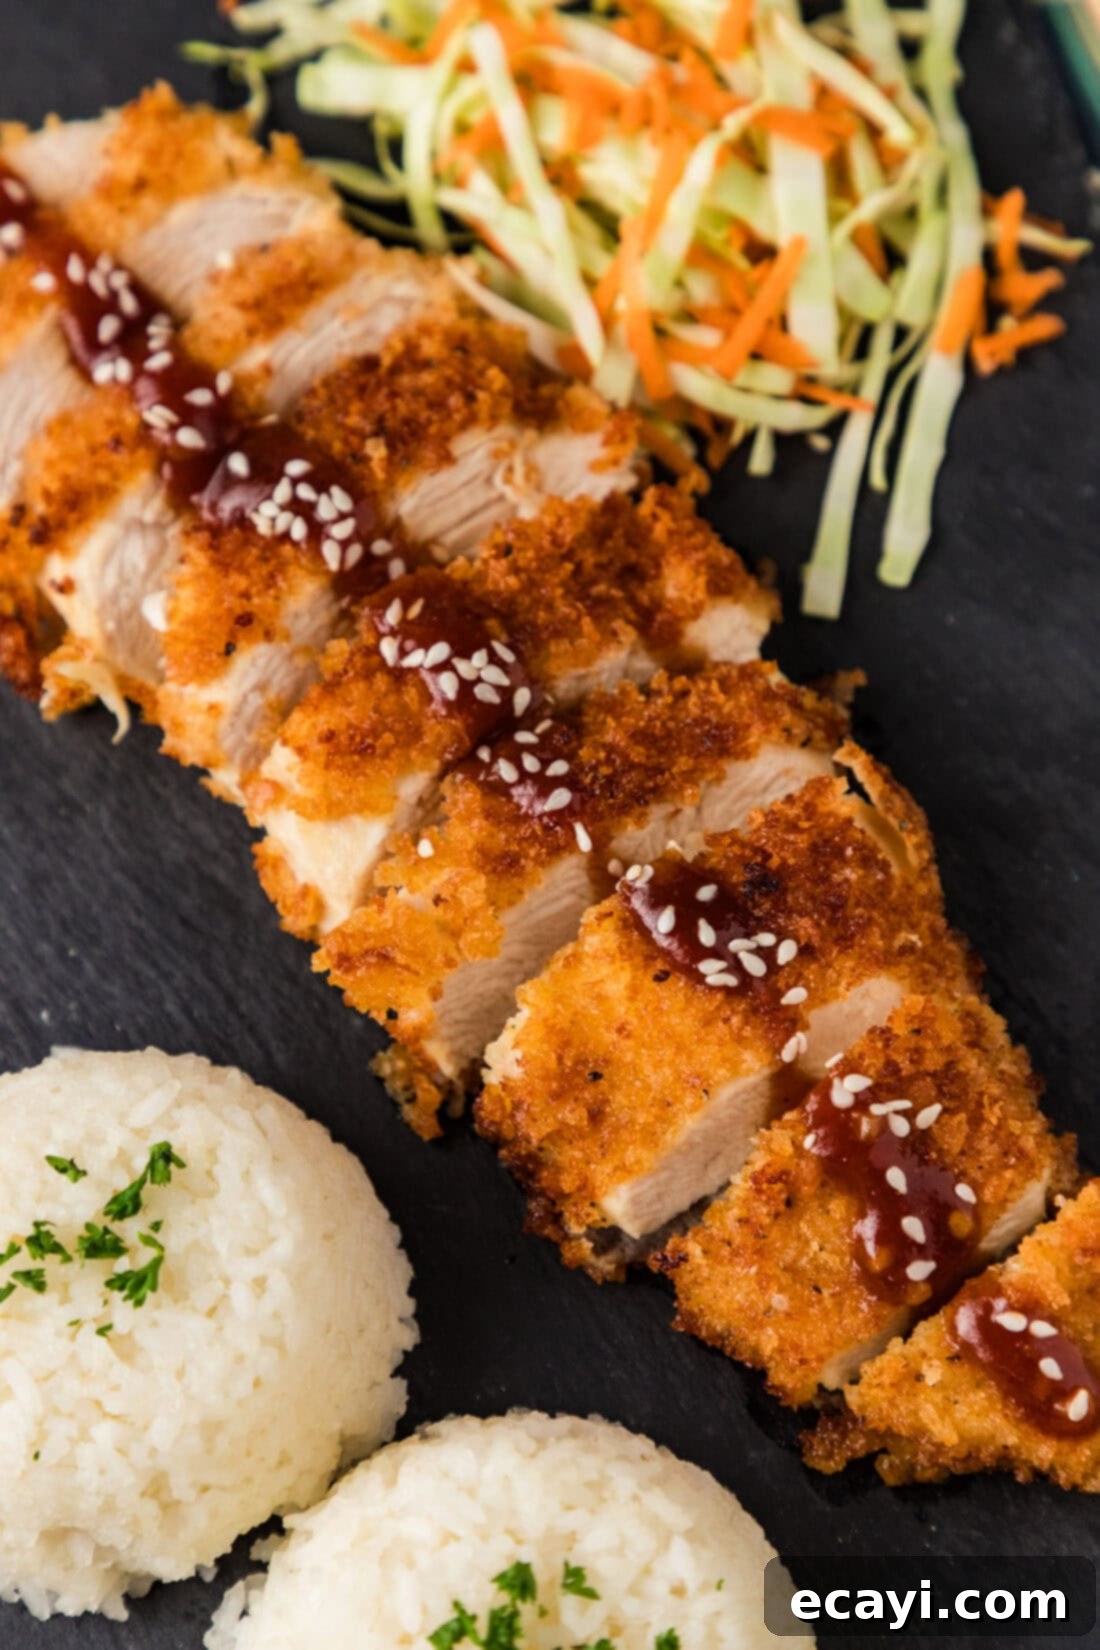
Why This Crispy Chicken Katsu Recipe Works So Well
Chicken Katsu, a staple in Japanese cuisine, is celebrated for its irresistible crispy exterior and juicy, tender interior. Our recipe is specifically designed to achieve that perfect balance, making it accessible for home cooks without compromising on flavor or texture. We start with high-quality chicken breast, ensuring a lean and succulent base for our fried cutlets. The real magic, however, lies in the panko breadcrumbs.
Unlike regular breadcrumbs, panko offers a lighter, flakier, and significantly crunchier crust that truly elevates this dish. When fried, panko creates a delicate, airy texture that holds up beautifully, delivering that signature “katsu” sound with every bite. The simplicity of the breading process (a classic three-stage dredging system) makes it foolproof, even for those new to frying.
What truly sets this crispy chicken katsu apart is the accompanying Katsu sauce, also widely known as Tonkatsu sauce. This homemade condiment is a harmonious blend of slightly sweet, tangy, and deeply savory notes that perfectly complements the rich fried chicken. It’s ideal for drizzling generously over the top or serving on the side for dipping, allowing you to customize each bite. This dish isn’t just a meal; it’s an experience, bringing the authentic taste of Japan right into your kitchen with remarkable ease and speed.
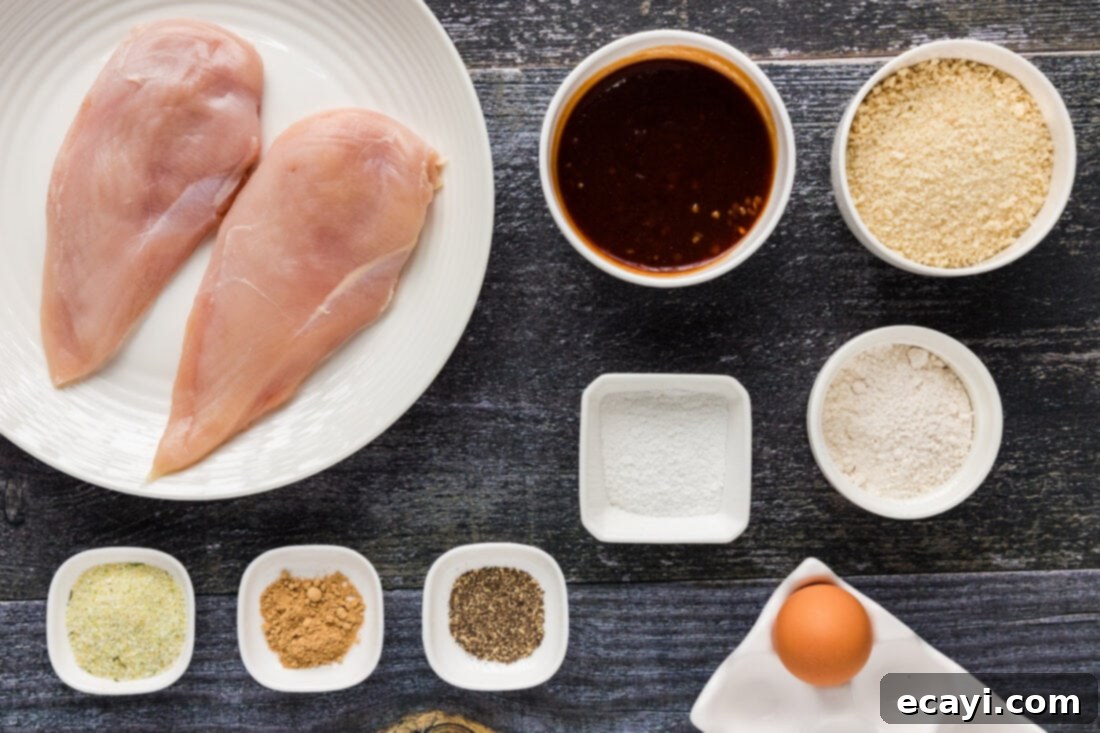
Essential Ingredients for Your Homemade Chicken Katsu
To embark on your culinary journey to creating the ultimate **Japanese fried chicken**, you’ll need a selection of fresh ingredients and pantry staples. All precise measurements and detailed instructions can be found in the printable recipe card at the conclusion of this comprehensive post. Gathering everything before you begin ensures a smooth and enjoyable cooking experience, allowing you to focus on mastering the art of the perfect katsu.
Ingredient Information and Smart Substitution Suggestions
Understanding each component of your chicken katsu recipe is key to achieving consistent, delicious results and allows for smart substitutions if needed.
CHICKEN – Our recipe primarily uses boneless, skinless chicken breasts. For best results, it’s crucial to trim them to an even thickness. This ensures they cook uniformly and prevents one part from drying out while another remains undercooked. You can gently pound them with a meat mallet to about ½-inch thickness. This step not only tenderizes the meat but also creates a larger surface area for that delicious crispy coating. If using chicken cutlets, be mindful that they are naturally thinner and will cook much faster, so adjust your frying time accordingly to prevent overcooking. For those who prefer a different meat, this recipe can easily be adapted to make traditional Tonkatsu by substituting pork cutlets, or even Fish Katsu using firm white fish fillets like cod or tilapia.
BREADING (Panko Breadcrumbs) – We cannot stress enough the importance of using panko breadcrumbs for this recipe. Panko, a type of Japanese breadcrumb, is made from bread without crusts, resulting in a lighter, flakier, and more airy crumb compared to standard breadcrumbs. This unique texture absorbs less oil and fries up significantly crispier and lighter, creating the quintessential crispy Japanese fried chicken crust. While you *could* use regular breadcrumbs in a pinch, the unparalleled crunch of panko is what truly makes katsu exceptional. Panko is readily available in the international aisle of most grocery stores.
ALL-PURPOSE FLOUR & CORNSTARCH – The initial dredge of flour and cornstarch creates a dry surface on the chicken, allowing the egg wash to adhere properly. The cornstarch, in particular, contributes to an extra crisp crust and a lighter texture. If you don’t have cornstarch, you can use all-purpose flour for the entire first dredge, though the crispiness might be slightly less pronounced.
EGG WASH – A simple mixture of egg and a touch of water forms the essential “glue” that binds the panko to the chicken. Whisking it well ensures an even coating. No specific substitute is recommended for the egg wash as it’s critical for the breading process.
SEASONINGS (Garlic Salt, Black Pepper, Dried Ginger) – These seasonings are incorporated directly into the panko breadcrumbs, infusing the crust with aromatic flavor. Garlic salt provides a savory, garlicky punch, while black pepper adds a subtle heat. Dried ginger introduces a warm, slightly peppery, and citrusy note that is characteristic of many Japanese dishes and beautifully complements the chicken. Feel free to adjust the amounts to your taste, or add a pinch of onion powder for more depth.
Katsu Sauce Components
- Ketchup: Forms the sweet and tangy base of the sauce.
- Worcestershire Sauce: Adds a complex umami depth and a touch of savory tang.
- Brown Sugar: Provides sweetness and helps balance the acidity, contributing to the sauce’s signature glaze.
- Oyster Sauce: This ingredient is a secret weapon for adding a rich, savory, and slightly sweet depth. If you don’t have oyster sauce, you can substitute with an equal amount of soy sauce mixed with a tiny pinch of sugar, though the flavor profile will be slightly different. For a vegan alternative, use a mushroom-based “oyster” sauce or more soy sauce.
- Garlic Salt: Enhances the overall savory profile of the sauce.
Each ingredient in the Katsu sauce plays a vital role in creating that signature sweet, tangy, and savory flavor that perfectly complements the crispy fried chicken.
How to Master Homemade Chicken Katsu: Step-by-Step Guide
These step-by-step photos and instructions are here to help you visualize how to make this recipe. You can Jump to Recipe to get the printable version of this recipe, complete with measurements and instructions at the bottom.
- Begin by preparing your chicken breasts. Trim any excess fat or uneven pieces to ensure they are of a consistent thickness, ideally around ½-inch. If your chicken breasts are very thick, place them between two pieces of plastic wrap and gently pound them with a meat mallet. Pat the chicken dry thoroughly with paper towels. A dry surface is crucial for the breading to adhere properly.
- Next, prepare your homemade Katsu sauce. We highly recommend doing this first for two key reasons: it allows the flavors to meld and deepen while you cook the chicken, and it ensures the sauce is ready to go the moment your beautifully fried chicken emerges from the skillet.
- In a small bowl, combine all the Katsu sauce ingredients: ketchup, Worcestershire sauce, brown sugar, oyster sauce, and garlic salt. Whisk everything together until thoroughly combined and smooth. Set this flavorful sauce aside.
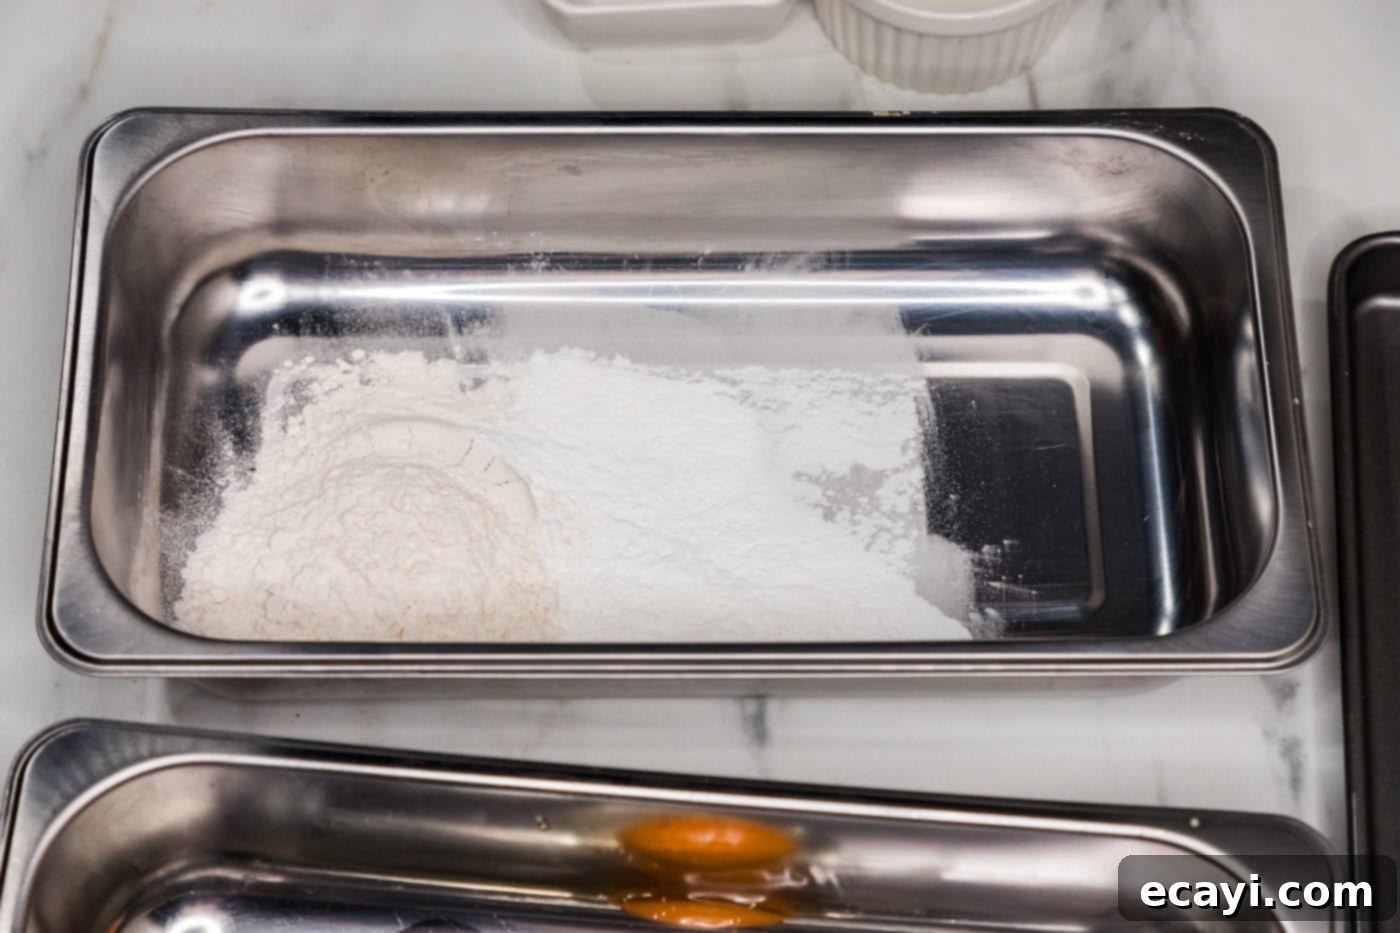
- Now, set up your breading station. Line up three breading trays (or shallow dishes) side-by-side. In the first tray, add the cornstarch and all-purpose flour, stirring them together until well mixed. This provides the initial dry layer for the chicken.

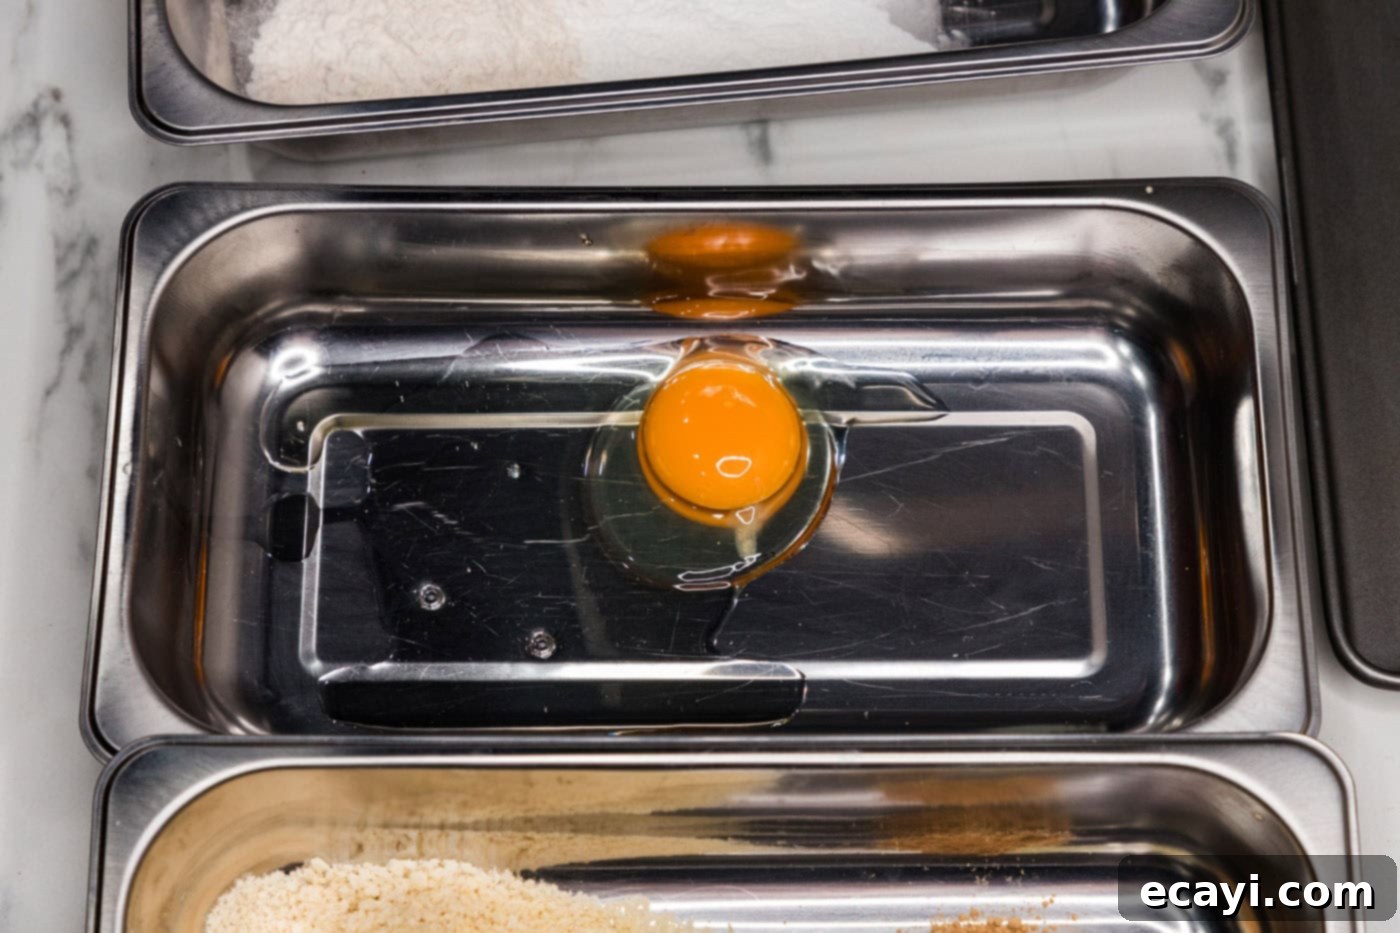
- In the second tray, crack the large egg and add the tablespoon of water. Whisk vigorously until the egg and water are completely combined and slightly frothy. This creates the essential egg wash.

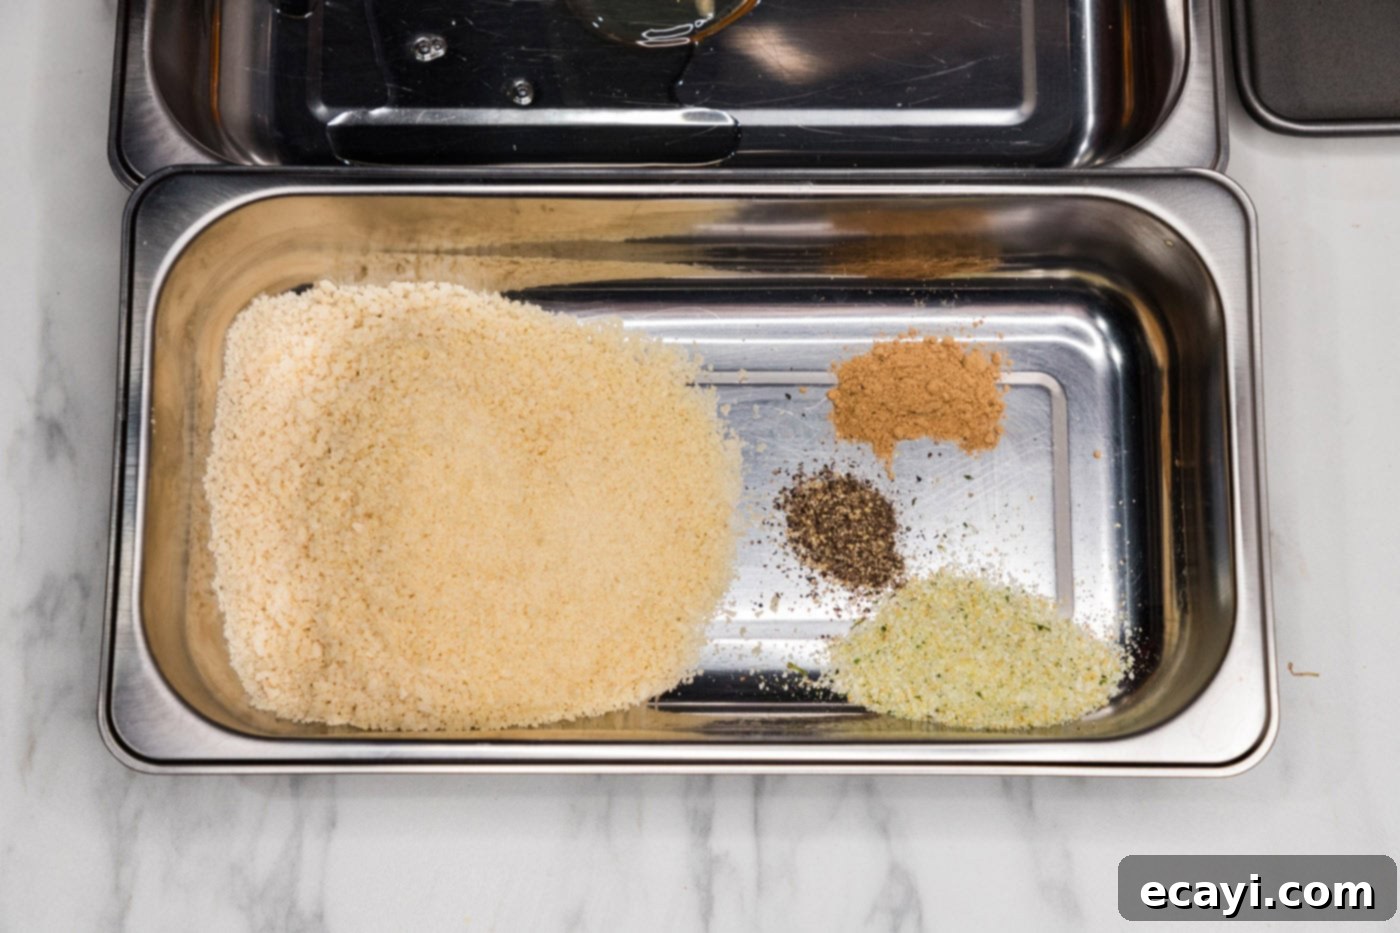
- In the third tray, pour in the panko breadcrumbs. Add the garlic salt, black pepper, and dried ginger. Use a fork or your fingers to thoroughly mix the seasonings into the panko, ensuring even distribution. This will be the crispy, seasoned outer layer of your chicken katsu.

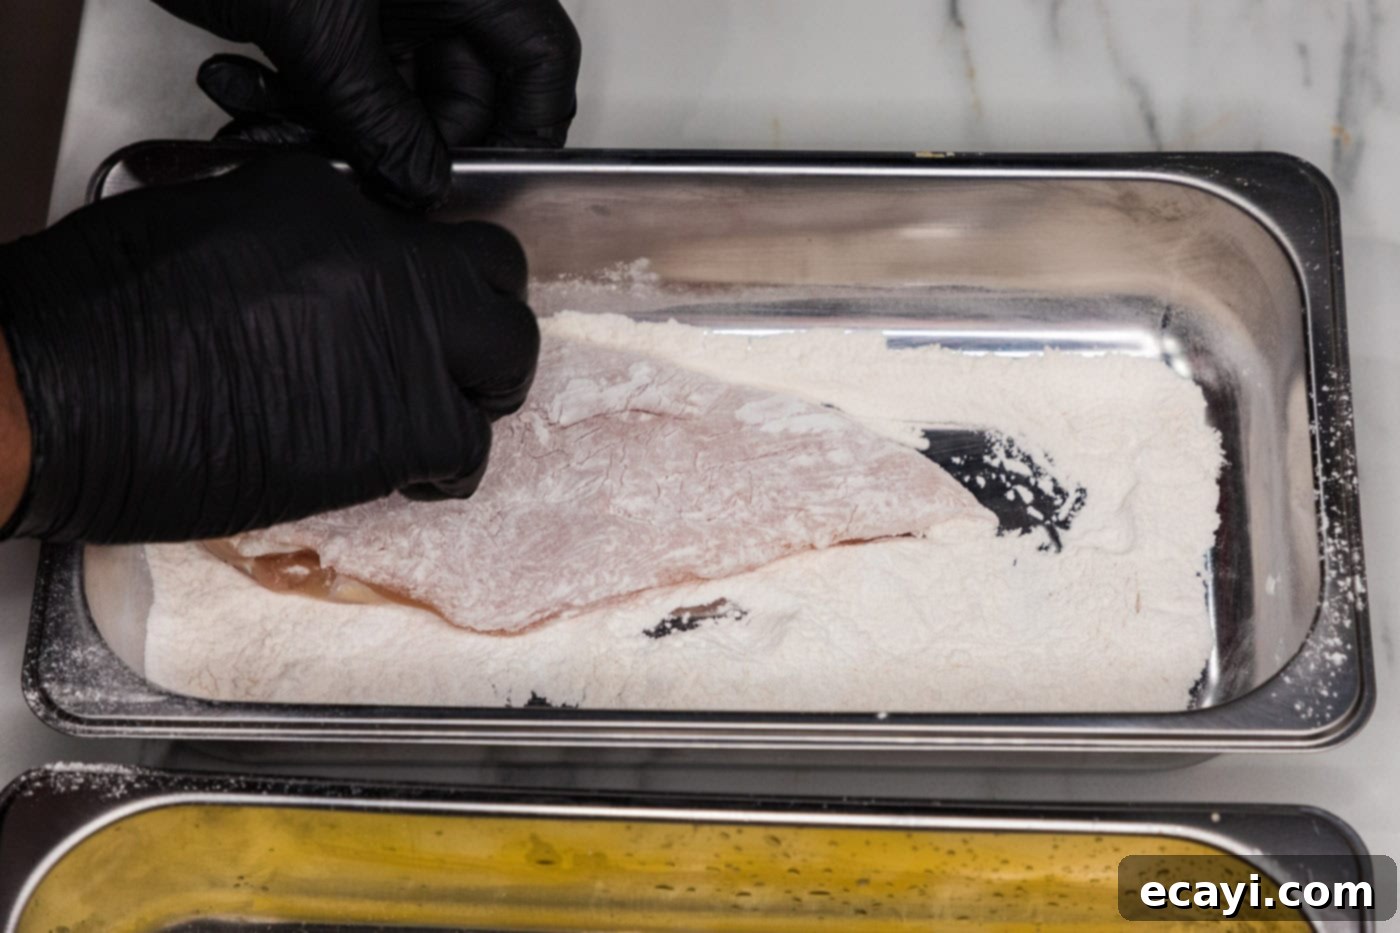
- One at a time, take a chicken breast and dredge it completely in the flour mixture from the first tray. Ensure both sides are fully coated, then gently shake off any excess flour.

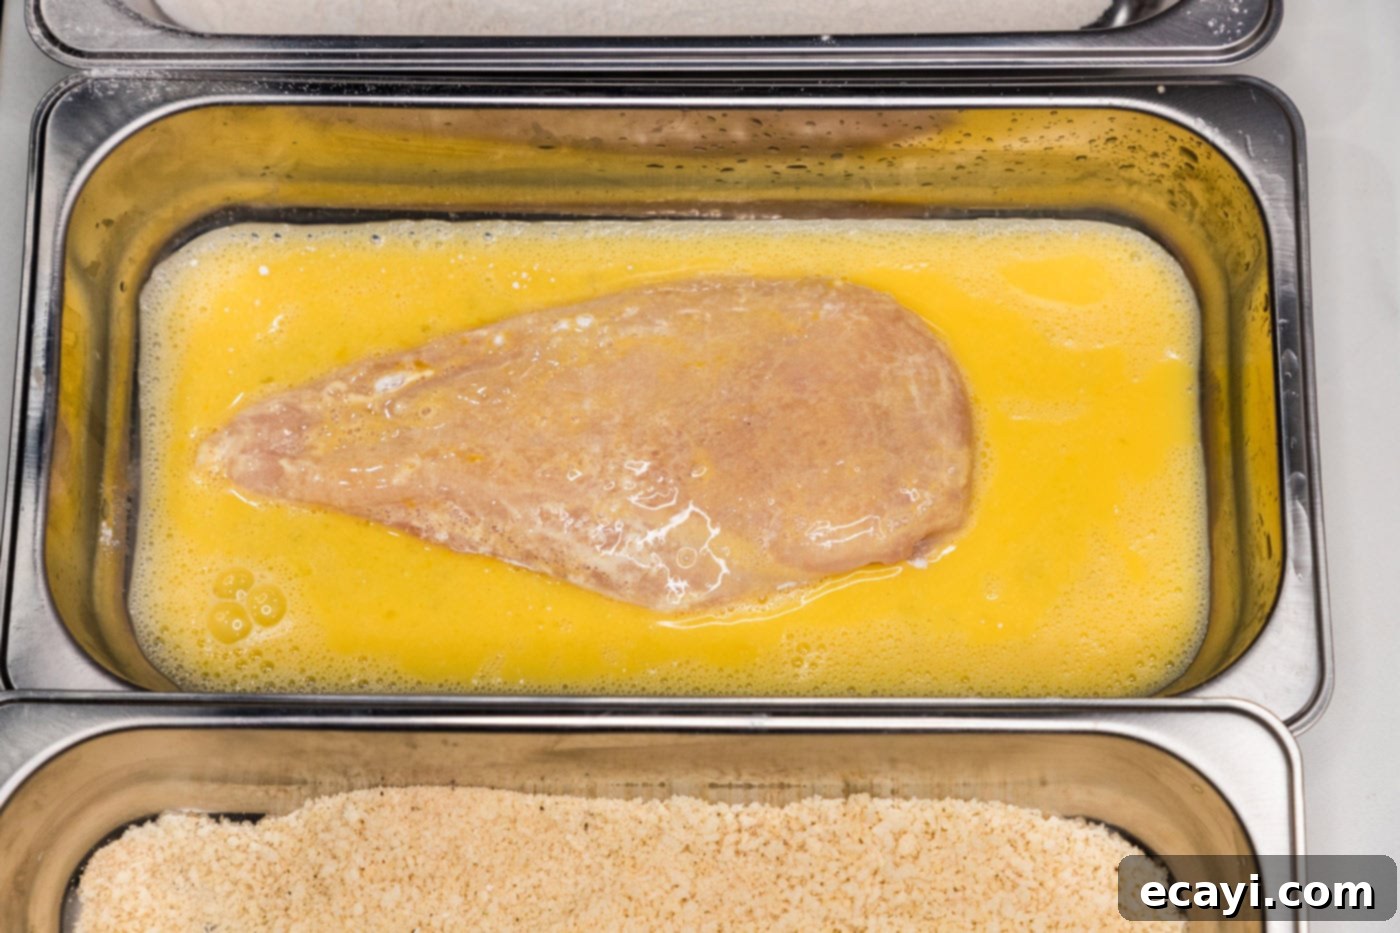
- Next, dip the floured chicken breast into the egg wash in the second tray, making sure all surfaces are thoroughly moistened. The egg acts as a binder for the panko.

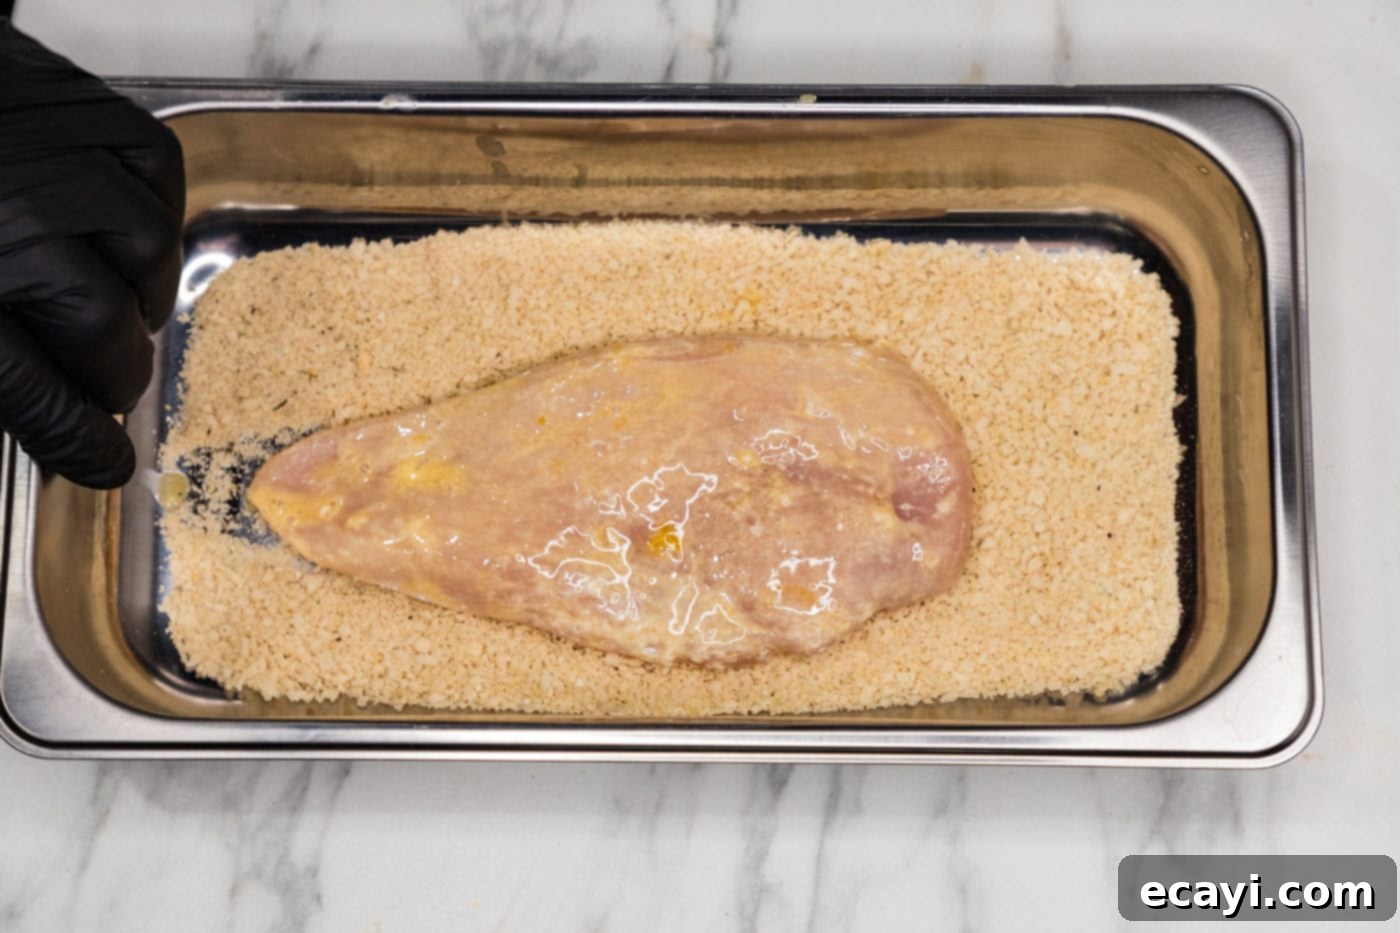
- Allow any excess egg to drip off the chicken before carefully transferring it to the panko breadcrumb mixture in the third tray. Gently but firmly press the panko onto both sides of the chicken, ensuring a thick, even coating. The more panko that adheres, the crispier your katsu will be. Place the breaded chicken breasts on a clean plate or tray, ready for frying.

- In a large, heavy-bottomed skillet (cast iron or stainless steel works best), add enough cooking oil (such as vegetable, canola, or grapeseed oil) to come about an inch up the sides of the pan. Heat the oil over medium-high heat until it reaches a temperature of 350°F (175°C), as registered on a cooking thermometer. Maintaining the correct oil temperature is crucial for a perfectly crispy, non-greasy katsu.
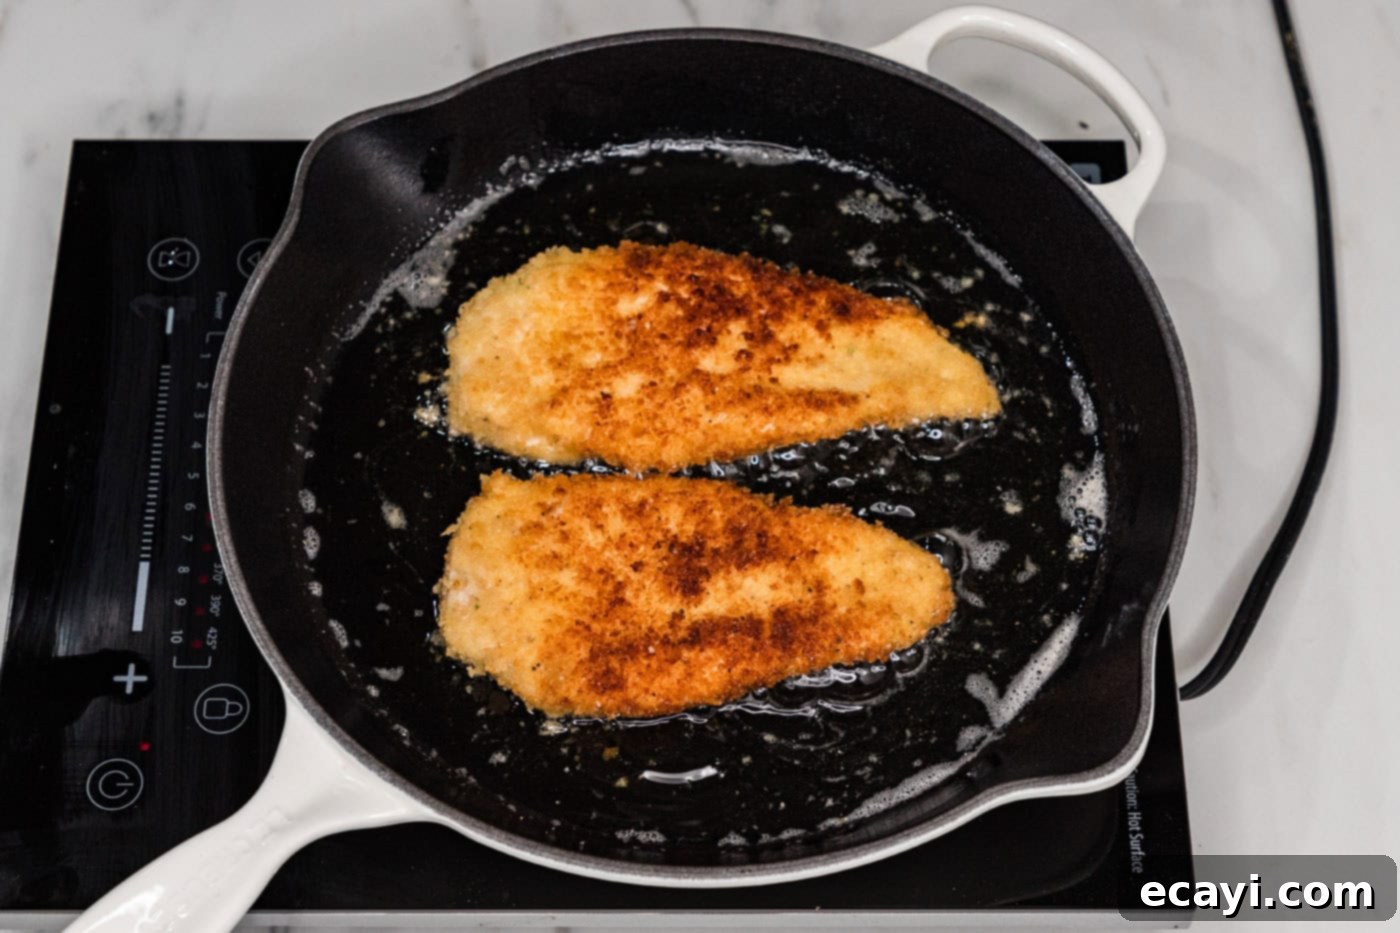
- Carefully place one or two breaded chicken breasts into the hot oil, being careful not to overcrowd the pan, as this can lower the oil temperature and lead to soggy katsu. Allow the chicken to cook undisturbed for approximately 4 minutes per side, until deeply golden brown and crispy. The internal temperature of the thickest part of the chicken should reach 165°F (74°C) to ensure it’s fully cooked.

- Once cooked, carefully remove the chicken from the oil. If serving immediately, place it on a few layers of paper towels to drain excess oil. Alternatively, and highly recommended for maximum crispiness, transfer the fried chicken katsu to a wire rack set over a baking sheet. This allows air to circulate around all sides of the chicken, preventing it from steaming and losing its delightful crunch.
CHEF TIP – Don’t waste those trimmings! Small pieces of chicken can be frozen and saved for future stir-fries or quick soups.
CHEF TIP – Using a wire rack for draining is essential! If fried chicken sits on paper towels for too long, the steam trapped underneath can make the bottom soggy, diminishing that hard-earned crispiness.
Frequently Asked Questions & Expert Tips for Perfect Katsu
The term “katsu” is a Japanese loanword from “cutlet” and generally refers to any deep-fried cutlet coated in panko. So, while “katsu” is a broad term that can apply to various meats (chicken katsu, fish katsu, gyuukatsu for beef), “Tonkatsu” specifically refers to a panko-breaded and deep-fried pork cutlet. Our recipe, therefore, makes a delicious chicken katsu!
Store any leftover chicken katsu in an airtight container in the refrigerator for up to 4 days. To best preserve its crispiness when reheating, avoid the microwave. Instead, preheat your oven to 350°F (175°C) and reheat the katsu for about 10-15 minutes, or until thoroughly warmed through and crispy again. An air fryer or toaster oven also works wonderfully for reheating, typically taking 5-8 minutes at 375°F (190°C), resulting in a beautifully restored crunch.
Absolutely! While pan-frying delivers the most traditional crispy texture, you can achieve excellent results with an air fryer or by baking. For air frying, preheat your air fryer to 375°F (190°C). Lightly spray the breaded chicken with cooking oil, then air fry for 12-18 minutes, flipping halfway, until golden brown and cooked through. For baking, preheat your oven to 400°F (200°C). Place the breaded chicken on a wire rack set over a baking sheet, lightly spray with oil, and bake for 20-30 minutes, flipping halfway, until golden and cooked. While these methods are healthier, they may not yield the exact same deep-fried crispiness but are still incredibly delicious!
Several factors contribute to maximum crispiness. First, always use panko breadcrumbs – they are far superior for crunch. Second, ensure your chicken breasts are pounded to an even thickness for consistent cooking. Third, maintain the correct oil temperature (350°F/175°C); if the oil is too cool, the katsu will absorb too much oil and become greasy; if too hot, the outside will burn before the inside cooks. Finally, avoid overcrowding the pan and drain the cooked katsu on a wire rack to prevent steam from making the bottom soggy.
For frying chicken katsu, it’s best to use a neutral-flavored oil with a high smoke point. Good options include vegetable oil, canola oil, grapeseed oil, or peanut oil. These oils will not impart any unwanted flavors to your chicken and can withstand the high temperatures required for frying without burning.
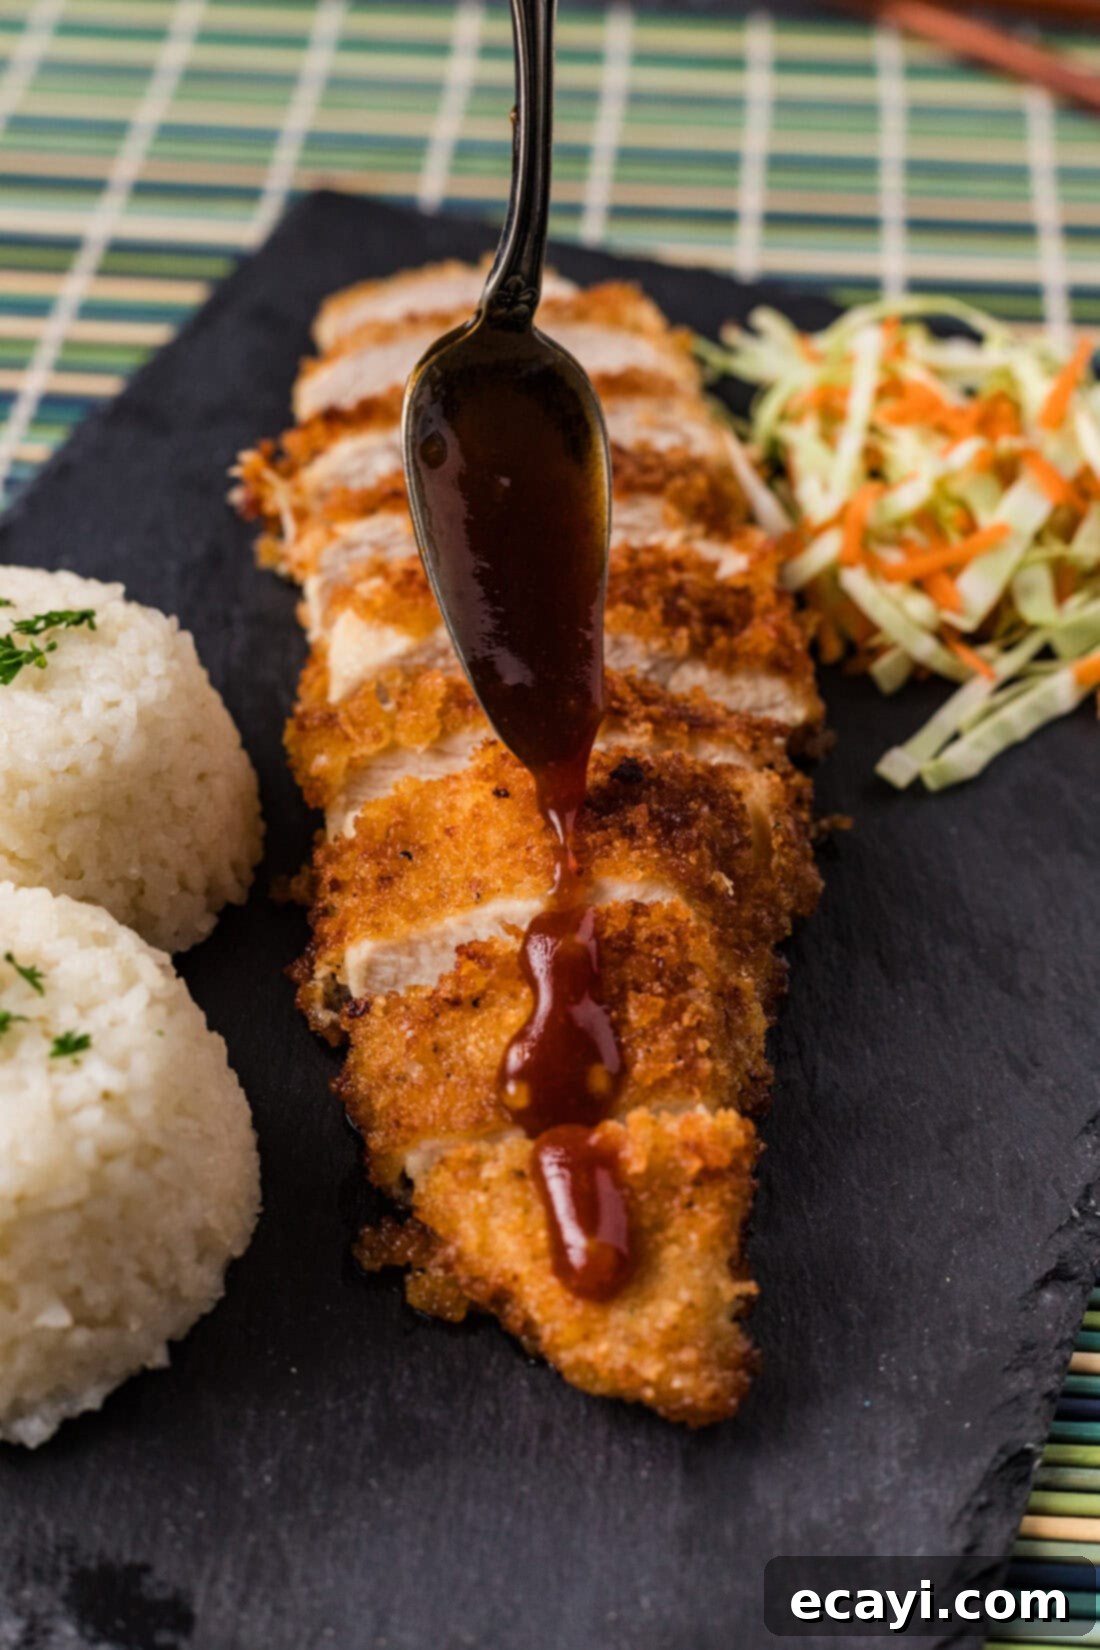
Delightful Serving Suggestions for Chicken Katsu
Once your **crispy chicken katsu** is freshly fried and perfectly golden, it’s time to assemble a truly satisfying meal. Traditionally, katsu is served with a generous scoop of fluffy, steamy white rice, which provides a comforting contrast to the crunchy chicken. A mound of thinly shredded cabbage and carrots is another classic accompaniment, offering a fresh, crisp texture and a slight bitterness that cuts through the richness of the fried chicken. A simple sesame dressing or a squeeze of lemon juice can enhance the cabbage.
You have the option to generously drizzle the homemade Katsu sauce directly over the sliced chicken, allowing it to seep into every nook and cranny, or serve it on the side as a dipping sauce. Many prefer to dip each piece, savoring the fresh crunch before the tangy sweetness of the sauce. For a more complete Japanese-inspired meal, consider adding a side of miso soup, some pickled ginger (gari), or even a light salad. The versatility of chicken katsu means it pairs beautifully with a variety of sides, making it perfect for any occasion.
More Japanese-Inspired Recipes to Explore
If you loved making this **crispy chicken katsu**, you might be eager to explore more delightful Japanese-inspired dishes. Here are a few more recipes that bring the vibrant flavors of Japan to your kitchen:
- Miso Salmon
- Shrimp Tempura
- Hibachi Shrimp
- Yum Yum Sauce (A fantastic sauce that also pairs well with fried dishes!)
I love to bake and cook and share my kitchen experience with all of you! Remembering to come back each day can be tough, that’s why I offer a convenient newsletter every time a new recipe posts. Simply subscribe and start receiving your free daily recipes!
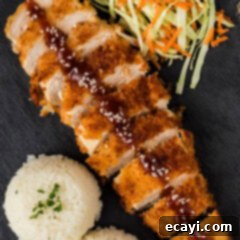
Chicken Katsu
IMPORTANT – There are often Frequently Asked Questions within the blog post that you may find helpful. Simply scroll back up to read them!
Print It
Pin It
Rate It
Save ItSaved!
Ingredients
- 1 pound boneless skinless chicken breast, pounded to ½-inch thickness
- ¼ cup all purpose flour
- 2 Tablespoons cornstarch
- 1 large egg
- 1 Tablespoon water
- ¾ cup Panko breadcrumbs
- 2 teaspoons garlic salt
- 1 teaspoon black pepper
- 1 ½ teaspoons dried ginger
Katsu Sauce
- ¼ cup ketchup
- 3 Tablespoons Worcestershire sauce
- 1 Tablespoon brown sugar
- 2 Tablespoons oyster sauce
- 1 teaspoon garlic salt
Things You’ll Need
-
Breading trays or shallow dishes
-
Large heavy bottomed skillet
-
Candy or oil thermometer
-
Wire rack and baking sheet (optional, but recommended for crispiness)
Before You Begin
- I highly recommend sticking to panko breadcrumbs for this recipe as it’s flakier than regular breadcrumbs and adds tons of texture and crispiness to the fried chicken. This is key for authentic crispy chicken katsu.
- You can substitute the chicken breasts with chicken cutlets, but because these are thinner, you’ll want to keep a closer eye on them for doneness as they’ll cook quicker than thicker chicken breasts would. You can also substitute with pork cutlets to make traditional Tonkatsu, or even firm white fish for a delicious Fish Katsu.
- Ensure your chicken breasts are pounded to an even ½-inch thickness. This guarantees even cooking and a consistent crispy coating.
Instructions
-
Trim chicken breasts of any excess fat and pound them to an even ½-inch thickness. Pat them thoroughly dry with paper towels.1 pound boneless skinless chicken breast
Make the Katsu Sauce
-
For optimal flavor development and convenience, prepare the Katsu sauce before you start cooking the chicken. This allows the flavors to meld and ensures it’s ready for serving.
-
In a medium bowl, combine the ketchup, Worcestershire sauce, brown sugar, oyster sauce, and garlic salt. Whisk until all ingredients are well incorporated and smooth. Set the sauce aside.1/4 cup ketchup, 3 Tablespoons Worcestershire sauce, 1 Tablespoon brown sugar, 2 Tablespoons oyster sauce, 1 teaspoon garlic salt
Prepare and Fry the Chicken
-
Set up three shallow breading trays or dishes in a line. In the first tray, combine the cornstarch and all-purpose flour. Stir well to ensure an even blend.2 Tablespoons cornstarch, 1/4 cup all purpose flour
-
In the second tray, whisk together the large egg and tablespoon of water to create your egg wash.1 large egg, 1 Tablespoon water
-
In the third tray, combine the Panko breadcrumbs, 2 teaspoons garlic salt, black pepper, and dried ginger. Mix thoroughly to season the breadcrumbs.3/4 cup Panko breadcrumbs, 2 teaspoons garlic salt, 1 teaspoon black pepper, 1 1/2 teaspoons dried ginger
-
Take one chicken breast and dredge it in the flour mixture, ensuring it’s completely coated. Shake off any excess.
-
Dip the floured chicken into the egg wash, allowing any excess to drip back into the tray. Ensure all sides are covered.
-
Transfer the egg-coated chicken to the seasoned panko breadcrumb mixture. Gently but firmly press the panko onto both sides of the chicken to create a thick, even coating. Place the breaded chicken on a plate or tray. Repeat for remaining chicken breasts.
-
In a large, heavy-bottomed skillet, add enough cooking oil to reach about an inch up the sides of the pan. Heat the oil over medium-high heat until it registers 350°F (175°C) on a cooking or candy thermometer.
-
Carefully place the breaded chicken into the hot oil, ensuring not to overcrowd the pan (cook in batches if necessary). Fry undisturbed for approximately 4 minutes per side, until the chicken is golden brown and crispy, and its internal temperature reaches 165°F (74°C).
-
Remove the cooked chicken katsu from the oil. If serving immediately, transfer it to paper towels to drain excess oil. For maximum crispiness, especially if not serving right away, place the chicken on a wire rack set over a baking sheet. This prevents steaming and helps maintain that perfect crunch.
We suggest the wire rack because if the chicken sits on the paper towel for too long it can lose some of its crispiness.
Expert Tips & FAQs
- Store leftover chicken katsu in an air-tight container in the refrigerator for up to 4 days. Reheat in a 350°F (175°C) oven for around 10-15 minutes, or in an air fryer at 375°F (190°C) for 5-8 minutes, until warmed through and crispy. It’s best to reheat this dish in the oven, air fryer, or toaster oven as opposed to the microwave to help keep the breading crisp.
- To ensure consistent cooking and tenderness, always pound your chicken breasts to an even thickness.
- Don’t overcrowd the pan while frying. This helps maintain the oil temperature and ensures each piece cooks evenly and crisply.
- Always use a cooking thermometer to verify oil temperature and chicken internal temperature for food safety and best results.
Nutrition
The recipes on this blog are tested with a conventional gas oven and gas stovetop. It’s important to note that some ovens, especially as they age, can cook and bake inconsistently. Using an inexpensive oven thermometer can assure you that your oven is truly heating to the proper temperature. If you use a toaster oven or countertop oven, please keep in mind that they may not distribute heat the same as a conventional full sized oven and you may need to adjust your cooking/baking times. In the case of recipes made with a pressure cooker, air fryer, slow cooker, or other appliance, a link to the appliances we use is listed within each respective recipe. For baking recipes where measurements are given by weight, please note that results may not be the same if cups are used instead, and we can’t guarantee success with that method.
