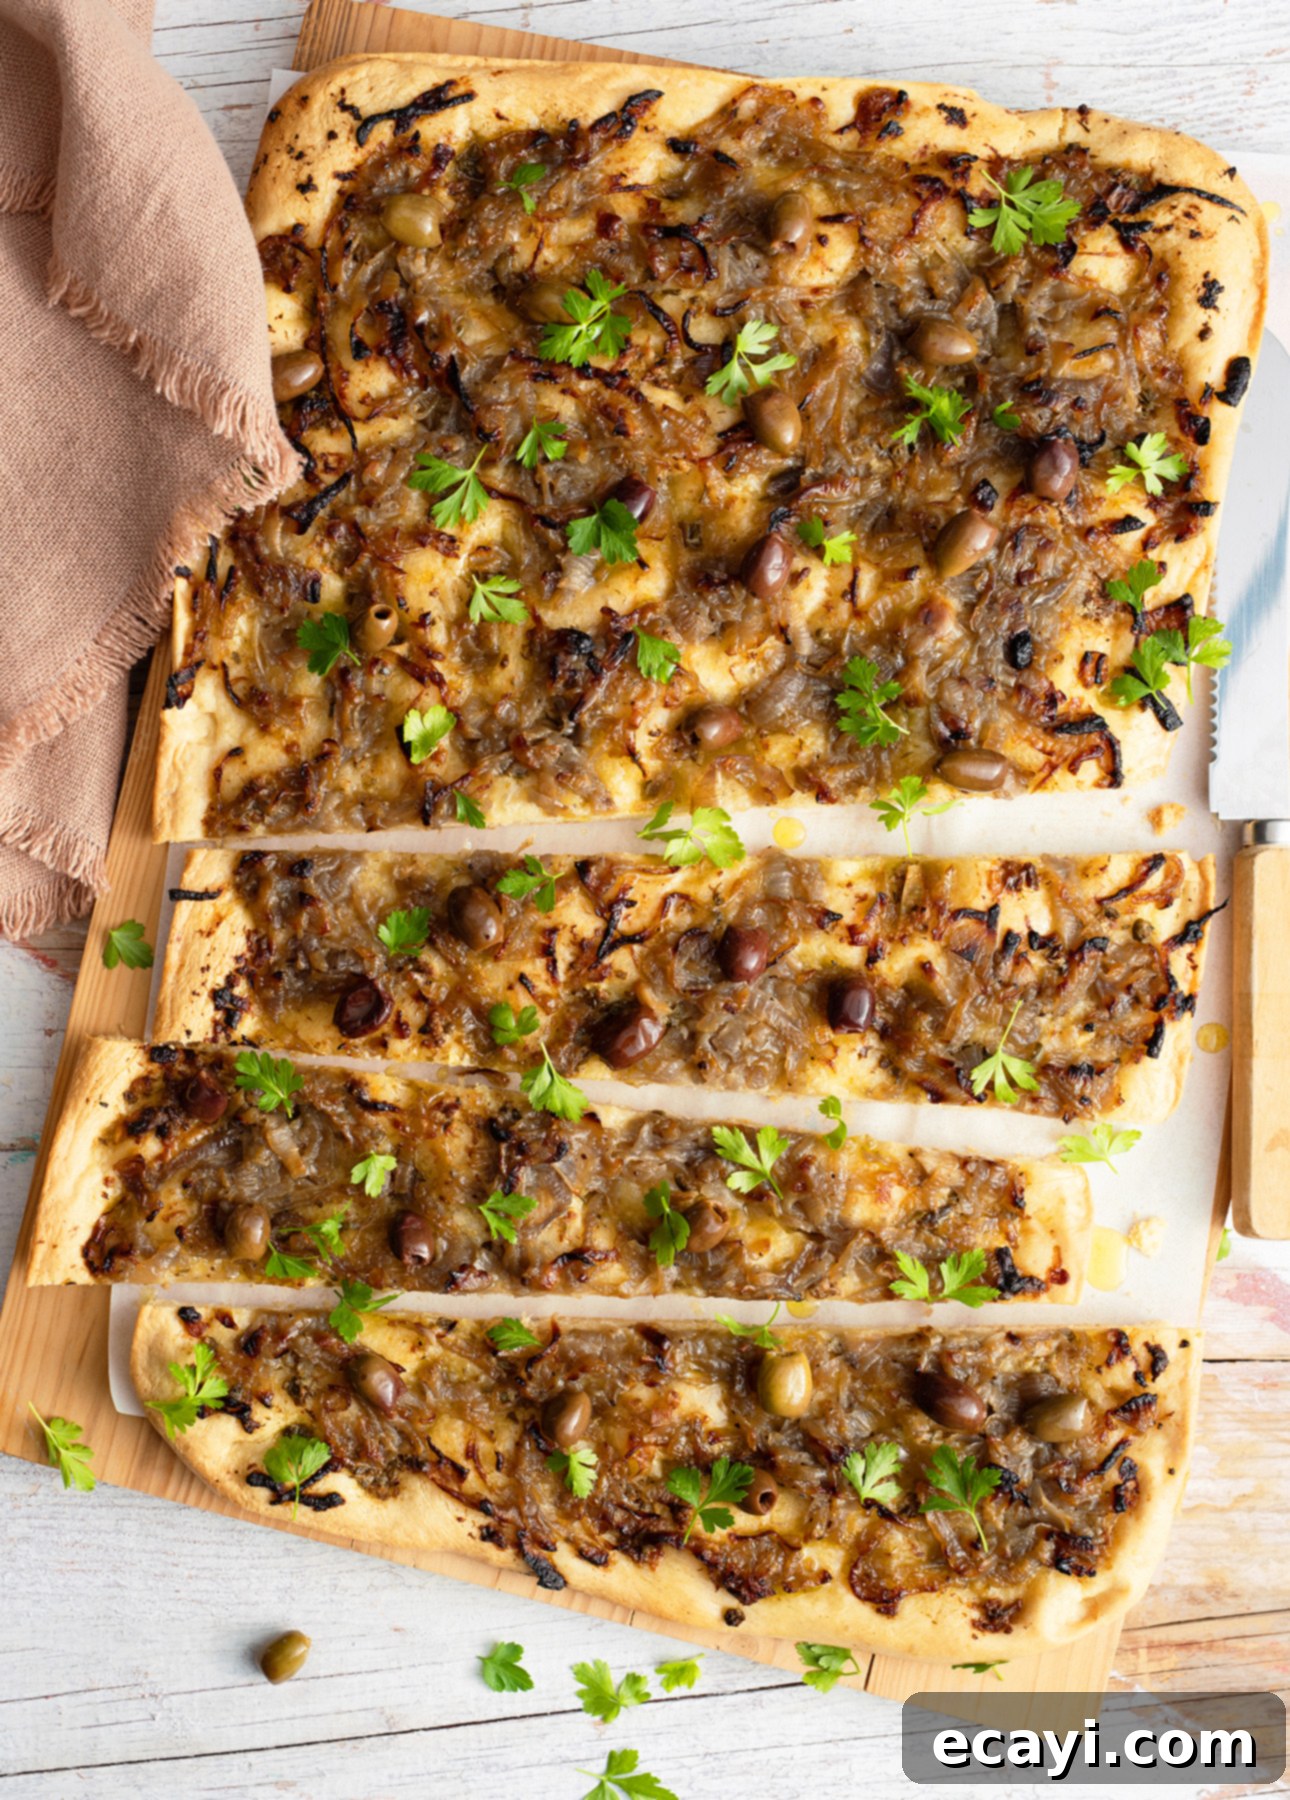
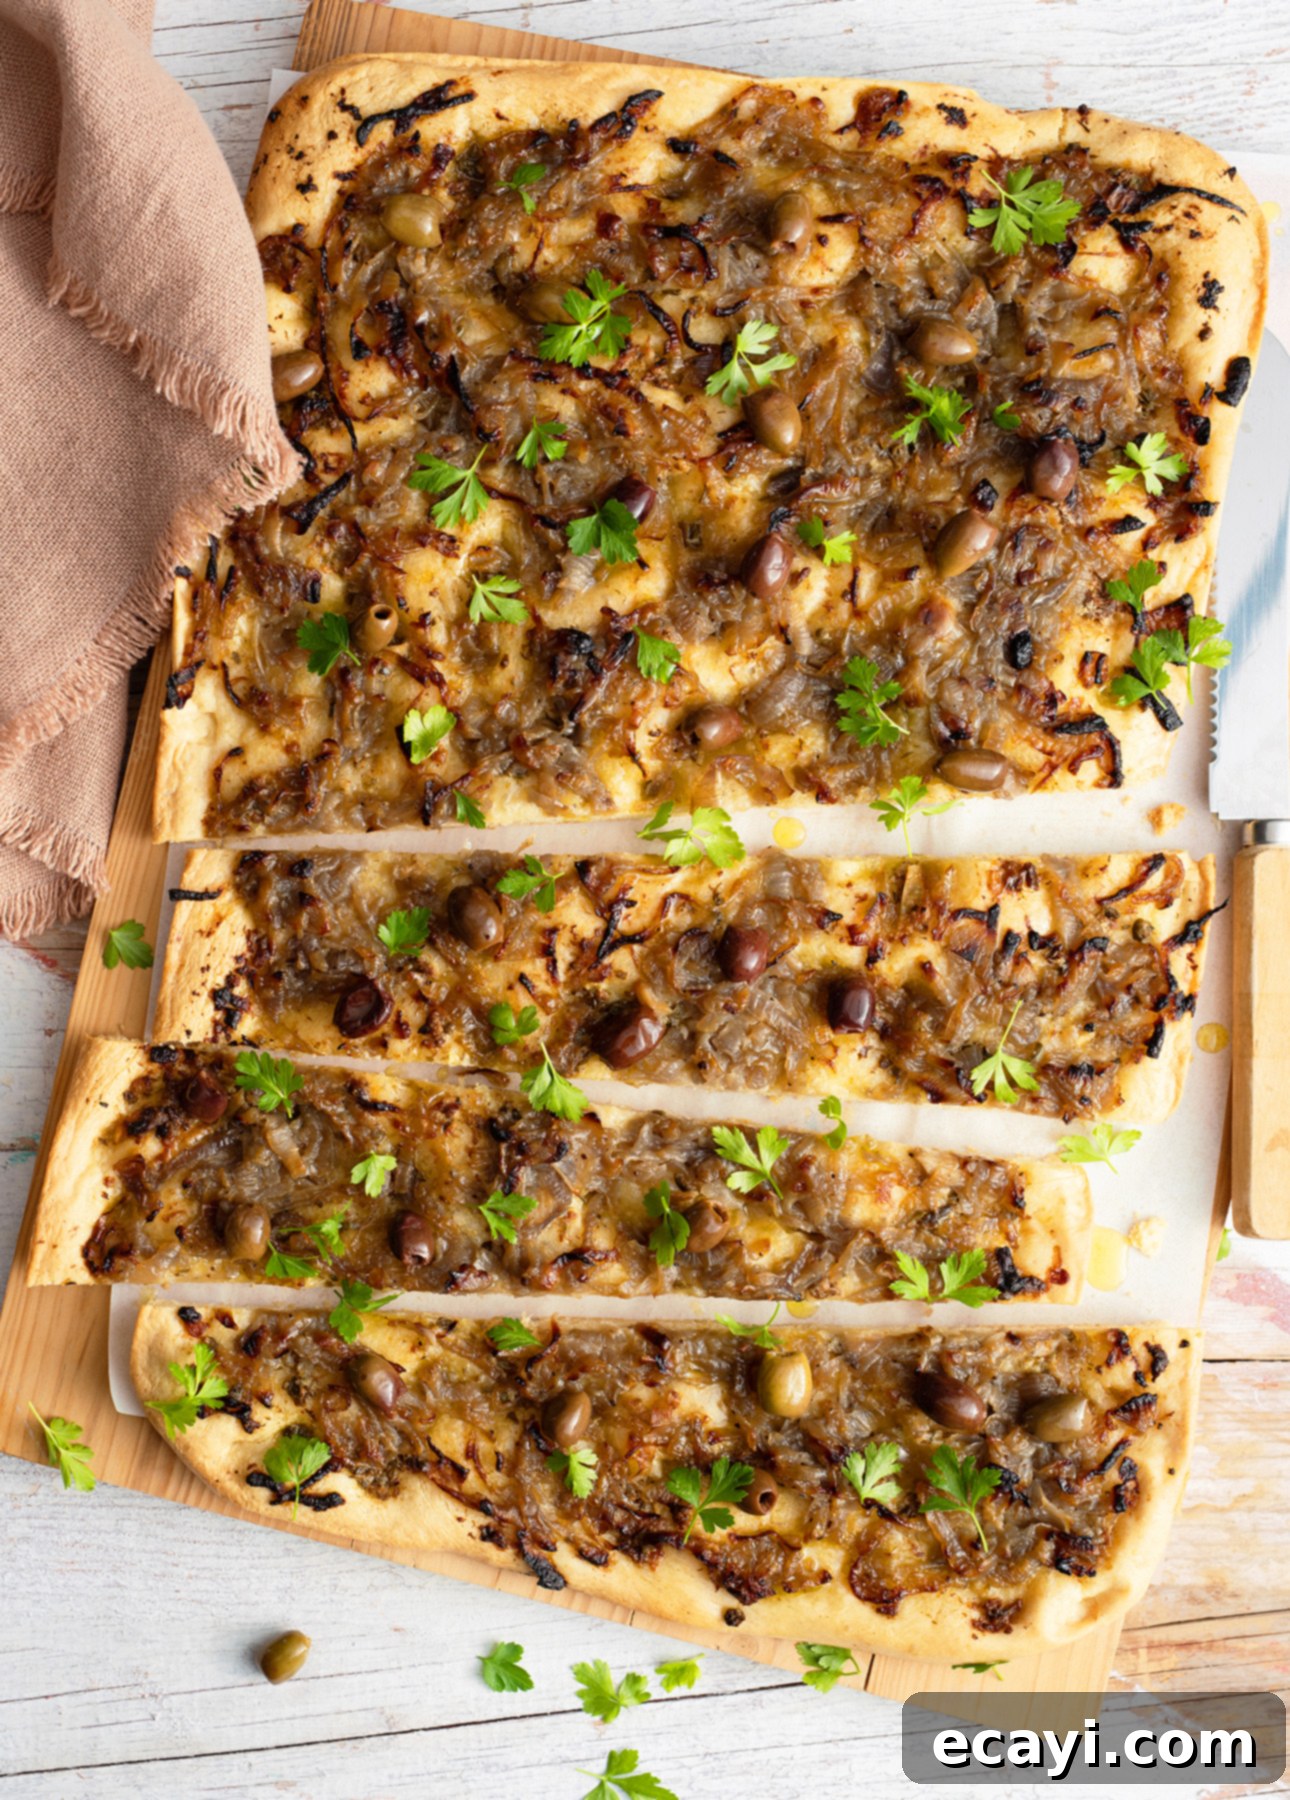
Pissaladière: Crafting the Classic Provençal Caramelized Onion & Anchovy Flatbread
Dive into the culinary heart of Provence with Pissaladière, a truly captivating flatbread that perfectly encapsulates the region’s vibrant flavors. This iconic dish, renowned for its delectable caramelized onions, briny olives, and savory anchovies, offers a unique blend of sweet and salty notes. Whether you’re planning a relaxed happy hour, a delightful lunch, or an elegant picnic, learning how to prepare this classic French tart will undoubtedly elevate your gastronomic repertoire.
For those who appreciate the finer, yet simple, joys of French living, the concept of l’apéro is likely a familiar and cherished ritual. Short for l’apéritif, this tradition refers to a delightful early evening gathering, often before dinner, where friends and family unwind with drinks and a selection of light bites. In France, l’apéro isn’t just about wetting the appetite; it’s a significant social institution, a moment to reconnect, share stories, and transition from the workday to a relaxed evening.
This cherished custom is deeply rooted in French culture and, for many, becomes a cherished family tradition. Growing up, I witnessed my parents masterfully host countless apéros, transforming even a simple weeknight into an occasion. Even when a formal dinner was planned, guests would invariably gather in the living room first, enjoying a leisurely apéro. As an adult, I’ve enthusiastically continued this practice. To me, l’apéro is more than just a pre-dinner routine; it’s a vital conduit for maintaining meaningful connections with friends and family. Almost every social gathering I participate in begins with this wonderful combination of drinks and nibbles.
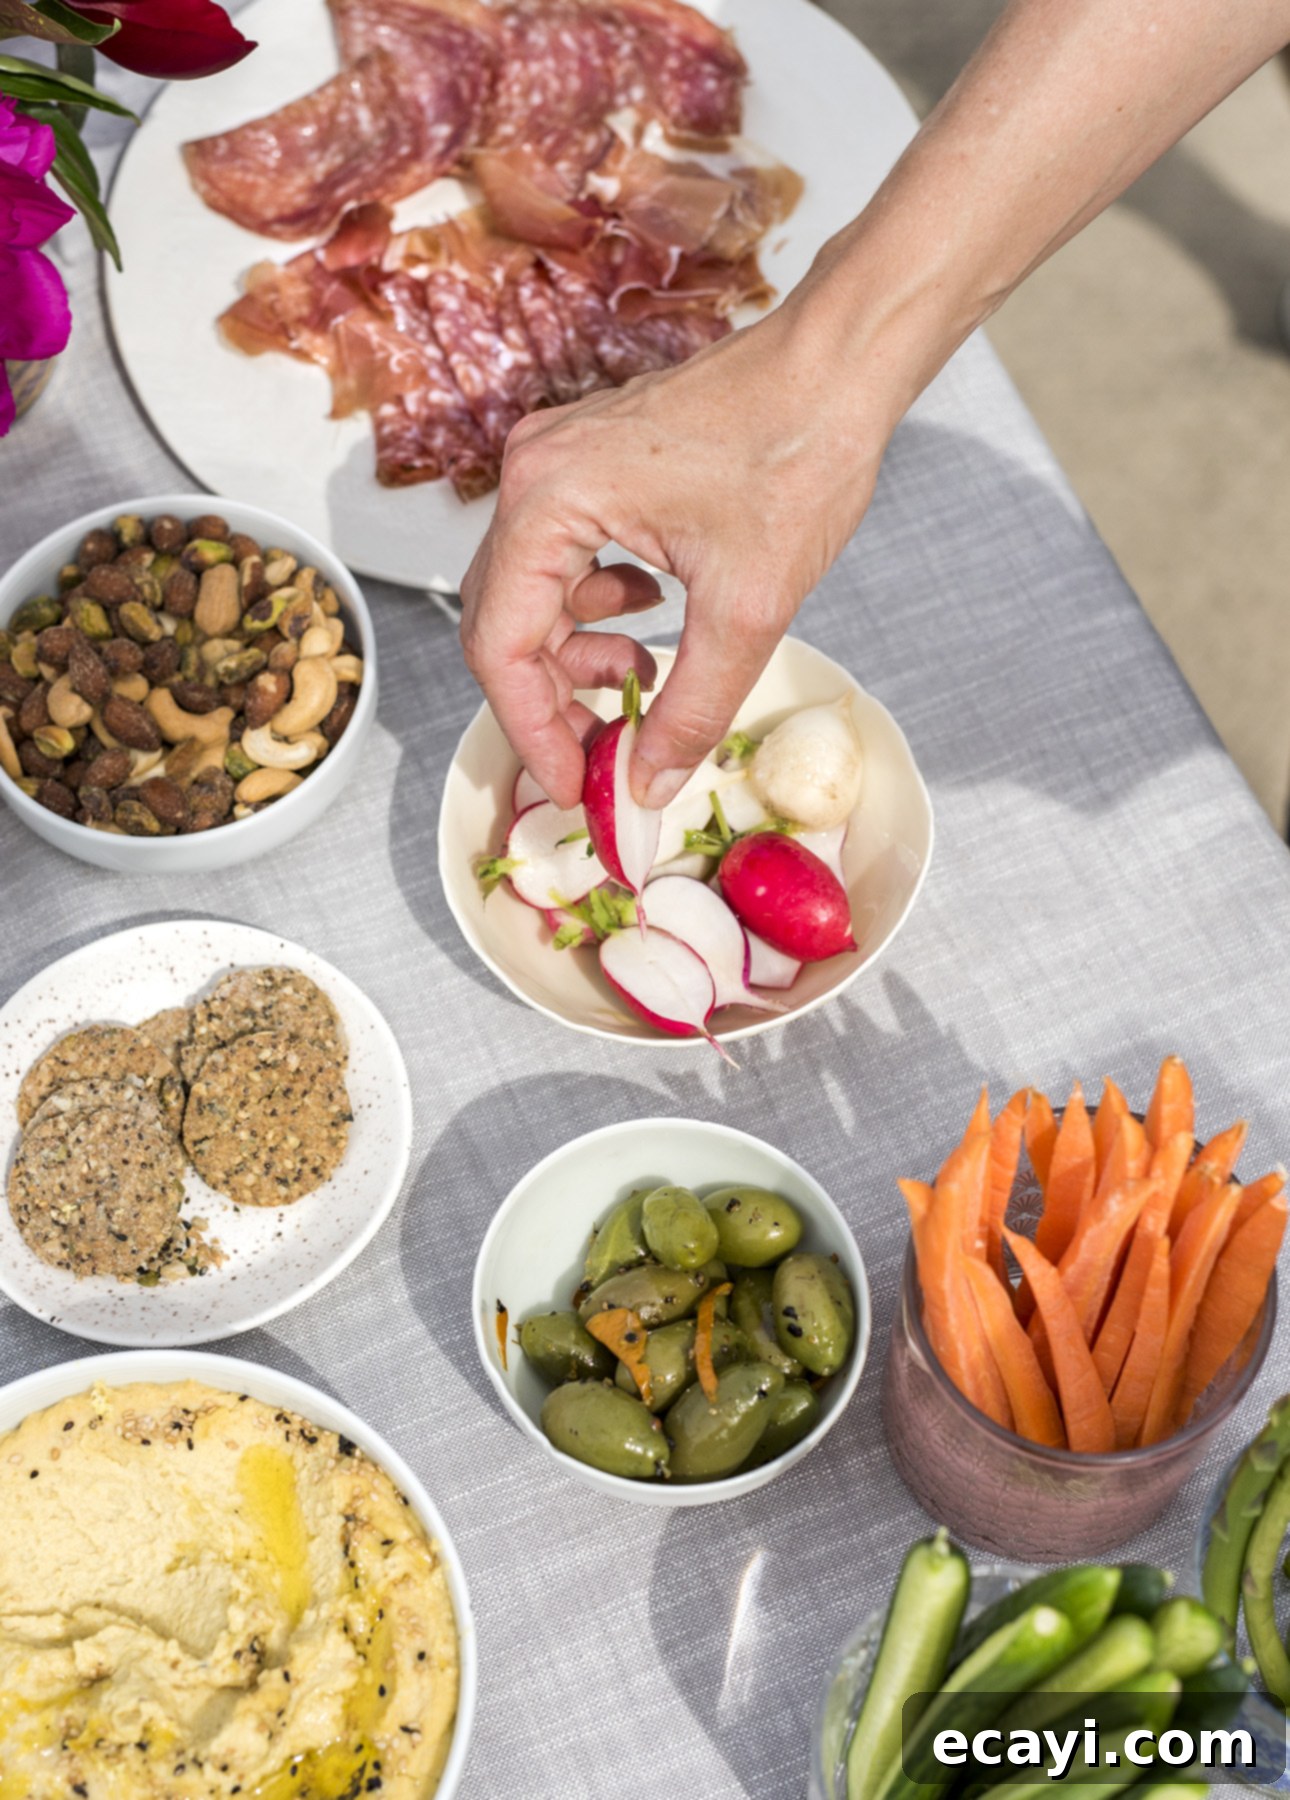
While many weeknight apéros remain refreshingly casual – a simple spread of olives, mixed nuts, sliced vegetables, perhaps a store-bought dip, and some crunchy chips – weekends and special occasions call for something a bit more elaborate. These are the times when I love to introduce homemade delicacies that elevate the festive spirit. My go-to recipes often include savory madeleines, a hearty French savory cake, crispy fried olives, and delightful cheese straws. Not only are these consistently crowd-pleasers, but their deliciousness ensures they’re frequently requested by my guests!
Among these beloved appetizers, Pissaladière has quickly ascended to the top of my and my guests’ favorites list. Everyone adores a good flatbread, especially one that boasts a satisfying crunch and is adorned with utterly irresistible toppings. Pissaladière effortlessly checks all these boxes, and surprisingly, it’s not at all complicated to make. The beauty of this Provençal classic lies in its preparation: you simply need to dedicate a small amount of time to prepare the core components in advance. Then, just before your guests arrive, you can swiftly assemble and bake the tart, allowing you to slice and serve this exquisite treat alongside a chilled glass of rosé, creating a truly memorable experience.
How to Make Pissaladière: RECIPE VIDEO
What Exactly is Pissaladière?
Pissaladière is a distinctive type of flatbread, deeply associated with the sun-drenched region of Provence, particularly the city of Nice in the South of France. However, its origins trace back even further, to Linguria, Italy, a province sharing a border with France. In its nascent form, it was known as pissalandrea and was essentially an early type of pizza, topped with onions, anchovies, and olive oil. Over time, its popularity spread across the border into France, where small black olives were eventually added to its signature toppings, solidifying the version we know and love today.
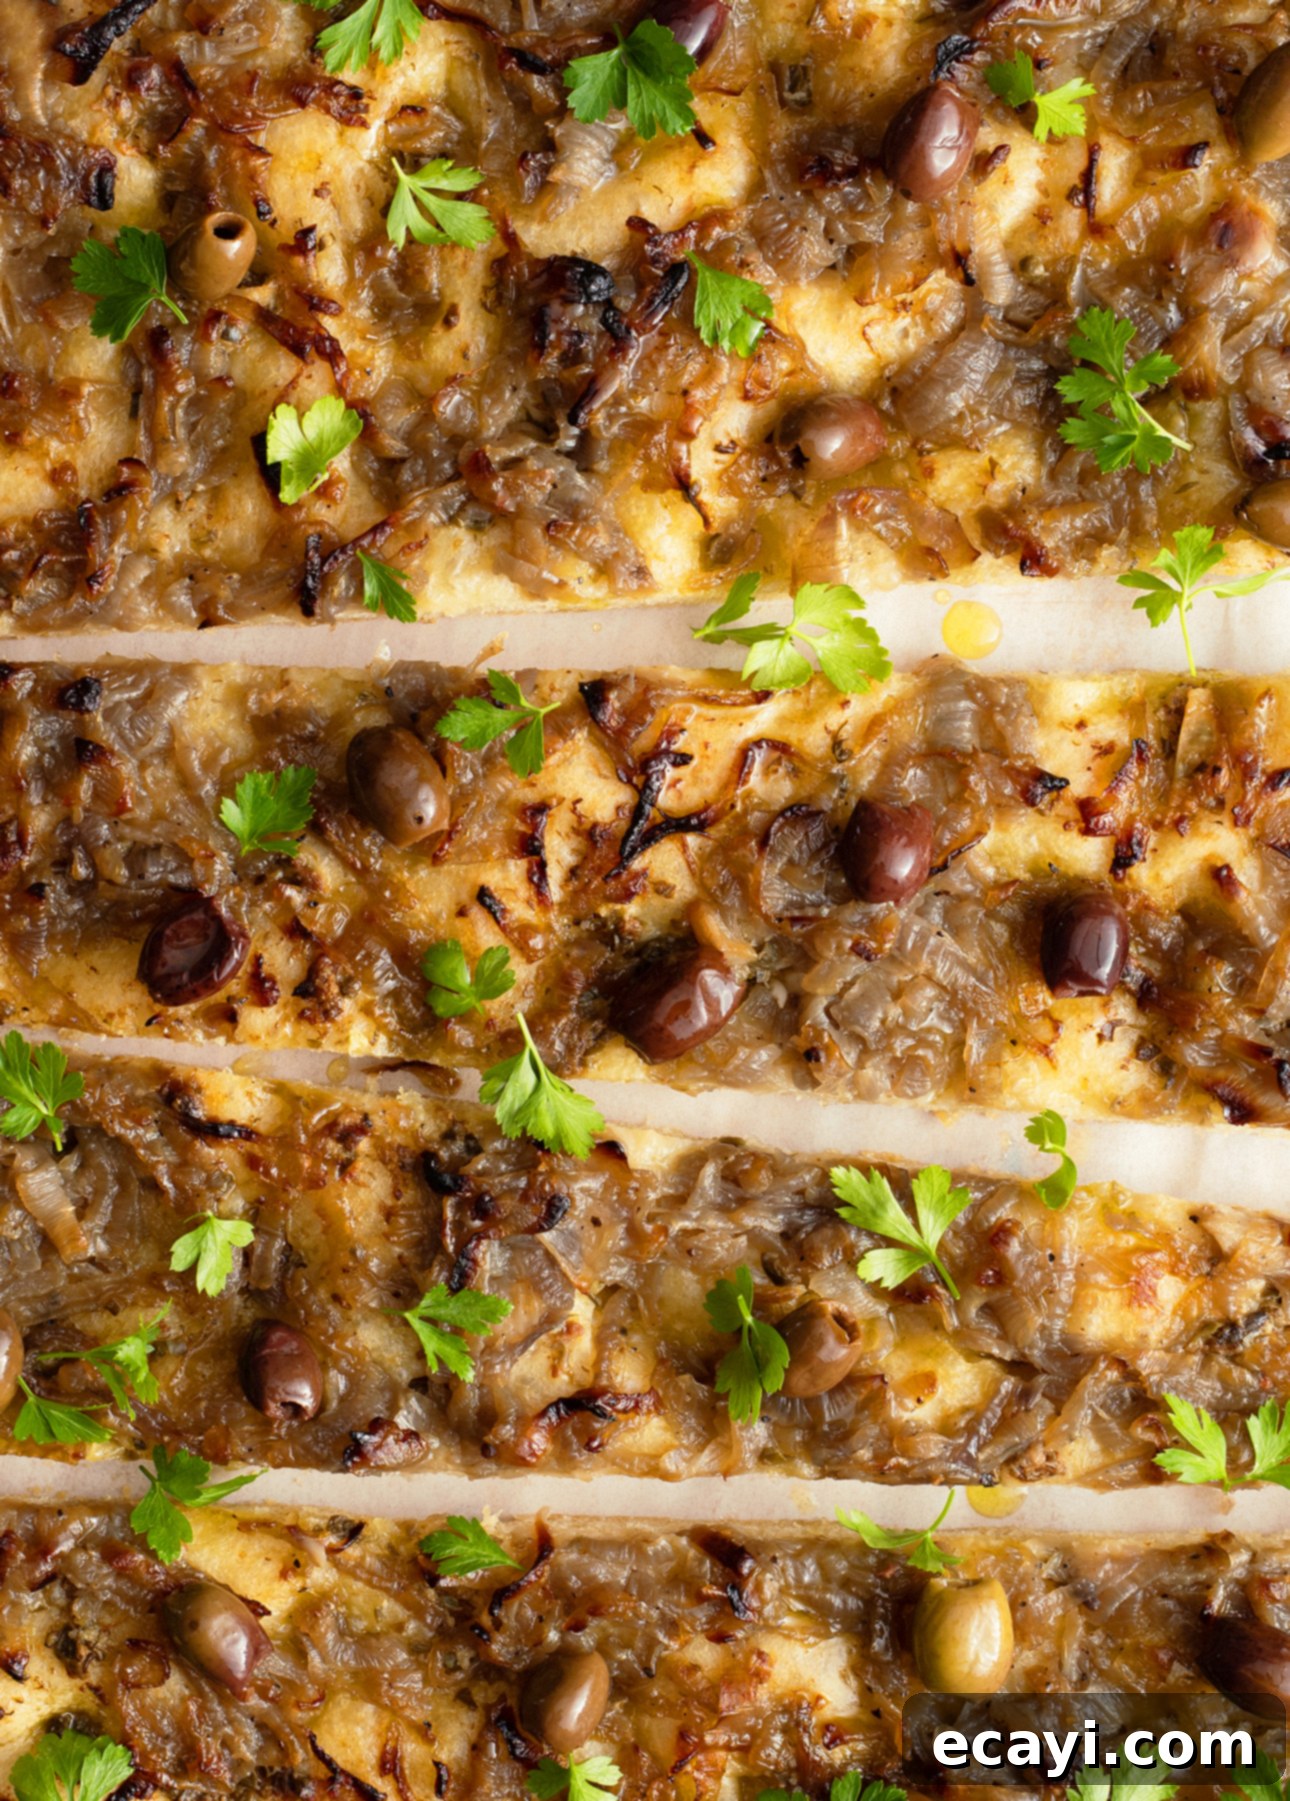
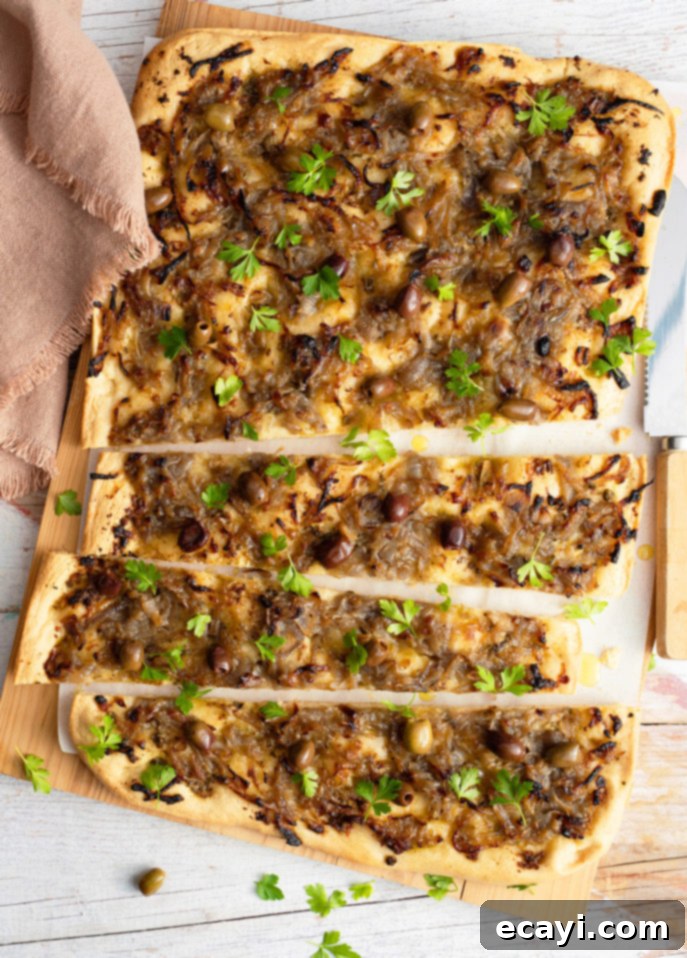
At its heart, Pissaladière features a bread-like dough, meticulously stretched thin and generously adorned with a harmonious trinity of ingredients: sweet, deeply caramelized onions, savory anchovies, and characteristic small Niçoise black olives. One of its many charms is its versatility; Pissaladière can be enjoyed equally well warm, straight from the oven, or at room temperature, making it ideal for various dining occasions.
The name “Pissaladière” itself is derived from pissalat, a traditional condiment once used as the primary topping for this Provençal flatbread. Pissalat was a labor-intensive preparation, created by layering baby anchovies and sardines with salt, spices, and herbs, allowing the mixture to ferment for 45 days, and then pressing it through a sieve to remove tiny bones. (Source: Saveur Magazine) While this traditional condiment is much less common nowadays, using whole anchovy fillets (or an anchovy-based dressing, as we’ll explore) has become the widely accepted and delicious norm.
How Do You Pronounce Pissaladière?
For English speakers, “Pissaladière” might initially seem like a formidable tongue-twister, but with a little guidance, it’s quite manageable. The key to mastering its pronunciation lies in the final syllable: “dière.” The “i” in this part of the word adopts a sound similar to the “y” in “yes.” Imagine blending the “d” sound into a “y” sound, almost like “dyou,” but with a more open “e” at the end, as you would hear in the word “bet.”
Thus, Pissaladière is pronounced approximately as: pi – sa – la – d-YER (remember that open “e” sound in “yer”). To truly perfect your pronunciation, I highly recommend listening to a native French speaker say the word. You can find audio examples online – simply click on the red speaker icon next to the word. Practice saying it aloud a few times, and you’ll soon be impressing your guests with both your culinary skills and your impeccable French diction!
What Are the Traditional and Modern Toppings on Pissaladière?
Traditionally, Pissaladière is instantly recognizable by its iconic topping arrangement: whole anchovies are carefully placed in a criss-crossing pattern across the baked tart, with small Niçoise olives meticulously positioned at each intersection. This method undoubtedly creates a visually striking presentation. However, anchovies are inherently very salty, and consuming a whole fillet in a single bite can sometimes overwhelm the palate, making the flavor profile a bit too intense for some.
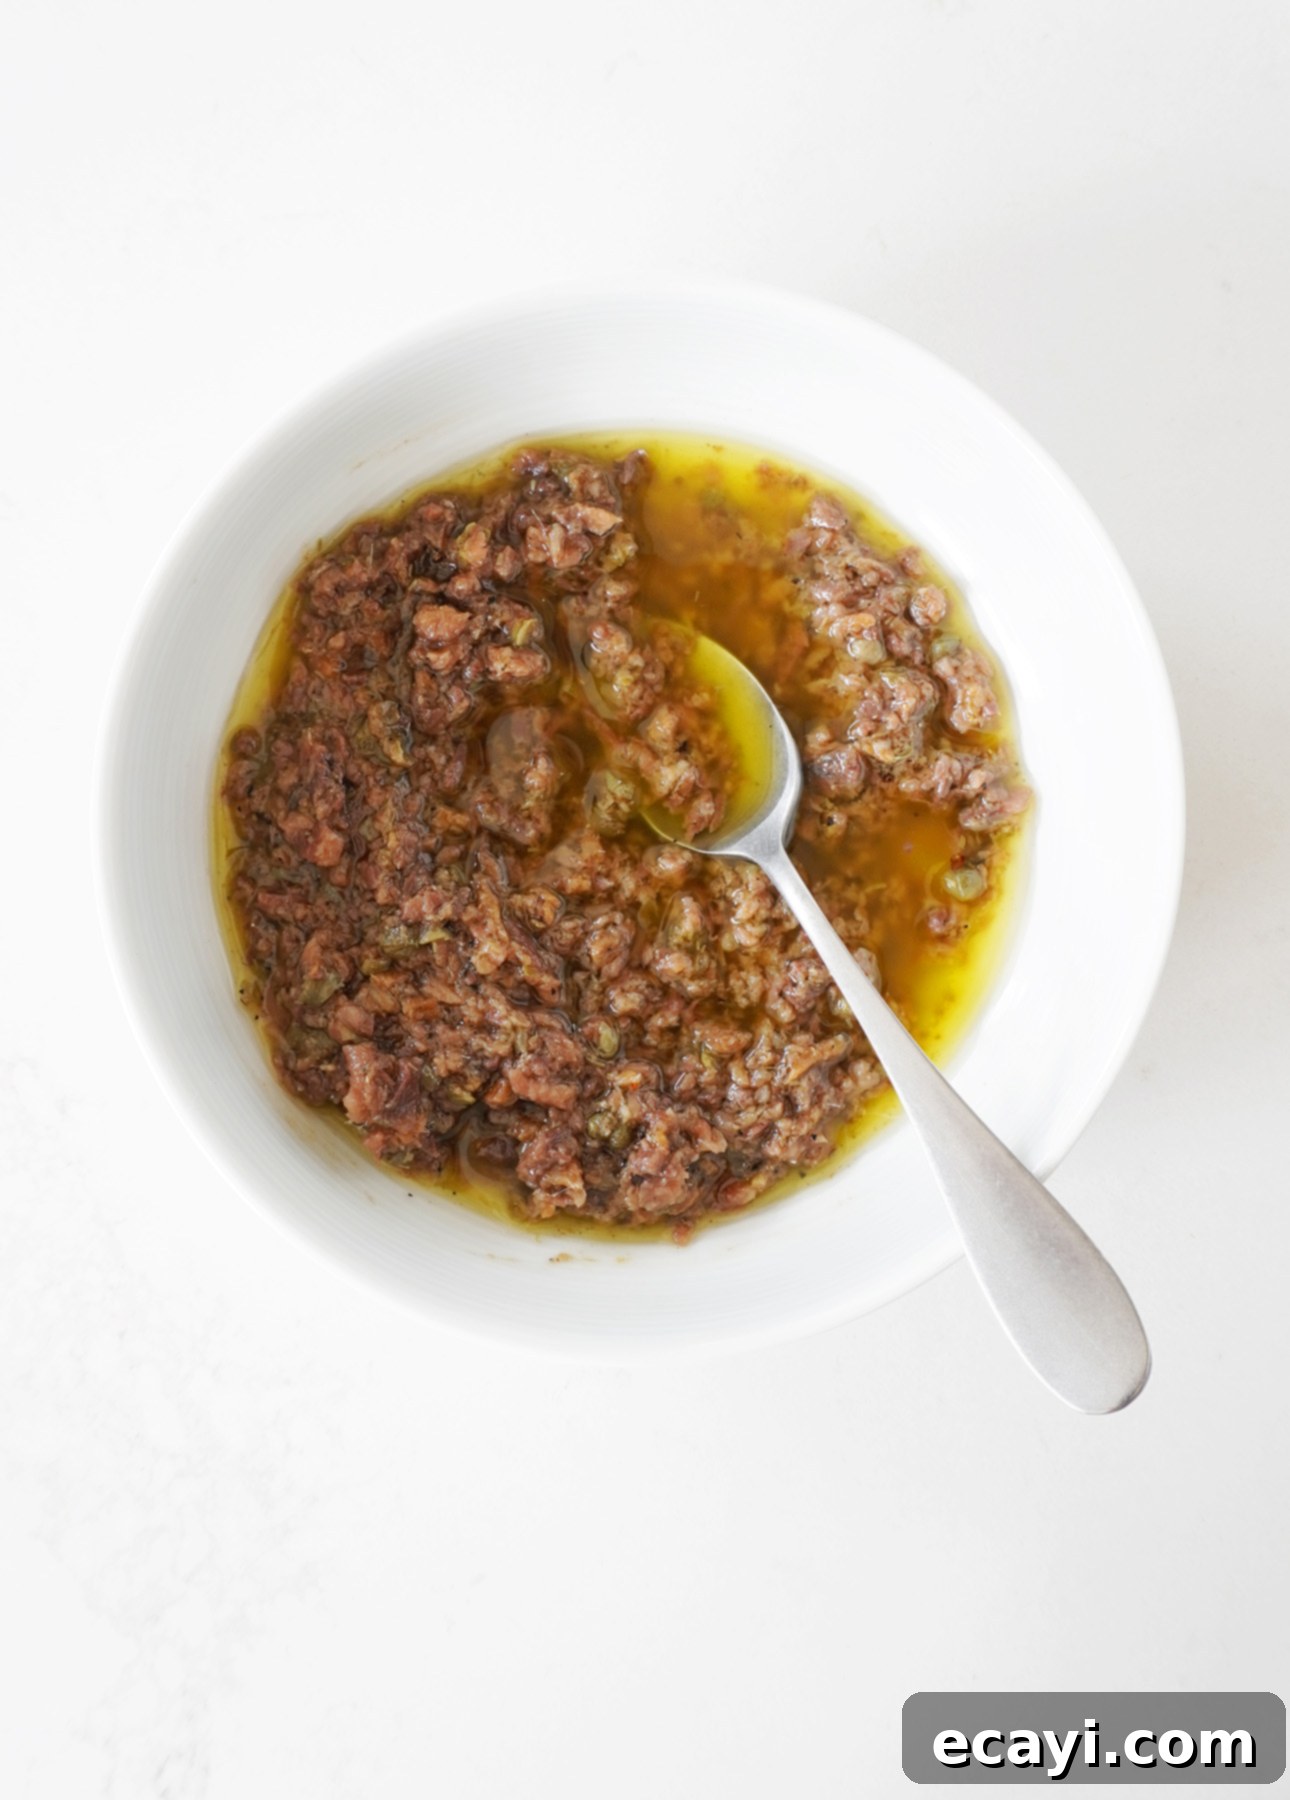
My preferred approach, a modern take on the classic Pissaladière, actually draws closer to the dish’s original spirit, which once utilized the anchovy-based pissalat condiment. Instead of whole fillets, I incorporate an exquisite anchovy dressing as a topping. This modification came about several years ago after observing that the presence of whole anchovy fillets often intimidated some of my guests. Many would quickly declare, “I hate anchovies!” even before tasting the tart. To overcome this, I decided to prepare a delicious anchoïade and generously slather the dough with it. This savory dressing delivers the same beloved salty, umami-rich flavor without the visual impact of whole fish, proving to be a highly successful adaptation.
This anchoïade is a vibrant blend of anchovies, high-quality olive oil, a touch of red wine vinegar, briny capers, and aromatic garlic. The result is a sauce that is exceptionally rich in flavor, yet wonderfully fresh and fragrant. While anchoïade is traditionally served in France as a dip for crudités (raw vegetables), its versatility extends far beyond; I also find it incredible tossed with pasta and, of course, as the secret ingredient binding the flavors of my Pissaladière. Since making this change to my recipe, I’ve heard nothing but enthusiastic “aahs” and “yums” from my guests as they savor every bite, completely free from any anchovy-related apprehension.
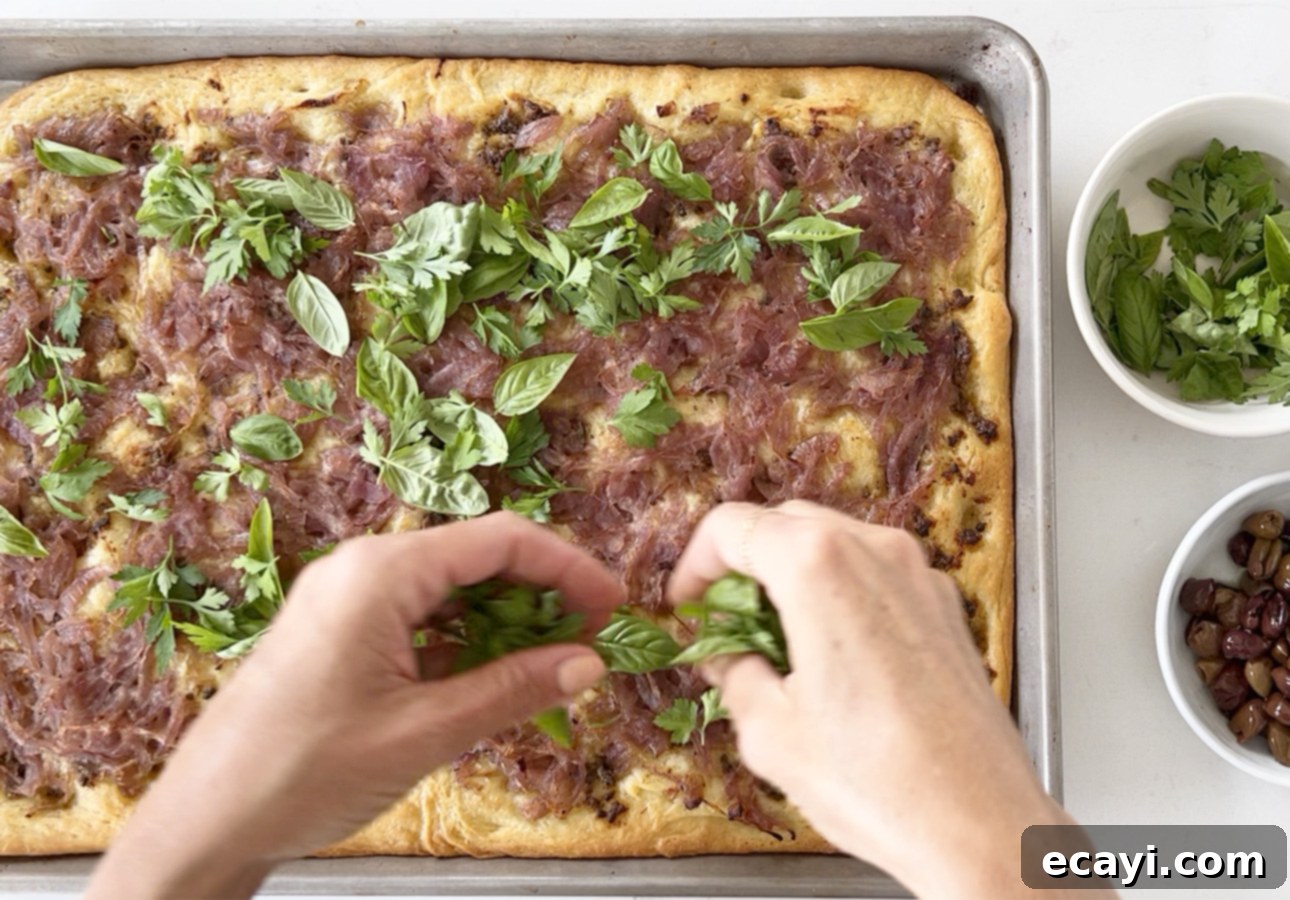
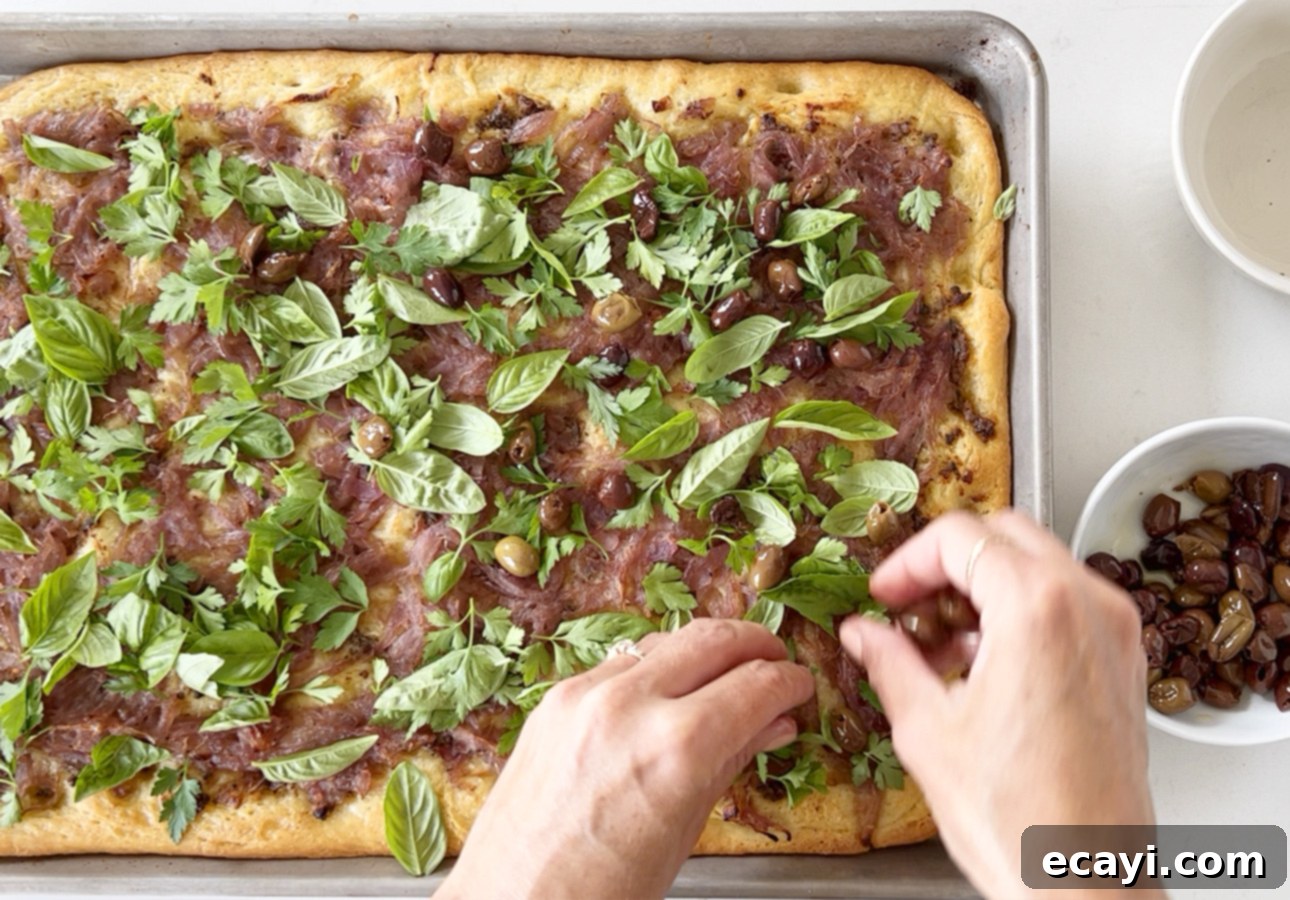
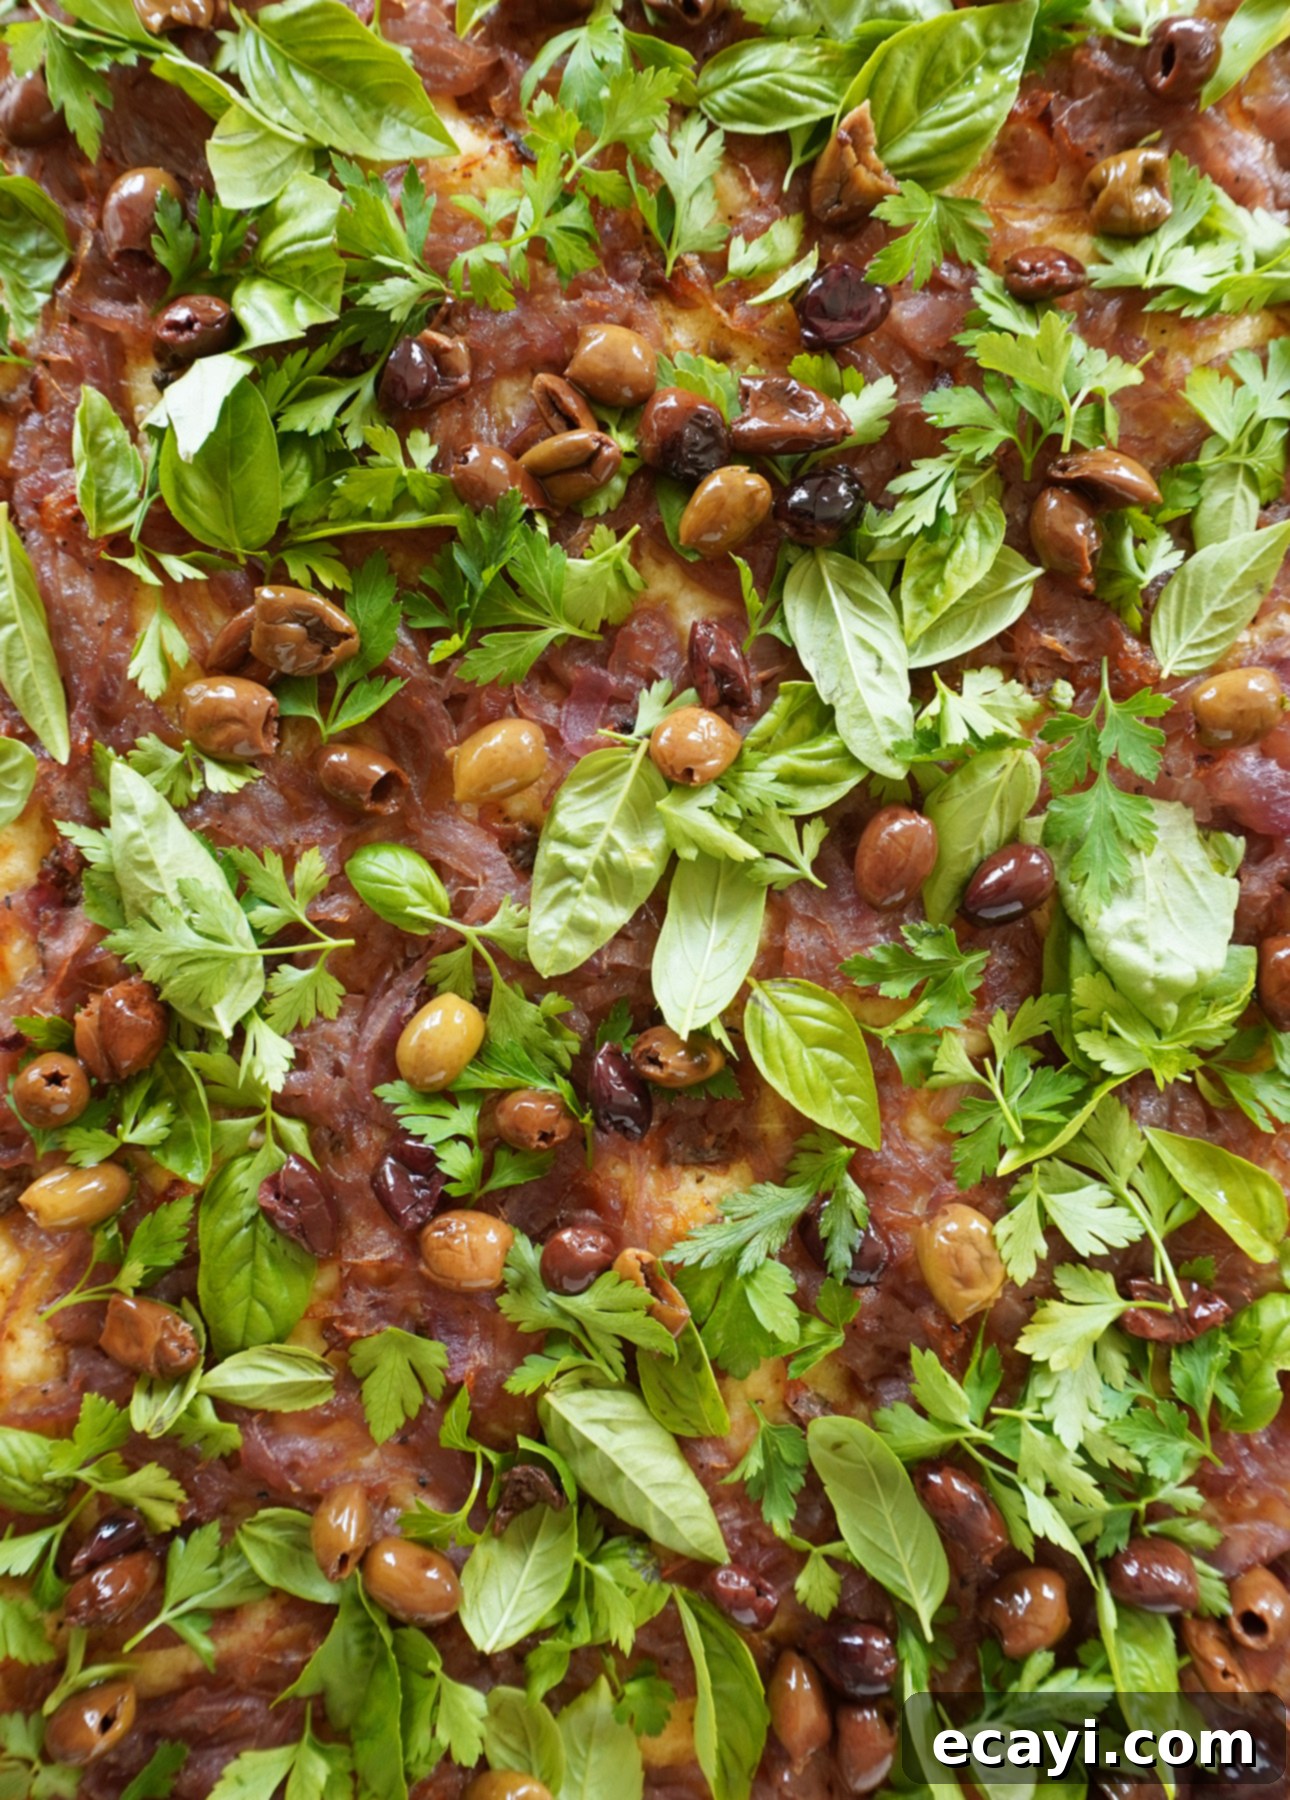
As a final flourish, I love to add a generous scattering of fresh herbs over the finished Pissaladière. Not only do they make this Provençal flatbread look especially beautiful and inviting, but they also contribute a burst of fresh, vibrant flavors that beautifully complement the richness of the caramelized onions and anchoïade.
Choosing the Right Onions for Pissaladière
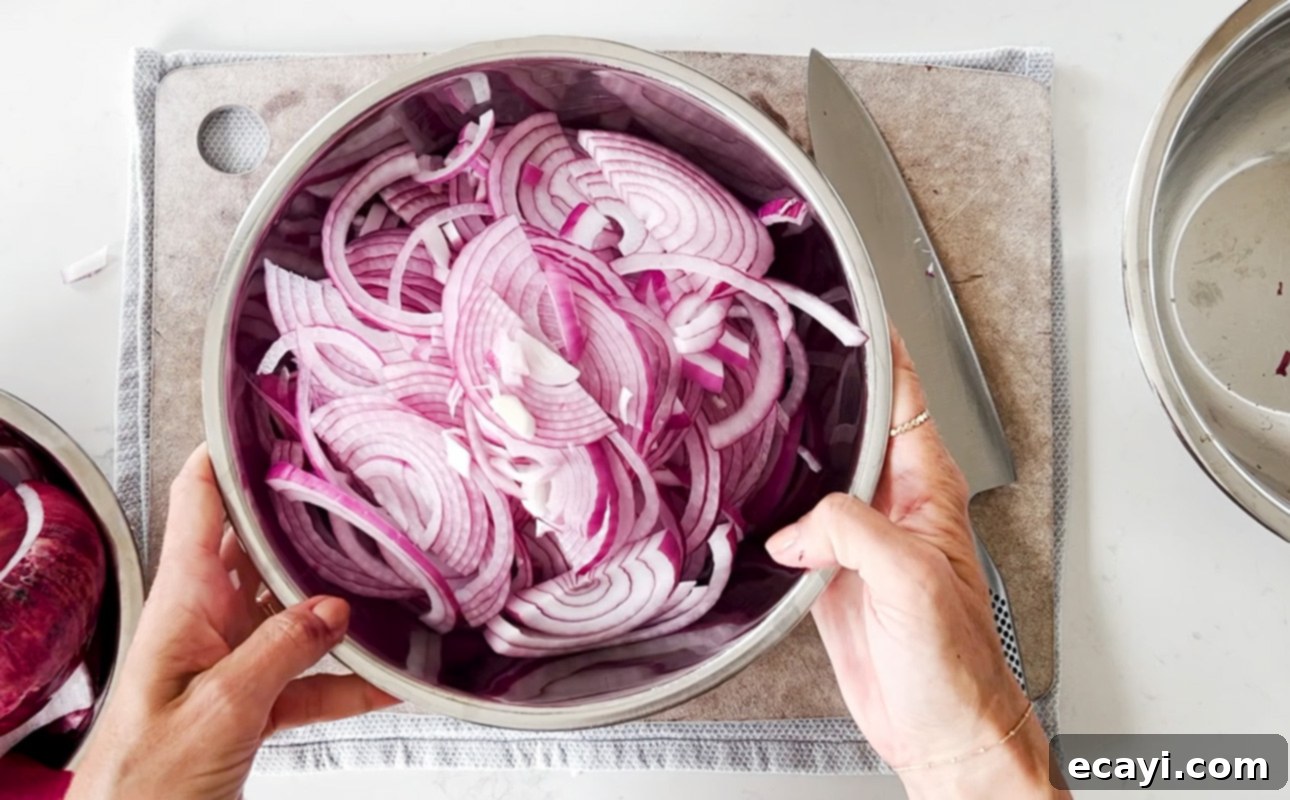
For the essential caramelized onion topping that defines Pissaladière, classic yellow onions are perfectly suitable and will yield a wonderfully sweet and jammy result. Personally, I often opt for red onions due to their appealing vibrant color when raw. However, it’s worth noting that much of this striking color mellows and fades during the long caramelization process, and their flavor profile is quite similar to that of yellow onions once cooked. Therefore, feel free to use whichever variety you have readily available in your pantry; the key is the slow cooking process that transforms them into a sweet, savory, and incredibly tender topping.
Selecting the Best Anchovies for Your Pissaladière
When it comes to anchovies, quality truly makes a difference in the final taste of your Pissaladière. Always opt for anchovy fillets that are packed in oil, and make it a point to purchase the highest quality you can reasonably afford. I generally recommend those sold in a glass jar over the more common tin cans. Anchovies stored in a jar, once opened and kept submerged in their oil, will last almost indefinitely in the back of your refrigerator, ready for your next culinary adventure. If tinned anchovies are your only option, simply transfer any unused fillets and their packing oil into a small, airtight jar for refrigeration to preserve their freshness and flavor.
What Type of Olives Should Be Used on Pissaladière?
The authentic choice for Pissaladière’s olive garnish is undoubtedly Niçoise olives. These tiny, intensely flavorful black olives, native to the South of France, are typically sold packed either in brine or olive oil. For a slightly less salty and generally smoother flavor profile, I recommend seeking out those packed in olive oil.
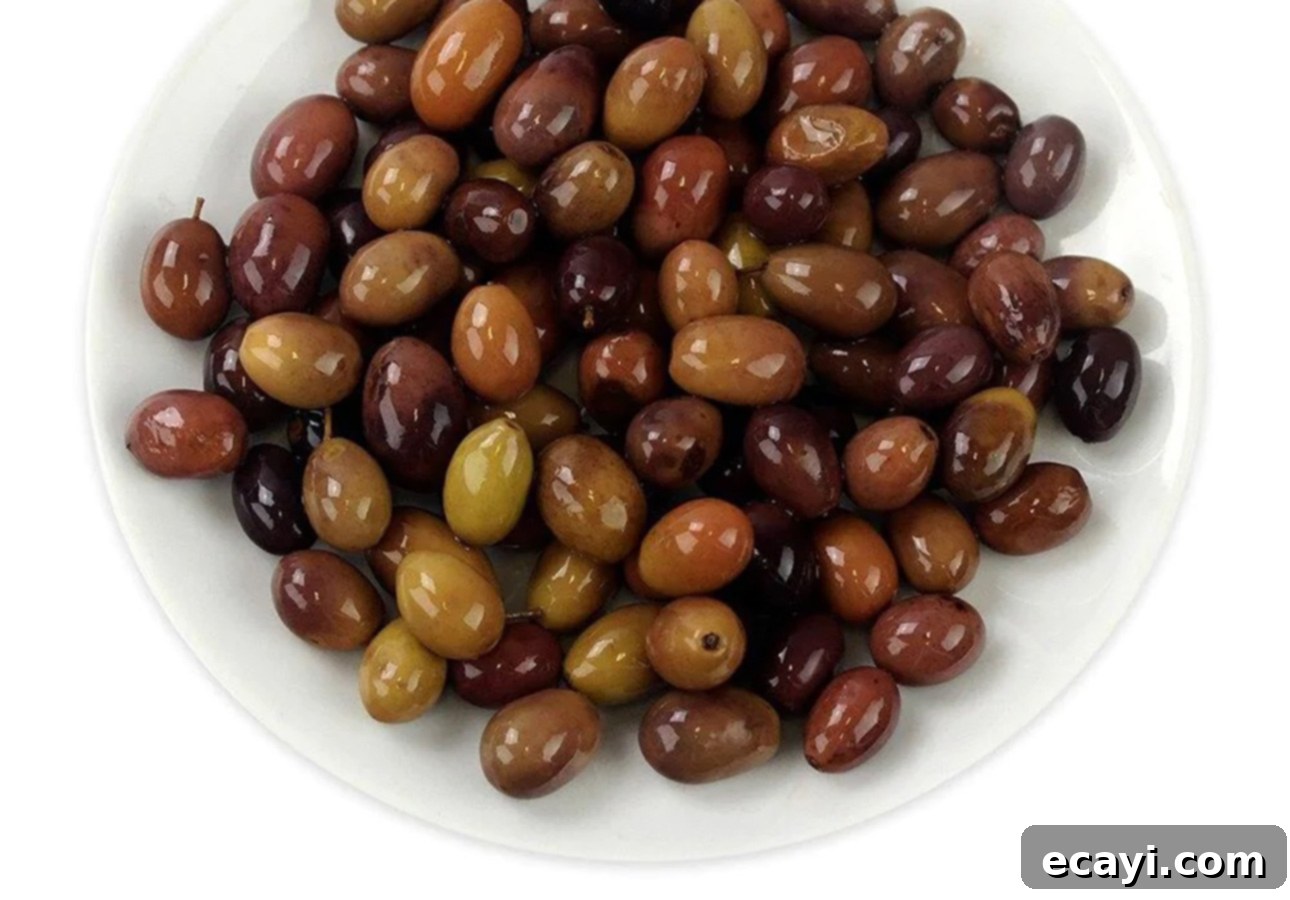
Image Source
While traditional recipes sometimes call for whole olives with the pit intact, I personally find this quite inconvenient for an appetizer. Having to contend with an olive pit in the middle of enjoying a delicious bite of flatbread can detract from the overall experience. Therefore, if you can find them, I strongly advise using pitted Niçoise olives, or taking the extra moment to pit them yourself. Pitted olives make Pissaladière significantly easier and more enjoyable to eat. If Niçoise olives are unavailable in your area, Italian Taggiasche olives are an excellent substitute, being the same varietal with an identical flavor profile. Alternatively, Kalamata olives, while possessing a slightly different taste, are widely available in pitted form and make a good stand-in.
Can Pissaladière Be Prepared in Advance?
Pissaladière truly shines when it’s freshly baked or served shortly after coming out of the oven (ideally within a couple of hours). However, the good news is that most of the preparatory work can be completed well in advance, making it a perfect dish for entertaining without last-minute stress. You can prepare the dough, caramelize the onions, and whip up the anchoïade the day before. Then, simply assemble and bake this delightful Provençal flatbread just before you plan to serve it, ensuring maximum freshness and flavor for your guests.
Should your schedule not permit baking on the day of serving, you can still bake the Pissaladière a day ahead. Allow it to cool completely to room temperature, then wrap it securely in plastic wrap and refrigerate. To revive its “fresh out of the oven” texture and taste, simply warm it in a 325°F (160°C) oven for about 10 minutes before serving. Remember to garnish with the black olives and fresh herbs only right before presentation, as this maintains their vibrant color and fresh aroma.
How to Make Pissaladière, Step-by-Step
JUMP TO RECIPE
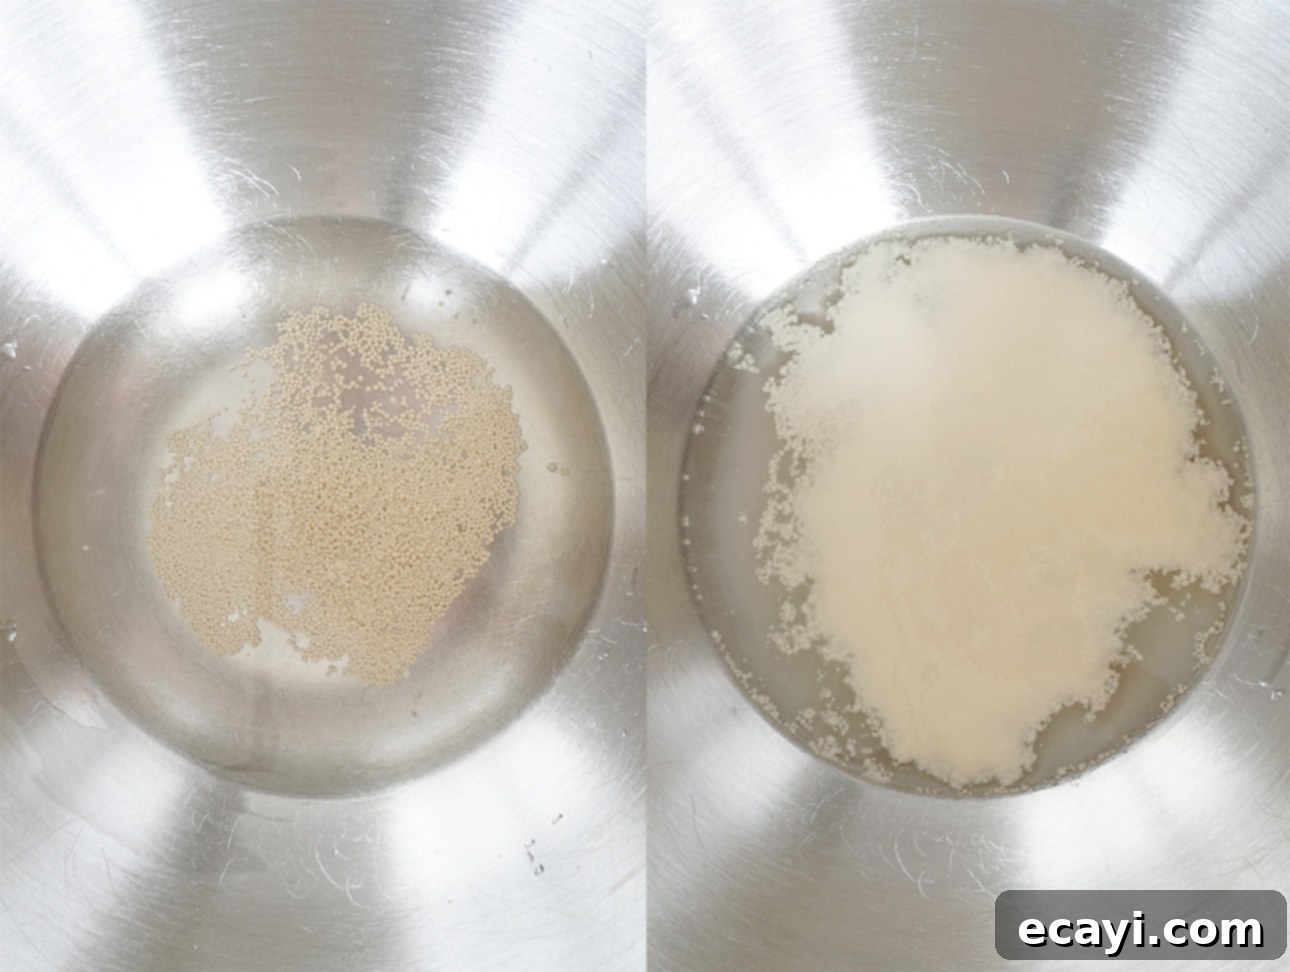
1. Prepare the Dough: In a generously sized bowl, combine the active dry yeast, granulated sugar, and warm water. Stir gently, then let the mixture rest for approximately 10 minutes, or until a foamy layer appears on the surface, indicating the yeast is active. (Refer to the full recipe, below, for alternative stand mixer instructions, which can save time and effort.)
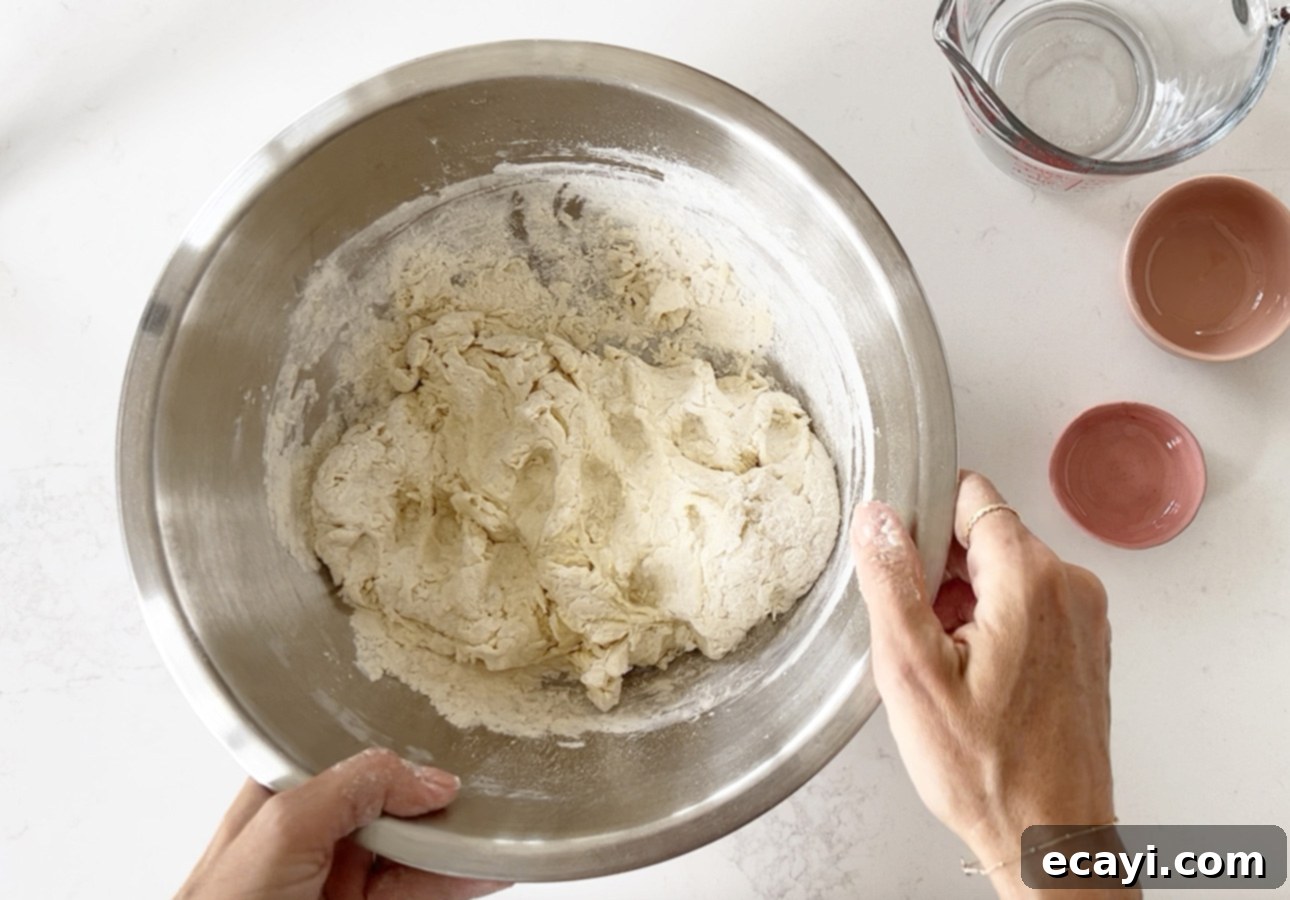
2. Incorporate Remaining Wet Ingredients: Stir in the olive oil and salt into the yeast mixture. Gradually add the all-purpose flour, mixing until all the ingredients just come together, forming a somewhat craggy, shaggy ball of dough. Avoid overmixing at this stage.
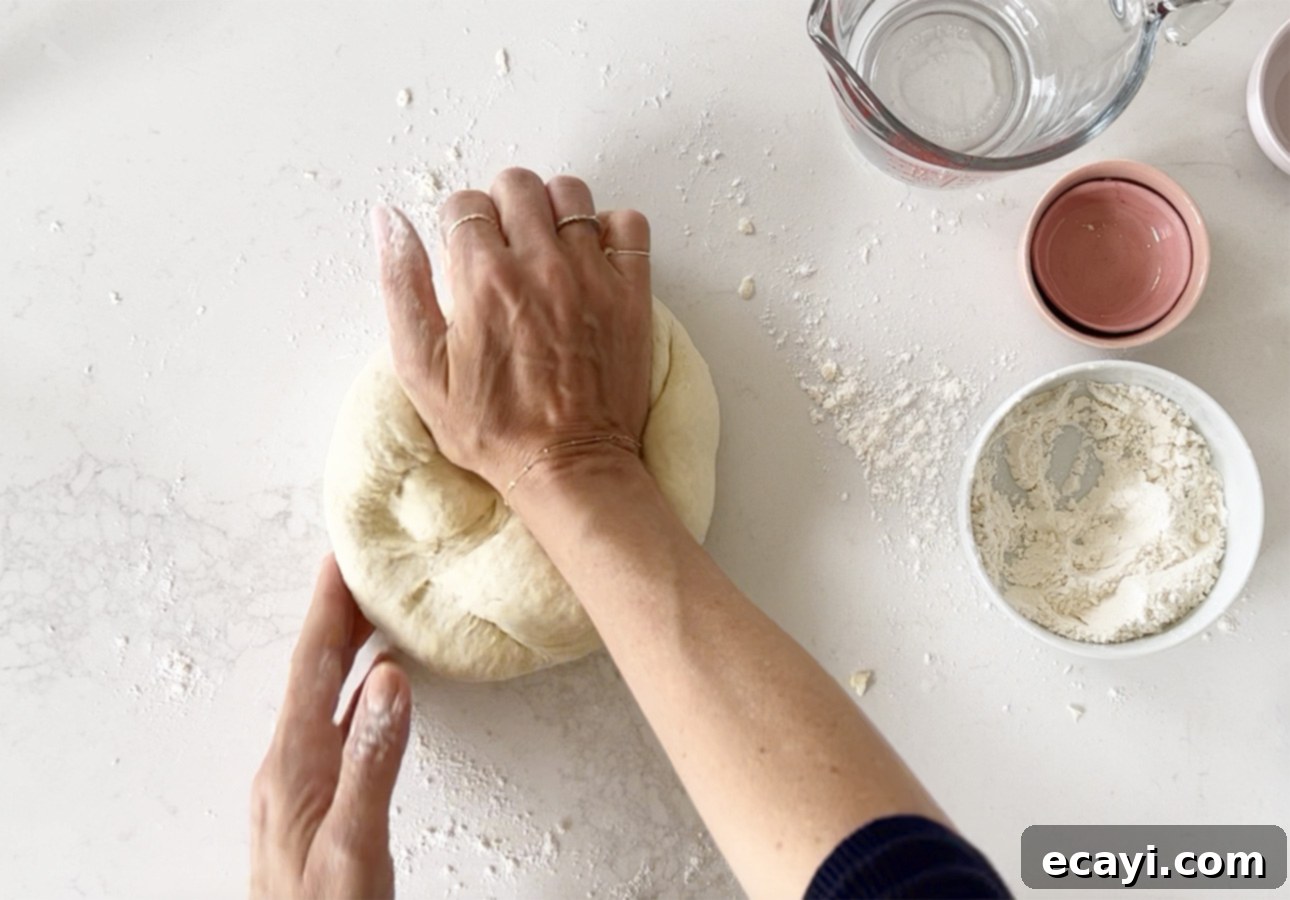
3. Knead the Dough: Transfer the rough dough ball onto a lightly floured surface. Knead diligently for a full 10 minutes, repeatedly turning and folding the dough. Continue this process until the dough transforms into a smooth, elastic, and supple texture. (For visual guidance on proper kneading technique, be sure to watch the accompanying video.)
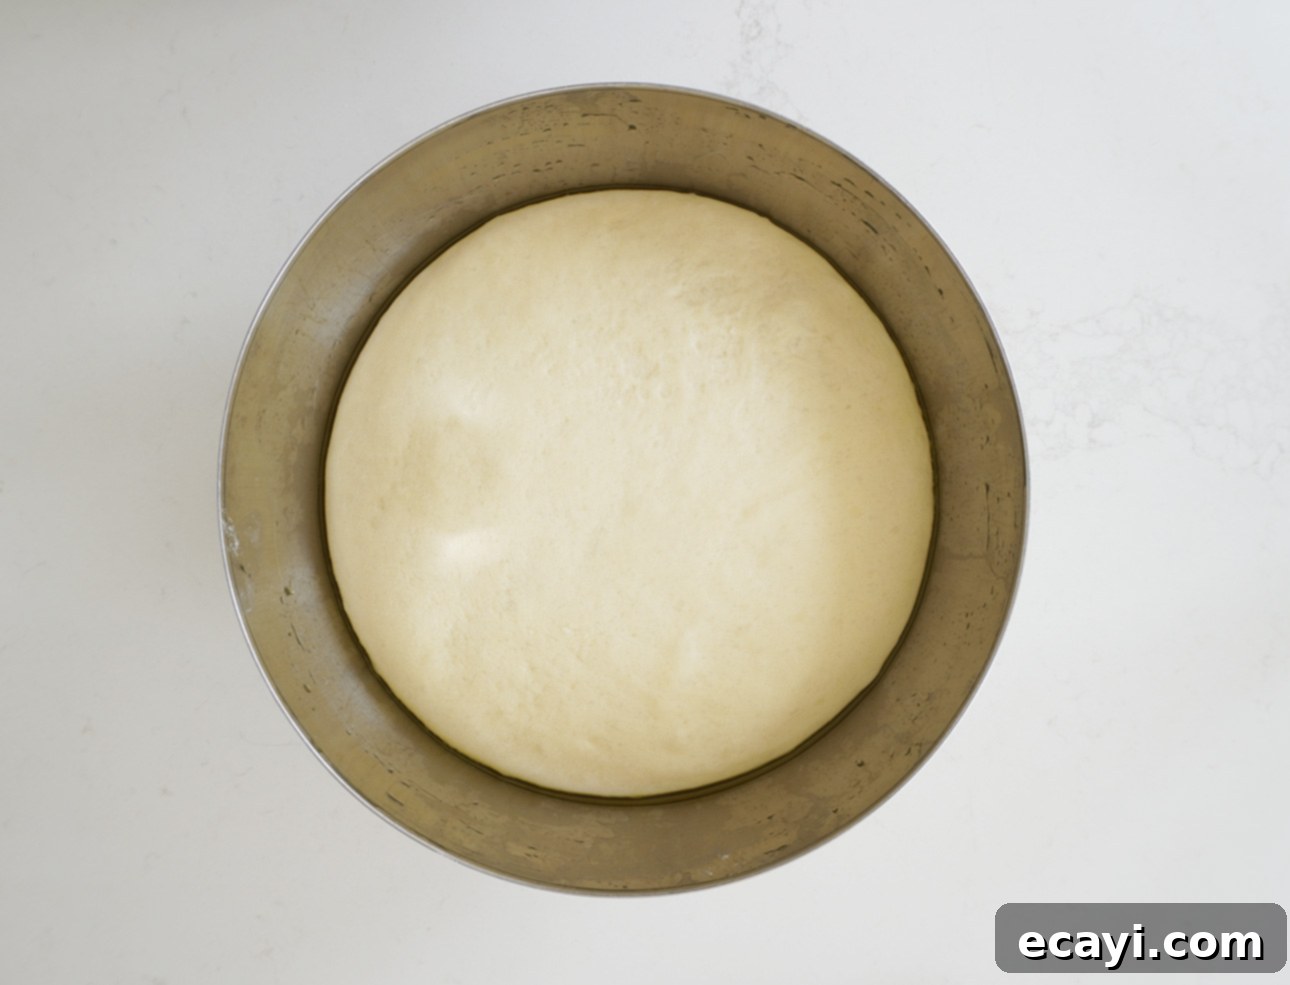
4. First Rise: Carefully transfer the kneaded dough to a large, lightly oiled bowl. Cover the bowl tightly with plastic wrap to prevent a skin from forming. Place it in a warm, draft-free location and allow it to rise until it has visibly doubled in size, which typically takes about 1 ½ hours. This slow rise develops the dough’s flavor and texture.
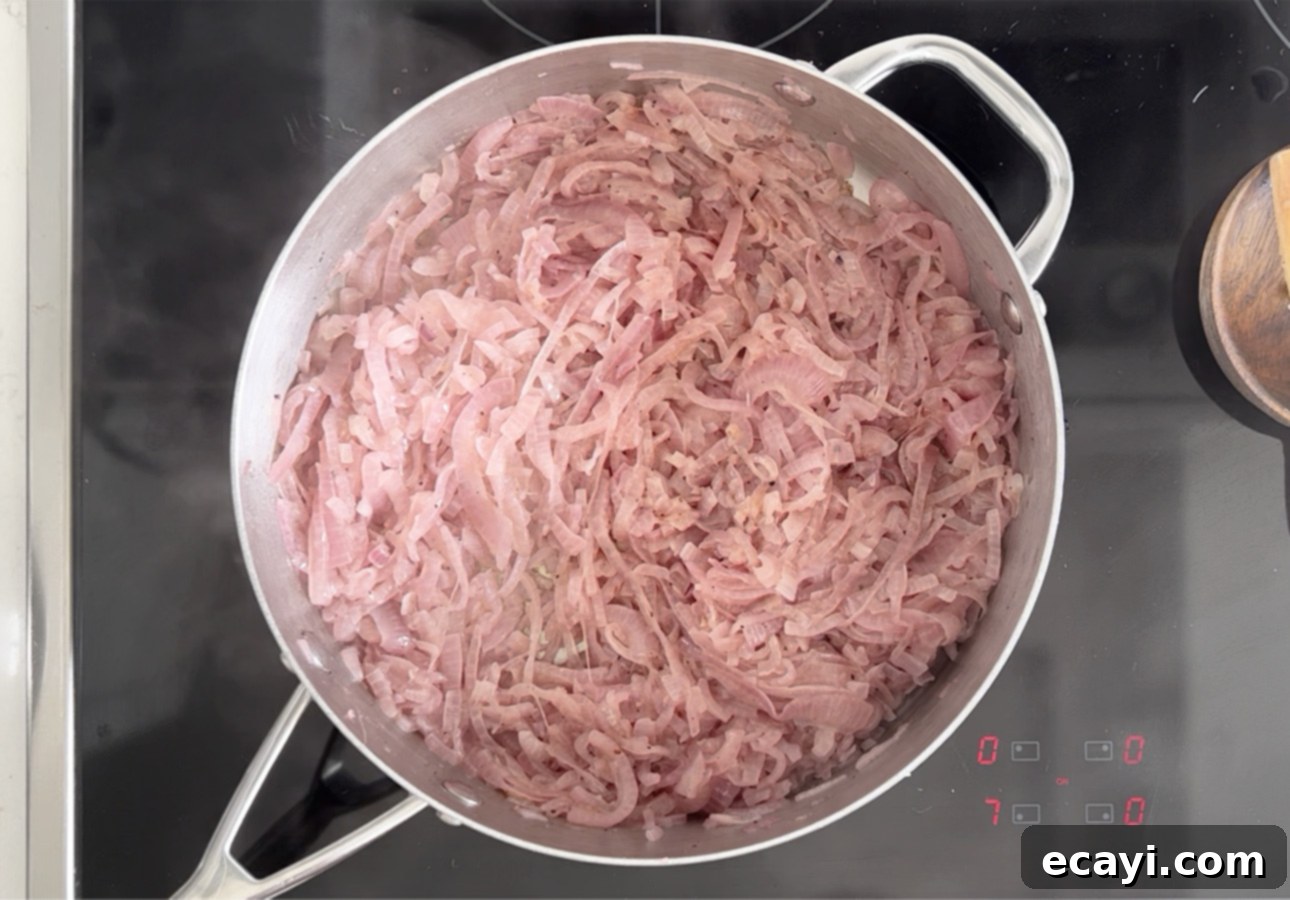
5. Caramelize the Onions: While the dough is undergoing its first rise, begin preparing the sweet caramelized onions. Set a large pot or deep sauté pan over medium heat. Add the butter and olive oil, stirring until the butter is completely melted. Introduce the thinly sliced onions, then sprinkle them with salt and a generous amount of freshly ground black pepper. Stir to ensure all the onion slices are thoroughly coated with the butter and oil mixture. Reduce the heat to low, cover the pot, and cook, stirring occasionally, until the onions are incredibly soft, translucent, and have begun to take on a beautiful golden-brown, caramelized hue. This process typically takes around 25 minutes. Finally, uncover the pot and continue cooking for an additional 2–3 minutes to allow any remaining liquids to evaporate. Transfer the caramelized onions to a bowl and let them cool completely.
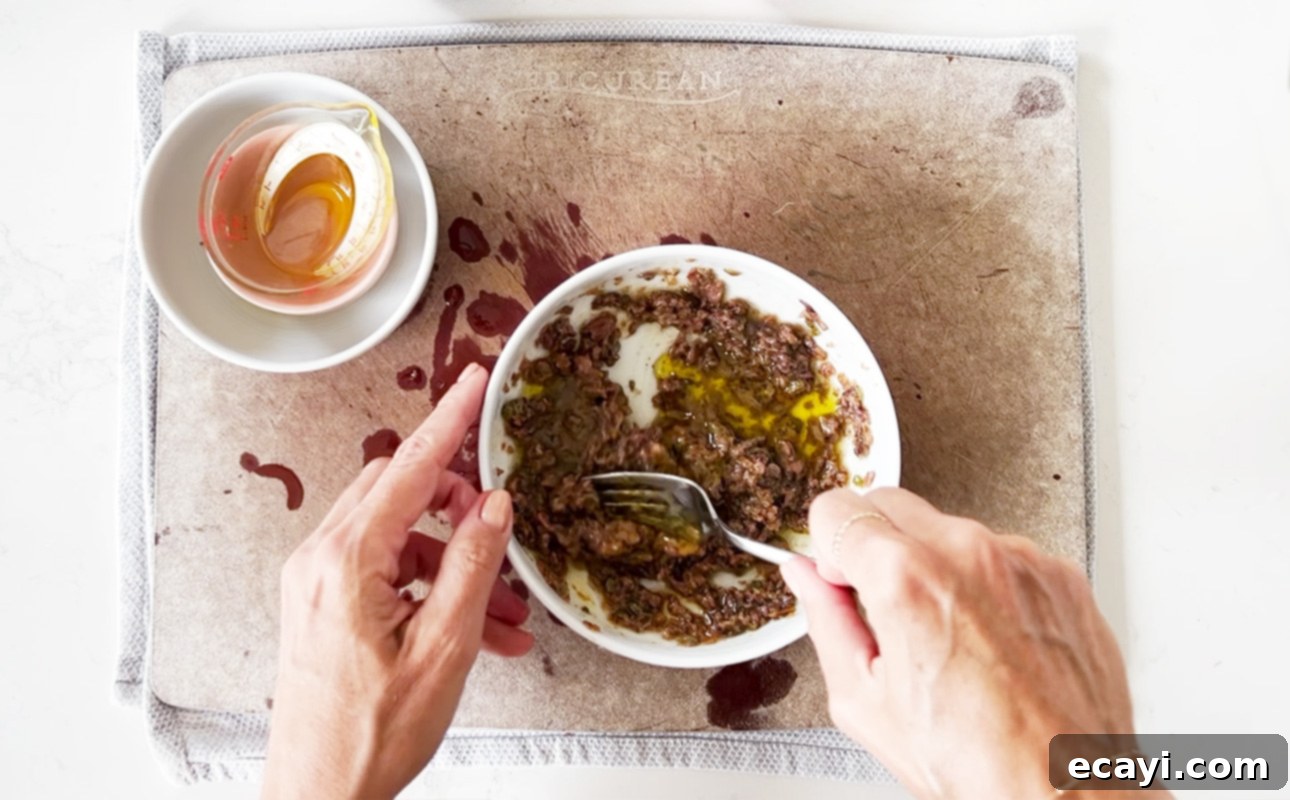
6. Prepare the Anchoïade: In a small bowl, combine all the ingredients specified for the anchoïade dressing. Use a fork to thoroughly mash the anchovy fillets and stir everything together until well combined and relatively smooth. This flavorful dressing will be a key component, adding a delicious umami depth. Set it aside.
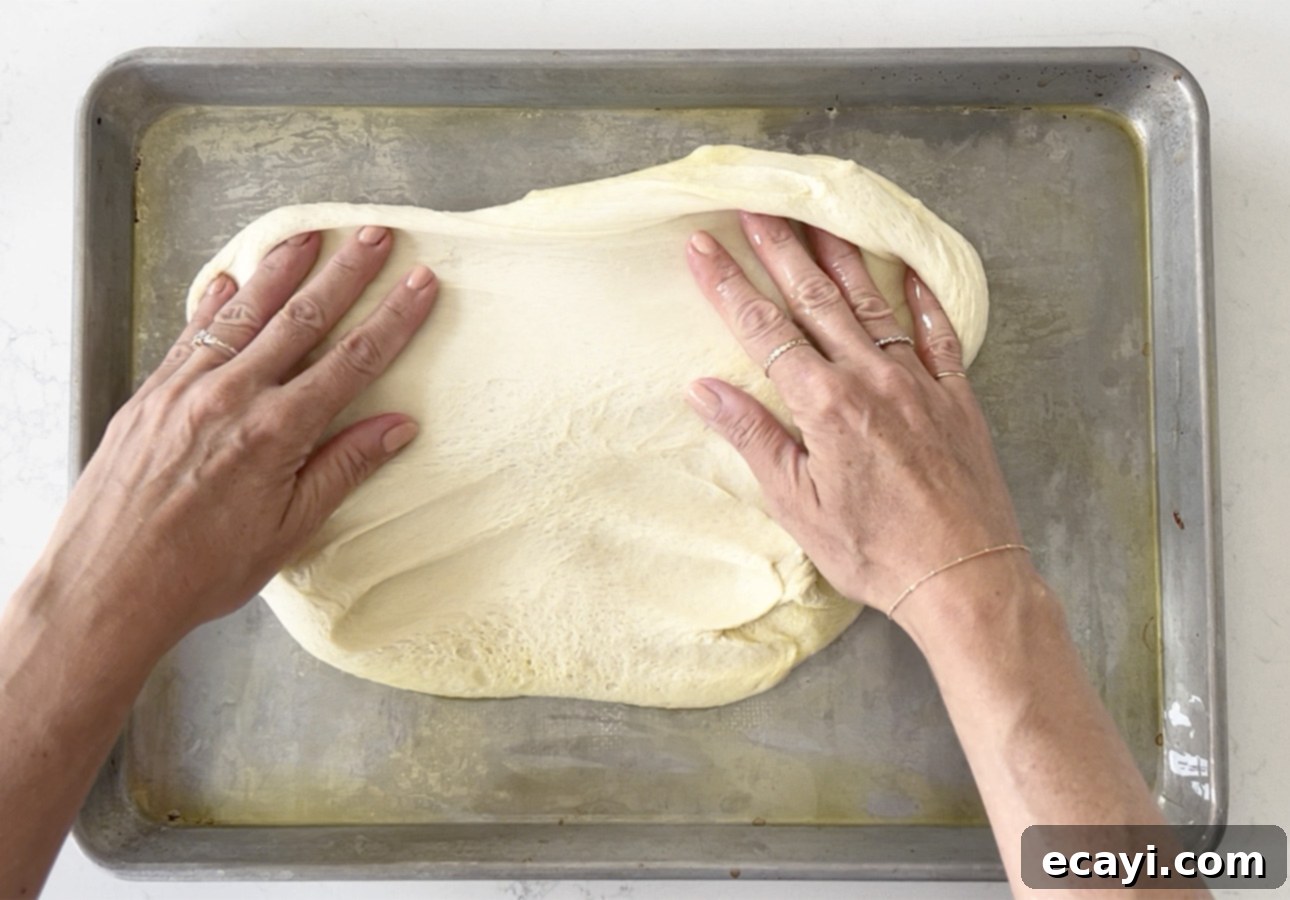
7. Assemble the Pissaladière Base: Generously grease an 18 x 13-inch (45 x 33 cm) baking sheet (a standard half sheet pan) with olive oil. Gently transfer the risen dough onto the prepared sheet. Using your fingertips, carefully press and stretch the dough outwards until it evenly covers the entire baking sheet. Take care not to tear the dough.
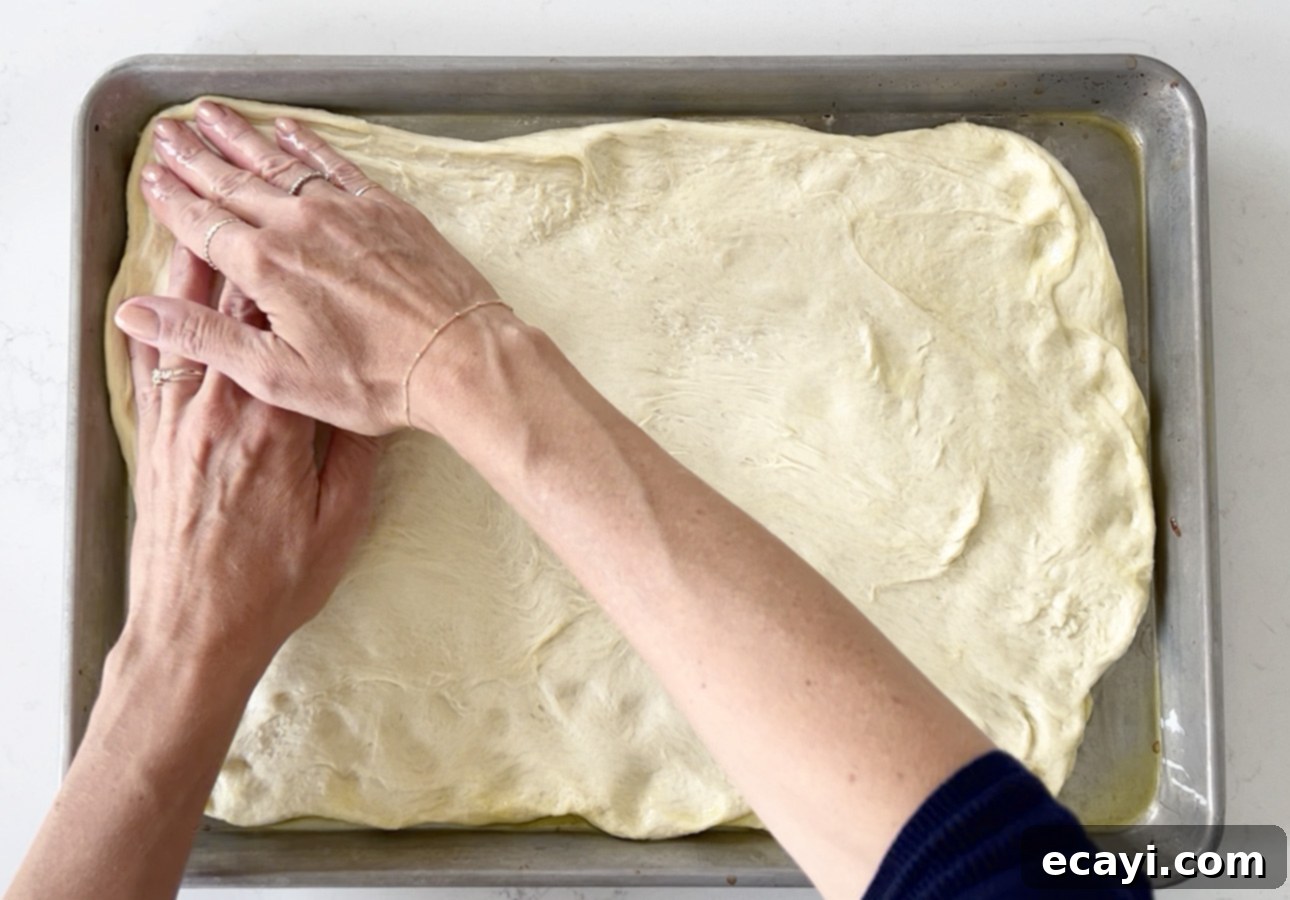
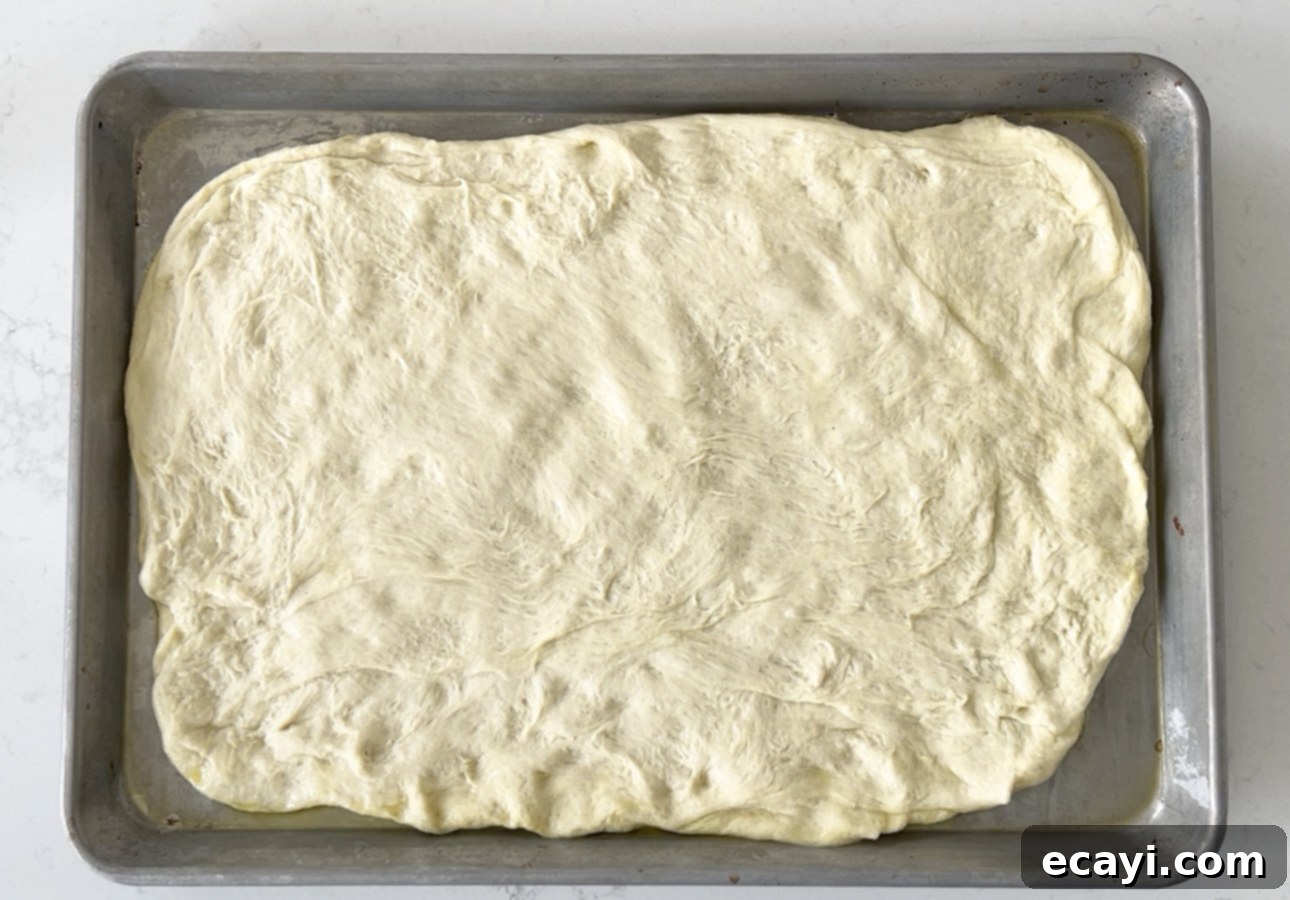
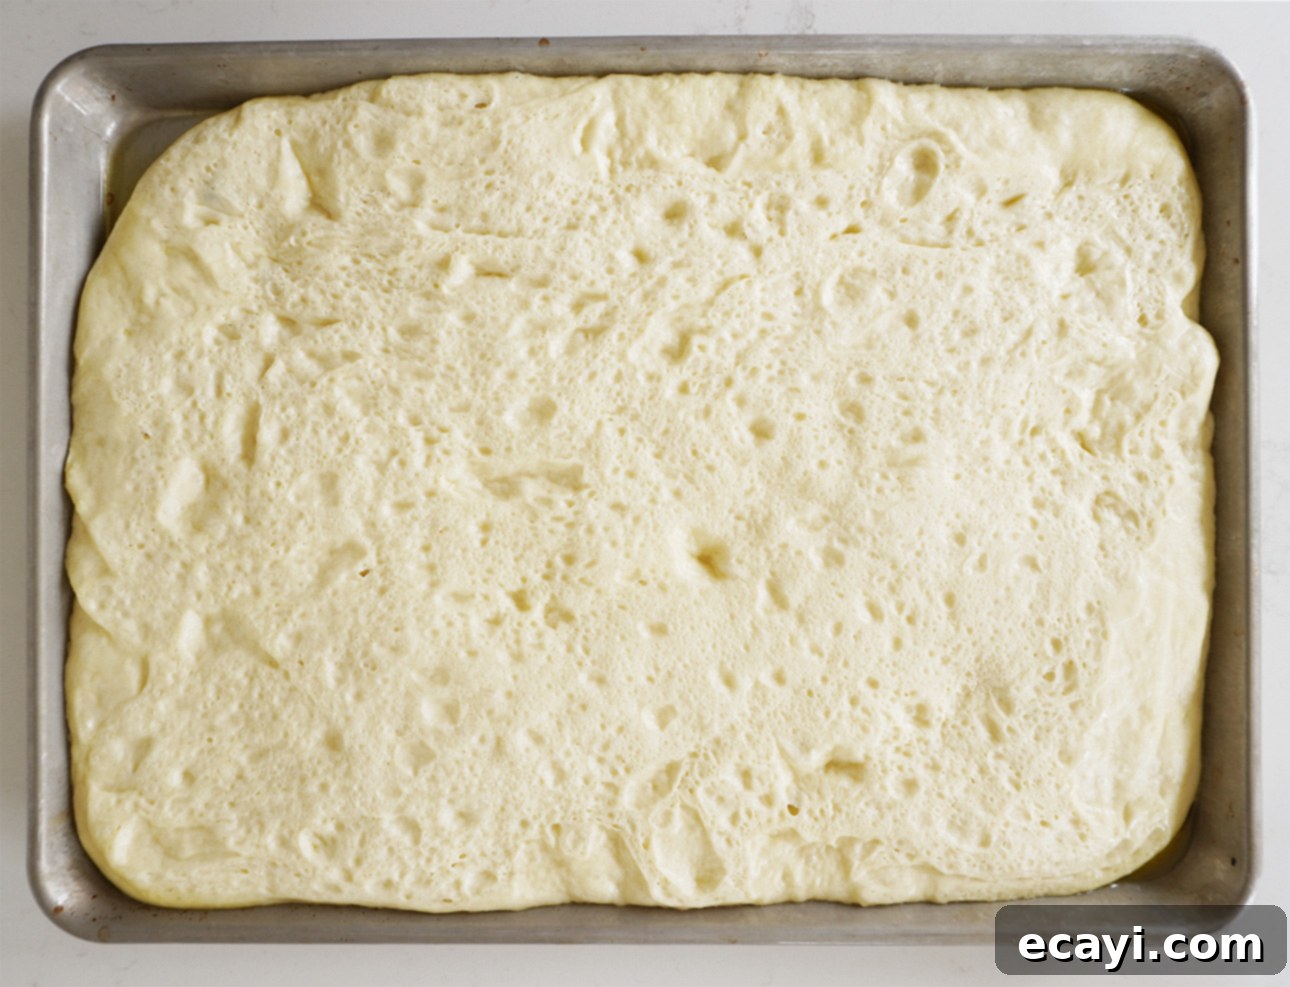
8. Second Rise: Once stretched, cover the dough on the baking sheet again with plastic wrap. Allow it to undergo a second rise until it has almost doubled in size, which will take approximately 1 hour more. This ensures a light and airy crust.
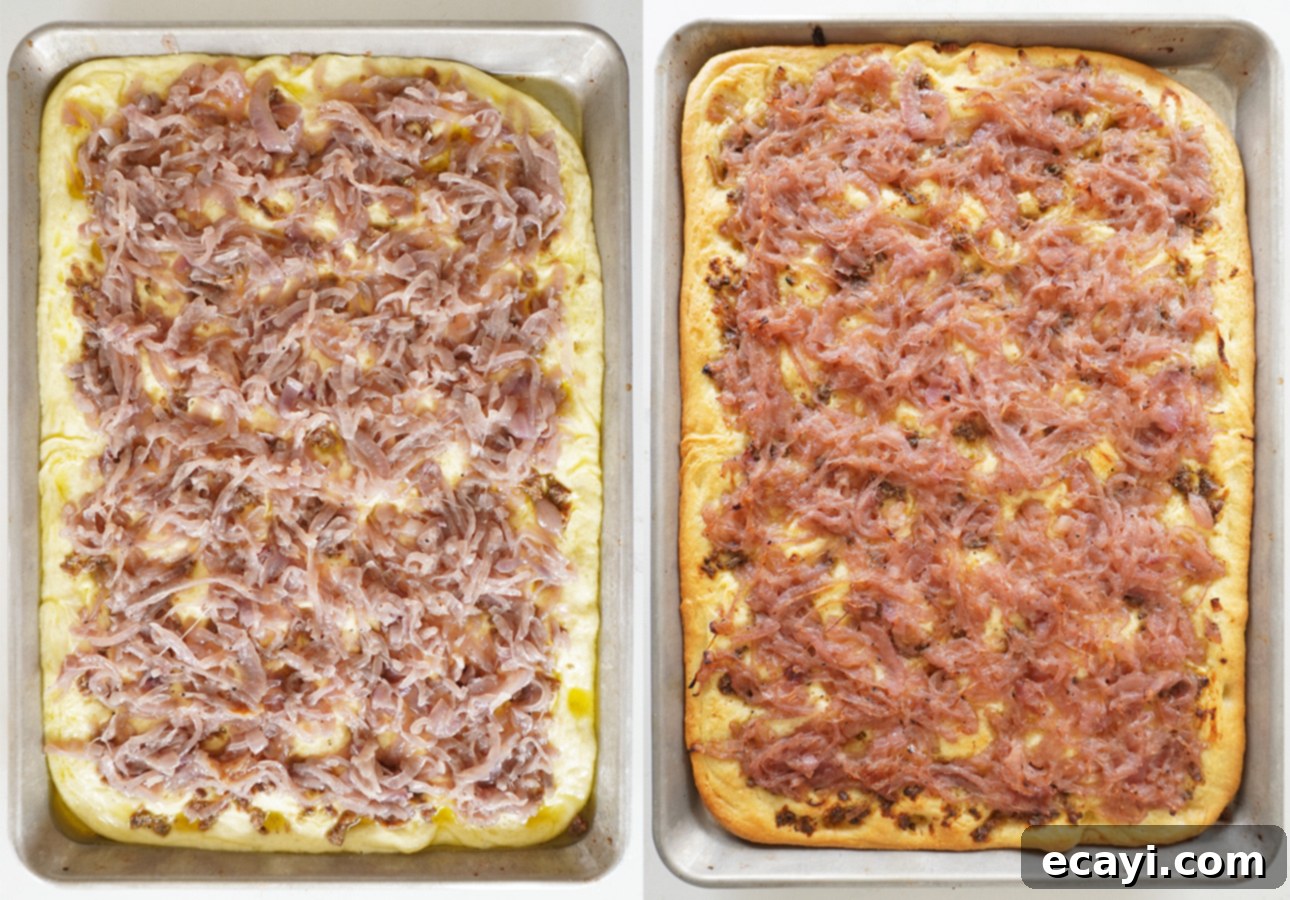
Pissaladière dough, before the second rise:
Pissaladière dough, after the second rise:
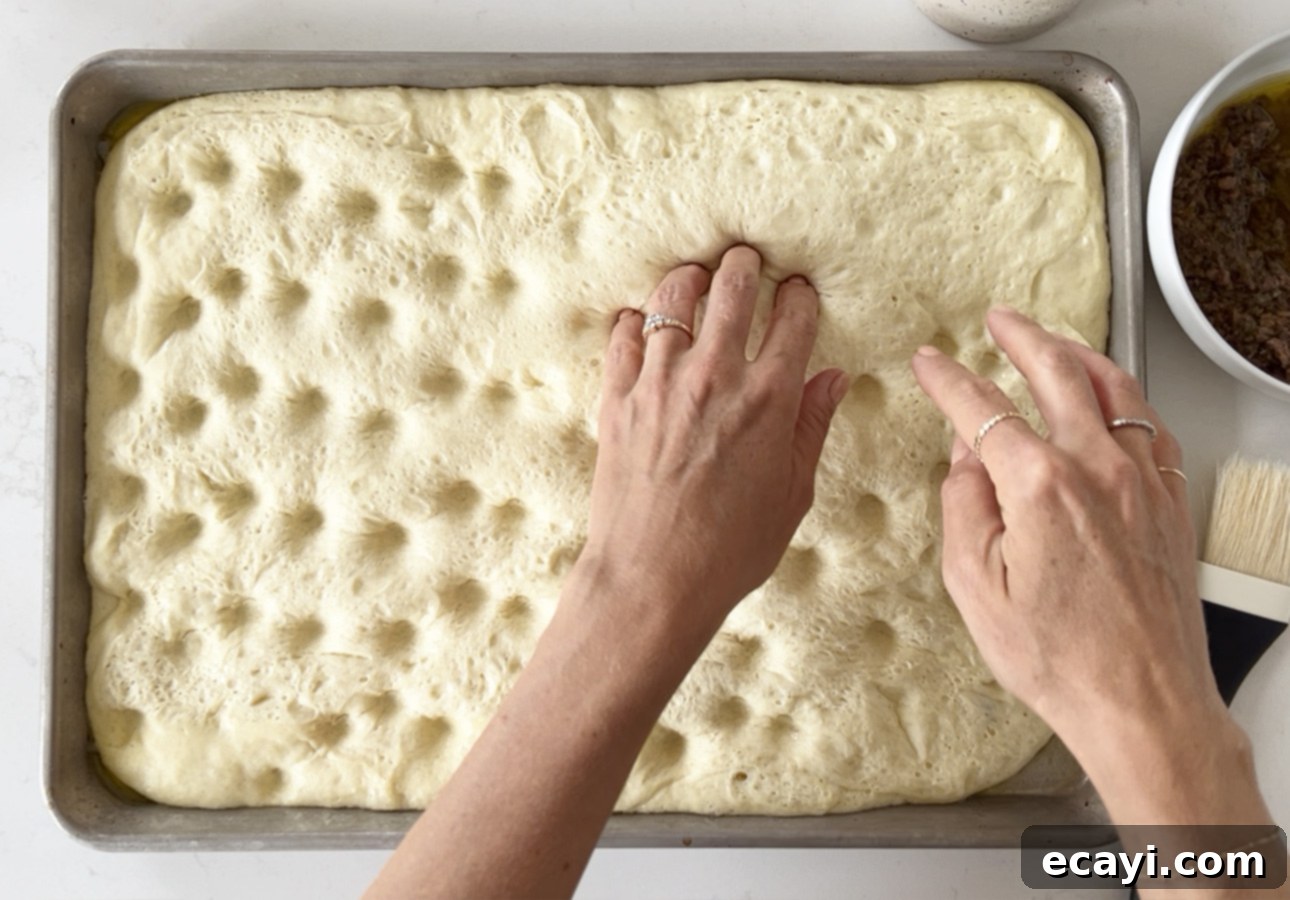
9. Prepare for Baking: Preheat your oven to a very high temperature of 500°F (260°C) for at least 30 minutes. A super-hot oven is crucial for achieving a crispy crust. Uncover the risen dough. Using the tips of your fingers, gently press indentations all over the surface of the dough. This creates pockets for the olive oil and prevents excessive bubbling.
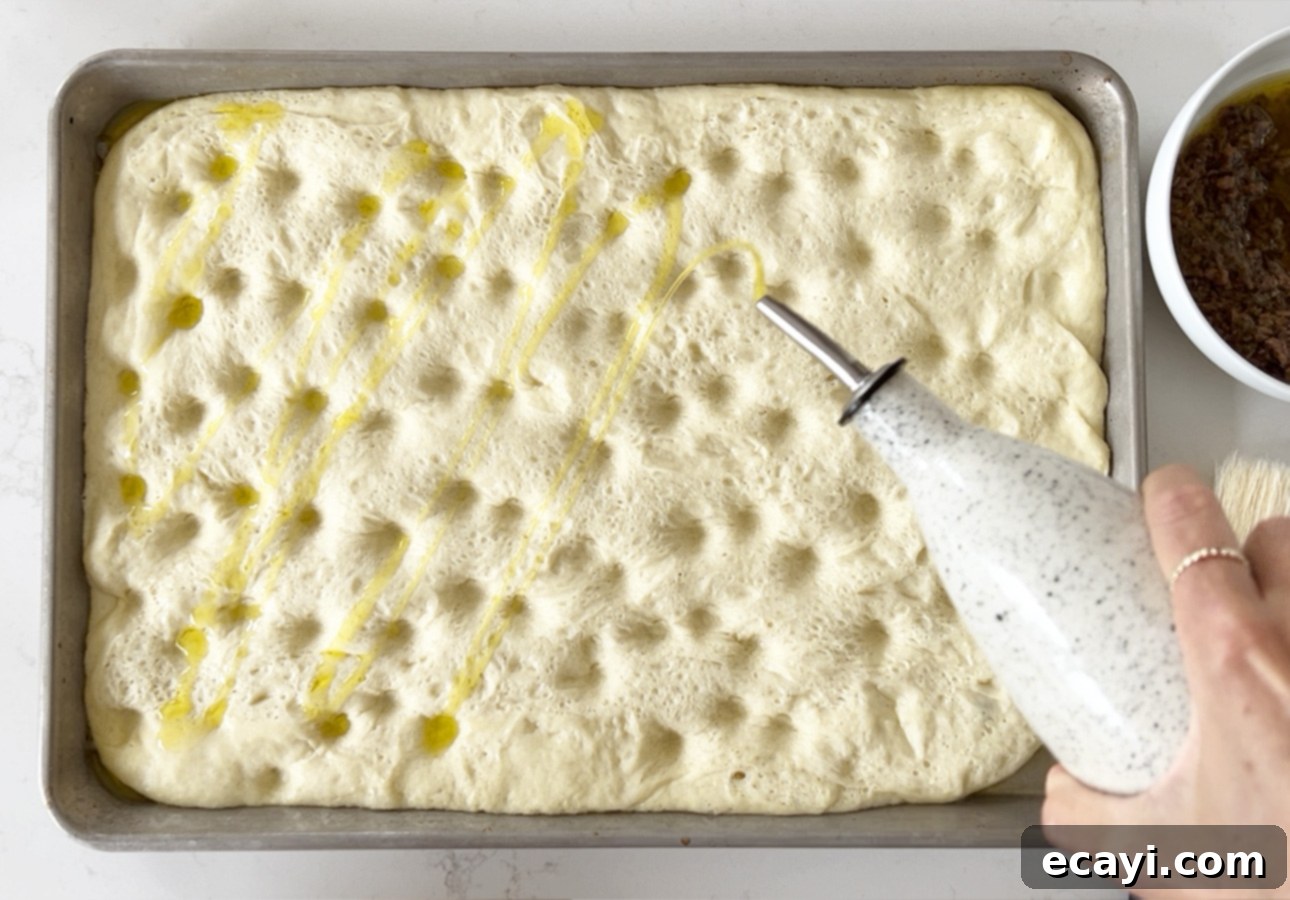
10. Drizzle with Olive Oil: Lightly drizzle the indented dough with a bit of extra virgin olive oil. This adds flavor and helps with the crispness.
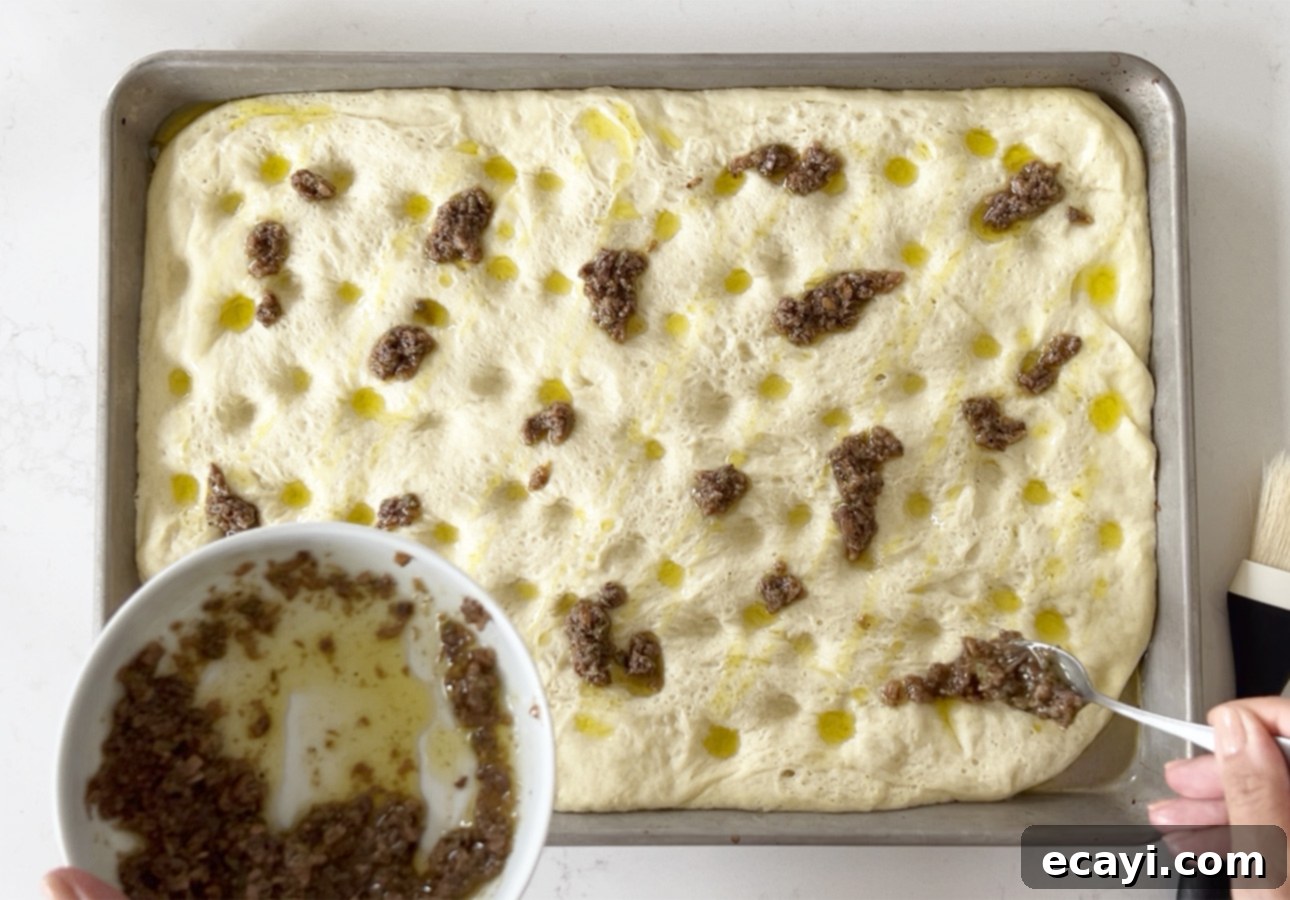
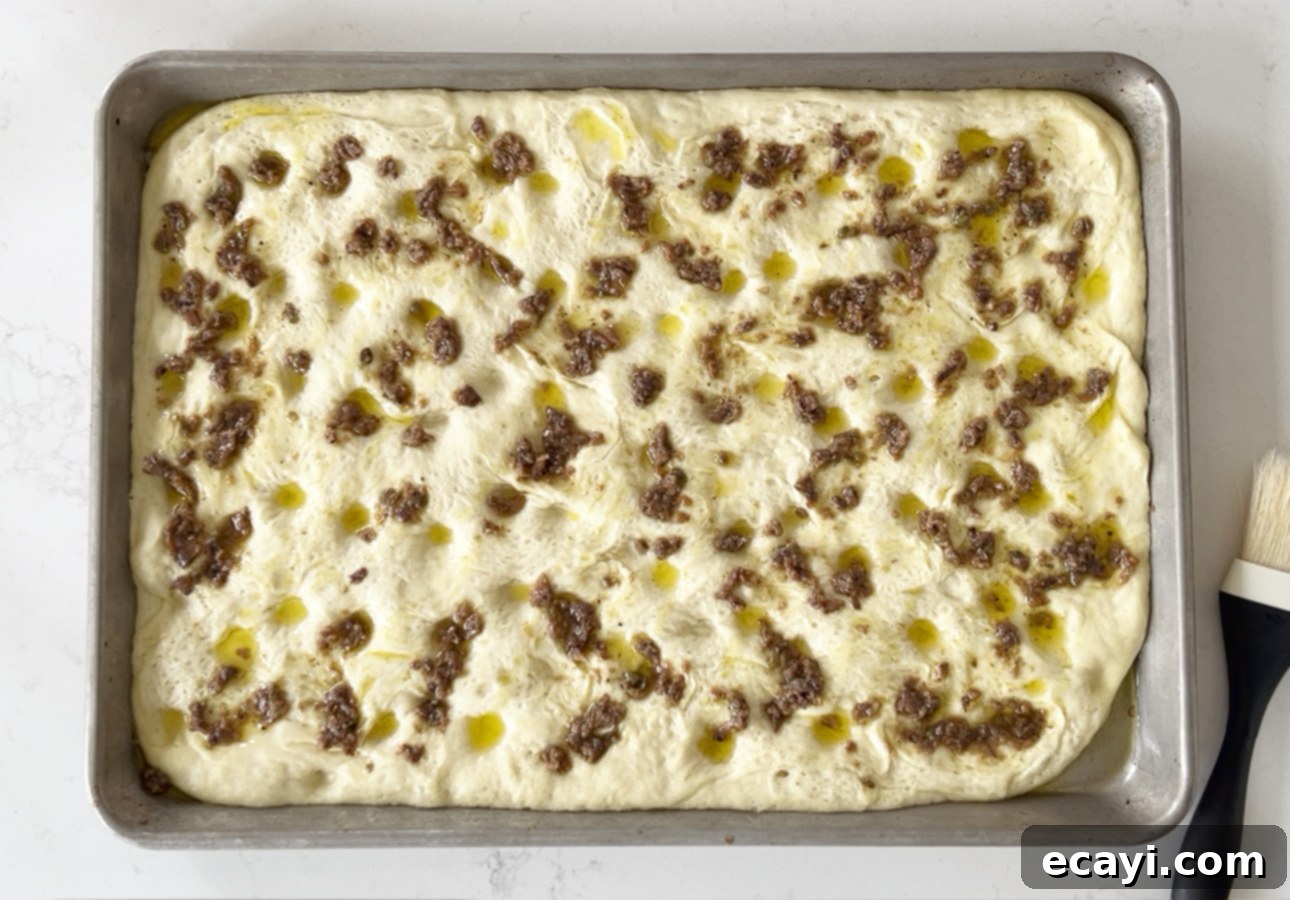
11. Spread the Anchoïade: Spoon the prepared anchoïade dressing generously over the entire surface of the dough. Using the back of the spoon, gently spread it evenly, ensuring a thin, flavorful layer covers the dough right up to the edges.
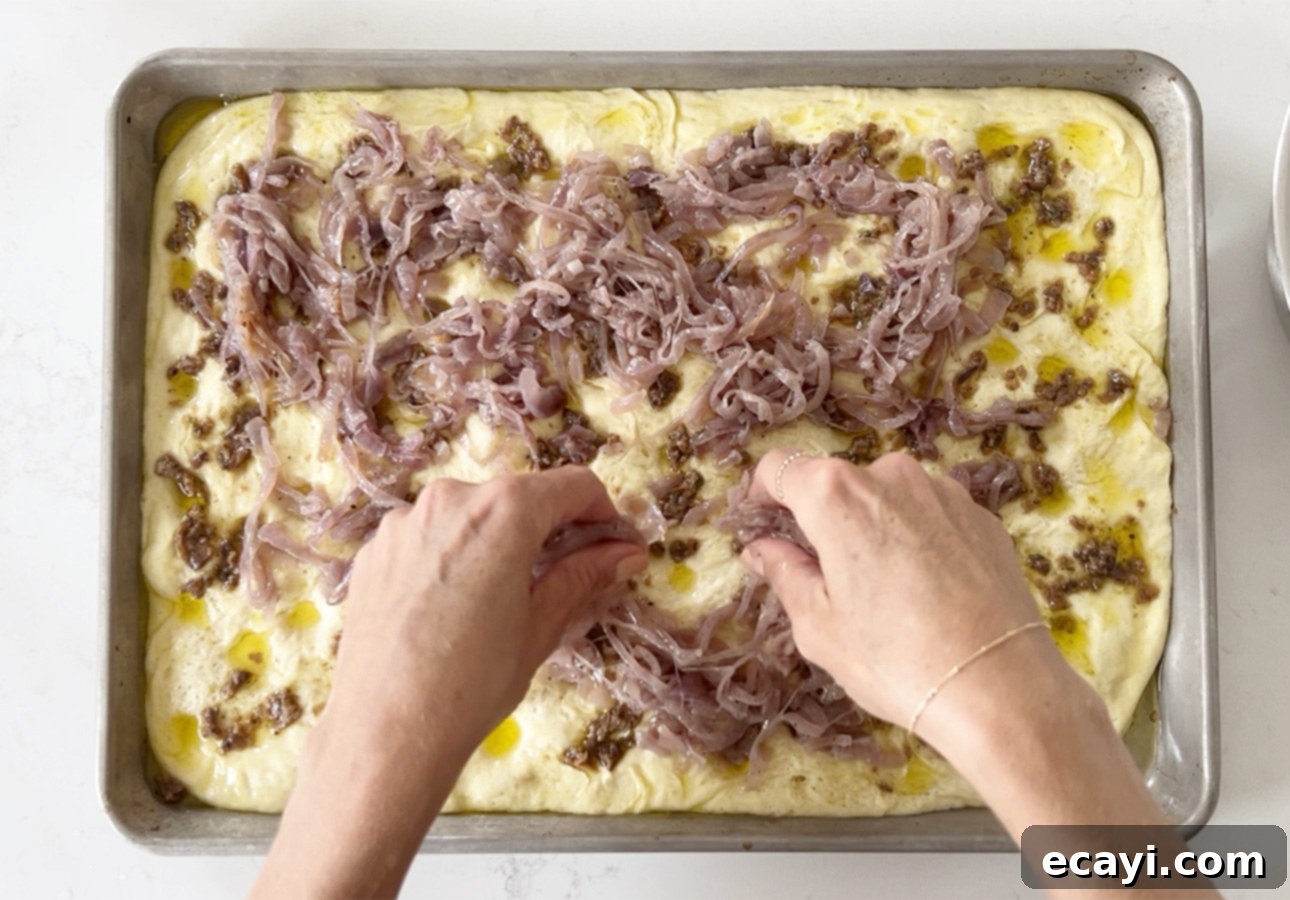
12. Add Caramelized Onions: Evenly scatter the cooled caramelized onions over the anchoïade-coated dough. Leave a small 1-inch (2 cm) border clear around the perimeter of the flatbread. This border will create a lovely crispy edge once baked.
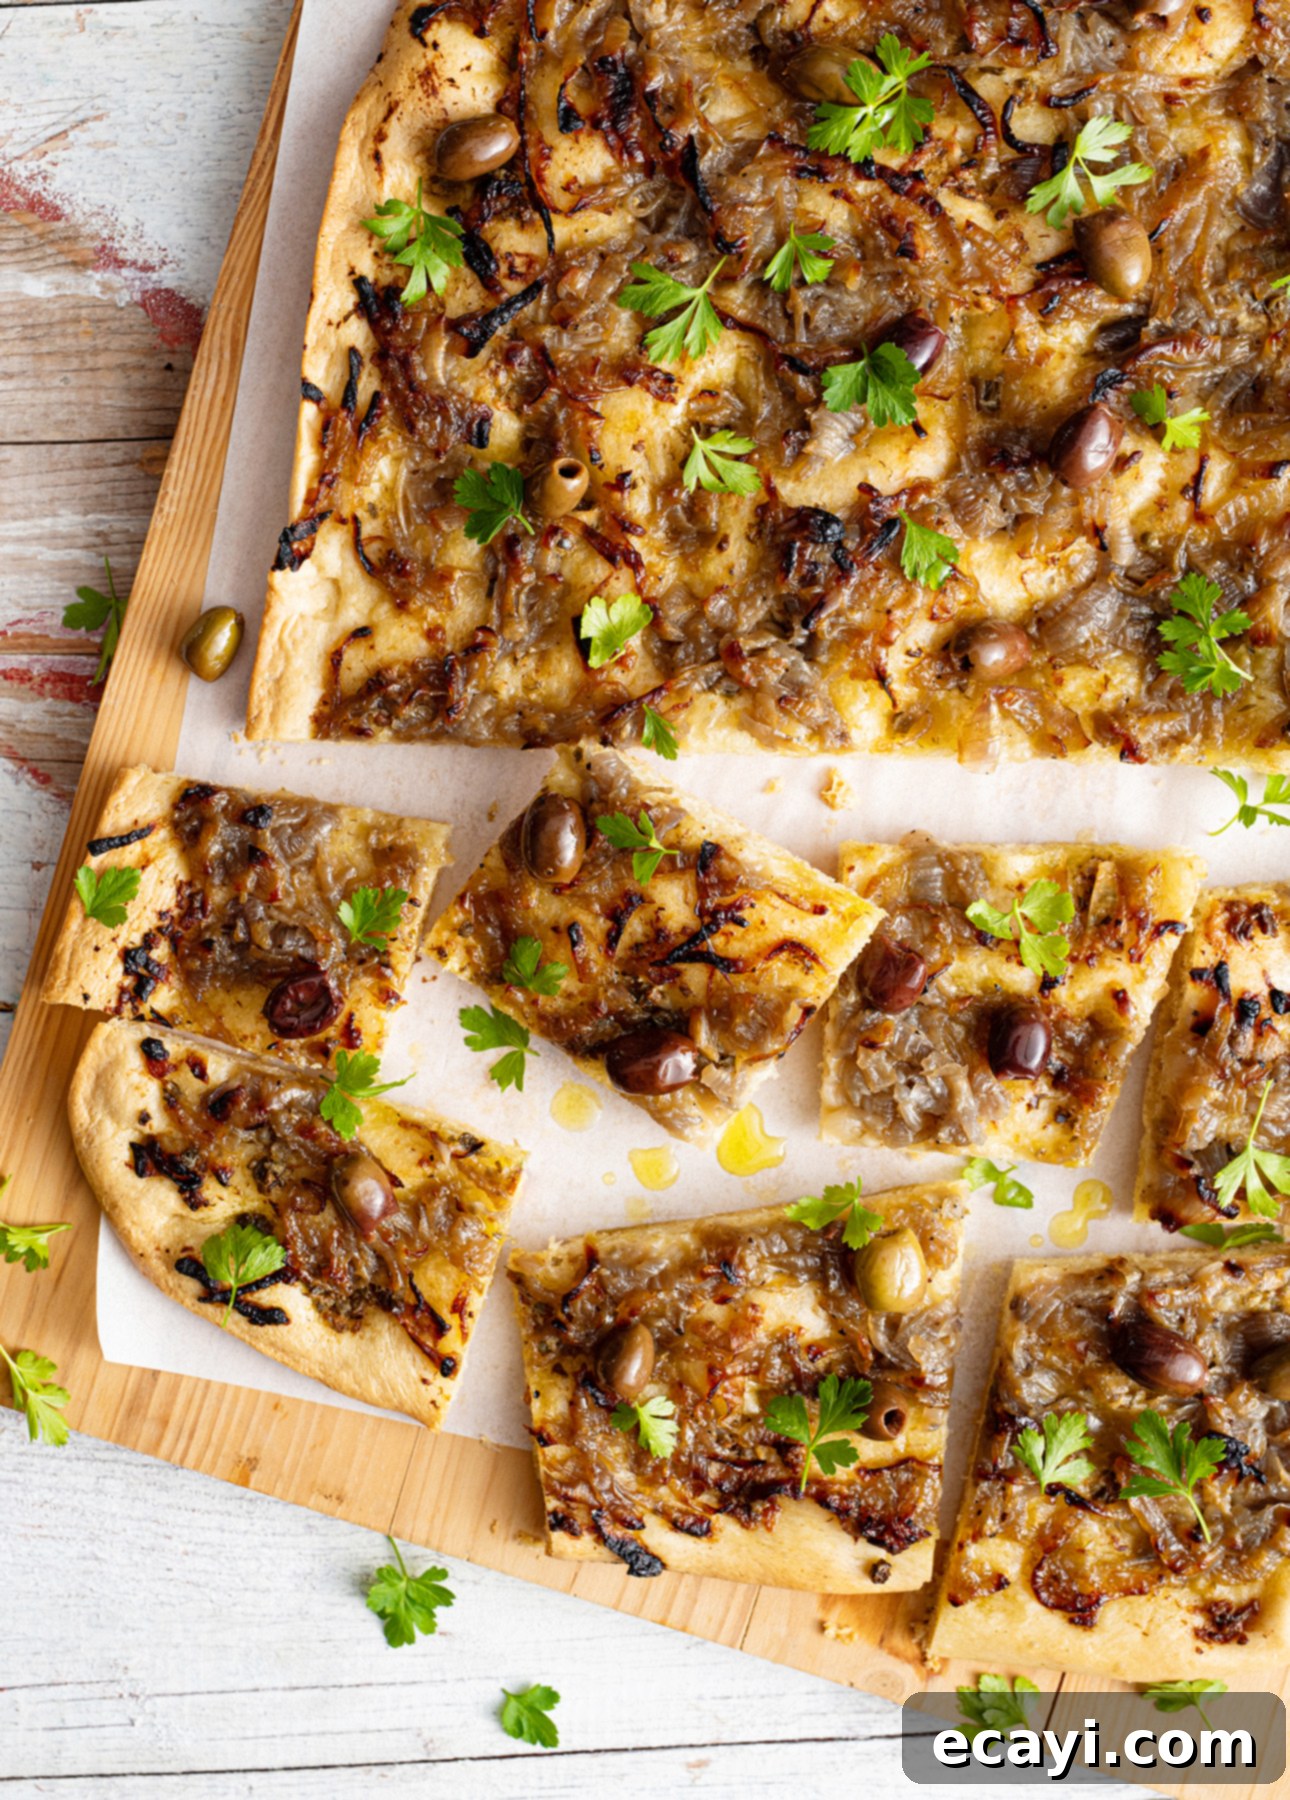
13. Bake the Pissaladière: Carefully transfer the baking sheet to the preheated oven. Bake for 20 to 25 minutes, or until the Pissaladière has achieved a beautiful golden-brown color around its edges and the crust is crisp. Remove from the oven and allow it to cool slightly on the baking sheet for about 10 minutes before slicing. This brief cooling period helps the flavors meld and the crust set.
14. Garnish and Serve: Just before serving, generously scatter the Niçoise olives and a handful of fresh herb leaves (such as basil, oregano, marjoram, or flat-leaf parsley) over the warm Pissaladière. Serve immediately, or within the hour, to fully enjoy its fresh flavors and perfect texture.
Enjoy this authentic taste of Provence!
Pin Recipe
Pissaladière
Ingredients
For the Dough
- 1 tsp active dry yeast
- 1 tsp granulated sugar
- 1 ¼ cups water, warm (about 115°F / 45°C)
- ¼ cup extra-virgin olive oil
- 1 tsp kosher salt, or fine sea salt
- 3 ½ cups all-purpose flour, plus more as needed
For the Caramelized Onions
- 1 tbsp extra-virgin olive oil, plus more for drizzling
- 1 tbsp butter
- 2 lbs onions (red or yellow), peeled, halved, and thinly sliced
- 1 tsp kosher salt, or fine sea salt
- Freshly ground black pepper, to taste
For the Anchoïade
- 6 anchovy fillets, mashed with a fork or very finely chopped
- ¼ cup extra-virgin olive oil
- 1 tbsp capers, drained and finely chopped
- 1 clove garlic, grated with a Microplate or very finely chopped
To Serve
- ½ cup Niçoise olives, preferably packed in oil, pitted or not (see note)
- 1 handful of fresh herb leaves (a combination or basil, oregano, marjoram and/or flat-leaf parsley, optional)
Instructions
-
For the dough, STAND MIXER METHOD: In the bowl of a stand mixer, add the yeast, sugar, and water, and mix using a fork just to combine. Let sit until foamy, about 10 minutes. Mix in the oil and salt. Add half of the flour and use a fork just to combine. Add the remaining flour, attach the dough hook to the mixer, and knead at medium-low speed for 8 to 10 minutes. Stop the mixer from time to time to scrape down the hook and the bowl. If the dough is very sticky and keeps creeping up the hook, add a bit of flour, 1 tbsp (15 g) at a time, until the dough stops sticking so much. (You shouldn’t need to add more than ¼ cup / 30 g additional flour.)
-
By the end of the kneading process, the dough should come together in a ball and feel smooth to the touch. Transfer to a large, lightly oiled bowl, cover with plastic wrap, and let sit in a warm, non-drafty place until doubled in size, about 1 ½ hours.
-
For the dough, HAND METHOD: In a large bowl, stir together the yeast, sugar, and water. Let sit until foamy, about 10 minutes. Stir in the oil and salt. Add the flour and mix until the ingredients come together in a craggy ball of dough. Transfer to a lightly floured surface. Knead for 10 minutes, or until the dough feels smooth to the touch. If the dough is very sticky, add a bit of flour, 1 tbsp (15 g) at a time, until the dough stops sticking. (You shouldn’t need to add more than ¼ cup / 30 g additional flour.) Transfer to a large, lightly oiled bowl, cover with plastic wrap, and let sit in a warm, non-drafty place until doubled in size, about 1 ½ hours.
-
For the caramelized onions: While the dough rises, set a large saute pan over medium heat, add the butter and oil, and stir until the butter is melted. Add the sliced onions, sprinkle with the salt and some black pepper; stir to coat the onions with the oil and butter mixture. Reduce the heat to low, cover, and cook, stirring from time to time, until the onions are very soft and starting to caramelize, about 25 minutes. Uncover and cook for 2–3 minutes more to evaporate any leftover liquids. Transfer to a bowl to cool.
-
For the anchoïade: In a small bowl, add all the dressing ingredients. Stir to combine. Set aside.
-
To bake: Generously grease an 18 x 13-in (45 x 33 cm) baking sheet (half sheet pan) with oil. Transfer the dough onto the sheet. Using your fingers, gently press the dough into the sheet, stretching it until it completely covers the baking sheet. Cover with plastic wrap and let the dough rise until almost doubled in size, about 1 hour more.
-
Preheat the oven to 500°F (260°C) for at least 30 minutes (the oven needs to be very hot). Uncover the dough. Create indentations all over by pressing the tip of your fingers into the dough. Brush the whole surface (right up to the edges) with the dressing. Scatter the caramelized onions over the dough, leaving a 1-in (2 cm) border all around. Bake until the pissaladière is golden brown around the edges, 20 to 25 minutes.
-
Remove from the oven and let cool slightly, about 10 minutes.
-
SERVING: Scatter with the olives and some fresh herbs. Serve immediately.
-
STORAGE: You can prepare the pissaladière up to a day in advance. Let it cool completely to room temperature, then cover with plastic wrap. Refrigerate. Warm up in a 350°F (175°C) oven for 8 to 10 minutes, then garnish with olives and herbs right before serving.
-
NOTES: Pissaladière is traditionally garnished with whole olives, but I find it difficult to truly enjoy the dish when you need to manage olive pits. I prefer using pitted olives, and I strongly recommend using olives packed in olive oil because these have a smoother flavor than the ones packed in brine.
If you can’t find Niçoise olives, you can use Italian Taggiasche or Greek Kalamata olives instead.
Did you make this?
Tell me how you liked it! Leave a comment or take a picture and tag it with @foodnouveau on Instagram.
