The Ultimate Cast Iron Pineapple Upside Down Cake Recipe: Golden Caramel Perfection
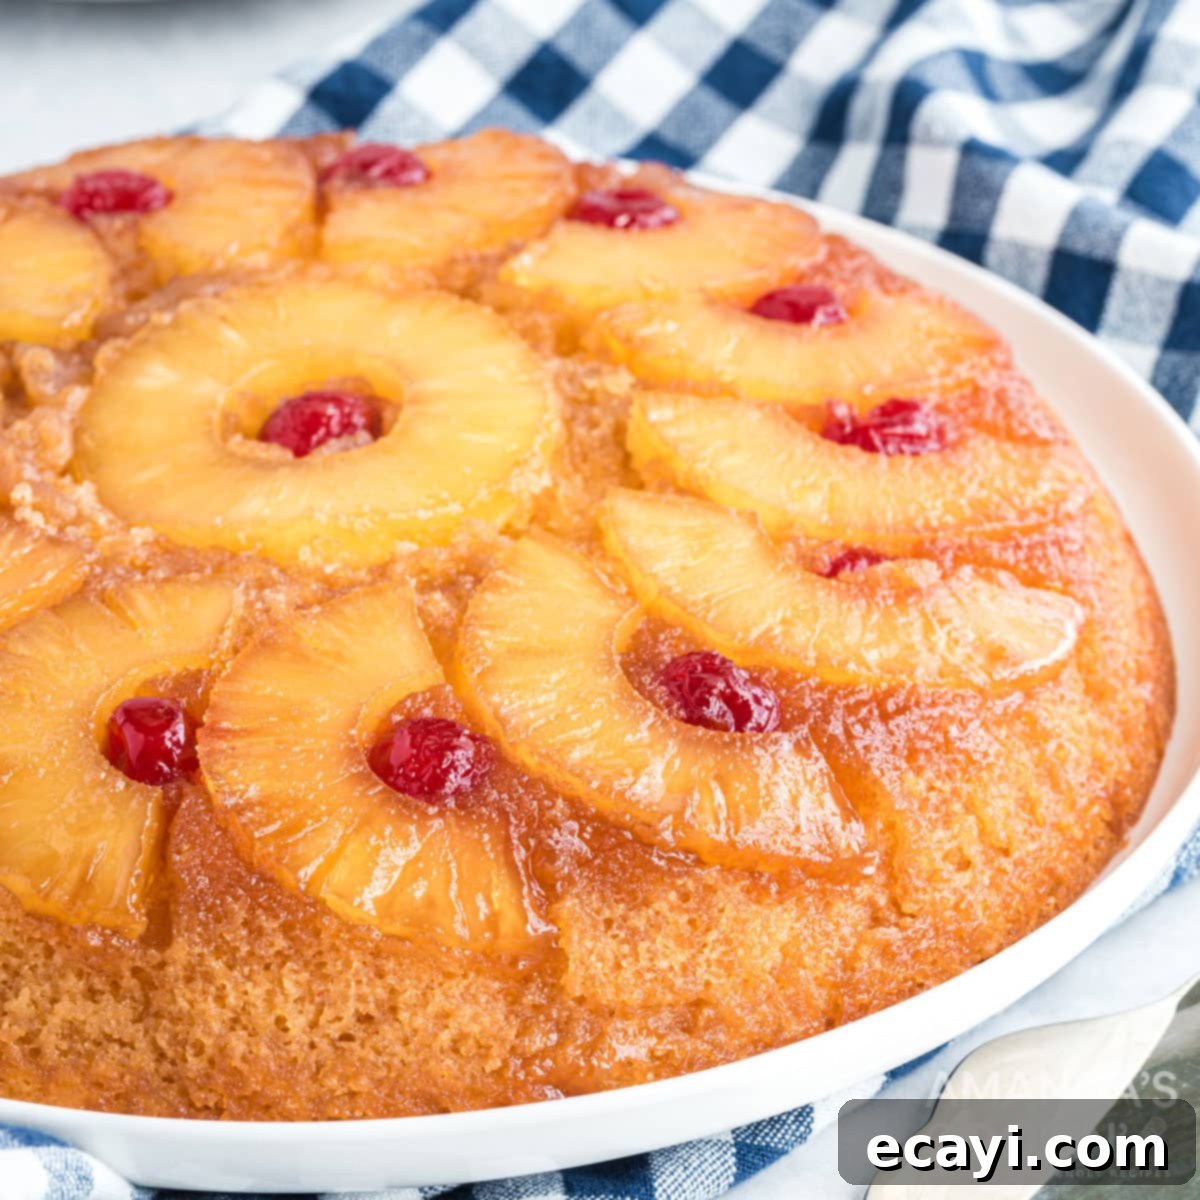
Prepare yourself for a truly remarkable dessert experience: the pineapple upside down cake. Baked to a magnificent golden, caramel-crusted perfection, this cake is nothing short of amazing. While it can be made in a traditional cake pan, the real secret to achieving an unparalleled depth of flavor and texture lies in baking this beloved classic in a seasoned cast iron skillet. The unique properties of cast iron transform this simple cake into a culinary masterpiece, guaranteeing a deep, rich caramelization that simply cannot be replicated.
Why Bake Pineapple Upside Down Cake in a Cast Iron Skillet?
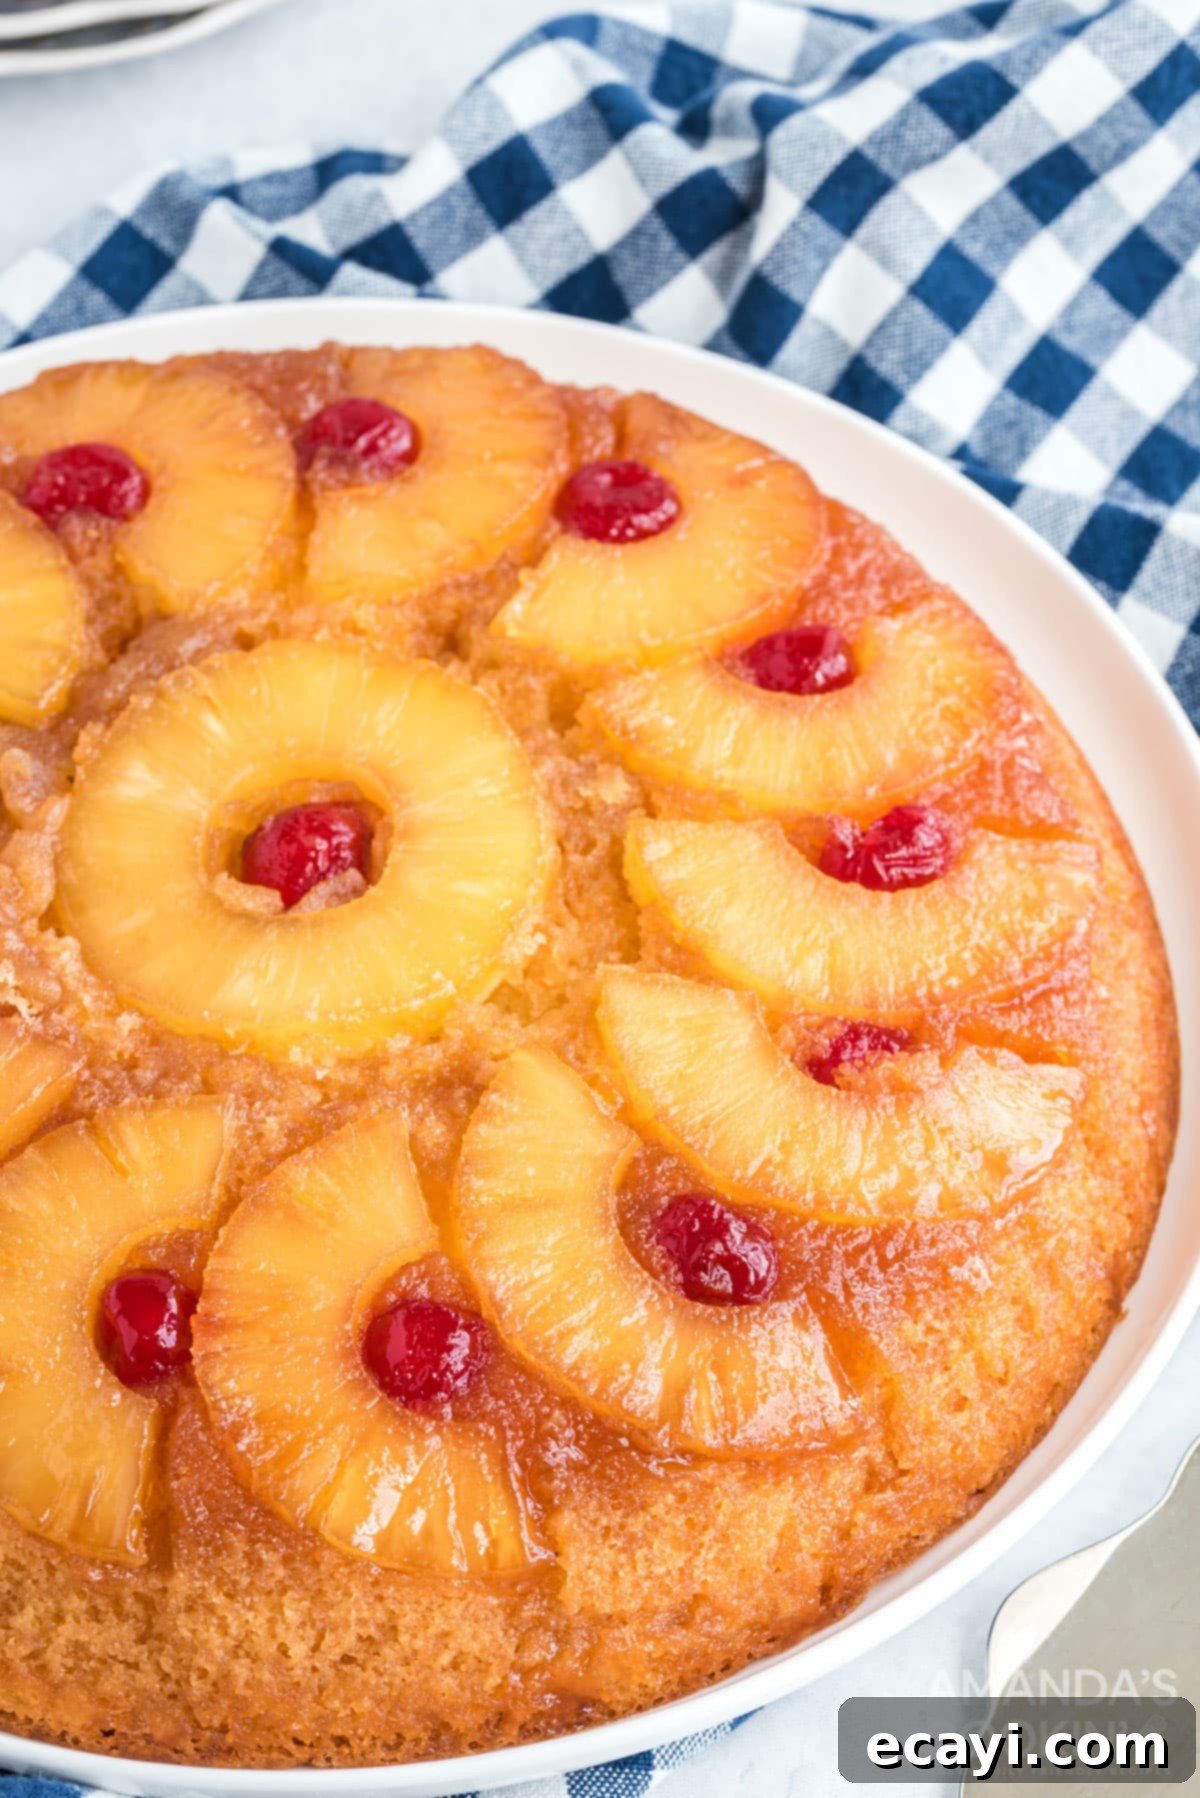
This timeless recipe for the best pineapple upside down cake has been a family favorite for over 30 years. While it began its journey in a regular cake pan, a decade ago, we discovered the transformative power of the cast iron skillet. This simple switch elevated the cake from delicious to absolutely divine. The even heat distribution and superior heat retention of a cast iron skillet are key to developing that sought-after, deeply caramelized, golden-brown crust that sets this version apart. It creates a robust, chewy texture on the topping that contrasts beautifully with the tender, fluffy cake, making every bite an unforgettable experience.
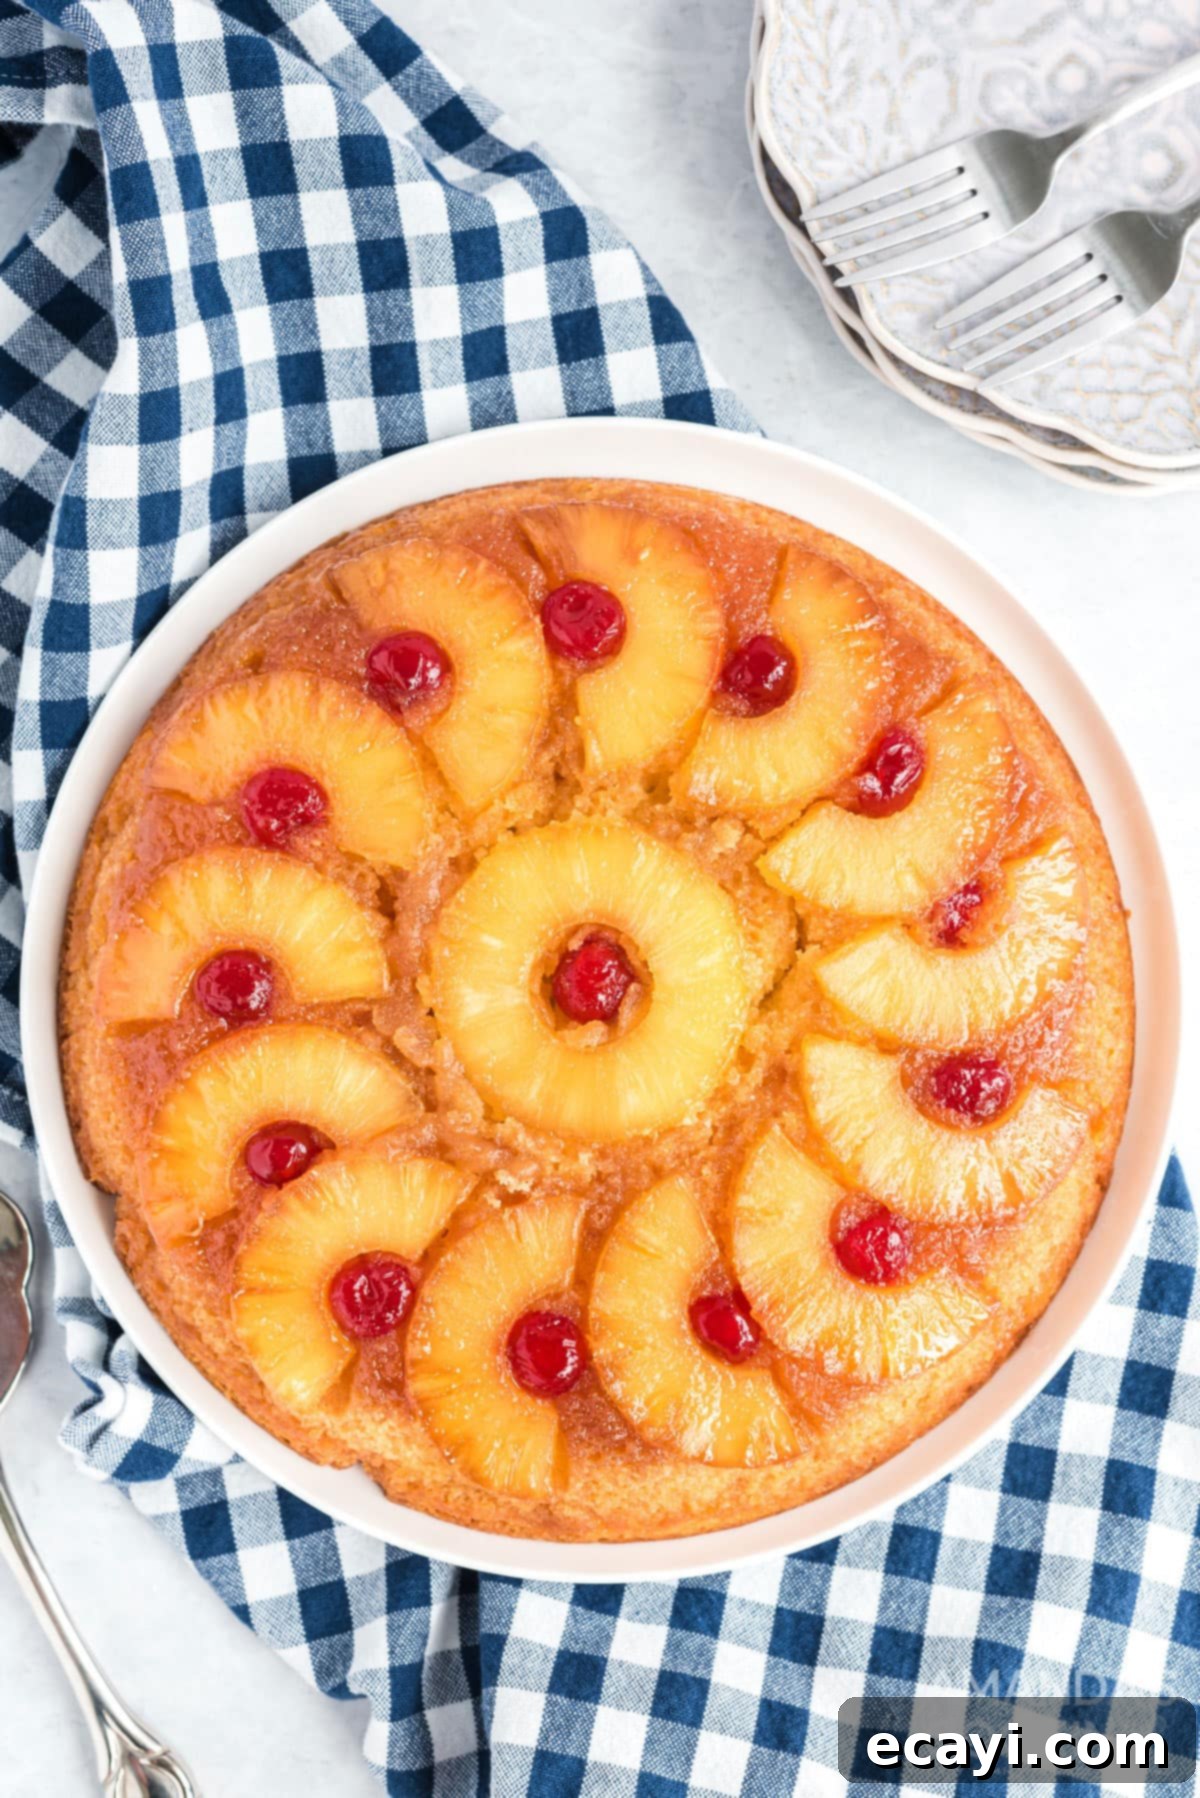
The very essence of this homemade cake’s charm lies in its “upside-down” preparation. You start by building the rich, sweet topping directly in the bottom of your pan. Post-baking, a simple flip reveals a stunning presentation of glistening pineapple rings and bright red cherries embedded in a luscious, buttery brown sugar glaze. This particular recipe embraces simplicity, featuring a no-fuss yellow cake batter. The beauty of this approach is that all the batter ingredients come together effortlessly in a single bowl, eliminating the need for intricate sifting, whisking, creaming, or multiple stages of incorporation. It’s a truly straightforward process that yields incredibly impressive results, perfect for both seasoned bakers and beginners alike.
Related Recipe – Pineapple Pound Cake
Essential Ingredients for Your Pineapple Upside Down Cake
Gathering your ingredients is the first exciting step towards baking this incredible cake. Below is a detailed list of what you’ll need. For precise measurements, a printable recipe card is available at the very end of this post, ensuring you have all the information at your fingertips for a perfect bake every time.
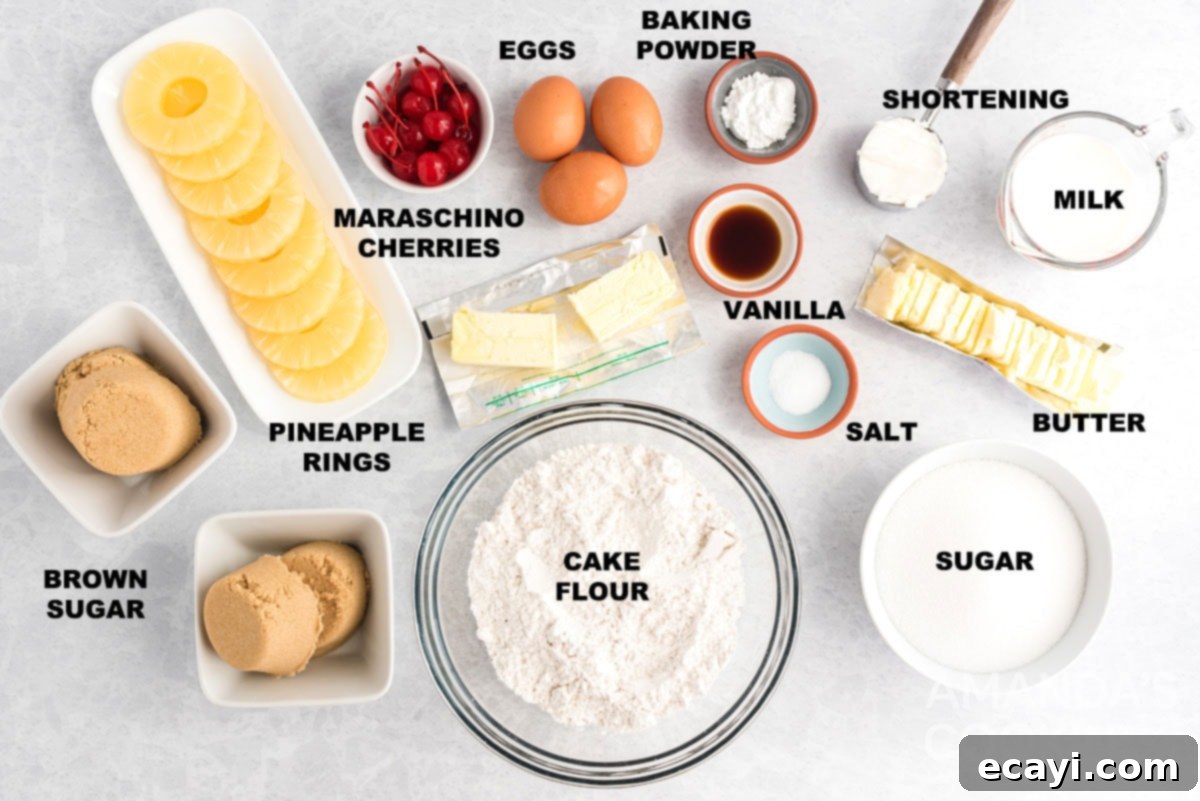
Ingredient Insights and Smart Substitutions
Let’s dive deeper into some key ingredients and how you can adapt them if needed:
CAKE FLOUR vs. ALL-PURPOSE FLOUR – I highly recommend using cake flour for this recipe, as it creates a lighter, more tender crumb. Cake flour has a lower protein content than all-purpose flour, which results in a softer cake. However, if cake flour isn’t readily available, you can easily create a substitute at home. Simply use 2 ¼ cups minus 4 tablespoons of all-purpose flour, then sift it together with 4 tablespoons of cornstarch. The cornstarch helps to mimic the lower protein structure of cake flour, giving you a remarkably similar delicate texture. Alternatively, for an even quicker preparation, a boxed yellow cake mix can be used in place of the homemade batter. Just follow the package instructions for the cake batter and integrate it into our topping and baking method.
BUTTER & BROWN SUGAR – These two ingredients are the heart of your caramel topping. Unsalted butter allows you to control the saltiness of the cake. The brown sugar provides that deep molasses flavor and contributes significantly to the rich caramelization that develops in the cast iron skillet.
PINEAPPLE RINGS & MARASCHINO CHERRIES – Canned pineapple rings are convenient and always readily available. Make sure to drain them well! Maraschino cherries add a beautiful pop of color and a touch of classic sweetness, creating the iconic look of this dessert. Feel free to use pineapple tidbits or chunks for a different visual and textural appeal.
Step-by-Step Guide: How to Make Pineapple Upside Down Cake
These step-by-step photos and detailed instructions are designed to help you visualize the process of making this delightful cake. For a straightforward, printable version of the recipe, please scroll down to the end of this post.
These instructions are specifically tailored for making two cakes in cast iron skillets. If you prefer to use standard cake pans, please refer to the helpful notes provided at the end of the printable recipe card. You can easily print these comprehensive instructions from the recipe section at the bottom of this article.
- Preheat your oven to 375 degrees Fahrenheit (190°C) and ensure the oven rack is centered. This optimal temperature and position are crucial for even baking and proper caramelization.
EXPERT TIP – You can absolutely use just one 9-inch cast iron skillet to make both cakes. Simply bake one cake, carefully remove it, then wipe out your skillet thoroughly before preparing and baking the second cake. If you’re fortunate enough to have two skillets, even better! You can bake both simultaneously by staggering the pans in your oven to allow for good air circulation.
- Begin preparing the luscious topping by placing ¼ cup of unsalted butter directly into your cast iron skillet. Place the skillet in the preheated oven for just a few minutes, until the butter is completely melted and bubbling.
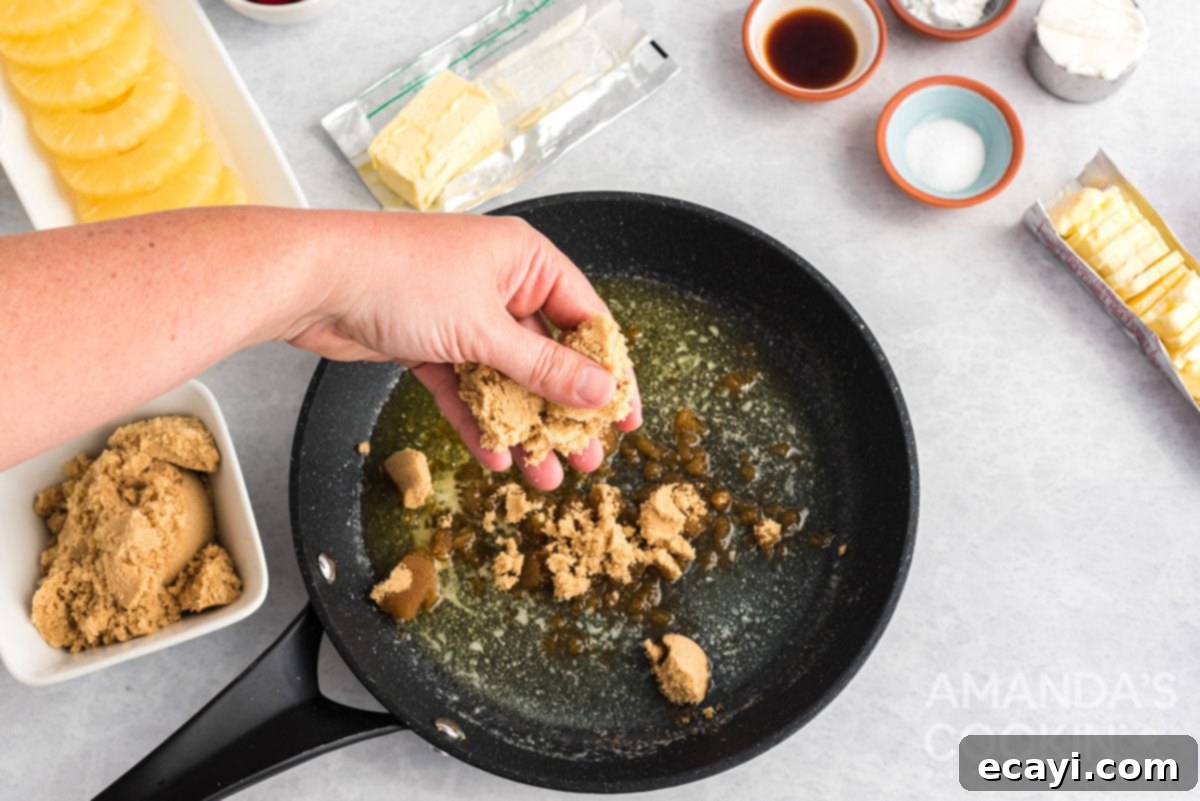
- Carefully remove the hot skillet from the oven using oven mitts. Evenly sprinkle 1 cup of packed light brown sugar over the melted butter. This mixture will create the rich, sticky caramel base. Drain the pineapple rings thoroughly, but remember to reserve any leftover juice; it’s perfect for keeping any remaining cake slices moist if you plan to store them.

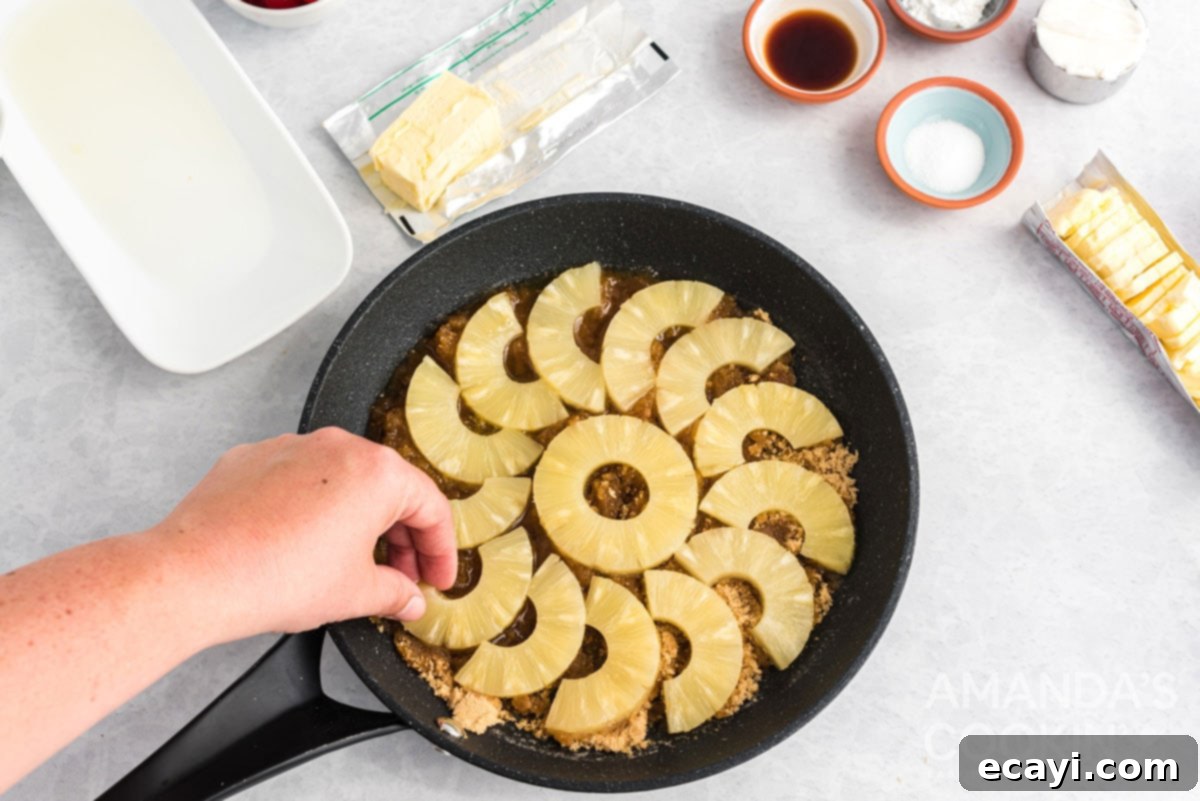
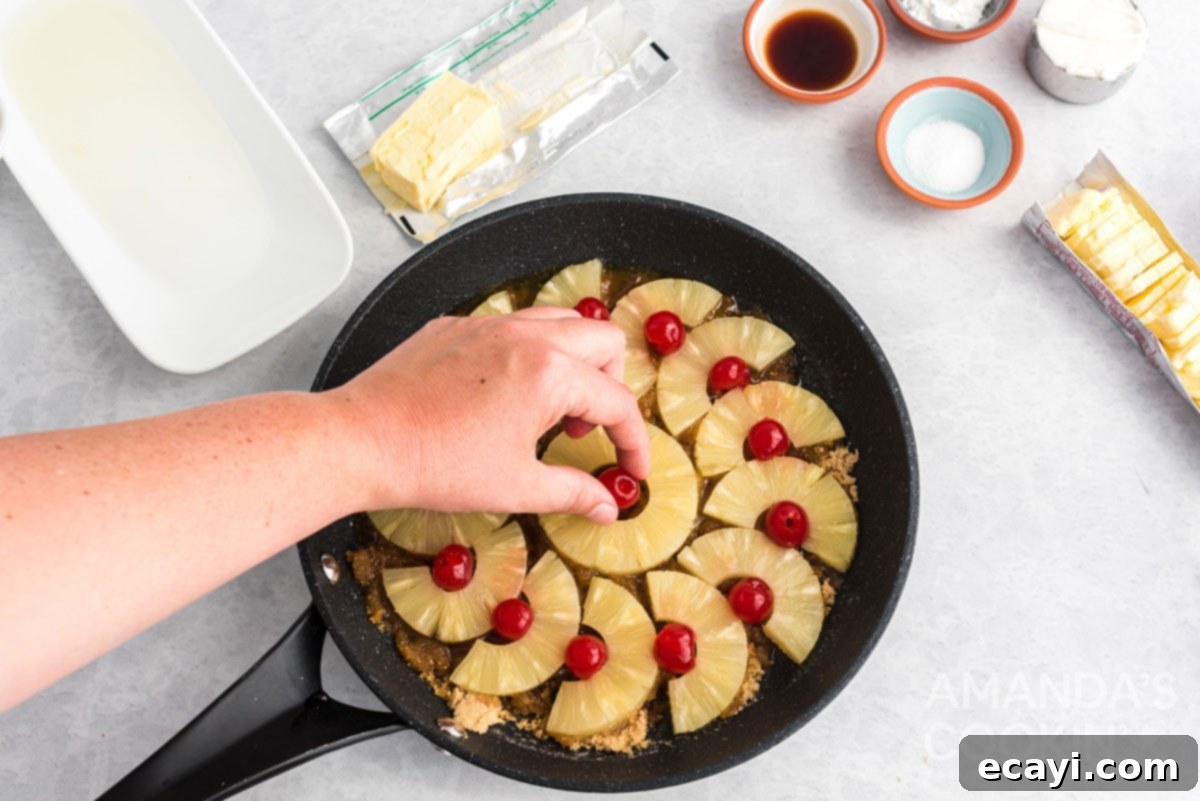
- With gentle hands, arrange the drained pineapple rings artfully onto the brown sugar layer in the skillet. For that classic presentation, place a vibrant maraschino cherry directly in the center of each pineapple ring. This not only adds a burst of color but also a touch of extra sweetness.


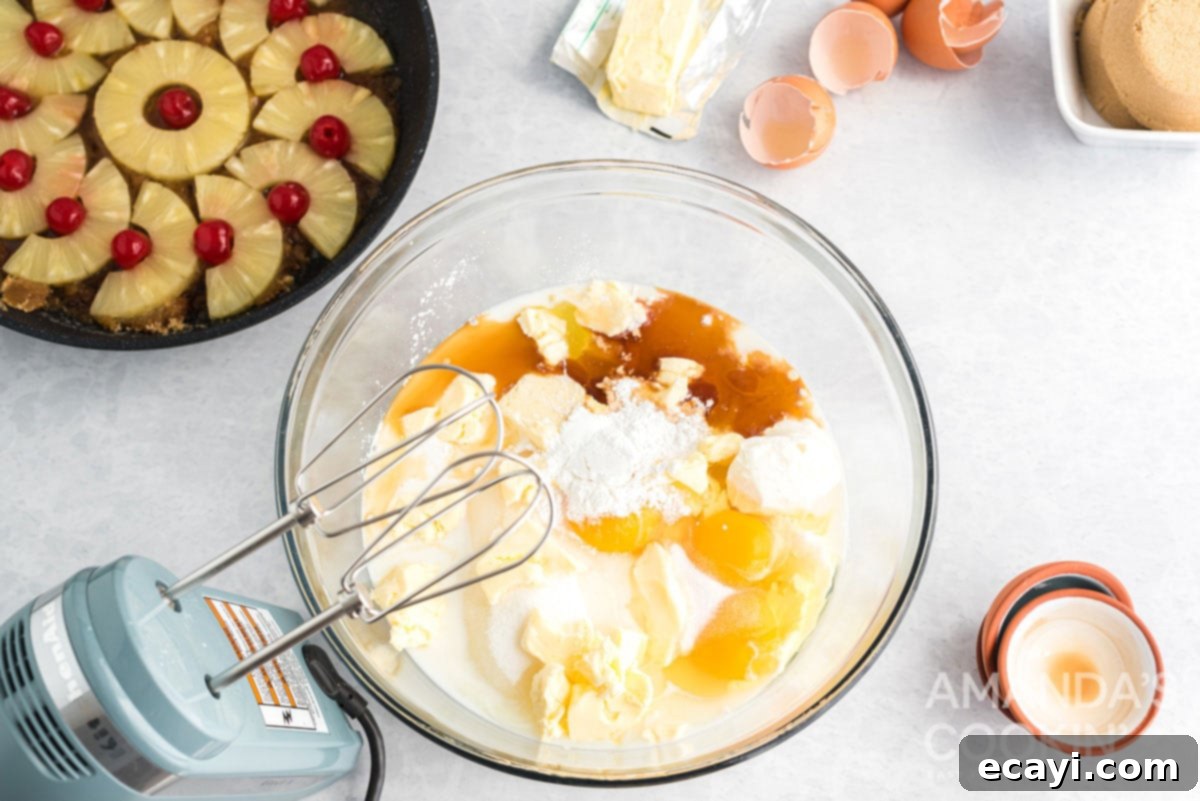
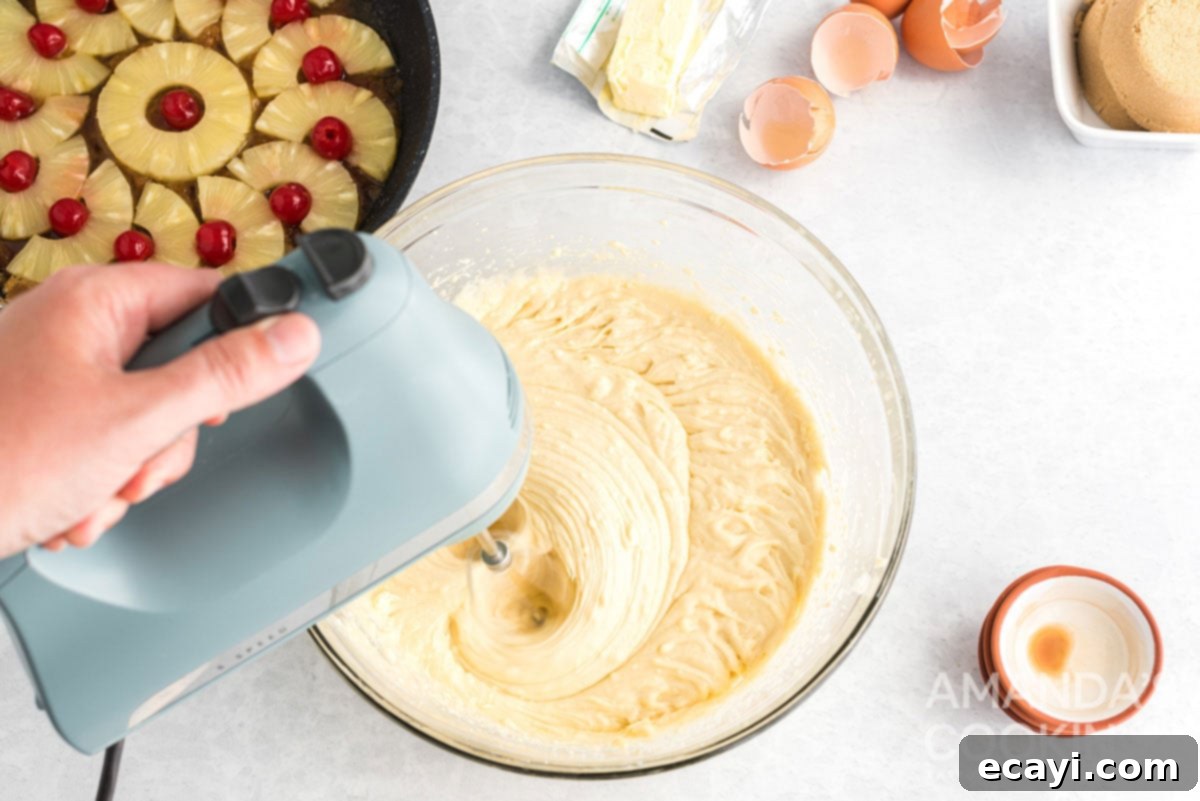
- Now, prepare the cake batter. Combine all the batter ingredients (cake flour, granulated sugar, shortening, cold unsalted butter slices, milk, large eggs, baking powder, salt, and vanilla extract) in a mixing bowl. Using either a stand mixer or a handheld mixer, mix the ingredients at low speed for about 30 seconds to just incorporate them. Then, increase the speed to medium and continue mixing for a full 5 minutes. Periodically scrape down the sides of the bowl with a spatula to ensure all ingredients are thoroughly combined. Don’t worry if you see small bits of butter remaining; they will melt and integrate beautifully during baking, contributing to a wonderfully moist cake.


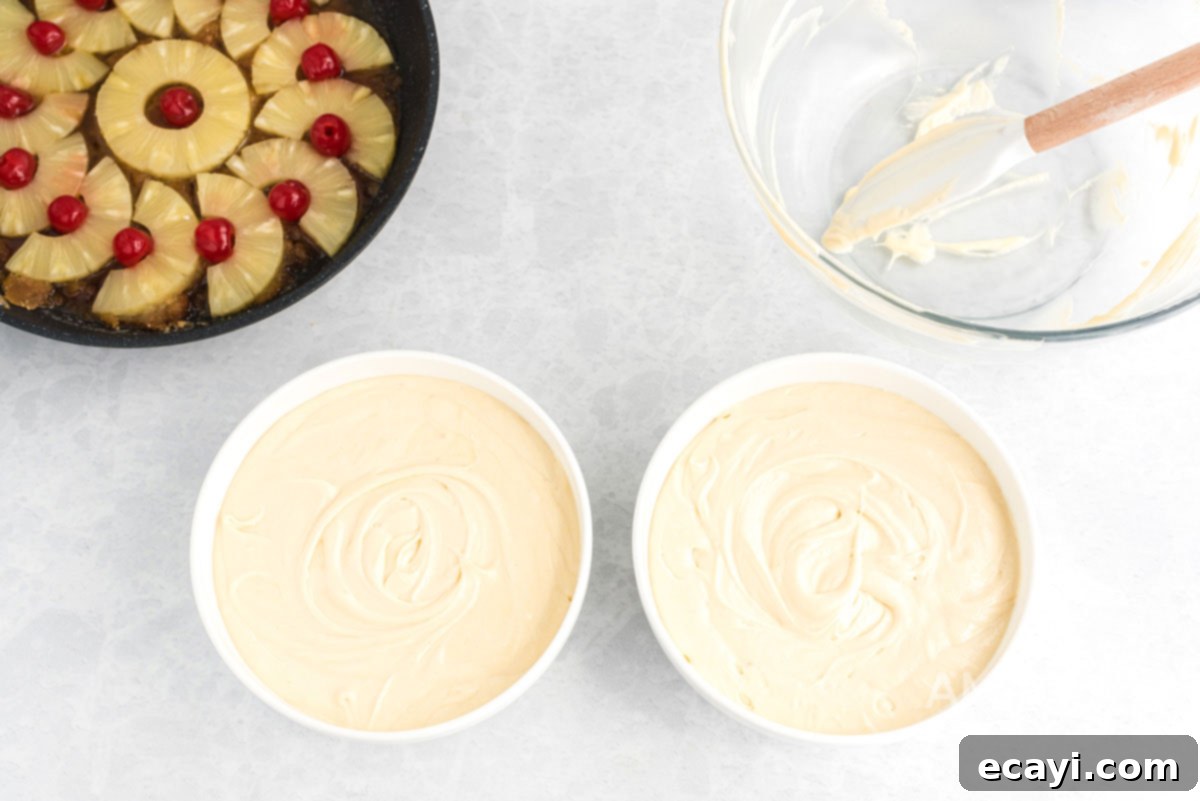
- Since this recipe yields two cakes, separate the prepared batter evenly between two separate bowls. Again, a few small butter bits in the batter are perfectly fine; they will melt and help create a wonderfully tender and moist cake.

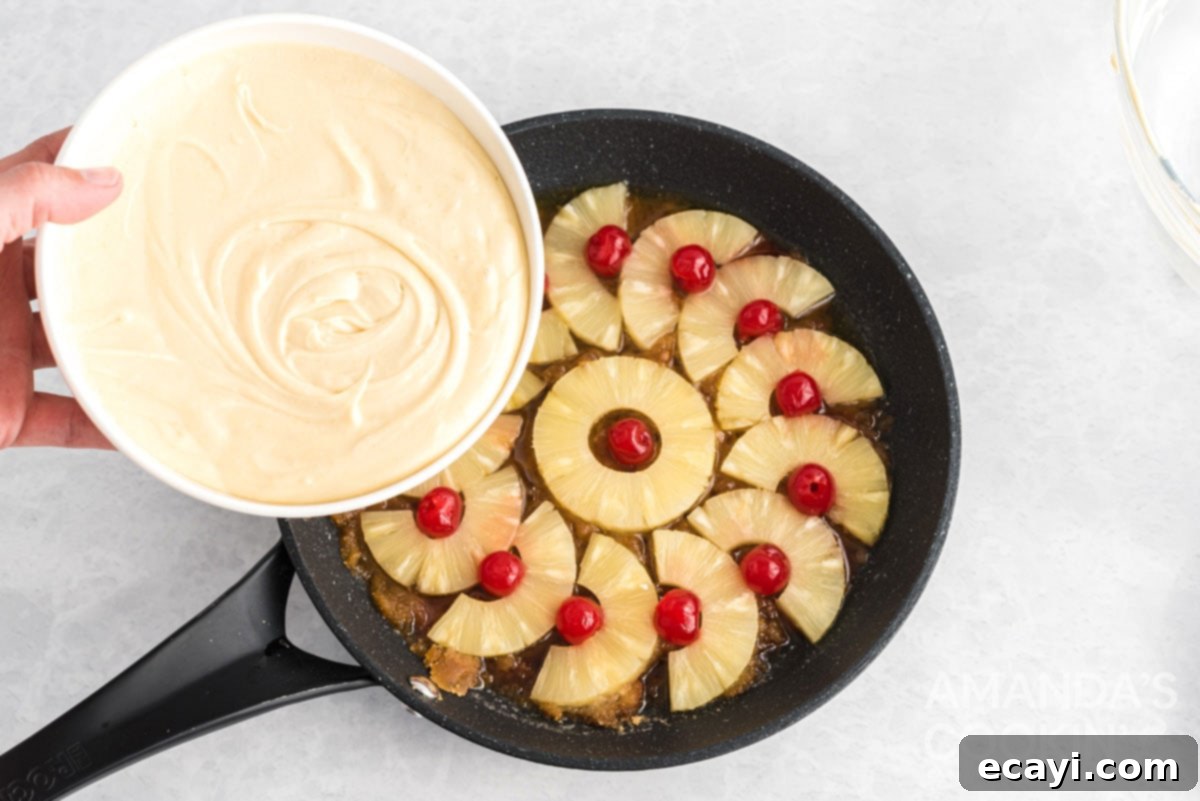
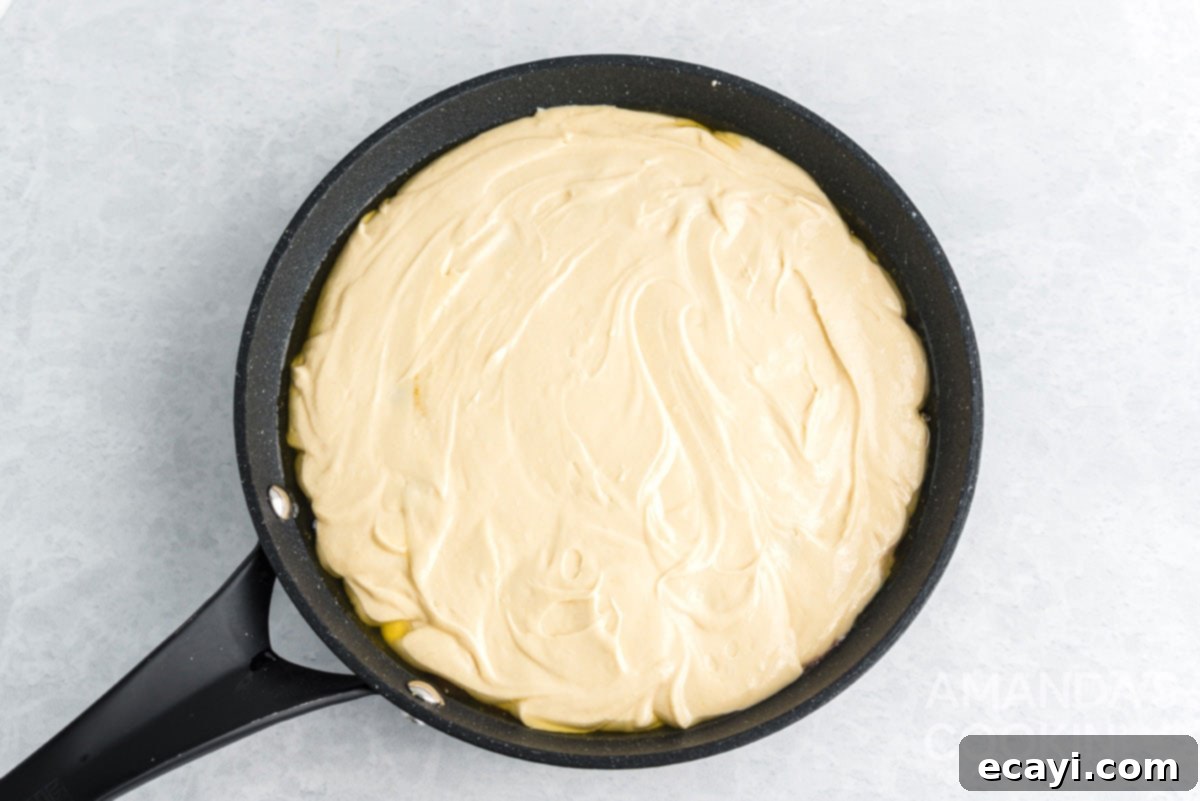
- Carefully, yet fairly quickly, pour one portion of the batter over the arranged pineapples and cherries in the skillet. Move your hand in a circular motion as you pour to ensure the batter covers the fruit evenly without displacing any of the pineapple rings or cherries. This meticulous pouring technique helps maintain the beautiful design at the bottom of the pan.


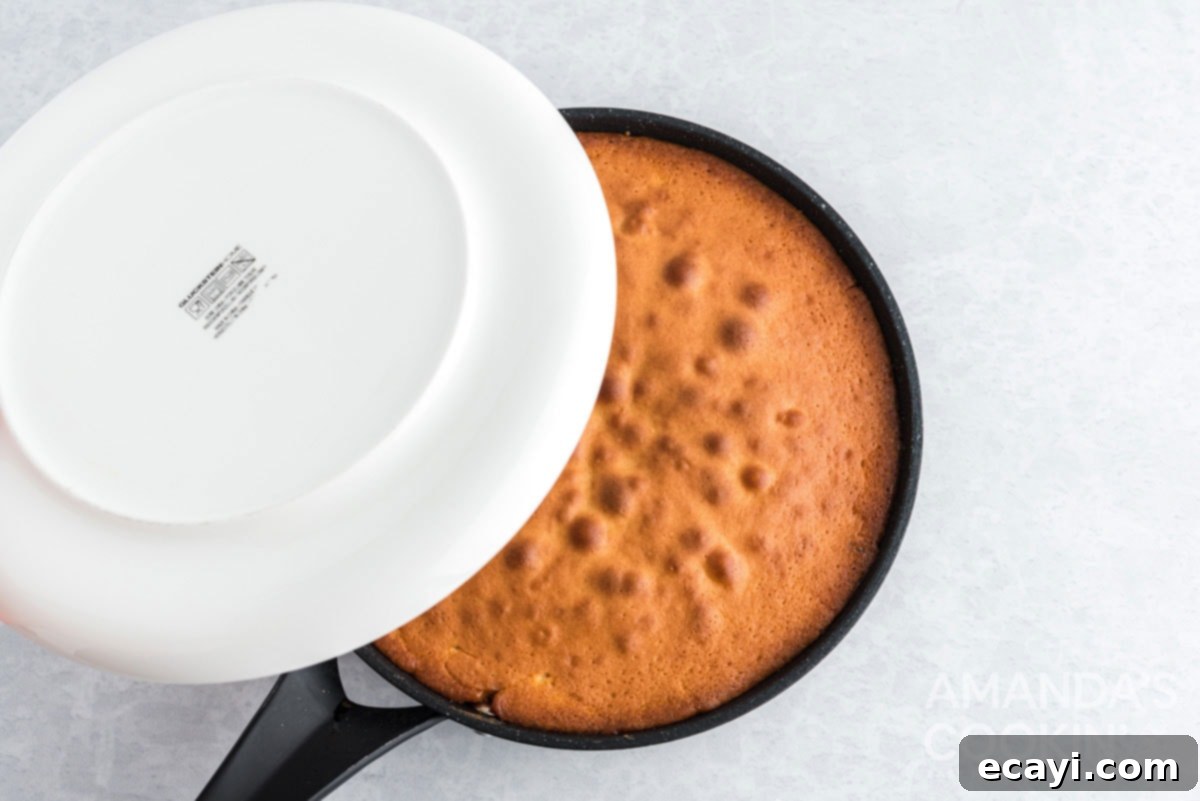
- Bake the cake for approximately 30 minutes. You’ll know it’s ready when the sides are bubbly, the top of the cake is nicely browned, and a wooden skewer or toothpick inserted into the center comes out clean. Once baked, remove the skillet from the oven and allow it to cool on a wire rack for precisely 10 minutes. This cooling period is vital, as it allows the caramel to set slightly and helps the cake release cleanly from the pan.
- After the 10-minute cooling period, place a flat serving plate (preferably one slightly larger than your skillet) over the top of the skillet. Using sturdy oven mitts to protect your hands, carefully and confidently invert the pan onto the plate. The cake should release cleanly, revealing its glorious caramel and fruit topping. If, by chance, any of the topping sticks to the skillet, simply use an icing spatula to gently scoop it up and patch any bare spots on top of your beautifully inverted cake.

Frequently Asked Questions and Expert Baking Tips
Absolutely! This versatile recipe adapts beautifully to a 13″ x 9″ baking pan. The core instructions remain largely the same, but with a slight adjustment to the topping arrangement and baking time. For a 13″ x 9″ pan, instead of single rings, you can form attractive pineapple “flowers” or a repeating pattern across the entire bottom of the pan; you should be able to fit approximately 8 or more such arrangements. Bake the cake in a 13″ x 9″ pan for 35-40 minutes. Before inverting, you might need to run a knife gently around the edges to loosen the cake from the sides of the pan. For standard 9″ round cake pans, you can follow the same baking times as specified for the cast iron skillet above, ensuring a perfectly cooked cake.
Yes, you certainly can, though cake flour is recommended for the softest crumb. To make pineapple upside down cake with regular all-purpose flour, you’ll need to create a simple cake flour substitute. Measure out 2 ¼ cups of all-purpose flour, then remove 4 tablespoons of that flour. Replace those 4 tablespoons with 4 tablespoons of cornstarch. Sift this mixture together thoroughly before using it in the recipe. The cornstarch helps to tenderize the all-purpose flour, mimicking the lower protein content of cake flour and resulting in a much lighter texture.
Absolutely! Using pineapple chunks or tidbits is a fantastic way to customize the appearance and texture of your cake. Instead of rings, simply arrange the pineapple chunks or tidbits into decorative circles, floral patterns, or any design you prefer on the bottom of the pan. Just as you would with slices, place a maraschino cherry in the center of each ‘flower’ or strategically throughout the design. The main difference between chunks and tidbits is their size: tidbits are slightly smaller, offering a more delicate pineapple distribution, while chunks provide a more substantial bite of fruit. Both work wonderfully and taste just as delicious!
To ensure your pineapple upside down cake remains moist and delicious, proper storage is key. First, allow the cake to cool completely at room temperature. Then, loosely wrap the entire cake or individual slices in plastic wrap to trap in moisture. For extra protection and to prevent it from drying out, place the wrapped cake in an airtight container. Store it in the refrigerator, where it will stay fresh and flavorful for 3-4 days. I personally highly recommend a cake carrier for storing cakes; it makes transport and preservation much easier and more effective!
Yes, freezing pineapple upside down cake is a great option for enjoying this delightful treat at a later date. The key is to freeze it correctly to preserve its texture and flavor. First, ensure the cake has fully cooled to room temperature. Then, place the entire cake (or individual slices) on a baking sheet and flash freeze it for about 45 minutes until firm. This prevents the topping and cake from sticking to the wrapping. Once firm, remove it from the freezer and wrap it tightly a few times in plastic wrap, followed by a protective layer of aluminum foil. Return the thoroughly wrapped cake to the freezer, where it can be stored for up to 3 months. When you’re ready to enjoy it, simply remove the cake from the freezer and allow it to thaw slowly in the refrigerator overnight, the day before you plan on serving it. This gentle thawing method helps maintain its moisture and deliciousness.
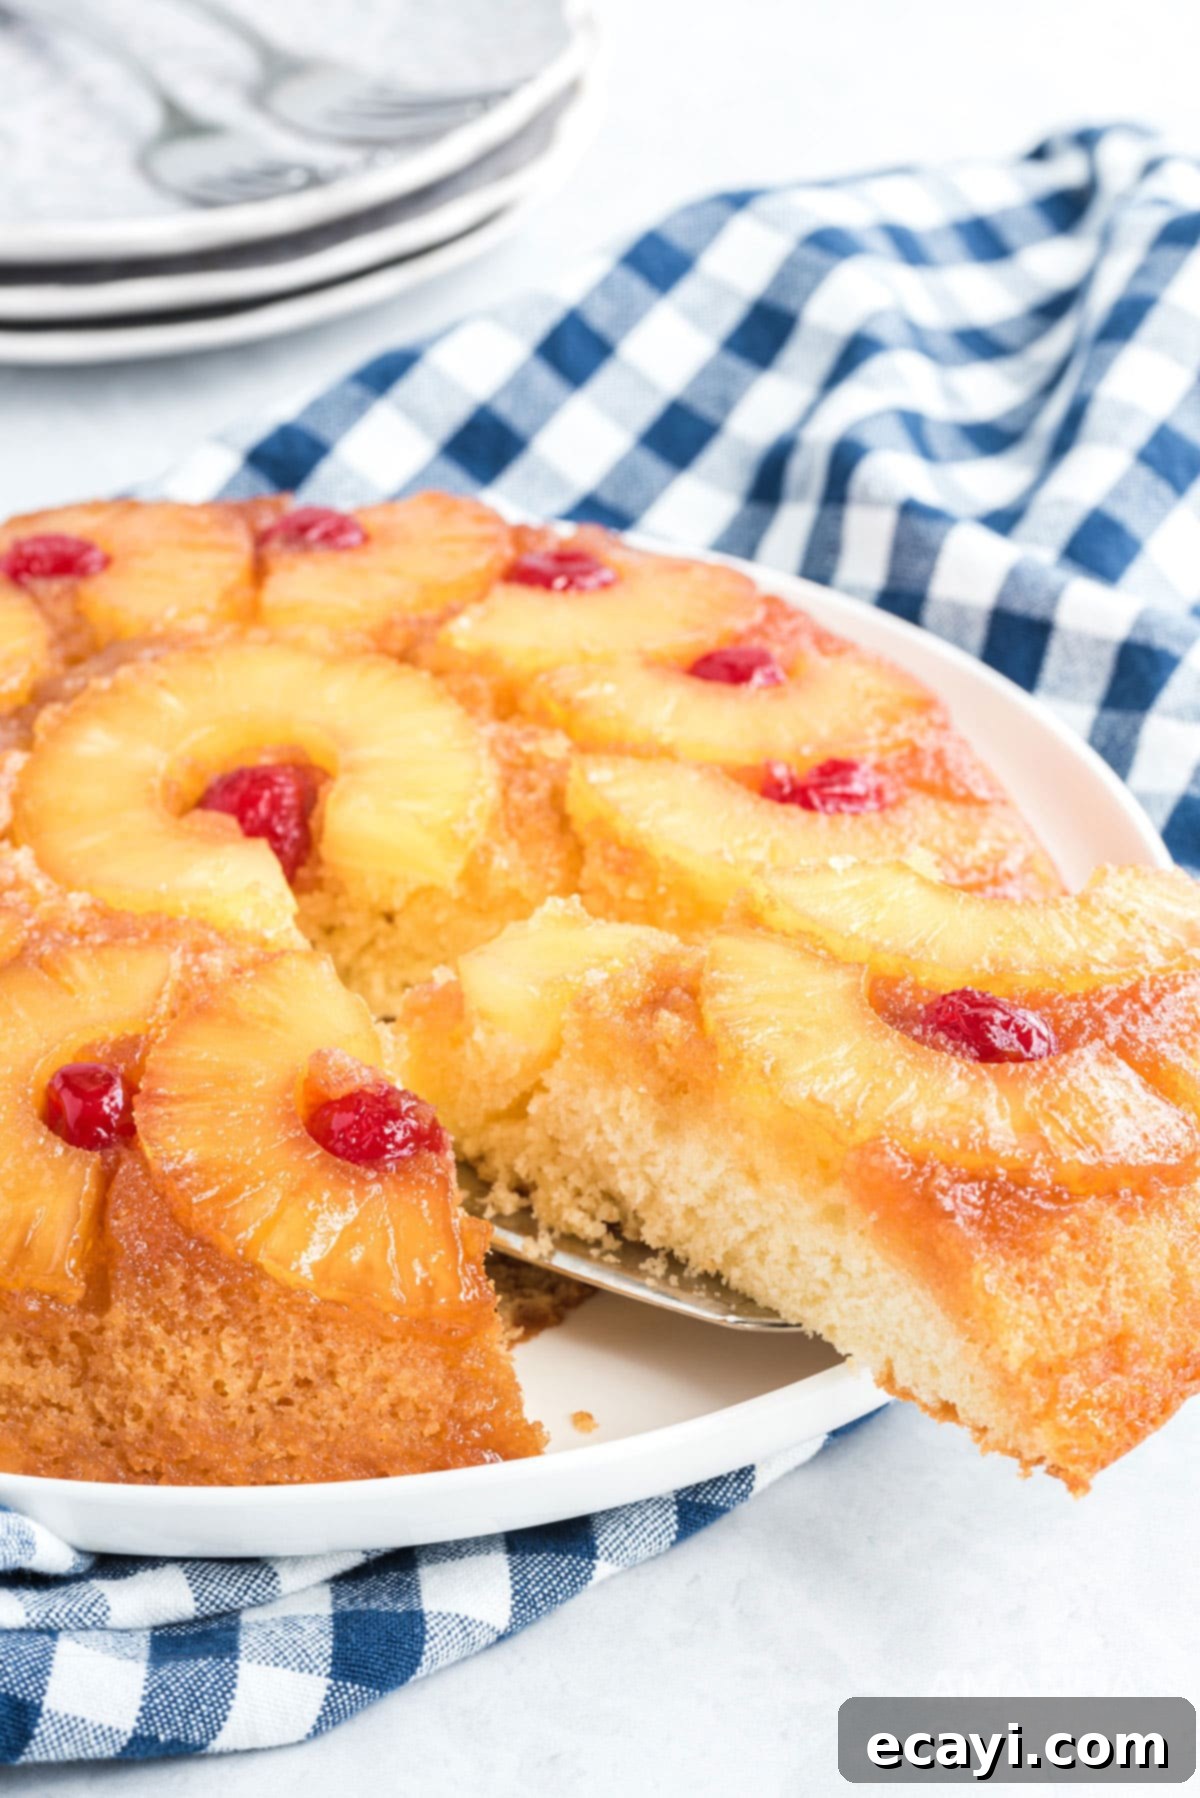
This cast iron pineapple upside down cake has truly become a cherished family staple, gracing our tables regularly. Its unique caramel crust, developed in the seasoned skillet, delivers a flavor and texture profile that distinguishes it from any other version. It’s a loved cake in many families for good reason, and making it in a cast iron skillet simply elevates it to an unmatched level of deliciousness.
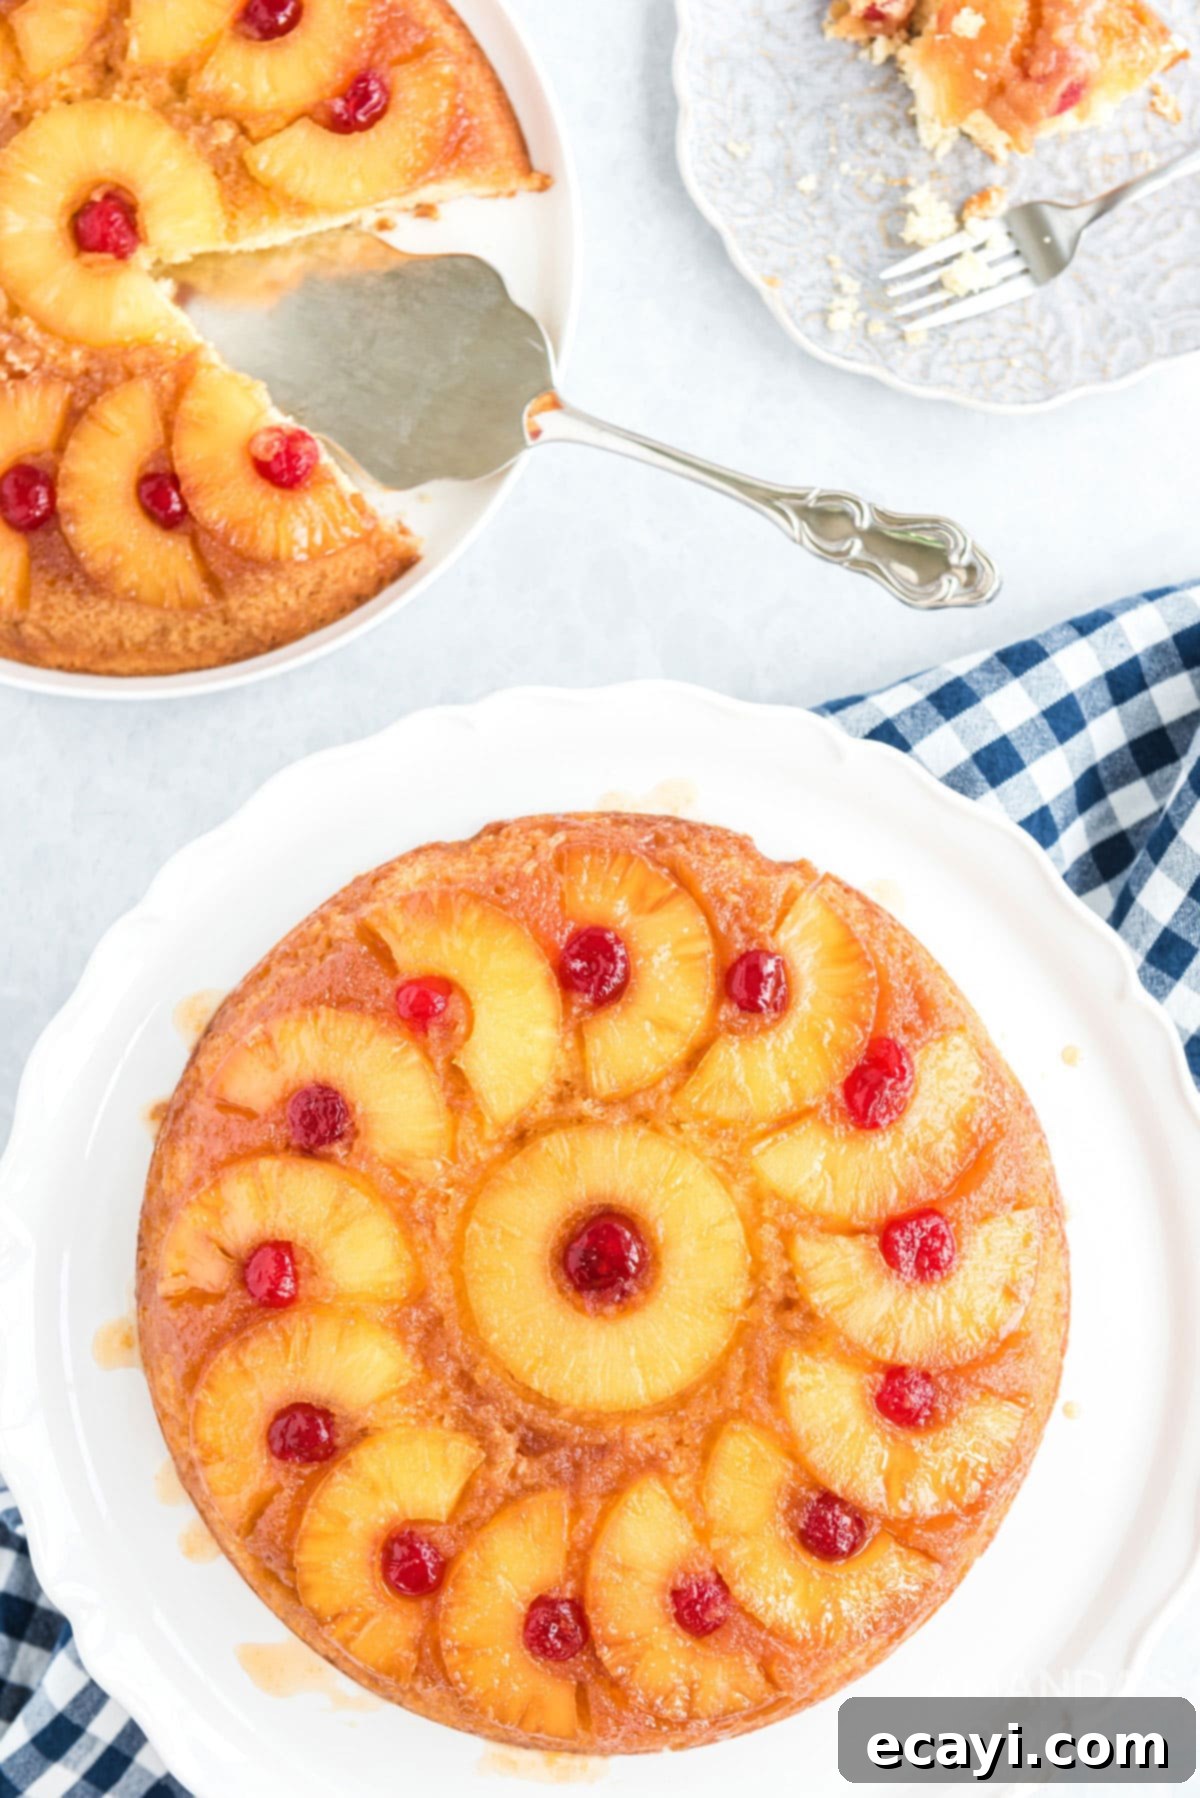
Serving Suggestions for Your Perfect Cake
This recipe yields two glorious 9-inch round cakes. You have the flexibility to use two cast iron skillets simultaneously, or if you only have one, simply bake them one after the other by inverting the first cake, cleaning the skillet, and reusing it for the second. Believe me, folks, there’s truly no better method for making a pineapple upside down cake; the cast iron skillet makes an incomparable difference in the final product’s flavor and texture! Serve your cake warm to fully appreciate the gooey caramel topping and tender crumb. A scoop of rich vanilla bean ice cream or a dollop of freshly whipped cream makes for an exquisite pairing, enhancing the warmth and sweetness of the cake. A sprig of fresh mint can also add a touch of elegance and refreshing contrast.
Explore More Upside Down Cake Recipes
If you’ve fallen in love with the charm and deliciousness of upside down cakes, you’re in for a treat! This cooking method is incredibly versatile and works wonders with a variety of fruits. Expand your baking repertoire with these other fantastic upside down cake recipes, each offering its own unique flavor profile and delightful twist:
- Peach Upside Down Cake
- Blueberry Upside Down Cake
- Banana Upside Down Muffins
- Raspberry Upside Down Cake
- Mini Pineapple Upside Down Cakes
I absolutely adore baking and cooking, and my greatest joy is sharing my favorite recipes with all of you! I understand how easy it is to forget to come back and search for a particular recipe, so I’ve made it incredibly convenient for you with my weekly newsletter. You can subscribe for free, and I’ll personally send a collection of delicious, tried-and-true recipes directly to your email inbox every single week.
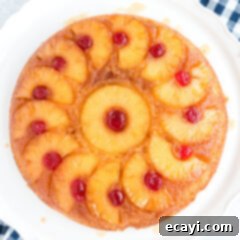
Pineapple Upside Down Cake
IMPORTANT – There are often Frequently Asked Questions within the blog post that you may find helpful. Simply scroll back up to read them!
Print It
Rate It
Save ItSaved!
Course: Desserts
Cuisine: American
Ingredients
Cake Batter
- 2 ¼ cups cake flour
- 1 ½ cups granulated sugar
- ¼ cup shortening
- ½ cup cold unsalted butter cut into thin slices
- ¾ cup milk
- 3 large eggs
- 2 ½ teaspoons baking powder
- 1 teaspoon salt
- 1 ½ teaspoons vanilla extract
Topping
- ½ cup unsalted butter divided
- 2 cups packed light brown sugar divided
- 20 oz can pineapple rings
- maraschino cherries
Things You’ll Need
-
Cast iron skillet
-
Mixing bowls
-
Hand mixer
-
Wire cooling racks
Before You Begin
- This recipe makes TWO delicious 9-inch skillet cakes.
- For the best texture, I recommend using cake flour. However, if it’s unavailable, you can substitute by using 2 ¼ cups minus 4 tablespoons of all-purpose flour, then sifting it with 4 tablespoons of cornstarch.
- This recipe is crafted from scratch and yields two 9-inch round cakes or one larger 13″x9″ cake. For a quicker alternative, you can easily use a box of yellow cake mix (sufficient for 2 skillets) without any issues. Just keep a close eye on the baking time, though it should be quite similar.
- This is designed as a no-fuss yellow cake. Its beauty lies in the simplicity: all ingredients go into one bowl and are mixed directly. There’s no complex sifting, whisking, creaming, or multi-step incorporation required.
Instructions
Cast Iron Skillet Method
-
Preheat your oven to 375 degrees Fahrenheit (190°C) and position the rack in the center. If you only have one 9-inch cast iron skillet, you can still make both cakes by baking them one at a time. After removing the first cake, simply wipe out your skillet clean and proceed with the second. If you’re lucky enough to have two skillets, you can bake them both concurrently, ensuring they are staggered in the oven for optimal airflow.
-
Prepare the topping first: place ¼ cup of unsalted butter in the cast iron skillet. Place the skillet in the preheated oven for just a few minutes, until the butter is completely melted.
-
Carefully remove the skillet from the oven. Evenly sprinkle 1 cup of packed light brown sugar over the melted butter. Remember to drain the pineapple rings thoroughly, reserving the juice, which can be used to keep any leftover cake moist.
-
Gently arrange the pineapple rings onto the brown sugar layer in the skillet. Place a vibrant maraschino cherry in the middle of each pineapple ring for that classic look and taste.
-
Prepare the cake batter: combine all the batter ingredients (cake flour, granulated sugar, shortening, cold unsalted butter, milk, eggs, baking powder, salt, and vanilla extract) in a mixer bowl. Mix at low speed for about 30 seconds to initiate incorporation, then increase the speed to medium and mix for 5 minutes, scraping the bowl occasionally to ensure everything is well combined.
-
Separate the prepared cake batter evenly between two bowls. Don’t be concerned if you still notice some small bits of butter in the batter; these will melt during baking and contribute to a wonderfully tender and flavorful cake!
-
Carefully, but with reasonable speed, pour one portion of the batter over the arranged pineapples in the skillet. Distribute the batter evenly as you pour, moving around the pan to avoid shifting any of the fruit pieces, which ensures a beautiful presentation once inverted.
-
Bake for 30 minutes. The cake is ready when the sides are bubbly, the top is nicely browned, and a toothpick inserted into the center comes out clean. Allow the cake to cool for 10 minutes on a wire rack directly in the skillet.
-
After the cooling period, place a flat cake plate (larger than the skillet) over the skillet. Using sturdy oven mitts, confidently invert the pan onto the plate. If any topping adheres to the skillet, use an icing spatula to gently scoop it up and fill in any bare spots on top of the cake, ensuring a picture-perfect finish.
Regular Cake Pan Method
-
The instructions for standard 9″ round cake pans or a 13″ x 9″ baking pan are essentially the same as for the cast iron skillet, with minor adjustments. For a 13″ x 9″ baking pan, arrange pineapple “flowers” or patterns across the entire surface; you can typically fit 8 or more such designs. Bake the 13″ x 9″ pan for 35-40 minutes, slightly longer than the skillet version due to the different pan dimensions. Before inverting, you may need to gently loosen the cake from the sides of the pan with a knife. For 9″ round cake pans, follow the baking times specified for the cast iron skillet above.
Nutrition Information
Tried this Recipe? Pin it for Later!Follow on Pinterest @AmandasCookin or tag #AmandasCookin!
The recipes on this blog are tested with a conventional gas oven and gas stovetop. It’s important to note that some ovens, especially as they age, can cook and bake inconsistently. Using an inexpensive oven thermometer can assure you that your oven is truly heating to the proper temperature. If you use a toaster oven or countertop oven, please keep in mind that they may not distribute heat the same as a conventional full sized oven and you may need to adjust your cooking/baking times. In the case of recipes made with a pressure cooker, air fryer, slow cooker, or other appliance, a link to the appliances we use is listed within each respective recipe. For baking recipes where measurements are given by weight, please note that results may not be the same if cups are used instead, and we can’t guarantee success with that method.
This recipe was originally published here on May 11, 2010 but has since been meticulously updated with enhanced tips and beautiful new photographs to guide you through the process.
