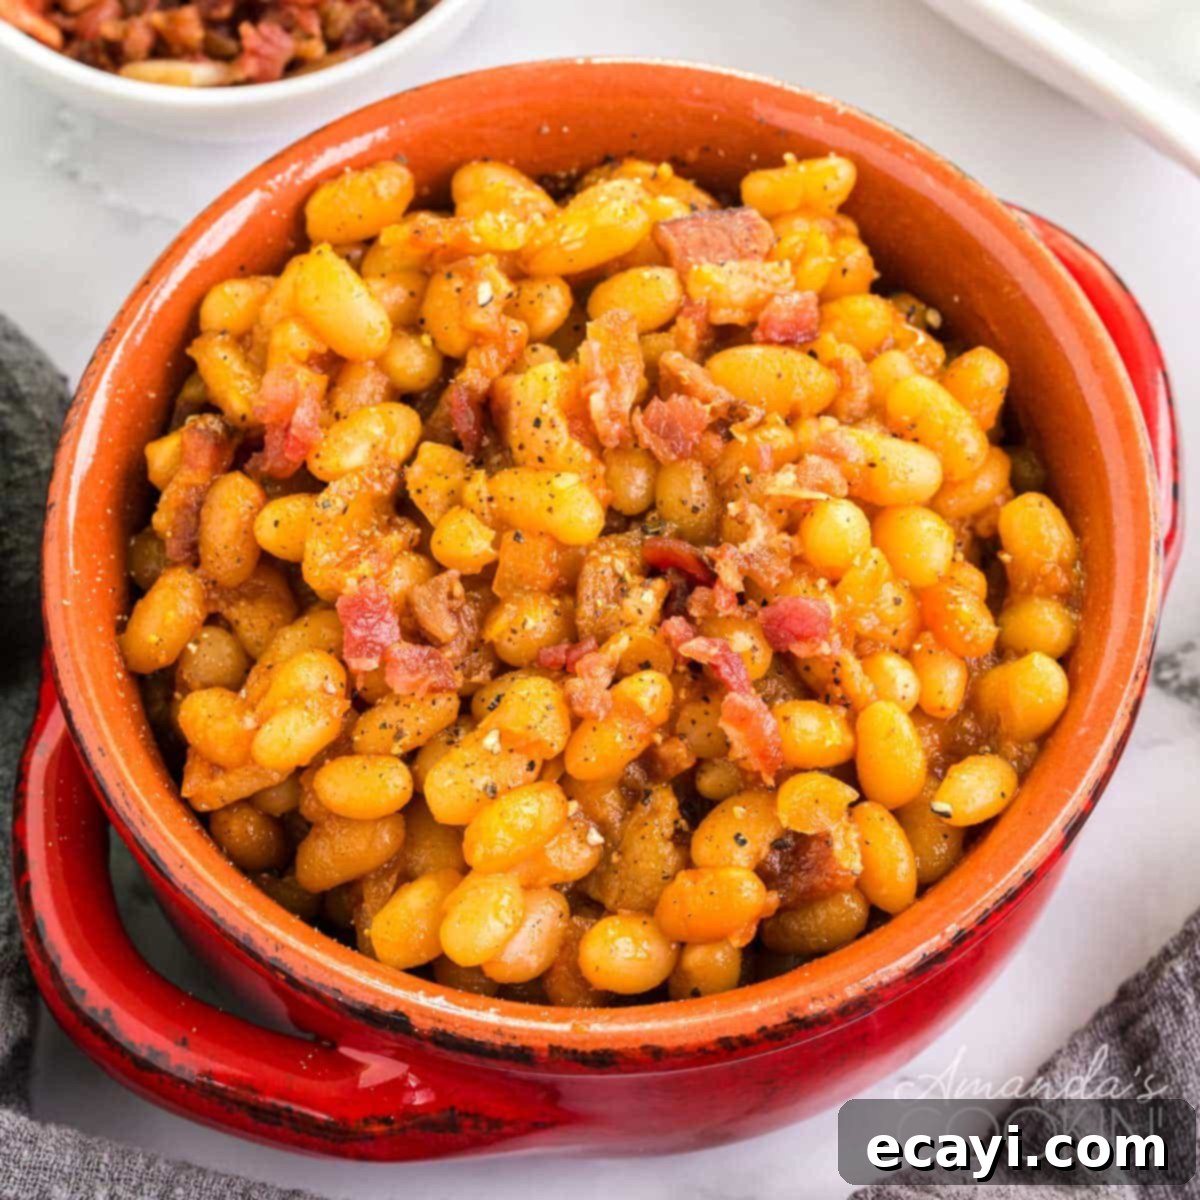
Homemade Baked Beans from Scratch: The Ultimate Sweet, Tangy & Savory BBQ Side Dish
There’s nothing quite like a comforting bowl of **homemade baked beans** to elevate any meal, especially a classic American barbecue. Forget the canned versions; these beans are crafted from scratch, simmering in a rich, delicious, tangy, sweet, and savory sauce. Our secret lies in a harmonious blend of brown sugar, maple syrup, ketchup, and a bright touch of apple cider vinegar. With just a little extra effort and a dose of patience, you’ll discover a depth of flavor that simply can’t be matched by store-bought alternatives. Get ready to impress your family and friends with this timeless side dish that promises to be the star of every potluck and summer gathering.
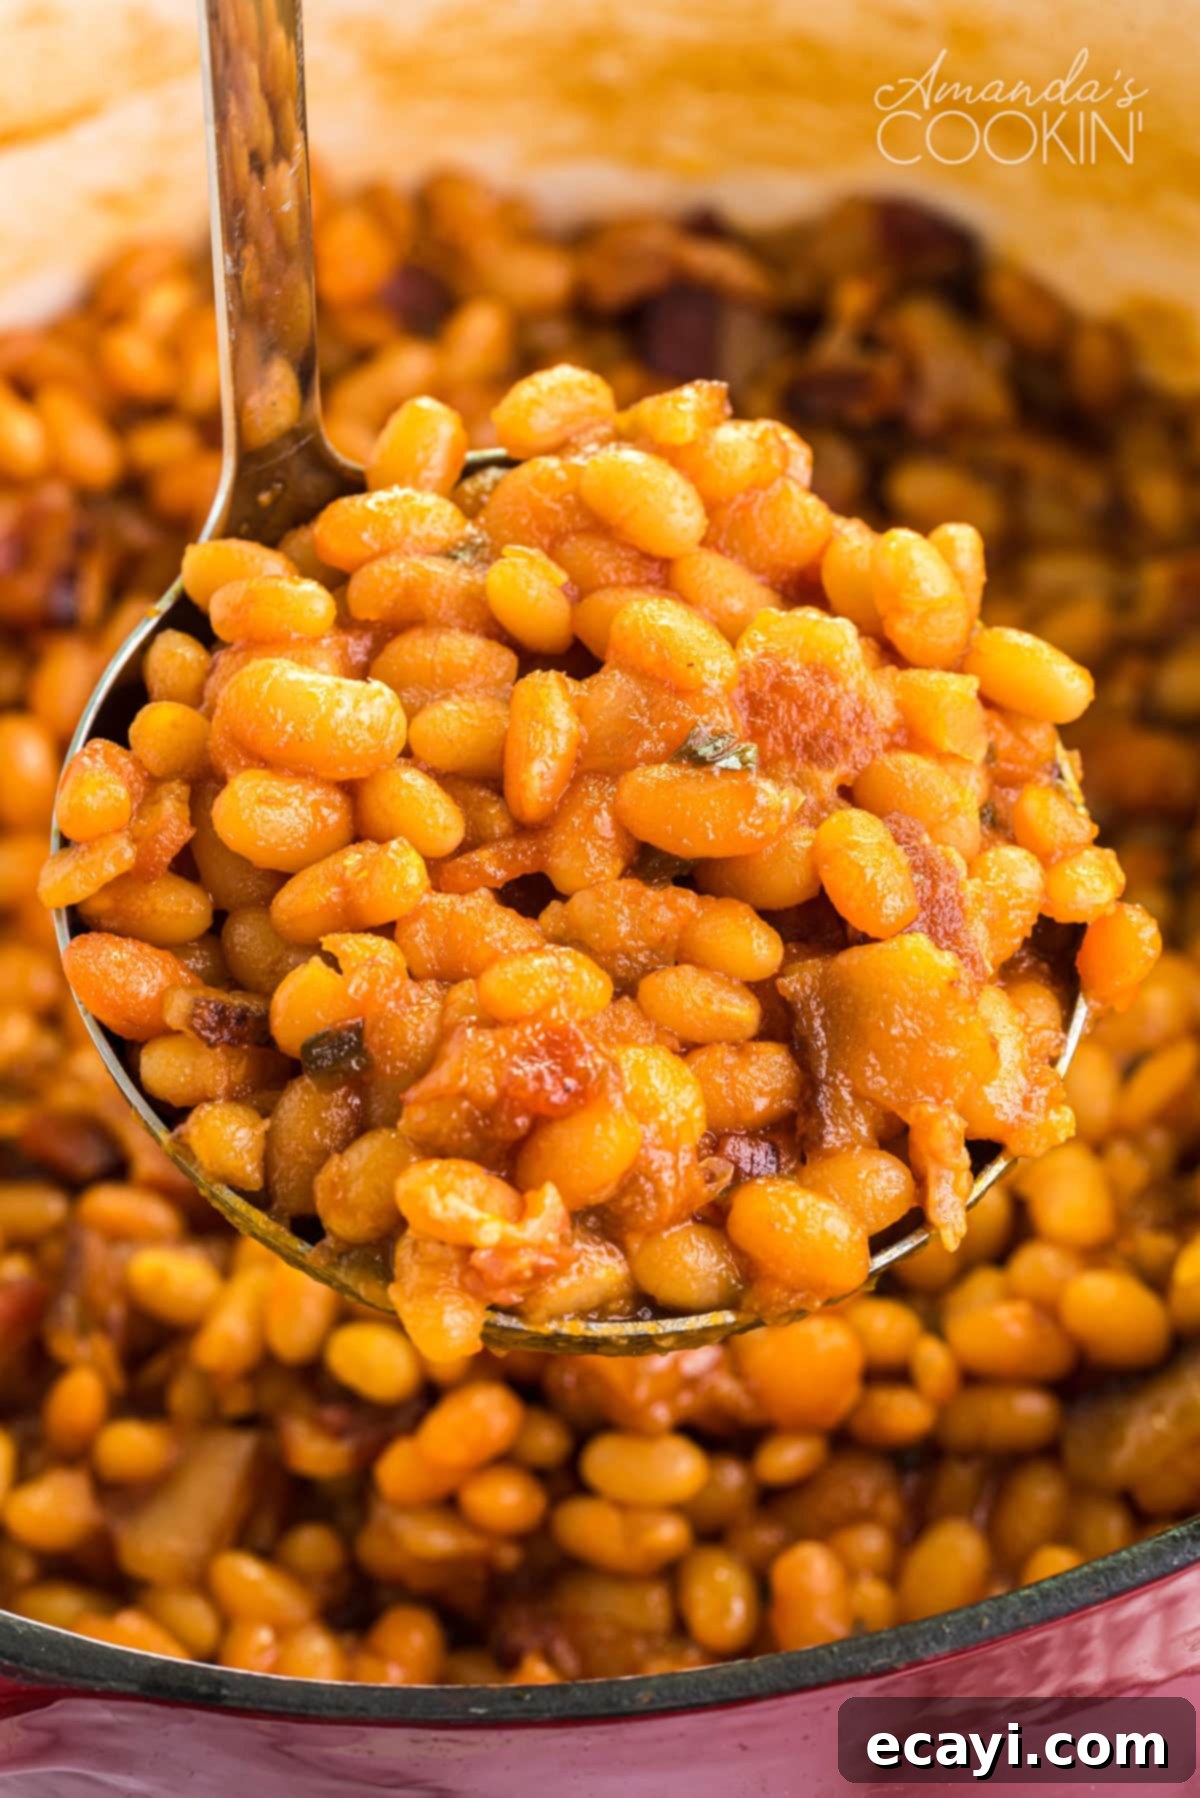
Why This Homemade Baked Bean Recipe Is a Must-Try
What’s a summer barbecue without a hearty serving of baked beans? While many resort to “doctoring up” a can of baked beans, true connoisseurs know that nothing genuinely compares to the robust, nuanced flavors of beans made from scratch. This recipe is meticulously designed to deliver that authentic homemade taste, a perfect balance of smoky, sweet, and tangy notes that will have everyone asking for seconds.
Yes, preparing these baked beans does require a bit of foresight and time – particularly for the crucial soaking and slow baking stages. However, don’t let the time commitment intimidate you! Most of the cooking process takes place hands-off in the oven, allowing the flavors to meld beautifully without constant attention. This makes it an incredibly easy recipe to incorporate into your meal prep, freeing you up to focus on other aspects of your gathering. The result? Tender beans bathed in a complex sauce that tastes infinitely better than anything you’ll find in a can, making every moment of preparation worthwhile.
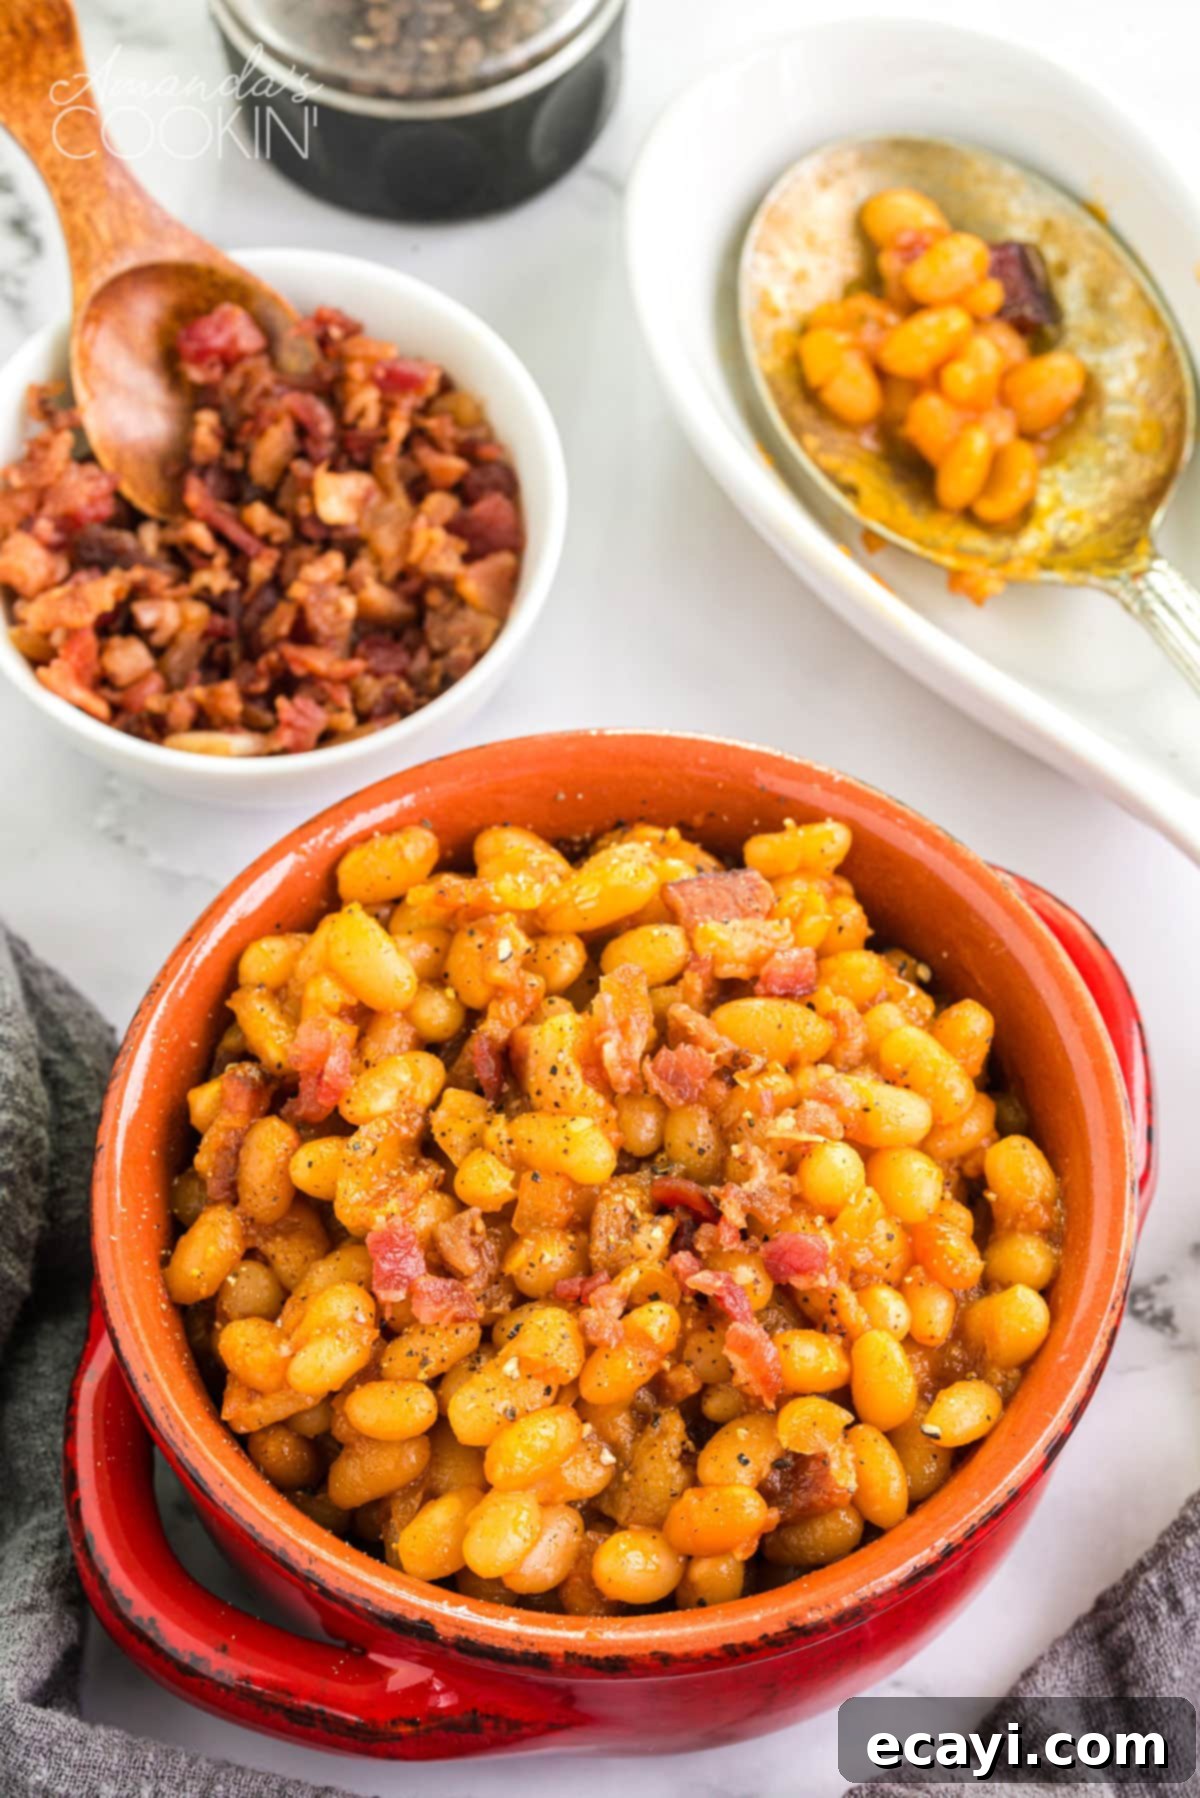
Expert Tips and Frequently Asked Questions for Perfect Baked Beans
Achieving the perfect batch of homemade baked beans is simple with a few insider tips. Here’s what you need to know, along with answers to common questions:
- Vegetarian Version: If you’re catering to vegetarian guests, easily omit the bacon. For a similar richness and depth of flavor, you can substitute the bacon grease with a good quality vegetable oil or a smoked paprika-infused olive oil. While bacon undeniably imparts a wonderful smoky flavor, the beans are still incredibly delicious without it, especially with the addition of liquid smoke.
- Forgot to Soak Beans Overnight? No Problem! Don’t panic if you missed the overnight soak. You can quick-soak your beans by rinsing them thoroughly and placing them in a pot. Cover the beans with water by at least 2 inches. Bring the water to a rolling boil, let it boil for just one minute, then remove the pot from the heat. Cover the pan tightly and allow the beans to soak for one hour. After this quick soak, drain and rinse them as usual. This method significantly cuts down on soaking time without sacrificing tenderness.
- Choosing Your Cooking Vessel: A Dutch oven is an ideal choice for this recipe, as it allows you to brown your aromatics on the stovetop and then transfer the entire pot directly into the oven for baking, minimizing cleanup. If you don’t have a Dutch oven, you can easily use a sturdy pot for the stovetop cooking and then transfer the beans to a large casserole dish for the oven baking. Ensure your chosen casserole dish is deep enough to hold all the beans and sauce comfortably.
- Gentle Stirring is Key: The skins of properly cooked beans become incredibly tender and can easily break apart if over-mixed. To maintain their appealing shape and texture, always use a light hand when stirring, especially during the later stages of the cooking process. A gentle fold is usually sufficient to combine ingredients.
- Make-Ahead Tips: Baked beans are an excellent make-ahead dish! You can prepare the entire recipe a day or two in advance. Store them in an airtight container in the refrigerator. When ready to serve, gently reheat them on the stovetop over low heat, or in the oven at 300°F (150°C), adding a little extra bean liquid or water if the sauce has thickened too much. The flavors often deepen and improve overnight!
- Freezing and Storage: Leftover baked beans freeze beautifully. Portion them into freezer-safe containers or bags and freeze for up to 3 months. Thaw overnight in the refrigerator and reheat as described above. They also keep well in the refrigerator for 3-4 days.
Ingredients You Will Need for Unforgettable Baked Beans
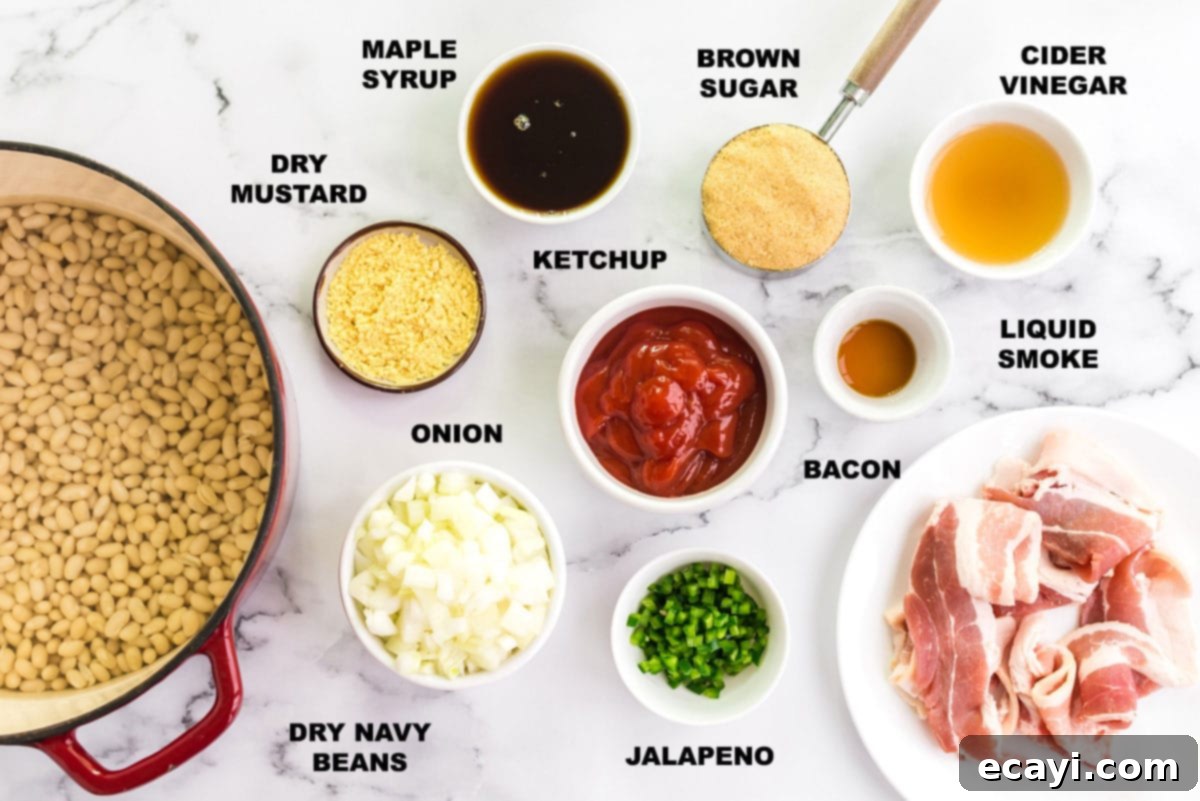
Crafting the best homemade baked beans starts with selecting the right ingredients. Here’s a closer look at what you’ll need and why:
- Beans: While I typically opt for navy beans for their creamy texture and ability to absorb flavors, Great Northern beans are also an excellent choice. Both varieties hold their shape well during the long cooking process and become wonderfully tender. Using dry beans is crucial for achieving that truly superior, from-scratch taste.
- Bacon: For this recipe, don’t cook your bacon until it’s crispy. The goal is to render some of its fat to use for sautéing the aromatics, and to have chewy, flavorful pieces of bacon mixed into the final dish. Therefore, I highly recommend using thick-cut bacon and cooking it only partially until it’s still pliable but has released its delicious grease. This ensures the bacon bits remain tender and contribute to the overall texture, rather than becoming brittle.
- Jalapeño Pepper: Don’t be concerned about the addition of a jalapeño pepper in this recipe. When seeded and finely chopped, it doesn’t make the beans overly spicy or hot. Instead, it contributes a subtle, fresh, and slightly pungent flavor that beautifully complements the sweetness and tanginess of the sauce, adding another layer of complexity without overwhelming the palate.
- Liquid Smoke: I understand that liquid smoke might not be a staple in every pantry. If you can get your hands on some, I promise you won’t regret it! It adds an incredible depth of authentic smoky flavor that enhances the “barbecue” aspect of these beans, especially if you’re not cooking them over an open flame. However, if it’s not accessible, these homemade baked beans will still be absolutely delicious without it, relying on the bacon and other ingredients for their robust taste.
- Sweeteners & Acids: A careful balance of brown sugar and maple syrup provides a rich, caramel-like sweetness, while ketchup adds umami and a foundational tomato note. The apple cider vinegar is essential for that signature tangy finish, cutting through the richness and brightening all the flavors.
- Dry Mustard: This often-overlooked ingredient adds a subtle peppery warmth and acts as a fantastic emulsifier, helping to bring all the flavors of the sauce together into a cohesive, velvety consistency.
Prepping and Initial Cooking of Your Dry Beans
The journey to perfect homemade baked beans begins with proper bean preparation:
- Sorting and Rinsing: First, you’ll want to thoroughly rinse your dry beans under cold running water. As you rinse, carefully pick through them, removing any small pebbles, broken beans, or other debris that might have snuck into the bag. This ensures a pleasant eating experience.
- Overnight Soak: The crucial next step is to give your beans a good, long soak. Place the rinsed beans in a large bowl and cover them generously with water (about 2 inches above the beans). Soaking your beans overnight is vital for two reasons: it helps them cook more evenly and ensures they become wonderfully tender. (Remember the quick-soak tip mentioned above if you forgot this step!)
- Drain and Re-Cover: The next day, when you’re ready to start cooking, drain the soaked beans thoroughly. Discard the soaking water, as it can contain indigestible sugars that can cause gas. Place the drained beans back into a large pot or, ideally, your Dutch oven. Cover them again with fresh water, ensuring there’s at least an inch of water above the beans.
- Initial Simmer: Bring the beans and fresh water to a boil over high heat. Once boiling, reduce the heat to low, cover the pot tightly, and let them simmer for about an hour. This pre-cooking step softens the beans before they absorb the rich sauce in the oven.
Preparing the Flavorful Sauce Base While Beans Cook
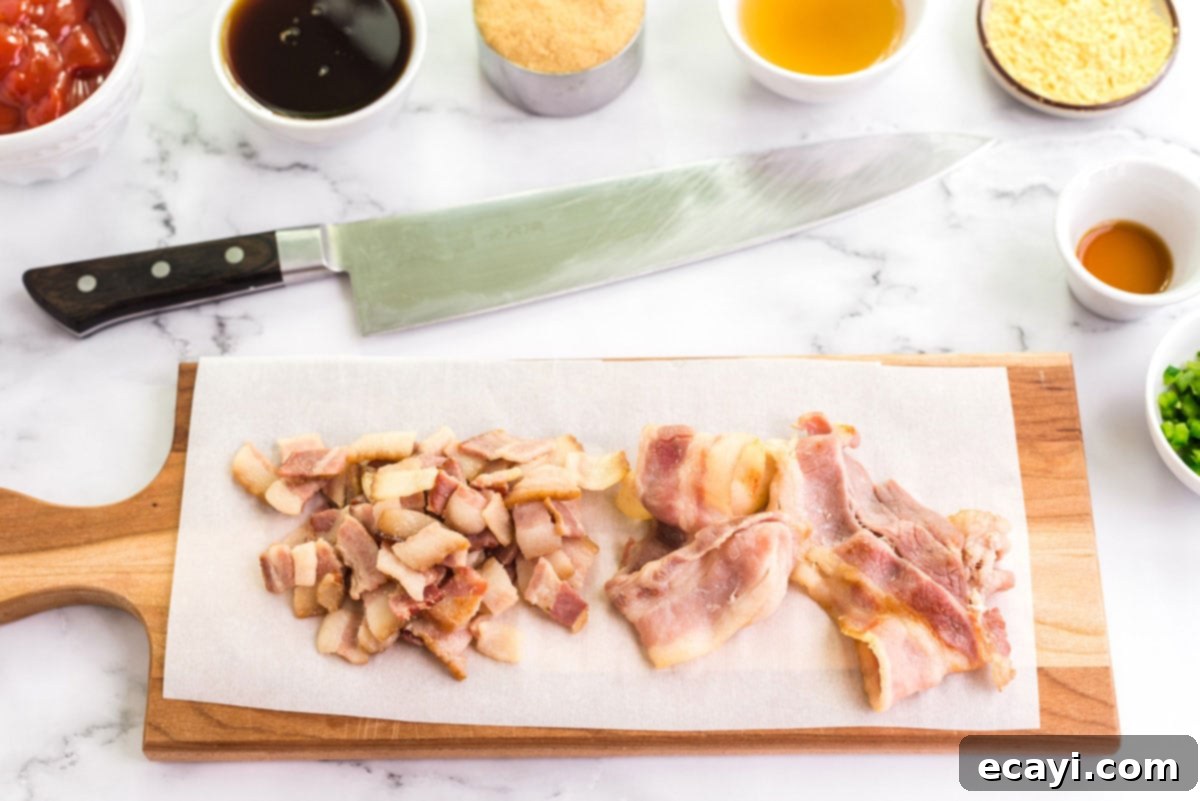
While your beans are gently simmering, you can prepare the delicious foundation for your sauce:
- Cook the Bacon: In a separate skillet, fry up your thick-cut bacon slices. Remember, you want to cook them partway – they should be rendered but still soft, not crispy. This ensures they remain tender when baked into the beans. Once partially cooked, remove the bacon and place it on a paper towel-lined plate to drain off excess fat. Set aside for later.
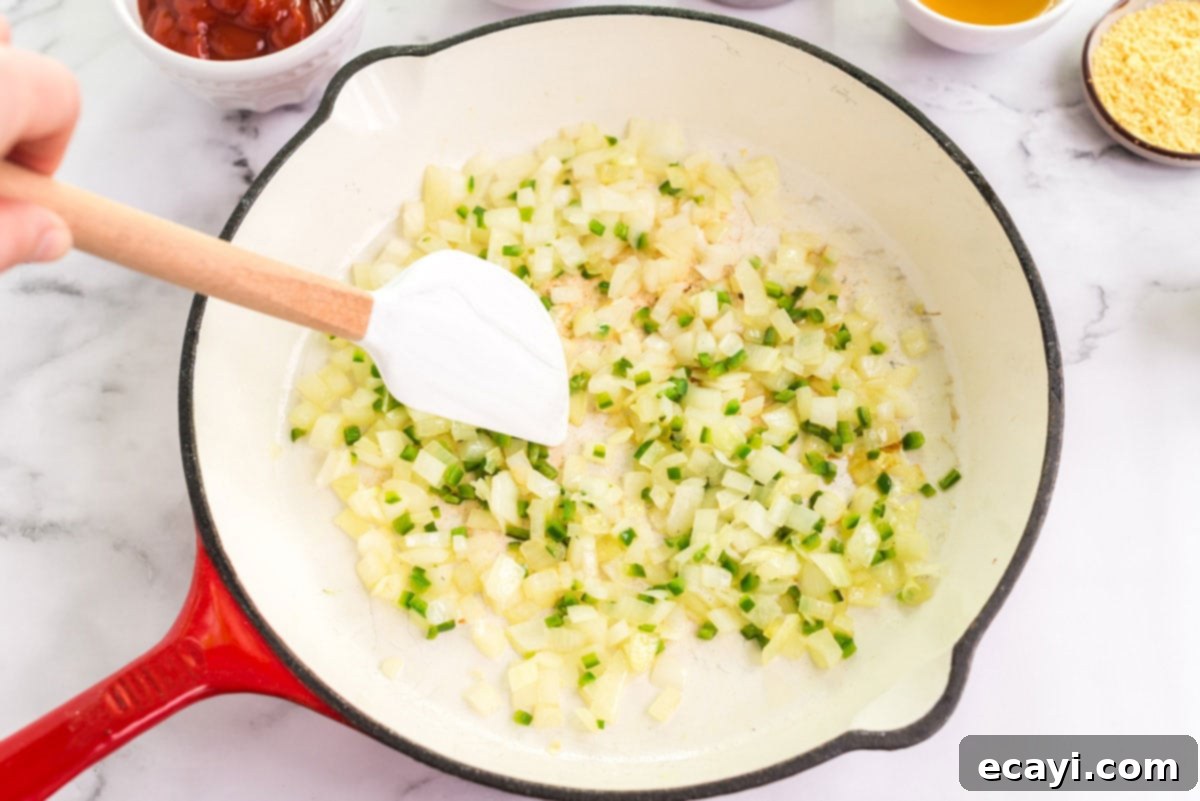
- Sauté Aromatics: Leave behind a few tablespoons of the rendered bacon grease in the skillet. This flavorful fat will infuse the onions and jalapeños with a wonderful smoky base. Add your chopped yellow onion and seeded, chopped jalapeño to the skillet and sauté until the onion becomes translucent and softened, which usually takes just a few minutes.
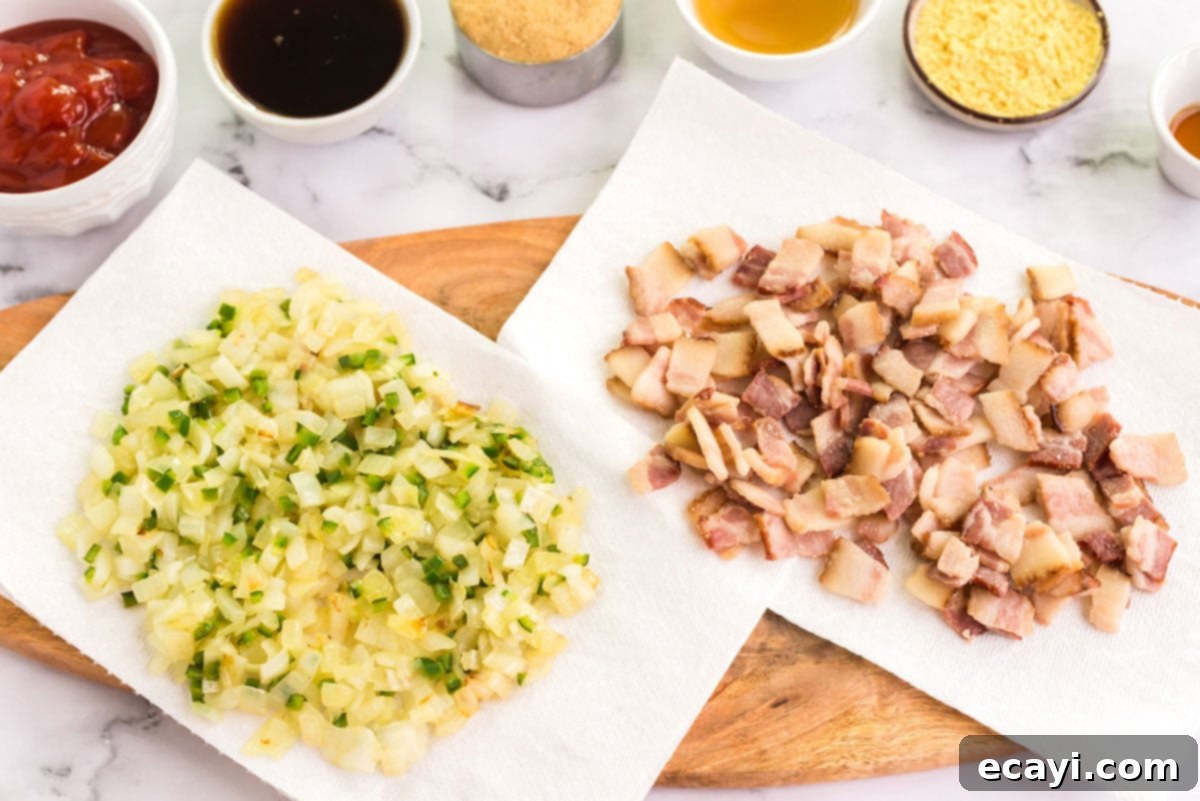
- Drain Aromatics: Once sautéed, remove the onion and jalapeño mixture from the skillet and drain it on fresh paper towels alongside the bacon. This helps remove any excess grease, keeping the final dish from being overly oily.
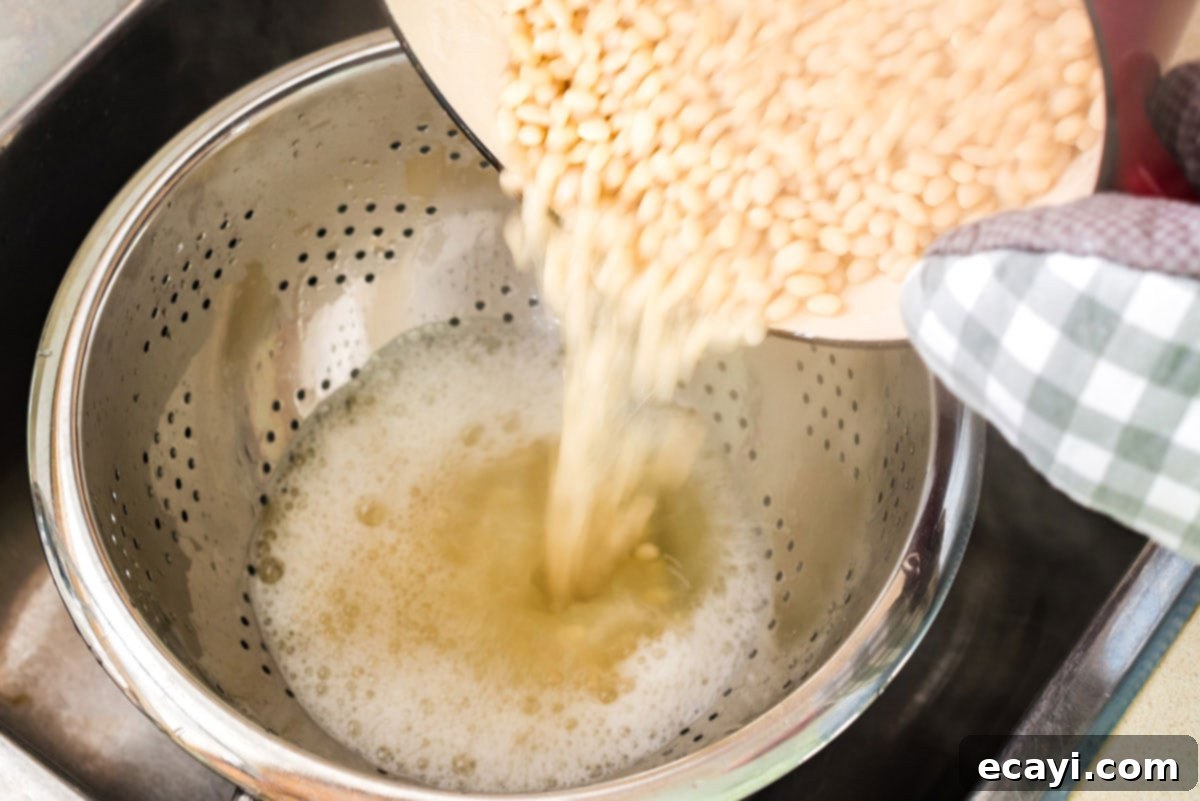
- Reserve Bean Liquid: After your beans have simmered for an hour and are tender, carefully drain them. However, do NOT pour that precious starchy bean liquid down the drain! It’s rich in flavor and starch, which will be essential for creating the perfect consistency and enhancing the taste of your sauce. Reserve this liquid in a separate bowl or pan.

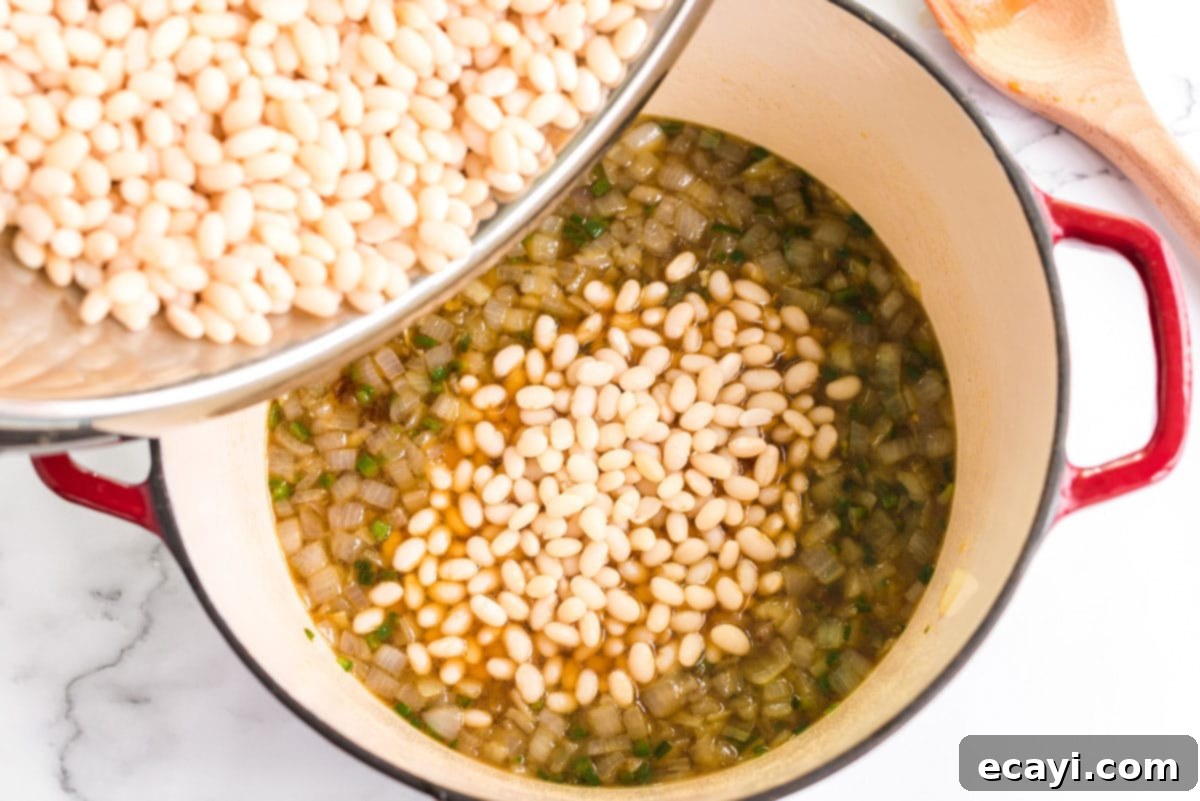
- Combine and Bake (Initial Phase): In your Dutch oven (or a large casserole dish), combine the drained beans, the sautéed onion and jalapeño mixture, packed brown sugar, rich maple syrup, liquid smoke (if using), and dry mustard. Add one cup of the reserved bean liquid. Gently stir all these ingredients together to combine them, being careful not to overmix and break the tender bean skins. Cover the pot or dish and transfer it to a preheated 300°F (150°C) oven. Let them cook for approximately two hours, allowing the beans to absorb the initial flavors of the sweet and savory sauce.
The Final Steps for Perfectly Tangy & Sweet Baked Beans
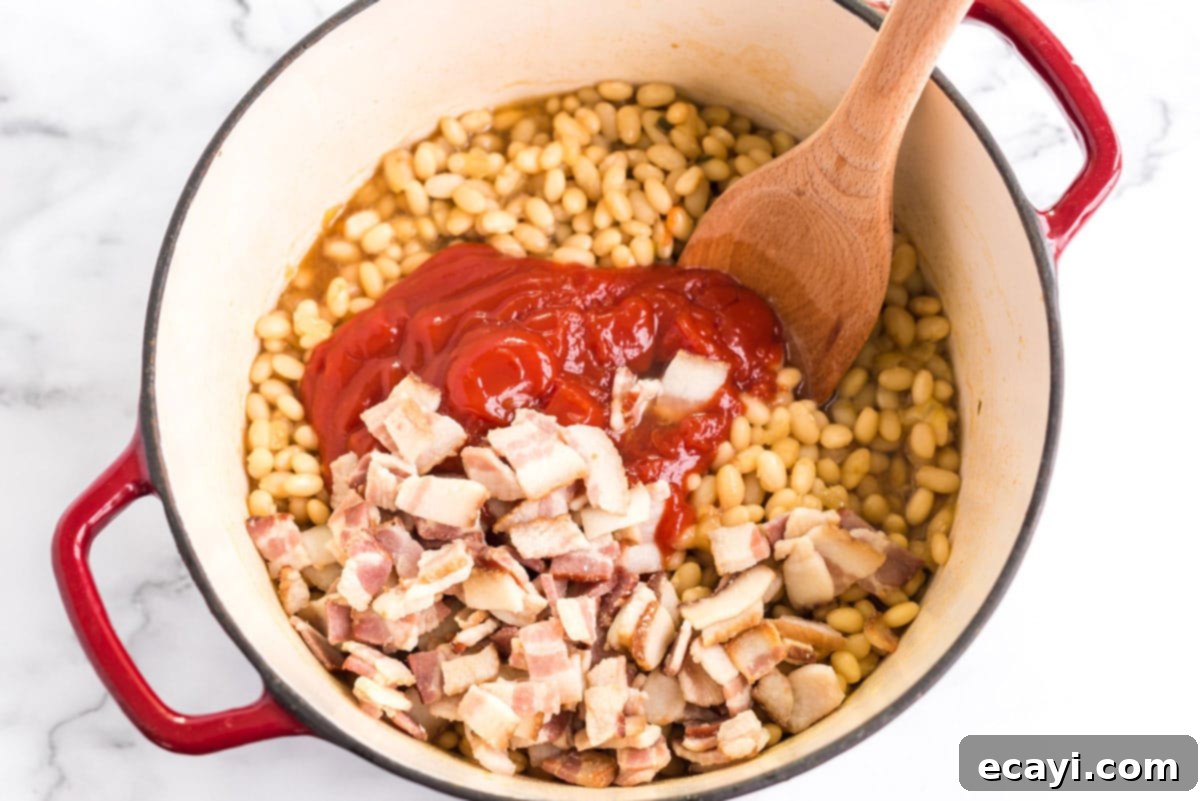
The final stage of cooking is crucial for developing the signature sweet and tangy profile of these homemade baked beans:
- Add Ketchup, Vinegar, and Bacon: After the initial two hours of baking, remove the beans from the oven. Now it’s time to add the remaining key ingredients: ketchup, apple cider vinegar, and your coarsely chopped, partially cooked bacon. The reason for adding the ketchup and vinegar towards the end of the cooking process is strategic. Both tomatoes and vinegar are acidic, and adding them too early can sometimes hinder the beans from becoming as tender as possible. Introducing them later ensures that the beans reach optimal tenderness while allowing those complex tangy, sweet, and savory undertones to develop properly in the sauce. If you find the beans are looking a bit dry or need more liquid, you can always add more of the reserved bean liquid at this stage to achieve your desired consistency.
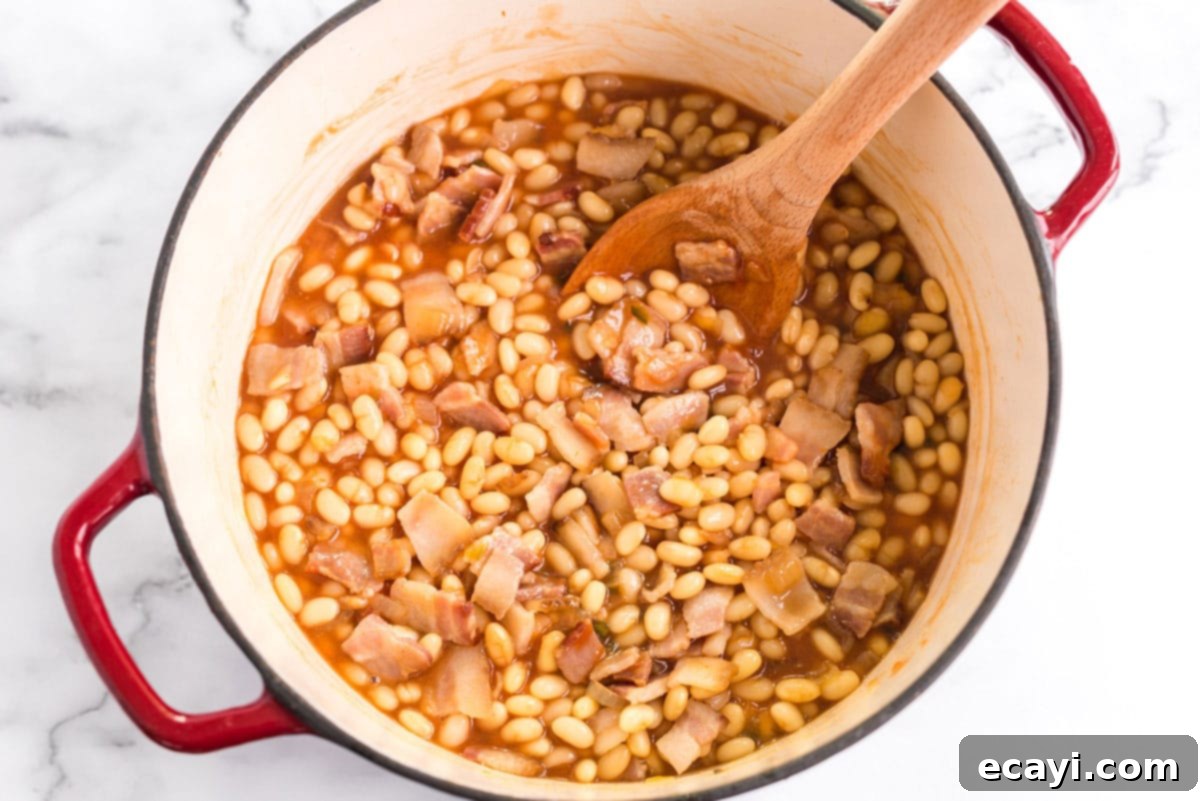
- Gentle Final Stir and Bake: Once again, you will gently mix the beans to incorporate the newly added ketchup, vinegar, and bacon. Remember to use the lightest touch possible. As emphasized earlier, the skins of the beans are very tender at this point and can easily break apart with vigorous stirring. Once everything is combined, return the covered beans to the oven for another hour. Towards the end of this hour, check the beans for tenderness and sauce consistency. If they need a bit longer to become perfectly soft, continue baking for an additional 30 minutes to an hour. For a thicker sauce, uncover the dish for the last 20-30 minutes of baking.
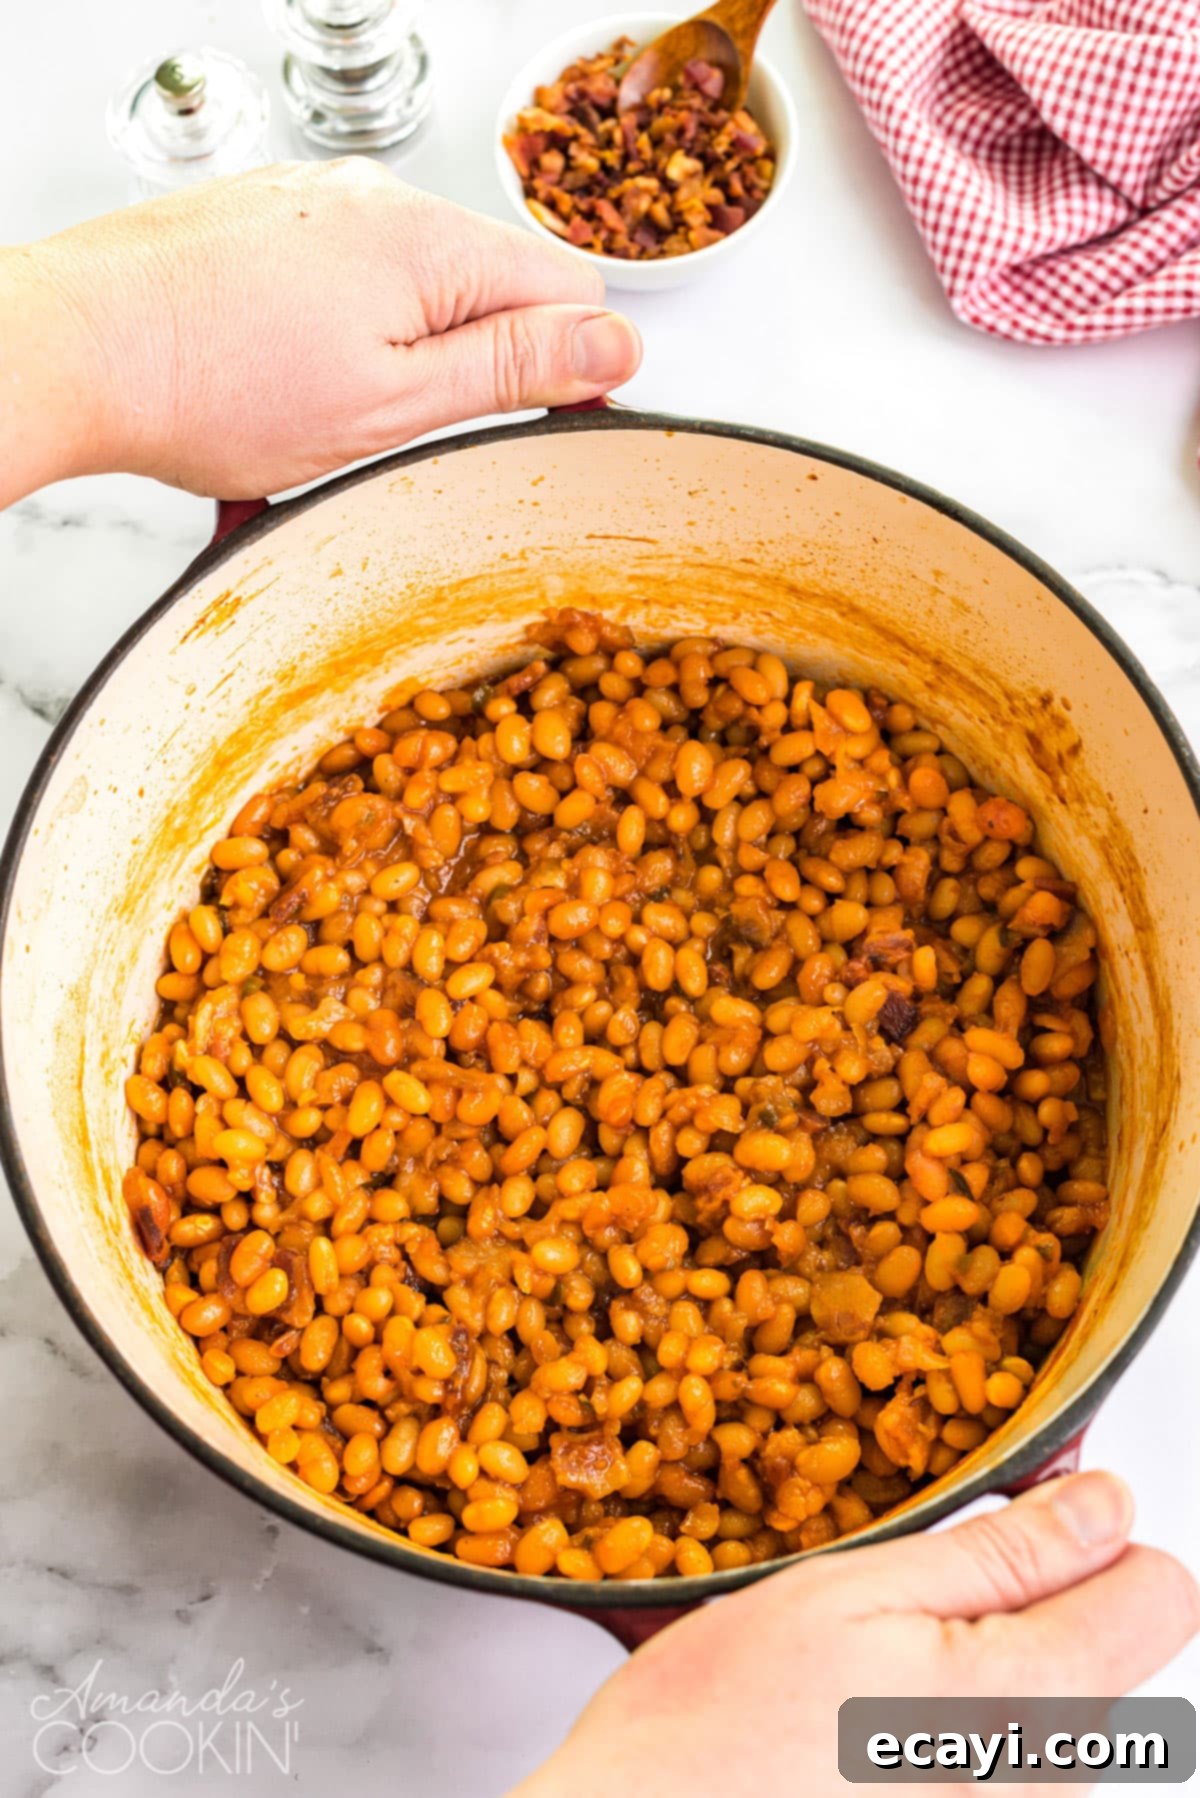
I genuinely hope you and your loved ones enjoy these incredible homemade baked beans as much as my family does! They strike that perfect balance of sweet and tangy, with a deep savory richness that makes them an absolute hit at all our summer get-togethers, potlucks, and barbecues. They’re more than just a side dish; they’re a comforting, flavorful experience that elevates any meal.
More Delicious Summer Recipes You Will Love:
Looking for more perfect companions for your homemade baked beans or inspiring dishes for your next summer gathering? Here are some fantastic recipes:
- Transform classic Mexican street corn into a vibrant and delicious salad! This Chili Lime Mexican Corn Salad is incredibly easy to make in just 15 minutes and is guaranteed to be a hit at your next cookout!
- This delectable Creamy Deviled Egg Layered Pasta Salad masterfully combines the beloved flavors of deviled eggs with a classic pasta salad. It’s a stunning and satisfying dish perfect for any potluck or family gathering.
- Elevate your grilling game with these flavorful marinated grilled chicken kabobs. This recipe steps outside the traditional by using red wine in the marinade instead of white, imparting a unique and delicious depth of flavor to your chicken.
- Need a delightful dessert to cap off your barbecue feast? This nostalgic vintage Watergate salad is a fantastic choice for any party or get-together. It’s easy to make, transports well, and always brings a smile to everyone’s face.
- And finally, for my English friends or anyone looking for a comforting twist, you can absolutely use this rich and flavorful baked bean recipe to pile on top of toasted bread to make classic beans on toast! It’s a simple yet incredibly satisfying meal.

Homemade Baked Beans
IMPORTANT – There are often Frequently Asked Questions within the blog post that you may find helpful. Simply scroll back up to read them!
Print It
Rate It
Save ItSaved!
Ingredients
- 1 lb dry navy beans or Great Northern
- 4 slices thick cut bacon cooked partway, then coarsely chopped
- 1 cup yellow onion chopped
- 1 medium jalapeño pepper seeded and chopped
- ½ cup brown sugar packed
- 2 teaspoons dry mustard
- ½ cup maple syrup
- 1 teaspoon liquid smoke
- ¾ cup ketchup
- ¼ cup apple cider vinegar
Before You Begin
- If you’re making a vegetarian version, skip the bacon and use a little vegetable oil instead. The bacon grease does give it a nice flavor if you don’t have a dietary reason for avoiding it.
- If you forget to soak your beans overnight, you can try quick-soaking your beans. TO do this, rinse the beans and place in a pot of water (should cover by 2 inches). Bring to a boil, boil one minute, then remove from heat. Cover the pan and let soak for one hour. Drain and rinse.
- If you use a Dutch oven, it can go right into the oven for baking. However, you can use a pot and then transfer the beans to a casserole dish if you prefer.
- The skins of the beans are ever-so-tender and can break up easily with over mixing. So use a light hand wherever the recipe says to stir.
Instructions
-
Sort through and rinse beans and remove any rocks.
-
Cover (about 2-inches over the beans) with water and soak overnight. Roughly 4 cups of water.
-
Drain beans; cover with 6 cups of fresh water. Should cover the beans by at least an inch.
-
Bring to a boil. Reduce heat, cover, and simmer for one hour.
-
While beans are cooking, fry your bacon partway (bacon should not get crispy); remove to drain on paper towels. Coarsely chop when cooled.
-
Leave a couple tablespoons of bacon grease in the pan, and sauté your chopped onion and jalapeño until onion is translucent (a couple minutes). Allow the onion and jalapeño drain on paper towels as well.
-
Towards the end of the beans’ cooking process, preheat your oven to 300 degrees.
-
When beans are done, drain over a bowl or pan so you can reserve the cooking liquid.
-
In a Dutch oven, combine onion and jalapeño mixture, brown sugar, maple syrup, liquid smoke, dry mustard, and one cup of the bean liquid. Stir together then add the drained beans. Gently stir to combine.
-
Cover and bake for 1 hour.
-
Remove from oven and stirring gently, add ketchup, apple cider vinegar, and the coarsely chopped bacon to beans. If it appears that the beans need more liquid, go ahead and add more of the reserved bean liquid as needed.
-
Cook for 1 hour. Test to make sure beans are done; cook a little longer if necessary, up to 1.5 hours.
-
Remove cover and bake for 20-30 minutes more to thicken sauce. Stir gently, allow to cool 10 minutes, and serve.
Nutrition
The recipes on this blog are tested with a conventional gas oven and gas stovetop. It’s important to note that some ovens, especially as they age, can cook and bake inconsistently. Using an inexpensive oven thermometer can assure you that your oven is truly heating to the proper temperature. If you use a toaster oven or countertop oven, please keep in mind that they may not distribute heat the same as a conventional full sized oven and you may need to adjust your cooking/baking times. In the case of recipes made with a pressure cooker, air fryer, slow cooker, or other appliance, a link to the appliances we use is listed within each respective recipe. For baking recipes where measurements are given by weight, please note that results may not be the same if cups are used instead, and we can’t guarantee success with that method.
This post originally appeared here on June 25, 2016 and has since been updated with new photos and expanded content for an even better reader experience.
