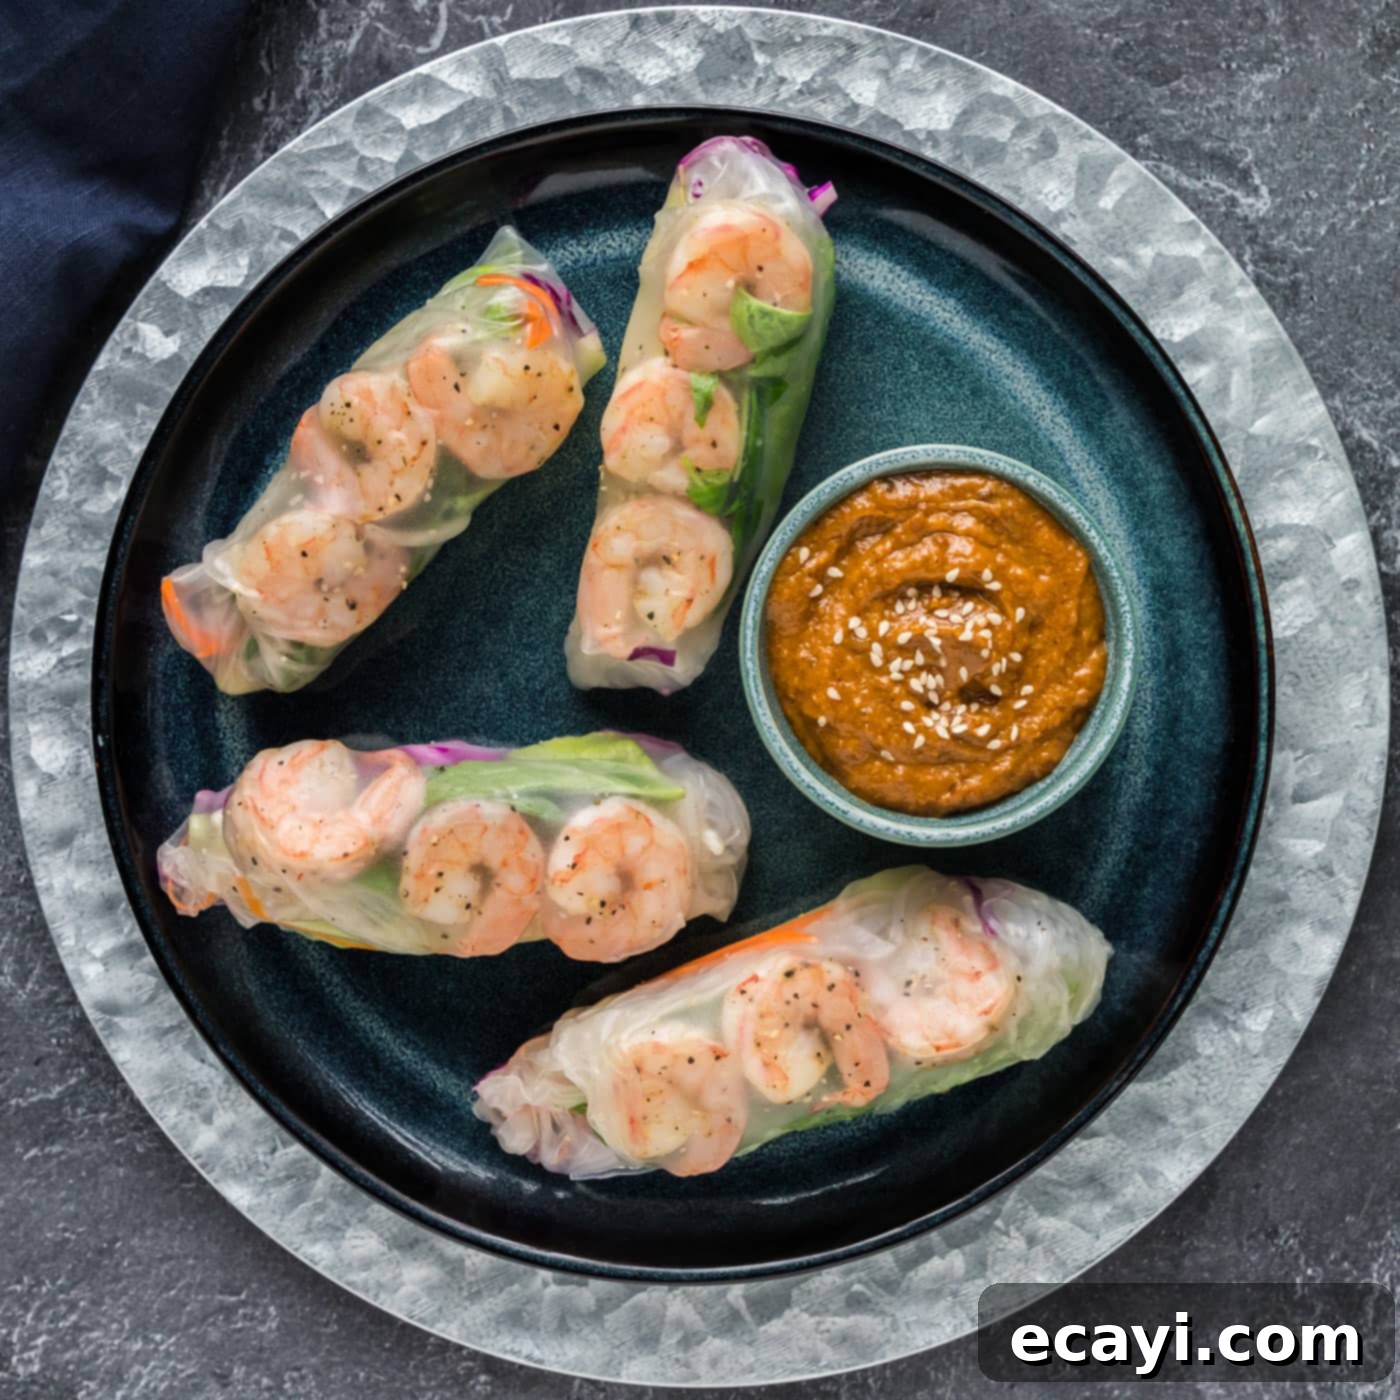
Fresh & Healthy Shrimp Spring Rolls: An Easy Recipe for Vibrant Flavor
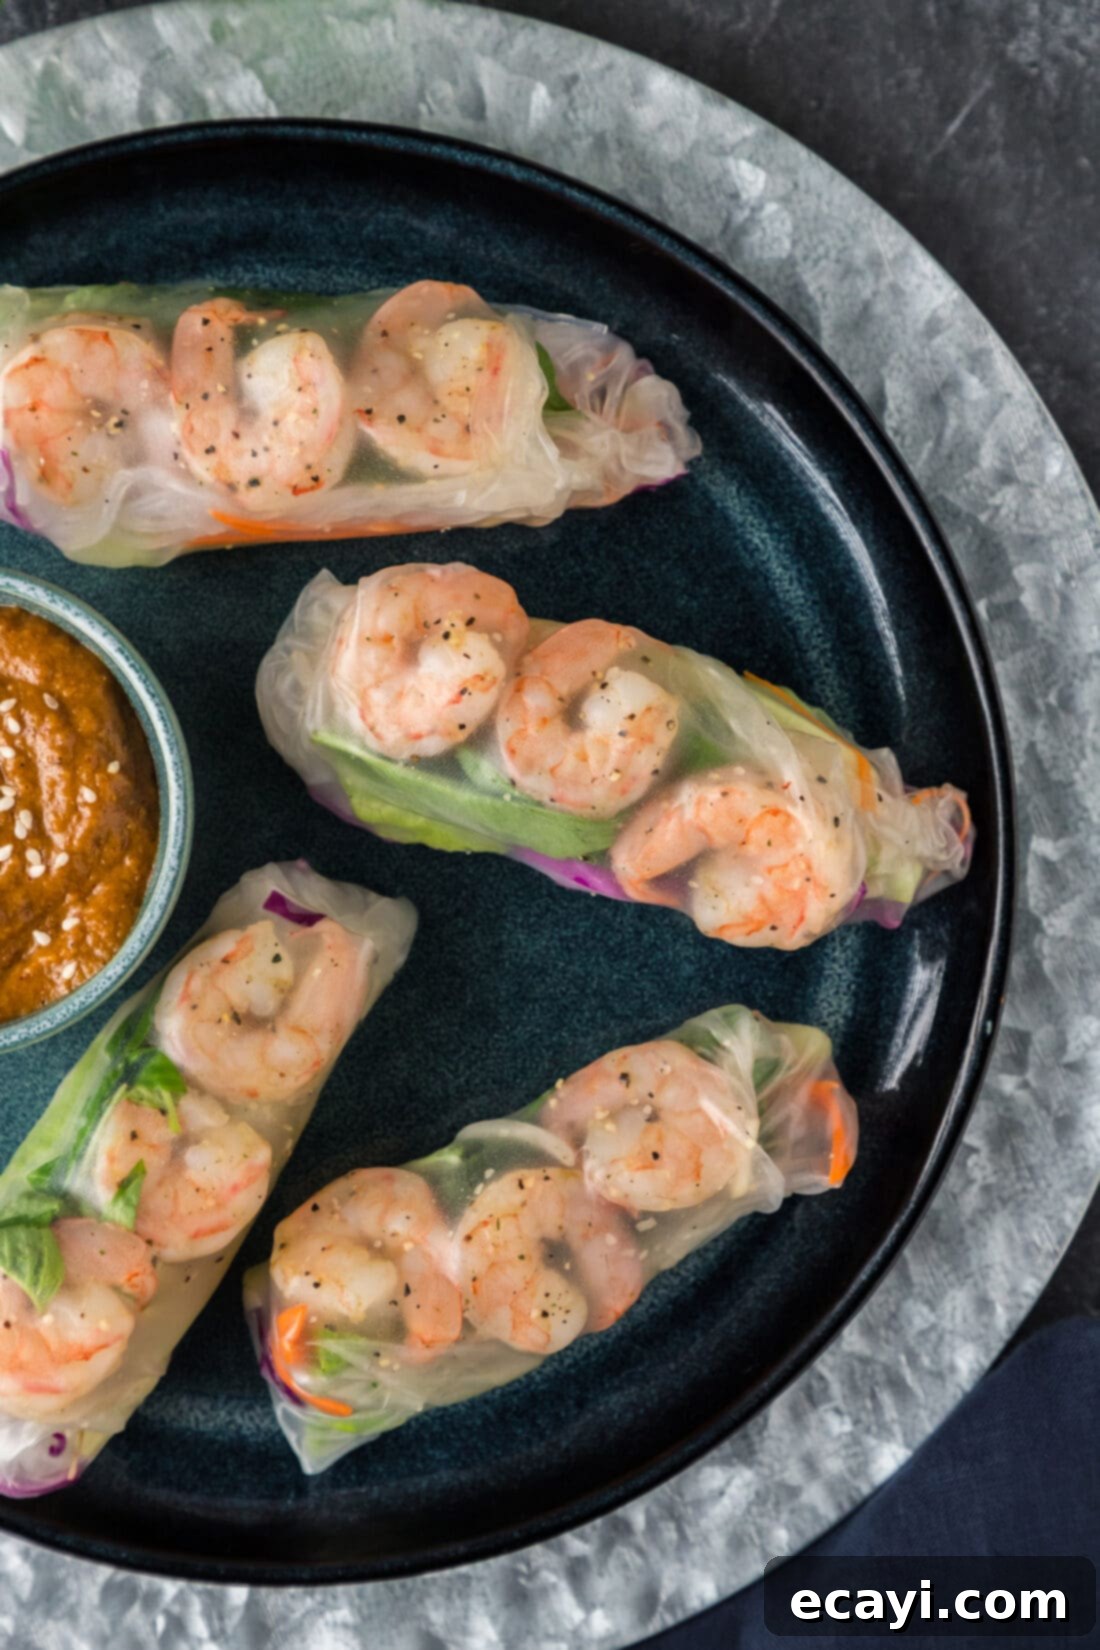
Discover the art of creating incredibly fresh, healthy, and flavorful shrimp spring rolls right in your own kitchen! These delightful rolls are a harmony of textures and tastes, featuring succulent cooked shrimp, crisp, vibrant vegetables, and delicate bean thread noodles, all snugly wrapped in translucent rice paper. They’re not just a meal; they’re an experience – quick to assemble, incredibly satisfying, and perfect for a light lunch, a refreshing appetizer, or a crowd-pleasing party snack. Forget the deep-fried versions; these fresh spring rolls offer a guilt-free indulgence that’s packed with nutrients and irresistible flavor.
Why This Fresh Shrimp Spring Roll Recipe is a Must-Try
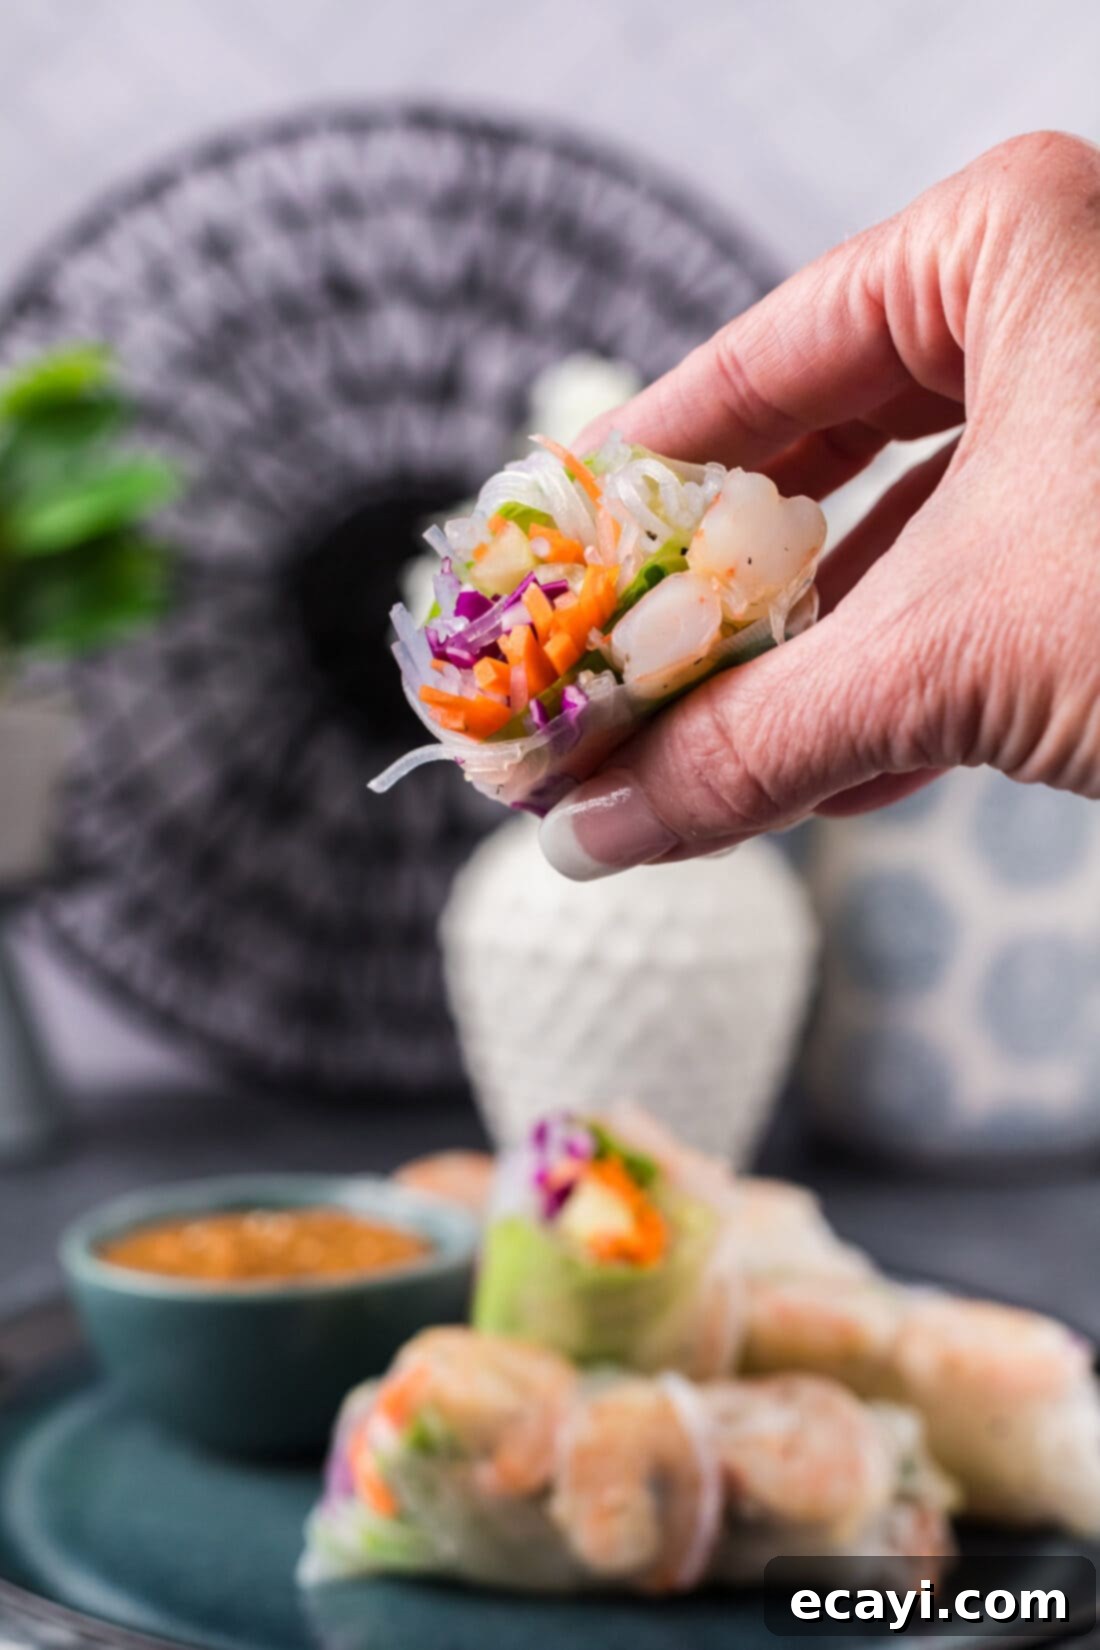
There’s a reason why fresh spring rolls, especially those featuring juicy shrimp, are a beloved dish in Vietnamese cuisine and beyond. This recipe elevates your typical vegetable spring rolls by incorporating tender, perfectly seasoned shrimp, transforming them into a more substantial and equally refreshing delight. The magic lies in the symphony of textures: the satisfying crunch of fresh romaine lettuce, red cabbage, and carrots, the delicate chewiness of bean thread noodles, and the tender bite of shrimp, all encased in a soft, pliable rice paper wrapper. Unlike their fried counterparts, these fresh rolls are light, never greasy, and burst with natural flavors, making them an excellent choice for health-conscious eaters.
Beyond their incredible taste, these shrimp spring rolls are incredibly easy to prepare, requiring minimal cooking (just a quick blanch for the shrimp and noodles). The bulk of the effort goes into simple chopping and assembling, making it a fantastic hands-on activity if you’re cooking with family or friends. They are endlessly customizable, allowing you to tailor the fillings to your preference, and they pair beautifully with a variety of dipping sauces, from a classic peanut sauce to a tangy sweet chili. Whether you’re aiming for a nutritious lunch, an elegant appetizer, or a vibrant addition to a dinner party, these fresh shrimp spring rolls are guaranteed to impress with their ease and deliciousness.
Essential Ingredients for Your Homemade Shrimp Spring Rolls
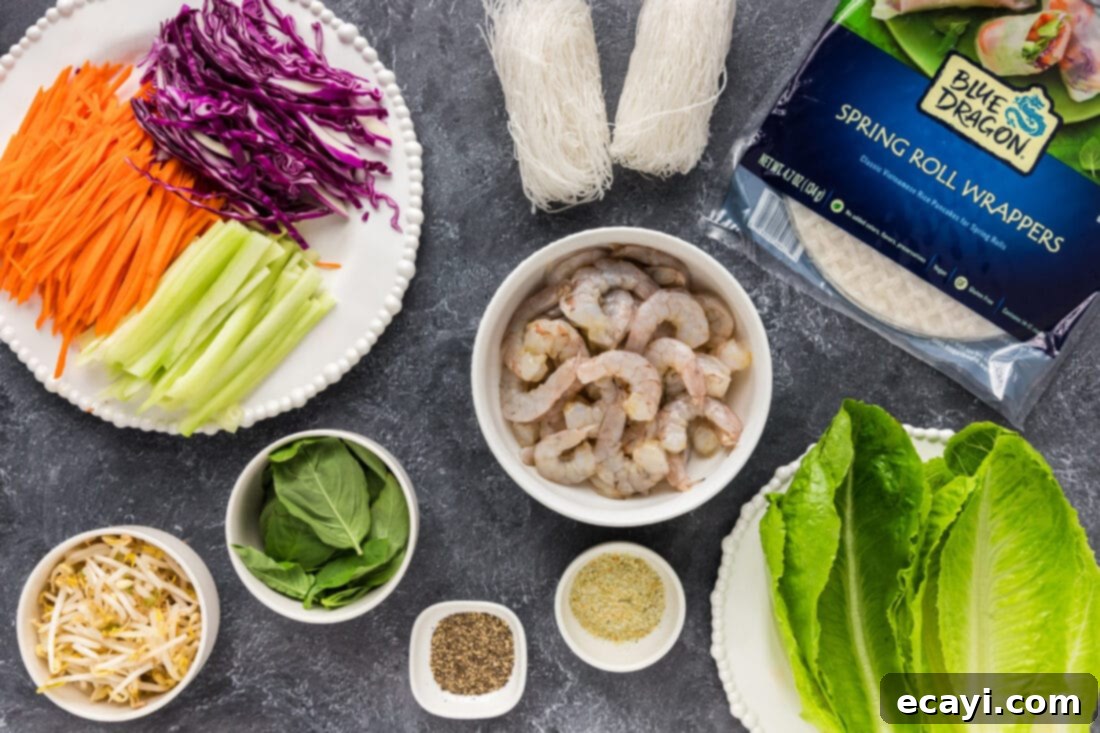
Crafting the perfect shrimp spring roll starts with selecting the freshest, highest-quality ingredients. Each component plays a vital role in achieving that signature balance of flavor and texture. Below, you’ll find a detailed list of what you’ll need, along with helpful tips for selection and potential substitutions. All precise measurements and comprehensive instructions are available in the printable recipe card at the very end of this article.
Ingredient Spotlight and Smart Substitutions
SHRIMP: For this recipe, you’ll need approximately 1 pound of medium raw shrimp, preferably peeled, deveined, and with tails removed for easier eating. While frozen shrimp are perfectly acceptable and often more convenient, ensure they are thoroughly thawed before you begin cooking. A quick thawing method involves placing them in a zip-top bag and submerging the bag in a bowl of cold water for about 15-20 minutes. Although pre-cooked shrimp can be used in a pinch, we highly recommend raw shrimp. Cooking it fresh ensures a superior texture that perfectly complements the crisp vegetables, avoiding the rubberiness sometimes associated with reheating pre-cooked shrimp. Seasoning the shrimp simply with garlic salt and pepper after cooking enhances its natural sweetness.
FRESH VEGETABLES: The backbone of these healthy spring rolls is an abundance of crisp, fresh vegetables. Our recipe calls for romaine lettuce, thinly sliced red cabbage, julienned carrots, finely diced celery, and crunchy bean sprouts. These provide a fantastic textural contrast and a burst of freshness. When preparing your vegetables, pay close attention to the length and thickness of your cuts. They should be uniformly thin and not too long, to prevent them from tearing through the delicate spring roll wrappers. Don’t hesitate to personalize your rolls by adding other vegetables you love, such as thinly sliced cucumber, bell peppers, or even avocado for a creamy touch. Fresh herbs like cilantro or mint can also add an extra layer of aromatic flavor.
NOODLES: Bean threads, also known as mung bean noodles, cellophane noodles, or glass noodles, are ideal for these rolls due to their delicate, slightly chewy texture and translucent appearance when cooked. They are incredibly easy to prepare; simply follow the package instructions, which usually involve soaking them in hot water for a few minutes until tender, then draining and rinsing with cold water to prevent sticking. If bean threads are unavailable or if you prefer a different texture, fine rice vermicelli noodles make an excellent substitute. These are also widely available and prepared in a similar fashion.
SPRING ROLL WRAPPERS: The wrappers are arguably the most crucial component, providing the structural integrity and signature delicate texture. These are typically made from rice paper and can be found in various sizes at Asian grocery stores or in the international aisle of larger supermarkets. Choose round or square wrappers, as both work well. It’s essential to use room temperature water for softening them, as hot water can make them too sticky and fragile, while cold water might not soften them adequately. Ensure your workstation is prepared with a damp cloth or paper towels to prevent the softened wrappers from drying out too quickly or sticking to your surface.
Step-by-Step Guide: How to Master Shrimp Spring Rolls
These step-by-step photos and detailed instructions are designed to guide you visually through the process of making these delicious fresh spring rolls. For a printer-friendly version of this recipe, complete with precise measurements and instructions, you can simply Jump to Recipe at the bottom of this page.
-
Cook the Shrimp to Perfection
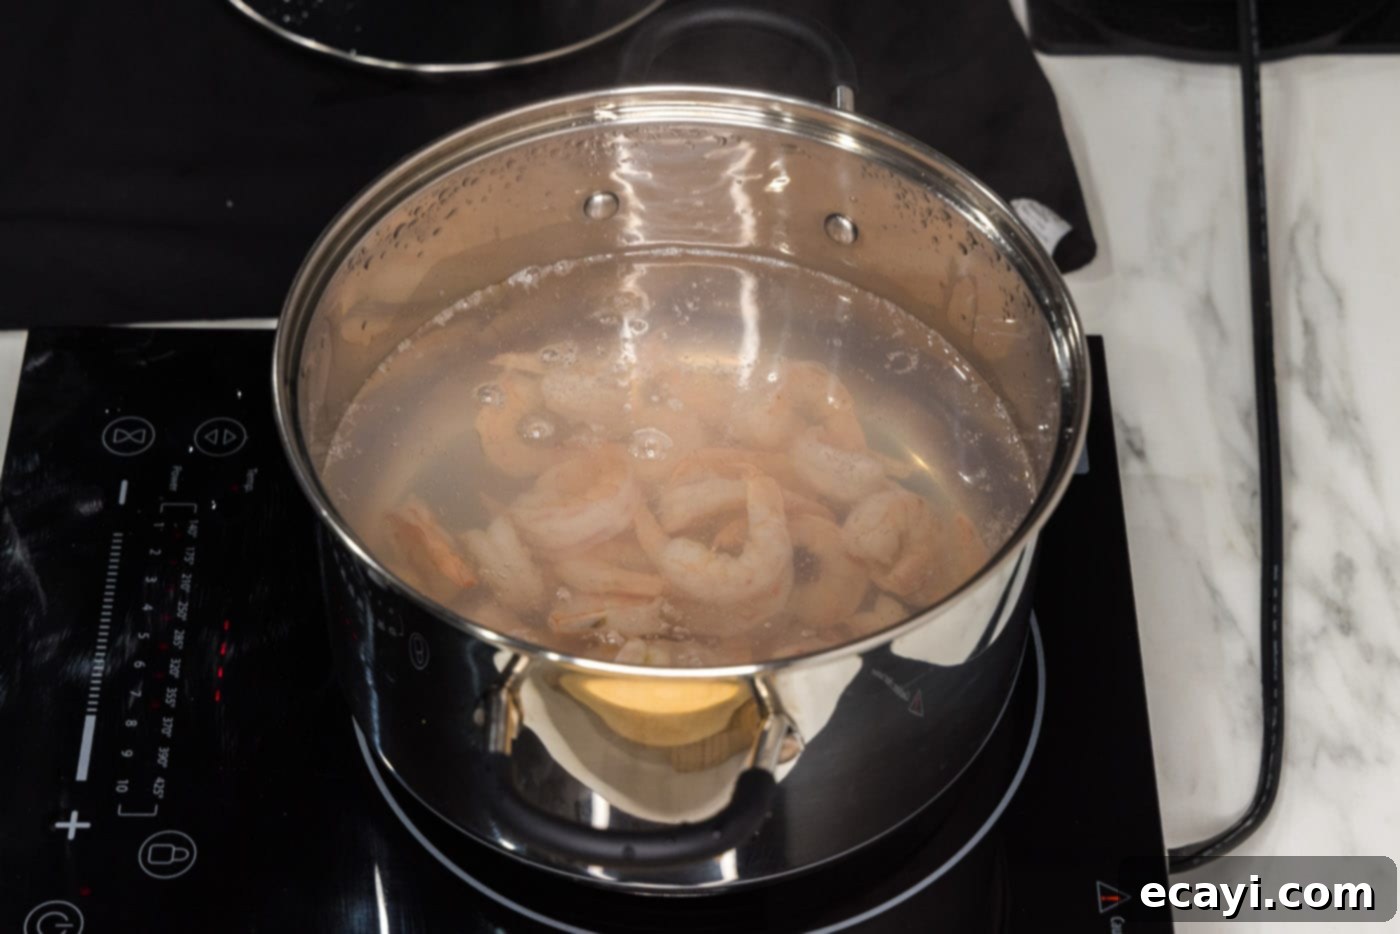
Start by filling a stockpot about two-thirds full with water. Bring this water to a rolling boil over medium-high heat. Once boiling, add your peeled and deveined shrimp to the water. Immediately turn off the heat and stir the shrimp gently. Allow the shrimp to sit in the hot water for just 2-3 minutes. This method gently cooks the shrimp, keeping them tender and preventing them from becoming rubbery. They should turn opaque pink when ready.

Shrimp cooking in hot water, transforming from translucent to opaque pink. -
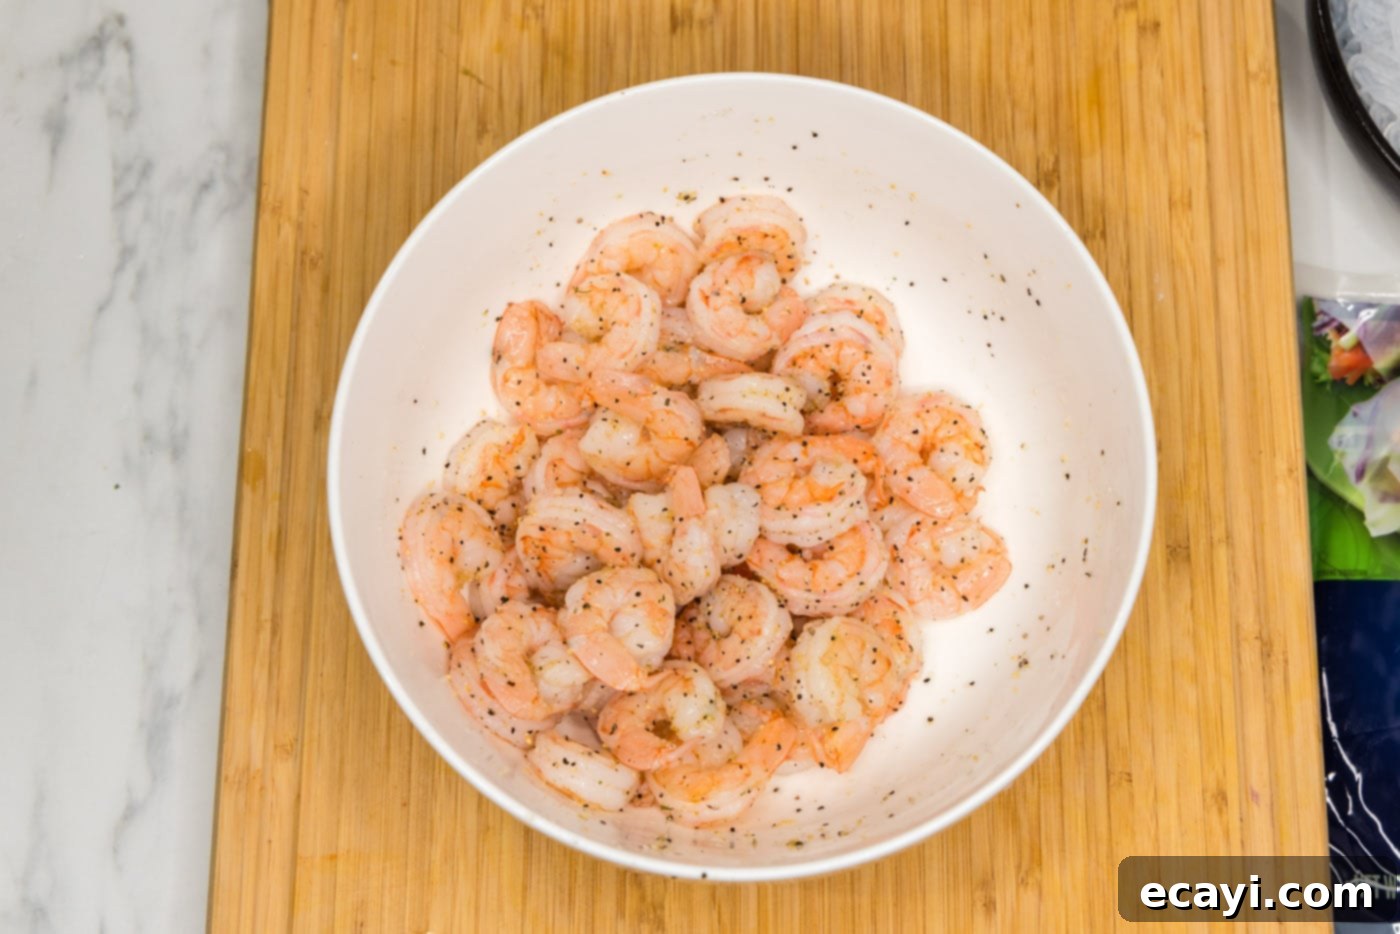
Once cooked, drain the shrimp thoroughly through a colander and transfer them to a large mixing bowl. Season the warm shrimp generously with 2 teaspoons of garlic salt and 1 teaspoon of black pepper. For best results and to ensure even distribution of seasonings, use gloved hands to gently toss the shrimp. This step infuses the shrimp with flavor, making them even more delicious in the rolls.

Seasoned shrimp in a bowl, ready to be added to the spring rolls. -
Prepare Your Fresh Fillings
While the shrimp cools slightly, prepare your noodles and vegetables. Cook the bean threads according to their package directions. This typically involves soaking them in hot water until tender, then draining and rinsing with cold water to stop the cooking process and prevent sticking.
-
Remove the woody stems from your fresh basil leaves. Having whole, fresh leaves ready is key for that aromatic burst in each bite.
-
Carefully separate the head of romaine lettuce into individual leaves, washing and drying each one thoroughly. These will form the initial layer of freshness in your rolls.
-
Julienne cut the carrots, celery, and red cabbage. Aim for thin, uniform strips – about 2 inches in length is ideal. This ensures that the vegetables are easy to bite through and won’t poke through the delicate wrappers. Consistency in cutting also contributes to the aesthetic appeal of your spring rolls.
-
Place the bean sprouts in a small bowl, ready for easy access during assembly.
-
Master the Wrapping Technique
Before you start wrapping, dampen a few paper towels or a clean kitchen towel and lay it flat on your work surface. This creates a non-stick area for your softened wrappers and helps keep them pliable.
-
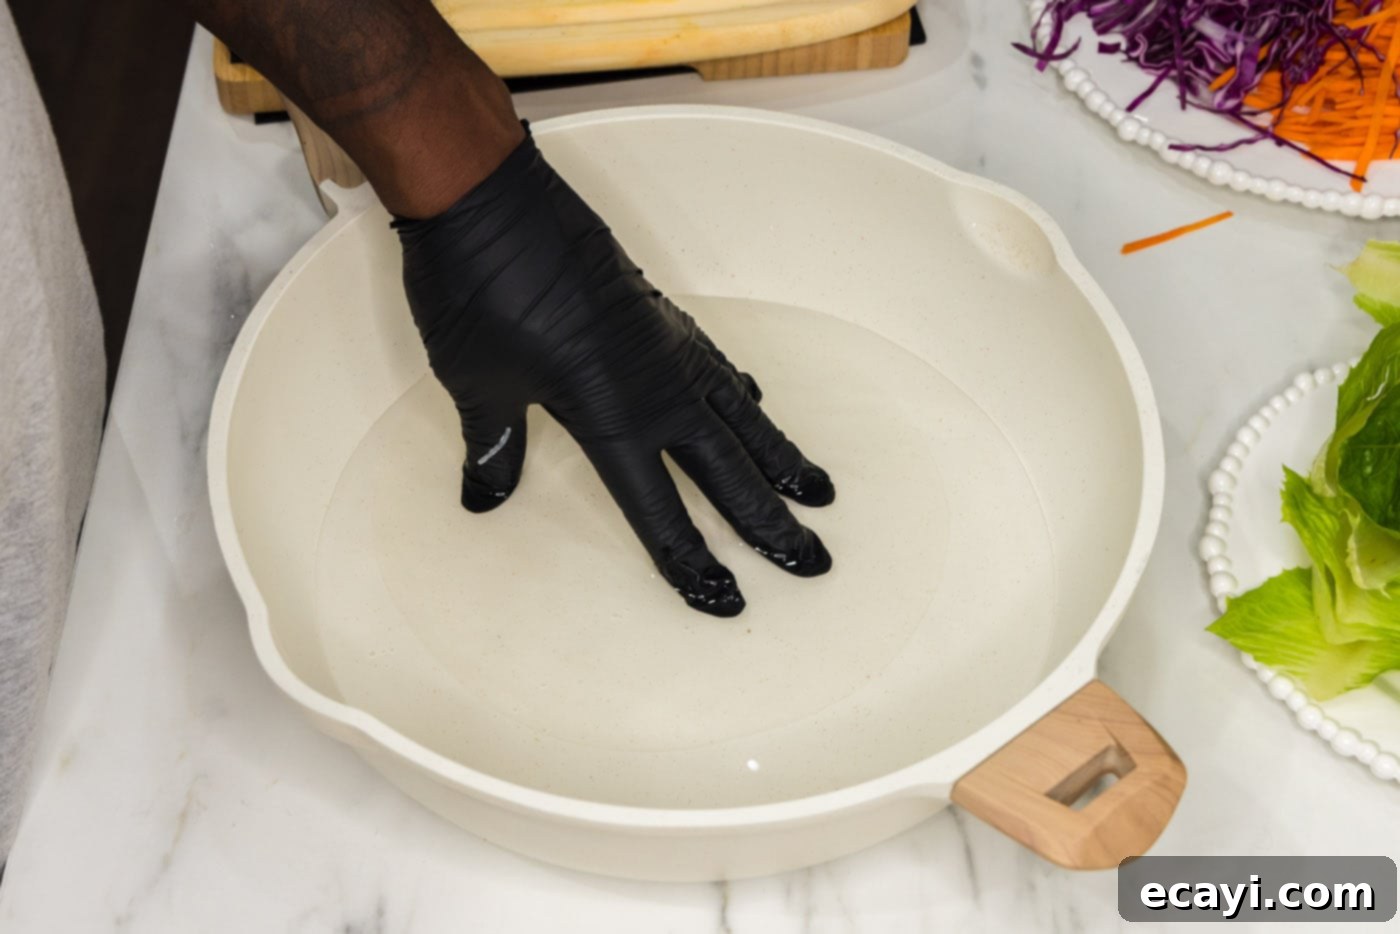
Pour about 2 inches of room temperature tap water into a wide skillet or a shallow dish large enough to comfortably submerge a spring roll wrapper.
-
Working with one wrapper at a time, dip the spring roll wrapper into the water. Turn it over quickly to ensure both sides are moistened, then immediately remove it and place it flat on your damp towel. It will still be firm but will soften over the next 30-60 seconds. Do not oversoak, or it will become too fragile to work with.

The rice paper wrapper being carefully softened in water. -
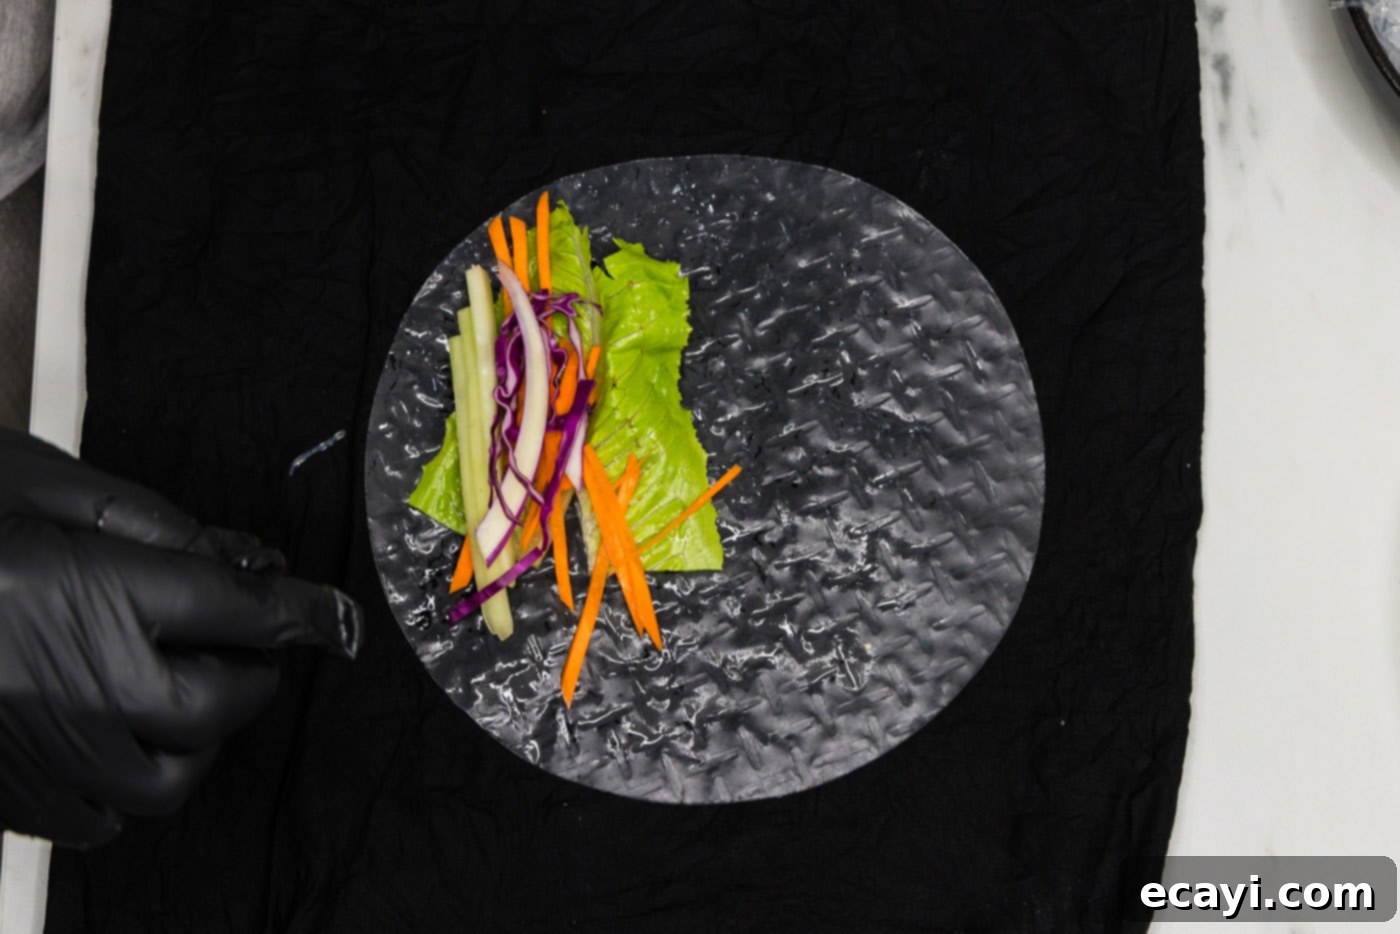
Once the wrapper is pliable, begin layering your fillings near the bottom edge, leaving enough space on the sides for folding. Start with a single lettuce leaf, followed by a small mound of bean threads, a sprinkle of bean sprouts, and a selection of your julienned carrots, celery, and red cabbage.

The initial layer of fresh vegetables placed on the softened wrapper. -
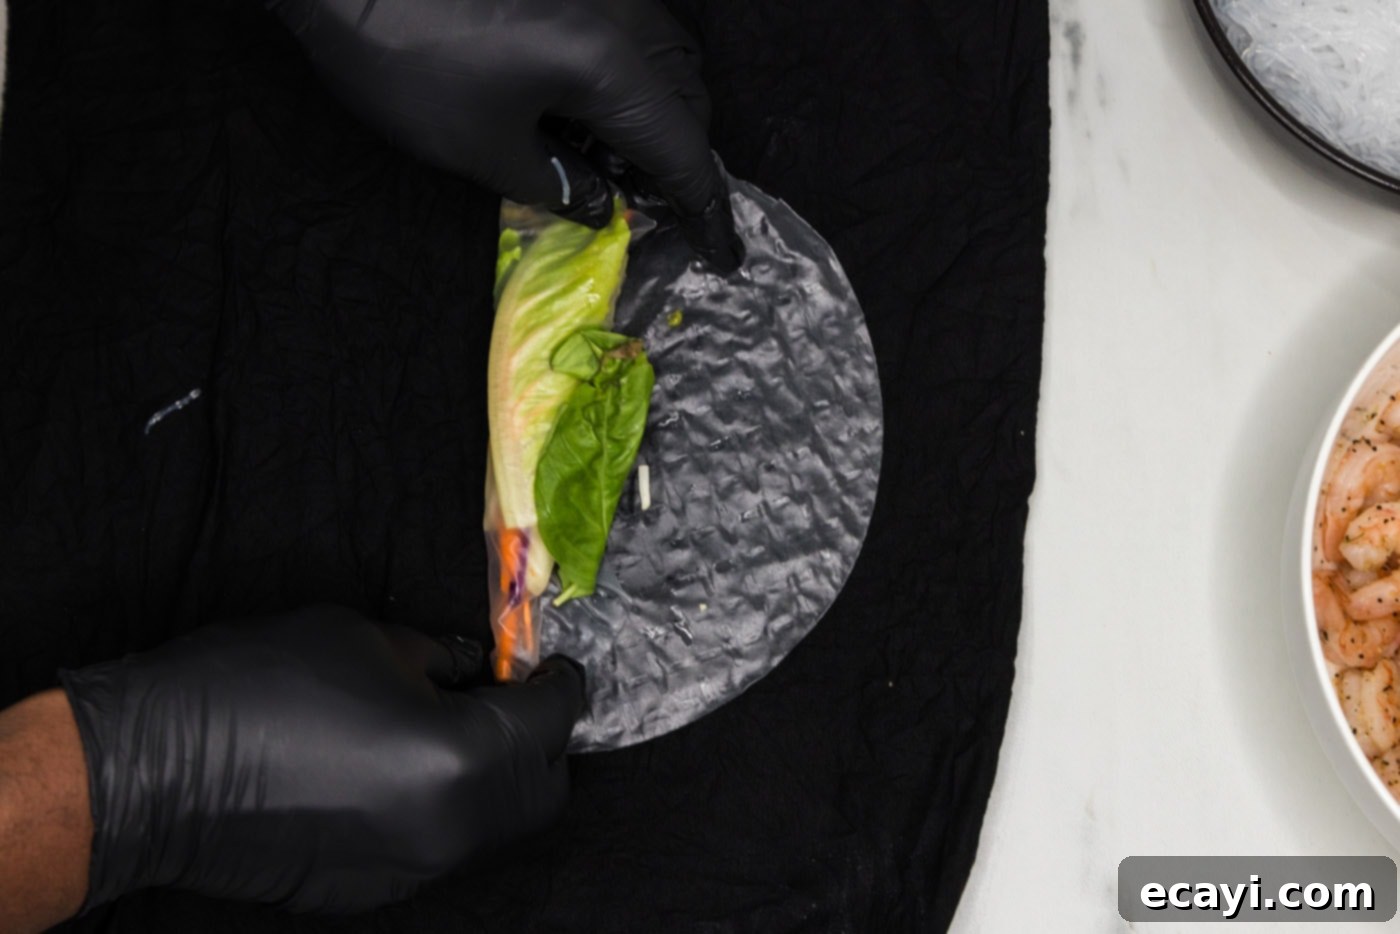
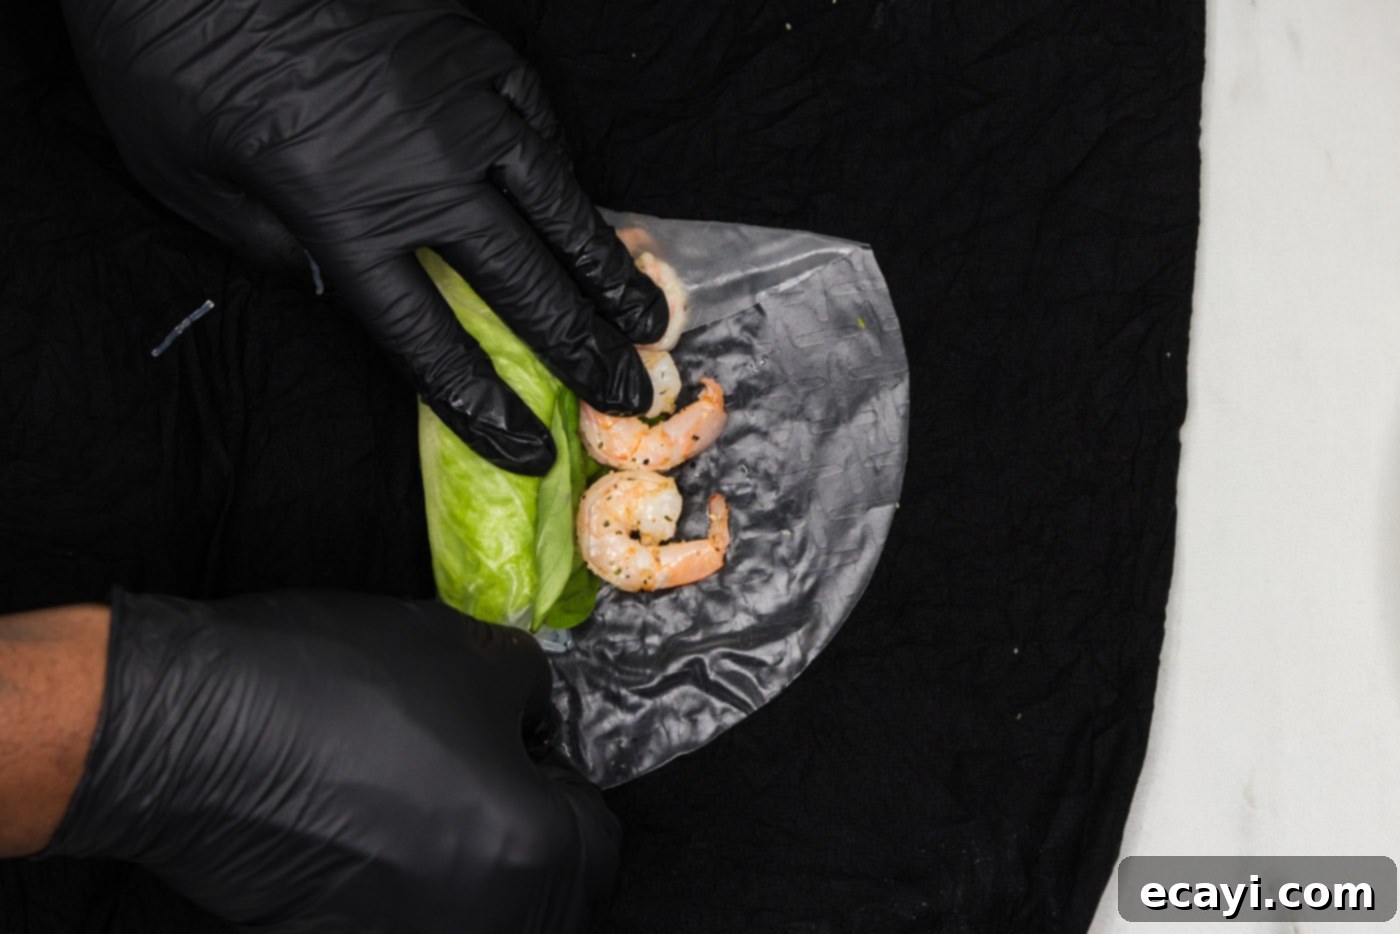
Begin to roll the wrapper tightly from the bottom edge, rolling it halfway up. Then, place a couple of fresh basil leaves directly above the rolled portion, followed by 3 pieces of your seasoned shrimp, arranging them in a line across the center. This placement ensures the beautiful pink shrimp is visible through the wrapper.

The first fold of the wrapper, ready for the basil and shrimp. 
Shrimp and basil added, preparing for the final folds. -
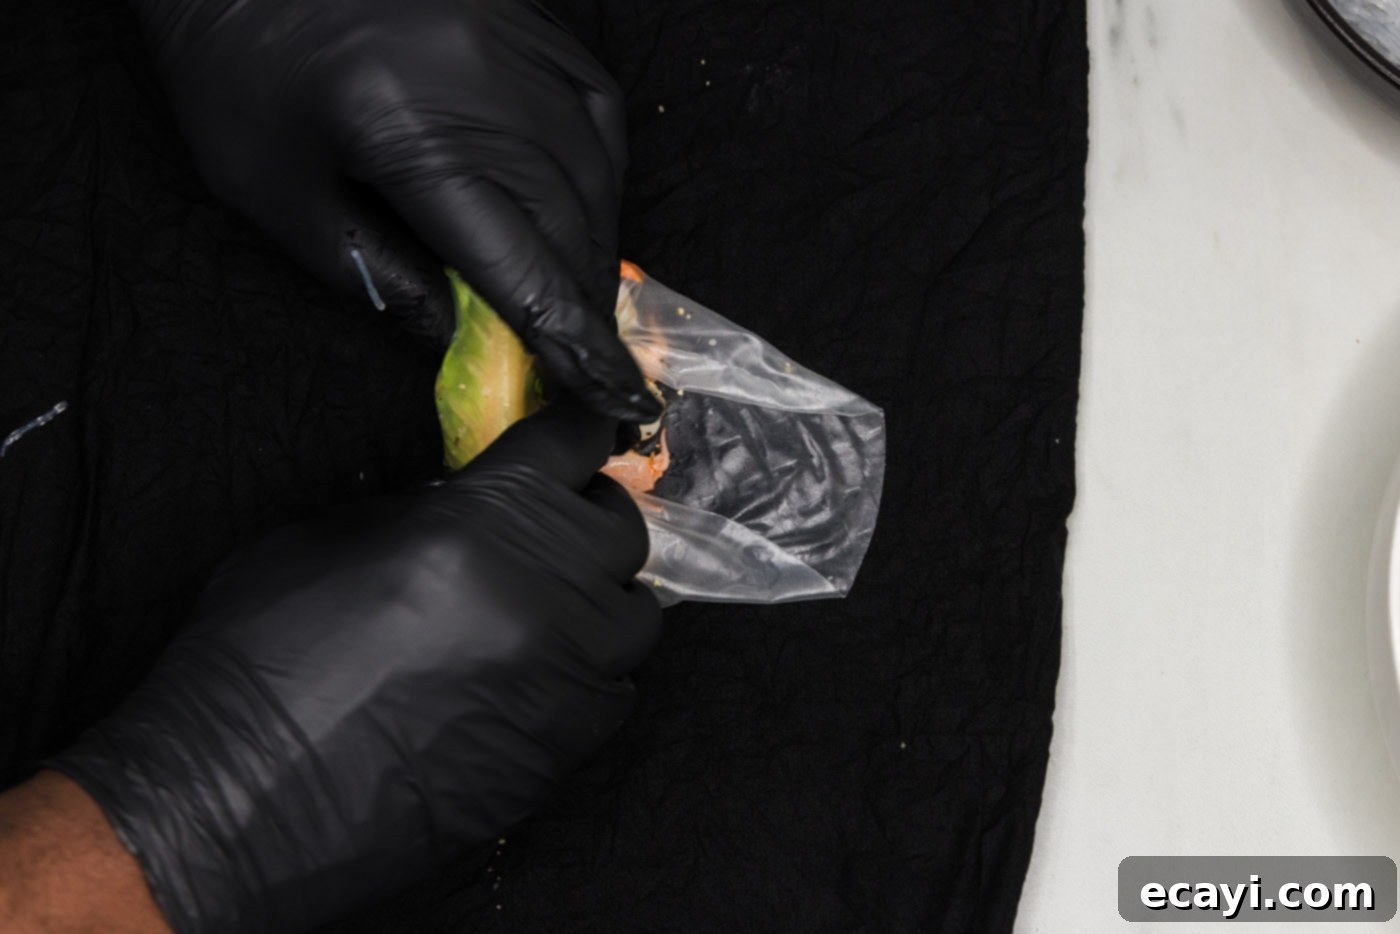
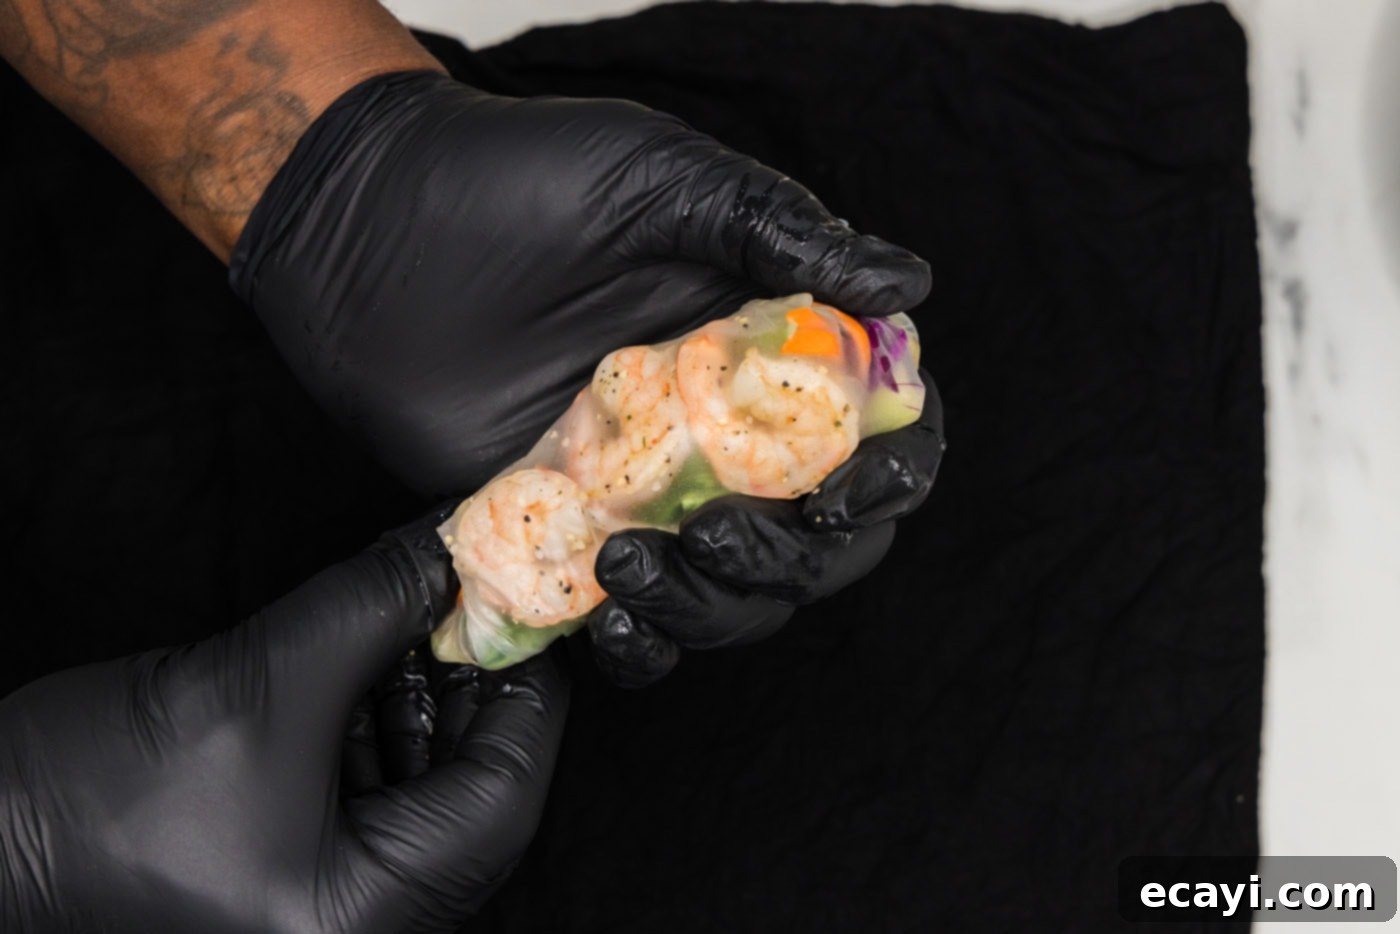
Continue rolling, folding in the sides like a burrito or a tightly wrapped package. The natural stickiness of the damp spring roll wrapper will seal it closed securely. Aim for a firm, compact roll that holds its shape. Repeat the process with the remaining wrappers and fillings. Serve immediately with your favorite dipping sauce!

Folding in the sides to create a neat, secure roll. 
The final stage of rolling, ensuring all fillings are tightly enclosed.
Frequently Asked Questions & Expert Tips for Perfect Spring Rolls
Yes, you can prepare shrimp spring rolls a day in advance, but it’s important to manage their storage carefully to maintain the best texture. The rice paper wrappers can become slightly rubbery or brittle when refrigerated overnight if not stored correctly. To minimize this, wrap each spring roll individually or in small batches with a damp paper towel, then place them in an airtight container or cover them tightly with plastic wrap before refrigerating. The damp paper towel helps to maintain the wrapper’s pliable texture. If you need to layer them in a container, ensure you place a sheet of parchment paper or plastic wrap between each layer to prevent them from sticking together. While they are still delicious the next day, they are truly at their peak freshness and texture when enjoyed within a few hours of preparation.
Store any leftover shrimp spring rolls in an airtight container in the refrigerator for 1-2 days. Following the same method as preparing them ahead of time – wrapping them in a damp paper towel and separating layers with parchment paper – will help preserve their quality. However, for the freshest taste and texture, it’s always best to consume them as soon as possible.
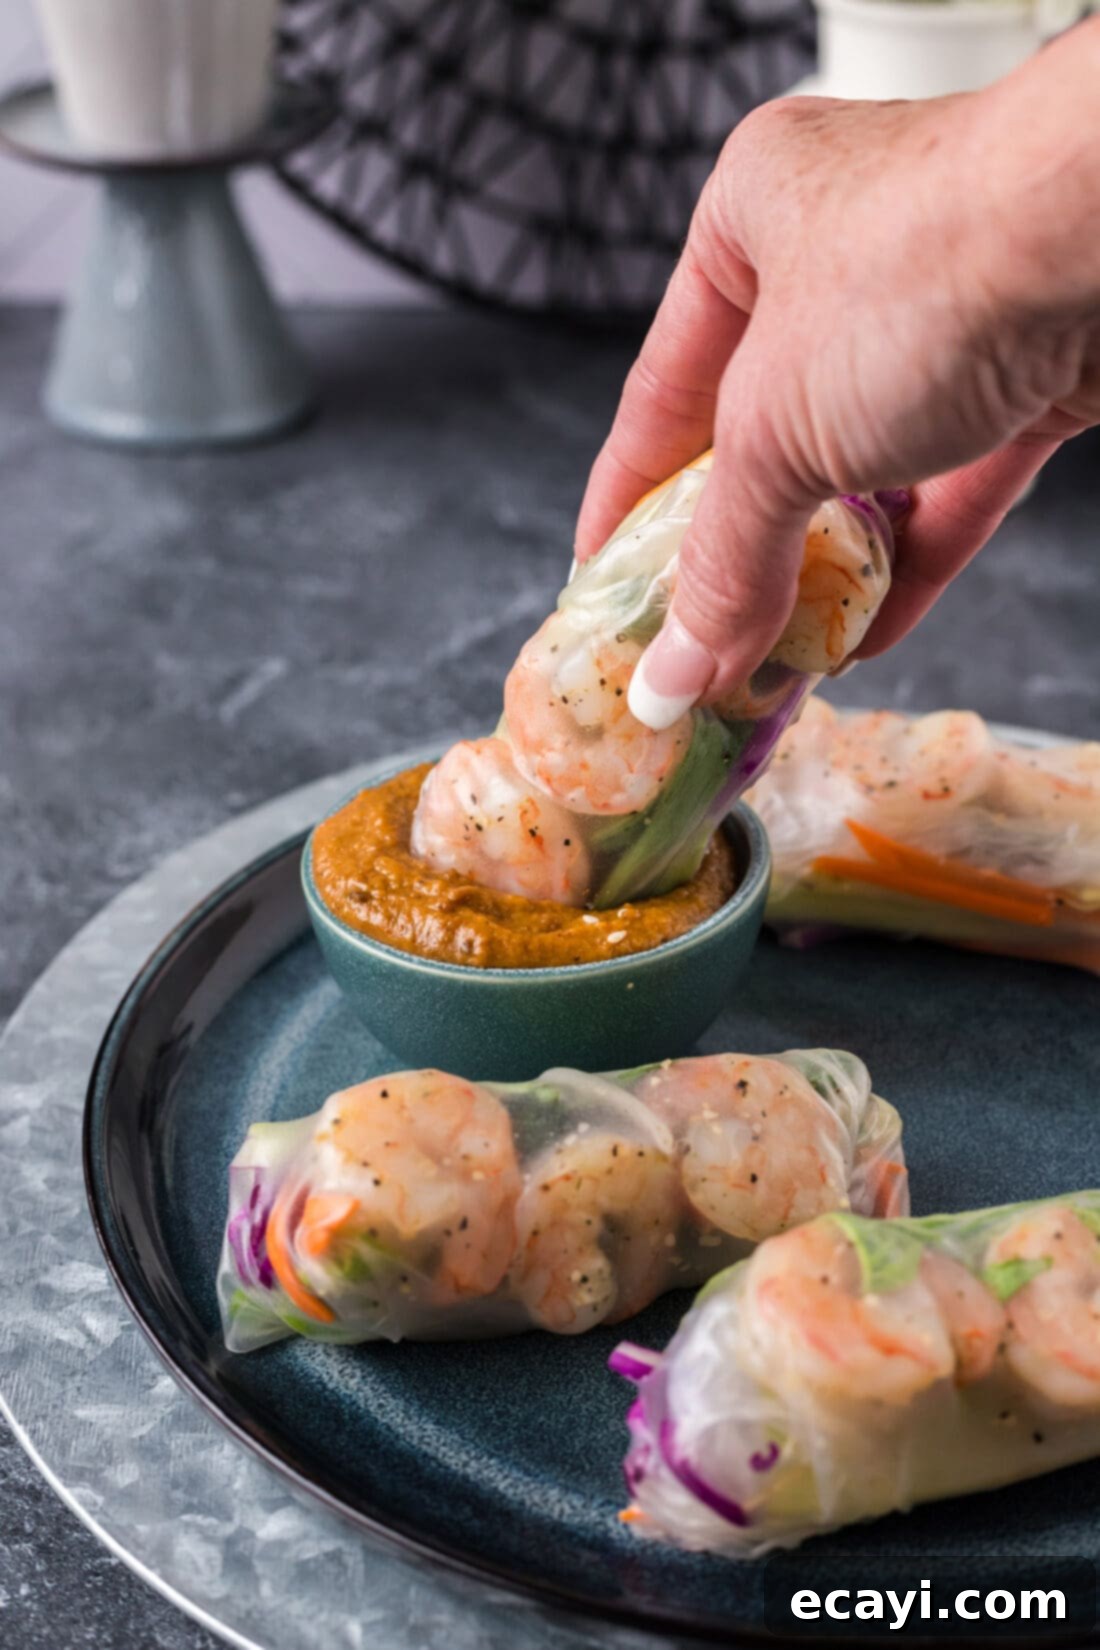
Shrimp spring rolls are incredibly versatile and pair well with a variety of dipping sauces. Classic choices include creamy peanut sauce, tangy Thai sweet chili sauce, or a simple homemade sweet and sour sauce. For an authentic Vietnamese experience, try Nuoc Cham, a sweet and savory fish sauce-based condiment. You can also experiment with hoisin sauce, or a spicy sriracha mayo for a bit of a kick. Having a few different sauces allows everyone to choose their favorite!
Tearing wrappers can be frustrating but is a common issue for beginners. It often happens if the wrapper is oversoaked and becomes too fragile, or if it’s not soft enough and you’re trying to force a fold. Ensure you only dip the wrapper for a few seconds until it’s just pliable, and work quickly but gently. If a wrapper does tear, don’t worry! You can often patch it up with a small piece of another moistened wrapper, or simply start with a new one. With practice, you’ll get a feel for the perfect soaking time and rolling pressure.
Absolutely! This recipe is incredibly adaptable. While shrimp is a fantastic choice, you can easily substitute or add other proteins like thinly sliced cooked chicken, pork, or even pan-fried tofu for a vegetarian option. For vegetables, feel free to include finely sliced bell peppers, jicama, red onion, or even a different type of lettuce. Fresh herbs like cilantro, mint, or even Thai basil can add exciting aromatic dimensions. Experiment to find your perfect combination!
Serving Suggestions for Your Shrimp Spring Rolls
These fresh shrimp spring rolls are incredibly versatile when it comes to serving. They are delightful on their own as a light and healthy snack or can form the centerpiece of a vibrant appetizer platter. As mentioned, they pair exceptionally well with a variety of dipping sauces. Create a dipping sauce bar for your guests with options like creamy peanut sauce, a bright and tangy Thai sweet chili sauce, or a classic sweet and sour sauce. For an authentic experience, a traditional Vietnamese Nuoc Cham sauce (fish sauce-based) is a must-try. You can also whip up a quick sriracha mayo by combining mayonnaise, sriracha, and a squeeze of lime juice for a creamy, spicy kick.
For an elevated presentation, arrange the freshly rolled spring rolls on a large platter with small bowls of your chosen sauces. Garnish with fresh cilantro or chopped peanuts for added visual appeal and texture. While they can be enjoyed immediately after rolling, chilling them in the refrigerator for about an hour before serving can enhance their refreshing qualities, especially on a warm day. They make a fantastic addition to any gathering, from casual backyard BBQs to more formal dinner parties, always bringing a burst of freshness and flavor to the table.
More Delicious Related Recipes to Explore
If you loved these shrimp spring rolls, you’ll surely enjoy exploring other fresh and flavorful Asian-inspired dishes. Here are some more recipes that complement this light and healthy theme:
- Shrimp Tempura – For when you crave something crispy and fried.
- Vegetable Spring Rolls – A wonderful vegetarian alternative or addition.
- Lobster Cucumber Boats – Another fresh and elegant appetizer idea.
- Mexican Style Summer Rolls – A creative twist on the classic fresh roll.
- Shrimp Pad Thai – A hearty and flavorful noodle dish.
I love to bake and cook and share my kitchen experience with all of you! Remembering to come back each day can be tough, that’s why I offer a convenient newsletter every time a new recipe posts. Simply subscribe and start receiving your free daily recipes!
Fresh & Healthy Shrimp Spring Rolls
5 from 4 votes
IMPORTANT – Don’t forget to scroll up and read the Frequently Asked Questions and Expert Tips sections within the blog post for additional helpful advice!
Print Recipe
Pin Recipe
Rate It
Ingredients
- 1 pound medium raw shrimp peeled, deveined, tails removed
- 2 teaspoons garlic salt
- 1 teaspoon black pepper
- 3 ounces bean threads about 1/2 a package
- 1 bunch fresh basil leaves
- 1 head Romaine lettuce leaves
- 1 cup red cabbage julienned
- 1 large carrot julienned
- 1 stalk celery julienned
- 1 cup bean sprouts
- 4.7 ounces spring roll wrappers 1 package, typically round rice paper
Things You’ll Need
-
Stockpot
-
Colander
-
Mixing bowls
-
Vinyl gloves
-
Skillet (or shallow dish for dipping wrappers)
Before You Begin & Expert Tips
- Mise en Place is Key: It’s crucial to have all your ingredients prepped, chopped, and organized before you begin the rolling process. This makes assembly much smoother and more enjoyable.
- Working with Wrappers: Only work with one wrapper at a time. The damp spring roll wrappers can be quite sticky, so we highly recommend wearing vinyl gloves to prevent them from adhering to your hands and to make handling easier.
- Proper Vegetable Cut: Be mindful that your vegetables are not cut too long or too thick, as this can cause them to poke through the delicate wrappers, leading to tears. Uniform, thin julienne cuts are best.
- Noodle Know-How: Bean threads (mung bean noodles, cellophane noodles, glass noodles) are very easy to prepare. Always refer to your package instructions for specific soaking or cooking times. If you prefer, rice vermicelli noodles are an excellent substitute.
- Ingredient Proportions: The measurements provided for the fillings (vegetables, noodles) are approximate. The actual amount you use will depend on the size of your wrappers and how generously you fill each roll. Aim for a manageable amount that allows for a tight, secure roll without overstuffing.
Instructions
Part 1: Cook the Shrimp
-
Fill a large stockpot 2/3 full with water. Bring the water to a rapid rolling boil over medium-high heat. Add the raw shrimp to the boiling water, then immediately turn off the heat. Stir the shrimp gently and let them sit in the hot water for 2-3 minutes, until they turn opaque pink and are cooked through. Do not overcook.
-
Drain the cooked shrimp thoroughly through a colander, then transfer them to a large mixing bowl. Season the shrimp with 2 teaspoons of garlic salt and 1 teaspoon of black pepper. Using gloved hands, toss the shrimp to ensure the seasonings are evenly distributed. Set aside to cool slightly.
Part 2: Prepare Your Fillings
-
Cook and drain the bean threads (glass noodles) according to the package directions. Typically, this involves soaking them in hot water for a few minutes until tender, then draining and rinsing with cold water to prevent sticking.
-
Remove the stems from the fresh basil leaves.
-
Separate the head of Romaine lettuce into individual leaves, wash, and pat dry.
-
Julienne cut the carrots, celery, and red cabbage into thin, uniform strips (approximately 2 inches in length).
-
Place the bean sprouts in a small bowl for easy access.
Part 3: Assemble Your Spring Rolls
-
Dampen several paper towels or a clean kitchen towel and lay it flat on your work surface. This will serve as your non-stick rolling station.
-
Add about 2 inches of room temperature tap water to a wide skillet or shallow dish that is large enough to comfortably fit one spring roll wrapper.
-
Working with one wrapper at a time, dip the spring roll wrapper into the water for only 5-10 seconds, turning it over to ensure both sides are moistened. It should still feel slightly firm. Immediately remove it and place it flat onto your damp towel. Allow it to sit for about 30-60 seconds to fully soften and become pliable.
-
Layer one lettuce leaf near the bottom edge of the softened wrapper, leaving space on the sides. Then add a small portion of bean threads, followed by some bean sprouts, carrots, celery, and red cabbage over the lettuce. Be careful not to overfill.
-
Begin to roll the wrapper tightly from the bottom edge, rolling it up halfway. Then, strategically place a couple of fresh basil leaves and 3 pieces of the seasoned shrimp horizontally across the center of the rolled portion, ensuring the shrimp will be visible through the wrapper.
-
Fold in the sides of the wrapper towards the center, then continue rolling the rest of the way from the bottom up, “burrito style.” The damp rice paper wrapper will naturally stick to itself, sealing the roll securely. Aim for a tight, compact roll. Repeat this process for all remaining ingredients. Serve your fresh shrimp spring rolls immediately with your favorite dipping sauces, or chill briefly for an even more refreshing bite.
Nutrition Information
Tried this Recipe? Pin it for Later!
Follow on Pinterest @AmandasCookin or tag #AmandasCookin!
The recipes on this blog are tested with a conventional gas oven and gas stovetop. It’s important to note that some ovens, especially as they age, can cook and bake inconsistently. Using an inexpensive oven thermometer can assure you that your oven is truly heating to the proper temperature. If you use a toaster oven or countertop oven, please keep in mind that they may not distribute heat the same as a conventional full sized oven and you may need to adjust your cooking/baking times. In the case of recipes made with a pressure cooker, air fryer, slow cooker, or other appliance, a link to the appliances we use is listed within each respective recipe. For baking recipes where measurements are given by weight, please note that results may not be the same if cups are used instead, and we can’t guarantee success with that method.
