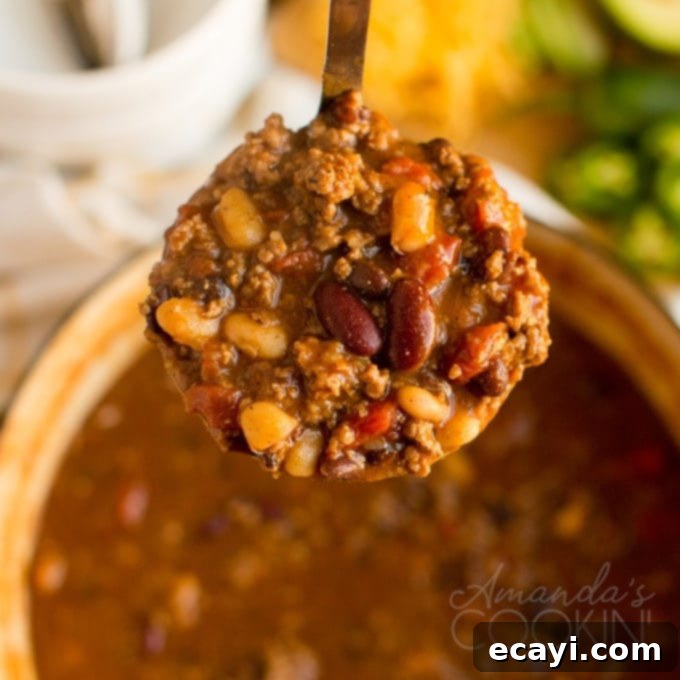
Hearty 3 Bean Chili: Your Ultimate Comfort Food Recipe with Homemade Seasoning
Warm up with our incredibly flavorful 3 Bean Chili, a robust dish perfect for chilly evenings, game day gatherings, or a cozy family dinner. This recipe elevates classic chili with a vibrant homemade seasoning blend, savory ground beef, rich fire-roasted tomatoes, and a dynamic trio of canned beans. It’s designed to be both satisfyingly hearty and remarkably easy to prepare, making it a staple for busy weeknights and special occasions alike.
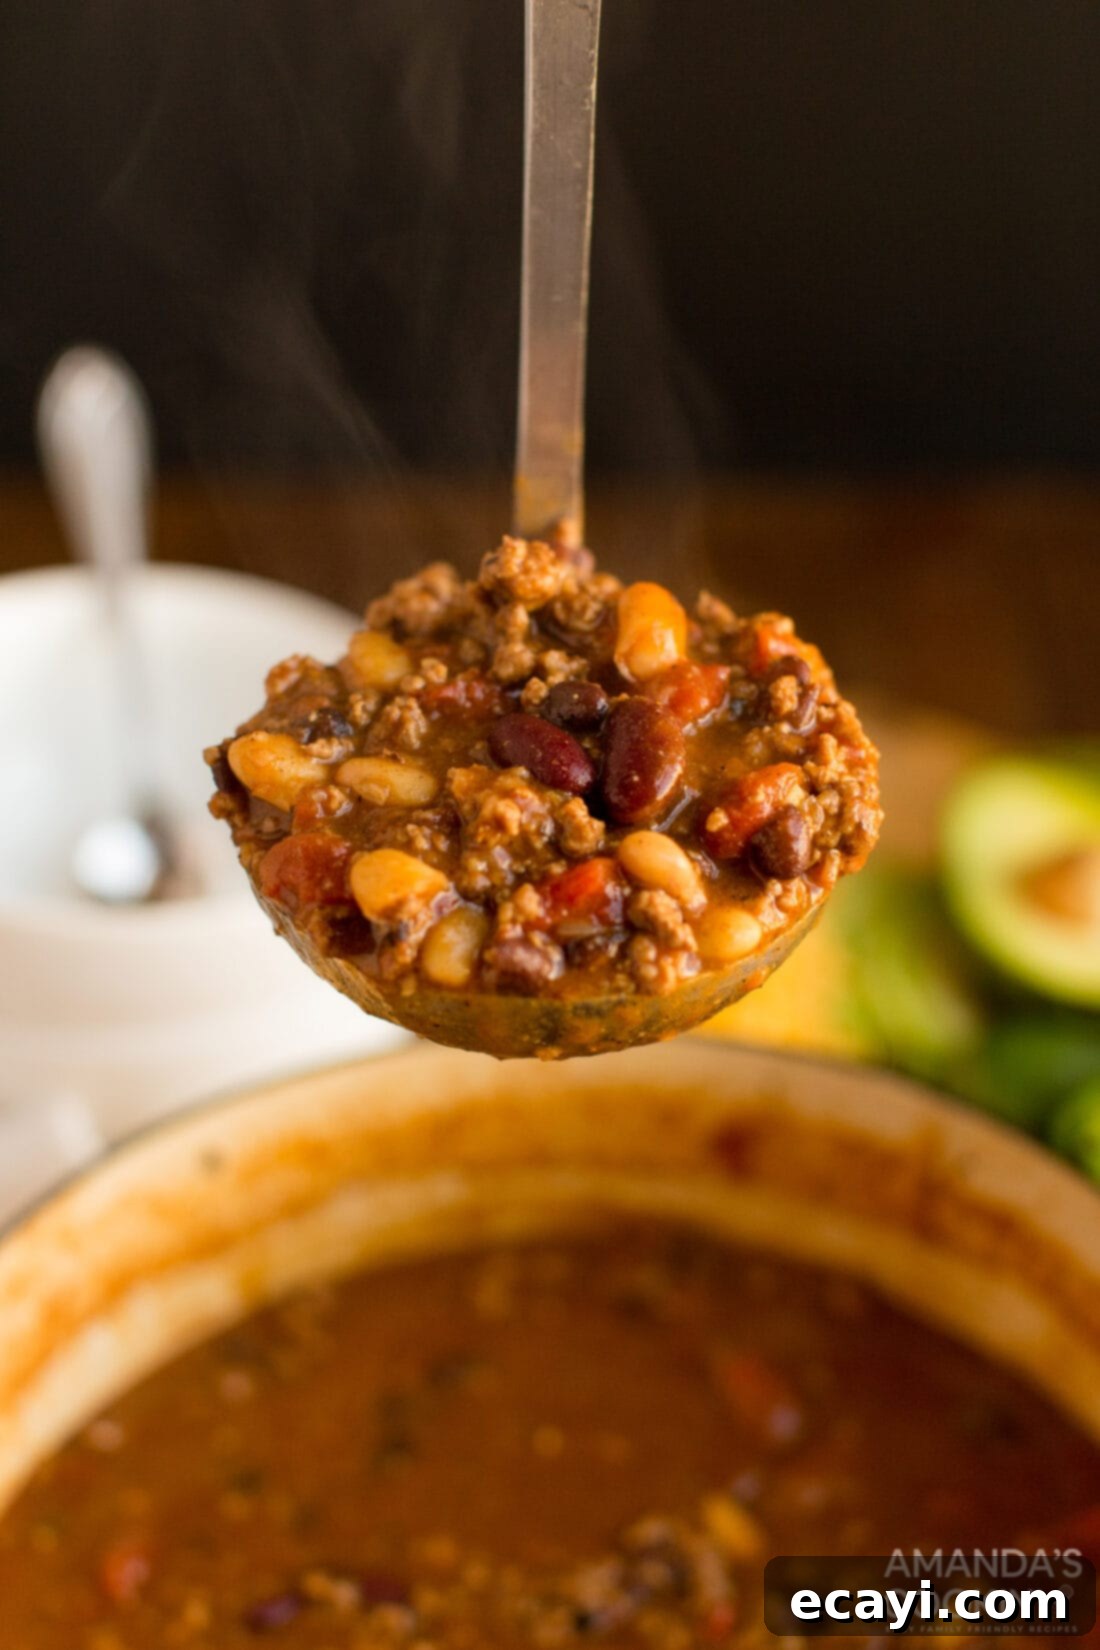
Why This 3 Bean Chili Will Be Your New Favorite
Chili holds a special place in many hearts, and for good reason. It’s the ultimate comfort food, offering warmth and deep, complex flavors in every spoonful. For my family, especially my oldest son, homemade chili isn’t just a meal; it’s a culinary highlight that could happily be on the menu every night of the week! Over the years, I’ve relied on my trusty homemade chili seasoning to create a consistently delicious, basic chili. However, I’ve found that with just a few simple tweaks, you can transform a great chili into an extraordinary one. This 3 Bean Chili recipe is the perfect example, delivering exceptional flavor without requiring extensive effort.
What makes this particular chili truly stand out? It’s the thoughtful combination of ingredients and a touch of culinary creativity. We’ve enhanced the classic chili profile by incorporating three distinct types of beans, chosen not only for their varied textures and nutritional benefits but also for the beautiful depth of color they add to the dish. Beyond the beans, a slight adjustment to the homemade seasoning blend introduces an extra layer of warmth and a subtle kick, turning a simple meal into an unforgettable experience. This harmonious blend of flavors and textures has made it an instant and enduring family favorite, proving that sometimes, the simplest changes yield the most significant results.
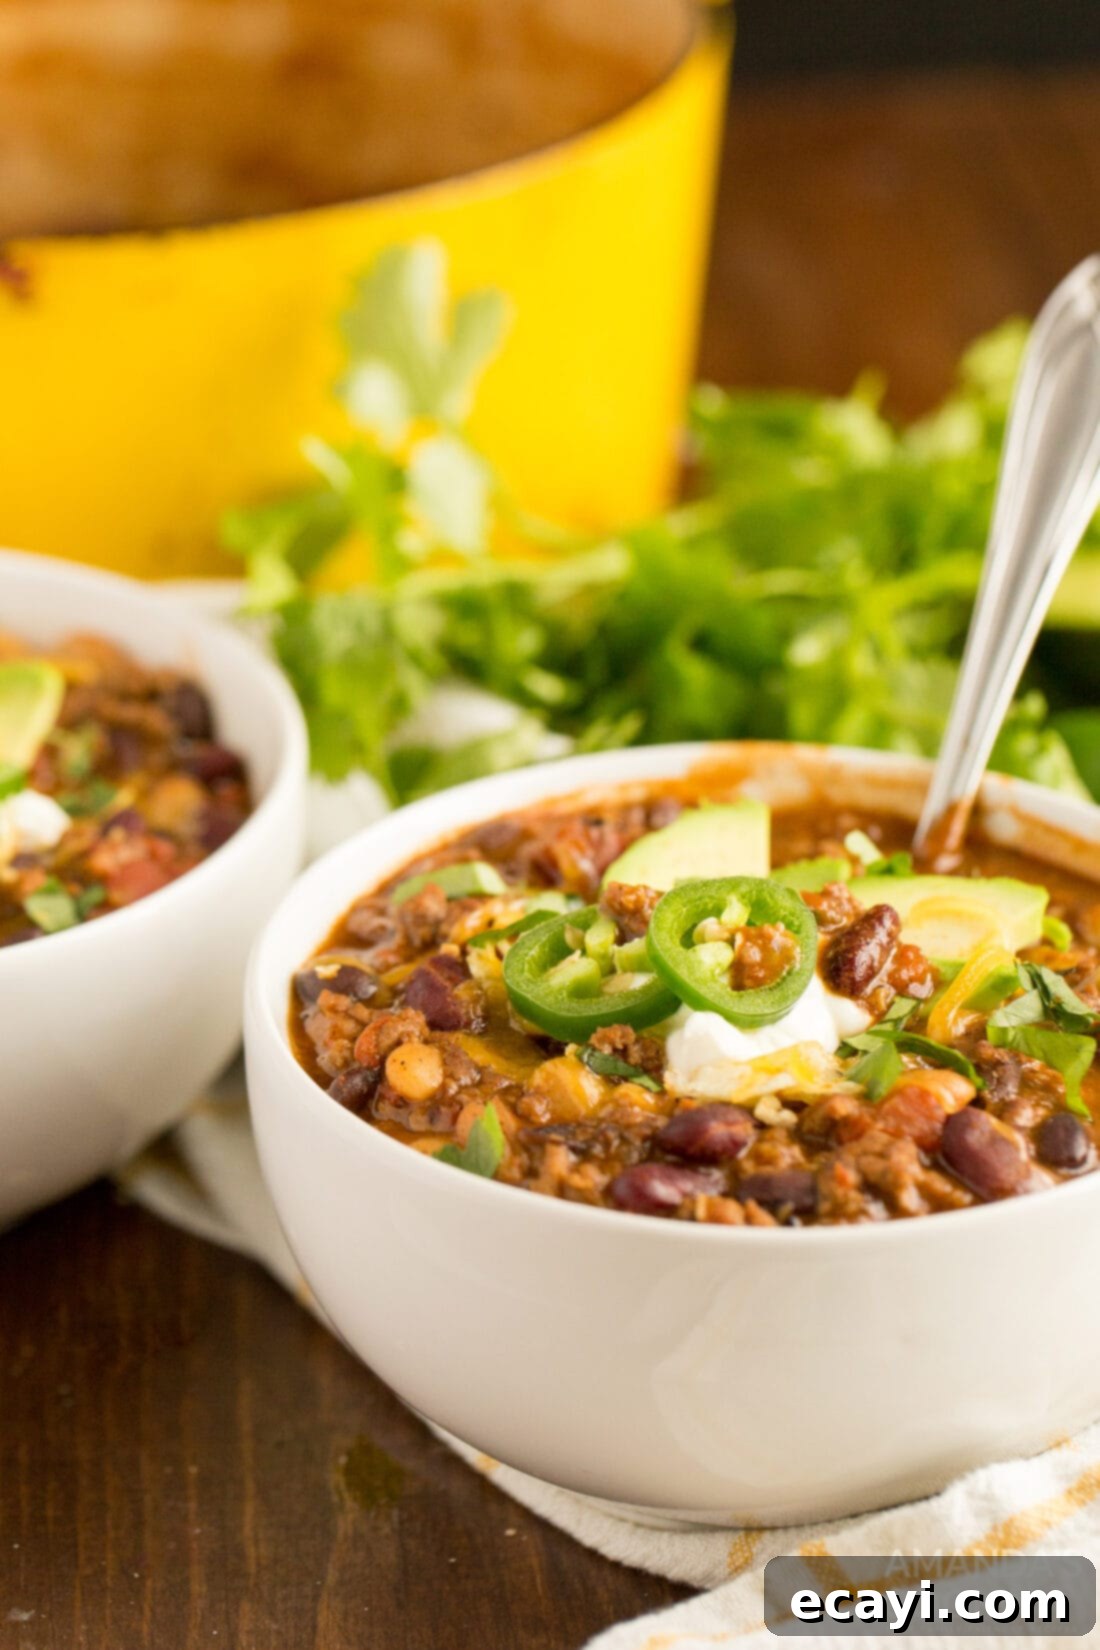
Homemade Chili Seasoning: The Secret to Unbeatable Flavor
When it comes to chili, the seasoning is paramount. While grocery store seasoning packets offer convenience, I honestly haven’t purchased one in over two decades. You might call it being a chili seasoning “snob,” but once you experience the superior flavor and quality of a homemade blend, there’s simply no going back. Store-bought packets often contain excessive sodium, anti-caking agents, and sometimes even artificial flavors. By crafting your own seasoning, you gain complete control over the ingredients, ensuring freshness, purity, and the ability to customize the spice level to your exact preference.
Mixing up your own chili seasoning mix is surprisingly simple and incredibly rewarding. It takes mere minutes to combine a few staple spices you likely already have in your pantry. Once prepared, this homemade blend can be stored in an airtight container, ready for your next chili craving. This approach not only guarantees a fresher, more vibrant flavor profile for your chili but also proves to be more cost-effective in the long run. Plus, the satisfaction of knowing every ingredient that goes into your family’s meal is unparalleled. The difference in taste is truly remarkable, bringing a depth and authenticity to your chili that pre-packaged options just can’t match.
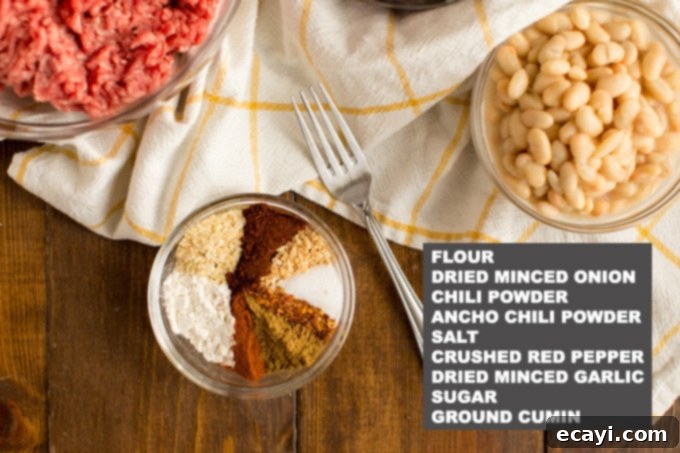
Essential Ingredients for Your Perfect 3 Bean Chili
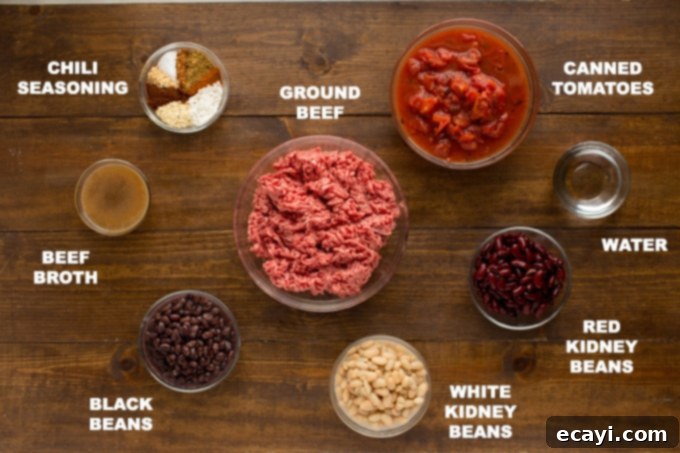
Crafting a truly spectacular chili begins with selecting quality ingredients. For this 3 Bean Chili, we combine hearty ground beef with the rich, smoky notes of fire-roasted diced tomatoes, and a colorful mix of three different beans. Each component plays a crucial role in building the layered flavors and comforting texture that define this dish. Below is an overview of what you’ll need to bring this delicious chili to life. For precise measurements and the full printable recipe, please refer to the dedicated recipe card at the end of this post.
Expert Tips, Tricks, and Frequently Asked Questions (FAQs)
Making a truly memorable chili is an art, but it doesn’t have to be complicated. Here are some expert tips and answers to common questions to help you customize and perfect your 3 Bean Chili:
- Customizing Your Chili’s Flavor and Heat: Our homemade seasoning recipe provides an excellent foundation, but don’t hesitate to make it your own! For an aromatic boost, consider sautéing diced green bell peppers and onions with your ground beef. If you’re a fan of extra heat, finely diced jalapeños (seeds removed for less spice, left in for more intensity) or a pinch of cayenne pepper can be added during the simmering phase. You can also experiment with different types of chili powder or a dash of smoked paprika for an extra layer of complexity.
- Perfect Pairings: Chili and cornbread are a match made in heaven! Serve generous bowls of this chili with my delightful sweet cornbread, ideally slathered with butter and a drizzle of honey. The sweetness and crumbly texture perfectly complement the savory, spicy chili. If you prefer a yeast bread, our favorite is this rustic Italian bread recipe, ideal for soaking up every last drop of that rich sauce. Don’t forget toppings! Shredded cheddar cheese, a dollop of sour cream, fresh cilantro, sliced green onions, or even crushed tortilla chips can elevate your chili experience.
- To Rinse or Not to Rinse Beans? For this recipe, I typically drain my canned beans but do not rinse them. The liquid in canned beans, often referred to as aquafaba, can contribute to the chili’s body and flavor, adding a subtle starchiness that helps thicken the stew. However, if you are conscious about reducing sodium intake, you absolutely *can* rinse your beans thoroughly under cold water before adding them. This will remove some of the excess sodium without significantly impacting the texture or overall flavor of the chili.
- Storage and Leftovers: This 3 Bean Chili makes fantastic leftovers, often tasting even better the next day as the flavors have more time to meld. Store cooled chili in airtight containers in the refrigerator for up to 3-4 days. For longer storage, chili freezes beautifully. Portion it into freezer-safe containers or bags and freeze for up to 3 months. Thaw overnight in the refrigerator and reheat gently on the stovetop or in the microwave, adding a splash of broth or water if it’s too thick. It’s an ideal meal prep option for hearty lunches throughout the week!
- Ingredient Substitutions: Feel free to customize the beans! While kidney, black, and white kidney beans offer a great mix, you could swap one out for pinto beans, cannellini beans, or even great northern beans. For a different meat profile, ground turkey or chicken can be used in place of ground beef, though you might need a bit more oil to brown them. Vegetable broth can be used instead of beef broth for a lighter flavor, or if you prefer a less meat-centric taste.
How to Master Your 3 Bean Chili: Step-by-Step Guide
These step-by-step photos and instructions are here to help you visualize how to make this recipe. For a quick and easy printout, please scroll down to the recipe card!
- Prepare the Seasoning: Begin by combining all the ingredients for your homemade chili seasoning (flour, dried minced onion, chili powder, ancho chili powder, salt, crushed red pepper, dried minced garlic, sugar, and ground cumin) in a small bowl. Use a fork to mix them thoroughly until well combined. This ensures even distribution of flavors throughout your chili.
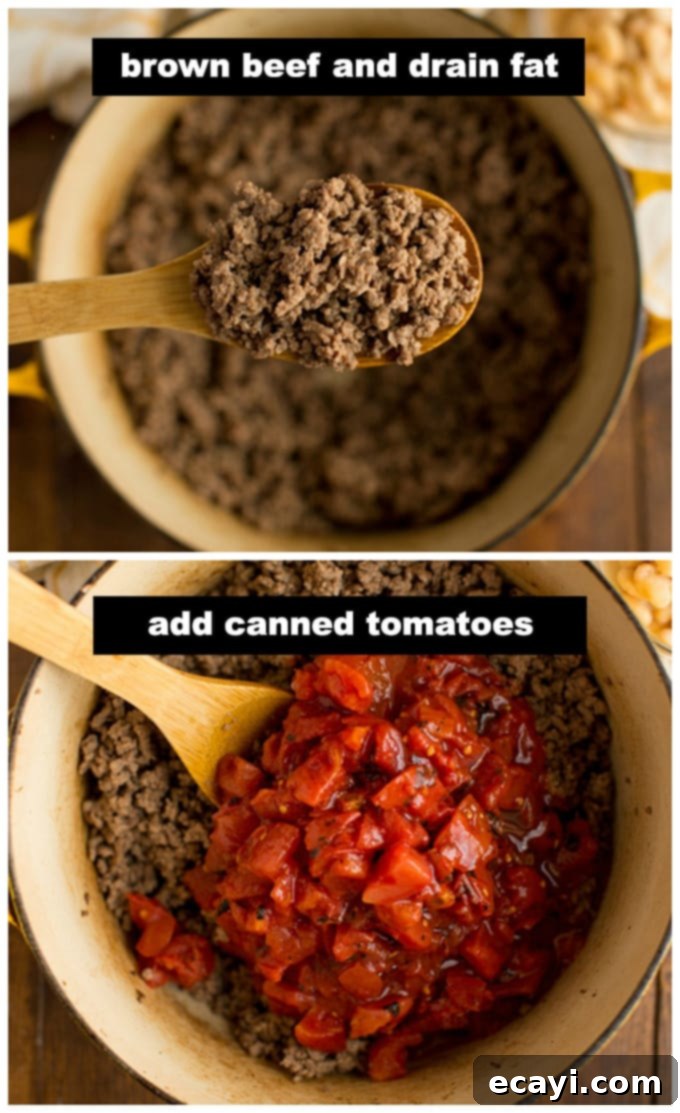
- Brown the Ground Beef: In a large skillet or a sturdy Dutch oven, brown the ground beef over medium-high heat. Break it apart with a spoon as it cooks. Continue until no longer pink and browned nicely. Once cooked, carefully drain off any excess fat from the ground beef. This step is crucial for achieving a rich flavor without making the chili greasy. Return the browned beef to the pan.
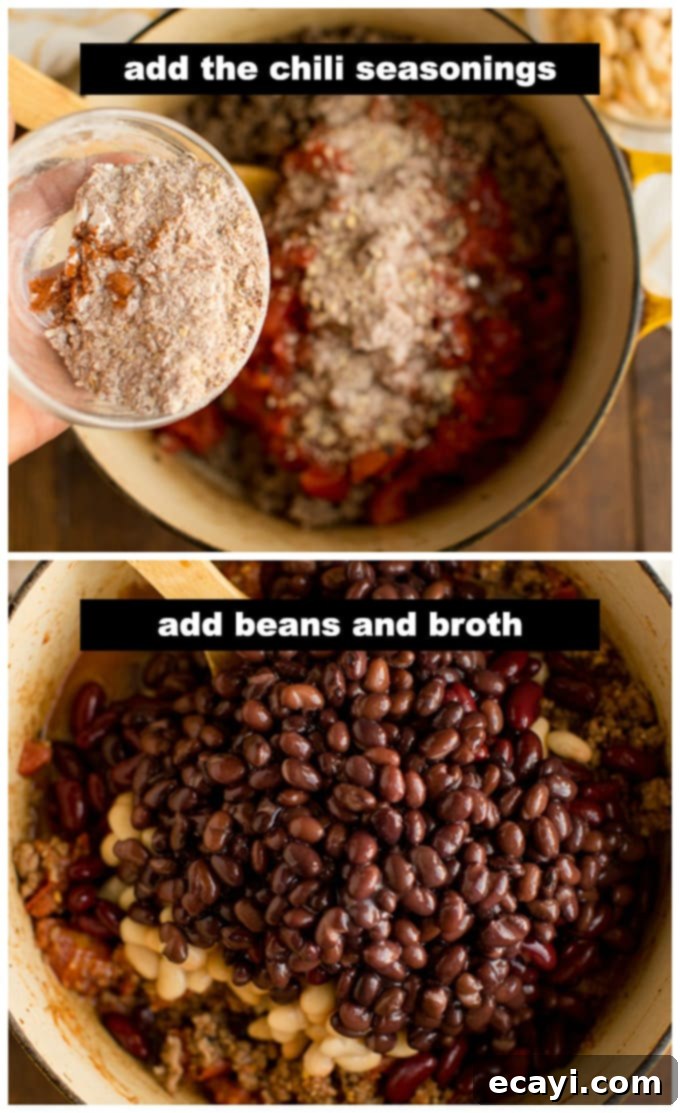
- Combine and Stir: To the browned ground beef, add the undrained fire-roasted diced tomatoes and your freshly mixed homemade seasoning blend. Stir everything well to combine, ensuring the beef is thoroughly coated with the spices and tomatoes. Next, stir in the three types of drained (but not rinsed, unless preferred) canned beans, along with the beef broth. Add enough water to reach your desired consistency and to make stirring easy. The mixture should be well-incorporated and ready for simmering.
- Simmer to Perfection: Bring the chili mixture to a gentle boil over medium-high heat. Once boiling, reduce the heat to low, cover the pot, and let it simmer for 20-30 minutes. Stir occasionally to prevent sticking and to ensure even cooking and flavor development. Simmering allows all the flavors to meld beautifully. If at any point the chili becomes too thick for your liking, simply add a little more water or beef broth, a quarter cup at a time, and continue simmering until it’s warmed through and reaches your preferred consistency.
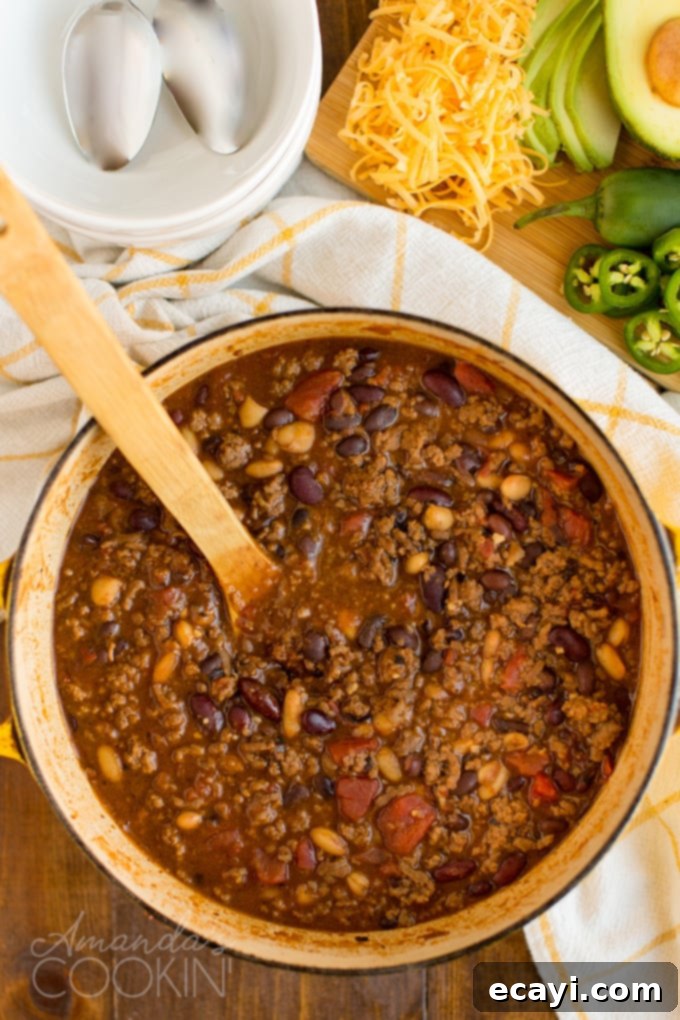
This 3 Bean Chili is not just a delicious weeknight meal; it’s a versatile dish that tastes even better as leftovers. Its hearty nature makes it perfect for packing into containers and taking to work for a satisfying lunch. We hope you enjoy preparing and savoring this comforting classic!
Discover More Chili Creations
If you’ve fallen in love with this 3 Bean Chili, you’ll be thrilled to explore other exciting variations. Chili is incredibly versatile, and there’s always a new way to enjoy this comforting dish. Here are some more chili recipes to inspire your culinary adventures:
- Chili and Cornbread Stuffed Peppers
- Chili Mac
- Make Your Own Homemade Chili Seasoning
- Chicken Chili with Black Beans & Corn
- Instant Pot Chili
- Crockpot Chili
I’m passionate about baking and cooking, and I love sharing my favorite recipes with you! I know it can be challenging to remember to come back and search for new ideas, so I’ve made it easy with my weekly newsletter. You can subscribe for free, and I’ll send delicious recipes straight to your inbox every week, ensuring you never miss out on culinary inspiration.

3 Bean Chili
IMPORTANT – There are often Frequently Asked Questions within the blog post that you may find helpful. Simply scroll back up to read them!
Print It
Rate It
Save ItSaved!
Ingredients
Chili Seasoning:
- 2 tablespoons flour
- 4 tablespoons dried minced onion
- 2 teaspoons chili powder
- 1 teaspoon of ancho chili powder
- 2 teaspoons salt
- 1 teaspoon crushed red pepper
- 1 teaspoon dried minced garlic
- 1 teaspoon sugar
- 1 teaspoon ground cumin
To Make the Chili:
- 2 pounds ground beef
- 30 oz fire roasted diced tomatoes 2 15-oz cans, do not drain
- 15 oz dark red kidney beans can, drained but not rinsed
- 15 oz black beans can, drained but not rinsed
- 15 oz white kidney beans can, drained but not rinsed
- ½ cup beef broth
- 1 cup water
Things You’ll Need
-
5 qt Dutch oven
-
Ladle
-
Wooden spoon
-
Serving bowls
Before You Begin
- There are many ways to change up the spices, the seasoning recipe is just a great starter! Try adding green bell peppers and diced onion, and for more heat toss in diced jalapenos.
- Serve with my delicious sweet cornbread slathered in butter and honey.
- If you prefer a yeast bread with your chili, our favorite is this Italian bread recipe.
- I drain my beans but I don’t rinse them. You can rinse them if you are concerned about the added sodium.
Instructions
-
Prepare the seasoning by measuring all seasoning ingredients into the same bowl and mix together with a fork.
-
Brown ground beef in a skillet until no longer pink. Drain off fat from ground beef and return beef to pan.
-
Add the tomatoes and seasoning mix and stir to combine. Stir in the beans and the broth. Add enough of the water to make it easy to stir.
-
Bring to a boil, reduce heat and simmer for 20-30 minutes, stirring occasionally. If mixture becomes too thick, add more of the water and continue simmering until warmed through.
Nutrition
The recipes on this blog are tested with a conventional gas oven and gas stovetop. It’s important to note that some ovens, especially as they age, can cook and bake inconsistently. Using an inexpensive oven thermometer can assure you that your oven is truly heating to the proper temperature. If you use a toaster oven or countertop oven, please keep in mind that they may not distribute heat the same as a conventional full sized oven and you may need to adjust your cooking/baking times. In the case of recipes made with a pressure cooker, air fryer, slow cooker, or other appliance, a link to the appliances we use is listed within each respective recipe. For baking recipes where measurements are given by weight, please note that results may not be the same if cups are used instead, and we can’t guarantee success with that method.
This post originally appeared here on Nov 11, 2014.
