Irresistibly Fluffy 4-Ingredient Marshmallow Frosting: Your Ultimate Guide
Prepare to elevate your baking with this incredibly easy 4-ingredient marshmallow frosting recipe. It’s a truly magical creation that transforms simple ingredients into a silken, pillowy cloud of sweetness, perfect for enhancing cookies, cakes, and especially cupcakes. If you’re searching for a frosting that’s light, airy, and bursting with delightful marshmallow flavor, look no further!
Why This Marshmallow Frosting Recipe Stands Out
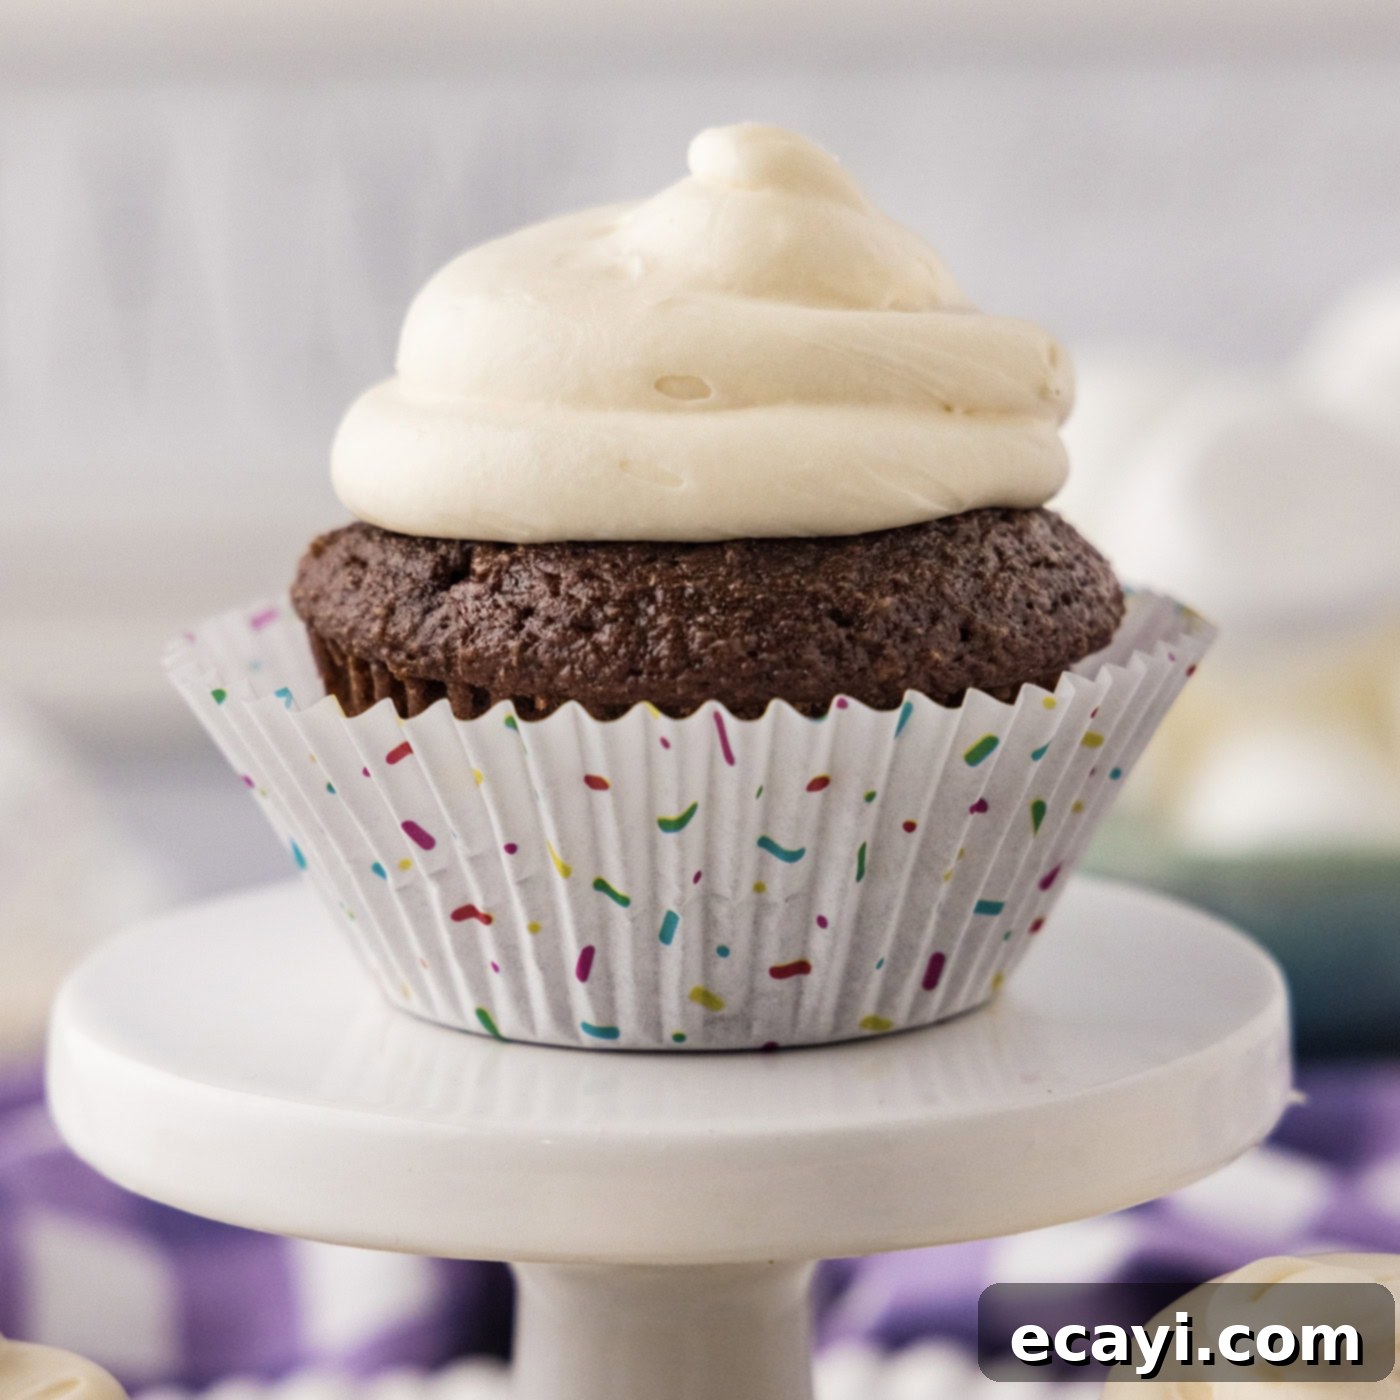
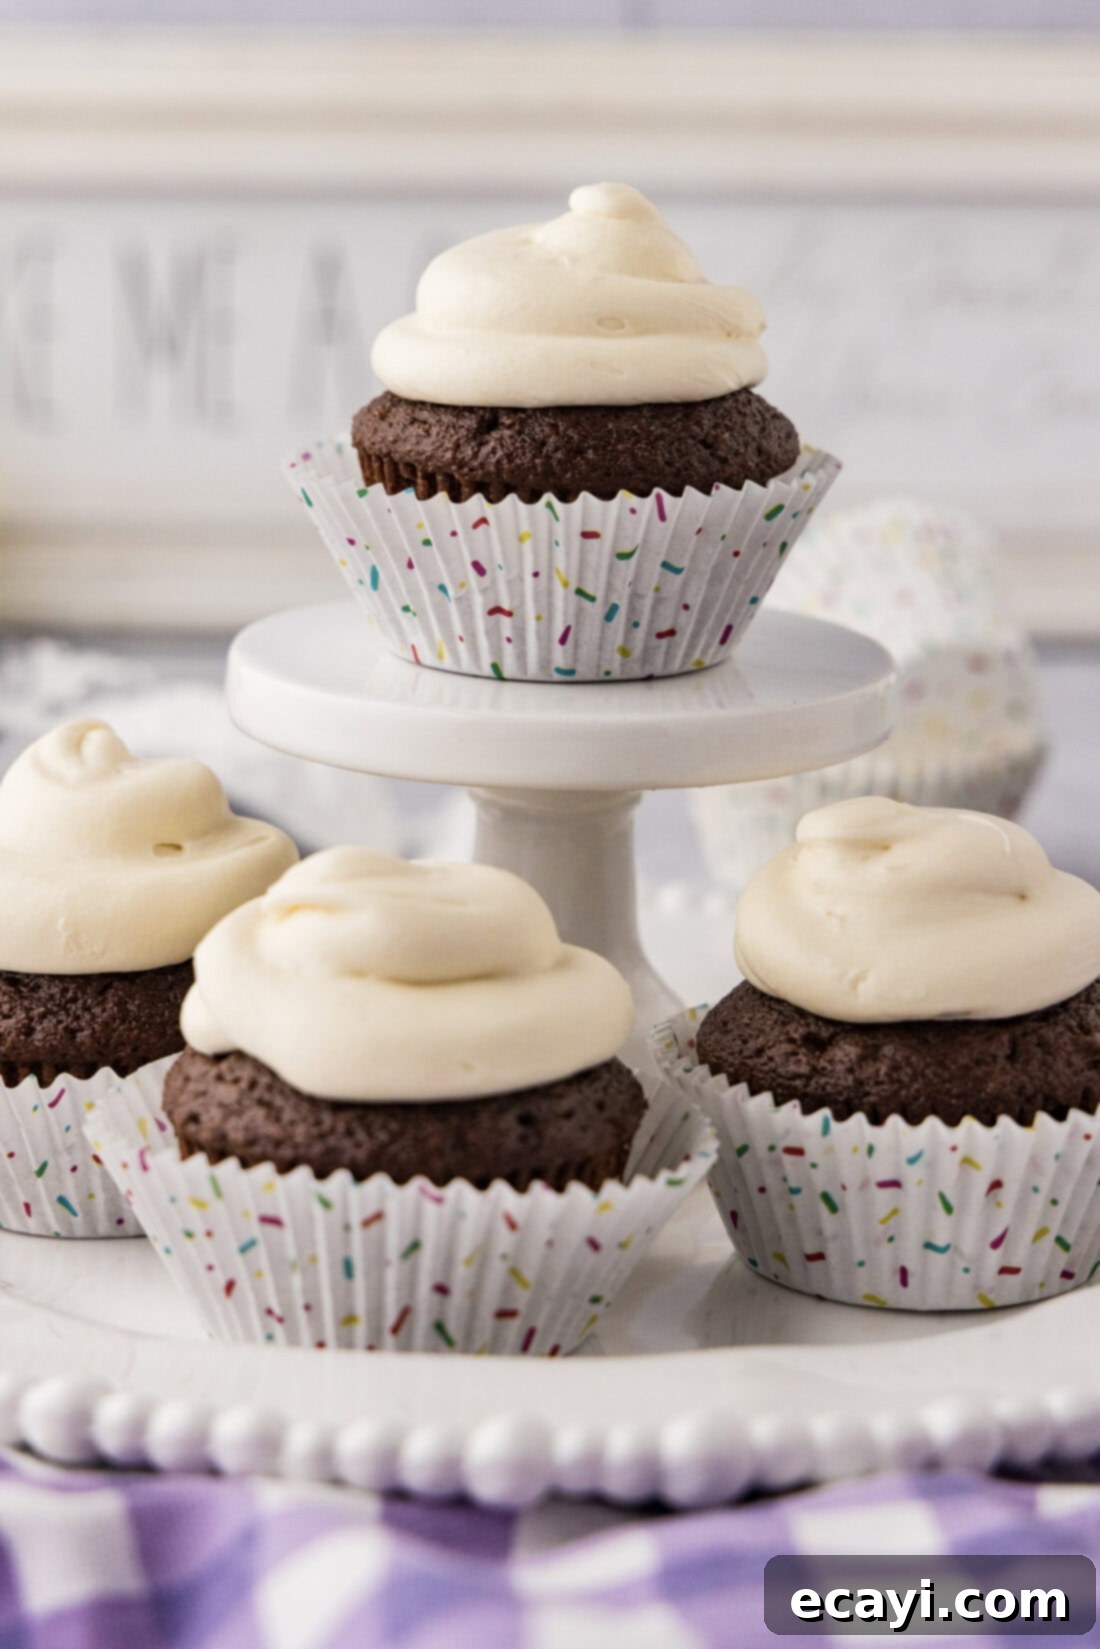
What makes this the best marshmallow frosting you’ll ever taste? It all starts with the ingenious use of marshmallow fluff. Unlike traditional frostings that can be heavy, this recipe leverages the unique properties of marshmallow fluff to create an unbelievably light and airy texture. Combined with a touch of softened butter, fine powdered sugar, and a hint of vanilla extract, this frosting blossoms into a glossy, perfectly pipable, and utterly dreamy confection. Imagine a sticky, soft mound of pure marshmallow bliss, ready to transform any dessert.
I dedicated considerable time to perfecting this recipe, testing it multiple times to ensure you achieve flawless results every single time. While it calls for just 4 simple ingredients, the key to its success lies in following a few crucial techniques. These expert tips, detailed throughout this guide and summarized below, guarantee you’ll create the most incredible marshmallow fluff frosting that holds its shape beautifully and melts in your mouth. It’s particularly divine when paired with desserts like S’mores cupcakes, adding an authentic campfire treat essence!
The beauty of this recipe is its simplicity combined with exceptional flavor and texture. It offers the delightful taste of homemade marshmallows without the fuss of making them from scratch. This makes it an ideal choice for both novice bakers and experienced dessert decorators looking for a unique and impressive topping that’s surprisingly easy to whip up.
Essential Ingredients for Fluffy Marshmallow Frosting
Crafting this heavenly homemade marshmallow frosting requires only four fundamental ingredients. These components work in harmony to create the frosting’s signature light, sweet, and stable texture. You’ll find the precise measurements and detailed instructions in the printable recipe card located at the end of this comprehensive post.
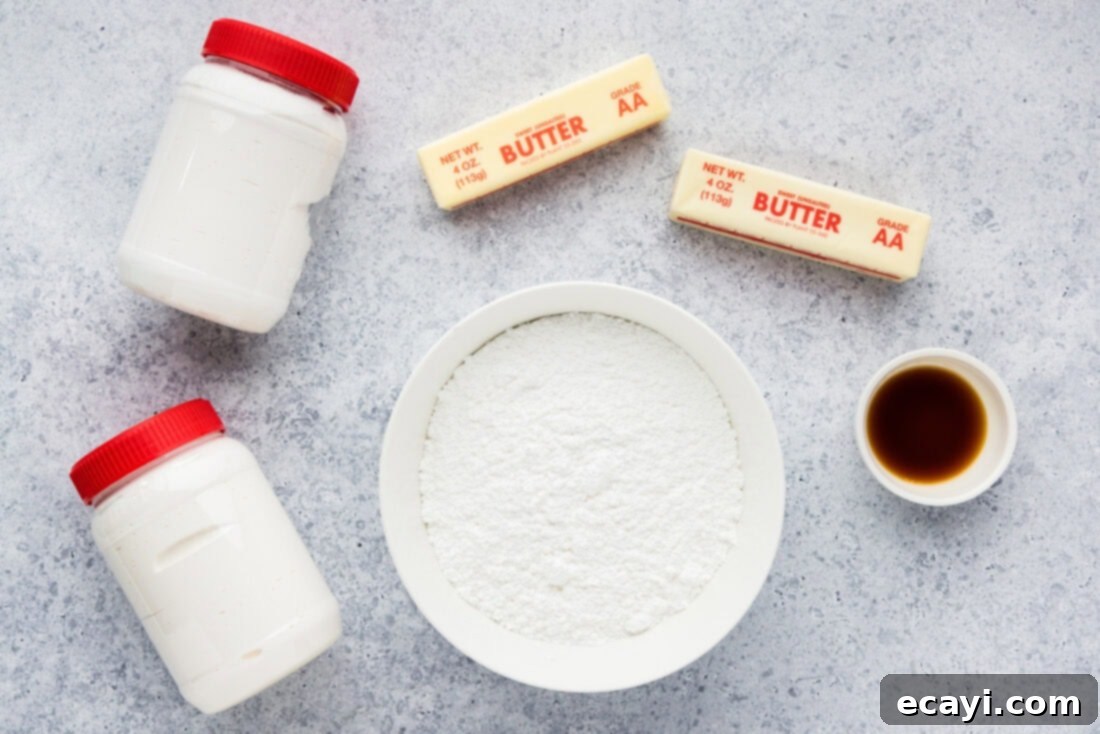
Ingredient Breakdown and Smart Substitutions
Understanding each ingredient’s role is crucial for baking success. Here’s a closer look at what goes into this fantastic 4-ingredient frosting:
- Marshmallow Fluff: This is the star of our show and the secret to that authentic marshmallow flavor and unparalleled fluffy texture. We specifically call for marshmallow fluff (often found in jars near baking aisles or peanut butter). While some recipes suggest marshmallow creme as a substitute, we have not tested it ourselves. It’s critical to note that marshmallow fluff is not the same as melted marshmallows. Melted marshmallows behave differently due to their gelatin content and will not yield the same stable, pipable frosting consistency. Always use pre-made marshmallow fluff for the best results.
- Unsalted Butter: Softened, room temperature unsalted butter is essential for achieving a smooth, creamy base. Using unsalted butter allows you to control the overall saltiness of the frosting. If you only have salted butter, you can use it, but omit any additional salt you might consider adding for flavor balance. Ensure your butter is truly at room temperature (soft enough to indent with a finger, but not melted) for optimal creaming with the powdered sugar. Cold butter will result in a lumpy frosting, while melted butter will make it too runny.
- Powdered Sugar (Confectioners’ Sugar): This fine sugar dissolves easily, contributing to the frosting’s silky smooth texture and sweetness. Unlike granulated sugar, which would leave a gritty mouthfeel, powdered sugar ensures a luxurious finish. It also helps to thicken the frosting. Resist the urge to add excessive amounts if you think your frosting is too runny, as too much sugar can actually cause it to become more fluid by dissolving rather than thickening, as explained in our FAQ.
- Vanilla Extract: A good quality vanilla extract enhances the overall flavor, adding warmth and depth that complements the marshmallow sweetness perfectly. Pure vanilla extract is always recommended over imitation for the best taste.
Optional Flavor Variations & Customizations:
While delicious as is, this easy marshmallow frosting is also incredibly versatile:
- Other Extracts: Experiment with almond extract for a nutty note, peppermint extract for a festive twist, or a hint of coffee extract to complement chocolate desserts.
- A Pinch of Salt: A tiny pinch of fine sea salt can balance the sweetness and bring out other flavors.
- Food Coloring: Add gel food coloring for vibrant hues, perfect for themed parties or holidays. Start with a tiny amount and gradually add more until your desired shade is achieved.
Step-by-Step Guide: Crafting Your Own Marshmallow Frosting
These detailed step-by-step photos and instructions are designed to help you visualize each stage of making this delightful frosting. For a concise, printable version of the recipe, complete with precise measurements and instructions, you can Jump to Recipe at the bottom of this post.
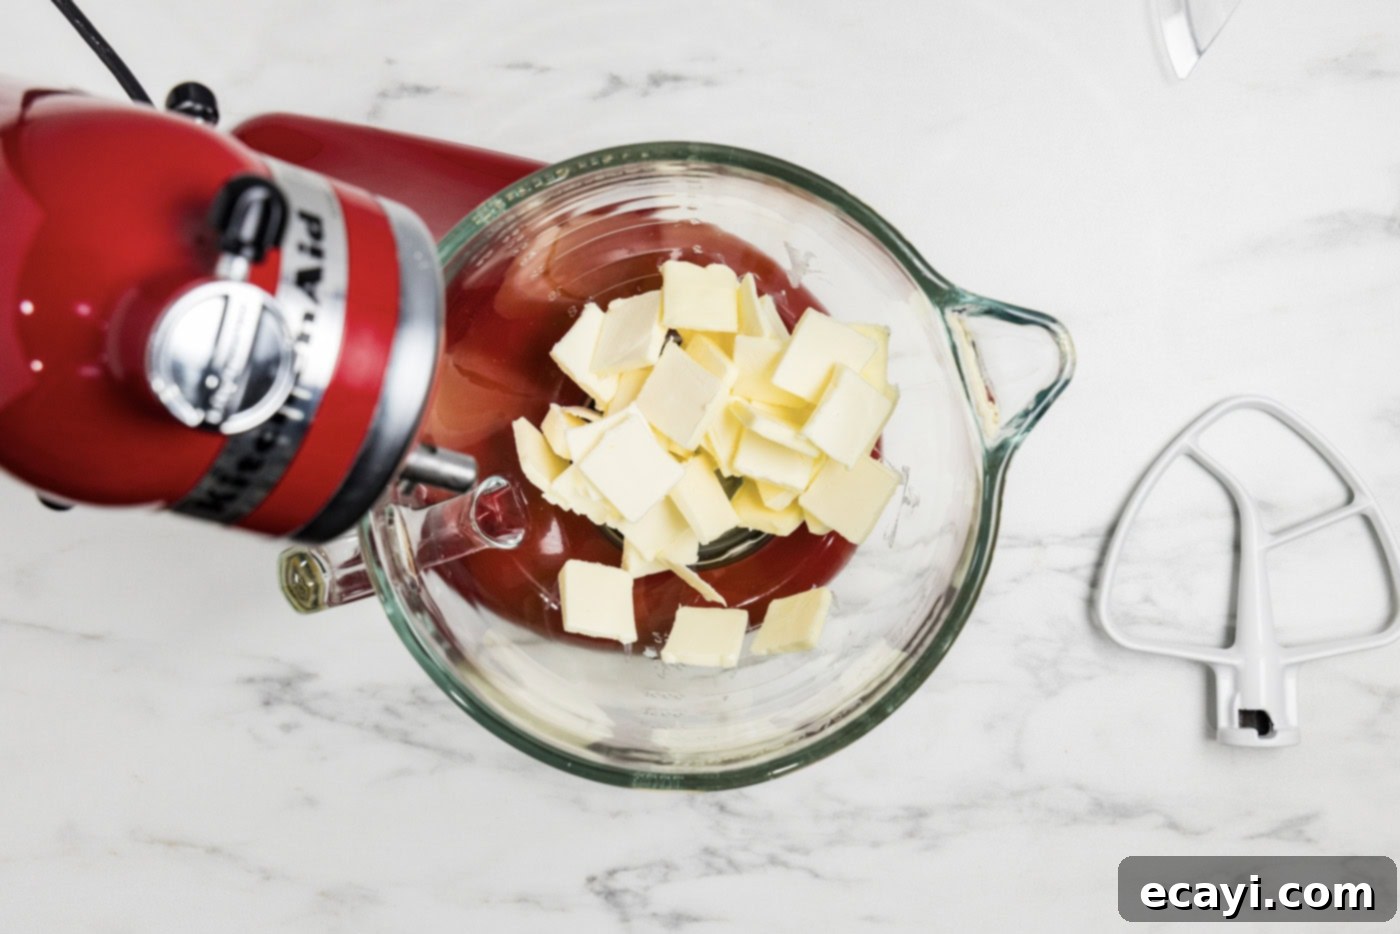
- Cream the Butter: Begin by placing your perfectly softened unsalted butter into the bowl of a stand mixer fitted with the paddle attachment. Beat the butter on medium speed until it’s light, pale, and incredibly creamy. This initial beating process incorporates air, which is fundamental to a fluffy frosting. Increase the speed to medium-high and continue beating for a full 4 minutes. This extended creaming time is crucial for developing the butter’s texture and ensuring maximum aeration.

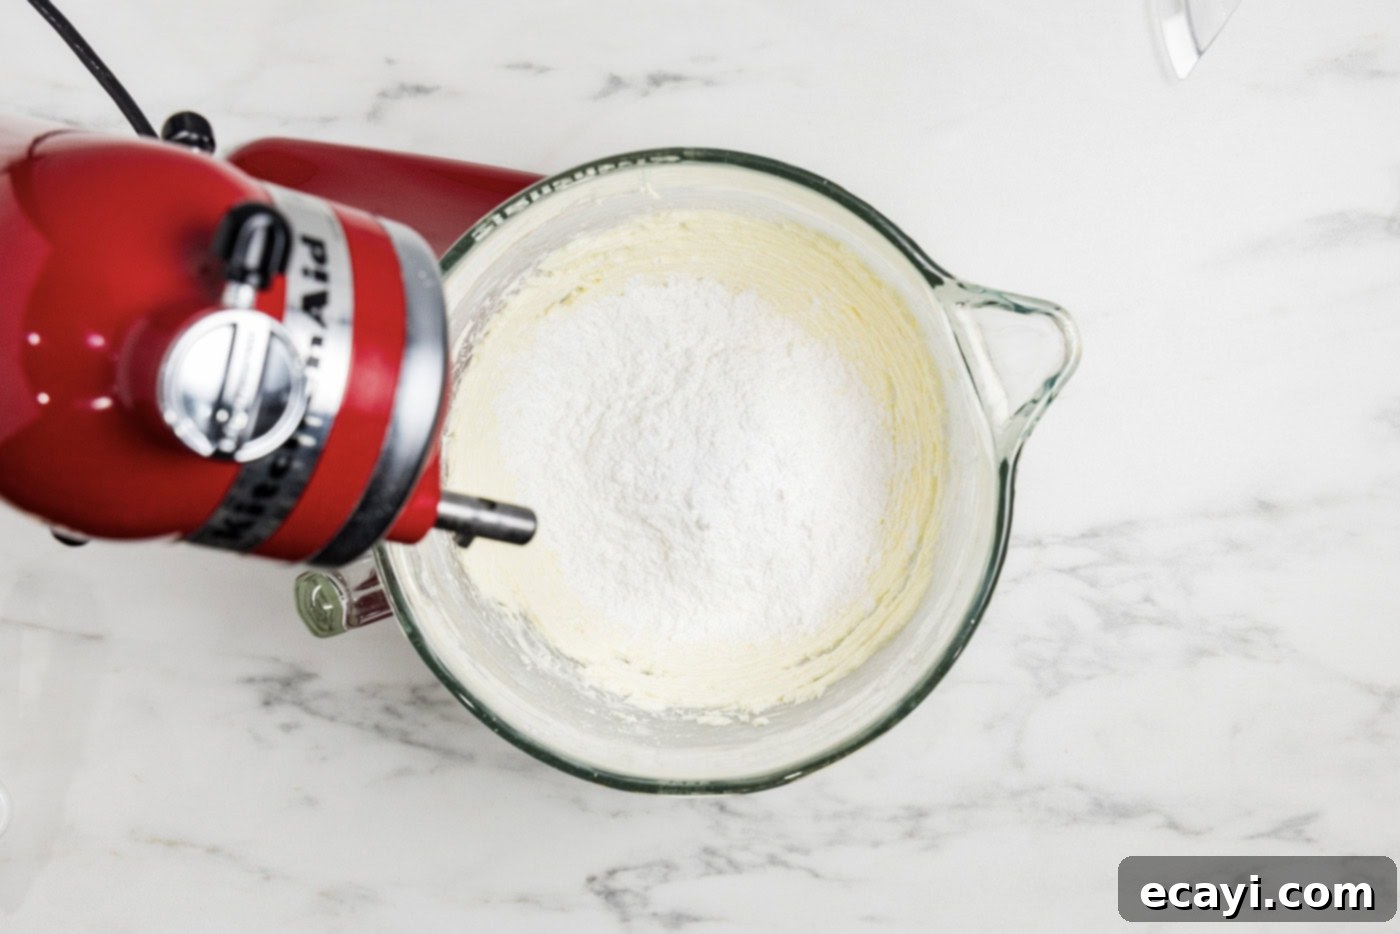
Beat the butter until it’s wonderfully light and airy. - Incorporate Powdered Sugar: With the mixer on low speed, gradually add the powdered sugar to the beaten butter. Mixing on low initially prevents a cloud of sugar from enveloping your kitchen. Continue to beat on low until the powdered sugar is fully incorporated and the mixture comes together. You’ll need to pause once or twice to scrape down the sides and bottom of the bowl with a rubber spatula, ensuring all ingredients are thoroughly combined.

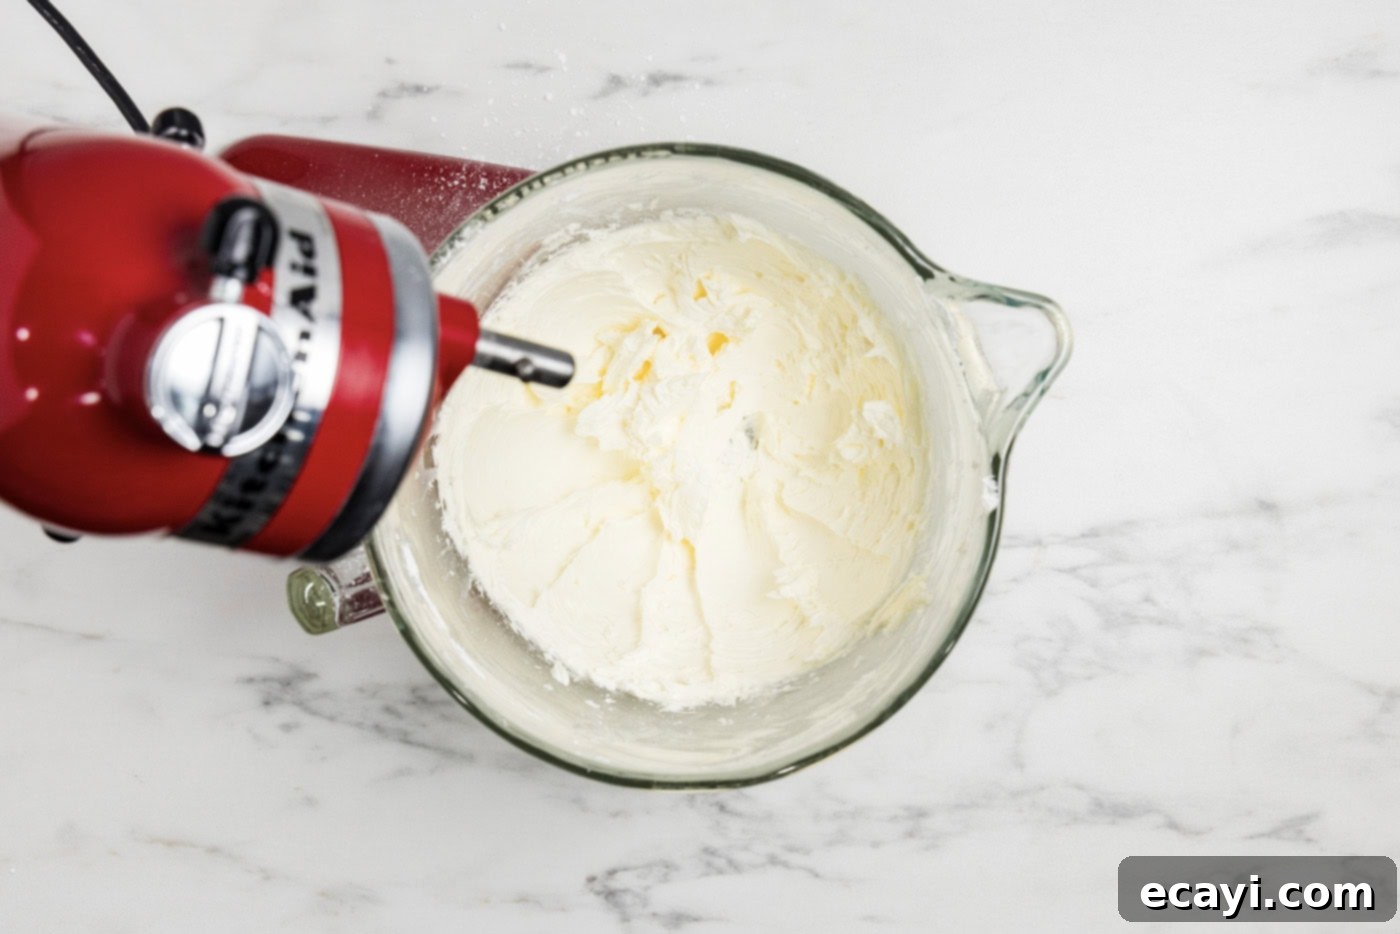
Gradually add powdered sugar to prevent a mess and ensure even mixing. - Beat Until Fluffy: Once the powdered sugar is incorporated, increase the mixer speed back to medium-high and beat for another 4 minutes. This extended beating time is key to achieving a truly light, smooth, and fluffy consistency, making your frosting robust enough for piping.

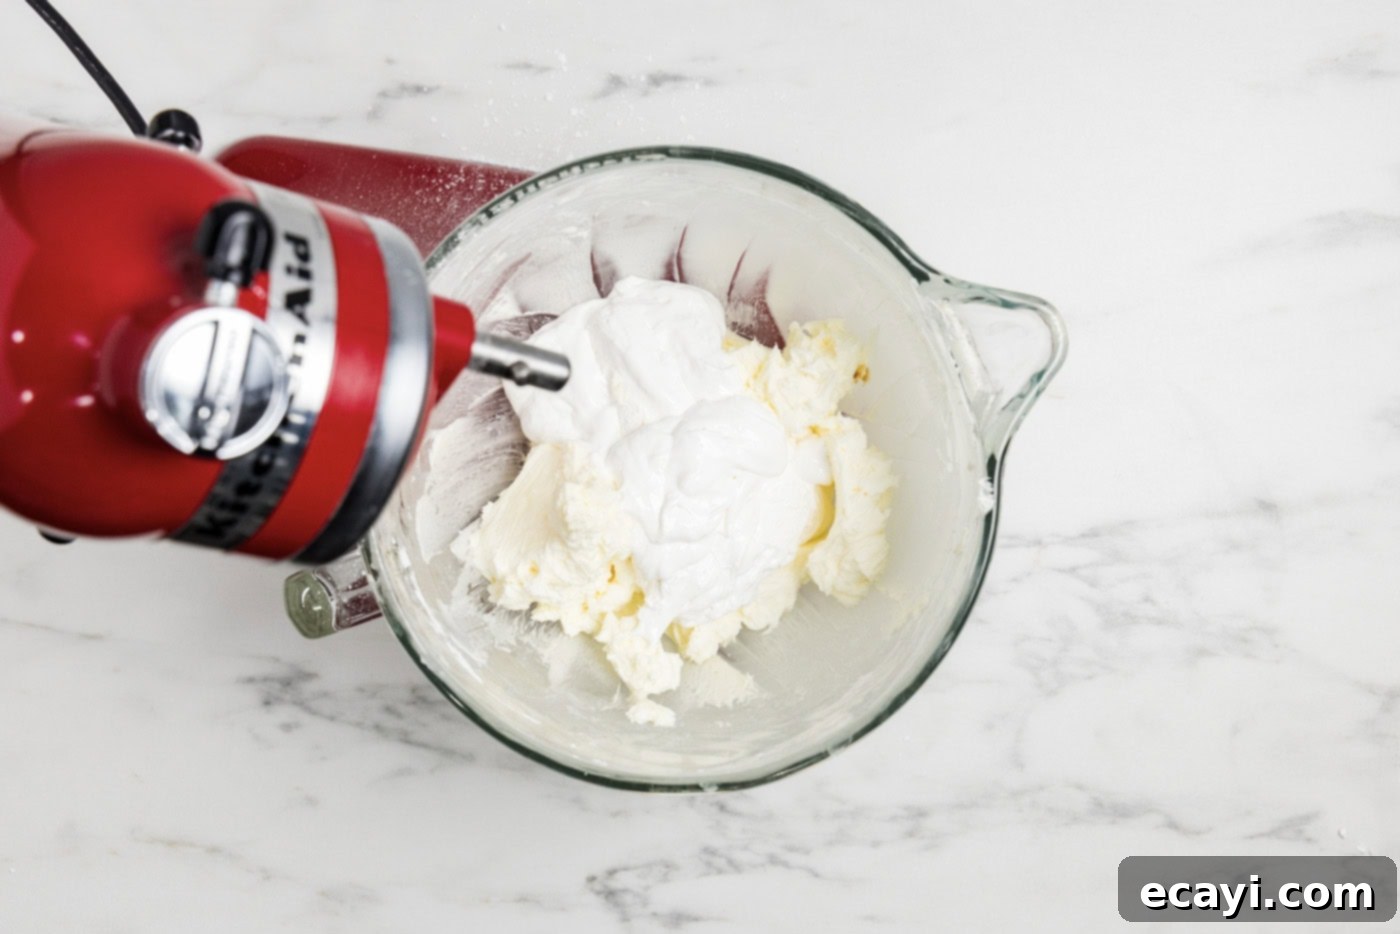
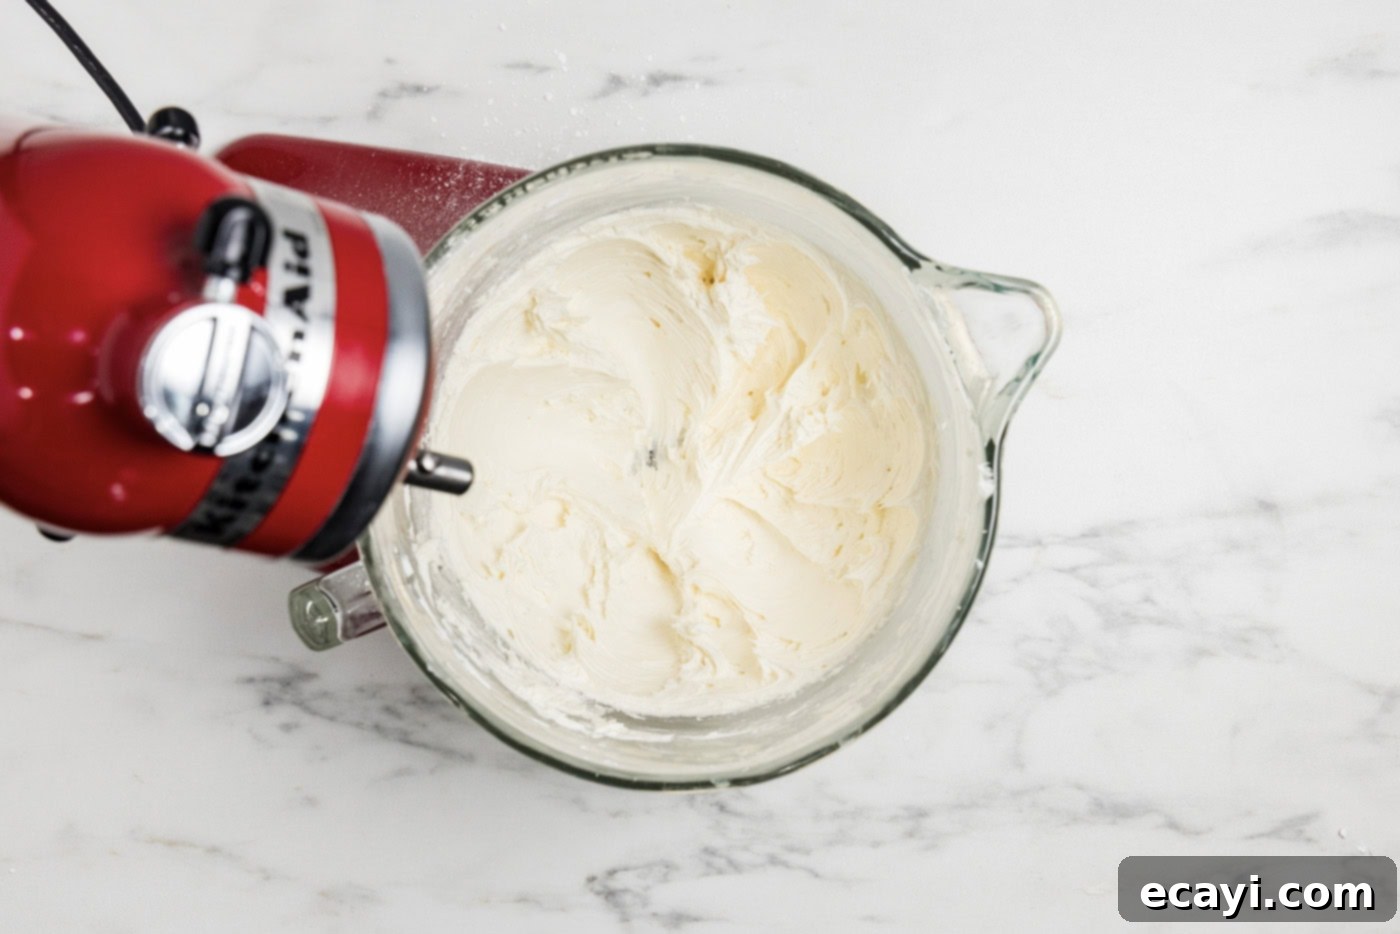
Continue beating until the butter and sugar mixture is light and fluffy. - Add Vanilla and Marshmallow Fluff: Now for the star ingredient! Add the vanilla extract and both jars of marshmallow fluff to the mixing bowl. Start the mixer on medium speed to gently incorporate these sticky ingredients. Once combined, increase the mixer to medium-high and beat vigorously for a full 5 minutes. This final beating stage is where the magic happens, transforming the mixture into a glossy, elastic, and perfectly stable marshmallow cream frosting. Remember to scrape down the sides and bottom of the bowl halfway through this process to ensure uniform mixing and prevent any unmixed pockets.

The key ingredients are now combined, ready for their final beat. 
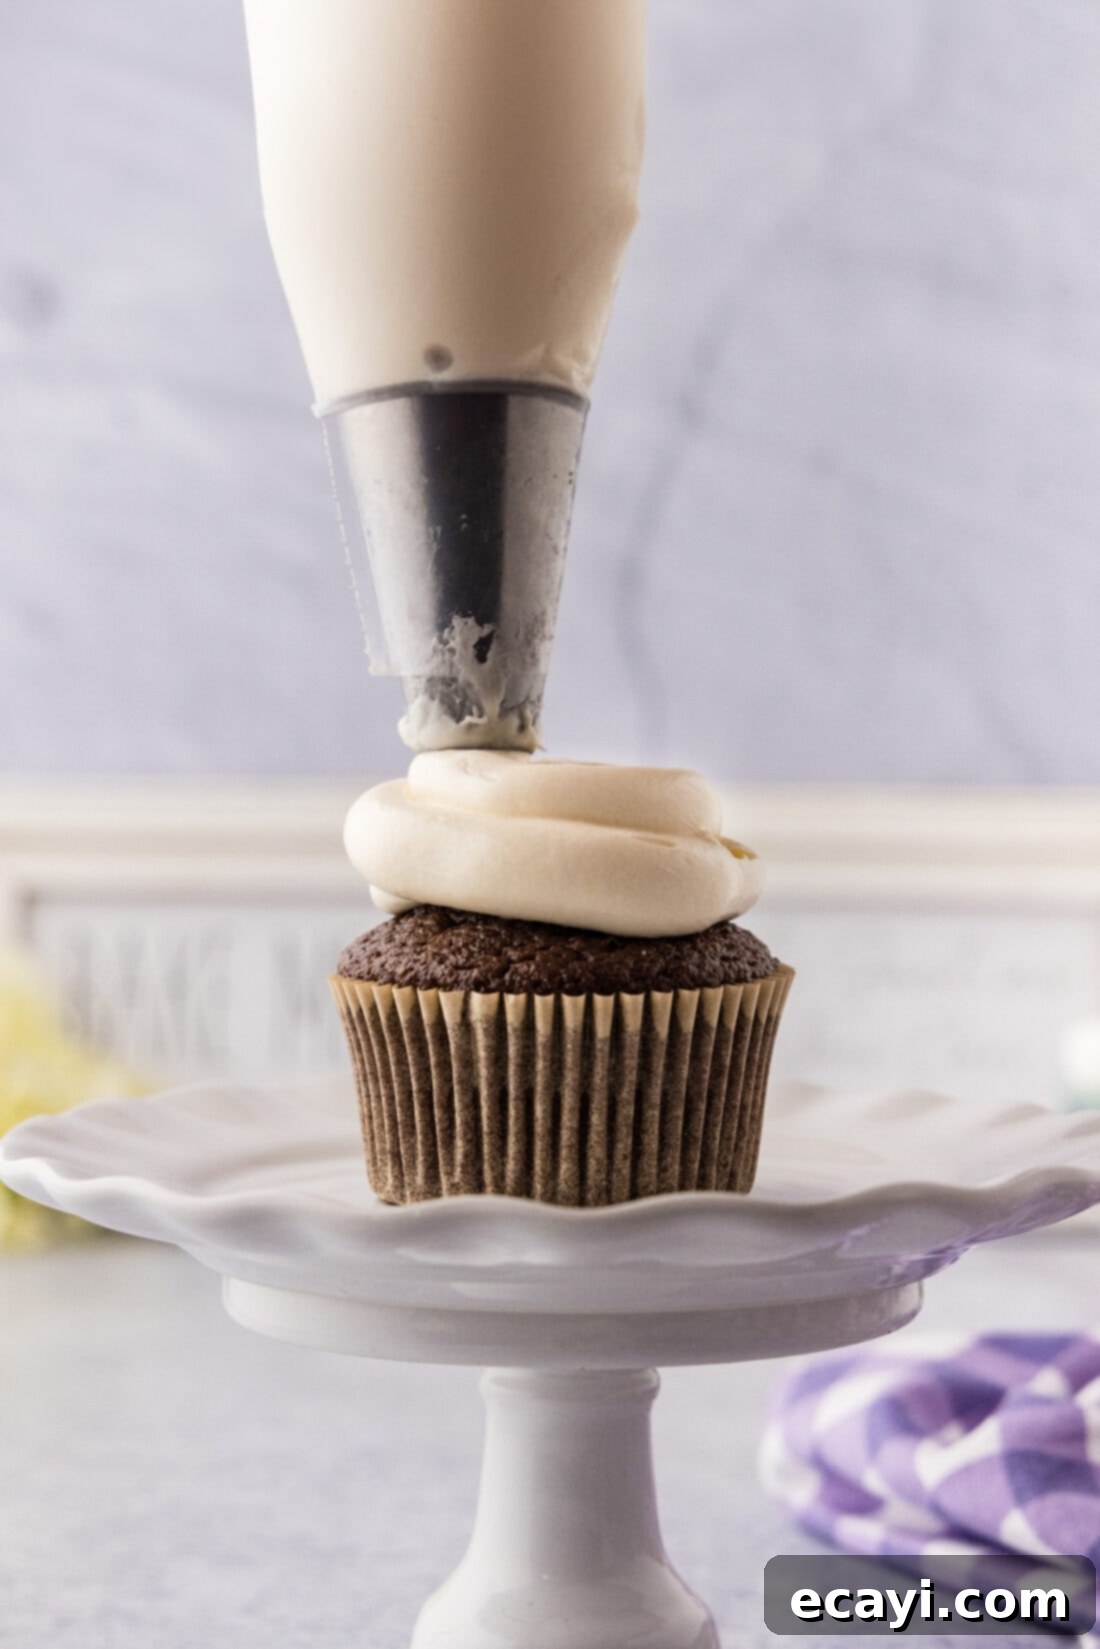
Beating for the full 5 minutes results in a beautiful, pipable frosting. - Chill Before Piping: Transfer the freshly made frosting to a piping bag (with your chosen tip, such as a Piping tip 808). Place the piping bag in the refrigerator for precisely 30 minutes. This chilling period is crucial as it allows the butter in the frosting to firm up slightly, ensuring a more stable and easier-to-pipe consistency. Be careful not to leave it in for too long, as excessive chilling can make the butter too hard, rendering the frosting difficult to pipe smoothly.
- Pipe and Final Chill: Pipe the frosting onto one cupcake, then immediately place that frosted cupcake back into the refrigerator. Repeat this process for each cupcake or dessert until all are frosted and chilling. This individual chilling step is vital for maintaining the structural integrity of the frosting, preventing it from softening or spreading at room temperature. Allow the frosted desserts to chill in the refrigerator for an additional 30-45 minutes before serving. This final chill ensures the frosting sets beautifully, providing a pristine presentation and delightful texture.
Frequently Asked Questions & Expert Tips for Perfect Marshmallow Frosting
Achieving the perfect fluffy marshmallow frosting is straightforward with these insights and troubleshooting tips:
The most common reason for runny marshmallow frosting is insufficient beating or overly warm butter. It’s absolutely vital to beat the frosting for the full duration suggested in the recipe instructions – set a timer to be sure! Beating incorporates essential air, which gives the frosting its structure and fluffiness. If, after adequate beating, your frosting still seems too soft or runny, don’t panic! Place the entire bowl of frosting (or your piping bag) into the refrigerator for 30-45 minutes. This chilling period allows the butter to resolidify, helping the frosting to stiffen up. After chilling, you can re-whip it with the mixer for a minute or two, or simply stir it by hand until it reaches a workable consistency. A common misconception is to add more powdered sugar; however, this can actually make the frosting runnier as sugar dissolves into the liquid components. Remember, this frosting is naturally softer than a dense buttercream, so don’t expect it to be as firm.
Unused marshmallow frosting should be stored in an airtight container in the refrigerator for up to 4 days. This keeps the butter stable and the frosting fresh. When you’re ready to use it again, you might need to let it sit at room temperature for 10-15 minutes and then give it a quick stir or a brief whip in the mixer to restore its creamy texture. If you plan to spread the frosting directly onto a cake or cupcakes without piping, you can typically store the frosted desserts at room temperature for up to 2 days, especially if the environment isn’t excessively warm or humid. For piped desserts, or if you prefer extra freshness, storing them in the refrigerator is best.
Our extensive testing has yielded mixed results on browning this particular frosting with a kitchen torch. While you can achieve a “toasted” effect, it won’t brown in the same way that a pure marshmallow or meringue would. The butter and sugar content in this frosting mean that direct heat from a torch will likely cause it to melt and become slightly gooey rather than developing a firm, golden-brown crust. However, if you don’t mind a slightly melted appearance for the sake of that delicious torched flavor, it is certainly possible. For the best results, we highly recommend freezing your frosted cupcakes or desserts for at least an hour beforehand. This will help the frosting retain its shape longer under the heat. Hold the torch flame close to the frosting (being extremely careful not to ignite paper cupcake liners!) and work very quickly. While the frosting will still melt a bit, the irresistible caramelized flavor often outweighs the slightly altered appearance, especially for desserts like S’mores-inspired treats!
- Proper Butter Temperature: Ensure your unsalted butter is genuinely at room temperature – soft but not greasy or melted. This is fundamental for proper creaming and a smooth frosting.
- Scrape Down the Bowl: Don’t skip scraping down the sides and bottom of your mixing bowl multiple times during the process. This guarantees all ingredients are fully incorporated, preventing lumps or unmixed patches.
- Don’t Rush the Beating: The specified beating times for both the butter-sugar mixture and the final frosting with fluff are not arbitrary. They are crucial for incorporating enough air to achieve that characteristic fluffy, stable texture. Use a timer!
- Chilling is Key: The refrigeration steps for both the piping bag and the finished frosted desserts are critical. They help set the butter, allowing the frosting to hold its shape beautifully and remain stable for serving.
- Adjust Consistency: If your frosting feels too stiff after chilling, let it warm up slightly at room temperature for 10-15 minutes, then stir or re-whip briefly. If it’s too soft, a quick chill in the fridge is usually all it needs.
- Equipment Matters: A stand mixer with a paddle attachment is highly recommended for best results, as it provides consistent power for creaming and beating. A good quality rubber spatula is also invaluable for scraping.
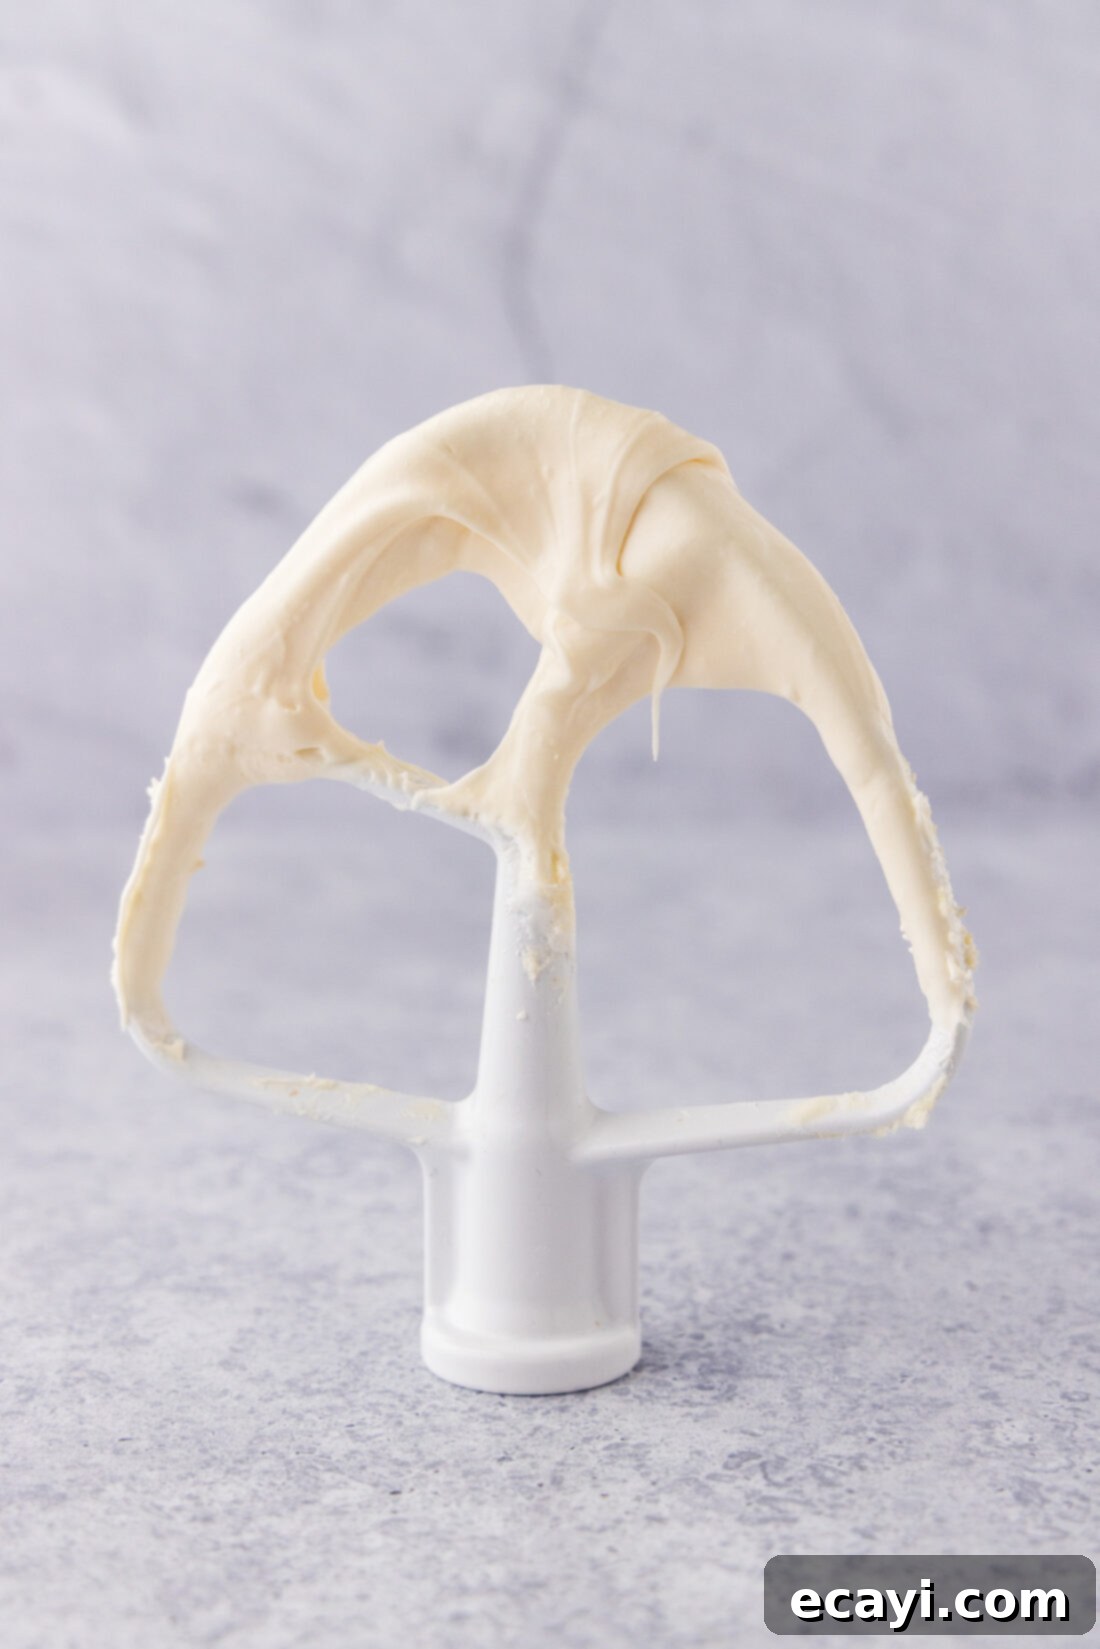
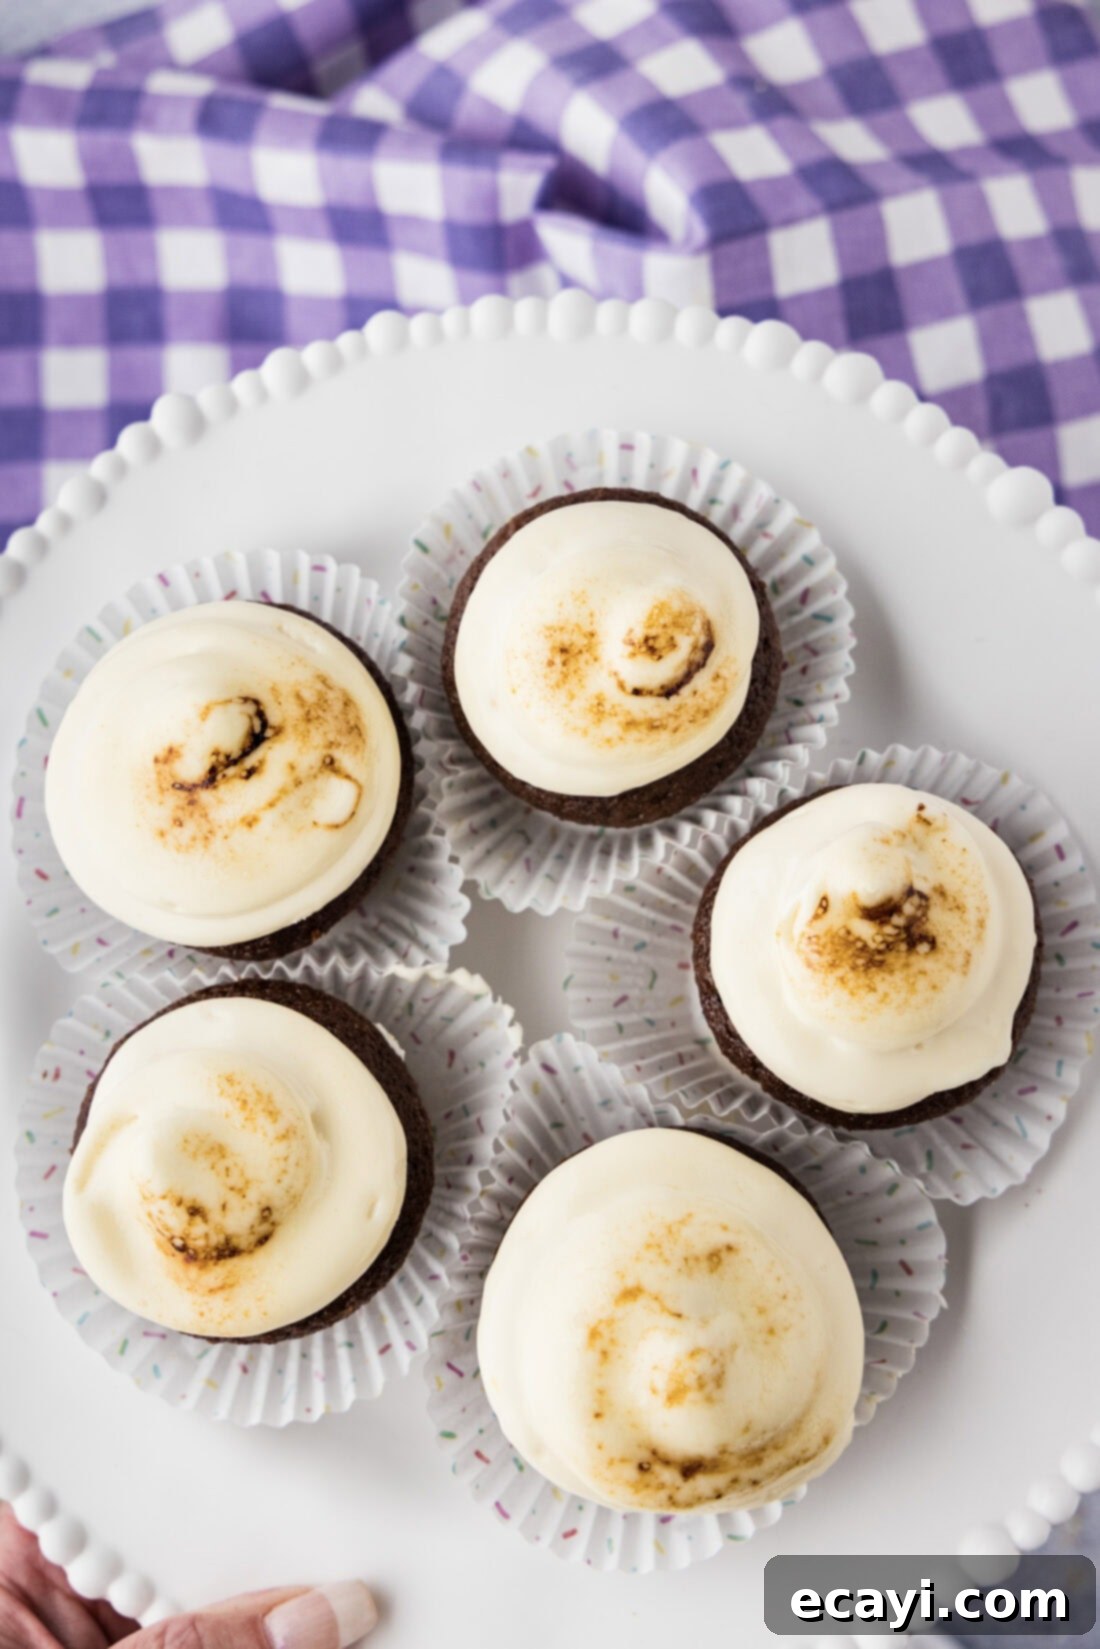
Delightful Serving Suggestions for Marshmallow Frosting
The versatility of this homemade marshmallow frosting is truly incredible! While it excels as a cupcake topping, its light and airy texture makes it suitable for a wide array of desserts. If you prefer to spread it rather than pipe, simply skip the refrigeration step after mixing and apply directly!
Consider piping this dreamy frosting over rich double chocolate cupcakes, decadent chocolate peanut butter cupcakes, or the ever-popular S’mores cupcakes for an authentic campfire experience. Beyond cupcakes, this frosting is magnificent when spread over a classic layered cake, adding an ethereal sweetness. Imagine it as a light and fluffy topping for brownies, dessert bars, or even as a unique finish for sugar cookies and oatmeal cookies.
For an extra treat, try using it as a dip for fresh fruit, a topping for hot cocoa, or even as a delightful component in a deconstructed s’mores dessert. Its smooth, sweet profile makes it a fantastic complement to almost any sweet creation. Enjoy the endless possibilities!
Explore More Delicious Frosting Recipes
If you love experimenting with different frosting flavors and textures, be sure to check out these other fantastic recipes:
- Brown Butter Frosting: A nutty, caramel-infused twist on classic frosting.
- Cream Cheese Frosting: Tangy, sweet, and unbelievably creamy, perfect for red velvet or carrot cake.
- Chocolate Fudge Frosting: Rich, dense, and intensely chocolatey – a chocoholic’s dream.
- Peanut Butter Frosting: A salty-sweet favorite that pairs wonderfully with chocolate or banana desserts.
I absolutely adore creating and sharing my kitchen adventures with all of you! It can be tricky to remember to check back daily, which is why I offer a convenient newsletter every time a new recipe is posted. Simply subscribe to start receiving your free daily recipes directly in your inbox!
Fluffy 4-Ingredient Marshmallow Frosting
IMPORTANT – There are often Frequently Asked Questions within the blog post that you may find helpful. Simply scroll back up to read them!
Print It
Pin It
Rate It
Save It
Saved!
Prevent your screen from going dark
Course:
Condiments, Dessert
Cuisine:
American
24
servings
25
minutes
156
Amanda Davis
Ingredients
-
1
cup
unsalted butter
softened at room temperature -
8
ounces
powdered sugar
(approximately 2 cups) -
2
teaspoons
vanilla extract -
14
ounces
marshmallow fluff
(two 7 ounce jars)
Things You’ll Need
-
Stand mixer
with paddle attachment -
Rubber spatula -
Piping bag -
Piping tip 808
Before You Begin
- It’s crucial to beat the frosting for the full suggested times in the recipe. Always use a timer to ensure adequate aeration, which is key for a fluffy, stable frosting that holds its shape for piping.
- The refrigeration steps are equally important. After mixing, chilling the frosting in the piping bag will help it firm up. Then, chilling the frosted desserts individually ensures the frosting sets perfectly and maintains its integrity.
- If your frosting appears runny, resist adding more powdered sugar, as this can ironically make it thinner. Instead, ensure you’ve beaten it sufficiently and then chill it in the refrigerator for 30-45 minutes to help the butter resolidify. A quick stir or re-whip after chilling should restore the desired consistency.
Instructions
-
In a stand mixer with the paddle attachment, beat softened unsalted butter on medium speed until creamy. Increase speed to medium-high and beat for 4 minutes.1 cup unsalted butter
-
Add powdered sugar and turn mixer on low. Beat on low until powdered sugar and butter come together. Scrape down the sides of the bowl once or twice as needed.8 ounces powdered sugar
-
Increase speed to medium-high and beat for another 4 minutes.
-
Add vanilla extract and marshmallow fluff to the mixing bowl. Turn mixer on medium to incorporate ingredients, then increase mixer to medium-high and beat for a full 5 minutes, scraping down the sides and bottom of the bowl halfway through.2 teaspoons vanilla extract,
14 ounces marshmallow fluff -
Transfer frosting to your piping bag and place in the refrigerator for 30 minutes. Do not leave it longer than 30 minutes, or the butter will harden too much, making piping difficult.
-
Pipe frosting onto one cupcake, then immediately place the cupcake in the refrigerator. Repeat this process for each cupcake until all are in the fridge. This crucial step helps maintain the integrity of the frosting. Allow cupcakes to chill for an additional 30-45 minutes before serving.
Expert Tips & FAQs
- Storage: Store leftover frosting in an airtight container in the refrigerator for up to 4 days. This helps keep the butter stable and ready for piping. If spreading, frosted cupcakes can be stored at room temperature for up to 2 days, though refrigeration is recommended for piped frosting or warmer climates.
- For Browning with a Torch: Achieving a perfectly browned marshmallow effect like meringue is tricky with this frosting due to its butter content. Heat from a kitchen torch will tend to melt it. To minimize melting while still getting some toasted flavor, freeze your frosted desserts for at least an hour first. Hold the flame close and work very quickly, being careful around paper liners. Expect a slightly melted look, but enjoy the delicious caramelized taste!
- Troubleshooting Runny Frosting: If your frosting is runny, ensure you’ve beaten it for the full recommended times to incorporate enough air. Then, chill it in the refrigerator for 30-45 minutes. The butter will firm up, and you can re-whip or stir it back to a good consistency. Do not add more powdered sugar, as sugar can dissolve and make it even runnier.
Nutrition
Serving:
1
serving
|
Calories:
156
cal
|
Carbohydrates:
24
g
|
Protein:
0.1
g
|
Fat:
8
g
|
Saturated Fat:
5
g
|
Polyunsaturated Fat:
0.3
g
|
Monounsaturated Fat:
2
g
|
Trans Fat:
0.3
g
|
Cholesterol:
20
mg
|
Sodium:
1
mg
|
Potassium:
3
mg
|
Sugar:
19
g
|
Vitamin A:
236
IU
|
Calcium:
2
mg
|
Iron:
0.01
mg
Tried this Recipe? Pin it for Later!
Follow on Pinterest @AmandasCookin or tag #AmandasCookin!
The recipes on this blog are tested with a conventional gas oven and gas stovetop. It’s important to note that some ovens, especially as they age, can cook and bake inconsistently. Using an inexpensive oven thermometer can assure you that your oven is truly heating to the proper temperature. If you use a toaster oven or countertop oven, please keep in mind that they may not distribute heat the same as a conventional full sized oven and you may need to adjust your cooking/baking times. In the case of recipes made with a pressure cooker, air fryer, slow cooker, or other appliance, a link to the appliances we use is listed within each respective recipe. For baking recipes where measurements are given by weight, please note that results may not be the same if cups are used instead, and we can’t guarantee success with that method.
