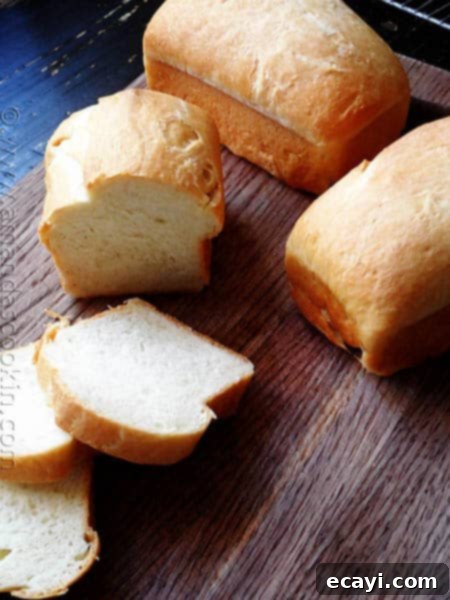
Delicious & Easy Homemade Amish White Bread Mini Loaves Recipe
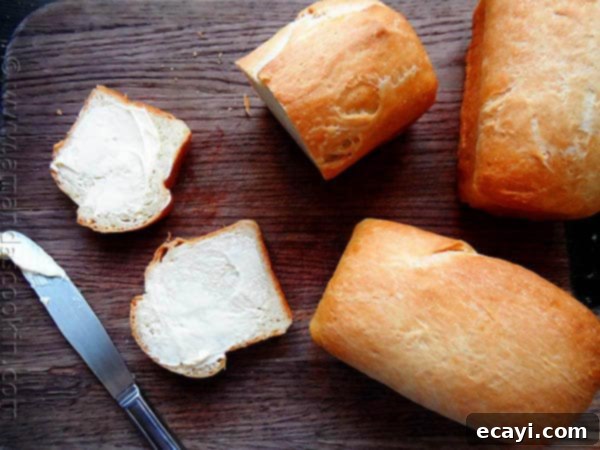
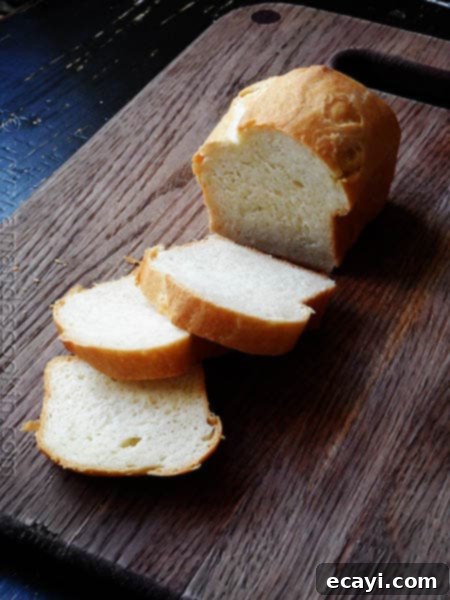
There is truly nothing quite like the comforting aroma of fresh-baked bread wafting through your home. It’s a scent that instantly evokes warmth, nostalgia, and a feeling of pure coziness. While a large loaf of homemade bread is always a welcome sight, imagine the delight of offering each of your guests their very own individual mini loaf of soft, fluffy Amish white bread. These charming mini loaves are an absolute showstopper, especially when dressed up for special occasions. Perfect for holiday gatherings, they can be elegantly placed on individual plates, transforming into unique and edible place cards with the simple addition of a name tag. It’s a thoughtful touch that combines deliciousness with delightful presentation.
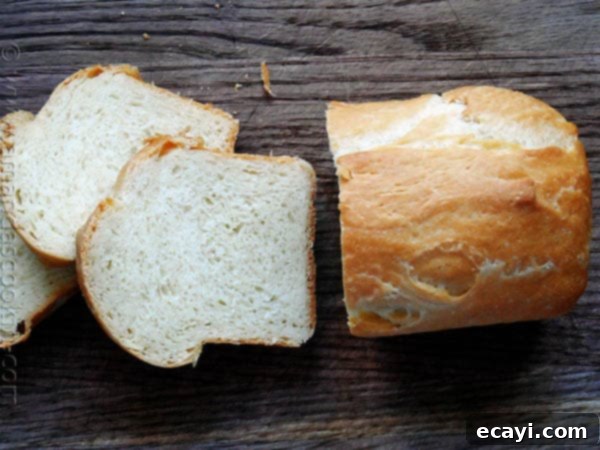
Homemade Amish white bread is renowned for its incredibly soft texture, slightly sweet flavor, and tender crust. It’s a classic for a reason, offering a comforting staple that pairs perfectly with almost any meal. Taking this beloved recipe and scaling it down to individual mini loaves creates an entirely new experience. It makes serving effortless and adds a touch of gourmet elegance to your table, whether it’s a casual family dinner or a festive holiday feast.
The Allure of Individual Servings: Why Mini Loaves Are a Must-Try
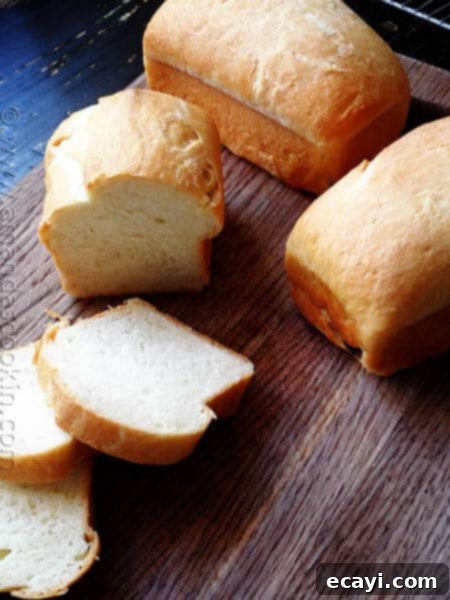
The beauty of these mini Amish White Bread loaves lies in their versatility and charm. Beyond their irresistible taste, their small size makes them incredibly practical. They eliminate the need for slicing at the table, ensuring each guest receives a perfectly portioned serving. This also makes them ideal for smaller households or for those who simply appreciate the convenience of individual portions. Plus, the visual appeal of a tiny, perfectly formed loaf is undeniable. They add a rustic yet refined touch to any meal, inviting guests to savor every bite.
For holiday entertaining, these mini loaves truly shine. Imagine your beautifully set dining table, each place setting adorned with a warm, golden-brown mini bread loaf. You can easily personalize them by adding a small tag with each guest’s name, or even writing directly on a parchment paper wrap. This transforms a simple bread roll into an interactive and memorable element of your holiday decor, doubling as a delicious appetizer and a unique memento. Any untouched loaves can easily be sent home with your guests, ensuring none of your delicious homemade efforts go to waste.
From Classic Loaf to Adorable Miniatures: A Recipe Reinvention
A few years ago, I shared my recipe for a wonderfully Homemade Amish White Bread. It quickly became a favorite, celebrated for its incredible softness and ease of preparation. Over time, as new recipes are added, older gems sometimes get overlooked. I realized it had been a while since I had baked a batch myself, and like many of you, I sometimes let those tried-and-true recipes get buried in the archives!
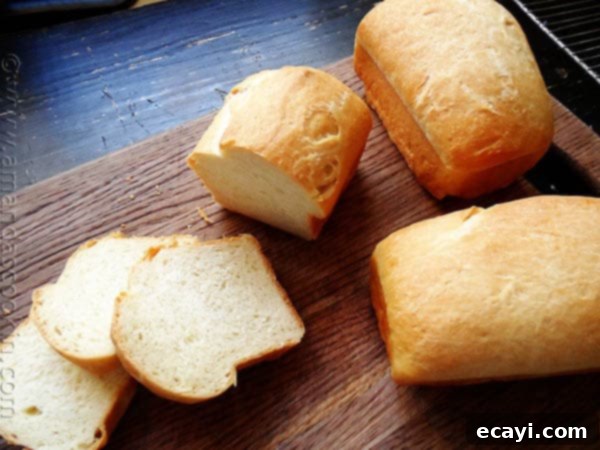
So, I went back to that beloved recipe, dusted it off, and decided to give it a fresh twist by baking it in miniature form. What an absolute treat it turned out to be! The process of adapting the recipe was seamless, and the result was just as delightful, if not more so, than the original larger loaf. These mini versions capture all the comforting flavors and textures of the full-sized bread in a charming, portable package.
Crafting the Perfect Dough: Tips for Your Homemade Mini Loaves
Making bread from scratch can seem daunting, but this Amish White Bread recipe is surprisingly forgiving and straightforward. For ultimate convenience and efficiency, I highly recommend using a food processor to mix the dough ingredients. It’s incredibly fast and achieves a beautifully smooth dough in mere minutes, often quicker and with less fuss than a stand mixer. However, if you prefer, a stand mixer with a dough hook works wonderfully too, or you can even mix and knead by hand for a more traditional, hands-on approach. The key is to ensure your yeast is active and your liquid ingredients are at the correct temperature (around 105-115°F or 40-46°C) to get that perfect rise.
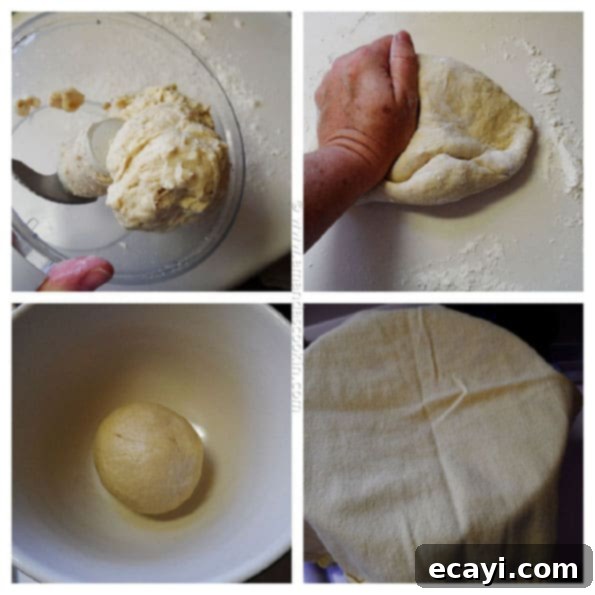
The first rise is crucial for developing the bread’s flavor and texture. After kneading your dough until it’s smooth and elastic – which should take about 5-6 minutes on a floured surface if doing it by hand, or less in a machine – place it in a lightly oiled bowl, turning it once to coat the top. This prevents a dry skin from forming. Cover the bowl with plastic wrap or a clean kitchen towel and let it rise in a warm, draft-free place until it has doubled in size, typically around 30-40 minutes. Patience during this step will yield a light and airy finished product.
Shaping, Second Rise, and Baking Perfection
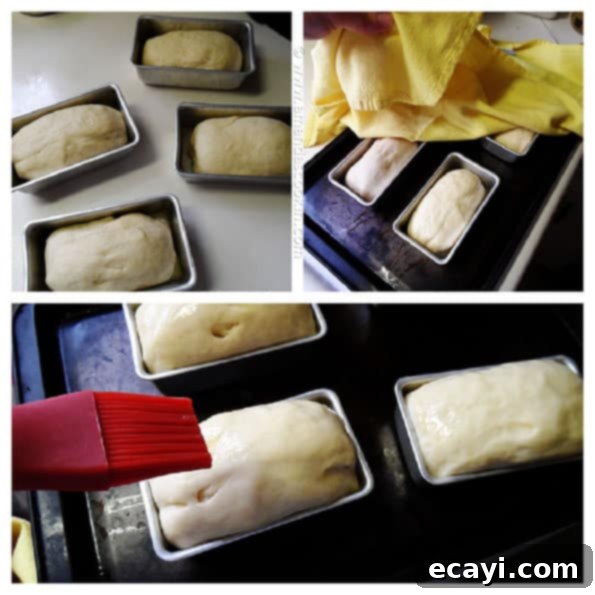
Once your dough has completed its first rise, gently punch it down to release the air. Give it a brief, light knead a few times on a floured surface, then divide the dough into four equal parts. This recipe is perfectly scaled for standard mini loaf pans. Shape each portion into a small loaf, tucking the edges under to create a smooth top, and place them into greased mini loaf pans. Arrange these pans on a baking sheet to make transfer to and from the oven easier.
The second rise, or proofing, allows the loaves to achieve their final volume and contributes significantly to the bread’s light and fluffy texture. Cover the pans with a soft cloth and let them rise again for another 20-30 minutes, or until the dough has risen about 1 inch above the top of the pans. While they are completing their final rise, preheat your oven to 350°F (175°C).
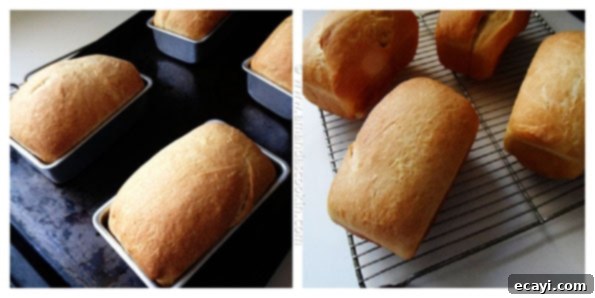
Just before placing the mini loaves into the preheated oven, brush their tops generously with a tablespoon of melted unsalted butter. This step isn’t just for flavor; it helps create that beautiful, golden-brown crust we all love and adds a subtle richness. Bake for approximately 28-30 minutes, or until the tops are golden and the loaves sound hollow when tapped on the bottom. After removing them from the oven, let them cool in their pans for about ten minutes before transferring them to a wire rack to cool completely. This cooling period prevents the bread from becoming dense or soggy and ensures a perfect texture.
Creative Presentation & Serving Ideas
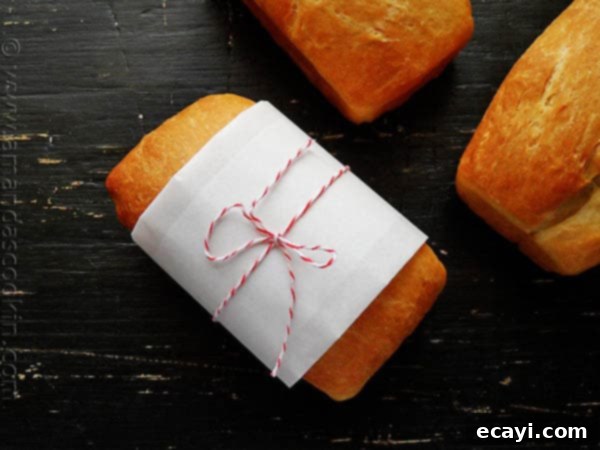
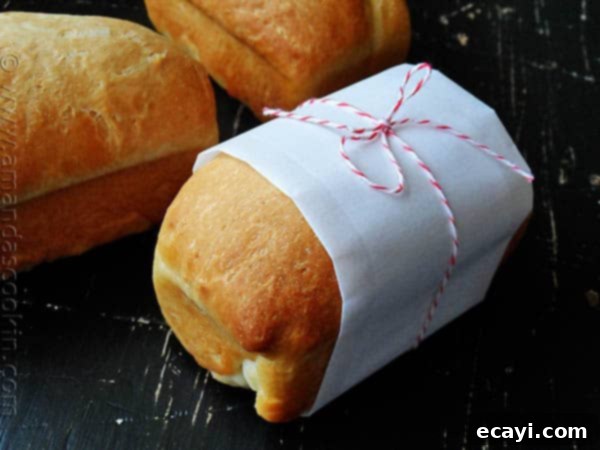
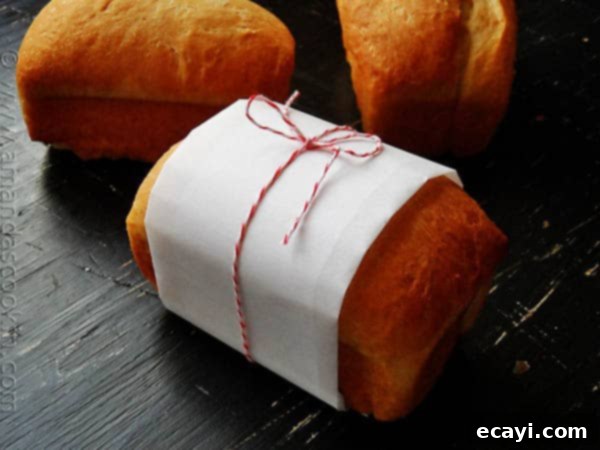
Beyond being edible place cards for your holiday table, these Amish White Bread mini loaves offer countless possibilities for presentation and serving. Consider wrapping each cooled loaf in a square of parchment paper, tying it with baker’s twine or festive ribbon. This not only makes them look incredibly inviting but also keeps them fresh. You can then add a small, handwritten tag with a personalized message or a guest’s name, making them charming individual gifts or party favors.
For a breakfast or brunch spread, serve them in a basket with a variety of spreads like homemade jam, honey butter, or herbed cream cheese. They are also perfect alongside a hearty bowl of soup or a fresh salad for lunch. Don’t forget their potential as thoughtful hostess gifts; a few beautifully wrapped mini loaves are always appreciated. Their comforting taste and appealing size make them versatile for any occasion.
Essential Baking Tips for the Best Mini Loaves
To ensure your Amish white bread mini loaves turn out perfectly every time, here are a few essential baking tips:
- Accurate Measurements: Especially for baking, precise measurements are crucial. Use a kitchen scale for flour if possible, as scooping directly from a bag can result in too much flour. If using measuring cups, spoon the flour into the cup and level it off with a straight edge.
- Yeast Activation: Always check your yeast’s expiration date. Ensure your warm water is within the optimal temperature range (105-115°F) for yeast activation. Too cold, and the yeast won’t activate; too hot, and it will kill the yeast. A foamy surface after 5-10 minutes is a good sign of active yeast.
- Kneading is Key: Proper kneading develops the gluten, which gives bread its structure and chewiness. Knead until the dough is smooth and elastic. It should spring back when lightly poked.
- Warm Rising Environment: A warm, draft-free place is ideal for dough to rise. If your kitchen is cool, you can place the covered bowl in a slightly warmed (but turned off) oven or near a sunny window.
- Oven Temperature: Ovens can vary. An inexpensive oven thermometer can confirm your oven is heating to the correct temperature, preventing under or over-baking.
- Don’t Overbake: Overbaking can lead to dry bread. Keep an eye on the loaves, and once they’re golden brown and sound hollow when tapped, they’re likely done.
Storing Your Delicious Mini Loaves
While these mini loaves are best enjoyed fresh from the oven, you can store any leftovers to maintain their deliciousness. Once completely cooled, place them in an airtight container or a large resealable plastic bag at room temperature for up to 2-3 days. For longer storage, the mini loaves freeze beautifully. Wrap each cooled loaf individually in plastic wrap, then place them in a freezer-safe bag for up to 2-3 months. To enjoy, simply thaw at room temperature and warm gently in the oven for that “fresh-baked” experience.
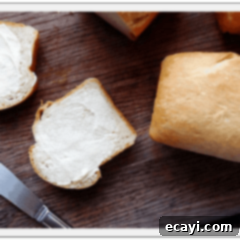
Amish White Bread Mini Loaves
IMPORTANT – There are often Frequently Asked Questions within the blog post that you may find helpful. Simply scroll back up to read them!
Print It
Pin It
Rate It
Save ItSaved!
Ingredients
- ½ cup warm water 110 degrees
- 3 tablespoons sugar
- 2 ¼ teaspoon instant yeast quick rise
- ½ cup warm milk 110 degrees
- ¾ teaspoon salt
- 2 tablespoons vegetable oil
- 3 cups bread flour
- 1 tablespoon unsalted butter melted
Instructions
-
NOTE: These instructions use a food processor for convenience sake. You can make this by hand using a bowl and wooden spoon, or use your electric mixture. The results will be the same.
-
In food processor combine warm water, sugar and yeast. Process for 10 seconds. Allow to sit until yeast bubbles and appears foamy.
-
Add warm milk to the yeast mixture and process for 5 seconds. Add salt and oil and process 10 seconds more.
-
Add one cup of the flour and process for 10 seconds. Add remaining two cups of flour and process until dough balls up and comes together.
-
Turn dough out onto a floured surface and knead until smooth, 5 or 6 minutes.
-
Place dough in well oiled bowl; turn to coat top. Let rise about 30-40 minutes, or until doubled in size.
-
Preheat oven to 350 F.
-
Punch dough down, knead a few times. Divide dough into four equal parts.
-
Shape into loaves and place into 4 greased mini loaf pans. Place loaves onto a cookie sheet and cover with a soft cloth. Allow to rise 20-30 minutes or until dough has risen about 1-inch above pans.
-
Melt one tablespoon of butter and brush on the tops of the loaves. Bake for 28-30 minutes.
-
Remove from oven and allow to cool on a rack for 10 minutes, then remove from pans to cool the rest of the way.
Nutrition
The recipes on this blog are tested with a conventional gas oven and gas stovetop. It’s important to note that some ovens, especially as they age, can cook and bake inconsistently. Using an inexpensive oven thermometer can assure you that your oven is truly heating to the proper temperature. If you use a toaster oven or countertop oven, please keep in mind that they may not distribute heat the same as a conventional full sized oven and you may need to adjust your cooking/baking times. In the case of recipes made with a pressure cooker, air fryer, slow cooker, or other appliance, a link to the appliances we use is listed within each respective recipe. For baking recipes where measurements are given by weight, please note that results may not be the same if cups are used instead, and we can’t guarantee success with that method.
