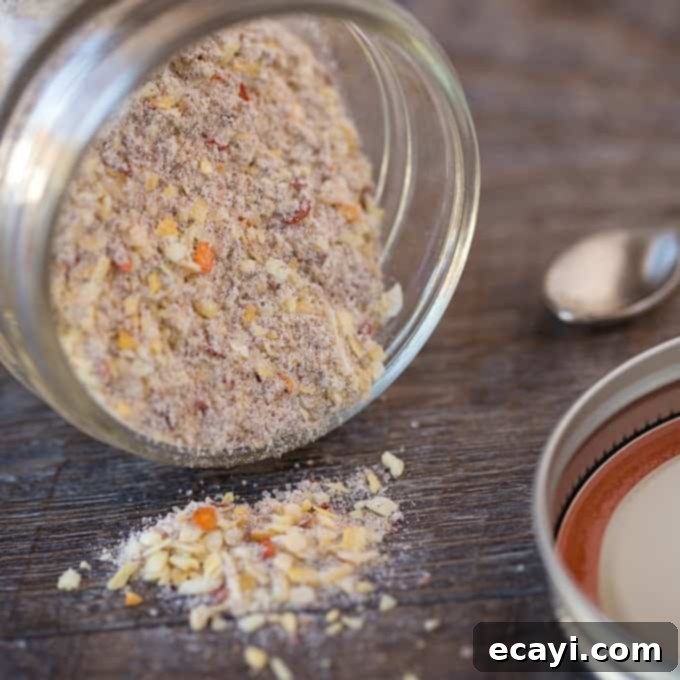
Homemade Chili Seasoning: Craft Your Perfect Pot with Our Easy DIY Mix
For over fifteen years, crafting my own homemade chili seasoning has been a kitchen staple, transforming ordinary ground beef into an extraordinary meal. I distinctly remember the days of relying on pre-packaged grocery store packets, but the moment I stumbled upon this simple, yet incredibly potent recipe, I was completely captivated. The true brilliance of this particular blend lies in its versatility; it serves as a robust and aromatic flavor foundation, allowing you to build your ideal chili experience. Once you’ve prepared this amazing chili seasoning mix, you gain the freedom to customize your chili however your palate desires. Fancy a spicier kick? Add more crushed red pepper. Want to introduce new textures and flavors? Incorporate some finely diced green peppers, or perhaps a cherished secret ingredient passed down through generations. Or, if perfection is already achieved, simply enjoy it exactly as it is – rich, comforting, and undeniably delicious.
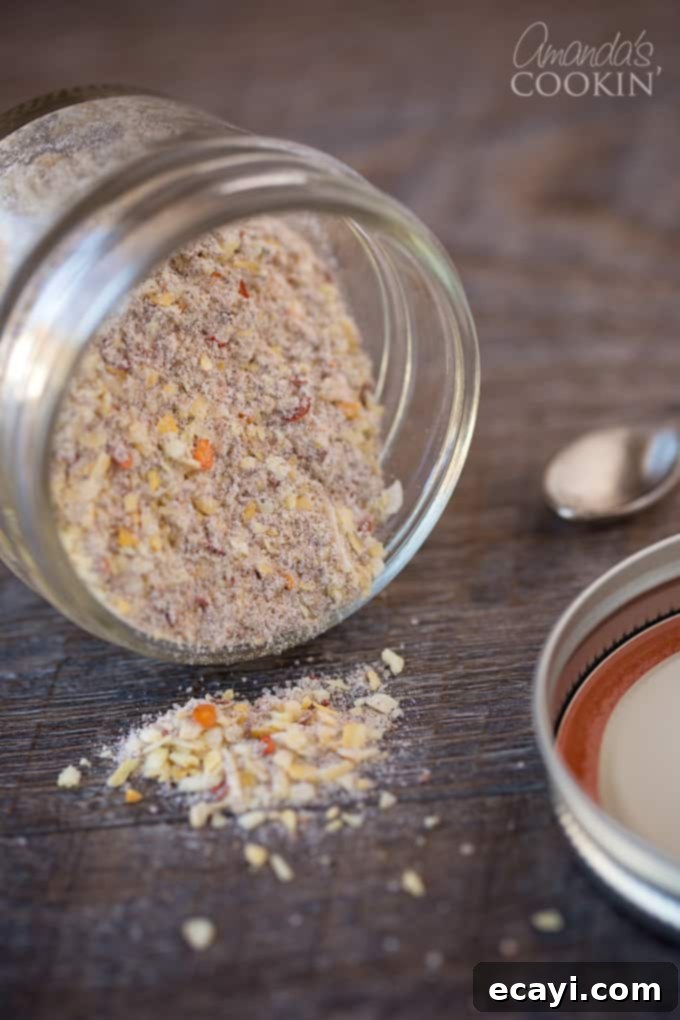
Why Choose Homemade Chili Seasoning? The Benefits of DIY Spice Blends
There are numerous compelling reasons to ditch the store-bought packets and embrace the world of homemade spice blends, especially when it comes to something as beloved as chili. Beyond the sheer satisfaction of creating something from scratch, making your own chili seasoning offers unparalleled control, freshness, and often, significant cost savings in the long run.
Control Over Ingredients
One of the most significant advantages of a DIY approach is the ability to precisely control what goes into your food. Commercial chili seasoning packets often contain anti-caking agents, excessive sodium, added sugars, and sometimes even MSG or other artificial flavors. With your own mix, you dictate the quality and quantity of each ingredient. This is particularly beneficial for those managing dietary restrictions, allergies, or simply seeking to reduce their intake of salt or processed ingredients. You can tailor the spice level exactly to your family’s preferences, making it milder for kids or bolder for heat lovers.
Superior Freshness and Flavor
Spices lose their potency over time, and the blends found in grocery store packets may have been sitting on shelves for months. When you mix your own homemade chili seasoning, you’re likely using fresher, more aromatic spices from your pantry. This translates directly to a more vibrant, complex, and deeply flavorful chili. The difference is truly remarkable, elevating a simple bowl of chili from good to gourmet with minimal effort.
Cost-Effective and Convenient
While the initial investment in individual spices might seem higher, purchasing spices in bulk and making your own blends is far more economical over time than constantly buying small packets. Furthermore, once you have your preferred spices on hand, whipping up a batch of this DIY chili seasoning is incredibly quick, saving you a last-minute trip to the store when a chili craving strikes. It’s a fantastic way to streamline your meal prep and ensure you’re always ready to whip up a delicious, hearty meal.
Your Essential Homemade Chili Seasoning Recipe
The core homemade chili seasoning recipe I’m sharing below is perfectly portioned for one pound of ground beef. However, our family is quite large, so I almost always double this recipe when preparing chili. This classic, comforting dish remains one of our absolute favorite dinner ideas using ground beef, and for good reason – it’s simple, satisfying, and packed with flavor. But don’t limit yourself to just beef; this versatile seasoning works wonderfully with ground chicken, turkey, or even plant-based meat alternatives for a vegetarian chili.
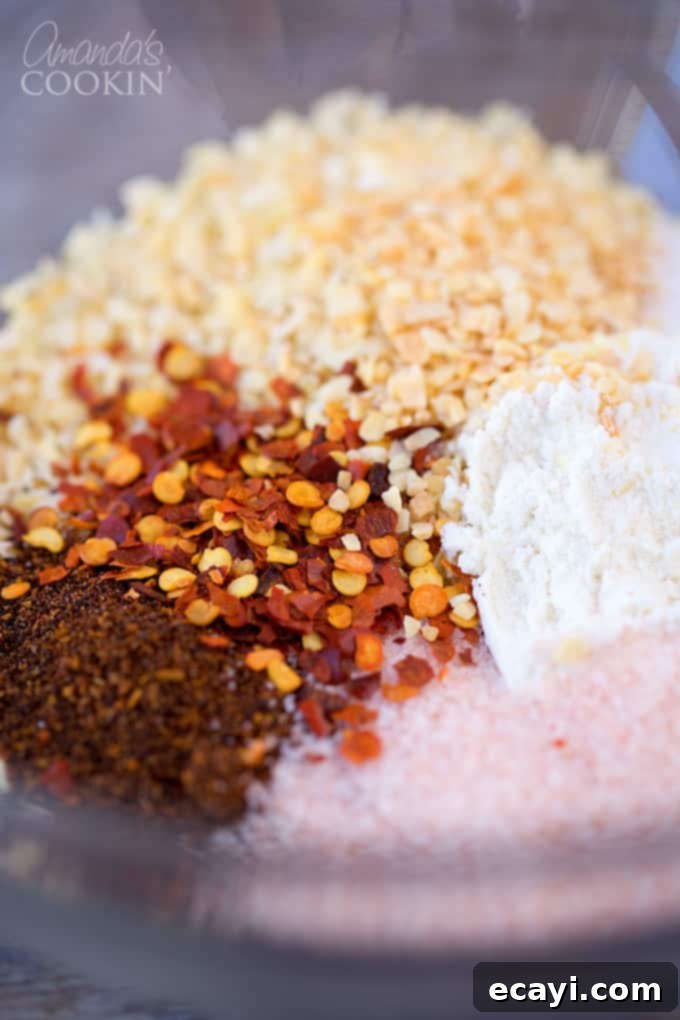
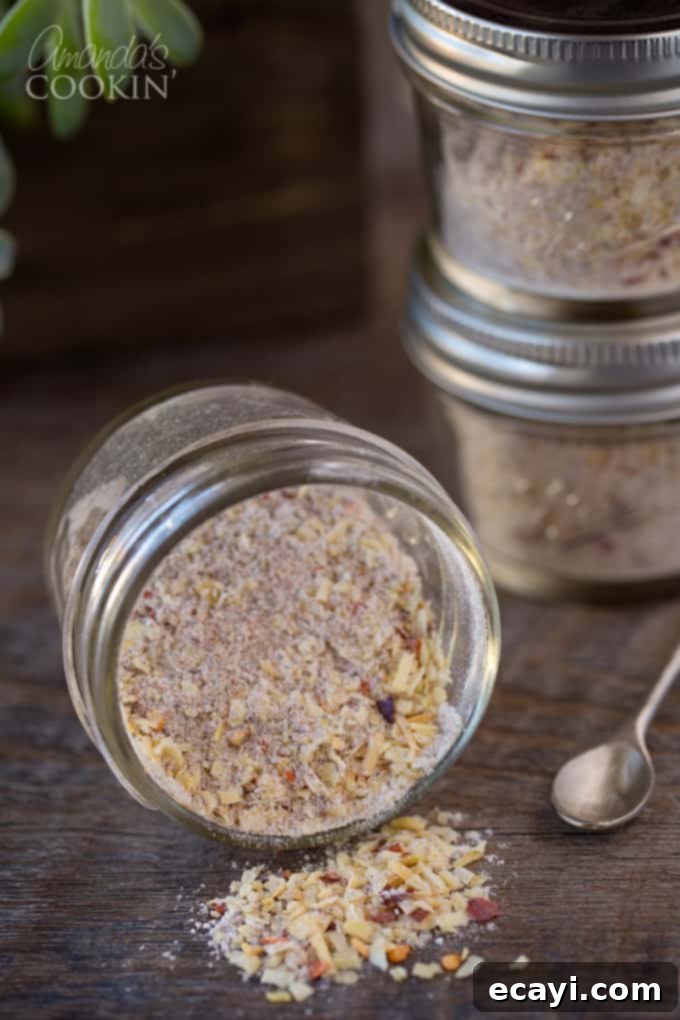
To make your life even easier, I’m also going to walk you through the process of preparing multiple batches of this chili seasoning in advance. This means you won’t have to dig out all your measuring spoons every single time you decide to make a pot of chili. Typically, I prepare about 5 or 6 batches of my homemade chili seasoning at once, storing them efficiently in my cabinet, ready for action.
Efficient Batch Preparation: Jarred or Individual Portions
Having a ready-made supply of your DIY chili seasoning is a game-changer for quick meal preparation. You have two excellent options for storing your pre-mixed batches, depending on your preference and frequency of chili making.
Make a Jarful for Easy Scooping
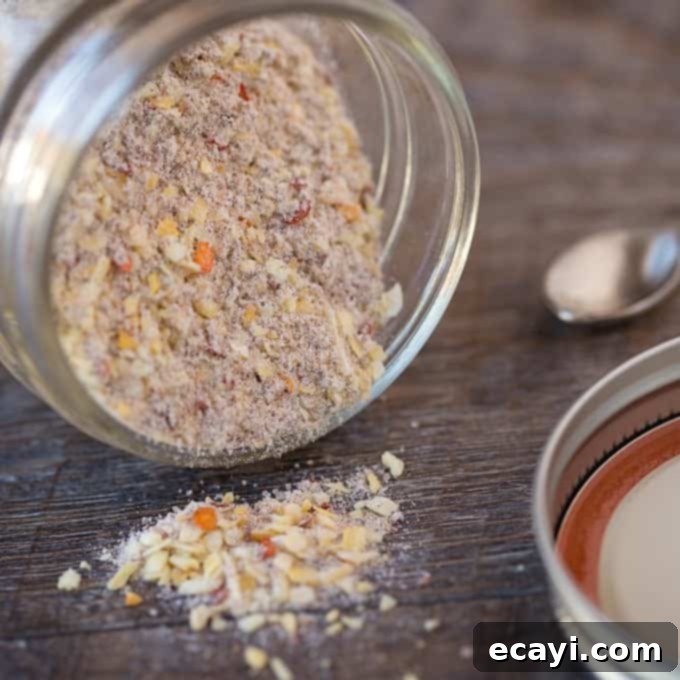
For those who make chili frequently or want to have a bulk supply on hand, you can multiply this seasoning recipe by 10 (or even more, to fill a suitably sized jar) and store it in a large, airtight jar in your pantry. When chili night arrives, simply measure out approximately 4 tablespoons of this robust homemade chili seasoning for every pound of ground meat (be it beef, chicken, or turkey) you’re cooking. This method is incredibly convenient for quick additions to any dish requiring that classic chili flavor.
If you’re preparing several individual batches before combining them into one large jar, follow these simple steps:
- First, set out one clean bowl for each batch you intend to prepare. This keeps your measurements organized.
- Carefully measure all the ingredients for a single batch into each respective bowl.
- Using a fork, stir the ingredients thoroughly in each bowl until they are well combined and uniform. This ensures an even distribution of flavor.
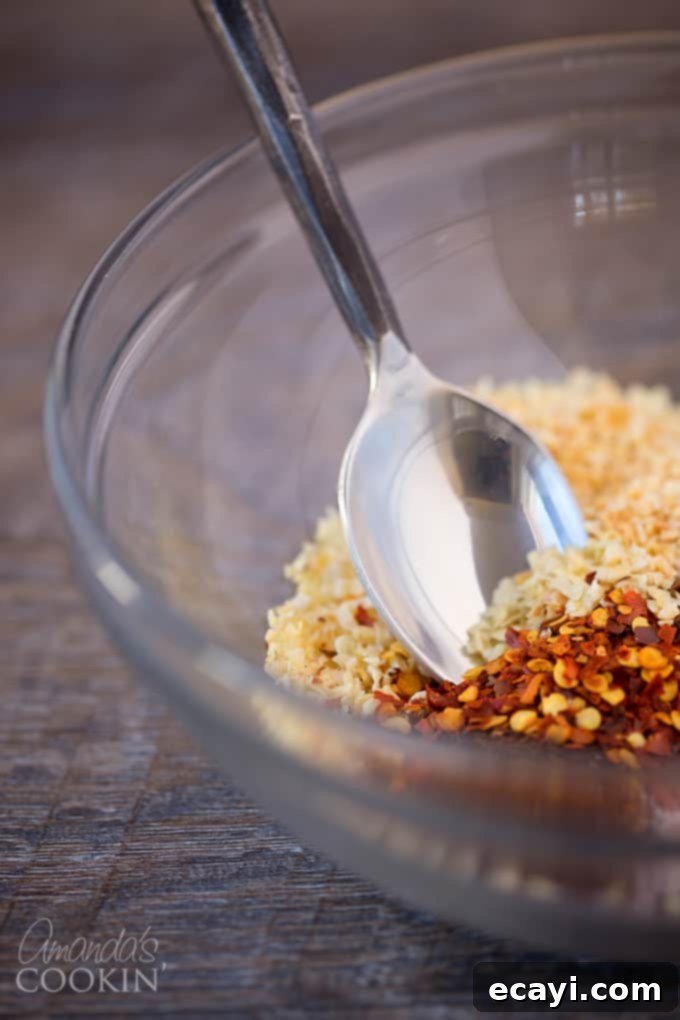
Individual Baggies: Your Own Chili Seasoning “Packets”
Alternatively, instead of pouring all your mixed seasoning into one large jar and measuring it out each time, you can create your own pre-portioned “packets” using ordinary zipper sandwich bags. This is a fantastic method for grab-and-go convenience.
You will need one zipper sandwich bag for each individual batch of chili seasoning mix. Carefully pour each pre-measured and mixed batch into its own baggie. Once the seasoning is inside, gently squeeze out any excess air before sealing the bag tightly. To further protect the spices and maintain their freshness, wrap each sealed baggie in aluminum foil. Don’t forget to mark each foil-wrapped packet clearly as “chili seasoning” – I find this especially helpful because I also make my own taco seasoning and store them alongside my chili mixes in the same cabinet.
Wrapping them in foil is a crucial step. It shields the seasoning from light exposure, which can significantly dull the flavor and vibrancy of many herbs and spices over time. When stored in a cool, dry, and dark place (like a cabinet), this homemade chili seasoning mix boasts a shelf life of approximately a year, similar to other dried herbs and spices. In my experience, however, it rarely lasts that long because it gets used up so quickly!
There are affiliate links in this post. That means if you buy something from that link, I will earn a small commission, but it won’t cost you anything additional.
Understanding the Ingredients in Your DIY Chili Seasoning Mix
Each component of this homemade chili seasoning plays a vital role in creating that signature, comforting flavor. Let’s break down what each ingredient brings to your perfect pot of chili:
- Flour: Often used as a thickening agent, flour helps to give your chili a hearty body and a smooth consistency, ensuring the spices adhere well and are evenly distributed.
- Dried Minced Onion: Provides a concentrated onion flavor without the moisture and texture of fresh onions. It’s a foundational aromatic that builds depth in your chili.
- Chili Powder: The star of the show! Good quality chili powder is a blend of ground chilies, cumin, oregano, and sometimes garlic powder. It delivers the quintessential chili flavor profile – earthy, slightly spicy, and robust. You can experiment with different types of chili powder (e.g., Ancho, New Mexico) for nuanced flavors.
- Salt: Essential for enhancing all the other flavors. It’s crucial for balancing the spice and richness. Remember, you can always add more at the end, but you can’t take it away!
- Crushed Red Pepper: This is where you get your heat! Crushed red pepper flakes add a pleasant warmth and a gentle kick. Feel free to adjust the quantity based on your desired spice level.
- Dried Minced Garlic: Like the onion, dried minced garlic offers a powerful, aromatic punch. It’s a key ingredient in almost any savory dish, adding depth and a pungent sweetness.
- Sugar: A small amount of sugar might seem surprising, but it’s a secret weapon! It balances the acidity of tomatoes and the bitterness of certain spices, enhancing the overall savory profile and adding a subtle sweetness that rounds out the flavor.
- Ground Cumin: Earthy, warm, and slightly pungent, cumin is indispensable in chili. It adds a distinctive, smoky flavor that is characteristic of many Tex-Mex and Southwestern dishes.
This blend creates a fantastic base, but feel free to experiment! A dash of smoked paprika can add more depth, or a pinch of dried oregano can bring an herbaceous note. The beauty of homemade is making it truly yours.
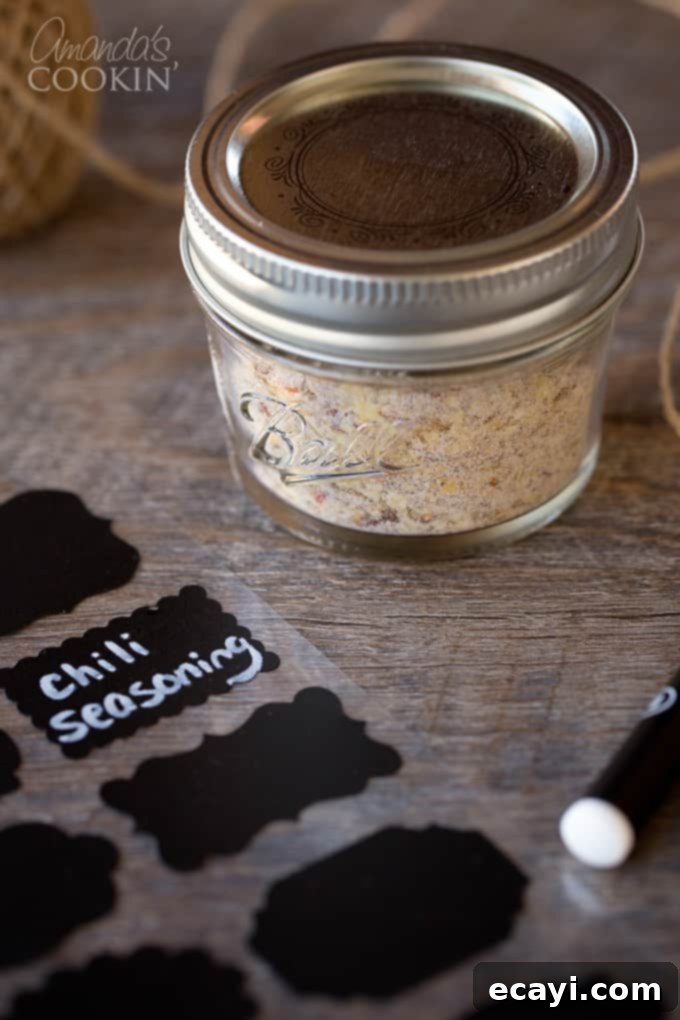
Giving the Gift of Flavor: Share Your Homemade Chili Seasoning
While holiday seasons like Christmas are often associated with edible gifts, a jar of homemade chili seasoning is a thoughtful and practical present for any chili enthusiast, any time of the year! It’s a gift that keeps on giving, allowing friends and family to enjoy a delicious, homemade meal with minimal effort.
To make your gift truly special and visually appealing, get creative with the presentation. Fill small, attractive jars with your blended seasoning, making them festive and fun. You can add cute little chalkboard labels for a rustic touch, perhaps writing “Homemade Chili Mix” and “Made with Love.” Attach a mini spoon to the jar with some twine or ribbon for decoration, or even include a small recipe card with your favorite chili recipe and tips for using the seasoning. Consider pairing it with a bag of dried kidney beans, a can of fire-roasted tomatoes, or a personalized chili bowl to create a complete “chili night” gift basket. This personal touch elevates a simple spice blend into a cherished present, showing your loved ones how much you care.
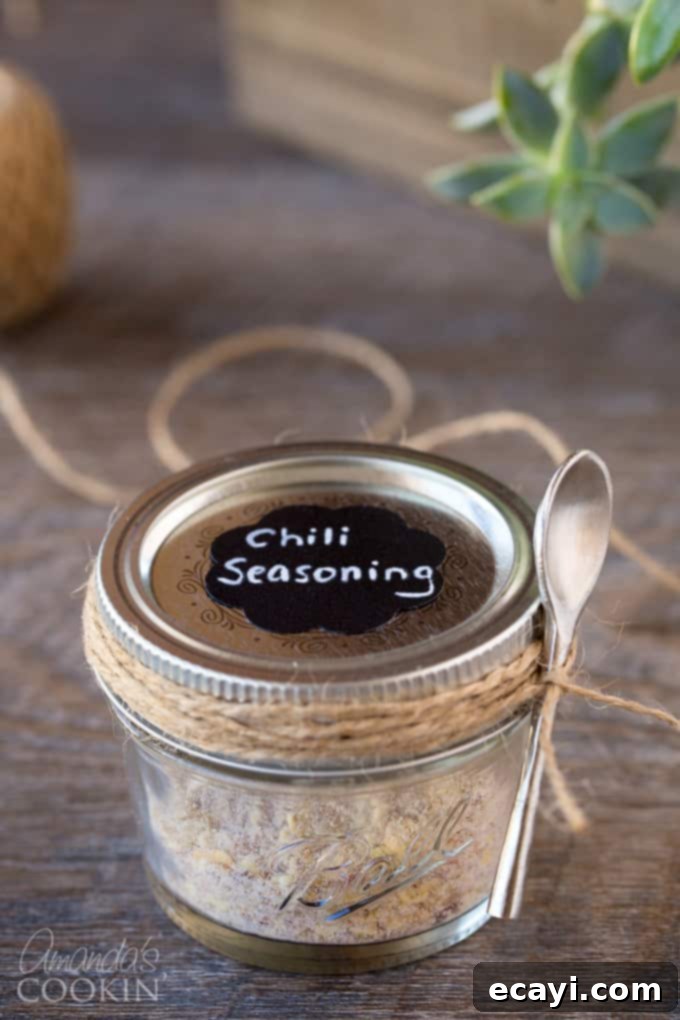
More Than Just Chili: Creative Uses for Your DIY Seasoning
While this blend is specifically designed for chili, its incredible depth of flavor makes it a versatile addition to many other dishes in your culinary repertoire. Don’t let your homemade chili seasoning sit idle between chili nights!
- Spice Rub for Meats: Sprinkle generously on chicken, pork chops, or beef roasts before grilling, baking, or pan-frying for an instant flavor boost.
- Roasted Vegetables: Toss your favorite vegetables like sweet potatoes, cauliflower, or Brussels sprouts with olive oil and a tablespoon of this seasoning before roasting for a savory, slightly spicy side dish.
- Flavorful Soups and Stews: Add a spoonful to any broth-based soup or stew to introduce a rich, Southwestern flair.
- Eggs and Breakfast Dishes: A pinch can elevate scrambled eggs, omelets, or even a breakfast burrito, making your morning meal more exciting.
- Dips and Spreads: Mix into sour cream, Greek yogurt, or cream cheese for a quick and easy dip for chips, crackers, or vegetable sticks.
- Popcorn Seasoning: For a savory snack, sprinkle over freshly popped popcorn with a dash of melted butter.
Recipes using chili seasoning:
Once you have your fantastic homemade chili seasoning ready, the possibilities for delicious meals are endless. Here are a few favorite recipes that beautifully showcase this spice blend:
- Chili and Cornbread Stuffed Peppers: A hearty and comforting meal where the robust flavor of your chili seasoning shines in every bite of the savory filling.
- 3-Bean Chili: A classic, protein-packed chili that truly comes alive with the homemade blend, perfect for a satisfying vegetarian or meat-lover’s version.
- Chili Mac: The ultimate comfort food fusion! Our seasoning elevates this cheesy pasta and chili dish to new levels of deliciousness.
- This one pot chili can be made with my seasoning too! It’s an incredibly easy and convenient recipe that highlights the depth of your homemade mix.
More ground beef recipes for versatile family meals
Ground beef is an incredibly versatile and economical ingredient, perfect for a wide array of family-friendly meals. If you’re looking for even more creative and delicious ways to utilize ground beef beyond chili, you’ve come to the right place! I have an extensive collection of ground beef recipes here that cater to all tastes and occasions. Alternatively, you can browse a few hand-picked favorites below that are sure to become new staples in your household. And for those who love making their own seasoning blends, be sure to explore our delightful homemade popcorn seasonings available in 7 different exciting flavors, or our irresistible french fry seasoning for an elevated snack experience!
- Taco Bell Enchirito Copycat: Recreate this beloved fast-food classic at home with a flavor that rivals the original.
- Southwest Ground Beef Casserole: A hearty and flavorful casserole brimming with Tex-Mex goodness, perfect for a comforting weeknight dinner.
- Salisbury Steaks: Classic comfort food, these tender Salisbury steaks in a rich mushroom gravy are surprisingly easy to make.
- The Best Meatloaf Recipe Ever: A timeless family favorite, this meatloaf recipe promises a moist, flavorful, and perfectly seasoned dish every time.

Make Your Own Chili Seasoning
IMPORTANT – There are often Frequently Asked Questions within the blog post that you may find helpful. Simply scroll back up to read them!
Print It
Pin It
Rate It
Save ItSaved!
Ingredients
Chili Seasoning
- 1 tbsp flour
- 2 tbsp dried minced onion
- 1 ½ tsp chili powder
- 1 tsp salt
- ½ tsp crushed red pepper
- ½ tsp dried minced garlic
- ½ tsp sugar
- ½ tsp ground cumin
For the Chili
- 1 recipe Amanda’s Chili Seasoning Mix
- 1 pound ground beef
- 15 oz can dark red kidney beans drained and rinsed
- 15 oz can diced tomatoes run them through a blender if you don’t like the chunks
- ¼ cup water
Instructions
For the Chili Seasoning
-
Measure all ingredients into the same bowl and mix together with a fork.
-
Store in zipper sandwich bags that have been wrapped in foil to keep light out.
-
Label foil packages. Keeps for 6-9 months in a cool dry cabinet.
To Make the Chili:
-
Brown ground beef in a skillet. Drain off fat from ground beef and return beef to pan.
-
Add seasoning mix, water, beans and tomatoes and stir to combine. At this point you can add in anything else that you want to personalize the recipe.
-
Bring to a boil, reduce heat and simmer for 20 minutes, stirring occasionally.
Nutrition
The recipes on this blog are tested with a conventional gas oven and gas stovetop. It’s important to note that some ovens, especially as they age, can cook and bake inconsistently. Using an inexpensive oven thermometer can assure you that your oven is truly heating to the proper temperature. If you use a toaster oven or countertop oven, please keep in mind that they may not distribute heat the same as a conventional full sized oven and you may need to adjust your cooking/baking times. In the case of recipes made with a pressure cooker, air fryer, slow cooker, or other appliance, a link to the appliances we use is listed within each respective recipe. For baking recipes where measurements are given by weight, please note that results may not be the same if cups are used instead, and we can’t guarantee success with that method.
This post was originally published on this blog on Feb 11, 2010. It has been updated with additional tips, expanded content, and enhanced to ensure it remains a valuable resource for homemade chili enthusiasts.
