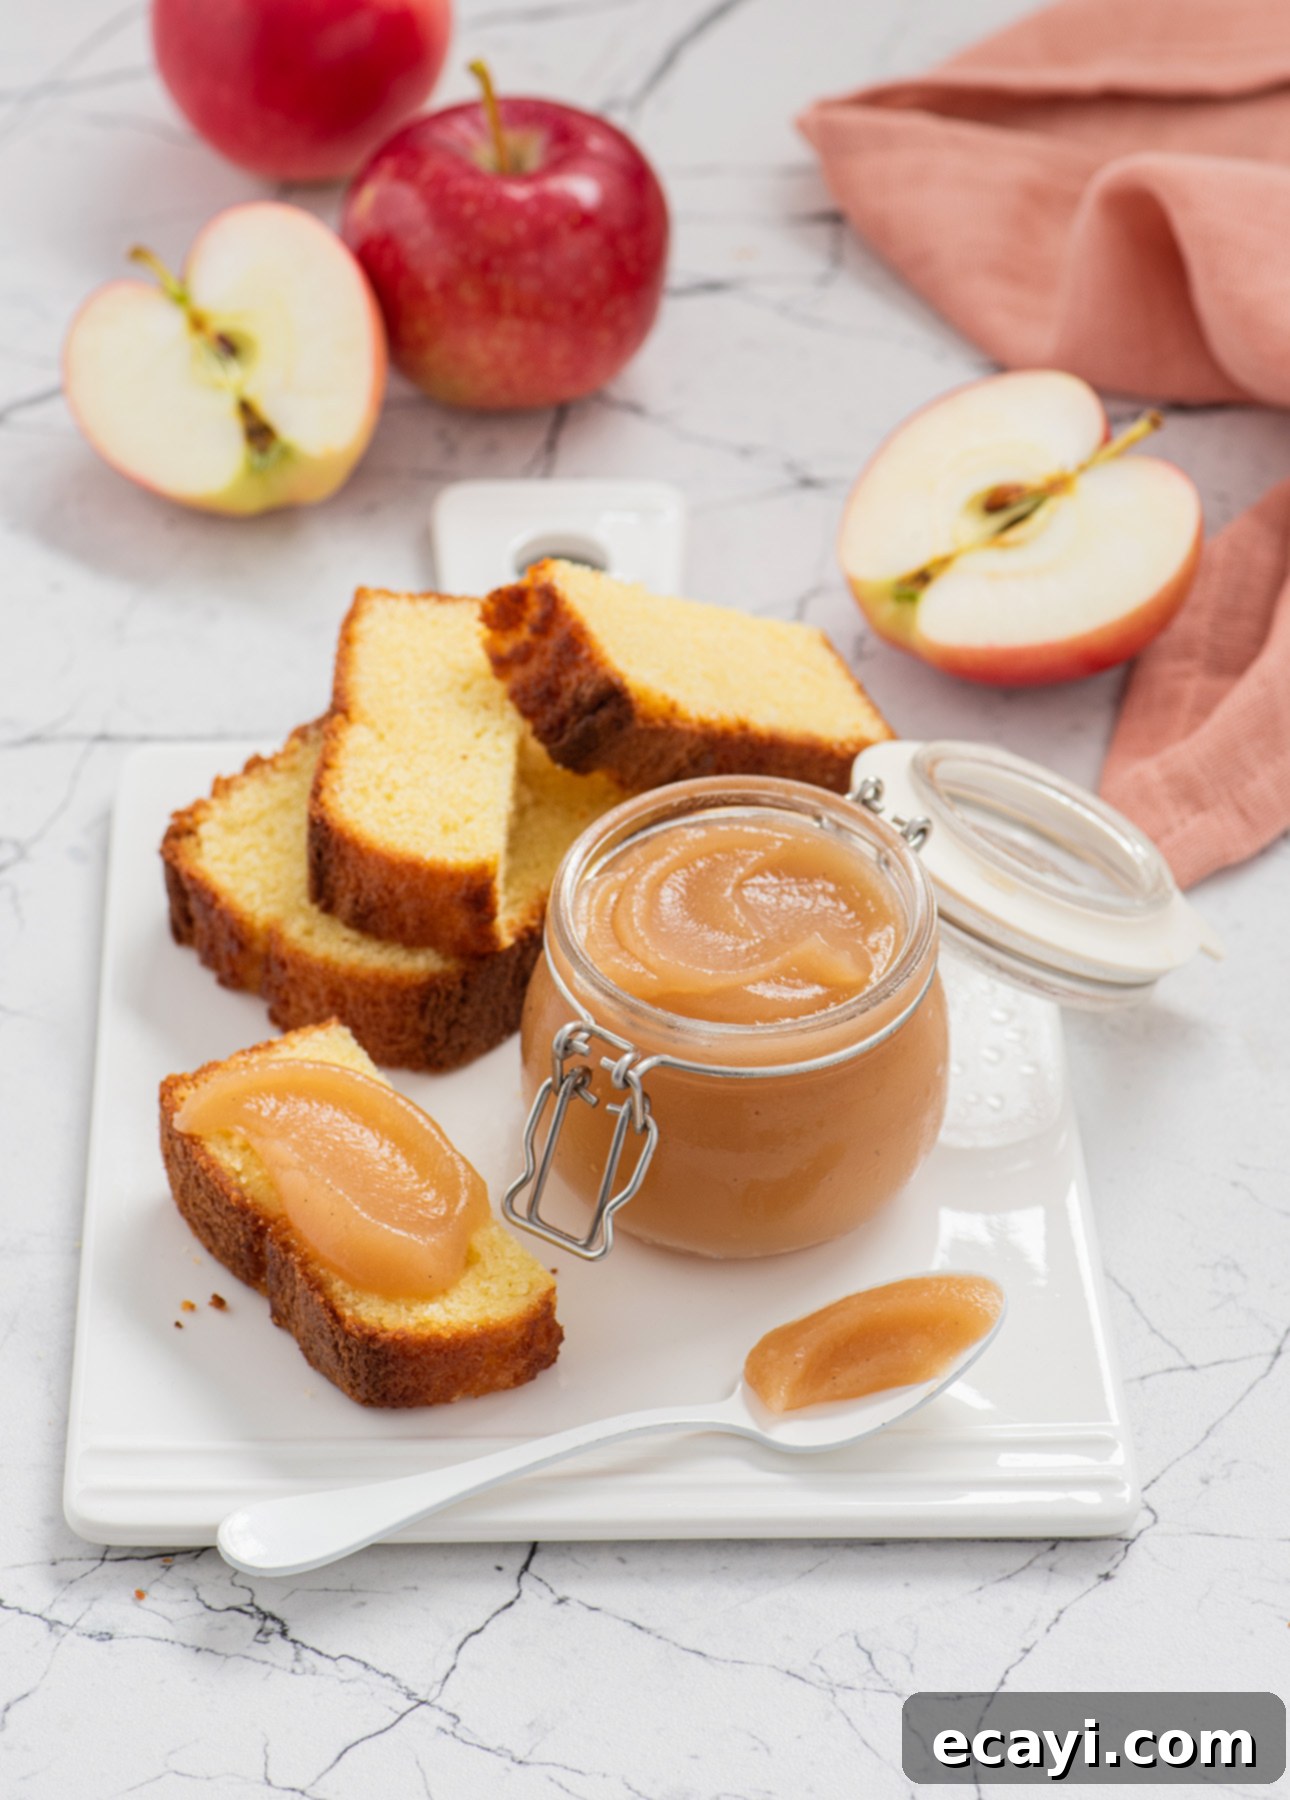
Homemade Silky Smooth Dairy-Free Apple Butter: An Easy Vegan Recipe & Perfect Gift Idea
Discover how to make the most exquisite silky smooth, dairy-free apple butter that promises to be a delightful addition to any weekend brunch or a thoughtful homemade gift. This vegan-friendly recipe is surprisingly simple to create, transforming fresh apples into a luxurious spread. Dive into our step-by-step guide and watch the helpful how-to video to master this autumnal treat!

This post contains affiliate links. Full disclosure is at the bottom of the article.
The Inspiration Behind This Homemade Vegan Apple Butter
Every year, as autumn leaves begin to paint the landscape, my mind drifts to the comforting flavors of homemade apple butter. This particular recipe for a dairy-free version was profoundly inspired by my mom, a culinary enthusiast whose kitchen always smelled divine. For years, I’ve savored jar after jar of her rich, deeply flavored apple butter. Her traditional recipe, a quick and easy microwave method, included a touch of butter at the very end, lending it an irresistible richness. While I cherish her classic creation, I embarked on a journey to develop a equally delicious, yet entirely dairy-free and vegan alternative. I wanted to capture that same intense apple flavor and velvety texture, but without any animal products, making it accessible to even more palates.
The beauty of this dairy-free apple butter lies in its simplicity and the transformation of humble apples into something truly extraordinary. The core method is straightforward: first, you gently cook apples until they are incredibly soft, then blend them into a smooth, luscious applesauce. The magic truly happens in the second stage, where this fresh applesauce returns to the heat for several hours. During this extended simmering period, the natural sugars in the apples caramelize, and the flavors intensify dramatically. This patient reduction is what yields the stunning golden hue and the deep, concentrated taste that defines a perfect apple butter, all without a drop of added fat or dairy.
Crafting Your Dairy-Free Apple Butter: Flavor, Versatility, and Seasonal Joy
When it comes to flavoring this delectable spread, I have a personal preference for vanilla. Its mellow, sweet, and aromatic notes complement the apples beautifully, creating a sophisticated and comforting taste profile. However, if you prefer a more traditional autumnal flavor, feel free to infuse your apple butter with classic fall spices. A harmonious blend of cinnamon, cloves, nutmeg, and perhaps a hint of allspice can transport you to cozy evenings by the fireplace. Experiment with your favorite spices to tailor the flavor to your liking – a dash of ginger or cardamom can also add an exciting twist.
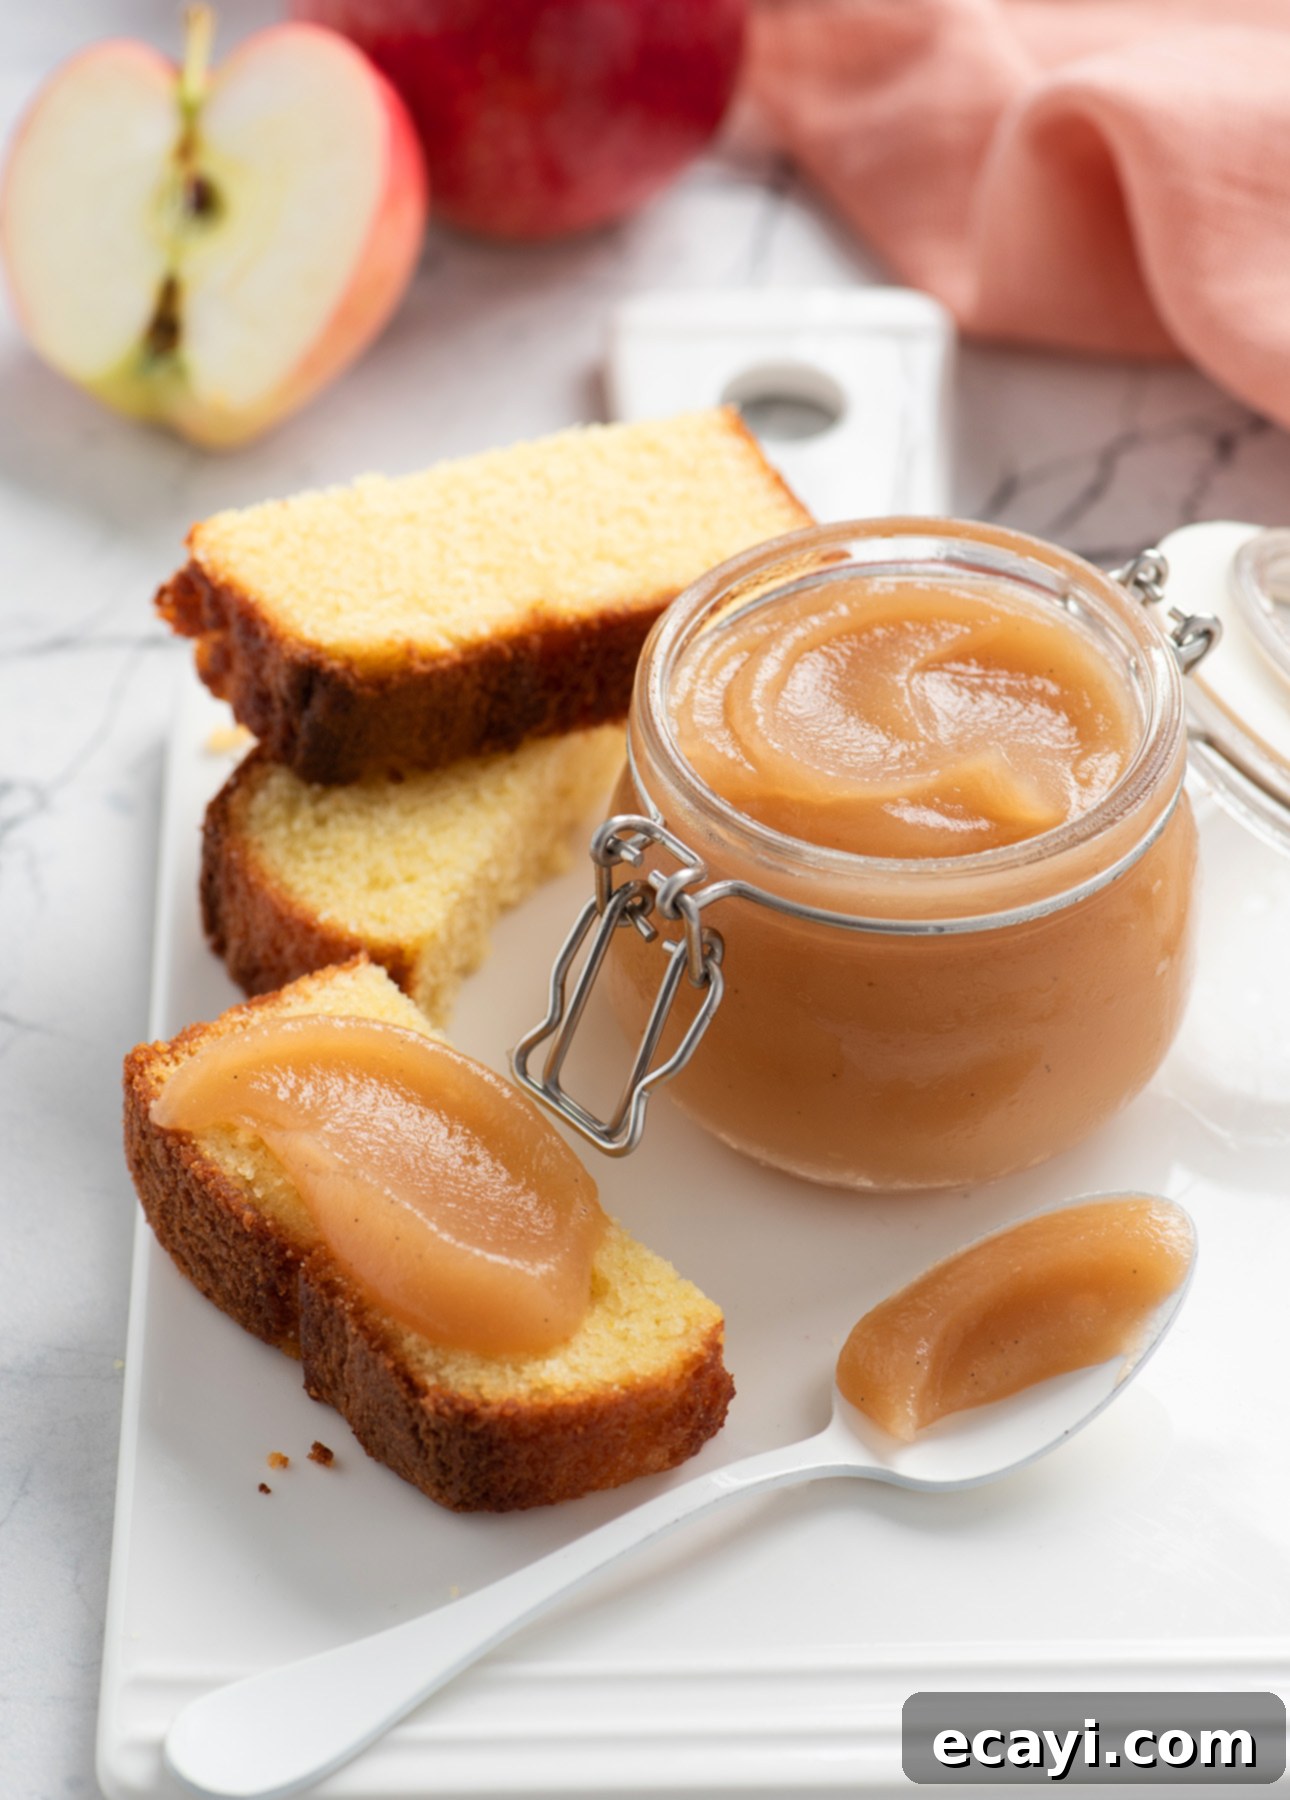
This exquisite apple butter is more than just a spread; it’s a versatile culinary staple. It makes an incredibly thoughtful and tasty homemade gift, especially during the holiday season or for any special occasion. Imagine presenting friends and family with beautifully jarred apple butter, a true labor of love. Beyond gifting, it’s the quintessential addition to any weekend brunch spread. Spoon it generously over warm, flaky croissants, fluffy pancakes, or crispy waffles. It’s also utterly divine spread over warm, crusty toast or stirred into your morning oatmeal or yogurt for a burst of flavor. Don’t limit its use to breakfast! Consider it as a luxurious cake filler for a rustic apple cake, or even as a unique accompaniment to savory dishes. Its sweet and tangy notes pair surprisingly well with roasted meats like pork or turkey, offering a delightful counterpoint to their richness. The possibilities are truly endless!
Furthermore, this recipe is an excellent solution for utilizing a large harvest of apples, a common occurrence this time of year. Whether you have an abundance from your own orchard, a local farm visit, or a trip to a U-pick apple farm, this apple butter helps you preserve the season’s bounty in a delicious way. While apples are the star, you can also experiment with other fruits. Substituting a portion of the apples with pears yields an equally dreamy and fragrant pear butter that is equally versatile. In essence, this dairy-free apple butter is a quick, easy, and fabulously delicious treat that you simply can’t afford to pass up. It’s a celebration of autumn’s best flavors, made accessible and enjoyable for everyone.

Watch How Easy It Is: Dairy-Free Apple Butter Video Guide
To truly grasp the simplicity and enjoyment of making this delicious dairy-free apple butter, watch our short, engaging video guide. It walks you through each step, making the process even more approachable!

Pin Recipe
Dairy-Free Apple Butter
Ingredients
- 3 lbs cooking apples, such as McIntosh, Gala, Fuji, or Honeycrisp (yields about 8 cups/2 liters sliced apples)
- 1 cup apple cider (Sparkling hard cider adds a unique depth, but non-alcoholic cider works beautifully too.)
- ½ cup granulated sugar (For richer flavor, consider natural sugars like maple sugar, cane sugar, or turbinado sugar.)
- 1 vanilla bean (Split lengthwise; for a spice-infused butter, omit vanilla bean and add 1 tsp ground cinnamon, ½ tsp ground nutmeg, ¼ tsp ground cloves, and a pinch of allspice with the apples.)
Instructions
-
Thoroughly peel, core, and slice all the apples. Aim for relatively uniform slices to ensure even cooking.
-
Place the sliced apples into a sturdy cooking vessel. This could be a large skillet, a large pot, a Dutch oven, or a cast-iron braiser. Pour in the apple cider, add the granulated sugar, and carefully place the split vanilla bean (if using) into the mix. Stir everything gently to combine, ensuring the apples are well coated.
-
Place the pot over medium-high heat and bring the mixture to a rolling boil. Once boiling, immediately reduce the heat to the absolute minimum setting, cover the pot tightly, and let it simmer for approximately 20 minutes. The apples should become incredibly tender, almost falling apart, and you should be able to easily mash them with a spoon. This ensures a smooth final product.
-
Carefully transfer about half of the cooked apple mixture to the container of a high-speed blender or a regular blender. Blend until you achieve a perfectly silky smooth consistency. Crucially, when blending hot liquids, always start the blender on the lowest speed setting and firmly hold down the blender’s lid with a kitchen towel to prevent hot liquids from bursting out. Transfer the blended apple mixture to a large measuring cup or bowl. Repeat this process with the remaining apple mixture and combine both batches. Be sure to remove the vanilla bean pod before blending if you can, or carefully retrieve it afterwards.
-
Pour all of the blended apple puree back into your original skillet or pot. Bring the mixture to a very slow simmer, then immediately reduce the heat to the absolute lowest setting. Maintain just enough heat so that you see a few gentle bubbles surfacing every second. This low and slow simmer is key for developing deep flavor and rich color without scorching the apple butter.
-
Continue to simmer the apple butter for approximately 1 hour and 20 minutes, or potentially longer, depending on your desired thickness. It’s vital to whisk or stir the mixture regularly with a wooden spoon, especially as it thickens, to prevent it from sticking to the bottom of the pan and burning. The apple butter is finished cooking when it has thickened considerably and holds its shape after you swirl it with a spoon. Another reliable test is to draw a line with your spoon on the bottom of the pan; if it takes a few seconds before the line merges back together, your apple butter has reached the perfect consistency.
-
Once cooked to perfection, transfer the hot apple butter into clean, sterilized glass jars. Fill them almost to the rim, leaving a small headspace. Cover the jars tightly with their lids. Allow the jars to cool completely at room temperature before storing them. This apple butter is best enjoyed within two weeks when stored in the refrigerator. For longer storage, consider freezing in airtight containers for up to 3 months.
Pro Tips for Perfect Dairy-Free Apple Butter
- Choose the Right Apples: While the recipe suggests McIntosh, Gala, Fuji, or Honeycrisp, a mix of sweet and tart apples often yields the most balanced flavor. Granny Smiths can add a nice tang if you prefer a less sweet butter.
- Patience is Key: The simmering stage where the apple butter reduces and caramelizes is crucial. Don’t rush it. Low and slow heat prevents burning and allows the flavors to deepen properly.
- Prevent Splattering: As the apple butter thickens, it can tend to splatter. A splatter guard or a larger, deeper pot can help keep your stovetop clean.
- Taste and Adjust: Always taste your apple butter before the final reduction. You can add more sugar if you prefer it sweeter, or a squeeze of lemon juice if it needs a bit more zest.
- Sterilizing Jars: For refrigerating, hot soapy water and air drying is usually sufficient for clean jars. If you plan to freeze, ensure containers are freezer-safe. For true shelf-stable canning, follow USDA guidelines for water bath canning.
Creative Serving Suggestions for Your Homemade Apple Butter
- Breakfast Boost: Swirl into oatmeal, yogurt, or cottage cheese. Spread generously on toast, English muffins, bagels, or homemade biscuits.
- Baking & Desserts: Use as a filling for tarts, pies, or cakes. Layer it into parfaits with granola and whipped coconut cream. Mix into muffin or pancake batter for added moisture and flavor.
- Savory Pairings: Serve alongside roasted pork loin, turkey, or chicken. A dollop can elevate a cheese board, especially with sharp cheddar or creamy brie.
- Drinks: Stir a spoonful into hot tea or warm apple cider for a comforting beverage.
- Unexpected Delights: Use it as a glaze for carrots or sweet potatoes, or whisk it into a vinaigrette for a fall-inspired salad dressing.
Gifting Homemade Dairy-Free Apple Butter
Homemade apple butter makes for a truly cherished gift. For a beautiful presentation, pour the cooled apple butter into small, decorative jars. Add a handwritten label with the ingredients and “best by” date. Tie a festive ribbon around the neck of the jar, perhaps with a small wooden spoon. It’s perfect for hostess gifts, holiday presents, or just a thoughtful gesture for a friend. The fact that it’s dairy-free and vegan makes it suitable for a wider range of recipients!
Apple Butter FAQs
- Q: What types of apples are best for apple butter?
- A: A mix of sweet and tart apples is ideal for balanced flavor. Good cooking apples like McIntosh, Fuji, Honeycrisp, Gala, and even Granny Smith (for tartness) work wonderfully. Avoid overly mealy apples.
- Q: Can I use less sugar?
- A: Yes, the amount of sugar can be adjusted to your preference and the sweetness of your apples. Start with less and add more after tasting the blended applesauce, keeping in mind that the flavor will concentrate as it cooks down.
- Q: How long does homemade apple butter last?
- A: When stored in airtight containers in the refrigerator, it will last for up to 2 weeks. For longer storage, it can be frozen in freezer-safe containers for up to 3 months.
- Q: Can I can this apple butter for shelf stability?
- A: While this recipe provides instructions for refrigeration/freezing, apple butter can be safely canned using a water bath canner. It is crucial to follow USDA canning guidelines, including processing times and jar sterilization, to ensure safety and shelf stability. Always refer to trusted canning resources.
- Q: What if my apple butter is too thin/thick?
- A: If it’s too thin, continue simmering over low heat, stirring frequently, until it reaches your desired consistency. If it becomes too thick, you can stir in a small amount of apple cider or water until it loosens slightly.
Recipe Video
Did you make this?
We’d love to see your creations! Tell us how you liked it by leaving a comment below. You can also take a picture and tag it with @foodnouveau on Instagram, so we can share in your delicious success!
Disclosure Notice: This site is a participant in the Amazon Associates Program, an affiliate advertising program designed to provide a means for the site to earn fees by linking to Amazon and affiliated sites.
If you click on an affiliate link and make a purchase through such links, I may earn advertising or referral fees at no extra cost to you. This support helps me continue creating new, delicious content for the blog. Thank you for your support! Learn more about advertising on this site by reading my Disclosure Policy.
