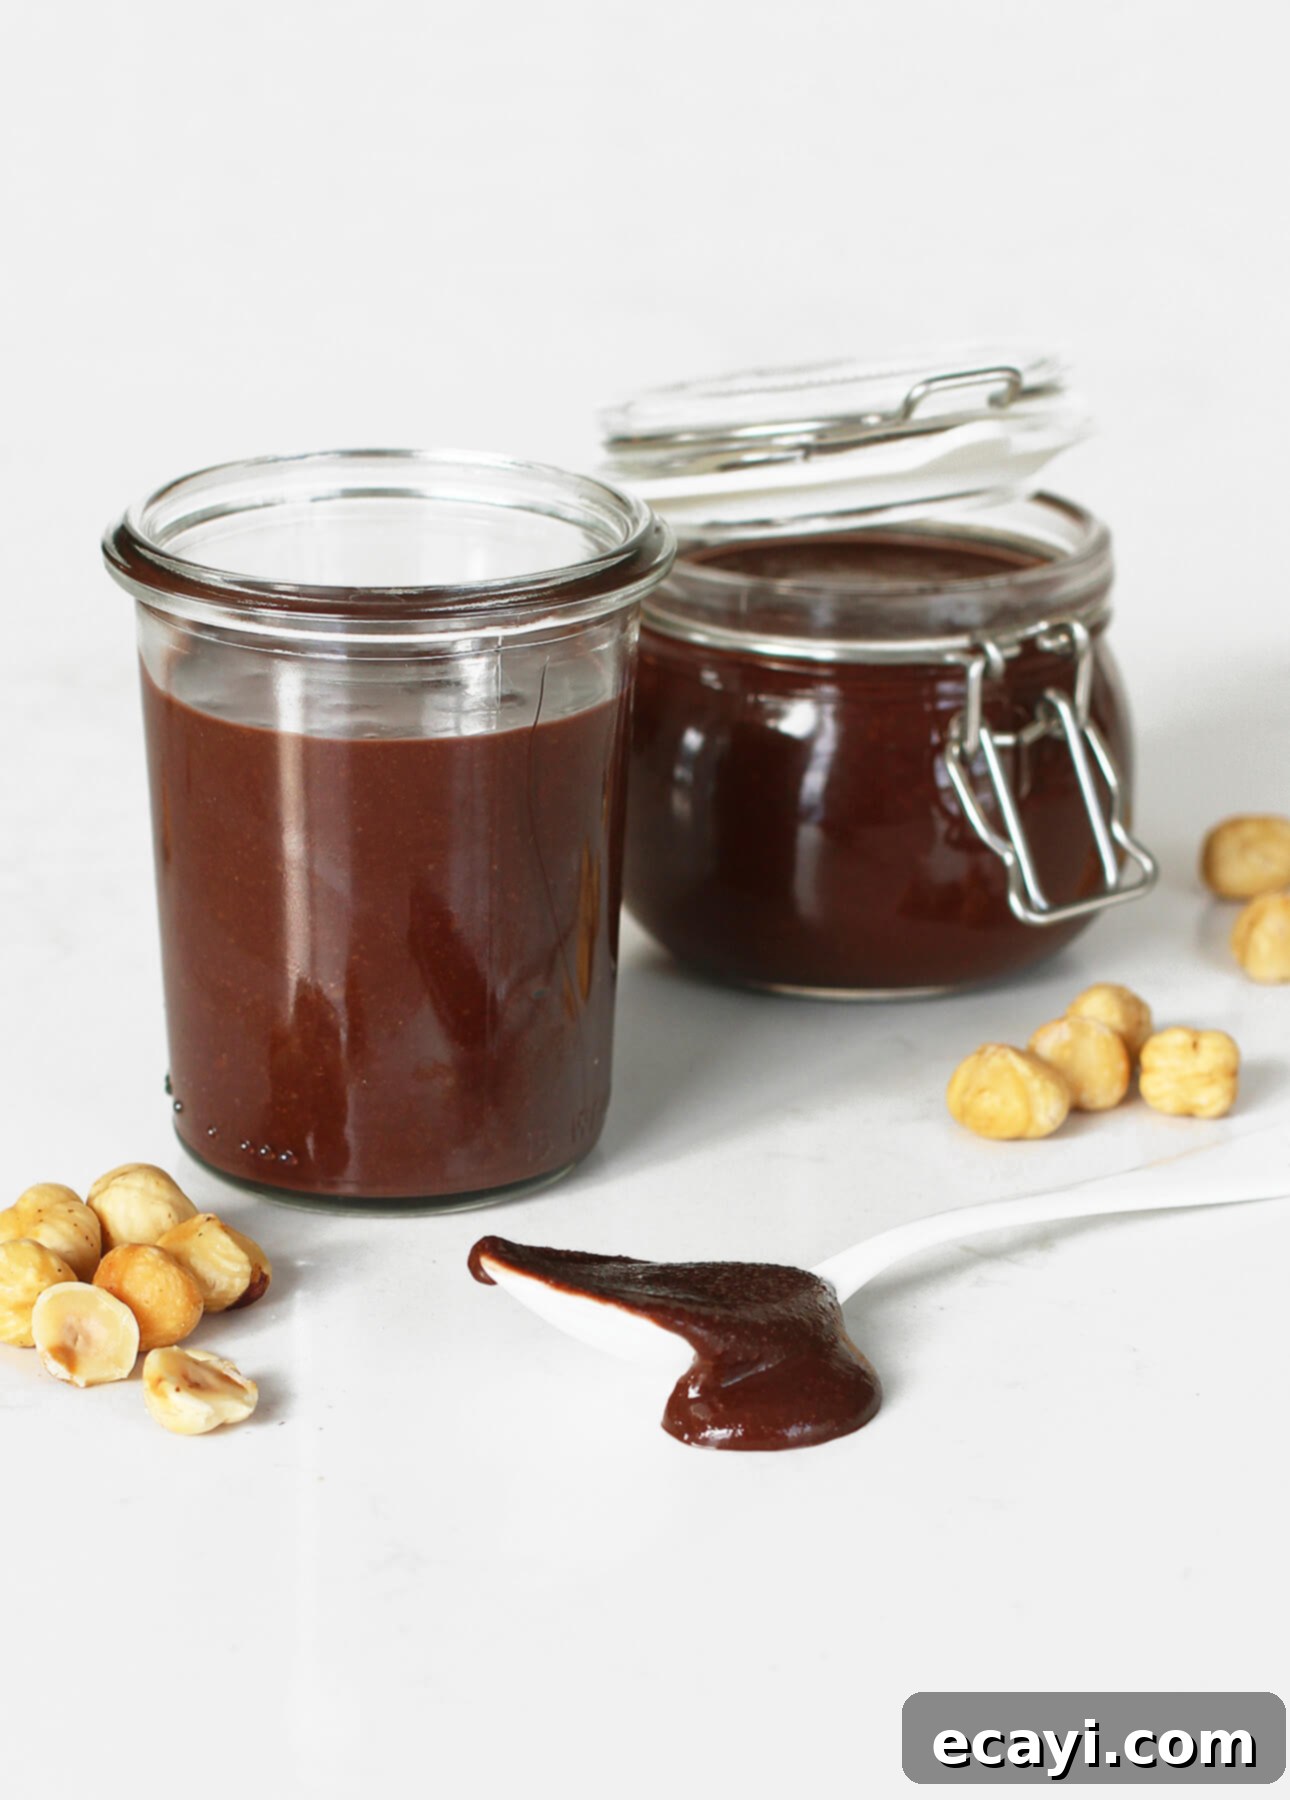
Homemade Dairy-Free Chocolate Hazelnut Spread: A Luxurious, Easy Recipe for Gourmet Flavor
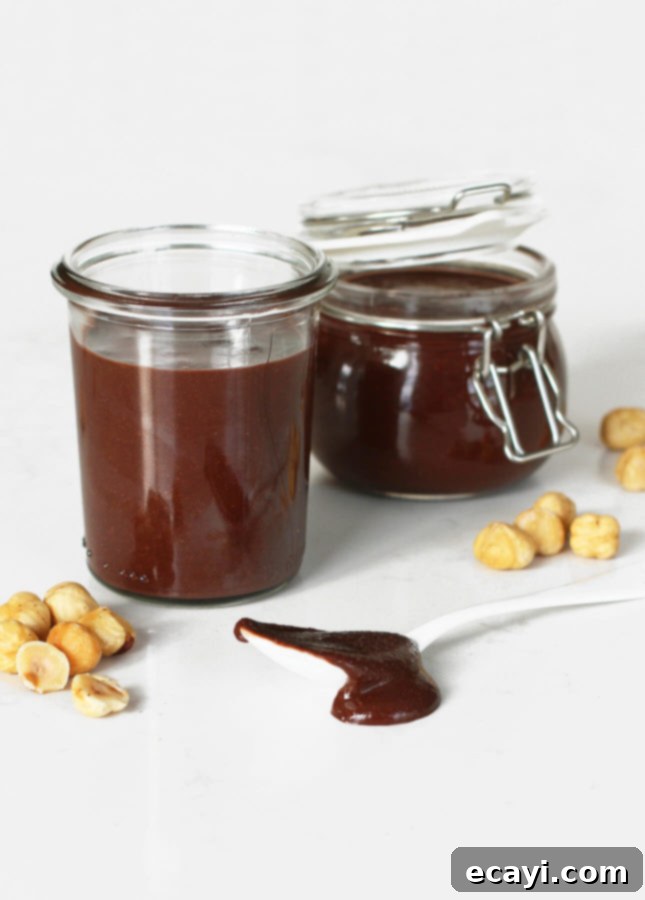
This dairy-free chocolate hazelnut spread offers an intensely rich, sophisticated flavor that truly elevates any breakfast or dessert. Move beyond ordinary spreads and discover a luxurious, homemade treat that you’ll want to keep on hand!
This post contains affiliate links. Full disclosure is at the bottom of the article.
The allure of creating my own chocolate hazelnut spread began after a transformative experience in Paris. While visiting Le Grenier à Pain, a renowned bakery, my eyes were drawn to an array of beautifully crafted homemade spreads. Among them, a small jar of chocolate and hazelnut spread captured my attention. Deciding to indulge, I purchased it, not knowing it would completely redefine my perception of this classic treat. Tasting that homemade chocolate and hazelnut spread for the very first time was nothing short of a revelation. It possessed an unparalleled intensity—significantly more chocolatey, less overtly sweet, and bursting with a profound nutty essence. It was undeniably the sophisticated, “grown-up” counterpart to the mass-produced versions I was familiar with. Upon returning home, I was inspired to embark on the delightful project of replicating that exquisite flavor in my own kitchen.
You might be surprised to learn that crafting your own homemade chocolate hazelnut spread is remarkably straightforward. If you own a food processor, you are merely a few simple steps away from a gourmet spread that promises to brighten your mornings and elevate your desserts. While a jar of store-bought hazelnut spread wasn’t a staple on my childhood breakfast table, it has become a cherished indulgence in my adult life. Now, presenting a jar of *homemade* chocolate hazelnut spread feels truly luxurious and adds an extra layer of joy to my culinary experiences. Imagine starting your day with a thick slice of warm banana bread generously slathered with this rich, velvety spread—it’s a surefire way to bring a smile to your face.
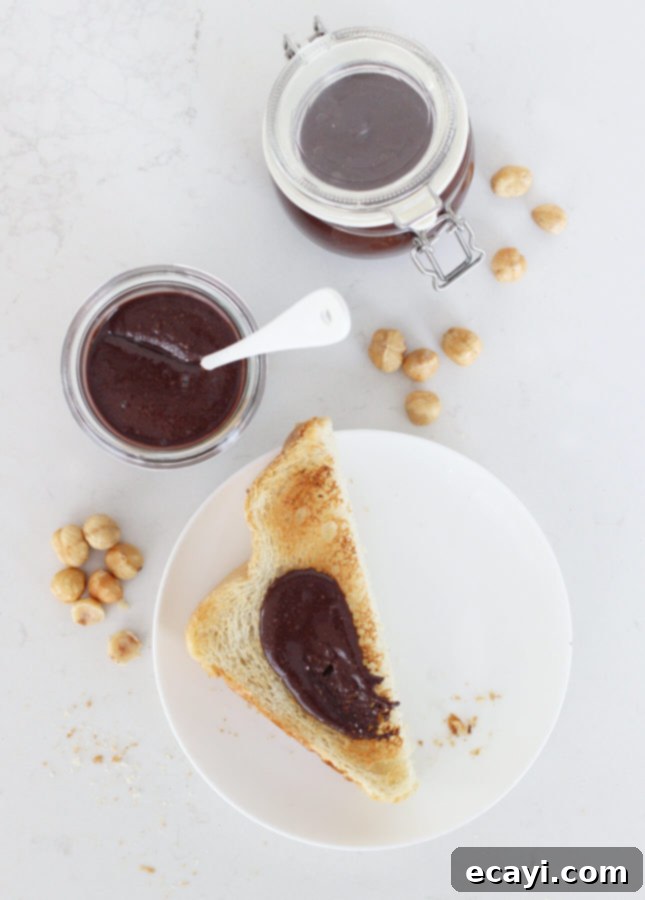
But don’t restrict the enjoyment of this delightful homemade chocolate hazelnut spread to breakfast time alone. Its versatility knows no bounds. This spread acts as a luxurious companion to traditional Italian Hazelnut Cake, known as Torta di Nocciole, enhancing its nutty profile. It also serves as an exquisite topping for homemade gelato or even a simple scoop of vanilla ice cream. Drizzle it over your morning granola for an instant upgrade, blend it into a banana smoothie for a decadent twist, or, dare I say, simply enjoy a spoonful straight from the jar. Your secret pleasure is safe with me!
Essential Tips for Crafting the Perfect Dairy-Free Chocolate Hazelnut Spread
Creating a truly outstanding homemade chocolate hazelnut spread involves a few key techniques and considerations. Paying attention to these details will ensure your spread is as rich, smooth, and flavorful as possible.
- Understanding Hazelnuts (Filberts): You might encounter hazelnuts sold under different names, most commonly as “filberts.” Rest assured, raw hazelnuts and filberts are one and the same! The slight name variation often depends on geographical origin or specific variety, but their culinary properties remain consistent. Knowing this can help you confidently select the right nuts for your spread. (Discover more about why hazelnuts have several names.)
- The Art of Roasting and Peeling Hazelnuts: This step is crucial for both flavor and texture. Roasting hazelnuts deepens their nutty flavor, making them more aromatic and complex. It also makes peeling them incredibly easy, which is essential for a silky-smooth spread. To achieve this, spread your hazelnuts in a single layer over a baking sheet and bake them in a preheated oven at 350°F (170°C) for approximately 15 minutes. Make sure to give the tray a good shake every five minutes to ensure even roasting. You’ll know they’re ready when their skin appears shiny and slightly crackled, and you can smell their fragrant, toasted aroma. Immediately after removing them from the oven, transfer the hot hazelnuts to a clean dish towel. Gather the towel into a bundle and vigorously rub the hazelnuts against each other. This friction helps loosen and remove the papery skins. Open the towel and carefully pick out the peeled nuts. Don’t worry if a few stubborn bits of skin remain; these tiny fragments won’t significantly impact the final texture or flavor. The goal is to remove as much loose skin as possible. Once peeled and cooled, store your roasted hazelnuts in an airtight container in the fridge until you’re ready to use them.
- Time-Saving Option: Pre-Roasted and Peeled Hazelnuts: For those busy days, or if you prefer a shortcut, some companies offer unsalted, roasted, and peeled hazelnuts. While these are typically more expensive, they can be a significant time-saver in the kitchen. When purchasing pre-roasted nuts, always prioritize quality. Look for reputable brands like Yupik in Canada or AZNUT in the US, and buy from stores with high product turnover to ensure freshness. Stale nuts can ruin the flavor of your spread, so investing in fresh, high-quality ingredients is paramount.
- Proper Storage for Unused Nuts: Given their higher cost, it’s wise to treat your nuts with extra care to prevent spoilage. All nuts can turn rancid if not stored correctly, but hazelnuts, in particular, are quite sensitive. Storing nuts at room temperature, such as in a pantry, can cause them to go rancid within just a couple of weeks. While freezing might seem like a good option, conventional refrigerator freezers are often too harsh, leading to freezer burn that can damage the nuts and compromise their flavor and texture. Instead, always store any unused nuts in airtight containers within your refrigerator. This method effectively preserves their freshness and extends their shelf life for several months.
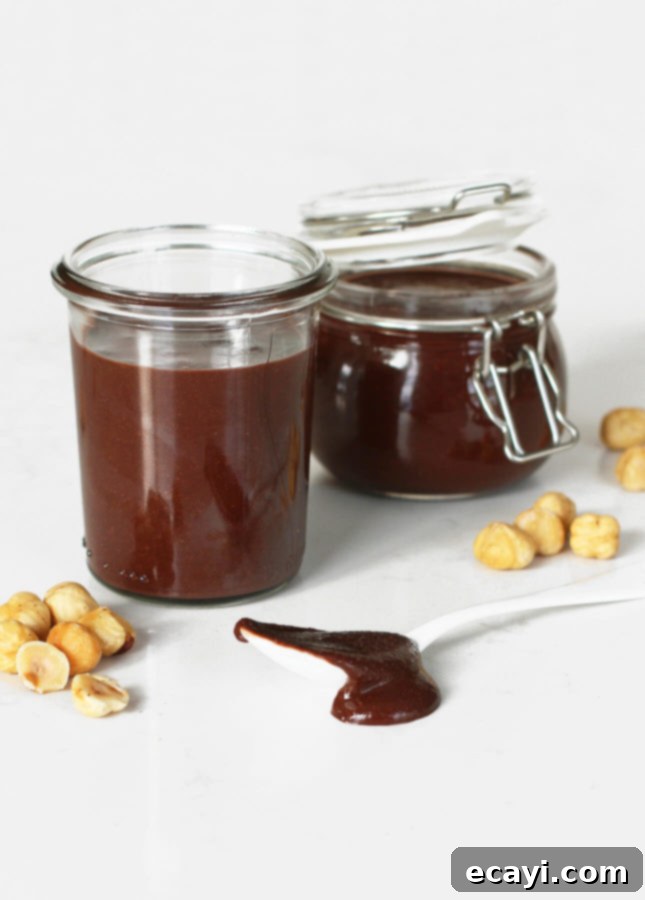
- Storing Your Homemade Chocolate Hazelnut Spread: Just like the nuts themselves, your finished homemade chocolate hazelnut spread benefits significantly from proper storage. Always keep your spread in an airtight container in the refrigerator. While refrigeration will cause the spread to stiffen slightly, it will remain perfectly spreadable. This cold storage prevents the spread from turning rancid and keeps it fresh for up to two weeks. If you prefer a gooier, more liquid consistency, simply let the jar sit at room temperature for about 20 minutes before serving. This allows the oils to soften, returning it to its luxuriously smooth and drippy state.
Pin Recipe
Dairy-Free Chocolate Hazelnut Spread
Ingredients
- 7.5 oz whole hazelnuts, roasted and peeled (1 ½ cups, see note below for roasting instructions)
- 2/3 cup powdered sugar
- 1/3 cup Dutch-processed (dark) cocoa powder
- 1/4 tsp kosher salt or fine sea salt
- 2 tbsp hazelnut oil, or a neutral-tasting oil such as canola, sunflower, or grapeseed
Instructions
-
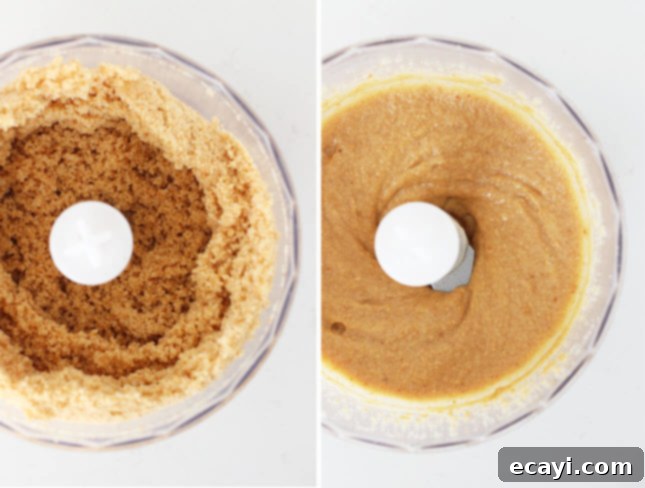
Add the roasted, skinned, and completely cooled hazelnuts to the bowl of a powerful food processor. Process continuously until the hazelnuts transform into a smooth, creamy paste. This usually takes 4 to 5 minutes. Periodically scrape down the sides of the bowl to ensure all hazelnuts are evenly processed into a consistent butter-like texture.

-
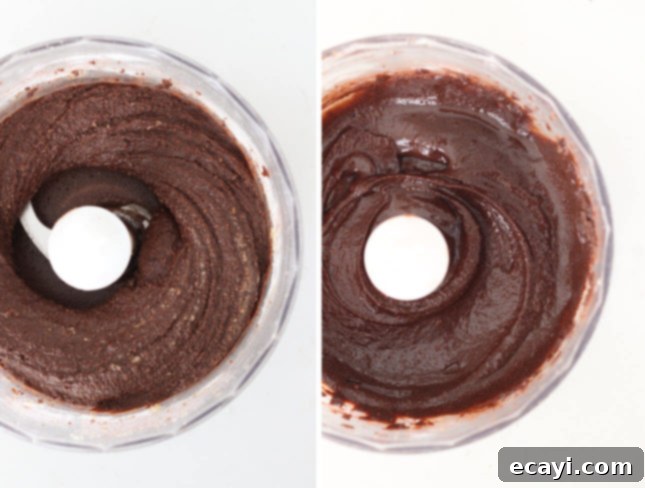
Once the nuts have achieved a smooth, thick, spreadable butter consistency, add the powdered sugar, Dutch-processed cocoa powder, and salt to the food processor. Process again until all the ingredients are thoroughly blended. At this stage, the mixture will be quite thick and dense. Make sure to scrape down the bowl completely to incorporate everything.
-
Pour in 1 tablespoon of your chosen oil, then process for 30 seconds. Scrape down the bowl thoroughly once more and process for an additional 30 seconds. Check the texture: a perfect homemade chocolate-hazelnut spread should be smooth, velvety, and easily spreadable—it should slowly drip from the side of a spoon. If the mixture appears too stiff or dry, gradually add more oil, one teaspoon at a time, processing after each addition until you reach the desired consistency.

-
SERVING SUGGESTIONS: Enjoy this gourmet spread with a wide array of breakfast treats for a truly delightful morning experience. It’s fantastic on toast, pancakes, waffles, or fresh fruit. For a luxurious dessert, serve it alongside cakes, crepes, or homemade gelato.
-
STORAGE: Transfer the finished homemade chocolate hazelnut spread to a clean, airtight jar. Store it in the refrigerator for up to 2 weeks to maintain freshness and prevent rancidity. While the spread will firm up when chilled, it remains easily spreadable. To return it to a softer, gooier consistency, simply let it sit at room temperature for about 20 minutes before use.
Notes
Did you make this?
I’d love to know what you think! Please leave a comment below with your feedback, or share a picture of your creation and tag it with @foodnouveau on Instagram. Your culinary adventures inspire me!
FoodNouveau.com is a participant in the Amazon Associates Program, an affiliate advertising program designed to provide a means for sites to earn advertising fees by linking to Amazon.com and affiliated sites.
Should you click on an affiliate link and subsequently make a purchase, I may earn a small advertising or referral fee. This comes at absolutely no extra cost to you and helps support the creation of new, high-quality content for this blog. Your support is deeply appreciated! For more information regarding advertising and affiliate partnerships on this site, please consult my Disclosure Policy.
