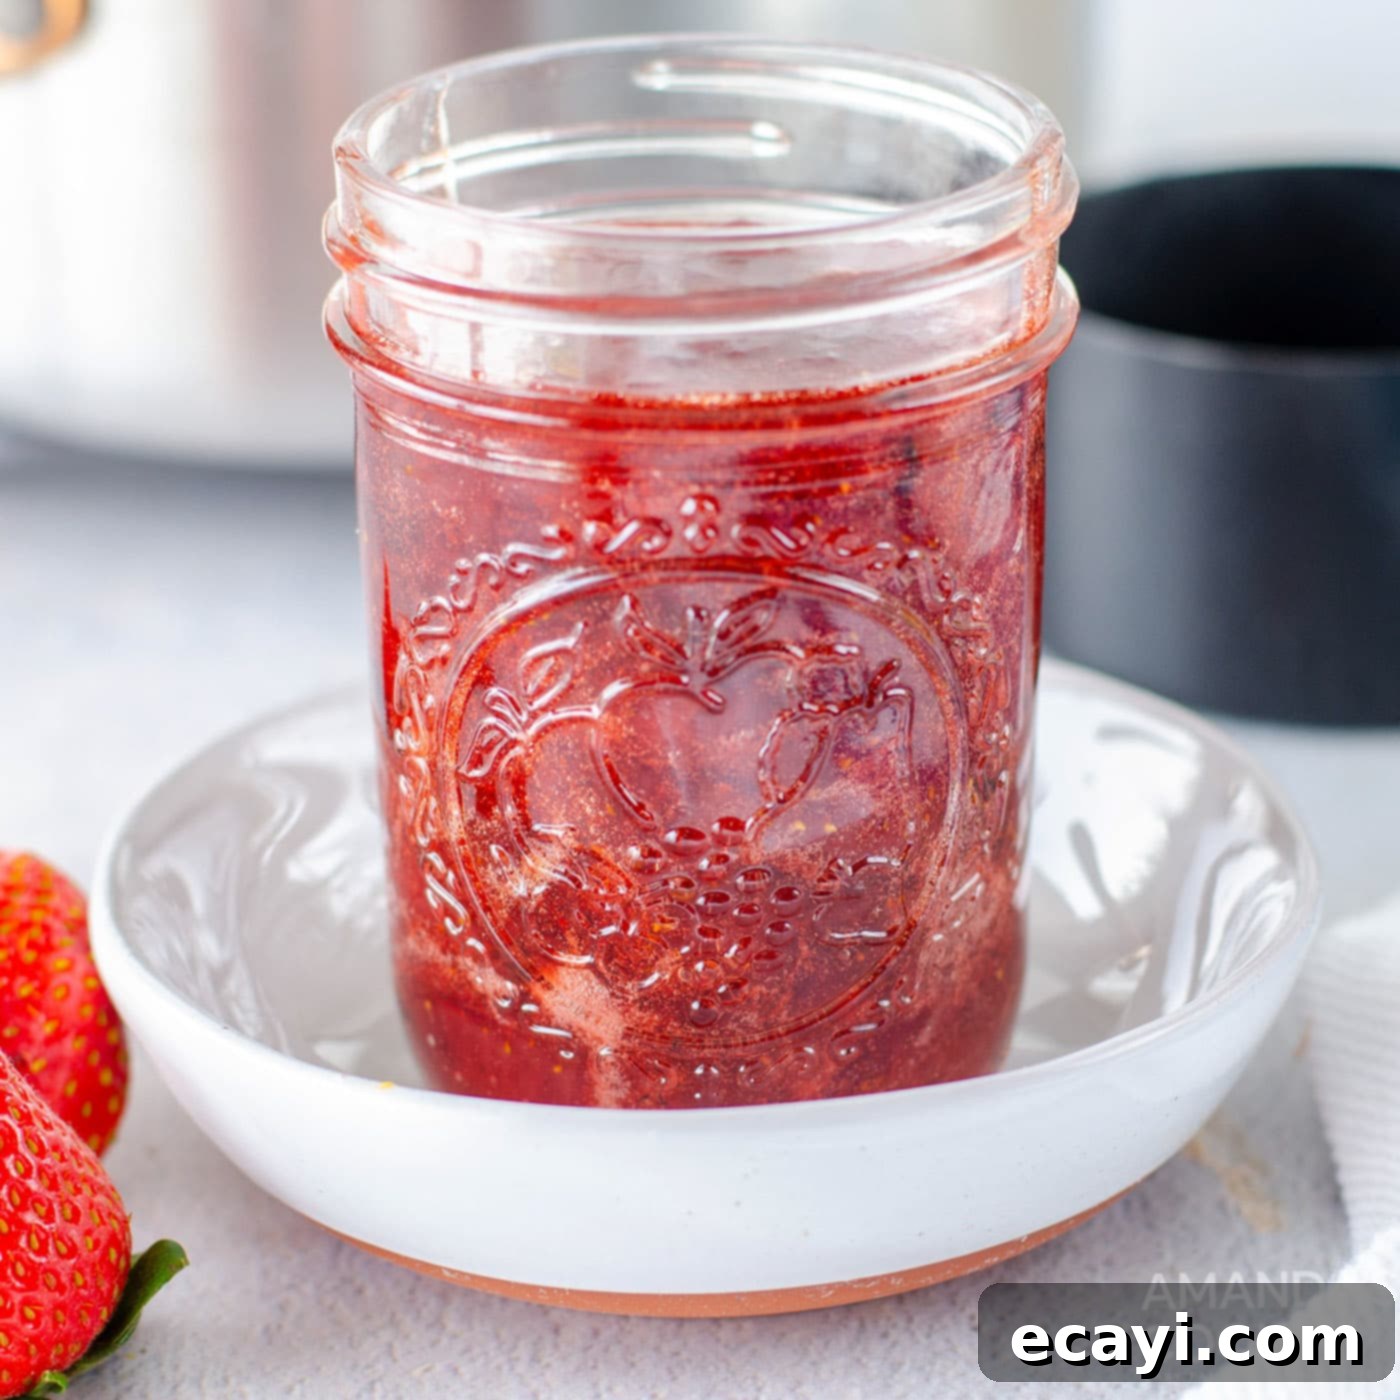
Homemade Strawberry Jam: Easy 3-Ingredient Pectin-Free Recipe for Fresh Flavor
There’s nothing quite like the taste of fresh, homemade strawberry jam. It conjures images of summer mornings, warm toast, and the sweet aroma of ripe berries. If you’ve ever dreamt of creating your own delicious fruit spread but felt intimidated by complex recipes or the need for added pectin, this is the perfect recipe for you. Our incredibly simple 3-ingredient homemade strawberry jam requires just granulated sugar, fresh or frozen strawberries, and a touch of lemon juice. The result is a vibrant, flavorful, and naturally set jam that you can enjoy any time, transforming your breakfast, brunch, or dessert into an extraordinary experience.
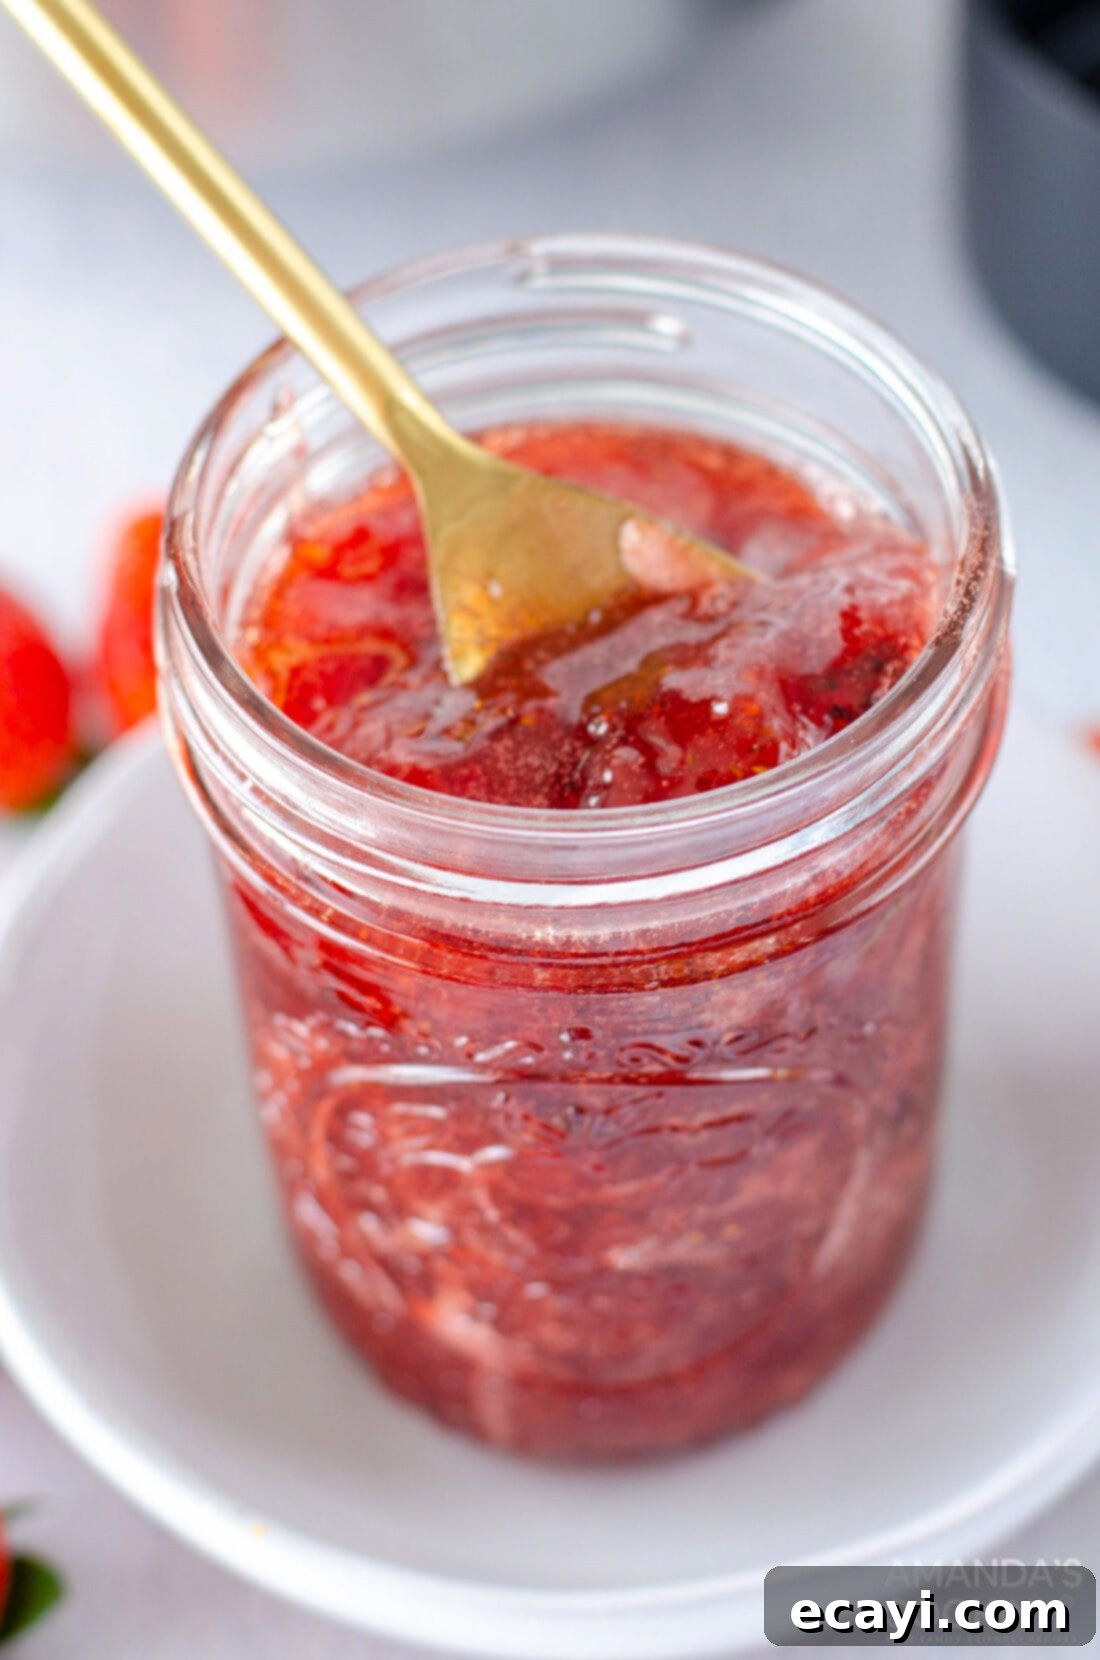
Why This Easy Pectin-Free Strawberry Jam Recipe is a Must-Try
This strawberry jam recipe stands out for its remarkable simplicity and fantastic results. Whether you’re a seasoned gardener with an abundance of fresh-picked strawberries, someone who loves to support local farmers by buying a bounty from a strawberry field, or simply stocking up on berries from the grocery store, this recipe is designed to help you transform them into a luscious, spreadable homemade treat. It’s an ideal project for anyone looking to preserve the taste of summer.
The beauty of this recipe lies in its minimal ingredient list: only lemon juice, strawberries, and sugar. Many traditional jam recipes call for added pectin, a gelling agent found naturally in fruits. While some fruits are high in pectin, strawberries are not. However, by carefully balancing the sugar and acidity (from the lemon juice) and cooking the mixture to the right temperature, we can achieve a beautifully set jam without any store-bought pectin. This approach not only keeps the ingredient list short but also allows the natural, intense flavor of the strawberries to truly shine.
For those who love exploring different berry concoctions, our homemade berry jam offers three distinct variations, providing even more options for quick and delightful fruit spreads. But for pure strawberry bliss, this pectin-free method is unbeatable in its ease and deliciousness.
Essential Ingredients for Your Homemade Strawberry Jam
For precise measurements, detailed ingredients, and full instructions, refer to the convenient printable recipe card located at the end of this post.
Making jam with just three ingredients is incredibly satisfying, and each component plays a crucial role in achieving that perfect balance of flavor, texture, and preservation. Here’s a closer look at what you’ll need:
GRANULATED SUGAR – White granulated sugar is fundamental to this jam recipe. It doesn’t just provide sweetness; it also acts as a key preservative, inhibiting microbial growth and extending the jam’s shelf life. More importantly, sugar plays a vital role in helping the jam to “set” or thicken. As the fruit mixture cooks down, the sugar interacts with the fruit’s natural acids and inherent (though low) pectin, creating the desired spreadable consistency. Without adequate sugar, your jam would remain a runny sauce, not a thick spread. For best results, stick to granulated sugar, as other types might alter the setting point or flavor profile.
LEMON JUICE – Lemon juice is a powerhouse ingredient in pectin-free jam making. Strawberries are naturally low in acid, and the added acidity from lemon juice is crucial for two main reasons. Firstly, it brightens the flavor of the strawberries, preventing the jam from tasting overly sweet and adding a pleasant tang. Secondly, and perhaps most importantly for setting, the acid in lemon juice helps to extract any natural pectin present in the strawberries, promoting a firmer set. If you wish to substitute the lemon juice, you can use 1 cup of water; however, be aware that this will likely result in a softer set and a less vibrant flavor. For the classic jam experience, fresh lemon juice is highly recommended.
STRAWBERRIES – The star of the show! Fresh, ripe strawberries are always preferred for their vibrant flavor and natural sweetness. Look for berries that are bright red, plump, and fragrant. If fresh strawberries aren’t in season or readily available, frozen strawberries are an excellent alternative. There’s no need to thaw frozen strawberries before cooking; simply add them directly to the saucepan. Keep in mind that frozen berries contain more water, so plan to increase the cook time until your strawberry mixture reaches the target temperature of 220°F (104°C). This extended cooking will help evaporate the excess water and ensure a proper set.
How to Craft Your Perfect Homemade Strawberry Jam
These step-by-step photos and detailed instructions are designed to guide you visually through the process of making this delicious jam. For the complete, printable version of this recipe, including all precise measurements and instructions, you can Jump to Recipe at the very bottom of this post.
- Prepare the Strawberries: Begin by thoroughly washing your fresh strawberries under cool running water. This removes any dirt or residues. Next, hull the strawberries – which means removing the green leafy tops and the small white core. A strawberry huller makes this task quick and easy, but a small paring knife works just as well. Once hulled, dice the strawberries into small, even pieces. The size of your diced strawberries will determine the chunkiness of your finished jam; for a smoother jam, you can dice them finer or mash them more later.
- Combine and Start Cooking: In a medium saucepan, combine your diced strawberries with the granulated sugar. Stir them gently to ensure the sugar coats the berries evenly. This allows the sugar to start drawing out the natural juices from the strawberries, a process called maceration. Place the saucepan over medium-high heat and bring the mixture to a soft boil. A “soft boil” means the mixture is bubbling gently, but not vigorously. Once it reaches this point, immediately add your lemon juice. Stir well to incorporate the lemon juice throughout the berry mixture.
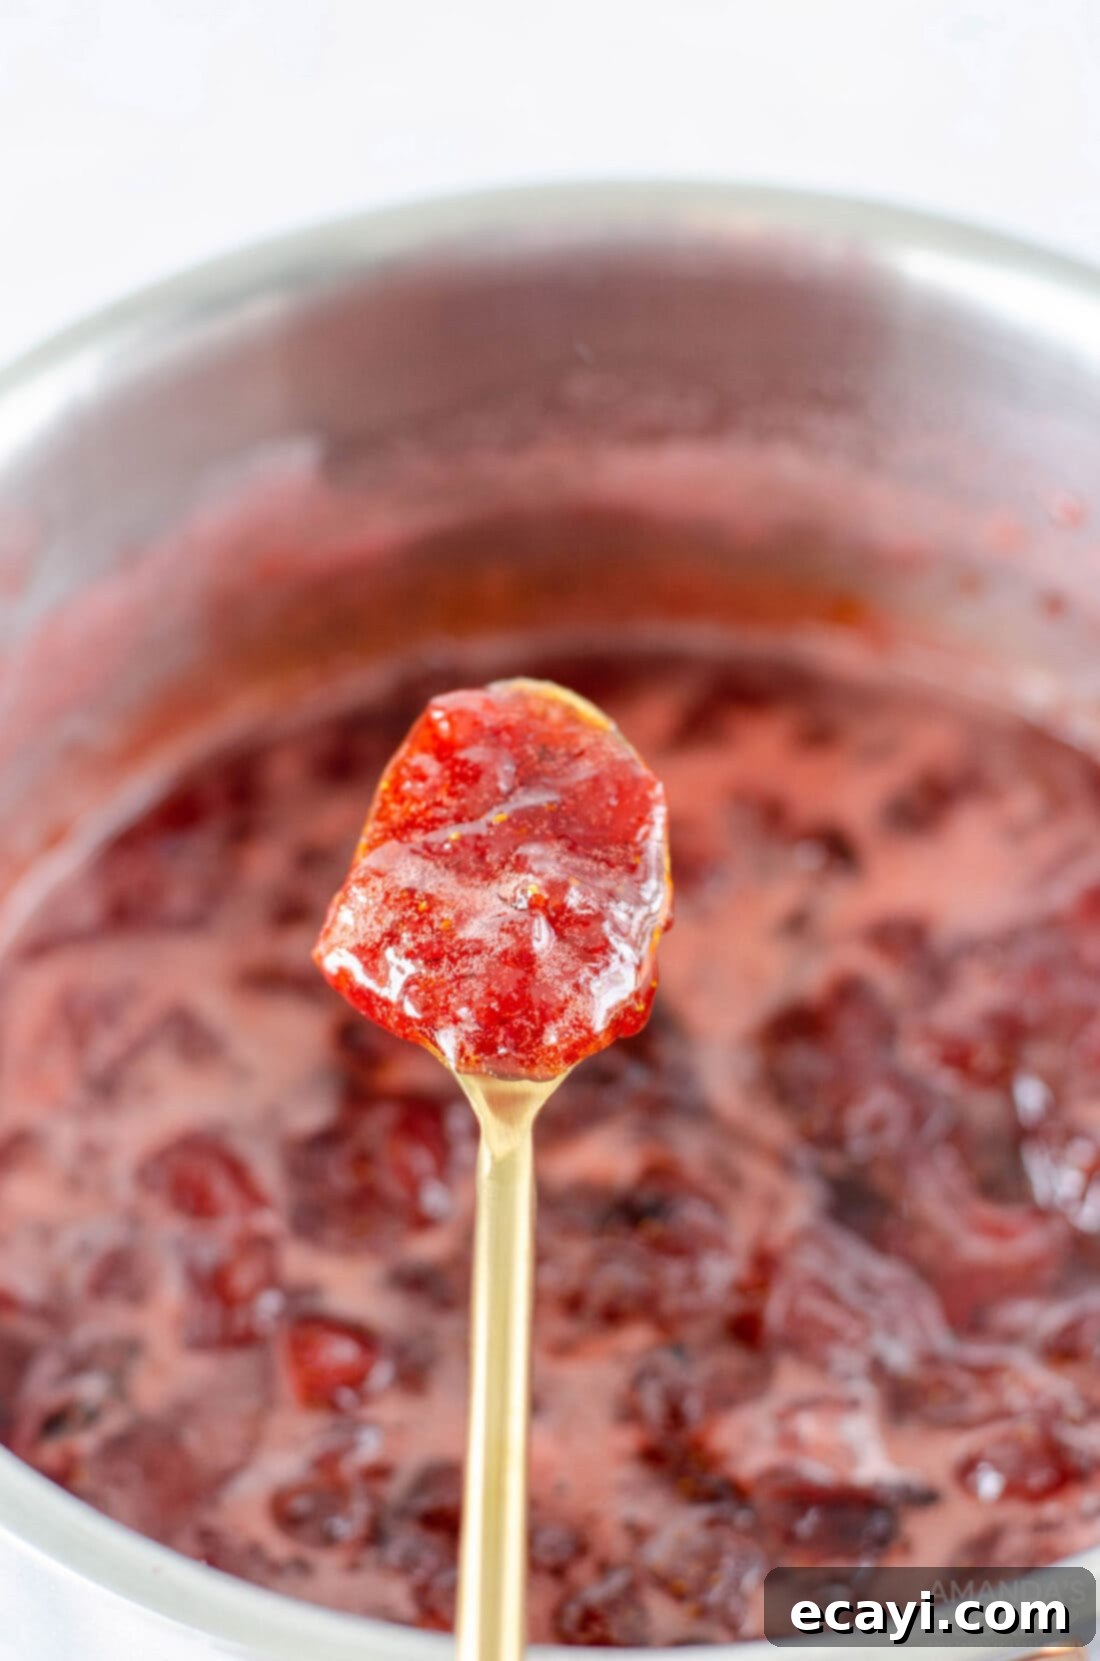
- Simmer to Perfection: Reduce the heat to medium-low or low, maintaining a steady simmer. Continue to cook for approximately 30 minutes. During this time, the strawberries will soften further, break down, and the mixture will thicken as the water evaporates. It’s crucial to stir regularly throughout this simmering process to prevent the strawberries and sugar from sticking to the bottom of the pan and burning. This ensures a smooth, even cook and prevents scorching. Your jam is nearing completion when it visibly thickens and coats the back of a spoon. For an accurate measure of doneness, use an instant-read thermometer; the jam should reach 220°F (104°C). This temperature indicates that enough water has evaporated, and the sugar concentration is ideal for setting.
- Cool Down: Once the jam reaches 220°F, remove the saucepan from the heat. Allow the jam to cool slightly in the pan. As it cools, it will continue to thicken.
- Adjust Consistency (Optional): At this stage, you have control over the final texture of your jam. If you prefer a chunkier jam with whole pieces of fruit, you can leave it as is. For a smoother consistency, you can gently mash the strawberries using a potato masher directly in the pot. Alternatively, for an even finer consistency, you can use an immersion blender for a few quick pulses, being careful not to over-blend.
- Store and Enjoy: Carefully spoon the cooled jam into a clean pint-sized jar. Ensure the jar is spotless and dry before filling. This recipe makes a “refrigerator jam,” meaning it’s not processed for shelf-stable canning. You can enjoy your homemade strawberry jam immediately, or cover it with a lid and store it in the refrigerator for up to 2 weeks.
Frequently Asked Questions About Homemade Strawberry Jam
Absolutely! Freezing is an excellent method for long-term storage of this homemade strawberry jam. Once your jam has completely cooled to room temperature, spoon it into freezer-safe jars or containers. It’s crucial to leave about half an inch of headspace at the top of the jar to allow for expansion as the jam freezes, preventing the container from cracking. This method is especially useful if you decide to double or triple the recipe to make a larger batch. When properly sealed and frozen, your delicious strawberry jam can last for up to a year, ensuring you have a taste of summer even in the colder months.
While you could technically attempt to can this strawberry jam, we have not specifically tested this recipe for traditional water bath canning. This particular recipe is designed as a refrigerator jam because it does not contain added commercial pectin or other preservatives commonly used in shelf-stable canned goods. Traditional canning requires precise acidity levels and processing times to ensure food safety and prevent spoilage. Without these specific considerations built into the recipe and tested, we cannot recommend canning it. For longer storage, we strongly suggest freezing this jam in a sealed jar, as it provides a safe and effective way to preserve its freshness.
The storage duration for your homemade strawberry jam depends on the method of preservation. When stored in an airtight container or jar in the refrigerator, this jam will maintain its freshness and quality for up to 2 weeks. If you opt for freezing, as recommended for longer storage, it will happily keep for up to 1 year in the freezer. Always ensure the jam is completely cooled before refrigerating or freezing to prevent condensation and maintain optimal texture.
You can determine when your jam is perfectly cooked by using an instant-read thermometer. The ideal target temperature for this strawberry jam is 220°F (104°C). Reaching this temperature indicates that enough moisture has evaporated and the sugar concentration is at the right level for the jam to set. Don’t be concerned if your jam appears quite liquidy when you take it off the heat; it can take up to 48 hours for it to fully cool and set to its final consistency in the refrigerator. For the most accurate results, it’s best to clip a sugar thermometer to the side of your pot as the jam boils, allowing you to monitor the temperature continuously, or to use an instant-read thermometer to test before removing the mixture from the heat.
Yes, absolutely! Frozen strawberries are a perfectly acceptable substitute for fresh ones, especially when fresh berries are out of season or unavailable. While frozen strawberries can sometimes result in a slightly runnier jam due to their higher water content, this can be easily remedied. When using frozen strawberries, simply plan to increase the cooking time slightly beyond the recommended 30 minutes. Continue simmering until the jam mixture reaches the crucial 220°F (104°C) on an instant-read thermometer. There’s no need to thaw your strawberries before cooking; you can add them directly to the saucepan from frozen, and they will break down as they heat up.
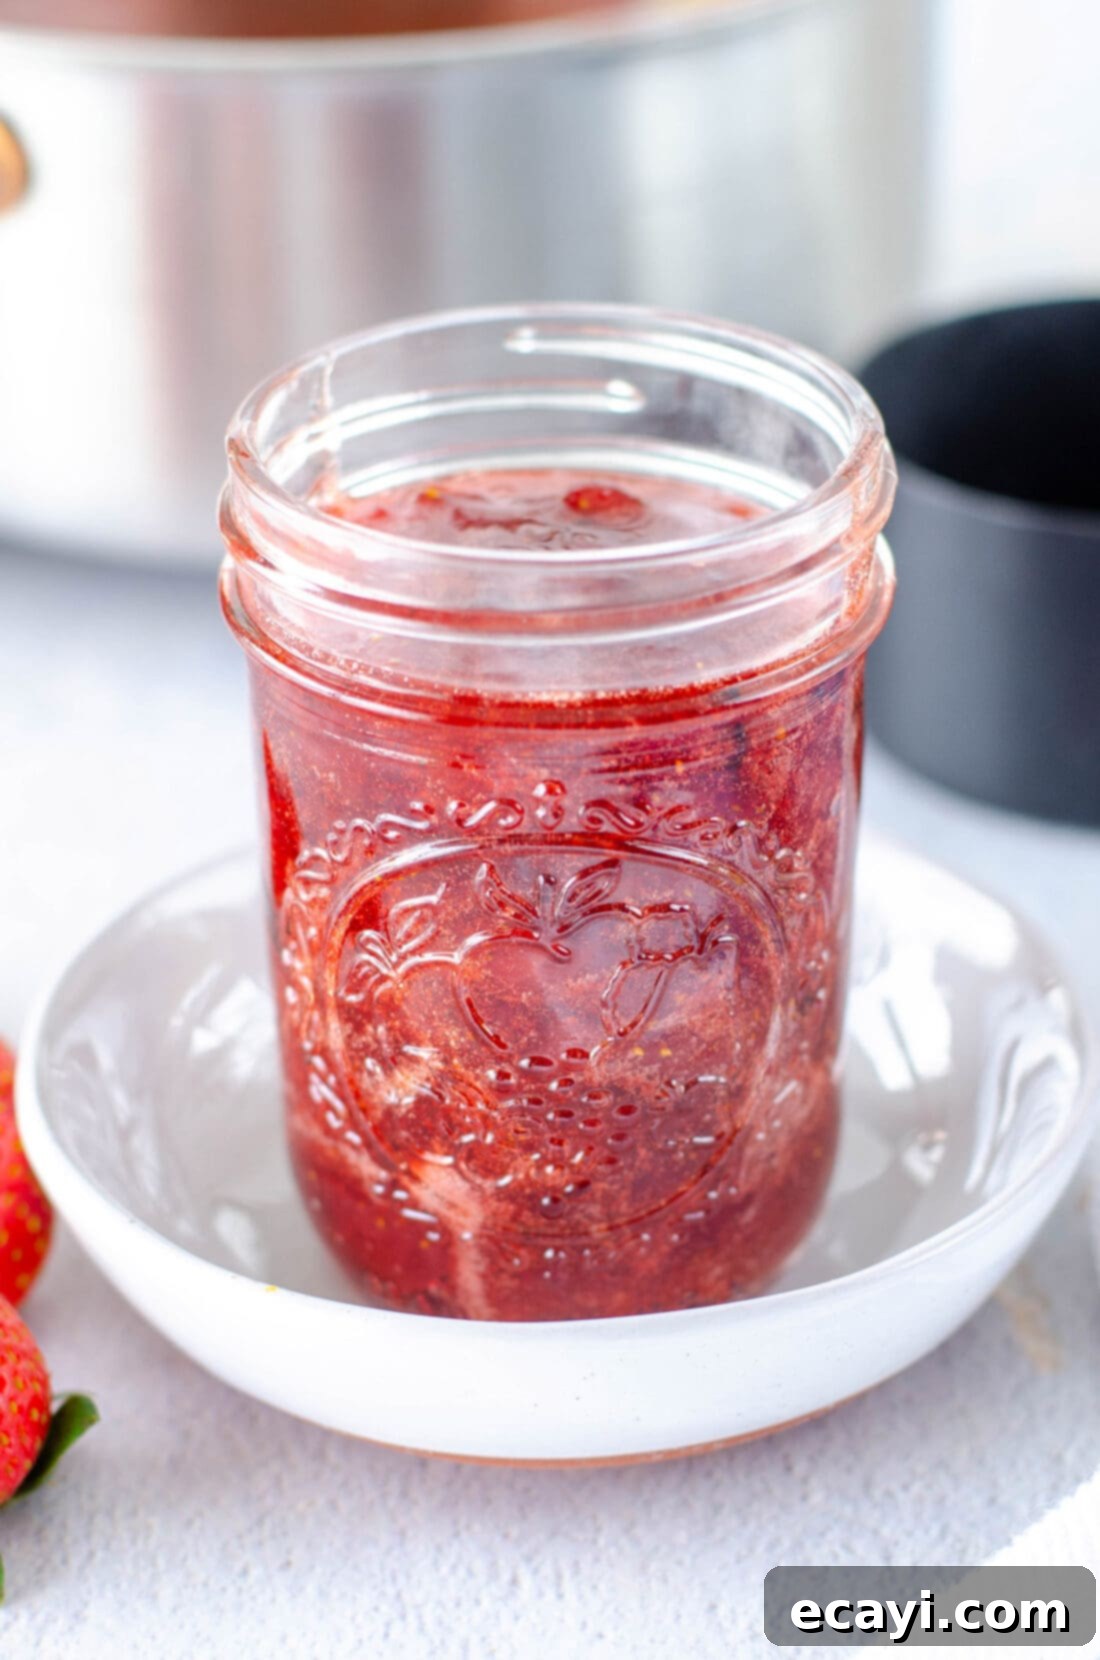
Crafting your own batch of homemade strawberry jam is a rewarding experience, especially when it requires so few ingredients and minimal effort. This pectin-free recipe empowers even novice cooks to create a delightful fruit spread from scratch, filling your home with the sweet aroma of simmering berries and your pantry with a jar of pure, unadulterated flavor. It’s an excellent way to capture the essence of fresh strawberries and enjoy them long after their season has passed.
Delicious Ways to Enjoy Your Homemade Strawberry Jam
Once you’ve made a batch of this luscious homemade strawberry jam, you’ll find countless ways to enjoy its vibrant flavor. Here are some of our favorite ideas:
- Classic Toast or Scones: The most beloved way! Spread generously on warm toast, English muffins, bagels, or freshly baked scones with a dollop of clotted cream.
- Yogurt and Oatmeal Topping: Stir a spoonful into your morning yogurt, granola, or hot oatmeal for a burst of fruitiness and natural sweetness.
- Dessert Enhancer: Use it as a filling for layer cakes, thumbprint cookies, or turnovers. Drizzle it over vanilla ice cream, panna cotta, or cheesecake for an elegant touch.
- Cheese Boards: Pair with soft cheeses like brie or goat cheese, or a sharp cheddar on a charcuterie board. The sweet and tart jam complements savory flavors beautifully.
- Glazes and Sauces: Whisk a little jam with balsamic vinegar for a delicious glaze for roasted chicken or pork, or thin it slightly with water and use as a glaze for fruit tarts.
- Breakfast Staples: Serve alongside pancakes, waffles, or French toast for a delightful breakfast or brunch.
- Smoothies: Add a spoon or two to your favorite fruit smoothie for extra flavor and sweetness.
- Cocktails: Mix into a sparkling water or use as a sweetener in cocktails for a fruity twist.
Tips for Jam Making Success & Troubleshooting
Making jam is a simple process, but a few tips can ensure your success:
- Use Ripe Fruit: The riper the strawberries, the more flavor your jam will have. Avoid overripe or bruised berries, as they can affect the taste and quality.
- Clean Equipment: Ensure all your pots, utensils, and especially your jars are meticulously clean to prevent spoilage and ensure the best flavor.
- Don’t Rush the Simmer: The cooking time is crucial for evaporating excess water and achieving the right consistency. A steady, gentle simmer is better than a rolling boil, which can cause scorching.
- Stir Constantly: Especially as the jam thickens, stir frequently to prevent it from sticking to the bottom of the pan and burning.
- Test for Set: While a thermometer is the most accurate, you can also do a “cold plate test.” Place a small plate in the freezer before you start cooking. When you think the jam is ready, spoon a small amount onto the cold plate, wait 30 seconds, then push it with your finger. If it wrinkles, it’s ready. If not, continue cooking and retest.
- Foam Management: Sometimes, foam can form on top of the jam as it cooks. You can skim this off with a spoon before jarring, or stir in a tiny bit of butter (about 1/2 teaspoon) at the end of cooking to help dissipate it.
- Jam Not Setting? If your jam seems too runny after cooling for 24-48 hours, it might not have reached the correct temperature during cooking. You can return it to the saucepan and simmer again, aiming for 220°F. Ensure your strawberries weren’t too watery (especially if frozen and not cooked long enough).
More Fresh Strawberry Recipes
If you find yourself with an abundance of fresh strawberries or simply can’t get enough of their sweet, juicy flavor, we have plenty of other delicious recipes to inspire you. From refreshing drinks to delightful desserts, these recipes are perfect for enjoying the versatility of this beloved berry:
- Strawberry Salsa: A sweet and savory delight, perfect with chips or grilled chicken.
- Fresh Strawberry Muffins: Moist and flavorful muffins crowned with a delicate vanilla lemon glaze.
- Strawberry Icebox Cake: A no-bake, layered dessert that’s creamy, refreshing, and incredibly easy.
- Strawberry Dream Dessert: A light and airy dessert that lives up to its name, perfect for any occasion.
- Strawberry Smoothie: A quick and healthy way to enjoy the goodness of strawberries on the go.
- Strawberry Shortcake: The quintessential summer dessert, featuring tender shortcakes piled high with fresh berries and whipped cream.
I love to bake and cook and share my kitchen experience with all of you! Remembering to come back each day can be tough, that’s why I offer a convenient newsletter every time a new recipe posts. Simply subscribe and start receiving your free daily recipes, delivered right to your inbox!
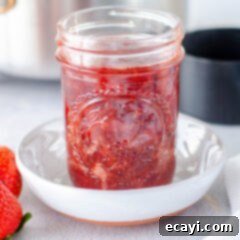
Strawberry Jam
IMPORTANT – There are often Frequently Asked Questions within the blog post that you may find helpful. Simply scroll back up to read them!
Print It
Pin It
Rate It
Save ItSaved!
Ingredients
- 1 cup granulated white sugar
- ¼ cup lemon juice
- 1 lb strawberries 2 cups, diced
Things You’ll Need
-
Saucepan
-
Instant read thermometer
-
Pint size mason jar
Before You Begin
- This recipe will yield approximately 1 pint of delicious strawberry jam. It is incredibly easy to scale, so feel free to double or triple the recipe to make a larger batch for extended enjoyment or gifting.
- The most accurate way to know if your jam is fully cooked and ready to set is by using an instant-read thermometer. The target temperature is 220°F (104°C). Please don’t be discouraged if the jam still appears quite liquidy when you remove it from the heat; it can take a full 24 to 48 hours for it to completely cool and achieve its final, firm consistency in the refrigerator. For consistent results, it is highly recommended to clip a sugar thermometer to the side of your pot as the jam boils, allowing for continuous temperature monitoring, or to frequently use an instant-read thermometer to check before taking the mixture off the heat.
Instructions
-
Wash your strawberries thoroughly, then hull them to remove the green tops and core. Dice the cleaned strawberries into small, uniform pieces, preparing them for cooking.
-
In a medium-sized saucepan, combine the diced strawberries with the granulated sugar. Stir gently to mix, then place over medium-high heat. Bring the mixture to a soft boil, ensuring it’s bubbling gently. Once boiling, pour in the lemon juice and stir again to fully incorporate.
-
Reduce the heat to a low simmer and continue cooking for approximately 30 minutes, or until the jam mixture visibly thickens and coats the back of a spoon. Stir frequently to prevent any sticking or burning at the bottom of the pan. For an accurate measure of doneness, use an instant-read thermometer; the jam is ready when it reaches 220°F (104°C).
-
Once the desired temperature is reached, remove the saucepan from the heat and allow the jam to cool slightly within the pan.
-
Depending on your preference, you can mash the strawberries gently with a potato masher for a smoother consistency, or leave them as is for a chunkier jam.
-
Spoon the cooled jam into a clean, pint-sized jar. You can enjoy your fresh homemade jam immediately, or cover it with a lid and store it in the refrigerator.
Expert Tips & FAQs
- This recipe is specifically designed for a refrigerator jam, which means it is intended for short-term storage in the fridge and has not been tested for traditional water bath canning. This is primarily because it does not contain the level of preservatives or acidity typically required for shelf-stable canning without special processing. If you wish to store your jam for an extended period, freezing is the recommended method. To freeze, simply spoon the completely cooled jam into a freezer-safe jar, ensuring you leave at least ½ inch of headspace at the top for expansion. Your homemade jam will remain fresh and delicious for up to 2 weeks when stored in the refrigerator, and it can be safely kept in the freezer for up to 1 year.
Nutrition
The recipes on this blog are tested with a conventional gas oven and gas stovetop. It’s important to note that some ovens, especially as they age, can cook and bake inconsistently. Using an inexpensive oven thermometer can assure you that your oven is truly heating to the proper temperature. If you use a toaster oven or countertop oven, please keep in mind that they may not distribute heat the same as a conventional full sized oven and you may need to adjust your cooking/baking times. In the case of recipes made with a pressure cooker, air fryer, slow cooker, or other appliance, a link to the appliances we use is listed within each respective recipe. For baking recipes where measurements are given by weight, please note that results may not be the same if cups are used instead, and we can’t guarantee success with that method.
This post was originally published on this blog on April 8, 2021.
