Ultimate Moist Banana Nut Bread: Your Go-To Recipe for a Perfectly Flavorful Loaf
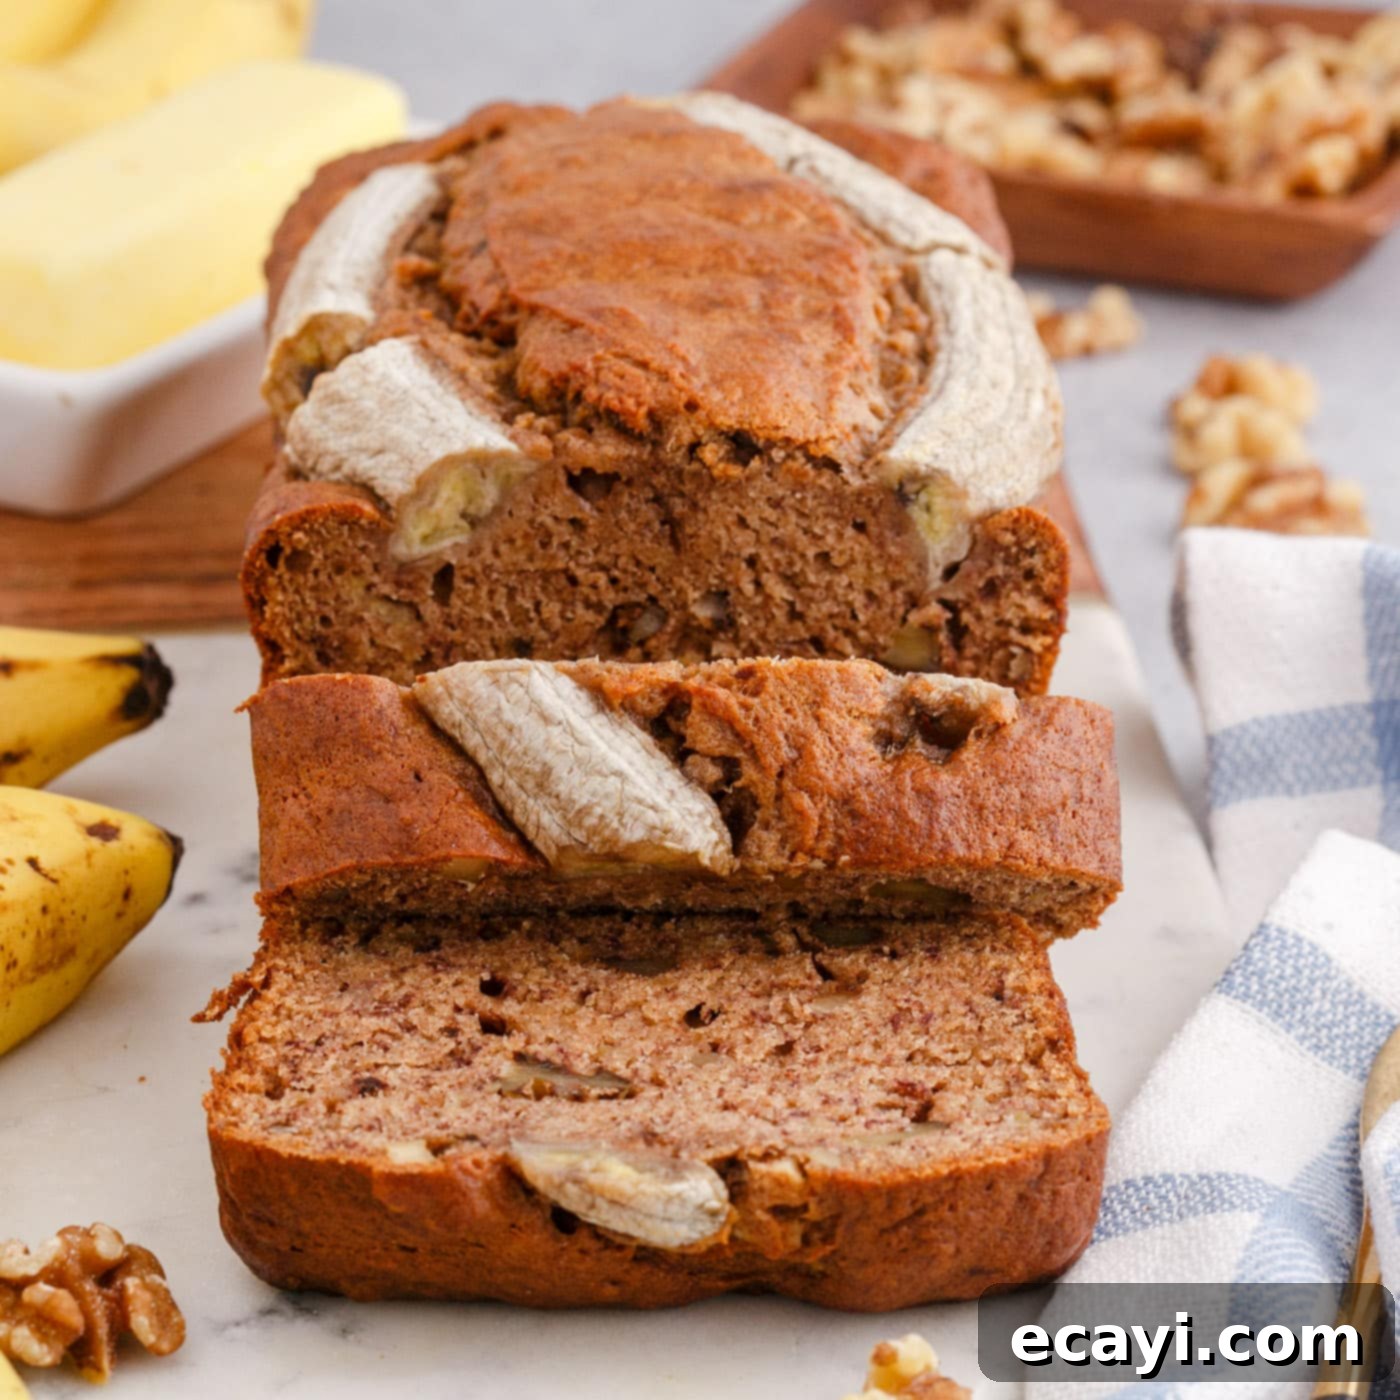
Imagine a slice of bread so wonderfully moist it practically melts in your mouth, bursting with the sweet, comforting flavor of ripe bananas and the delightful crunch of toasted walnuts. This isn’t just any banana bread; it’s an incredibly tender and flavorful banana nut bread that promises to fill your home with an irresistible aroma as it bakes. Crafted with just a few pantry staples, this recipe is designed for both ease and exceptional results, ensuring every bite is a perfect balance of sweetness and nutty texture.
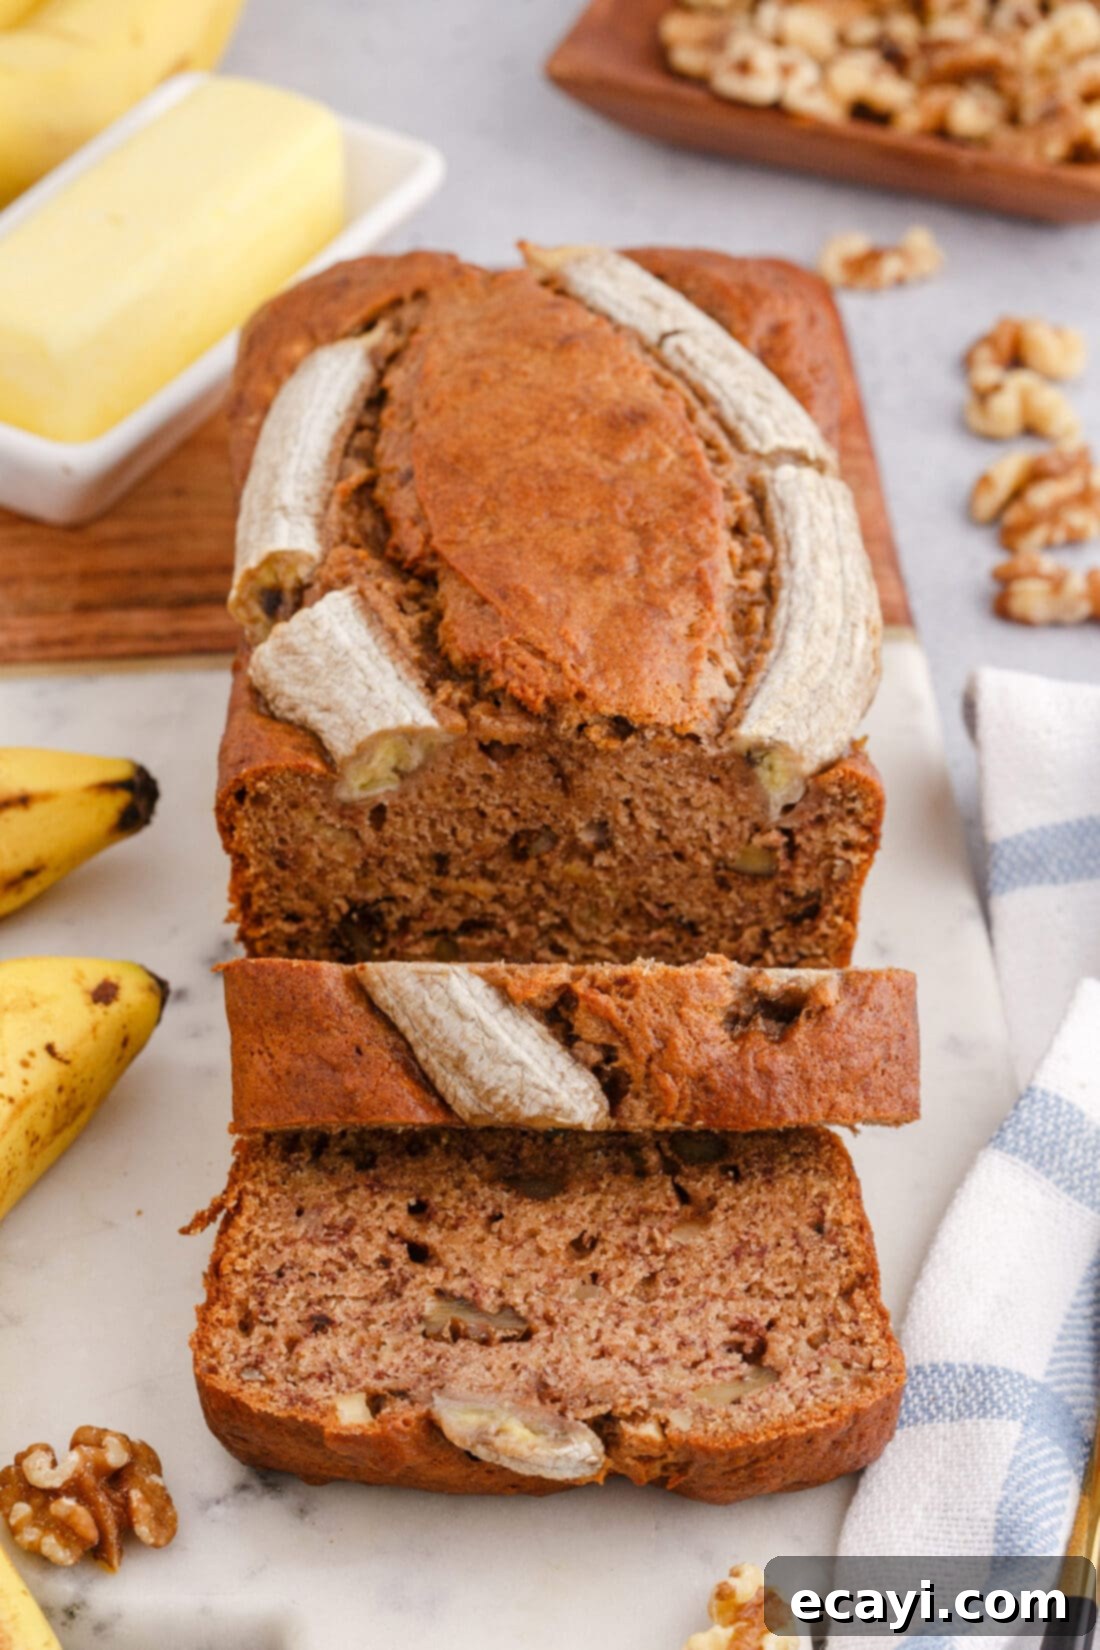
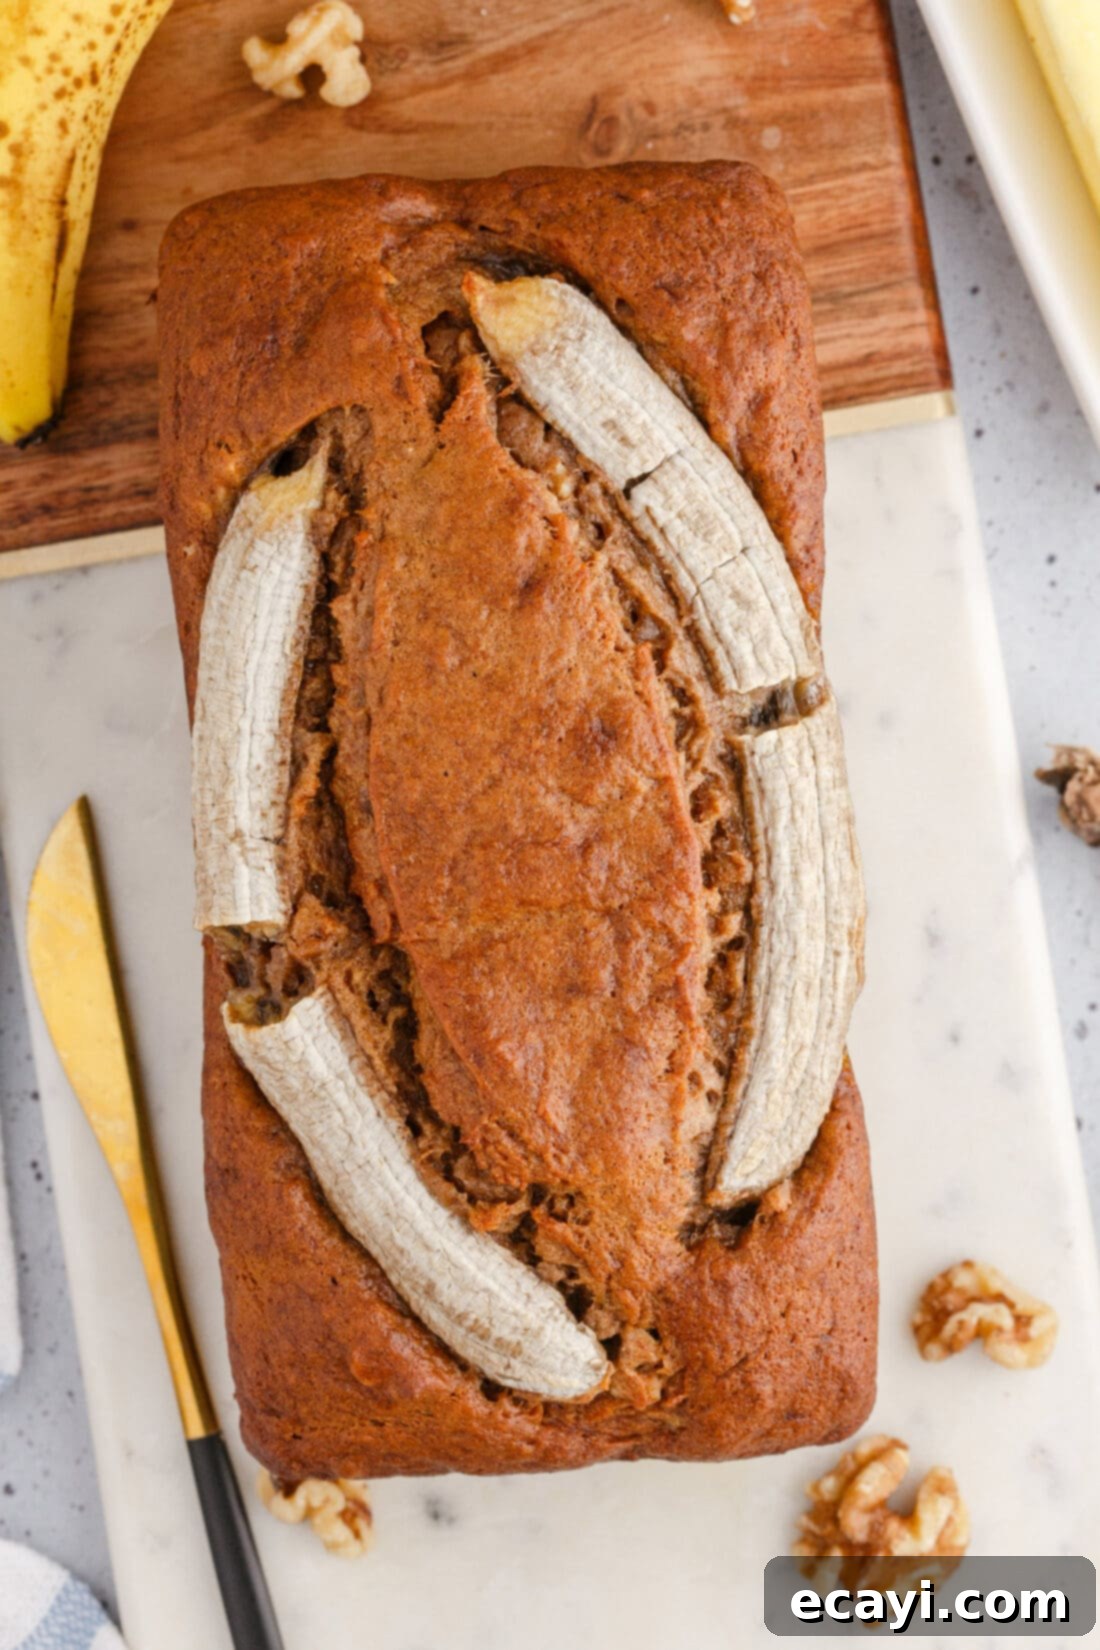
Why This Banana Nut Bread Recipe Stands Out
Achieving the perfect banana bread often feels like a culinary quest, but with this recipe, you’re guaranteed success. The secret to an extraordinary banana bread lies in its moisture, tenderness, and a crumb that’s soft without being gummy. Our recipe masterfully combines key elements and simple techniques to deliver a truly irresistible loaf. The foundation is built upon using perfectly ripe bananas, which not only contribute immense natural sweetness but also a crucial moisture component. Paired with carefully measured ingredients and a gentle mixing method, this ensures a light and airy texture every time.
Unlike some recipes that can yield a dry or dense result, we focus on a balanced fat and sugar content that locks in moisture, keeping your bread fresh and delicious for days. The addition of chopped walnuts isn’t just for a delightful crunch; it also infuses the bread with a rich, nutty undertone that complements the banana flavor beautifully. We also provide essential tips, such as accurate flour measurement and using room temperature ingredients, which are critical for preventing a tough or crumbly loaf. Follow our guidelines, and you’ll create a homemade banana nut bread so good, having just one slice will be your biggest challenge!
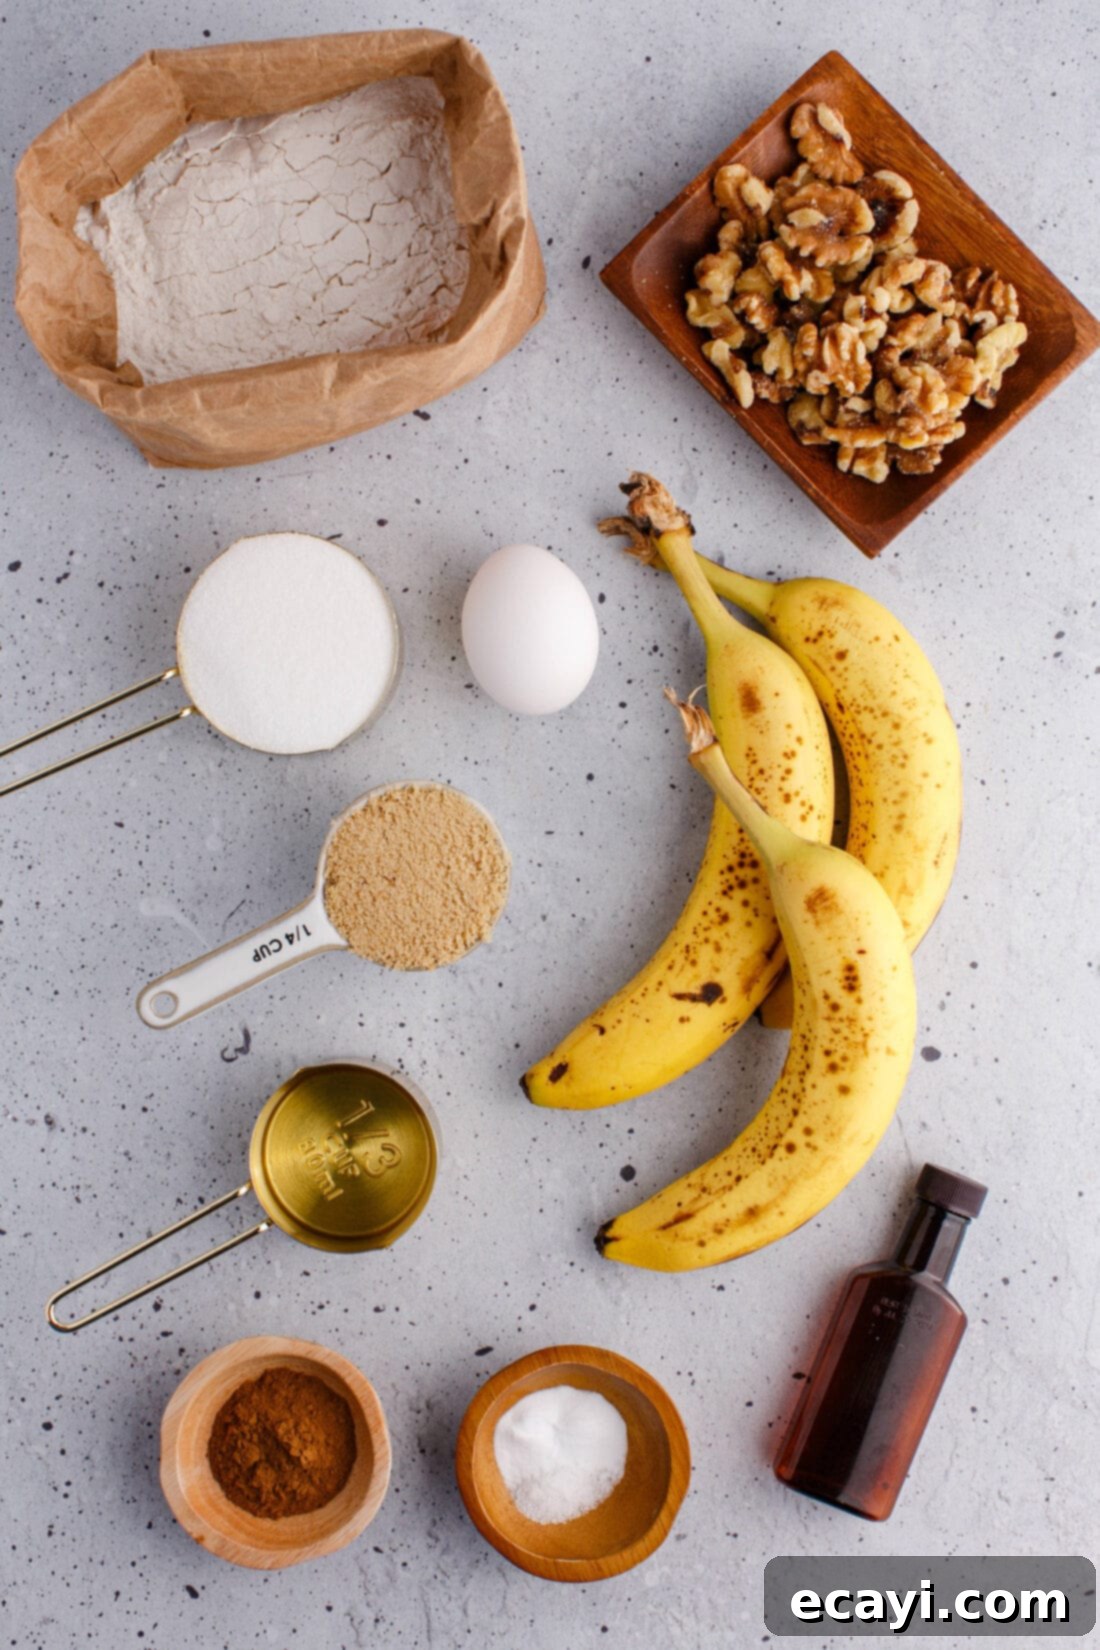
Essential Ingredients for Your Moist Banana Nut Bread
Creating this delicious banana nut bread requires a handful of common pantry items, each playing a vital role in the final flavor and texture. You’ll find a detailed list of all measurements, ingredients, and comprehensive instructions in the printable recipe card at the conclusion of this post. Gathering your ingredients before you begin will streamline the baking process and ensure a smooth experience.
Ingredient Spotlight & Smart Substitutions
Understanding the role of each ingredient can significantly elevate your baking game, especially when it comes to something as beloved as banana nut bread. Here’s a closer look at the key components and how to get the best results, along with some helpful substitution suggestions.
BANANAS – The star of the show! For truly flavorful and moist banana bread, ripeness is paramount. Don’t shy away from bananas with black, brown, or extensively spotted yellow peels. These aren’t spoiled; they’re perfectly ripe and brimming with natural sugars and intense banana flavor. As bananas ripen, their starches convert to sugars, making them sweeter and softer – ideal for mashing and lending an unparalleled sweetness and moisture to your bread. If your bananas aren’t quite ripe enough, you can speed up the process by placing them in a brown paper bag with an apple for a day or two, or by baking them on a baking sheet at 300°F (150°C) for 15-30 minutes until black and soft (let them cool before using). Remember, the darker the banana, the richer the flavor in your finished loaf.
FLOUR & BATTER – The foundation of your bread’s structure. Accurate flour measurement is the single most important tip for achieving a moist, tender crumb and avoiding a dry, stiff, or crumbly bread. Resist the urge to scoop flour directly from the bag, as this can compact it, leading to an excess amount. Instead, gently fluff the flour in its bag or container with a spoon to aerate it. Then, spoon the aerated flour into your measuring cup until it overflows slightly. Use the flat edge of a butter knife or another straight edge to level off the top, ensuring an exact measurement. Do NOT pack the flour down or tap the cup on the counter. This method guarantees the correct flour-to-liquid ratio, vital for a moist outcome. Additionally, ensure your eggs are at room temperature. Cold eggs can stiffen the batter and prevent proper emulsification, leading to a less cohesive and potentially tougher bread. A room temperature egg incorporates more smoothly into the wet ingredients, contributing to a silky, even batter.
NUTS – We opted for 3/4 cup of chopped walnuts for their classic flavor and satisfying crunch, which beautifully complements the soft banana bread. However, this is a versatile recipe! Feel free to omit the walnuts entirely if you prefer a nut-free banana bread. Alternatively, you can substitute them with other chopped nuts like pecans, almonds, or even cashews for a different flavor profile. For an extra layer of flavor, consider lightly toasting your nuts in a dry pan for a few minutes before adding them to the batter – this brings out their inherent oils and enhances their aroma. Beyond nuts, consider adding chocolate chips (milk, dark, or white), dried cranberries, or shredded coconut for a delightful twist!
SWEETENERS & LIQUIDS – This recipe uses a combination of granulated white sugar and light brown sugar. Granulated sugar provides sweetness and contributes to the golden crust, while brown sugar adds a deeper, molasses-like flavor and additional moisture, thanks to its hygroscopic nature. Vegetable oil is chosen for its neutral flavor and ability to keep the bread incredibly moist, offering a tender crumb that butter might not always achieve in quick breads. Pure vanilla extract is essential for enhancing all the other flavors, adding a warm, aromatic depth that completes the profile of a classic banana bread.
LEAVENING AGENTS & SPICES – Baking soda, activated by the acidic bananas, is our primary leavener, giving the bread its lift and tender texture. Sea salt balances the sweetness and enhances all the flavors. Cinnamon adds a comforting warmth and spice that pairs perfectly with banana, creating that irresistible bakery-style aroma.
Baking Your Perfect Loaf: Step-by-Step Instructions
These step-by-step photos and instructions are designed to help you visualize each stage of making this recipe, ensuring your success. For a complete printable version of this recipe, including exact measurements and detailed instructions, simply Jump to Recipe at the bottom of this post.
- Begin by preheating your oven to a consistent 350˚F (175°C). Prepare an 8×4 inch loaf pan by lining it with parchment paper, leaving an overhang on the longer sides. This parchment “sling” will make it incredibly easy to lift the finished bread out of the pan.
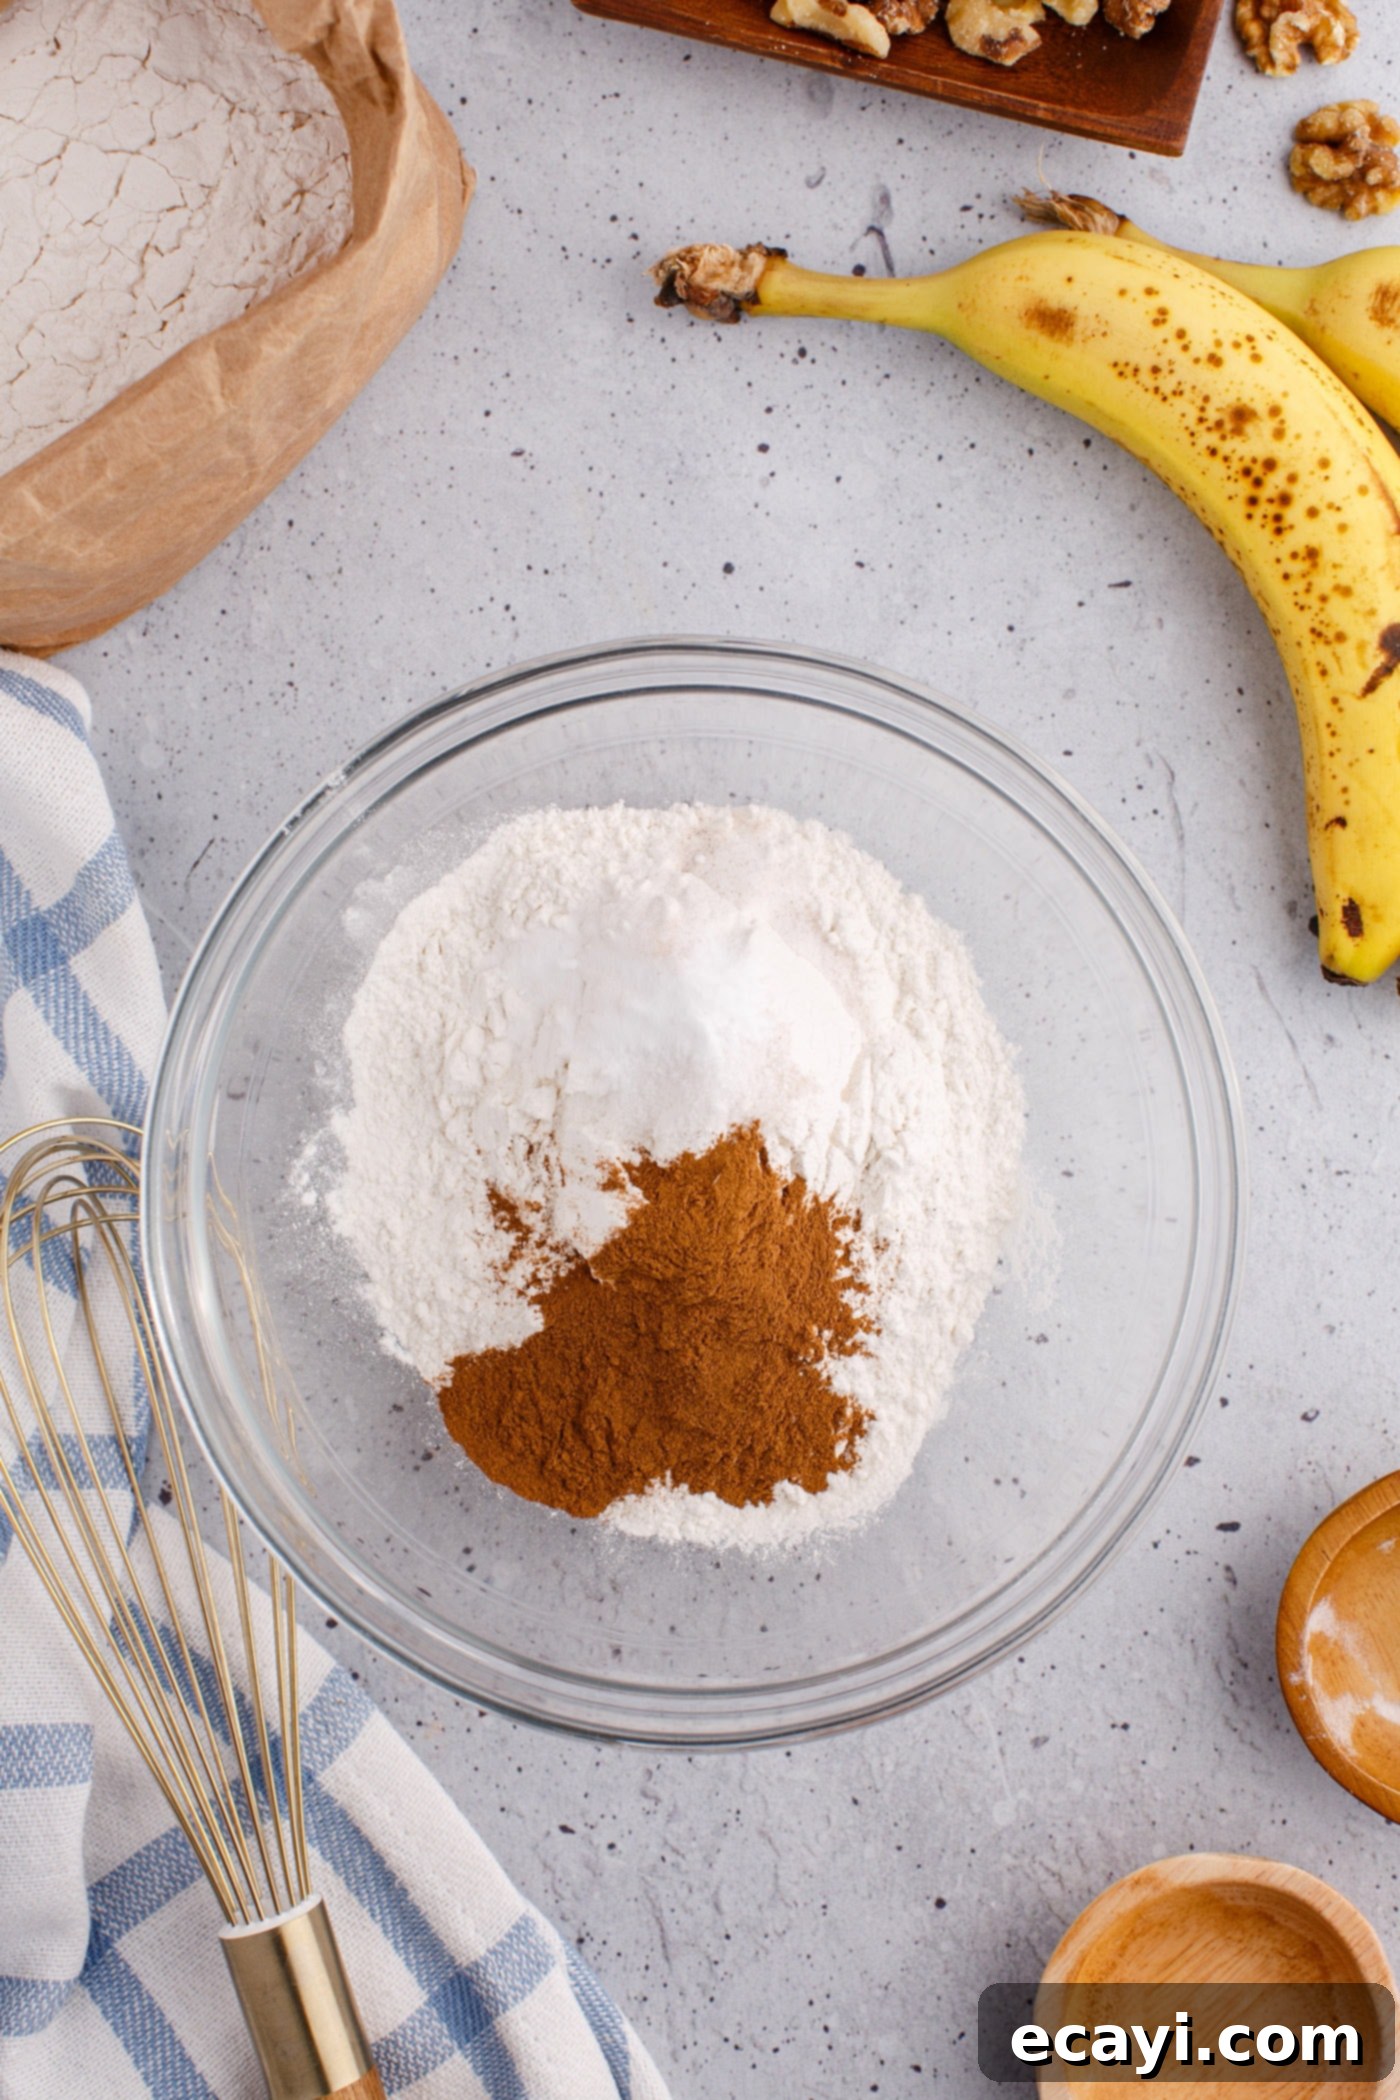
- In a medium-sized mixing bowl, whisk together your dry ingredients: the accurately measured all-purpose flour, baking soda, sea salt, and ground cinnamon. Ensure these are thoroughly combined to distribute the leavening and spices evenly throughout the bread. Set this dry mixture aside.

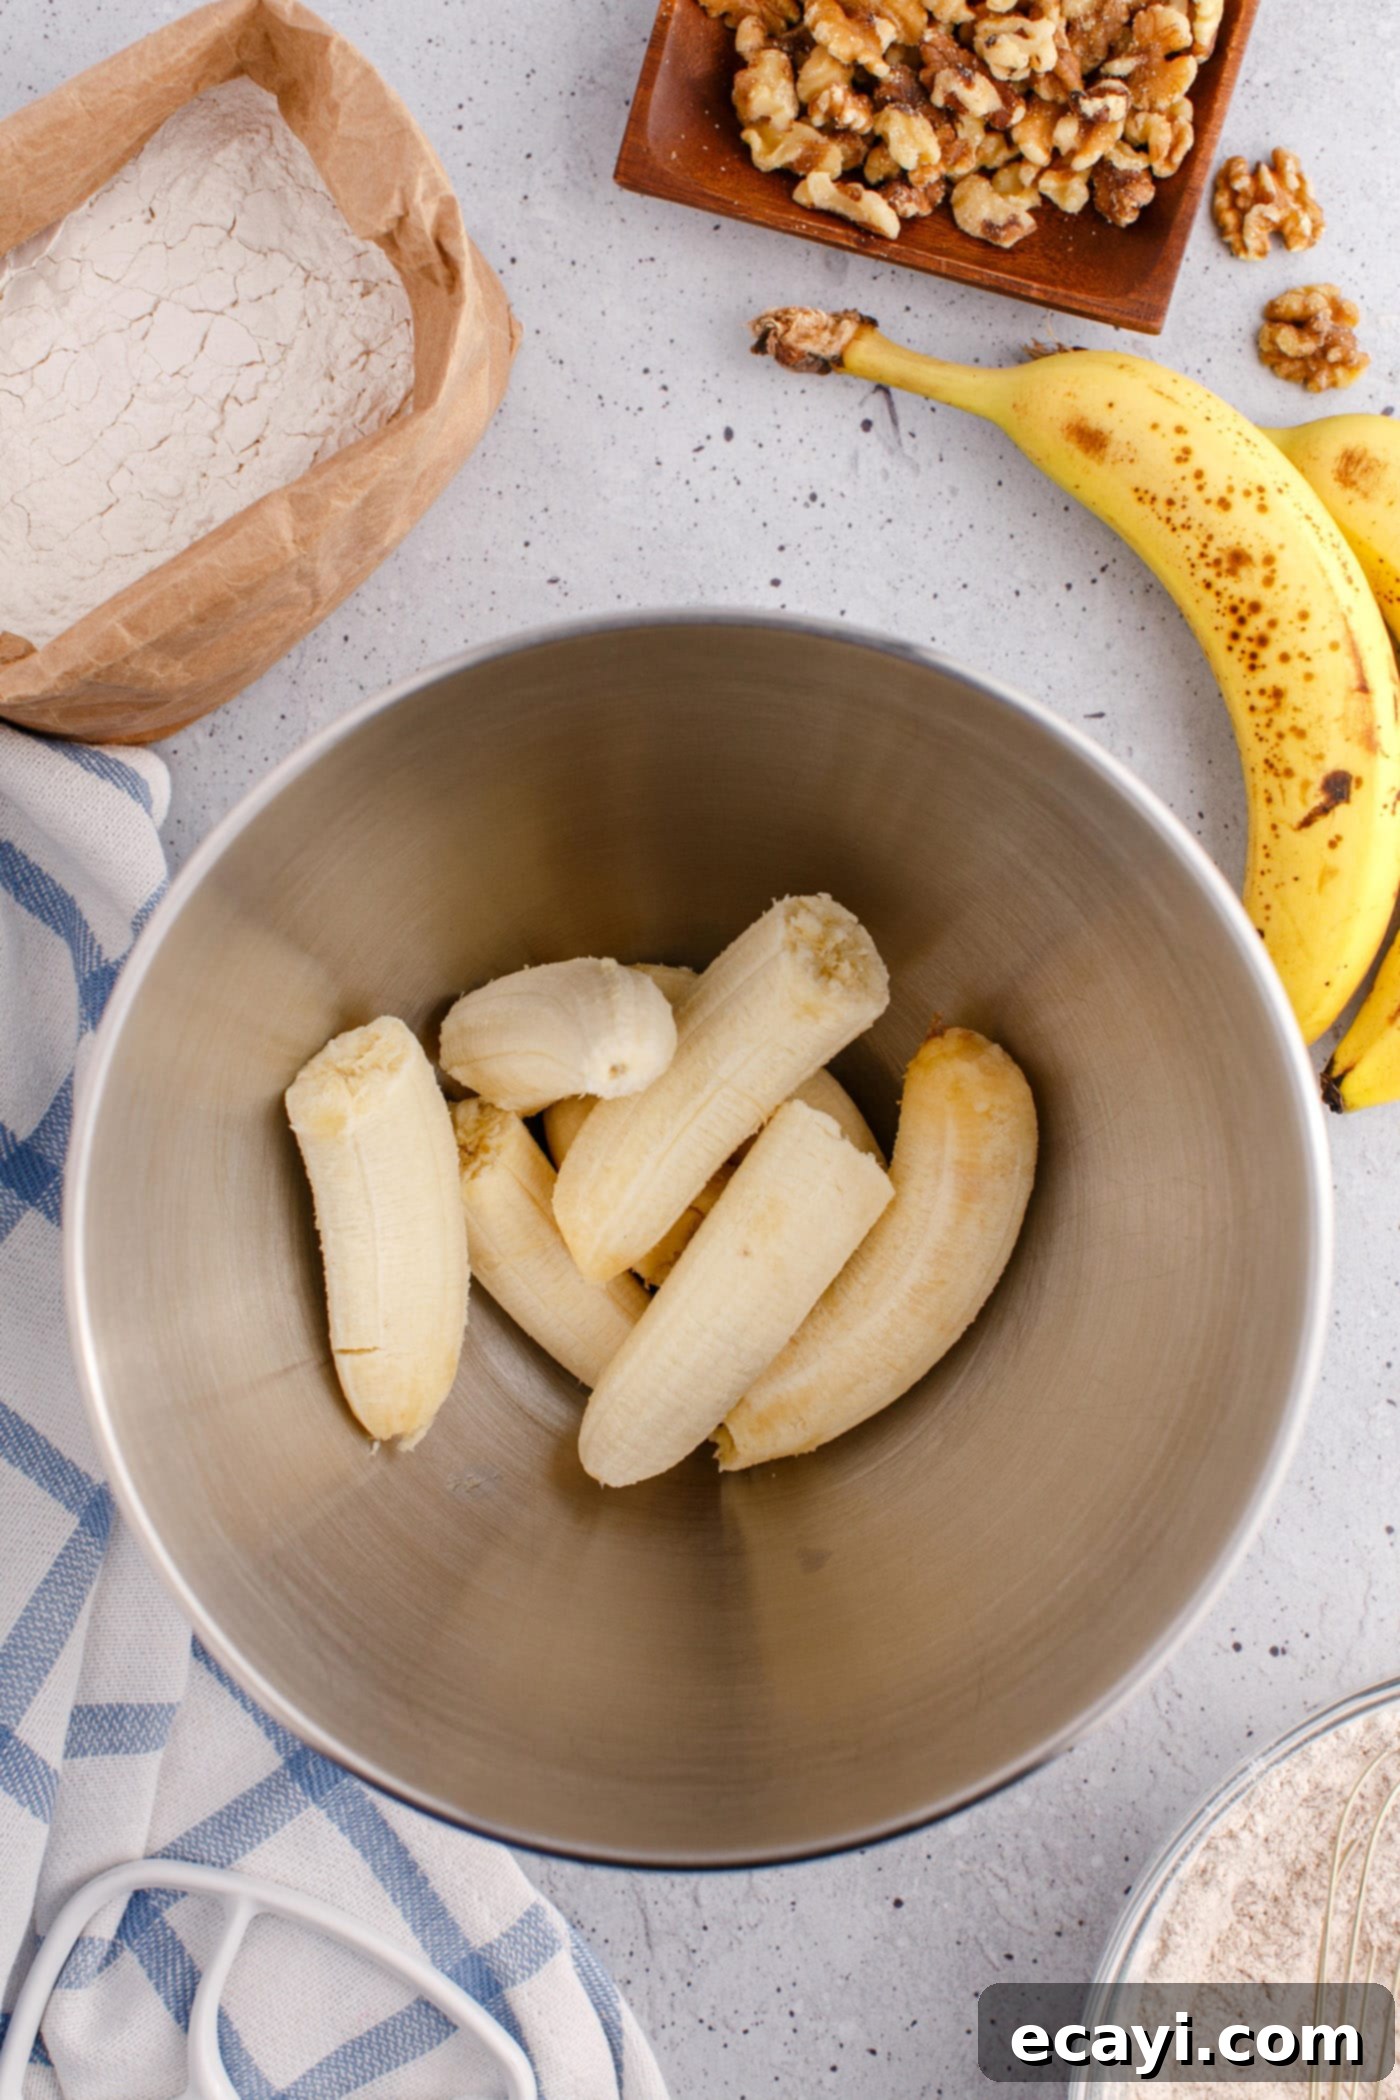
- Next, prepare your bananas. Place the 4 ripe bananas into the bowl of an electric mixer. Using the paddle attachment, mash them until they are mostly smooth with a few small lumps remaining. This ensures plenty of banana flavor and moisture without an overly chunky texture.

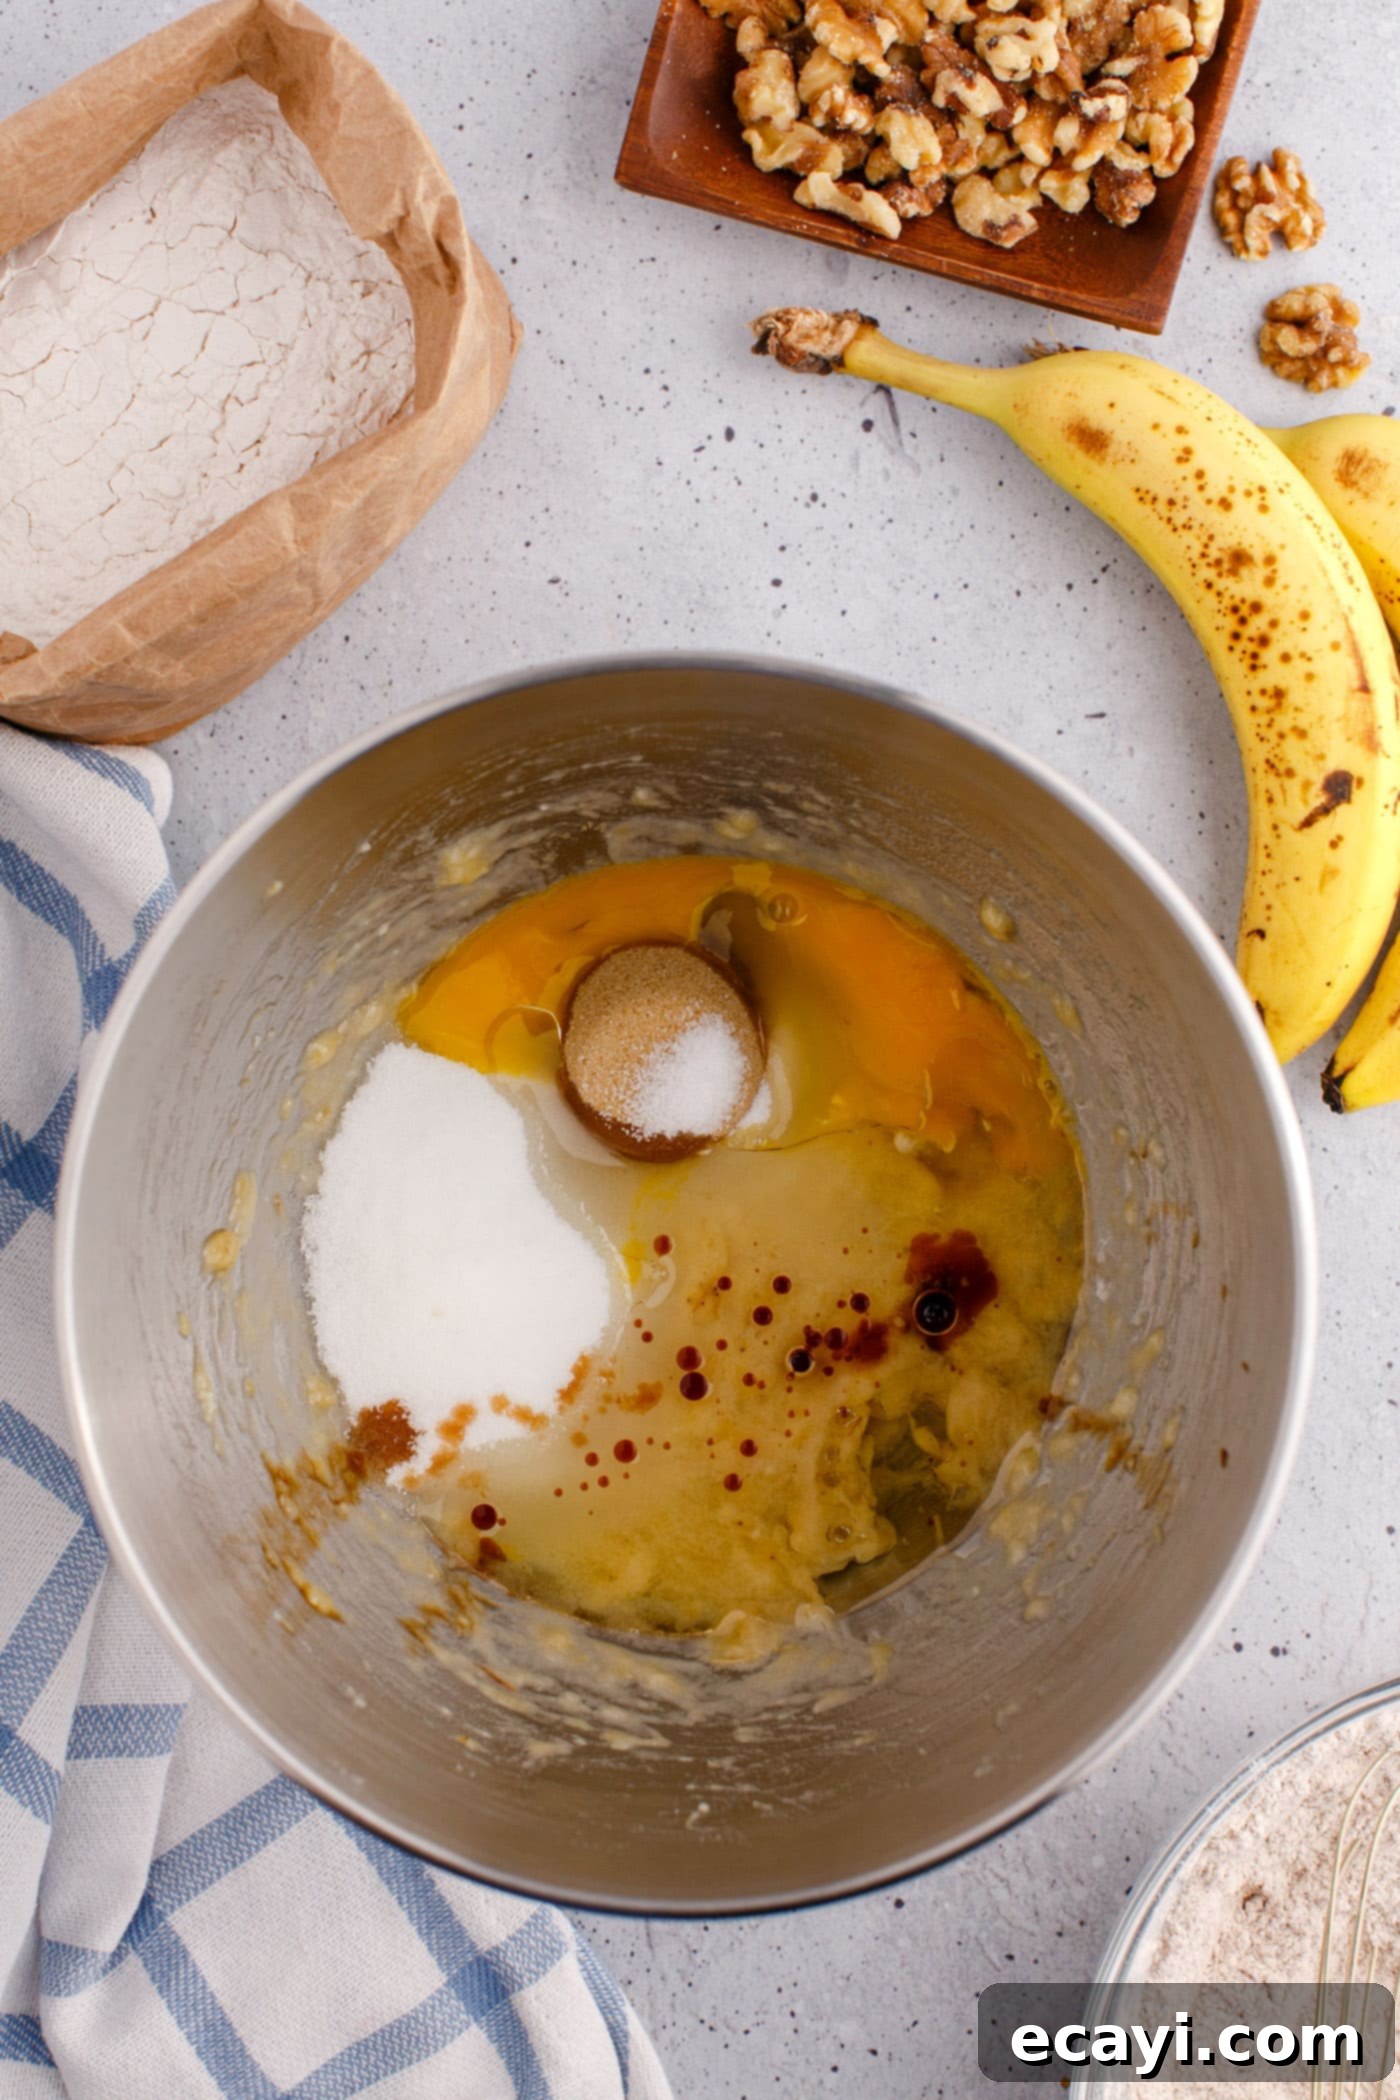
- To the mashed bananas in the mixer bowl, add the vegetable oil, both granulated and light brown sugars, the room temperature egg, and pure vanilla extract. Mix these wet ingredients together on the lowest speed setting for approximately 2 minutes. This gentle mixing incorporates everything thoroughly without overdeveloping the gluten in the flour later.

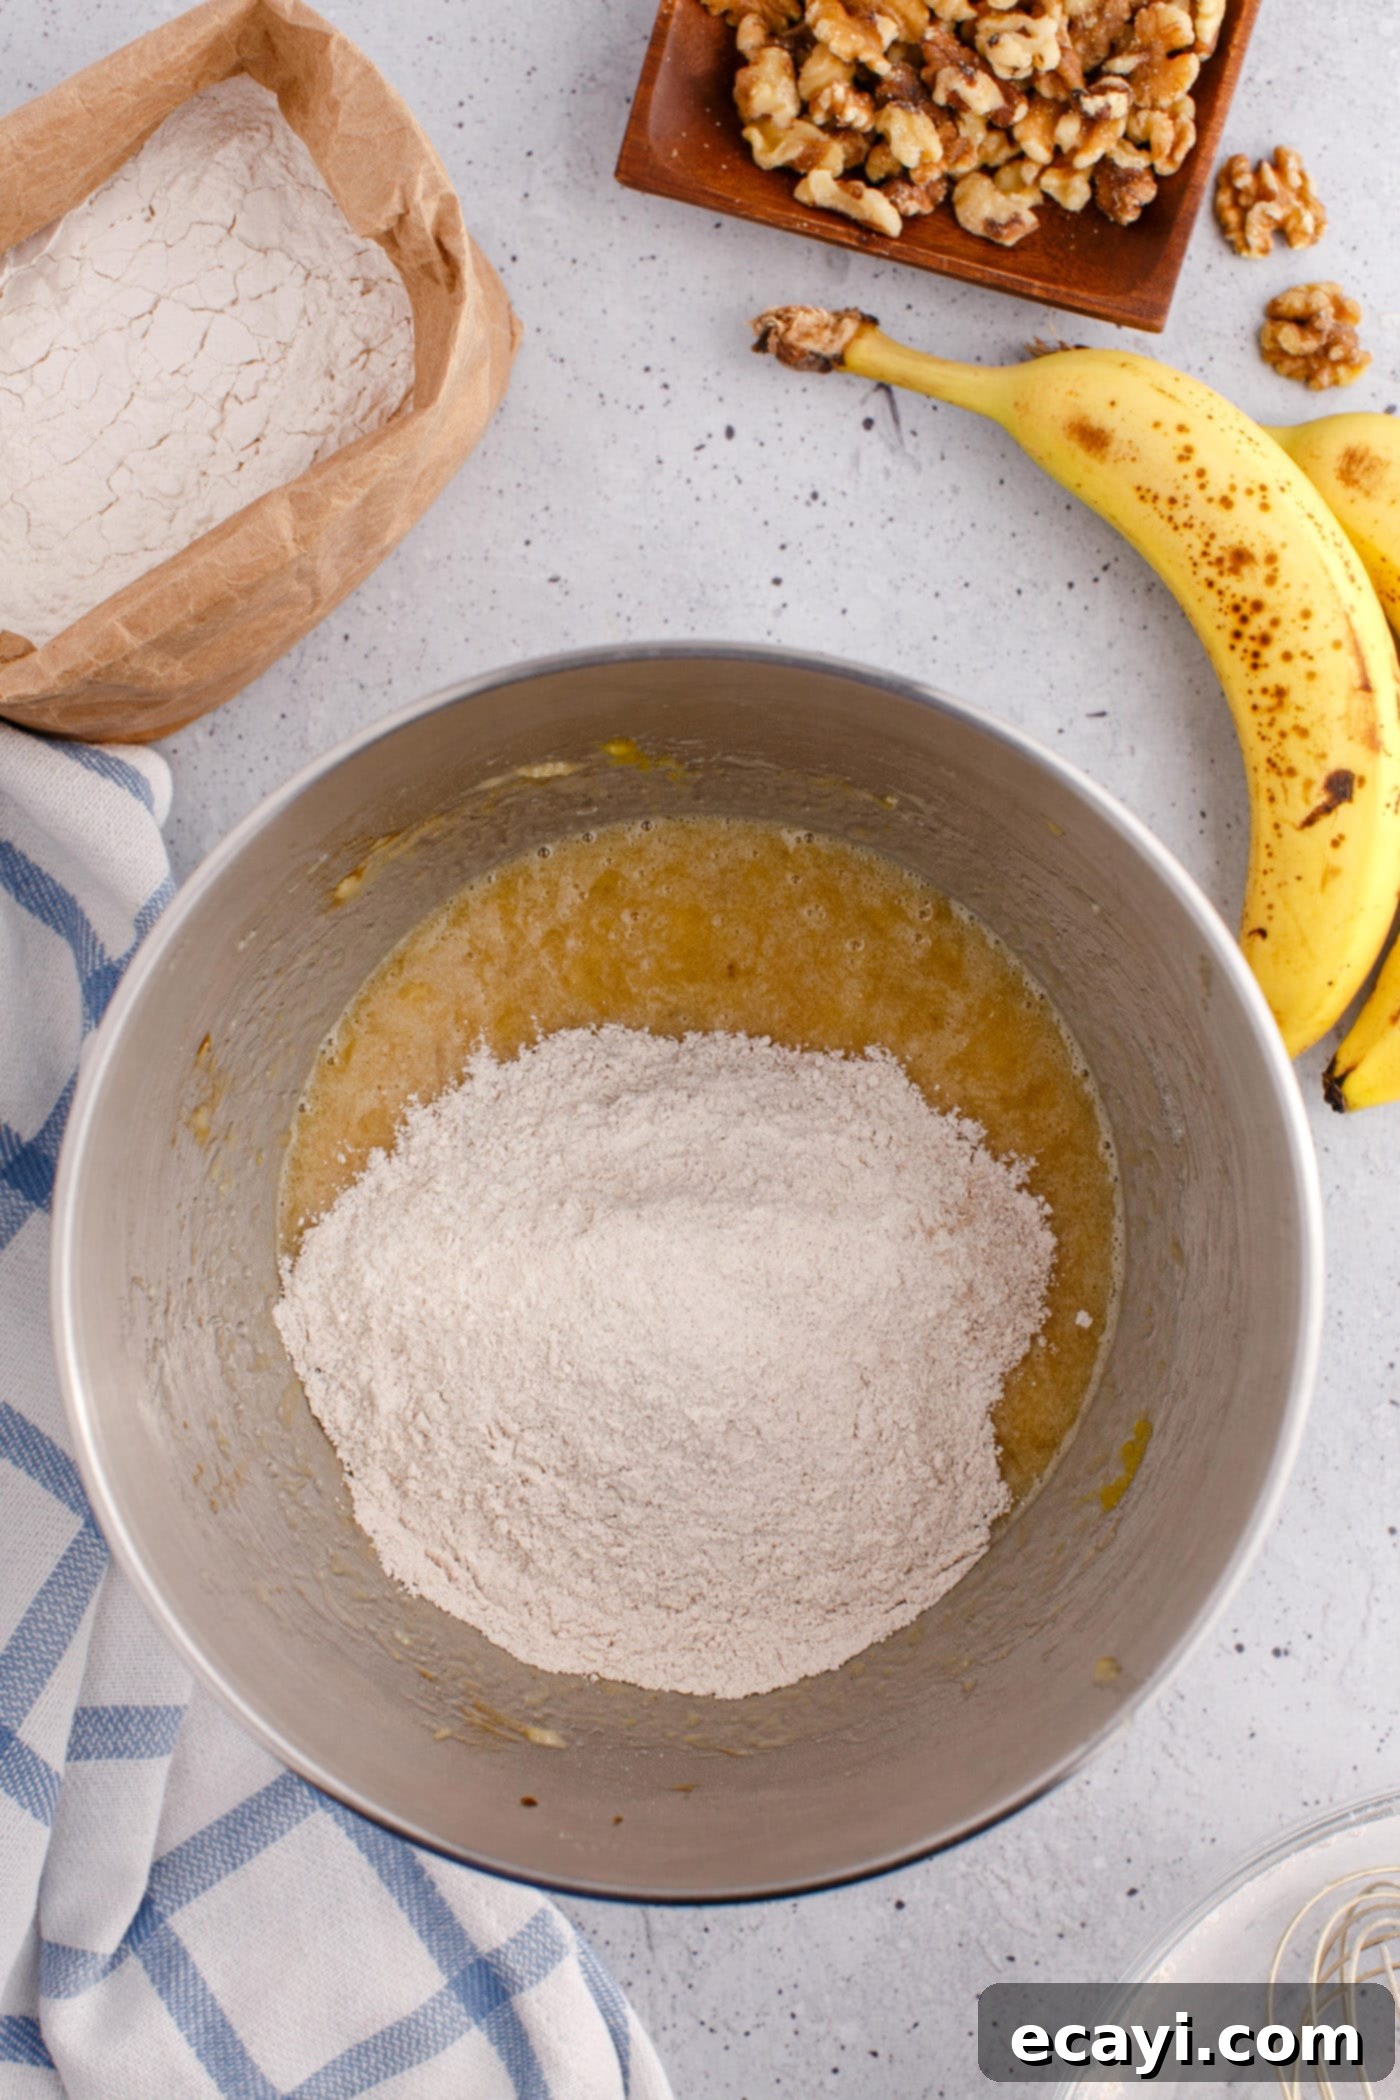
- Gradually add the reserved dry flour mixture to the wet ingredients in the mixer bowl. Mix on low speed, just until the flour is incorporated and no dry streaks remain. It’s crucial not to overmix at this stage, as overmixing can lead to a tough bread. A few small lumps are perfectly fine and often result in a more tender crumb.

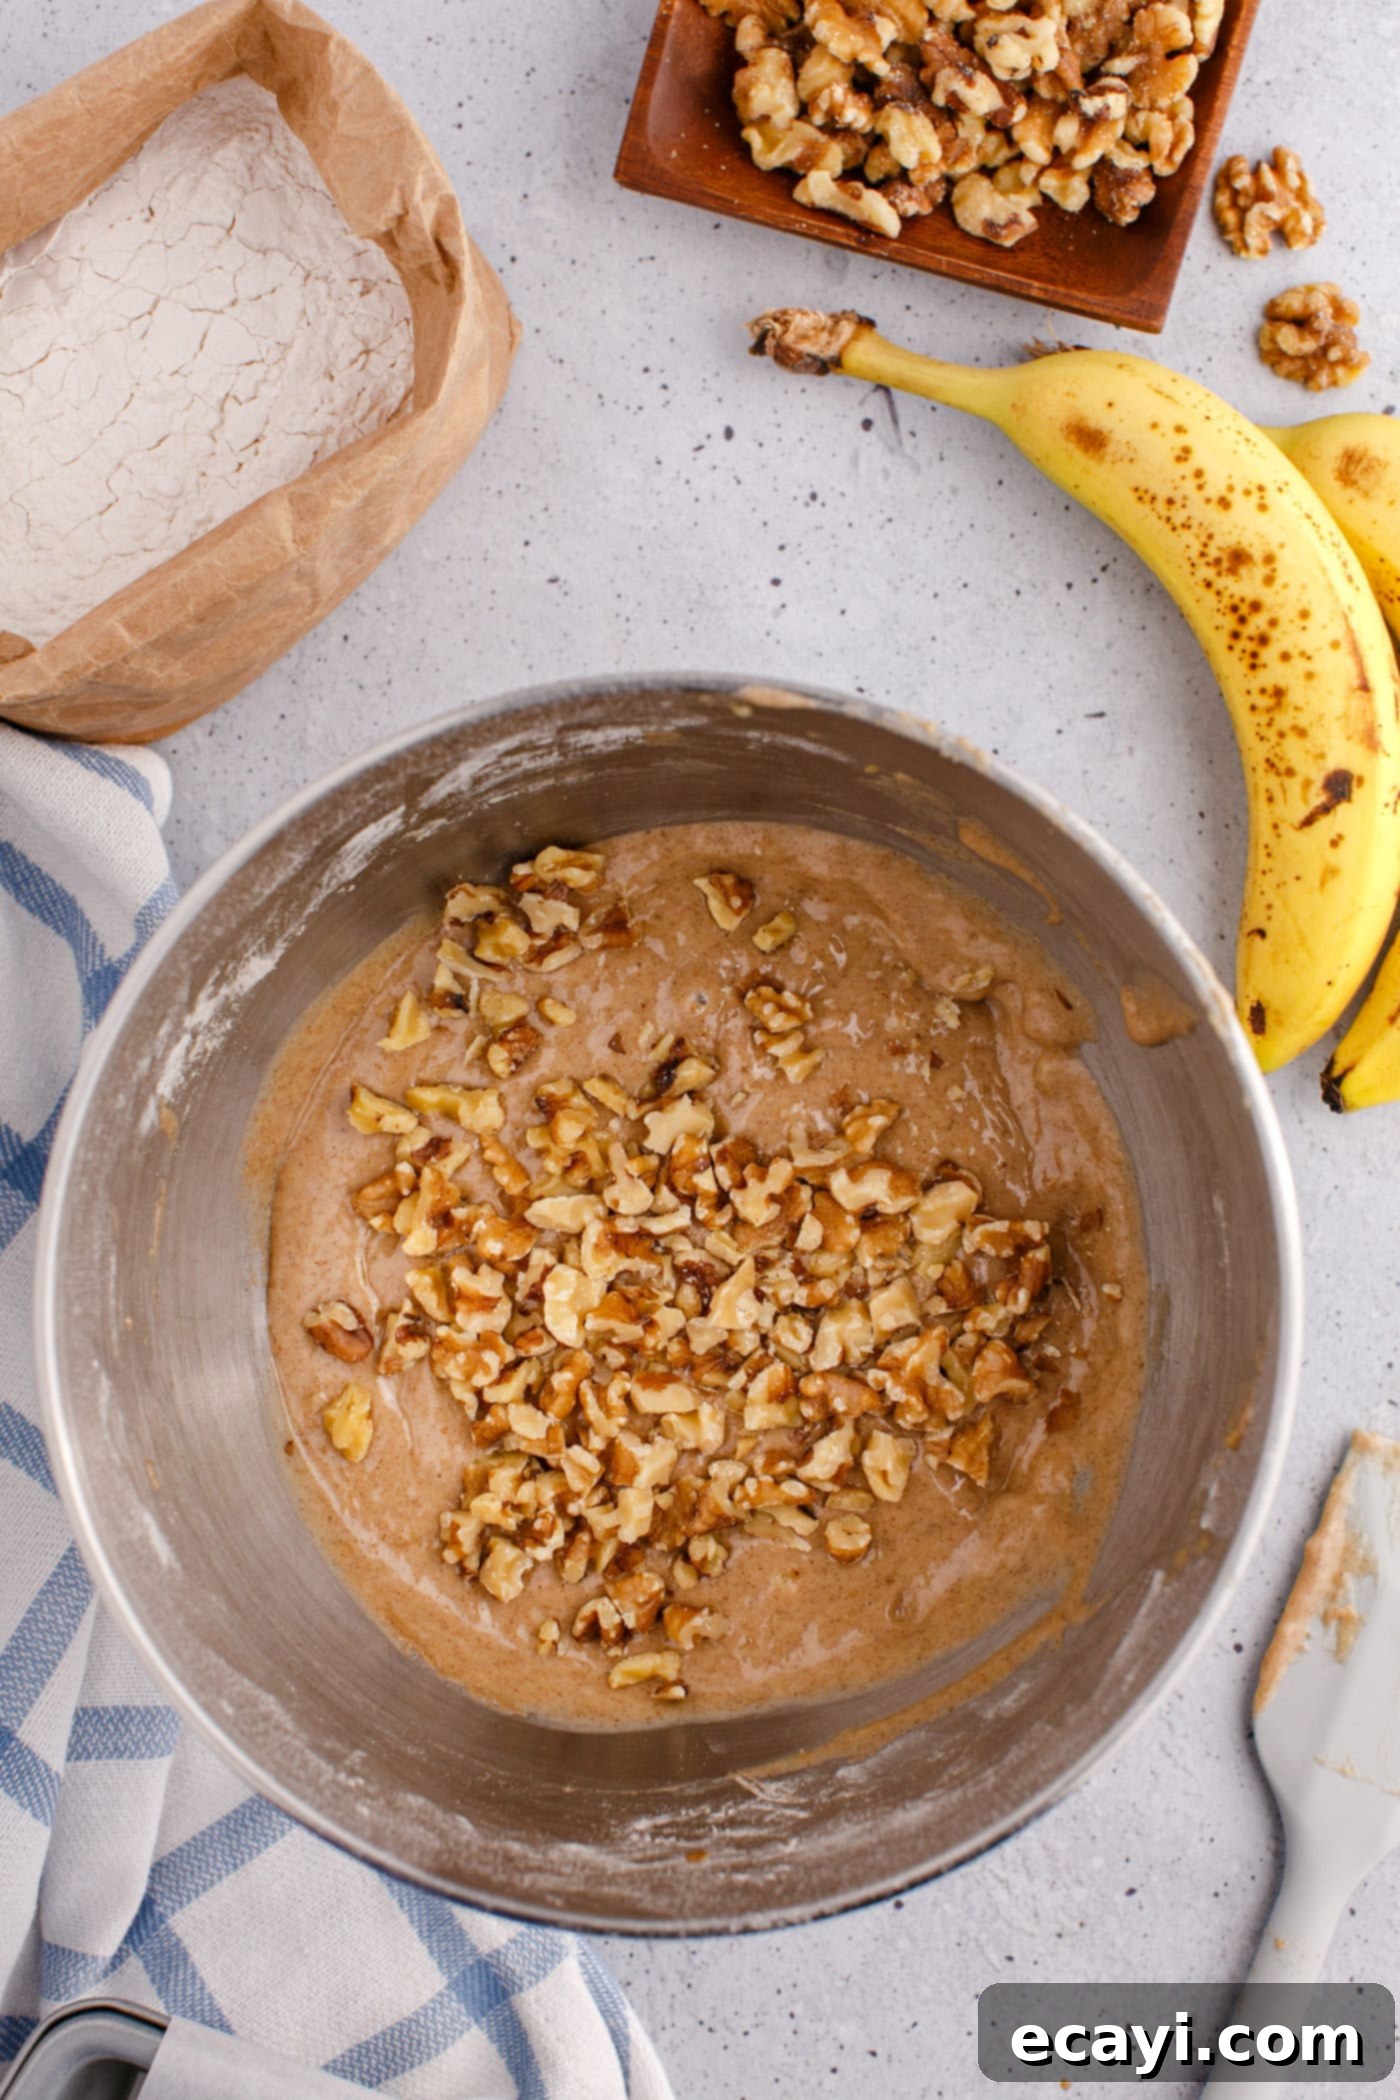
- Using a rubber spatula, gently fold the chopped walnuts into the batter. This ensures they are evenly distributed without crushing them or overworking the batter further.

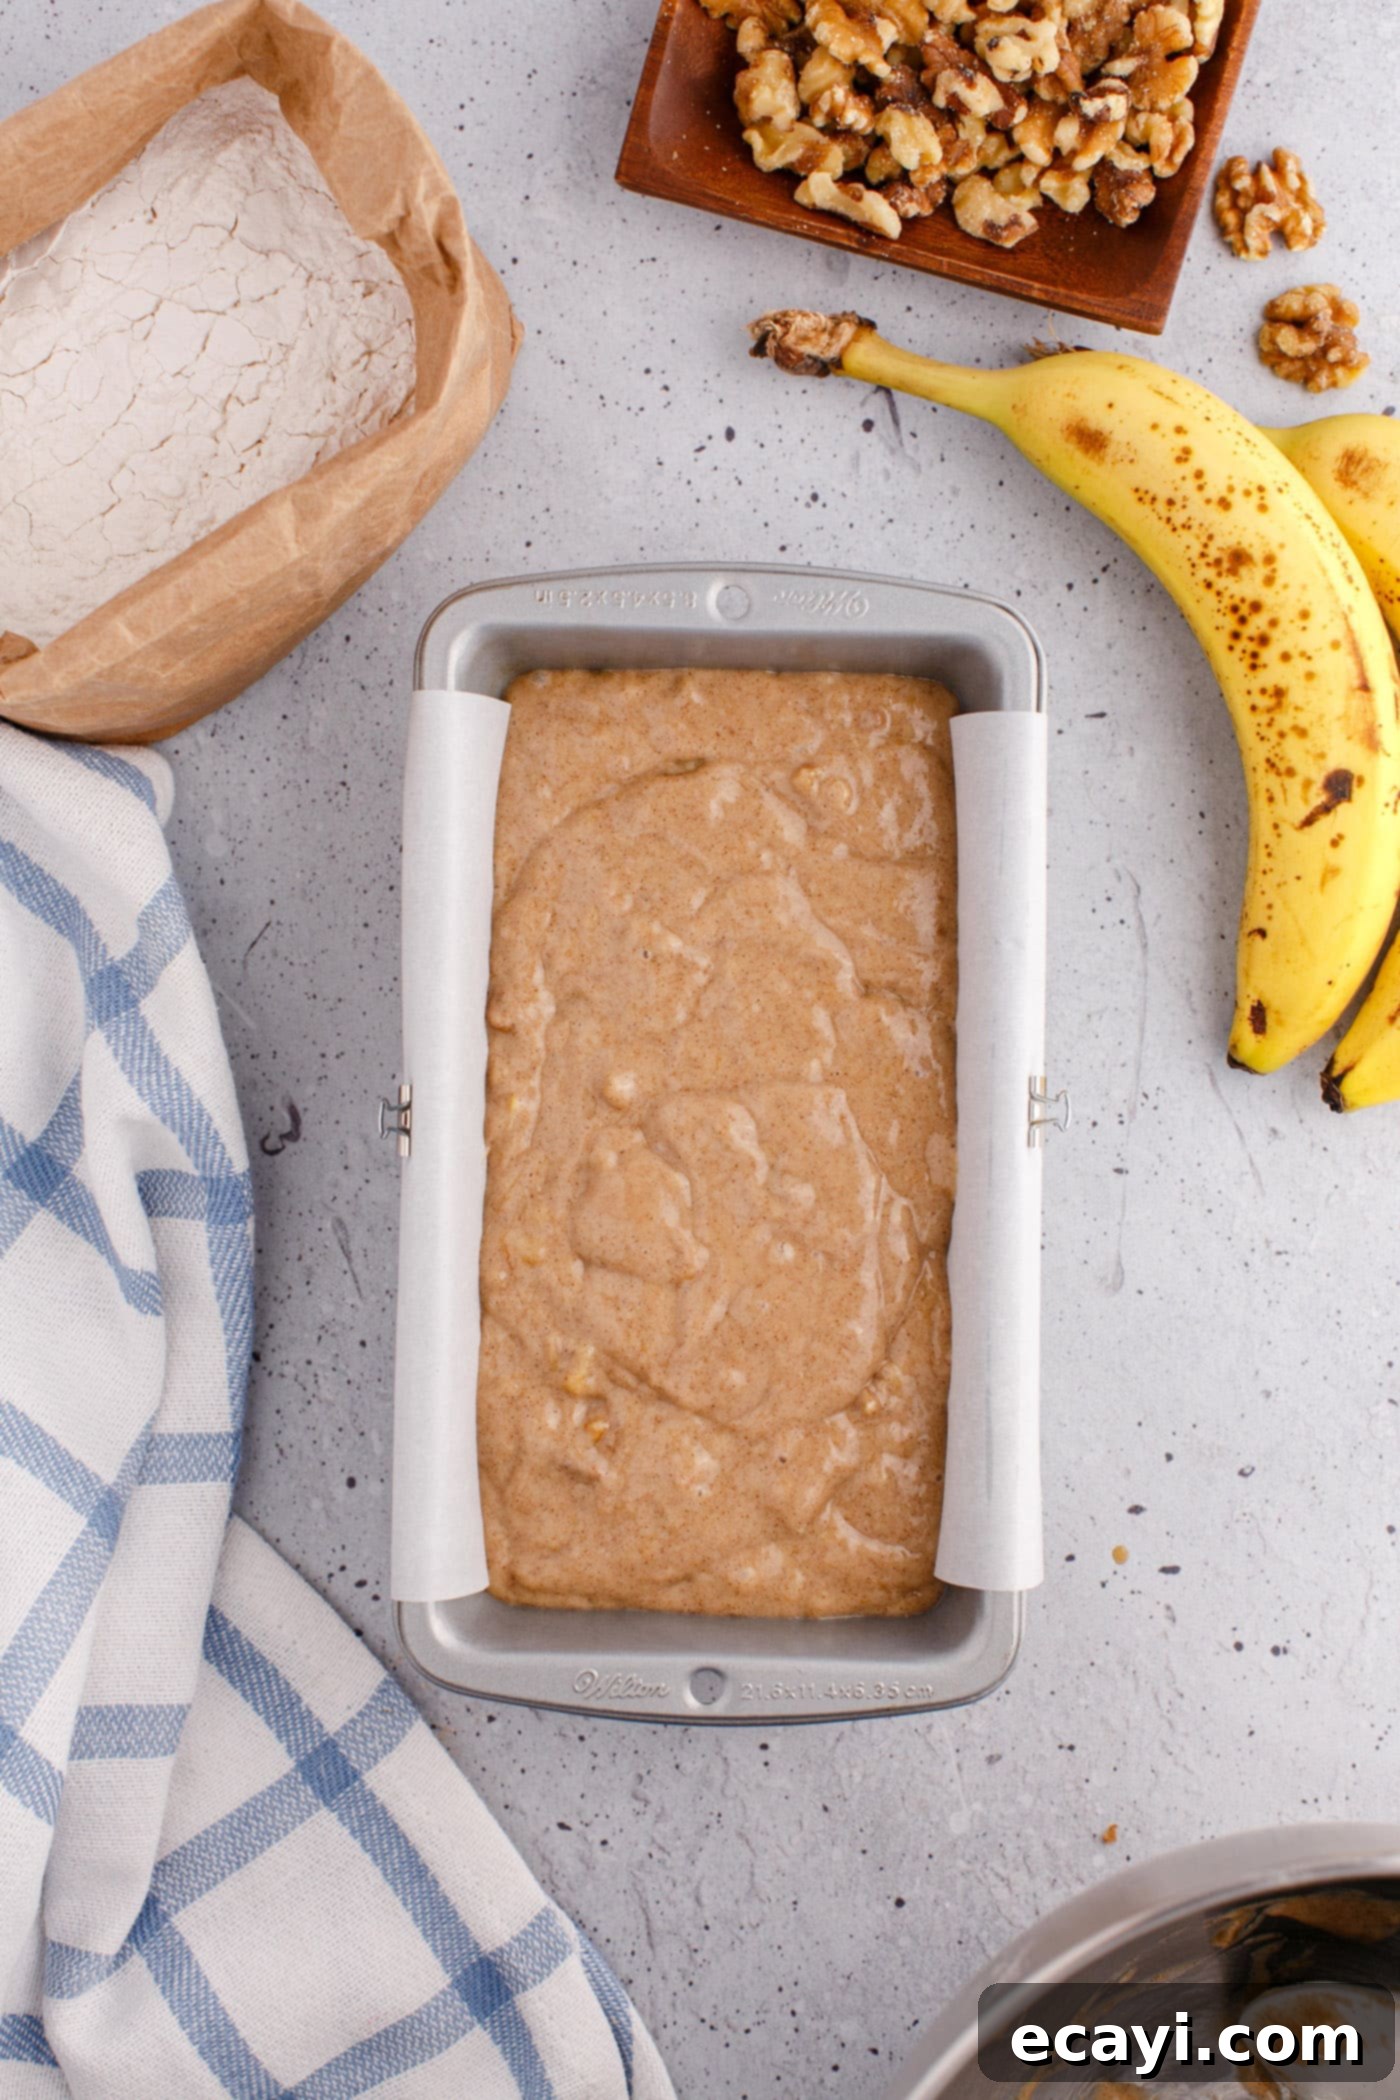
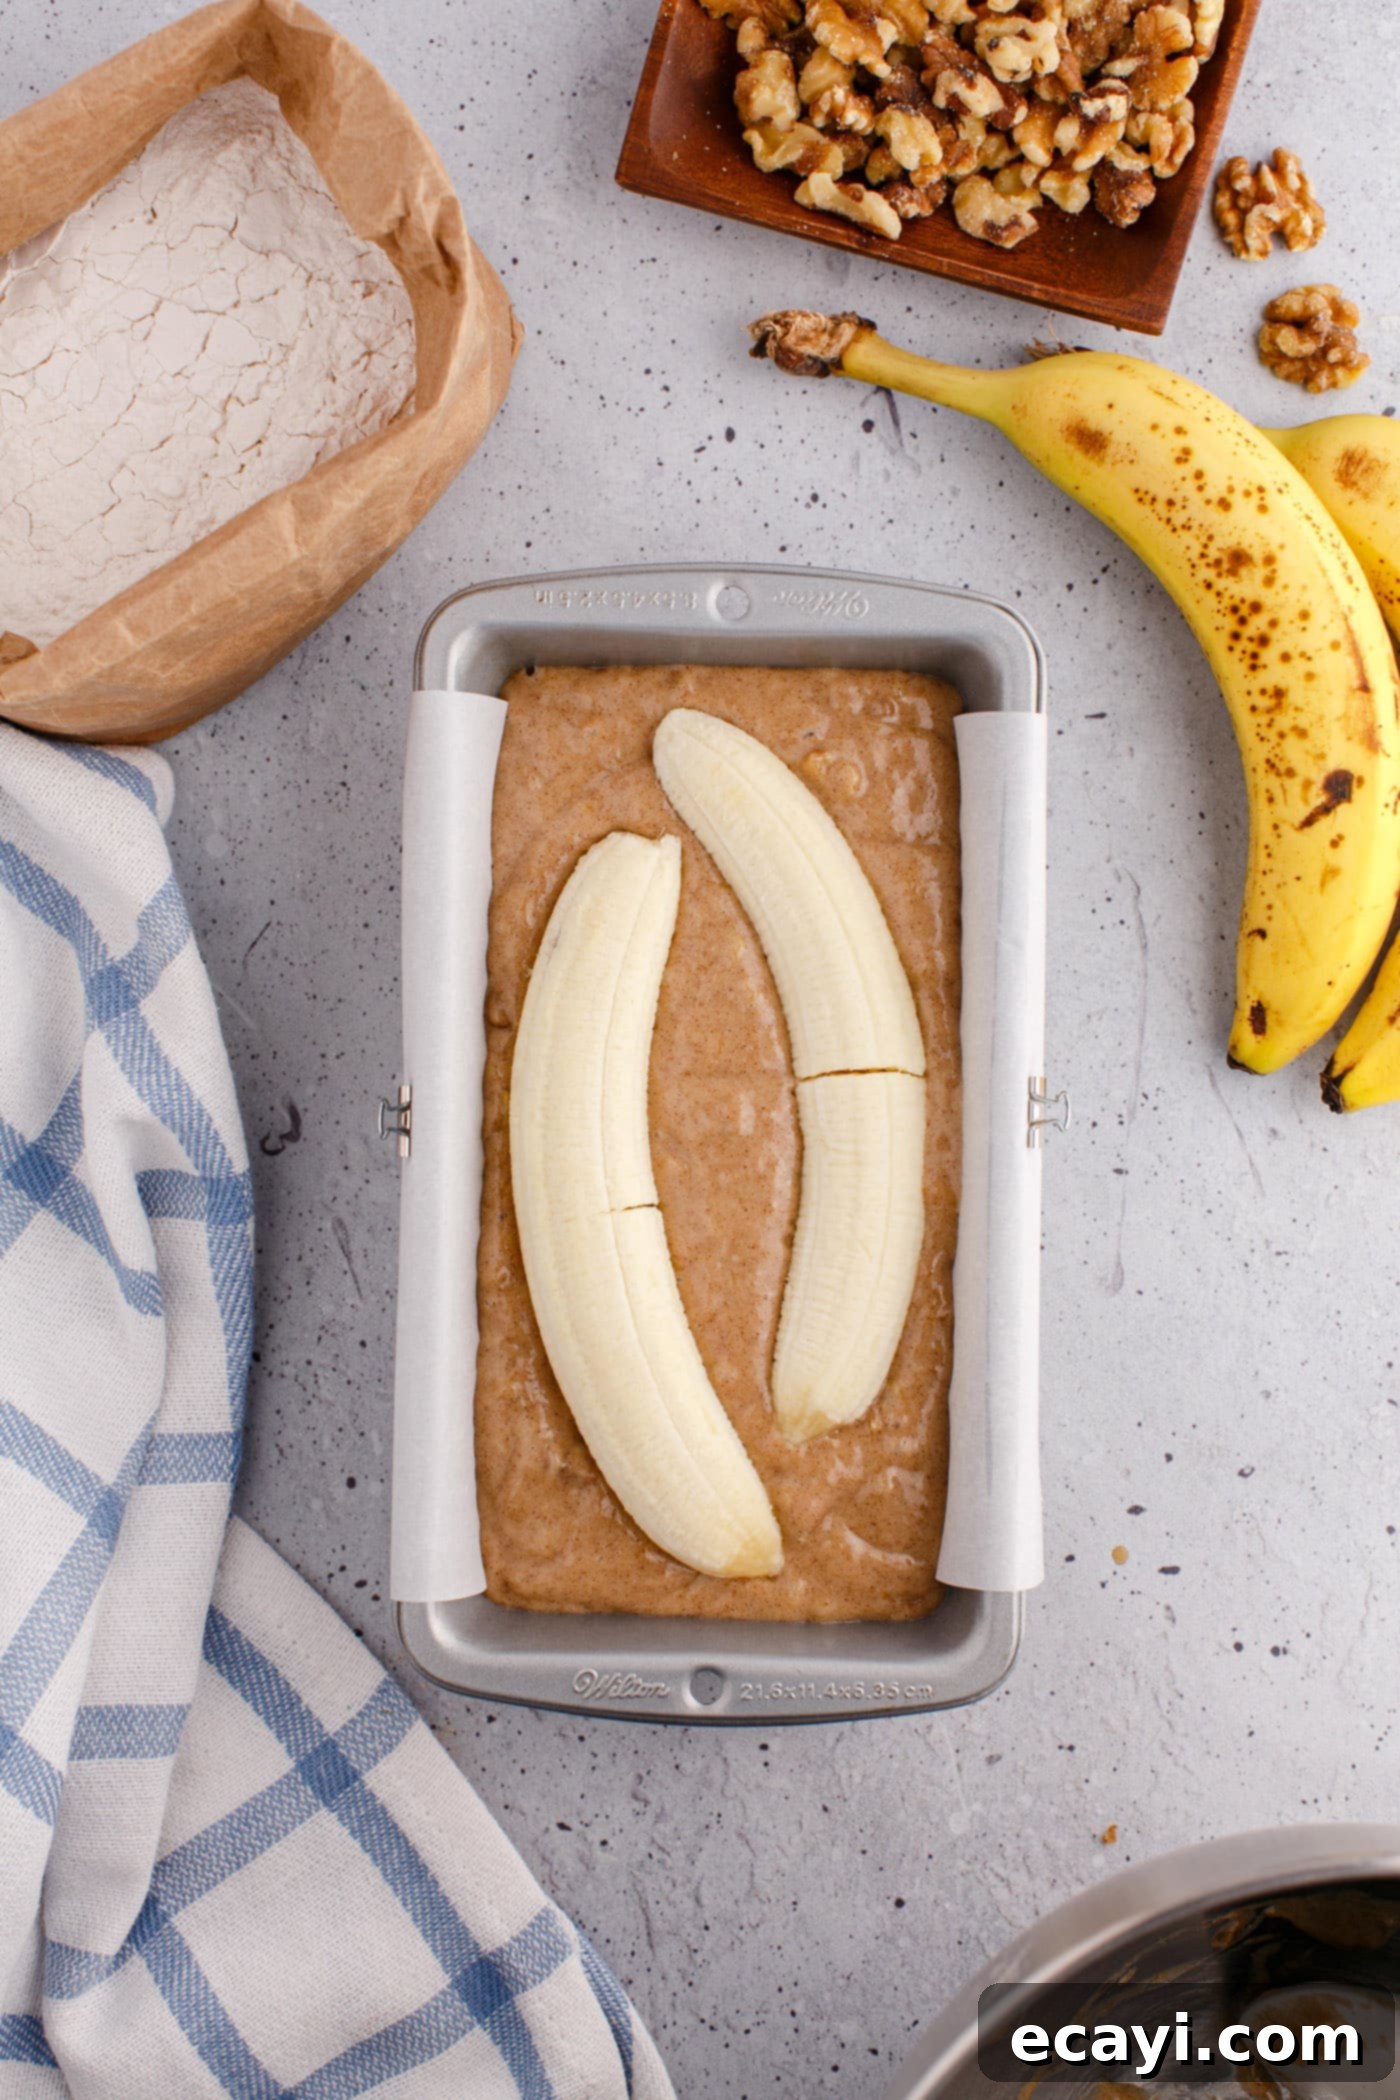
- Pour the beautifully fragrant batter into your prepared 8×4 loaf pan. If you choose to garnish with a banana slice for an extra appealing presentation, carefully slice one ripe banana in half lengthwise and gently place the halves on top of the batter.


- Bake the banana bread in the preheated oven for 60-65 minutes. To check for doneness, insert a toothpick into the highest point in the center of the loaf. It should come out mostly clean, with a few moist crumbs clinging to it – this indicates a perfectly moist interior, not dry. If it comes out wet, continue baking in 5-minute increments until it passes the test.
- Once baked, remove the pan from the oven and allow the banana bread to cool in the pan on a wire cooling rack for approximately 30 minutes. This crucial cooling period allows the bread to set and firm up, preventing it from crumbling when removed. After 30 minutes, lift the bread out using the parchment paper overhang and transfer it directly to the wire rack to cool completely before slicing and serving.
Frequently Asked Questions & Expert Baking Tips
Yes, you absolutely can use a 9.5×5 inch loaf pan as a substitute for an 8×4 inch pan. The primary difference you’ll notice is that the loaf will be slightly longer and less tall due to the increased surface area and volume distribution. The flavor and moistness will remain delicious! However, because the batter will spread out more, the baking time might be slightly reduced. It’s important to start checking for doneness a bit earlier, around the 50-minute mark, and continue baking until a toothpick inserted into the center comes out clean, but with some moist crumbs. Keep a close eye on your bread in the oven to prevent overbaking.
Freezing banana nut bread is an excellent way to preserve its freshness and enjoy it later. For best results, ensure the banana bread is *fully cooled* to room temperature before freezing. Wrap the entire loaf tightly in plastic wrap, then add another layer of aluminum foil to prevent freezer burn and protect it from odors. Place the wrapped loaf into a large freezer-safe ziptop bag, pressing out as much air as possible before sealing. It can be stored in the freezer for up to 3 months. To freeze individual slices, wrap each slice separately in plastic wrap or aluminum foil, then place them all into a sealed ziptop bag. When you’re ready to enjoy, thaw the unwrapped bread or slices at room temperature for about an hour to an hour and a half. For a quick thaw, individual slices can be microwaved briefly.
Proper storage is key to keeping your banana nut bread fresh and moist. Once the loaf has *fully cooled* to room temperature, wrap it snugly in plastic wrap. Then, place the wrapped loaf into a large ziptop bag, ensuring you remove as much air as possible before sealing. This double-layer protection helps retain moisture and keeps the bread from drying out. Store it at room temperature, away from direct sunlight or heat, for up to 4 days. You can also store the bread in an airtight container for similar results, but make sure the lid seals tightly.
A dense or gummy texture in banana bread is most commonly a result of overmixing the batter. When you mix flour with liquid, gluten develops. While some gluten is necessary for structure, too much mixing leads to excessive gluten development, resulting in a tough, dense, and sometimes gummy bread. To avoid this, always mix your wet and dry ingredients on the lowest speed setting and only mix until they are just combined – meaning no dry streaks of flour are visible. Resist the temptation to mix extra thoroughly; a few small lumps are perfectly fine and often contribute to a more tender texture. Other factors can include using too much flour (see our tip on accurate measurement) or using cold ingredients that prevent the batter from coming together smoothly.
While super ripe, spotty bananas are ideal for the best flavor and moisture, you can somewhat salvage less ripe bananas. To quickly ripen them, bake unpeeled bananas on a baking sheet at 300°F (150°C) for 15-30 minutes, or until their skins are completely black and shiny. Let them cool, then peel and mash. They won’t have the full depth of flavor of naturally ripened bananas, but they’ll be soft and sweet enough to use.
Absolutely! Banana bread is incredibly versatile. Feel free to substitute walnuts with pecans, or add chocolate chips (dark, milk, or white), dried cranberries, raisins, shredded coconut, or even a combination. Generally, aim for about 3/4 to 1 cup of total mix-ins. For best distribution, you can toss denser mix-ins like chocolate chips with a tablespoon of flour before adding them to the batter; this helps prevent them from sinking to the bottom of the pan.
Using room temperature ingredients, especially eggs, is crucial for a smooth and well-emulsified batter. Cold ingredients can cause the butter/oil to seize up and prevent proper mixing, leading to a lumpy batter and a denser, less uniform crumb. Room temperature ingredients combine more easily and create a homogenous mixture that traps air more effectively, resulting in a lighter and fluffier texture. If you forget to take out your egg, you can quickly warm it by placing it in a bowl of warm (not hot) water for 5-10 minutes.
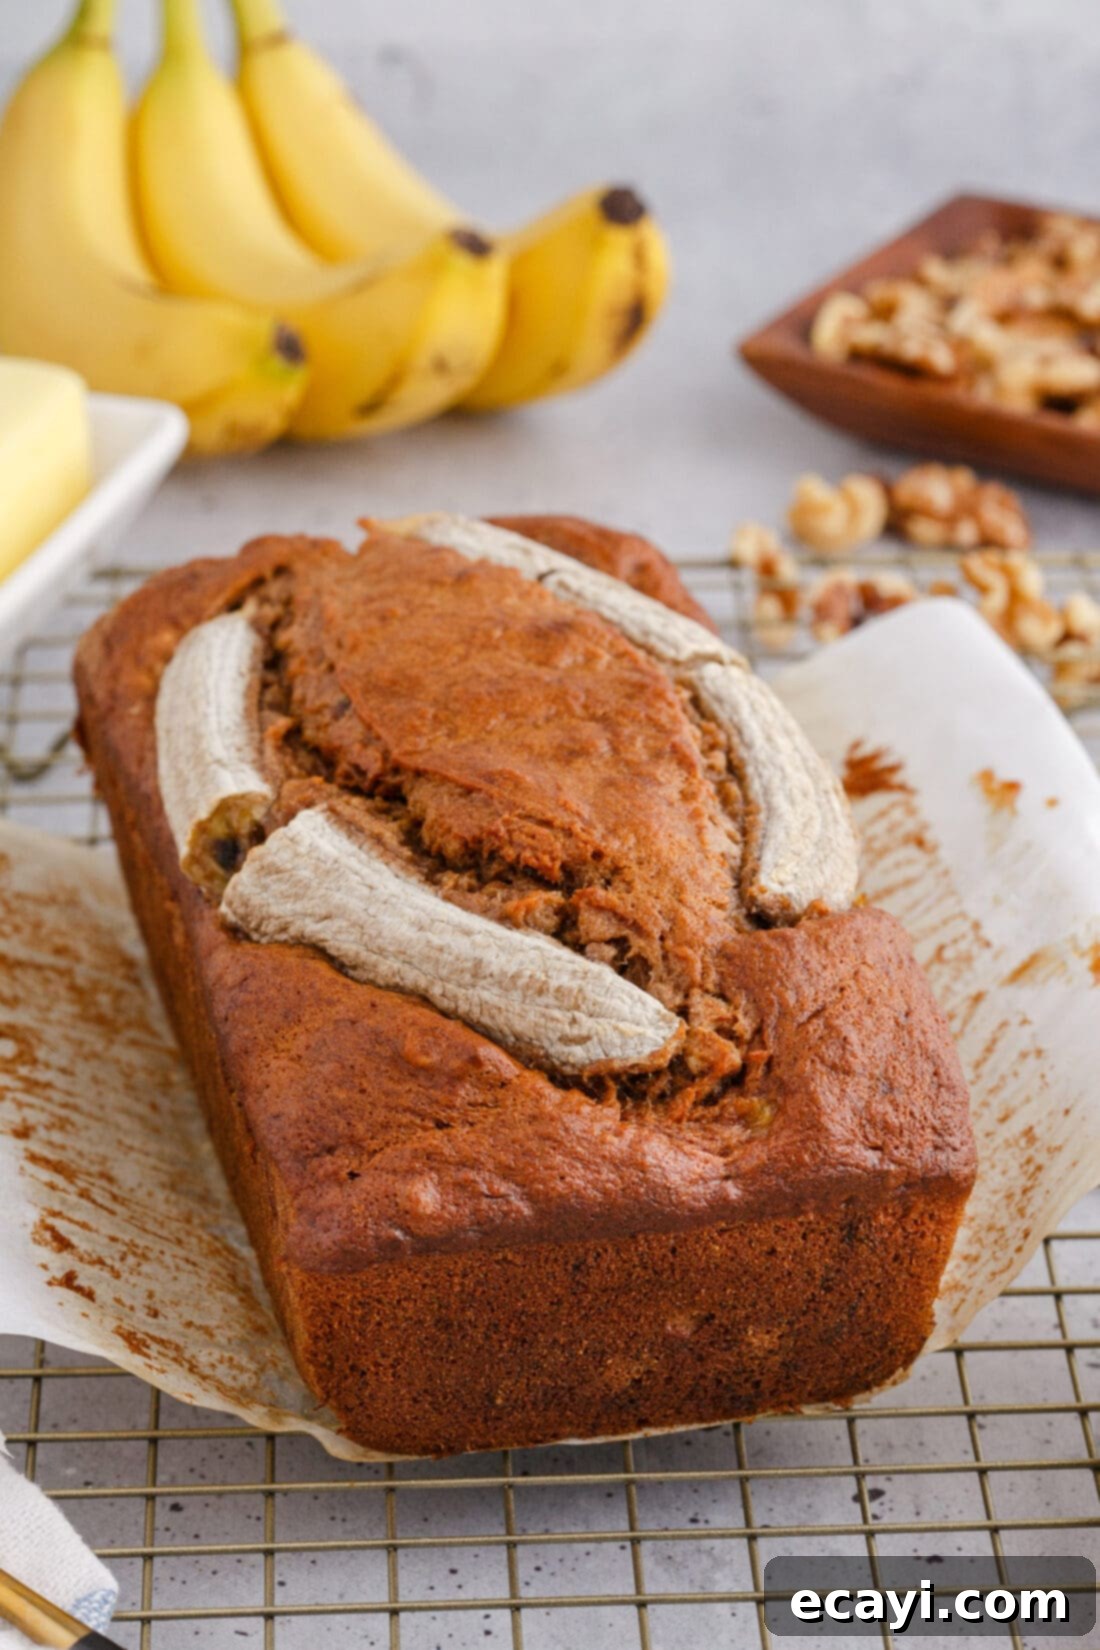
Delicious Ways to Enjoy Your Banana Nut Bread
One of the best things about homemade banana nut bread is its versatility. It’s truly a treat that can be enjoyed at any time of day. I personally love savoring a thick, warm slice with my morning coffee, the subtle sweetness and nutty flavors providing the perfect start to the day. However, this delightful quick bread is equally fantastic as a comforting dessert or a satisfying snack.
For a classic indulgence, some prefer to gently warm their slice and slather it with a generous pat of butter, allowing it to melt into the tender crumb. Others enjoy it plain, appreciating its inherent flavors and textures. For an extra special touch, consider a dollop of cream cheese frosting, a drizzle of honey, or a spread of your favorite fruit jam. It also pairs wonderfully with a scoop of vanilla ice cream, especially when slightly warmed. Don’t limit yourself – experiment with different toppings and find your favorite way to enjoy this delicious, moist banana nut bread!
Explore More Delicious Banana Recipes
If you find yourself with extra ripe bananas often, or simply can’t get enough of their sweet flavor, you’re in luck! Bananas are incredibly versatile and form the base for countless delightful recipes. Here are some more banana-inspired dishes you might love:
- Light & Fluffy Banana Fritters
- Chewy Banana Cookies
- Simple & Delicious Easy Banana Cake
- Classic Banana Cream Pie
- Irresistible Banana Pudding Poke Cake
- Creamy Homemade Banana Pudding
- Banana Cake with Luscious Vanilla Cream Cheese Frosting
I’m passionate about baking and cooking, and absolutely love sharing my kitchen adventures and tested recipes with all of you! Remembering to come back each day for new inspiration can be tough, that’s why I offer a convenient newsletter every time a new recipe posts. Simply subscribe to my newsletter and start receiving your free daily recipes directly in your inbox, ensuring you never miss a delicious creation!
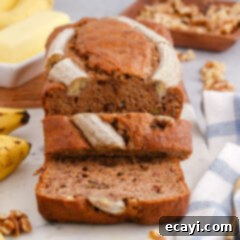
Classic Moist Banana Nut Bread
IMPORTANT – There are often Frequently Asked Questions within the blog post that you may find helpful. Simply scroll back up to read them!
Print It
Pin It
Rate It
Save ItSaved!
Ingredients
- 1 ⅓ cups all-purpose flour
- 2 tsp cinnamon
- ¾ tsp baking soda
- ½ tsp sea salt
- 4 ripe bananas plus 1 for garnish, optional
- ⅓ cup vegetable oil
- ½ cup granulated white sugar
- ¼ cup light brown sugar packed
- 1 large egg at room temperature
- 2 tsp pure vanilla extract
- ¾ cup walnuts chopped, or more if desired
Things You’ll Need
-
8×4 inch loaf pan
-
Electric mixer
-
Mixing bowls
-
Measuring cups and spoons
Before You Begin & Expert Tips
- This recipe is perfectly portioned to yield 1 moist and delicious loaf of banana nut bread. If you’re looking to share or stock up, simply double all the ingredient quantities to effortlessly create two loaves.
- The secret to truly outstanding banana nut bread lies in the ripeness of your bananas. Don’t be shy about using bananas with black, brown, or extensively spotted yellow peels. These overripe bananas are sweeter and more fragrant, lending an unparalleled depth of flavor and natural moisture to your bread. The riper they are, the more intense the banana flavor will be!
- To ensure your banana bread is incredibly moist and tender, accurate flour measurement is crucial. Avoid scooping flour directly from the bag, as this can compact it and lead to using too much. Instead, gently aerate the flour in its bag with a spoon, then spoon it into your measuring cup. Level off the excess with the flat edge of a butter knife without packing or tapping the cup. This “spoon and level” method prevents a dry, crumbly, or stiff bread.
- Additionally, using room temperature eggs is vital. Cold ingredients can cause the batter to stiffen and make it harder for everything to emulsify evenly, leading to a less desirable texture. A room temperature egg blends smoothly into the wet ingredients, contributing to a cohesive and tender batter.
- The banana slice used for garnish adds a beautiful visual touch to your finished loaf, creating an attractive presentation. However, this step is entirely optional and can be omitted if you prefer a simpler look.
- To freeze your banana nut bread for later enjoyment, make sure it has cooled completely. Wrap the loaf tightly in plastic wrap, then place it into a large freezer-safe ziptop bag, pressing out as much air as possible. It will stay fresh in the freezer for up to 3 months. Individual slices can also be frozen by wrapping each one separately before placing them in a ziptop bag. Thaw uncovered at room temperature for about 1 to 1.5 hours before serving.
- For storing leftover banana bread, wrap the fully cooled loaf securely in plastic wrap, then place it inside a large ziptop bag (again, remove excess air). This will keep it fresh and moist at room temperature for up to 4 days. An airtight container can also be used for similar results.
Instructions
-
Preheat oven to 350˚F (175°C) and line an 8×4 inch loaf pan with parchment paper, leaving an overhang to easily lift the bread later.
-
In a medium bowl, thoroughly whisk together the all-purpose flour, baking soda, sea salt, and cinnamon. Set this dry mixture aside.
-
Place the 4 ripe bananas into the bowl of an electric mixer and mash them well using the paddle attachment until mostly smooth with a few small lumps.
-
Add the vegetable oil, both granulated and brown sugars, the room temperature egg, and vanilla extract to the mixer bowl. Mix on the lowest setting for about 2 minutes until combined.
-
Gradually add the flour mixture to the wet ingredients on low speed, mixing just until combined and no dry streaks of flour remain. Be careful not to overmix.
-
Using a rubber spatula, gently fold the chopped walnuts into the batter until evenly distributed.
-
Pour the batter into your prepared 8×4 inch loaf pan. If desired, carefully slice one banana in half lengthwise and place the halves on top of the batter as a garnish.
-
Bake for 60-65 minutes, or until a toothpick inserted into the highest point in the center comes out mostly clean with a few moist crumbs attached.
-
Allow the banana bread to cool in the pan on a wire rack for about 30 minutes. Then, use the parchment paper to carefully lift the loaf out and transfer it to the wire rack to cool completely before slicing and serving.
Nutrition Information
The recipes on this blog are tested with a conventional gas oven and gas stovetop. It’s important to note that some ovens, especially as they age, can cook and bake inconsistently. Using an inexpensive oven thermometer can assure you that your oven is truly heating to the proper temperature. If you use a toaster oven or countertop oven, please keep in mind that they may not distribute heat the same as a conventional full sized oven and you may need to adjust your cooking/baking times. In the case of recipes made with a pressure cooker, air fryer, slow cooker, or other appliance, a link to the appliances we use is listed within each respective recipe. For baking recipes where measurements are given by weight, please note that results may not be the same if cups are used instead, and we can’t guarantee success with that method.
