Homemade 4-Ingredient Vanilla Rolled Ice Cream: An Easy DIY Recipe for Perfect Frozen Treats
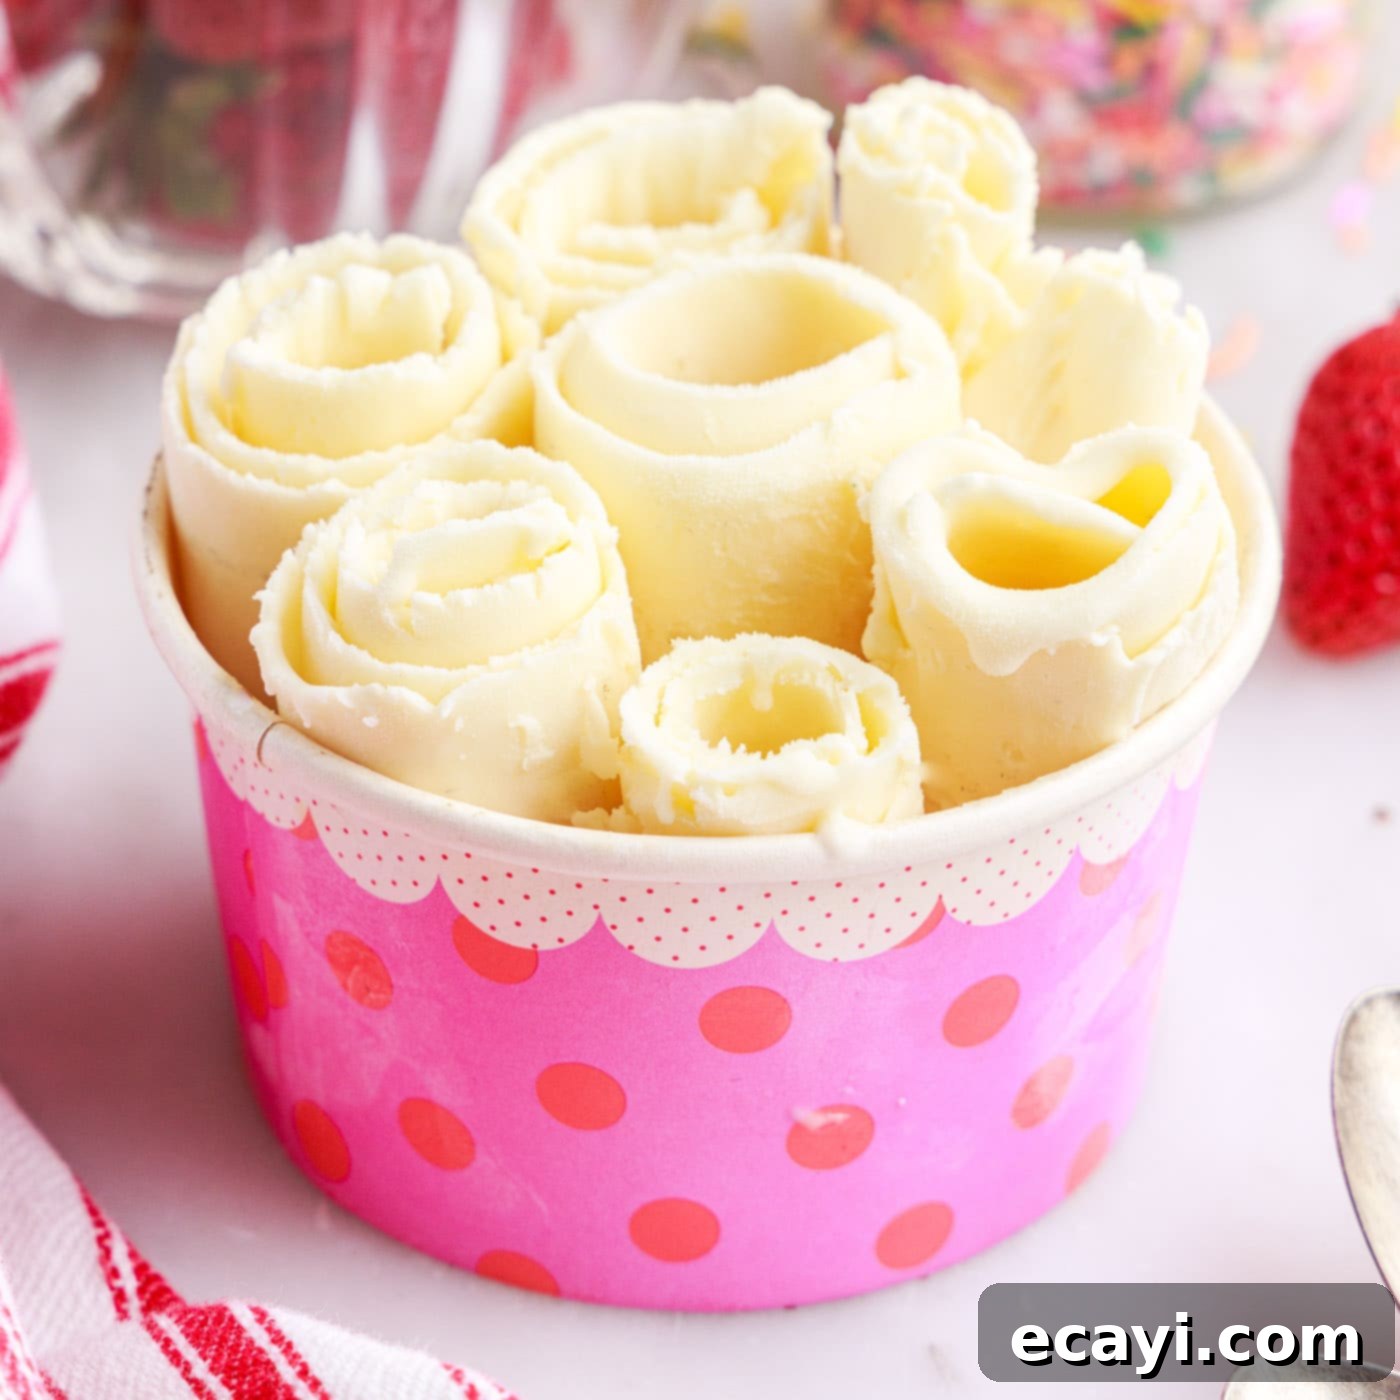
Our simple 4-ingredient vanilla rolled ice cream recipe is your ultimate guide to creating this delightful frozen dessert right in your own kitchen. It provides the perfect smooth, creamy base, ready to be adorned with an endless array of toppings, from fresh fruits and crunchy cereals to decadent candies and rich sauces. Forget expensive ice cream parlor visits – now you can craft personalized, Instagram-worthy rolled ice cream any time you crave it!

Why This Recipe Is Your Go-To for Rolled Ice Cream
If you’ve ever watched videos of mesmerizing rolled ice cream being crafted and wondered, “How can I make rolled ice cream at home?”, then you’ve absolutely landed in the right spot. This recipe demystifies the process, making it incredibly accessible for home cooks. What makes our method stand out?
- Simplicity with Minimal Ingredients: You only need four basic ingredients, most of which you probably already have in your pantry or fridge: heavy cream, sweetened condensed milk, vanilla extract, and a pinch of salt. This keeps things straightforward and cost-effective.
- No Special Equipment Required: Unlike traditional ice cream that often demands an ice cream maker, or complex rolled ice cream setups that require specialized cold plates, our recipe utilizes standard kitchen tools. A simple sheet pan, a whisk, and a couple of spatulas are all you need to achieve beautifully rolled ice cream.
- Tested and Perfected for Home Success: We’ve rigorously tested and fine-tuned this recipe to ensure consistent, delicious results. Our tips address common challenges, guaranteeing you a creamy, rollable texture every time.
- Creamy, Delicious Texture: This rolled ice cream offers a softer, yet incredibly rich and creamy texture, similar to a high-quality no-churn ice cream. Its unique consistency makes it ideal for rolling, creating a delightful eating experience that’s distinct from traditional scooped ice cream.
- Versatile Base: The vanilla base is incredibly adaptable, serving as a blank canvas for countless flavor combinations and mix-ins. It’s not just a dessert; it’s an interactive culinary experience.
Rolled ice cream, sometimes known as stir-fried ice cream, originated in Thailand and quickly gained global popularity for its novel preparation and customizable appeal. It’s essentially a very soft, freshly made ice cream that is spread thinly onto an extremely cold surface, rapidly frozen, and then scraped into elegant rolls. Our homemade version captures that same magic without the need for commercial equipment, offering a fun and unique way to enjoy your favorite frozen dessert with endless topping possibilities.
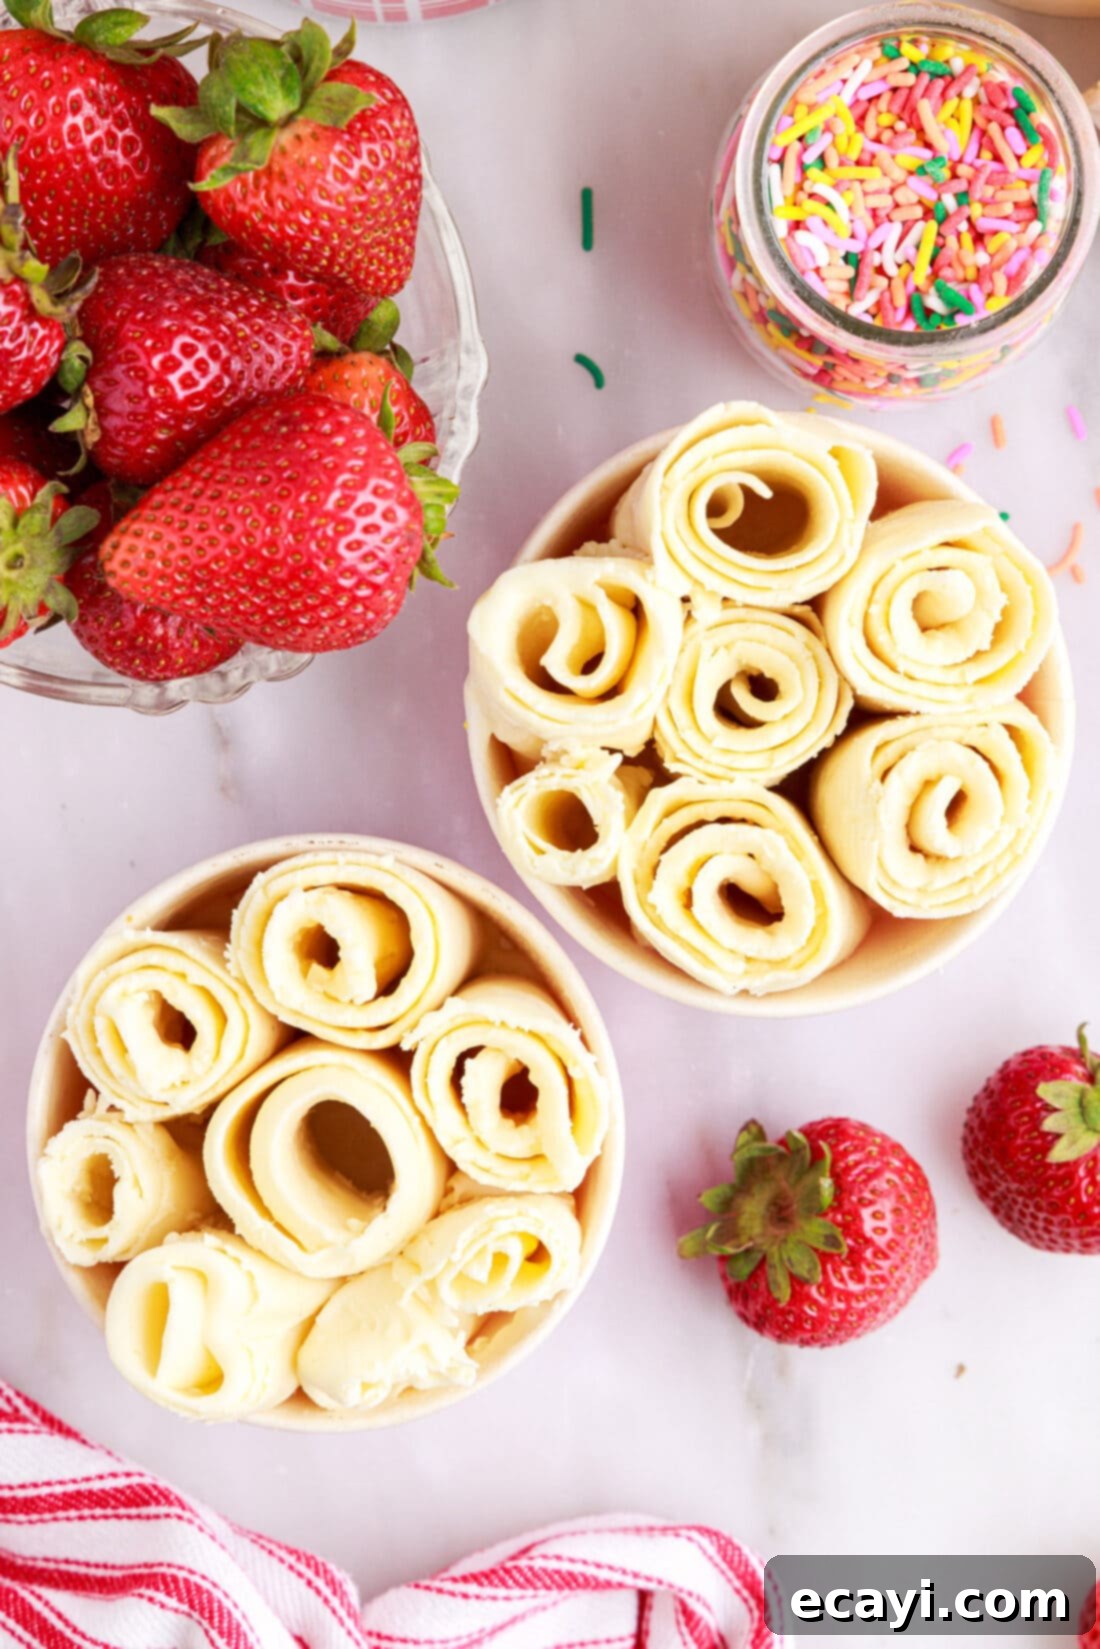
Essential Ingredients for Perfect Rolled Ice Cream
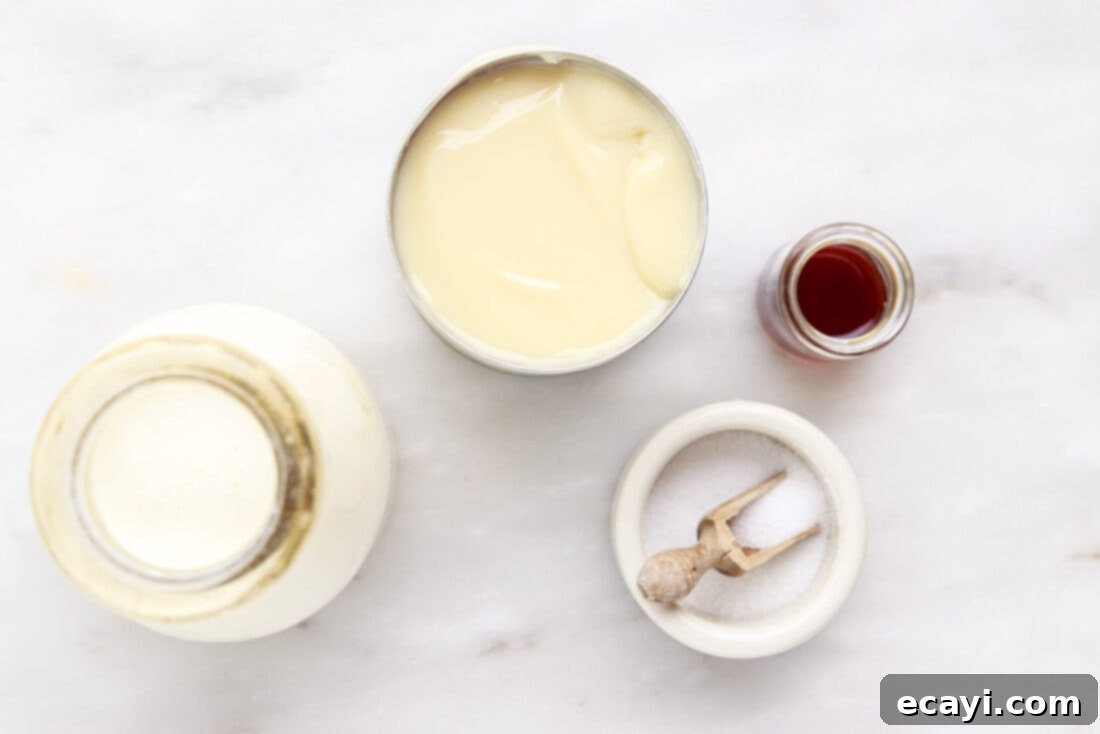
You’ll be amazed at how such a small list of ingredients can transform into such an impressive dessert. For precise measurements, a detailed ingredient list, and step-by-step instructions, please refer to the printable recipe card located at the end of this post.
Ingredient Information and Expert Substitution Suggestions
Crafting the perfect rolled ice cream relies heavily on understanding the role of each ingredient, particularly the delicate balance between heavy cream and sweetened condensed milk. Here’s a deeper dive into our key components and how to ensure your success:
- Heavy Whipping Cream: This is the foundation of our creamy ice cream. Look for heavy cream or heavy whipping cream with a fat content of 36% or higher. The high fat content is crucial for achieving the rich, smooth texture and allowing the mixture to freeze properly for rolling. Do not substitute with half-and-half, milk, or even light cream, as these will not provide the necessary fat for a stable, rollable ice cream.
- Sweetened Condensed Milk: This ingredient is a true workhorse, providing both the sweetness and the unique no-churn texture. It’s milk from which water has been removed, and sugar has been added. The sugar not only sweetens but also acts as an antifreeze, preventing the ice cream from becoming rock-hard and allowing it to remain pliable enough to roll. Different brands can vary slightly in consistency, which might subtly affect the final texture.
- Pure Vanilla Extract: Vanilla extract elevates the flavor, adding a warm, aromatic note that is classic in ice cream. We highly recommend using pure vanilla extract for the best flavor profile, though imitation vanilla will also work if that’s what you have on hand. For a different twist, you could experiment with other extracts like almond or peppermint, or even vanilla bean paste for visible specks and a more intense vanilla flavor.
- Sea Salt: A tiny pinch of sea salt is a secret weapon in many dessert recipes. It doesn’t make the ice cream salty but rather enhances all the other flavors, particularly the sweetness of the condensed milk and the aromatic notes of the vanilla. Don’t skip it!
Achieving the Perfect Consistency: The Cream-to-Condensed Milk Ratio
The precise ratio of sweetened condensed milk to heavy cream is paramount, especially since this is a pure vanilla base without additional mix-ins that could alter its freezing properties. This balance dictates whether your ice cream will roll beautifully or give you trouble. Here’s how to troubleshoot:
- If the ice cream is too soft and won’t roll: If your ice cream melts into a puddle on the pan before you can even begin to roll it, or if it’s excessively soft and sticky, it likely has too much sweetened condensed milk (or not enough heavy cream). The sugar in the condensed milk lowers the freezing point, making it harder to solidify sufficiently for rolling. To correct this, you need to either add more heavy cream to the mixture or use slightly less sweetened condensed milk in your next batch.
- If the ice cream is brittle and breaks instead of rolls: Conversely, if your ice cream is too hard, cracks, and breaks apart when you try to roll it, it means you have too much heavy cream (or not enough sweetened condensed milk). In this scenario, the mixture has frozen too solid. You’ll need a greater portion of sweetened condensed milk to achieve the desired softer, yet firm, rollable consistency.
Different brands of sweetened condensed milk can sometimes vary in sugar content or thickness, which may also influence the final texture. It might take a small adjustment or two to find your ideal balance. Remember, if your ice cream isn’t rolling perfectly on the first try, don’t despair! Simply allow it to soften slightly at room temperature, scrape it back into a bowl, adjust the proportions (add a little more heavy cream for too soft, or a little more condensed milk for too brittle), re-whisk, and refreeze. Practice makes perfect!
Step-by-Step Guide: How to Make Rolled Ice Cream at Home
These step-by-step photos and detailed instructions are provided to help you visualize each stage of making this delicious recipe. For a convenient, printable version of this recipe, complete with precise measurements and instructions, you can Jump to Recipe at the bottom of this post.
- Prepare Your Freezing Surface: The first and most critical step is to thoroughly chill your sheet pan. Place a full-size sheet pan with raised edges (or several quarter sheet pans for smaller batches) into the freezer. Ensure there’s ample, level space for the pan to sit flat. Allow it to chill for a minimum of 15 minutes, or ideally, several hours in advance. A super-cold pan is essential for the ice cream to freeze rapidly and achieve the perfect rolling consistency.
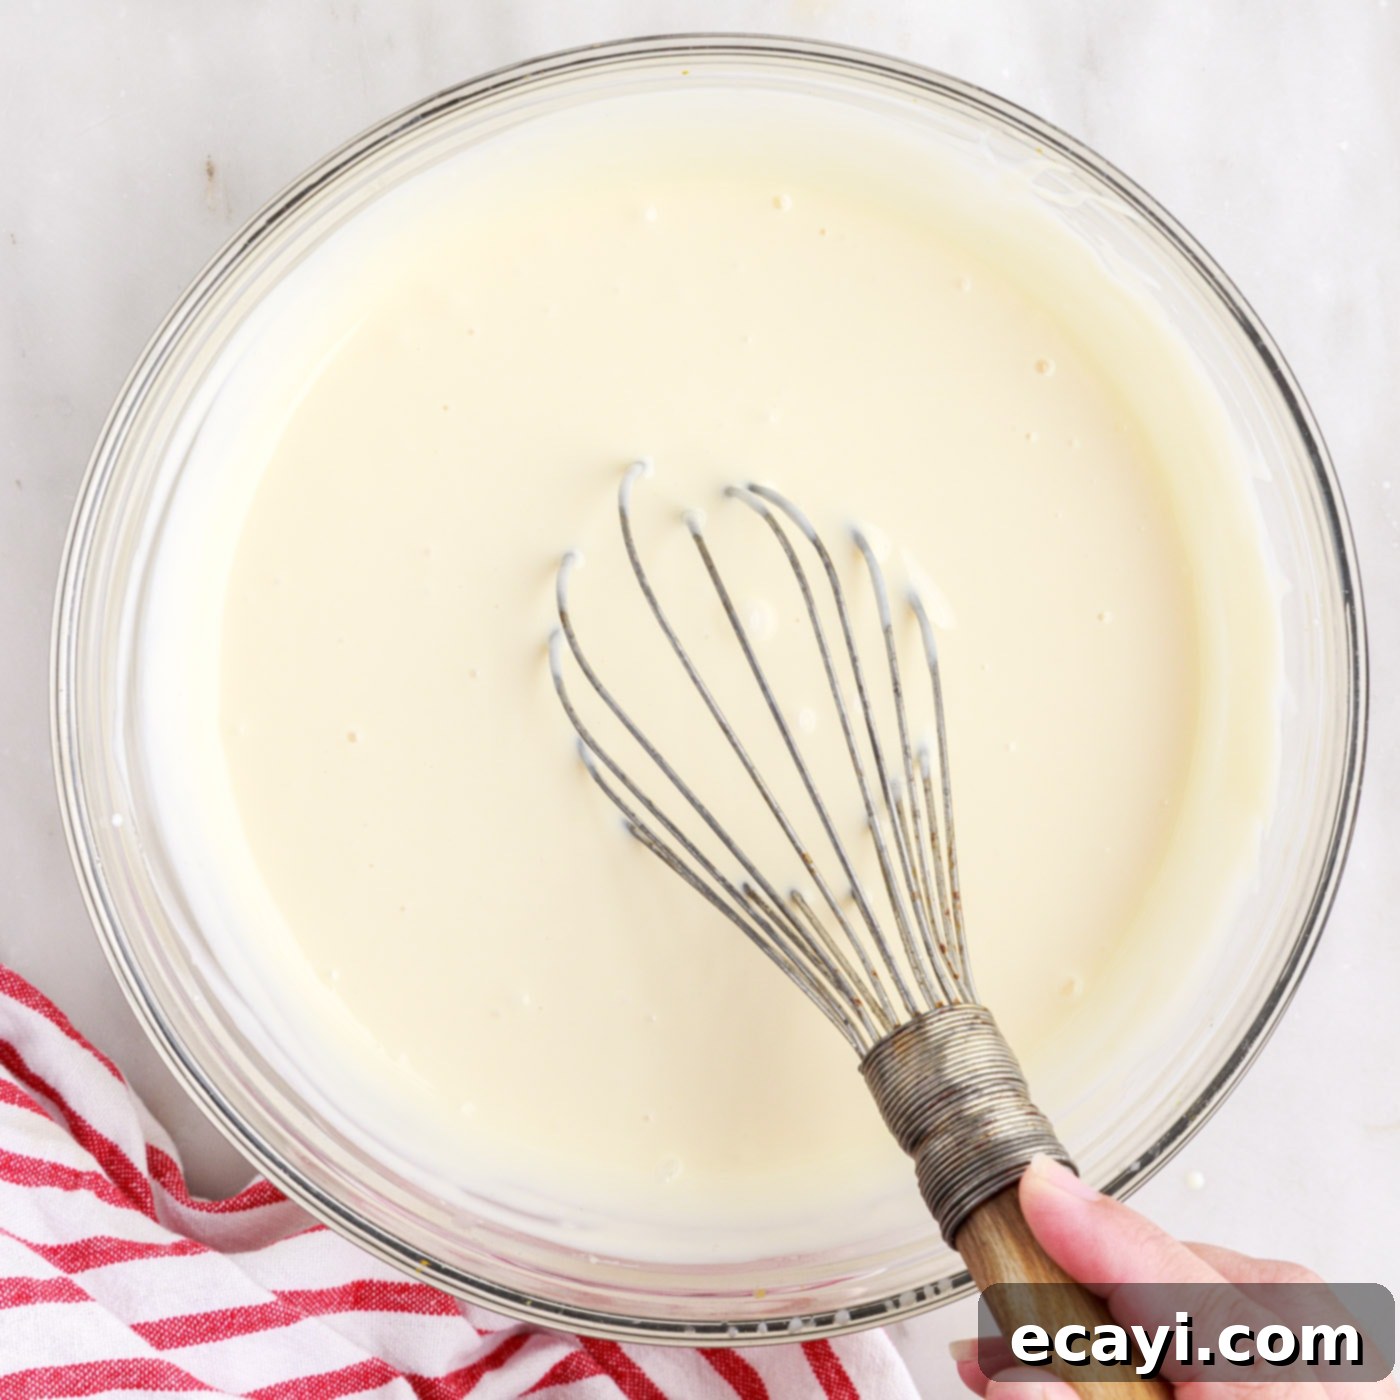
- Combine the Ingredients: In a large mixing bowl, whisk together the heavy whipping cream, sweetened condensed milk, vanilla extract, and sea salt until thoroughly combined. You’re looking for a smooth, uniform mixture. While you don’t need to whip it to stiff peaks like whipped cream, ensure everything is well incorporated without any streaks. This simple whisking step replaces the churning process of traditional ice cream.

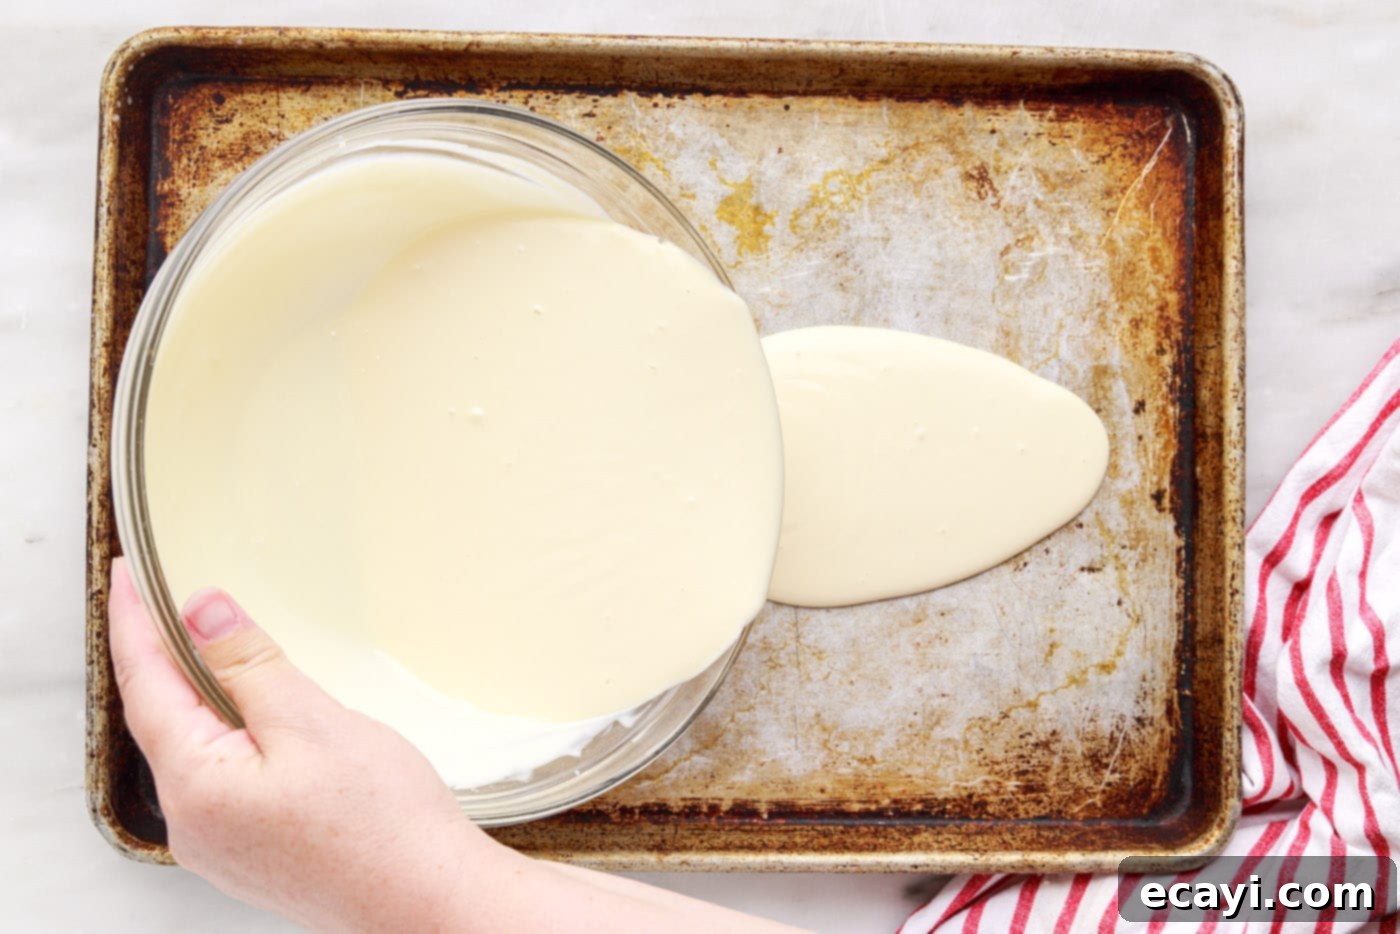
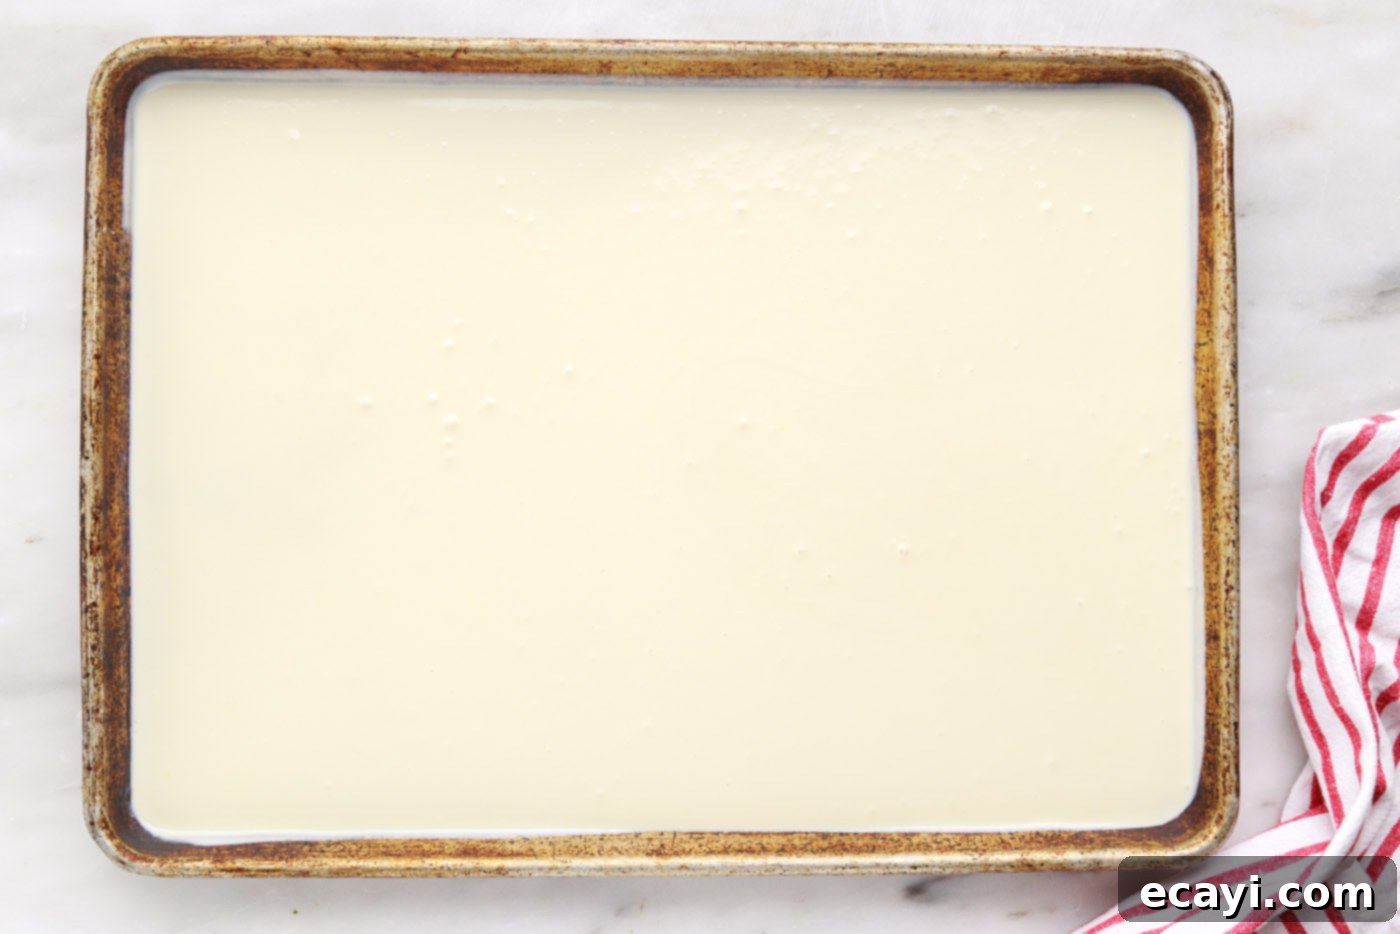
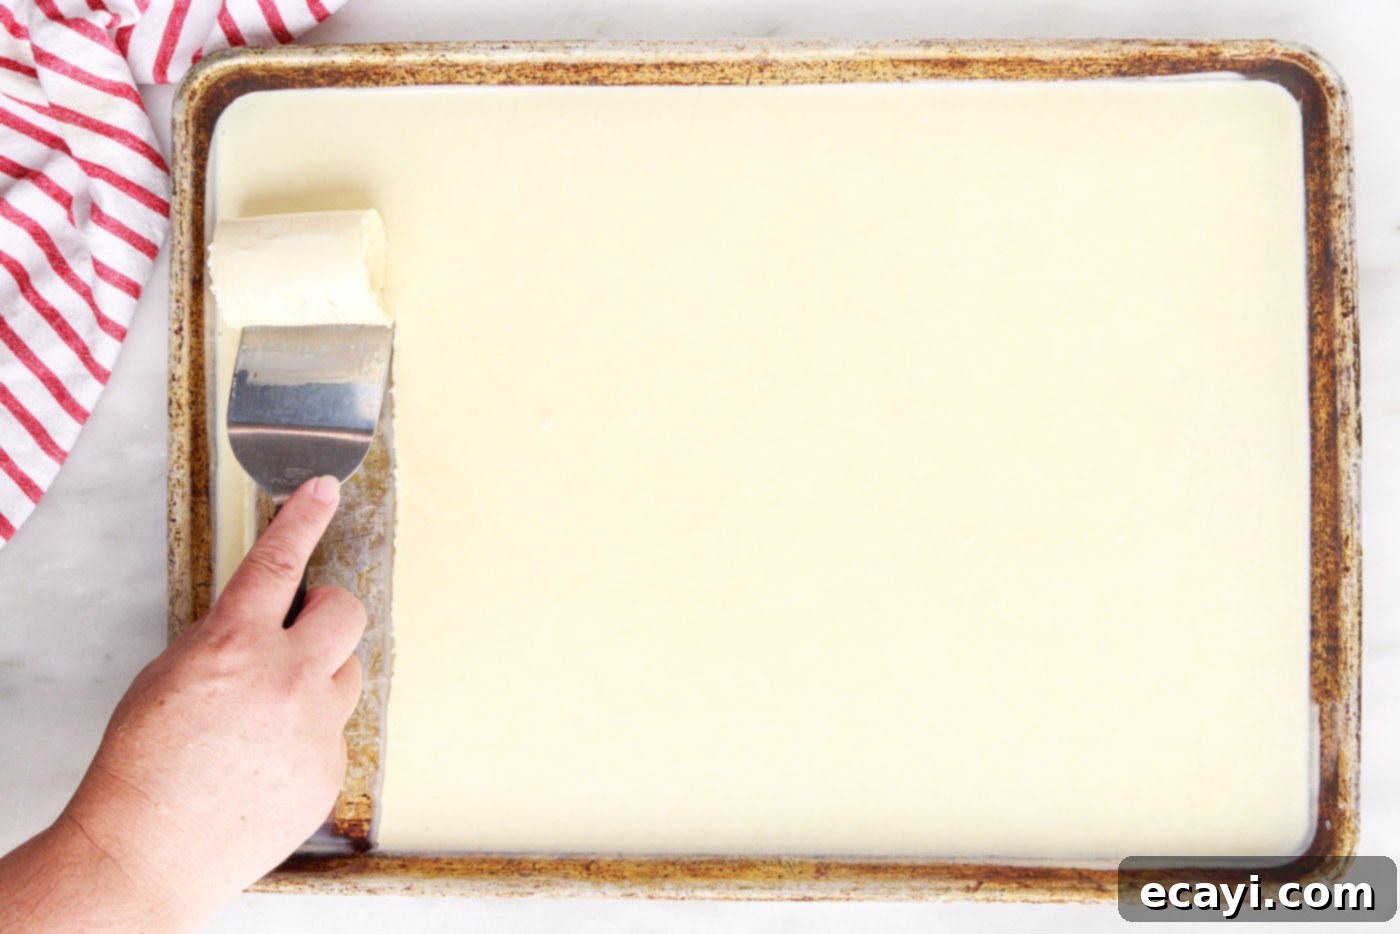
- Pour and Spread the Mixture: Carefully retrieve your super-chilled sheet pan from the freezer. Pour the prepared cream mixture onto the center of the pan. Working quickly to prevent premature freezing in uneven layers, use a large, flat icing spatula or offset spatula to spread the cream evenly across the entire bottom surface of the sheet pan. Aim for a very thin, smooth layer, about 1/8 inch thick, or even thinner if you can manage it. The thinner the layer, the faster and more consistently it will freeze, and the easier it will be to roll.


- Freeze Until Solid: Place the sheet pan with the thinly spread ice cream mixture back into the freezer. Freeze for at least 2-3 hours, or until the ice cream is completely solid and firm to the touch. The freezing time may vary depending on your freezer’s temperature and the thickness of your ice cream layer. You want it firm enough to hold its shape but not so hard that it shatters.
- Time to Roll!: This is the exciting part! Work swiftly as the ice cream will begin to melt quickly once out of the freezer. Grab a sturdy 3-inch wide straight spatula (or a similar metal spatula with a sharp, flat edge). Position the spatula at one edge of the ice cream layer, at about a 45-degree angle. Gently but firmly lift the edge of the ice cream, then glide your spatula across the sheet pan in a single, continuous motion to create beautiful rolls of ice cream. The key is consistent pressure and a steady hand. If it breaks, try adjusting the angle or pressure, or return it to the freezer for a few more minutes if it’s too soft. Transfer the finished rolls immediately into individual paper cups or small bowls for serving.

Frequently Asked Questions & Expert Tips
Once rolled, transfer the ice cream rolls into an airtight container or individual cups with lids. Store them in the freezer for up to 1 month. If you prefer to prepare the base ahead of time and roll it later, you can also cover the sheet pan tightly with plastic wrap after spreading the mixture and store it in the freezer. Just remember to work quickly when it comes time to roll.
You can use virtually any size metal pan, as long as it has rimmed edges and fits into your freezer. The most important factor is creating a thin, even layer of the ice cream base. Many find that quarter sheet pans (approximately 9×13 inches) are ideal because they fit easily into most home freezers and allow for manageable, smaller batches. There’s truly no such thing as “too thin” when spreading the mixture. If using a larger pan, you might consider dividing the mixture and working in batches. Pour just enough base mixture into the pan to spread a thin, solid layer, freeze, then roll, and repeat the process. Any leftover base mixture can be stored in the refrigerator in an airtight container for a day or two and used for subsequent batches.
Absolutely! This vanilla base is incredibly versatile. For mix-ins, you can chop them very finely and sprinkle them over the thin ice cream layer *before* freezing, or even gently fold them into the mixture just before spreading. Popular choices include finely crushed cookies, chopped nuts, mini chocolate chips, or small fruit pieces. For different flavors, you can incorporate cocoa powder for chocolate ice cream, fruit purees, coffee extract, or even finely crushed candy into the liquid base before freezing. Just be mindful that adding significant amounts of liquid or very large mix-ins might slightly alter the freezing time and rolling consistency.
The extreme coldness of the sheet pan is crucial for the rapid freezing of the thin ice cream layer. Rolled ice cream relies on flash-freezing to achieve its unique texture and allow it to be scraped into rolls. If the pan isn’t cold enough, the ice cream will freeze too slowly, creating ice crystals and a less smooth texture, and it won’t be firm enough to form proper rolls without melting or becoming slushy.
Creative Serving Suggestions & Topping Ideas
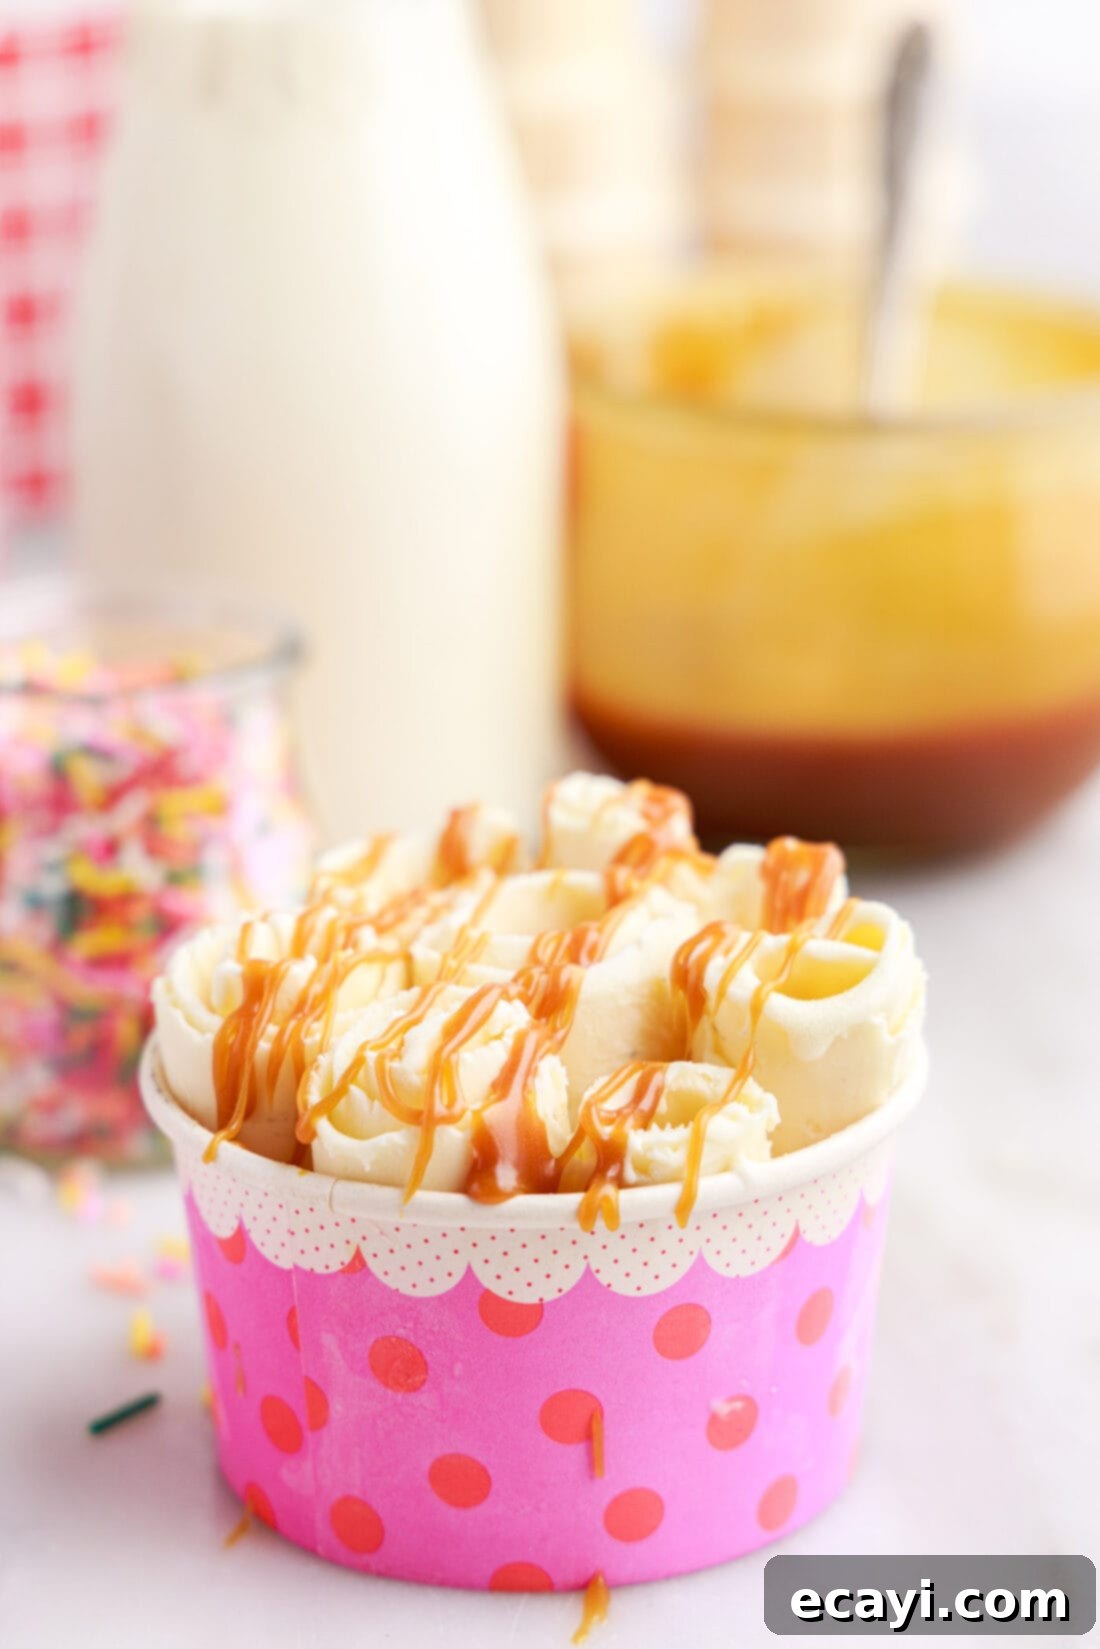
The real fun begins once your beautiful rolled ice cream is ready! This vanilla base is the perfect canvas for a dazzling array of toppings and drizzles. Get creative and make each serving a unique masterpiece:
- Fresh Fruit: Sliced strawberries, blueberries, raspberries, banana slices, kiwi, or mango for a burst of freshness and color.
- Crunchy Delights: Crushed pretzels, granola, chopped nuts (peanuts, almonds, walnuts), toasted coconut flakes, or even your favorite cereal for added texture.
- Chocolate & Candy: Mini chocolate chips, white chocolate chunks, M&M’s, chopped candy bars (like Snickers or Reese’s), gummy bears, or sprinkles for a playful touch.
- Creamy Additions: A dollop of whipped cream, a spoonful of marshmallow fluff, or a swirl of peanut butter.
- Sauces & Syrups: Drizzle with classic chocolate syrup, rich caramel sauce, vibrant raspberry or strawberry sauce, hot fudge, or even a tangy lemon curd.
The options are truly endless, limited only by your imagination and what you have in your pantry! Encourage everyone to customize their own bowls for a fun, interactive dessert experience.
A Quick Tip for Success: Rolled ice cream, by its nature, melts faster than traditional hard-scooped ice cream due to its softer consistency and larger surface area. Therefore, it’s crucial to work quickly during both the rolling and decorating processes. Always keep the ice cream in the freezer when you’re not actively working with it to prevent it from getting overly soft and difficult to manage. If you live in a particularly hot or humid climate, or if your indoor temperature isn’t sufficiently cool, you might find the process a bit more challenging. Consider chilling your serving bowls beforehand and working in a cooler part of your kitchen to maximize your rolling success!
Explore More Delicious Ice Cream Recipes
If you’ve fallen in love with homemade ice cream, we have plenty more delightful recipes for you to try:
- Classic No-Churn Ice Cream (No Machine Needed!)
- Rich & Creamy Homemade Chocolate Ice Cream
- Decadent Rocky Road Ice Cream
- Irresistible Peanut Butter Chocolate Chip Ice Cream
- Refreshing Homemade Mint Chocolate Chip Ice Cream
I absolutely adore baking and cooking, and it brings me immense joy to share my kitchen experiences and perfected recipes with all of you! Remembering to visit daily for new culinary inspiration can be tough, which is why I offer a convenient newsletter delivered straight to your inbox every time a new recipe is posted. Simply subscribe here and start receiving your free daily recipes to spice up your meal planning!

Vanilla Rolled Ice Cream
IMPORTANT – There are often Frequently Asked Questions within the blog post that you may find helpful. Simply scroll back up to read them!
Print It
Pin It
Rate It
Save ItSaved!
Ingredients
- 2 cups heavy whipping cream
- ½ cup sweetened condensed milk
- ¼ teaspoon sea salt
- 1 ½ teaspoons pure vanilla extract
Equipment You’ll Need
-
Full-size or Quarter Sheet Pan
-
Whisk
-
Mixing bowls
-
3″ wide straight metal spatula
Before You Begin – Important Tips for Success
- The ratio of sweetened condensed milk to heavy cream is truly critical, especially since this is a pure vanilla ice cream base without additional mix-ins that could impact its texture. If you find that the ice cream is too soft and won’t roll without melting into a puddle before you can get it off the pan, it means you need to adjust the proportions by adding more heavy cream (or using less sweetened condensed milk) to the mixture in your next attempt.
- Conversely, if the ice cream is brittle and breaks instead of forming smooth rolls, it indicates that you need a greater portion of sweetened condensed milk. Different brands of sweetened condensed milk may also vary slightly, so don’t hesitate to adjust if necessary.
- If your ice cream won’t roll correctly and you need to adjust the proportions, simply set the sheet pan out of the freezer for a few minutes to soften. Then, carefully scrape the mixture back into a bowl, adjust the ingredients as needed, re-whisk, and try refreezing it.
- You can use any size metal pan (or multiple pans) as long as they have a rim. The goal is to pour just enough base mixture into the pan to spread a very thin, solid layer (there was no such thing as “too thin” in our experiments!). Freeze, then roll, then repeat the process with additional batches. Store any remaining liquid base mixture in the refrigerator between pours. We often prefer using quarter sheet pans for easier handling and smaller, more manageable batches.
- Remember that no-churn ice cream, which gets its sweetness solely from sweetened condensed milk, is naturally a softer-set ice cream than traditional churned varieties. Because of its soft consistency, it’s essential to work quickly when rolling the ice cream and transferring it to a container for immediate serving. You can also roll the ice cream and then store the rolls in the freezer until you’re ready to serve, allowing them to firm up a bit more.
Instructions
-
Before you begin mixing ingredients, place a clean, full-size sheet pan with rimmed edges securely into your freezer. Ensure there is enough space for the sheet pan to sit perfectly level. Allow the pan to thoroughly chill in the freezer for at least 15 minutes, or ideally, for several hours in advance to reach optimal coldness.
-
In a large mixing bowl, combine the heavy whipping cream, sweetened condensed milk, vanilla extract, and sea salt. Whisk all the ingredients together vigorously until the mixture is smooth and well combined, ensuring no streaks remain.
-
Retrieve the prepped, super-chilled sheet pan from the freezer. Pour the prepared liquid ice cream mixture onto the pan. Using a large icing spatula or an offset spatula, swiftly spread the cream mixture evenly across the entire bottom surface of the sheet pan, creating a thin, smooth layer. The ideal thickness is approximately 1⁄8-inch, or even thinner if you can achieve it.
-
Return the sheet pan to the freezer. Freeze for at least 2-3 hours, or until the ice cream layer is completely solid and firm enough to be rolled without breaking or melting instantly.
-
Working quickly and decisively, take a sturdy 3-inch wide straight metal spatula. Position the spatula at a slight angle against one edge of the frozen ice cream. Gently lift the edge, then glide your spatula firmly across the sheet pan in a single, continuous motion to form rolls of ice cream. Transfer the freshly made rolls immediately into a paper cup or bowl for serving, and enjoy right away!
Nutrition
The recipes on this blog are tested with a conventional gas oven and gas stovetop. It’s important to note that some ovens, especially as they age, can cook and bake inconsistently. Using an inexpensive oven thermometer can assure you that your oven is truly heating to the proper temperature. If you use a toaster oven or countertop oven, please keep in mind that they may not distribute heat the same as a conventional full sized oven and you may need to adjust your cooking/baking times. In the case of recipes made with a pressure cooker, air fryer, slow cooker, or other appliance, a link to the appliances we use is listed within each respective recipe. For baking recipes where measurements are given by weight, please note that results may not be the same if cups are used instead, and we can’t guarantee success with that method.
