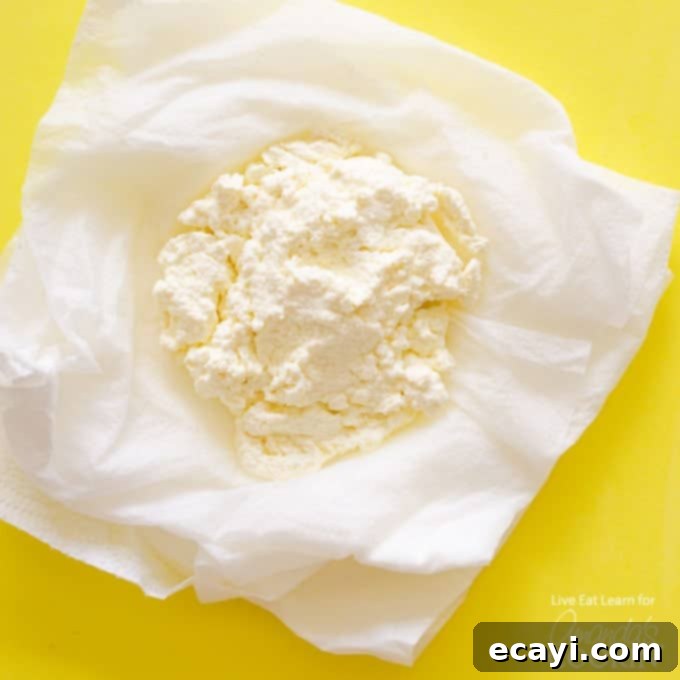
Homemade Ricotta in 5 Minutes: The Easiest Microwave Recipe for Fresh Cheese
Did you know you can create your very own creamy, delicious ricotta cheese right at home? Forget about complicated equipment like thermometers and specialized cheesecloth! With just a microwave, a few basic ingredients like milk, lemon juice, and salt, you can whip up a batch of incredibly fresh Homemade Ricotta in about 5 minutes. This simple, speedy method makes homemade cheese accessible to everyone, perfect for enhancing tonight’s dinner, such as a hearty baked ziti, or any dish that calls for this versatile dairy delight. It truly doesn’t get much easier than this!
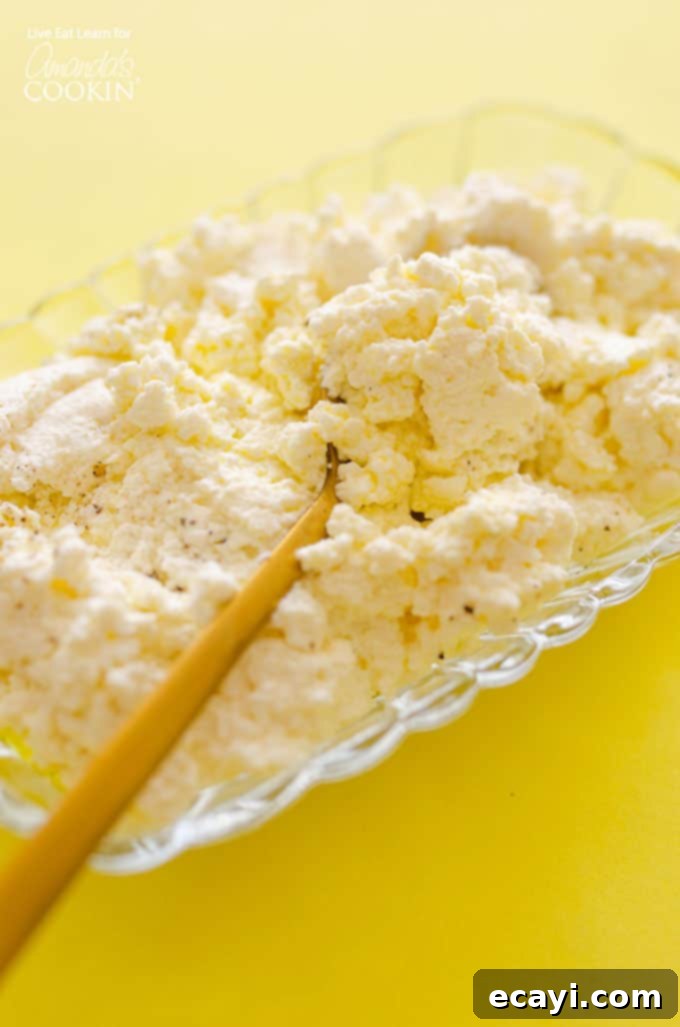
Discover the Simplicity of 5-Minute Homemade Ricotta
As an avid home cook, I often found myself needing ricotta cheese for various recipes, only to realize I had to buy a large tub from the store. More often than not, a significant portion would go unused and eventually spoil before I could incorporate it into another meal. This common culinary dilemma led me to explore a fantastic solution: making fresh ricotta in the microwave! Initially, I was skeptical that homemade cheese could be so straightforward. However, after just 3-5 minutes, pulling my bowl of whole milk and lemon juice from the microwave revealed a surprisingly curdled mixture, perfectly ready to be strained into beautiful, fresh ricotta cheese. I was absolutely astounded by the instant results and the sheer simplicity of the process.
This microwave method not only allows you to save money by avoiding expensive store-bought containers but also ensures you have the exact quantity of ricotta you need, reducing food waste significantly. The resulting homemade ricotta is wonderfully creamy, subtly savory, and boasts a delicate, slightly tangy flavor that far surpasses most commercial varieties. You can use this freshly made cheese virtually anywhere you would use its store-bought counterpart – it’s phenomenal in classic dishes like lasagna, as a creamy base for homemade pizza or rustic galettes, or even simply spread on artisan toast with a drizzle of honey. Let’s make store-bought ricotta a thing of the past and embrace the freshness and convenience of homemade, starting right now!
Why Make Your Own Ricotta? Benefits of Fresh Homemade Cheese
- Unmatched Freshness: The flavor of freshly made ricotta is undeniably superior to pre-packaged versions. It’s creamier, brighter, and lacks the stabilizers or preservatives found in many commercial products.
- Cost-Effective: Milk, lemon, and salt are inexpensive pantry staples. Making your own ricotta is significantly cheaper than buying it, especially if you use it frequently.
- Zero Waste: You can make precisely the amount you need for a recipe, eliminating the problem of leftover ricotta going bad in your fridge.
- Simple Ingredients: You know exactly what goes into your cheese – just milk, an acid, and salt. No hidden additives!
- Quick & Convenient: The microwave method reduces cooking and prep time to mere minutes, making it feasible even on busy weeknights.
- Customizable Texture: You have control over the final consistency, from light and fluffy to firmer and more crumbly, simply by adjusting the straining time.
The Science Behind Microwave Ricotta
The magic behind making ricotta in minutes relies on a simple chemical reaction: the acidification of milk. When you heat milk and introduce an acid like lemon juice or vinegar, the acid causes the milk proteins (primarily casein) to denature and coagulate, separating from the liquid whey. This process forms curds, which are the basis of your ricotta cheese. The microwave efficiently heats the milk, accelerating this curdling process and making it incredibly fast compared to traditional stovetop methods that require careful temperature monitoring. The beauty of this recipe is its foolproof nature; the microwave does most of the work, allowing for a hands-off approach to cheesemaking.
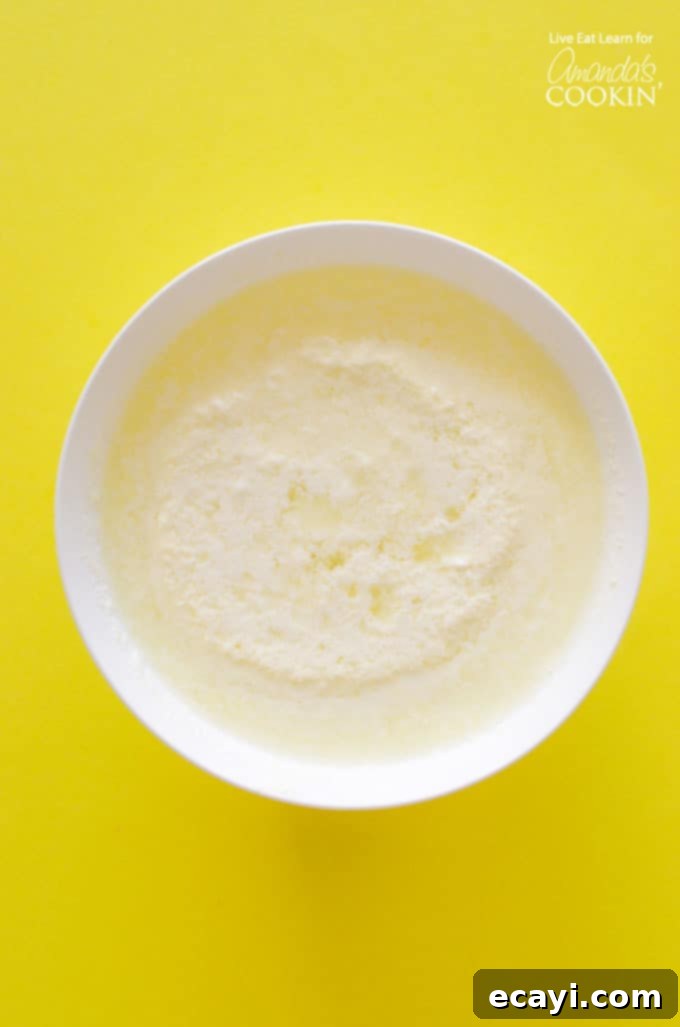
Step-by-Step Guide: Making 5-Minute Homemade Ricotta
Ready to create your own fresh ricotta? Follow these simple steps for a truly rewarding culinary experience. Remember, the key to success is using good quality whole milk and not being afraid to adjust microwave times slightly based on your specific appliance.
- Combine Ingredients: In a large, microwave-safe bowl, pour in 2 cups of whole milk. Add ¼ cup of fresh lemon juice or white vinegar and 1 teaspoon of salt. Stir these ingredients gently but thoroughly to ensure the acid and salt are evenly distributed throughout the milk. Using fresh lemon juice will impart a slightly brighter, more citrusy note, while white vinegar offers a neutral tang.
- Microwave to Curdle: Place the bowl in your microwave and heat on high for 3 to 5 minutes. The exact time may vary depending on your microwave’s power, so keep an eye on it. You’ll know it’s ready when the milk is bubbling vigorously around the edges of the bowl, and you can clearly see distinct curds (solid white lumps) separating from a yellowish, watery liquid (whey). Carefully remove the bowl from the microwave using oven mitts. If, after 5 minutes, your milk hasn’t fully curdled, add another tablespoon of lemon juice or vinegar and microwave for an additional 30 seconds to a minute until solid curds form.
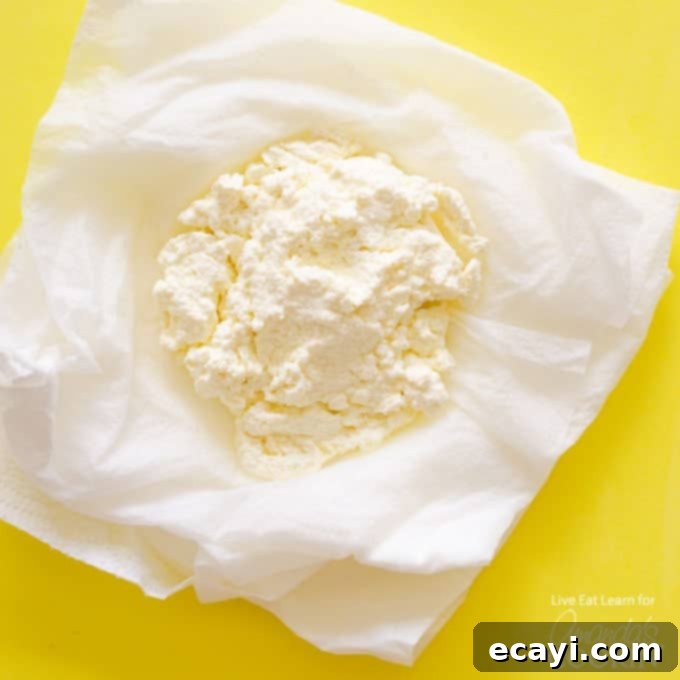
- Prepare for Straining: Set up your straining station. Place a wire mesh sieve over a larger bowl. This bottom bowl will collect the liquid whey. Line the sieve with two layers of paper towels or a piece of fine cheesecloth. The paper towels work surprisingly well and are often more readily available than cheesecloth for quick projects like this. Gently and slowly pour the hot, curdled milk mixture into the prepared sieve. Allow the liquid to drain through, leaving the solid curds behind.
- Strain to Desired Consistency: Let your ricotta strain for anywhere from 15 minutes to 1 hour, or even longer. The longer it sits, the more liquid will drain away, resulting in a firmer, drier ricotta. For a beautifully creamy, spreadable ricotta, 15-30 minutes of straining is usually perfect. If you prefer a more solid, crumbly texture suitable for baking or stuffing, let it strain for closer to an hour. I personally love it fresh and warm, strained just enough to be creamy.
Ingredients for Your 5-Minute Homemade Ricotta
You’ll be amazed at how few ingredients are required to make such a delicious and versatile cheese:
- 2 cups whole milk: Whole milk is essential for the creamiest, richest ricotta. Lower-fat milk varieties may not curdle as effectively or produce the desired creamy texture.
- ¼ cup lemon juice or white vinegar: This is your acid that causes the milk to curdle. Freshly squeezed lemon juice will give a slightly brighter flavor, while white vinegar is a more neutral option. Apple cider vinegar can also be used for a slightly different tang.
- 1 tsp salt: Adjust this to your preference. Salt enhances the flavor of the ricotta, making it suitable for both sweet and savory applications.
Essential Kitchen Tools You May Find Useful
While the process is incredibly simple, having these tools on hand will make your homemade ricotta experience even smoother:
- Microwave-safe bowl: A large bowl (at least 2-quart capacity) is recommended to prevent boil-overs in the microwave.
- Paper towels or cheesecloth: Both work effectively for straining. If using cheesecloth, opt for a fine-mesh variety and double or triple layer it. Paper towels are a convenient and often readily available substitute.
- Wire mesh sieve: A fine-mesh sieve is crucial for separating the curds from the whey.
- Measuring cups and spoons: For accurate ingredient measurements.
Tips for the Best Homemade Ricotta
- Use Fresh Whole Milk: The fresher the milk, the better the curds. Whole milk provides the necessary fat content for a rich, creamy texture.
- Don’t Skimp on the Acid: If your milk isn’t curdling, it likely needs more acid or a bit more microwave time. Don’t be afraid to add another tablespoon of lemon juice or vinegar.
- Adjust Salt to Taste: The 1 teaspoon of salt provides a good baseline, but feel free to add a pinch more or less depending on your preference and how you plan to use the ricotta.
- Consider the Whey: Don’t discard the leftover whey! It’s rich in nutrients and can be used in smoothies, for baking bread (replacing water), to water plants, or as a base for soups.
- Experiment with Herbs: For savory uses, consider stirring in fresh chopped herbs like chives, basil, or parsley after straining.
Storing Your Fresh Homemade Ricotta
Once your ricotta is strained to your liking, transfer it to an airtight container. Store it in the refrigerator, where it will stay fresh for about 3-5 days. It’s always best enjoyed within a day or two for peak freshness and flavor. Freezing ricotta is generally not recommended as it can alter the texture, making it grainy upon thawing.
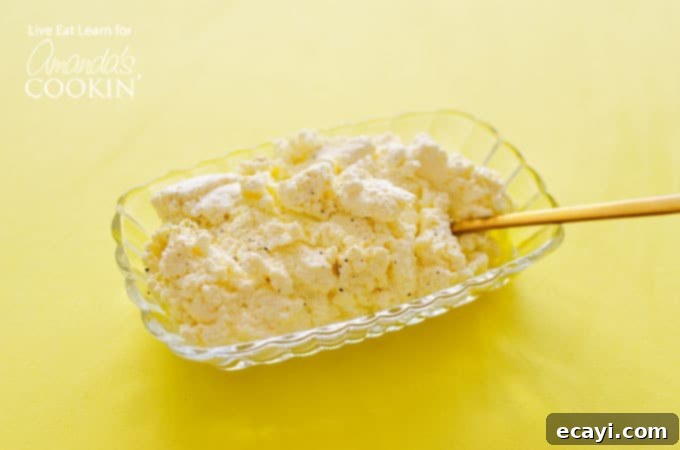
Versatile Culinary Uses for Your Homemade Ricotta
The beauty of homemade ricotta lies in its incredible versatility. Beyond the familiar Italian-American classics, there’s a world of culinary possibilities:
Savory Applications:
- Pasta Dishes: Elevate your baked ziti, lasagna, manicotti, or stuffed shells with a dollop of fresh ricotta.
- Dips & Spreads: This easy homemade ricotta recipe is fantastic in a creamy ricotta cheese spinach dip for an appetizer everyone will love. Blend it with herbs and garlic for a delightful spread for crackers or crostini.
- Pizza & Flatbreads: Use it as a lighter, creamier alternative to mozzarella, or as a flavorful base on homemade pizzas and flatbreads.
- Bruschetta & Toast: Spread it on toasted bread with roasted vegetables, sun-dried tomatoes, or a drizzle of good olive oil and fresh basil.
- Breakfast & Brunch: Stir it into scrambled eggs, use it as a filling for omelets, or serve alongside savory pancakes or crepes.
- Vegetable Enhancer: A spoonful of fresh ricotta adds creaminess and richness to roasted vegetables, like zucchini, eggplant, or bell peppers.
- Savory Tarts & Galettes: It makes an excellent base for savory tarts, holding other ingredients together beautifully.
Sweet Delights:
- Desserts: For dessert, serve up this fantastic ricotta cheesecake recipe, or use it to fill cannoli.
- Fruit Topping: A dollop of ricotta with fresh berries, a sprinkle of cinnamon, and a drizzle of honey makes a simple, elegant dessert or breakfast.
- Sweet Toast: Spread on toast and top with jam, fruit, or a sprinkle of sugar.
- Pancakes & Waffles: Fold it into your pancake or waffle batter for an extra light and fluffy texture, or serve it on top with maple syrup.
- Yogurt & Oatmeal: Stir a spoonful into your morning yogurt or oatmeal for added protein and creaminess.
Don’t forget to save me some! With this incredible versatility, you’ll find countless ways to enjoy your homemade ricotta.
Frequently Asked Questions About Homemade Ricotta
Here are some common questions about making ricotta cheese at home, especially using the microwave method:
- Q: Can I use low-fat or skim milk?
A: While you can technically make ricotta with lower-fat milk, it is highly recommended to use whole milk. Whole milk contains a higher fat content, which is crucial for achieving the rich, creamy texture that ricotta is known for. Skim or low-fat milk will result in a much grainier, less flavorful, and drier cheese. - Q: My milk isn’t curdling. What went wrong?
A: There are a few common reasons:- Not enough acid: The most common reason. Try adding another tablespoon of lemon juice or vinegar and microwaving for an additional 30-60 seconds.
- Insufficient heat: Your microwave might be less powerful, or the milk wasn’t hot enough. Continue microwaving in short bursts until you see clear separation of curds and whey.
- Old milk: While fresh milk is ideal, milk that’s just a day or two past its prime can sometimes still curdle, but very old milk might not.
- Q: What can I do with the leftover whey?
A: Don’t throw it away! Whey is packed with nutrients. You can use it:- In baking: Substitute it for water or milk in bread, pancake, or muffin recipes.
- In smoothies: Add a nutritional boost to your morning smoothie.
- For cooking grains: Use it to cook rice or pasta for added flavor and nutrients.
- To water plants: Some plants benefit from the nutrients in diluted whey.
- As a soup base: Use it as a flavorful liquid base for vegetable or chicken soups.
- Q: How long does homemade ricotta last?
A: Homemade ricotta is best enjoyed fresh. Stored in an airtight container in the refrigerator, it will typically last for 3 to 5 days. Always check for any off odors or discoloration before consuming. - Q: Does it taste different from store-bought ricotta?
A: Absolutely! Homemade ricotta often has a fresher, brighter, and creamier flavor profile. It lacks the slight bitterness or blandness sometimes found in mass-produced versions and has a wonderfully delicate texture. You’ll likely find it to be a significant upgrade! - Q: Can I add flavorings to my ricotta?
A: Yes, once strained, you can customize your ricotta. For savory versions, stir in fresh herbs (basil, chives, parsley), garlic powder, black pepper, or a pinch of red pepper flakes. For sweet versions, a touch of honey, vanilla extract, citrus zest, or cinnamon can be delightful.
5 Minute Homemade Ricotta
IMPORTANT – There are often Frequently Asked Questions within the blog post that you may find helpful. Simply scroll back up to read them!
Print It
Pin It
Rate It
Save ItSaved!
Ingredients
- 2 cups whole milk
- ¼ cup lemon juice or white vinegar
- 1 tsp salt
Instructions
-
In a microwave safe bowl, stir to combine milk, lemon juice or vinegar, and salt.
-
Microwave on high for 3 to 5 minutes. When milk is bubbling at the edges and you can see the milk has curdled, remove from the microwave. If milk doesn’t curdle, add another tablespoon of lemon or vinegar and microwave for another 30 seconds,
-
Set two layers of paper towels in a wire mesh sieve, and set over a large bowl. Gently pour the milk mixture into the sieve to strain out the liquid.
-
You can let your ricotta strain up to 1 hour. The longer it sits, the firmer your ricotta will be, though I like it fresh and warm.
Nutrition
The recipes on this blog are tested with a conventional gas oven and gas stovetop. It’s important to note that some ovens, especially as they age, can cook and bake inconsistently. Using an inexpensive oven thermometer can assure you that your oven is truly heating to the proper temperature. If you use a toaster oven or countertop oven, please keep in mind that they may not distribute heat the same as a conventional full sized oven and you may need to adjust your cooking/baking times. In the case of recipes made with a pressure cooker, air fryer, slow cooker, or other appliance, a link to the appliances we use is listed within each respective recipe. For baking recipes where measurements are given by weight, please note that results may not be the same if cups are used instead, and we can’t guarantee success with that method.

