Decadent Instant Pot Oreo Cheesecake: Your Easiest Route to Cookies and Cream Perfection
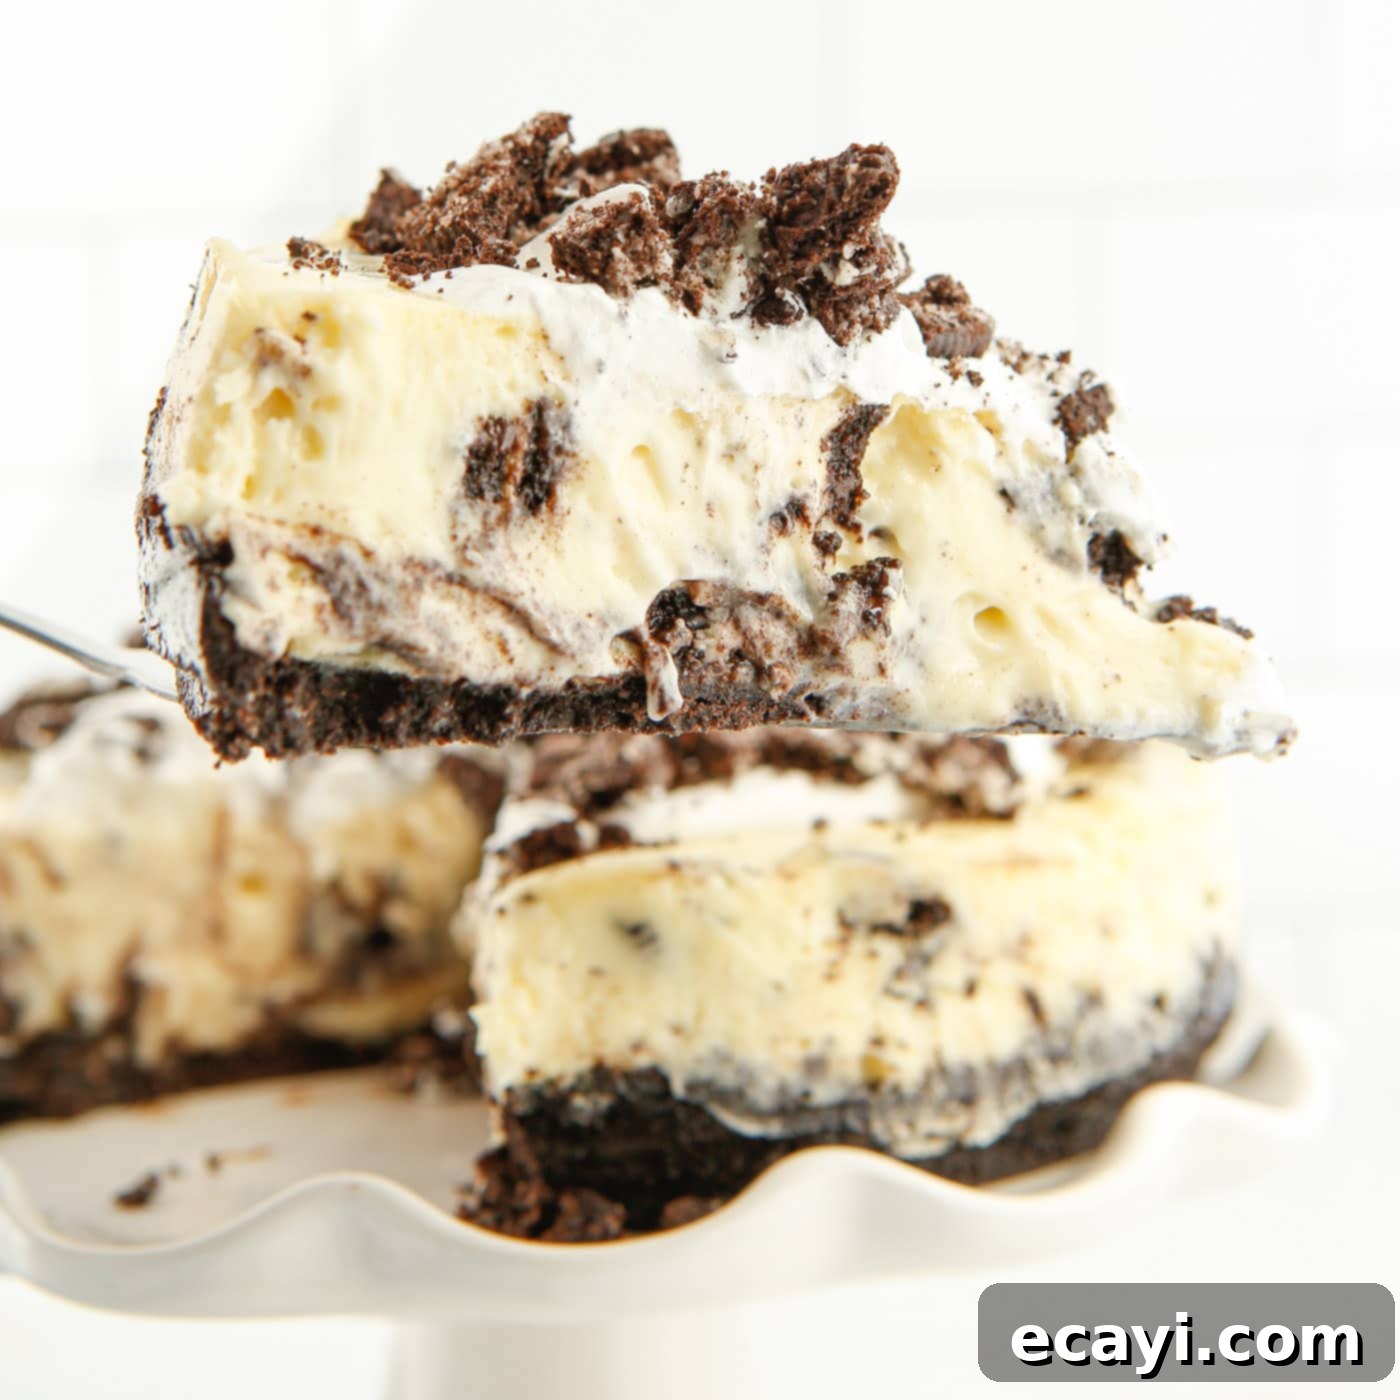
Prepare to discover your new favorite dessert: this incredibly easy and utterly decadent Instant Pot Oreo Cheesecake. It begins with a perfectly firm yet delightfully soft chocolate cookie crust, providing a rich foundation. This sturdy base then gives way to an irresistibly creamy vanilla cheesecake filling, generously speckled with crunchy Oreo cookie crumbles. This recipe harnesses the power of your Instant Pot to deliver a consistently perfect cheesecake every single time, eliminating the guesswork and delivering a truly impressive treat with minimal effort.
Why This Instant Pot Oreo Cheesecake Recipe Works So Well
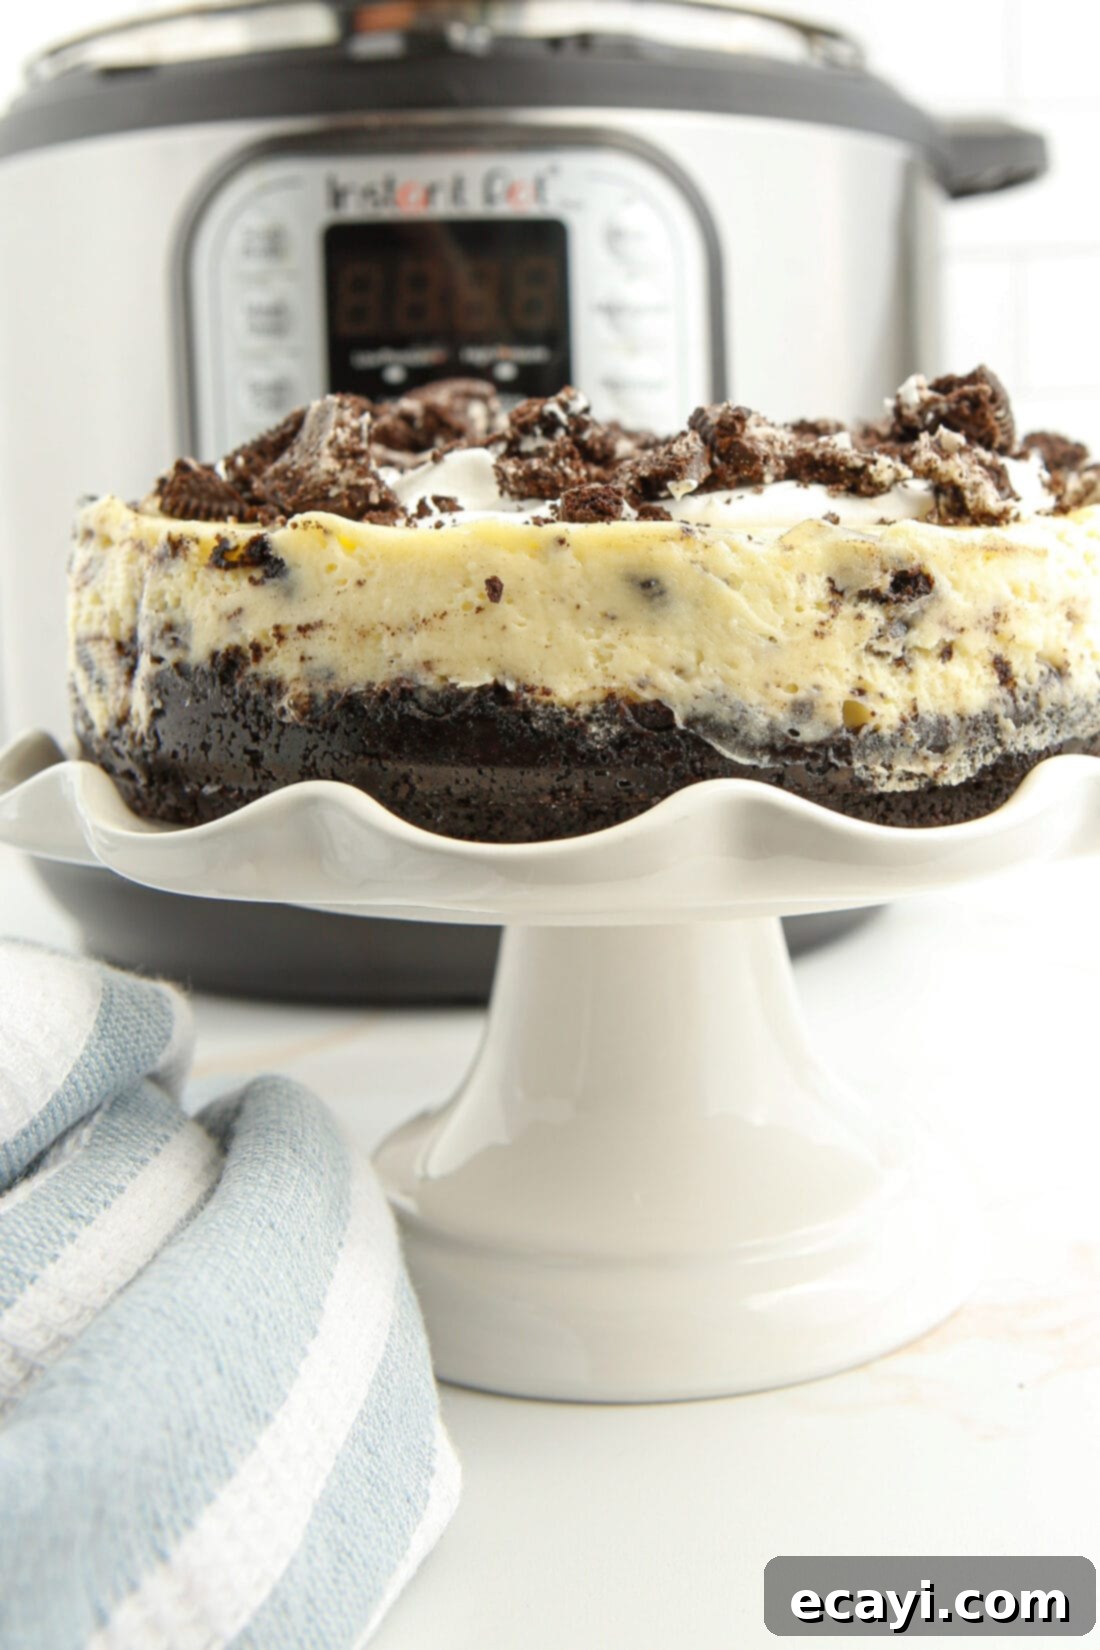
If you’re a fan of rich, creamy cheesecakes, especially those bursting with cookies and cream flavor, then you’re in for a treat. While we adore all Oreo cheesecake variations, this particular recipe stands out because it’s made entirely in your pressure cooker. The Instant Pot is a game-changer for cheesecakes, ensuring a perfectly cooked, smooth, and crack-free dessert without the fuss of a traditional water bath or the lengthy baking times of an oven.
This Instant Pot Oreo Cheesecake requires only 35 minutes of active pressure cooking time, making it significantly faster than conventional methods. Beyond its speed, the enclosed, steamy environment of the Instant Pot ensures uniform cooking, resulting in an exceptionally creamy texture that’s hard to achieve otherwise. And, true to its name, this cheesecake is absolutely chock-full of glorious Oreo chunks and boasts an intense cookies and cream flavor – exactly how we love our Oreo desserts!
Honestly, making cheesecake in the Instant Pot is not only incredibly easy but also remarkably foolproof. There’s no need to meticulously monitor oven temperatures or worry about uneven baking. You simply mix the ingredients, pour the luscious batter into your prepared springform pan, seal it in your Instant Pot, and let the pressure do the magic. The result is a consistently dreamy, perfectly set cheesecake that will impress everyone who tries it.
Essential Ingredients You Will Need for Your Oreo Cheesecake
Before you dive into crafting this incredible dessert, gather your ingredients. You’ll find all precise measurements, a complete list of ingredients, and detailed instructions in the convenient printable version of this recipe located at the end of this post. Having everything ready and at the correct temperature will ensure a smooth and successful baking experience.
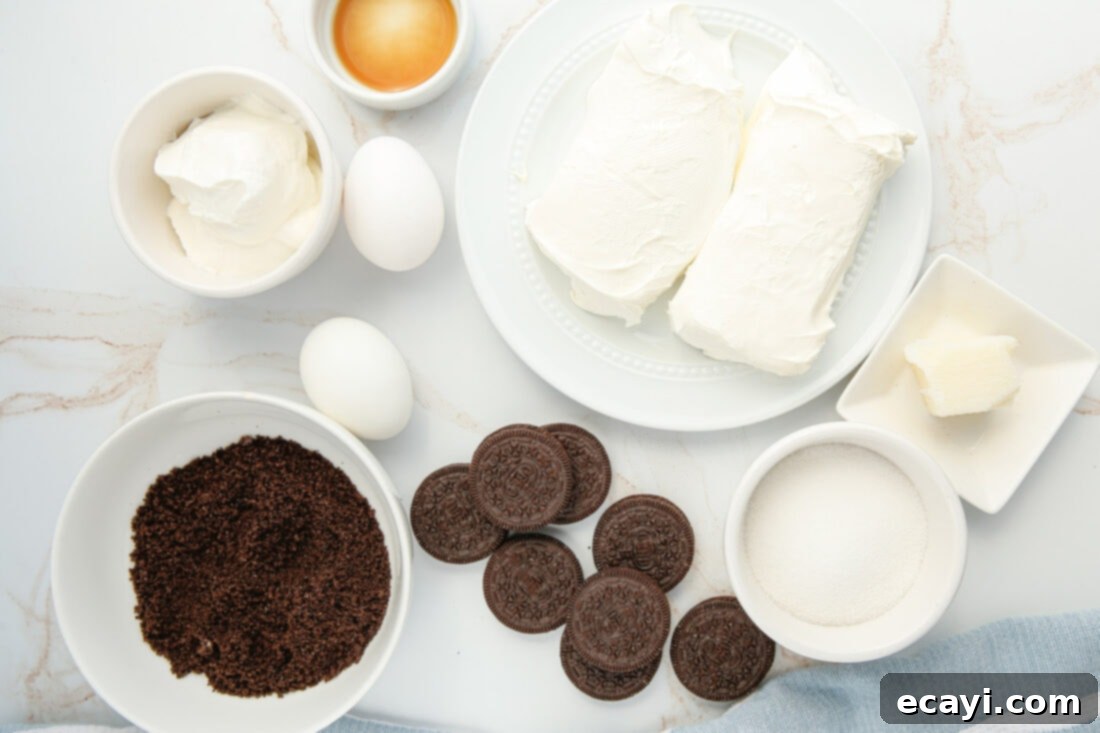
Ingredient Insights and Smart Substitution Suggestions
For the perfect Instant Pot Oreo Cheesecake, understanding your ingredients and their roles is key. Here’s a deeper dive into what you’ll need and how to best prepare them, along with some helpful substitution ideas.
CHEESECAKE BASE – Achieving Ultimate Creaminess: Using room temperature ingredients is paramount for creating the ideal smooth, creamy texture and effectively preventing any lumps in your cheesecake batter. Cold cream cheese will inevitably result in a lumpy, unpleasant filling. To help your cream cheese reach room temperature quickly, remove it from its packaging, cut it into small cubes, and spread them out on a plate. Allow these cubes to sit at room temperature for at least 30 minutes, or even an hour, to fully soften. This ensures it blends seamlessly with the sugar, creating a velvety base. Similarly, ensure your eggs are at room temperature. Cold eggs can seize the cream cheese, leading to a lumpy texture, and won’t emulsify as effectively into the batter.
When selecting eggs, opt for large eggs rather than jumbo. The specific ratio of ingredients, particularly moisture and binding agents, can be significantly altered by using larger eggs, which might throw off the delicate science of the cheesecake, potentially impacting its set and texture. The eggs, along with the small amount of flour, act as essential bonding agents, helping the cheesecake set beautifully and preventing cracks. The sour cream adds a delightful tang and contributes significantly to the cheesecake’s rich, moist, and smooth consistency, balancing the sweetness.
CRUST – The Iconic Oreo Foundation: The foundation of this cheesecake is a rich, chocolatey Oreo cookie crust. When it comes to crushing the Oreo cookies, remember that you will use the entire cookie, including the luscious cream filling. The filling is actually beneficial here, as it not only enhances the signature Oreo flavor but also aids in binding the crumbs together, working in conjunction with the melted butter. You can easily crush the Oreos into fine crumbs using a food processor for a uniform texture. Alternatively, place them in a sealed plastic bag and crush them with a rolling pin for a more rustic, varied crumb. If you find yourself out of Oreos or simply prefer a different base, a graham cracker crust is a fantastic alternative. For a chocolate twist that complements the Oreo theme, we highly recommend opting for chocolate graham crackers. You can see how we incorporate a graham cracker crust in our delicious Instant Pot Cherry Cheesecake recipe.
Step-by-Step Guide: How to Make Instant Pot Oreo Cheesecake
These step-by-step photos and detailed instructions are provided to help you visualize and confidently execute each stage of this recipe. For a convenient printable version of this recipe, complete with precise measurements and comprehensive instructions, simply Jump to Recipe at the bottom of this page.
- Prepare Your Pan and Instant Pot: Begin by preparing a 7-inch springform pan. Line the bottom of the pan with a parchment paper round to prevent sticking and ensure easy release. Lightly grease the sides of the pan with cooking spray or a thin layer of butter. This preparation is crucial for achieving a clean, beautiful cheesecake once it’s set. Next, pour 1 ½ cups of water into the bottom of your Instant Pot liner. This water creates the necessary steam for pressure cooking, which is key to a perfectly cooked cheesecake.
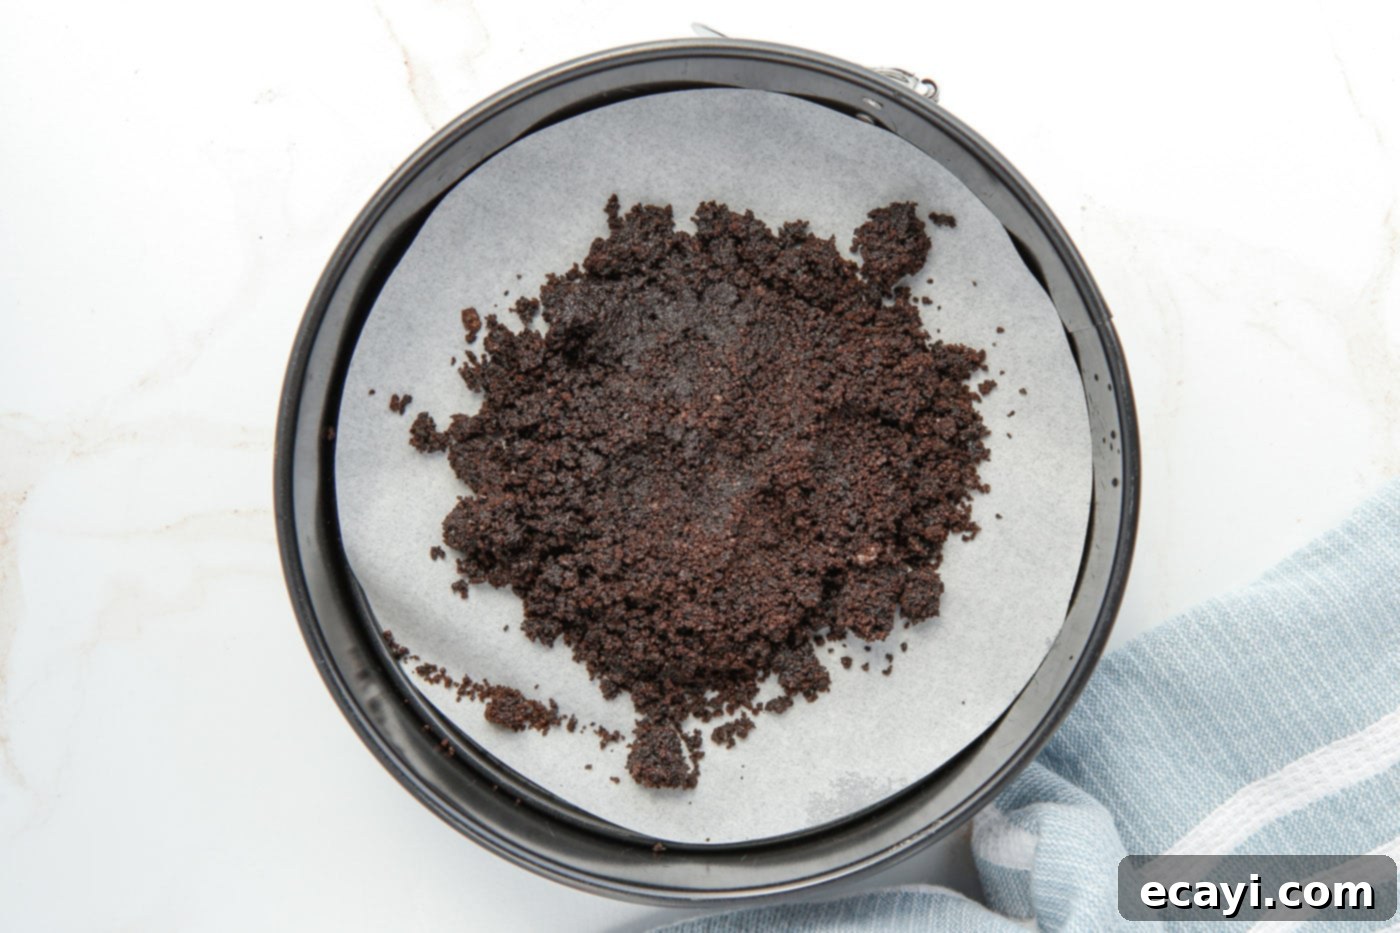
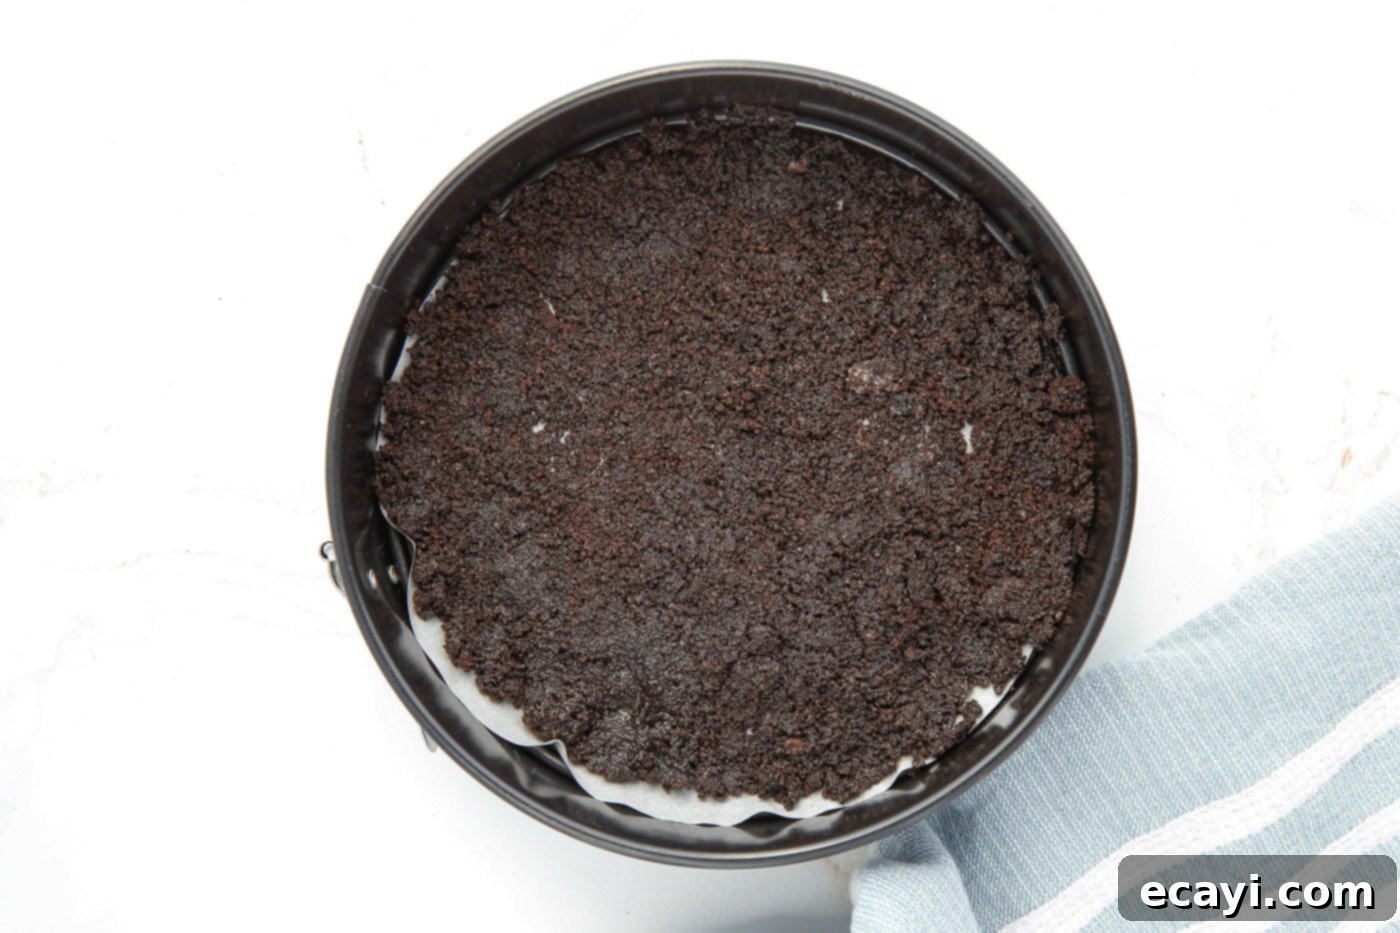
- Craft the Oreo Crust: Take your Oreo cookies (including their cream filling) and crush them thoroughly into fine crumbs. A food processor works best for a uniform texture, but placing them in a sturdy plastic bag and using a rolling pin is also effective. Once crushed, combine these crumbs well with the melted butter until they are evenly moistened. Press this Oreo mixture firmly and evenly into the bottom of your prepared springform pan. Use the back of a spoon or your fingers to compact it tightly. This firm packing is essential for a stable crust that won’t crumble when sliced. Immediately place the pan with the crust into the freezer while you prepare the cheesecake filling. This chilling time helps the butter set, further solidifying the crust.


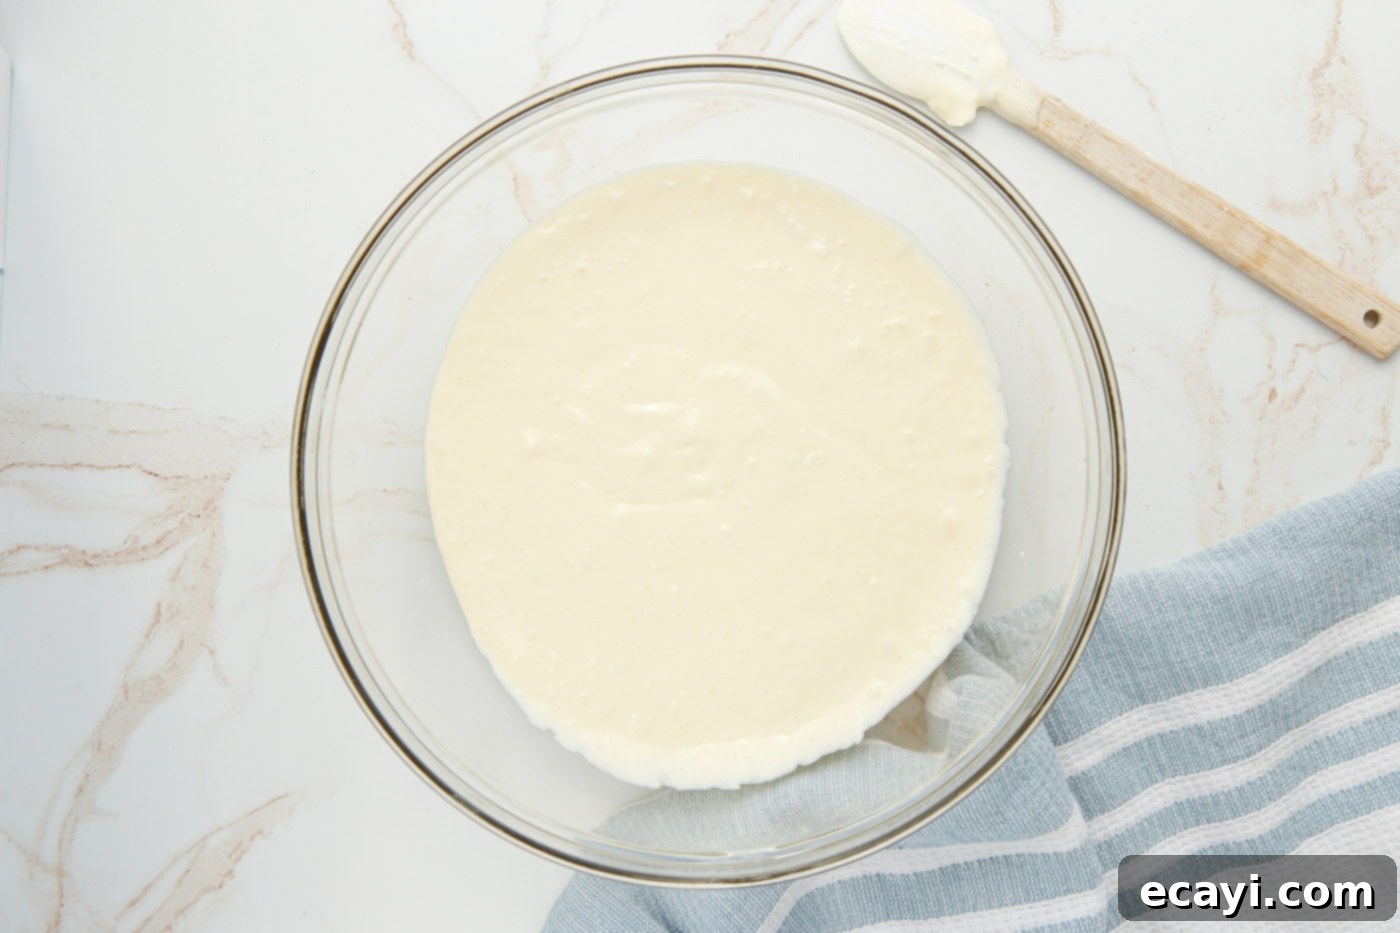
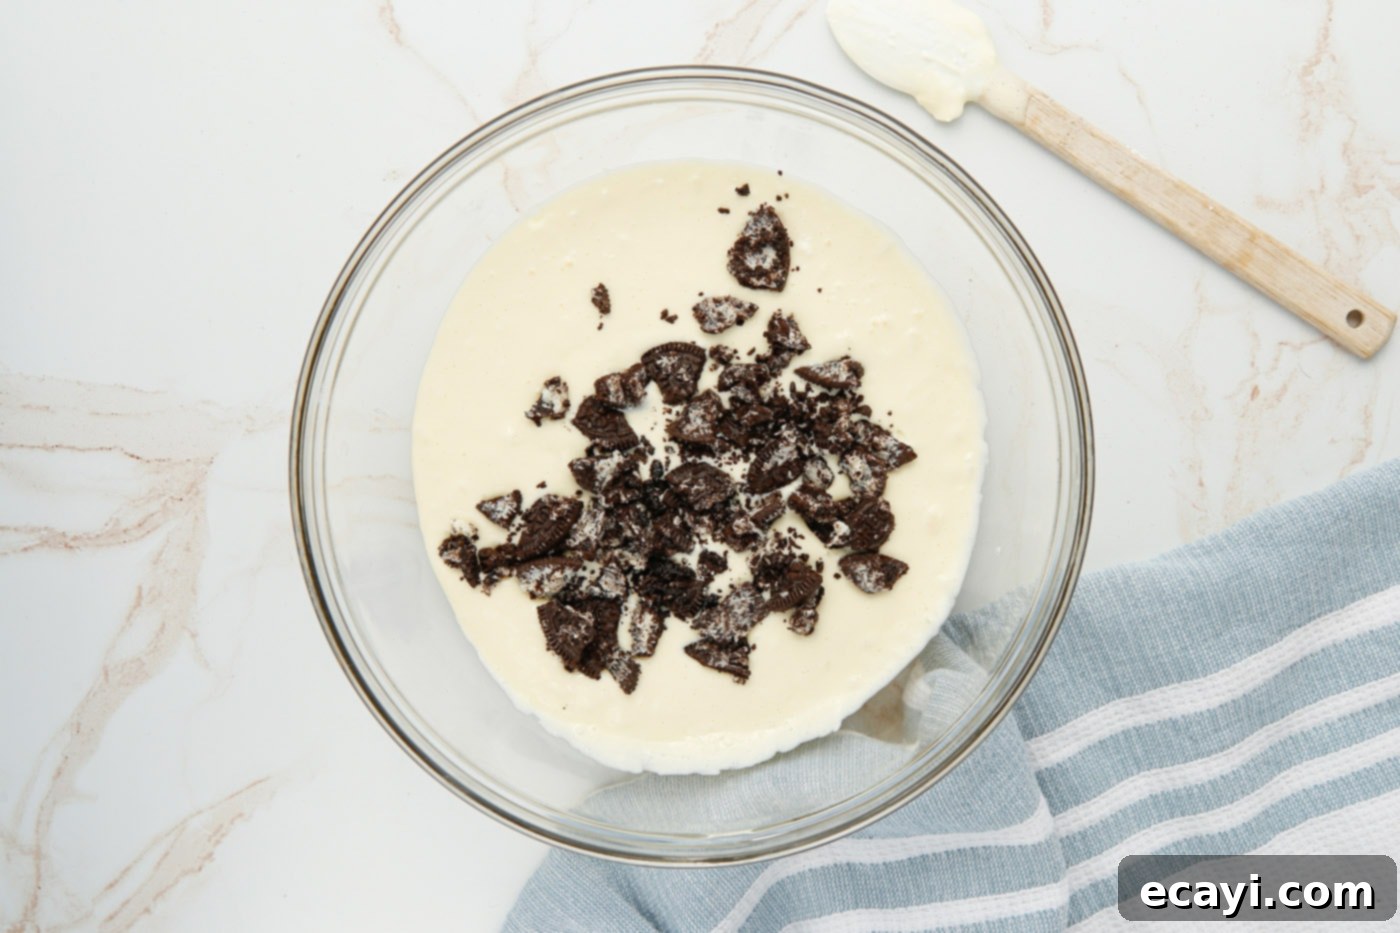
- Prepare the Silky Cheesecake Filling: In a large mixing bowl, combine the softened cream cheese and granulated sugar. Using a hand or electric mixer, beat the mixture on medium speed until it is completely smooth and creamy, with no lumps remaining. Make sure to scrape down the sides of the bowl occasionally to ensure everything is well incorporated. Add the large eggs one at a time, mixing only until each egg is just blended into the batter. Overmixing the eggs can introduce too much air, which can cause the cheesecake to crack during cooling. Finally, mix in the sour cream, all-purpose flour, and vanilla extract until they are just combined. Be careful not to overmix at this stage. Gently fold in half of your roughly chopped Oreo cookies using a spatula. This gentle folding ensures the cookie pieces remain intact and are evenly distributed throughout the luscious filling.


- Pour, Cover, and Pressure Cook: Retrieve the springform pan with the chilled crust from the freezer. Carefully pour the cheesecake filling into the crust, spreading it evenly. Use a small spatula or the back of a spoon to smooth the top surface of the cheesecake for a perfect finish. Next, wrap the entire pan tightly with aluminum foil. This step is critically important to prevent any excess moisture or condensation from dripping onto the cheesecake during the pressure cooking process, which could affect its texture and appearance. Create a foil sling if your trivet doesn’t have handles by folding a long piece of foil into a strip to easily lower and lift the pan. Lower the wrapped cheesecake pan onto the trivet inside your 6 qt Instant Pot. Close the Instant Pot lid and turn the steam release valve to the “Sealing” position. Select the “Manual” (or “Pressure Cook”) setting and set the cooking time to high pressure for 35 minutes. Once the cooking cycle is complete, allow the Instant Pot to naturally release the steam for 10 minutes. This Natural Pressure Release (NPR) is vital for cheesecakes as it allows for a gradual decrease in pressure, preventing sudden temperature changes that can lead to cracking. After 10 minutes, carefully quick release any remaining steam by turning the valve to “Venting.”
- Cool and Chill to Perfection: Once the pressure has fully released and it’s safe to open the Instant Pot, carefully remove the cheesecake from the pot using the foil sling. Place the cheesecake (still in its pan) on a wire rack on your counter to cool at room temperature for at least 15 minutes. This initial cooling period allows the cheesecake to slowly adjust to the ambient temperature, further reducing the risk of cracks. After this period, transfer the cheesecake to the refrigerator. It is absolutely essential to chill the cheesecake for a minimum of 6 hours, or ideally, overnight. This prolonged chilling time is not merely a suggestion; it allows the cheesecake to fully set, firm up, and develop its rich, decadent flavor and signature creamy texture. Patience at this stage will be richly rewarded!
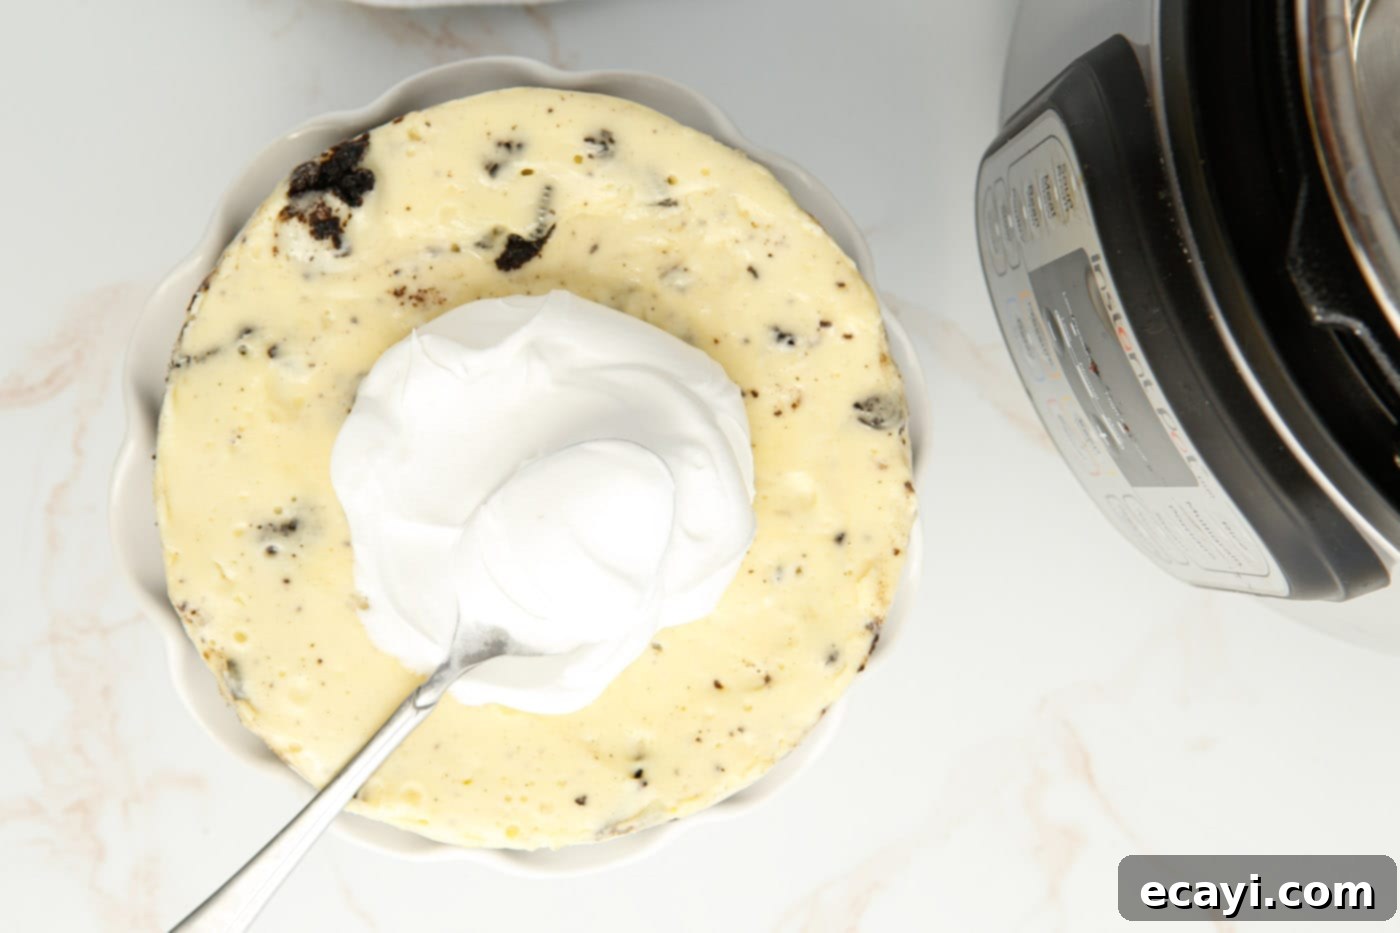
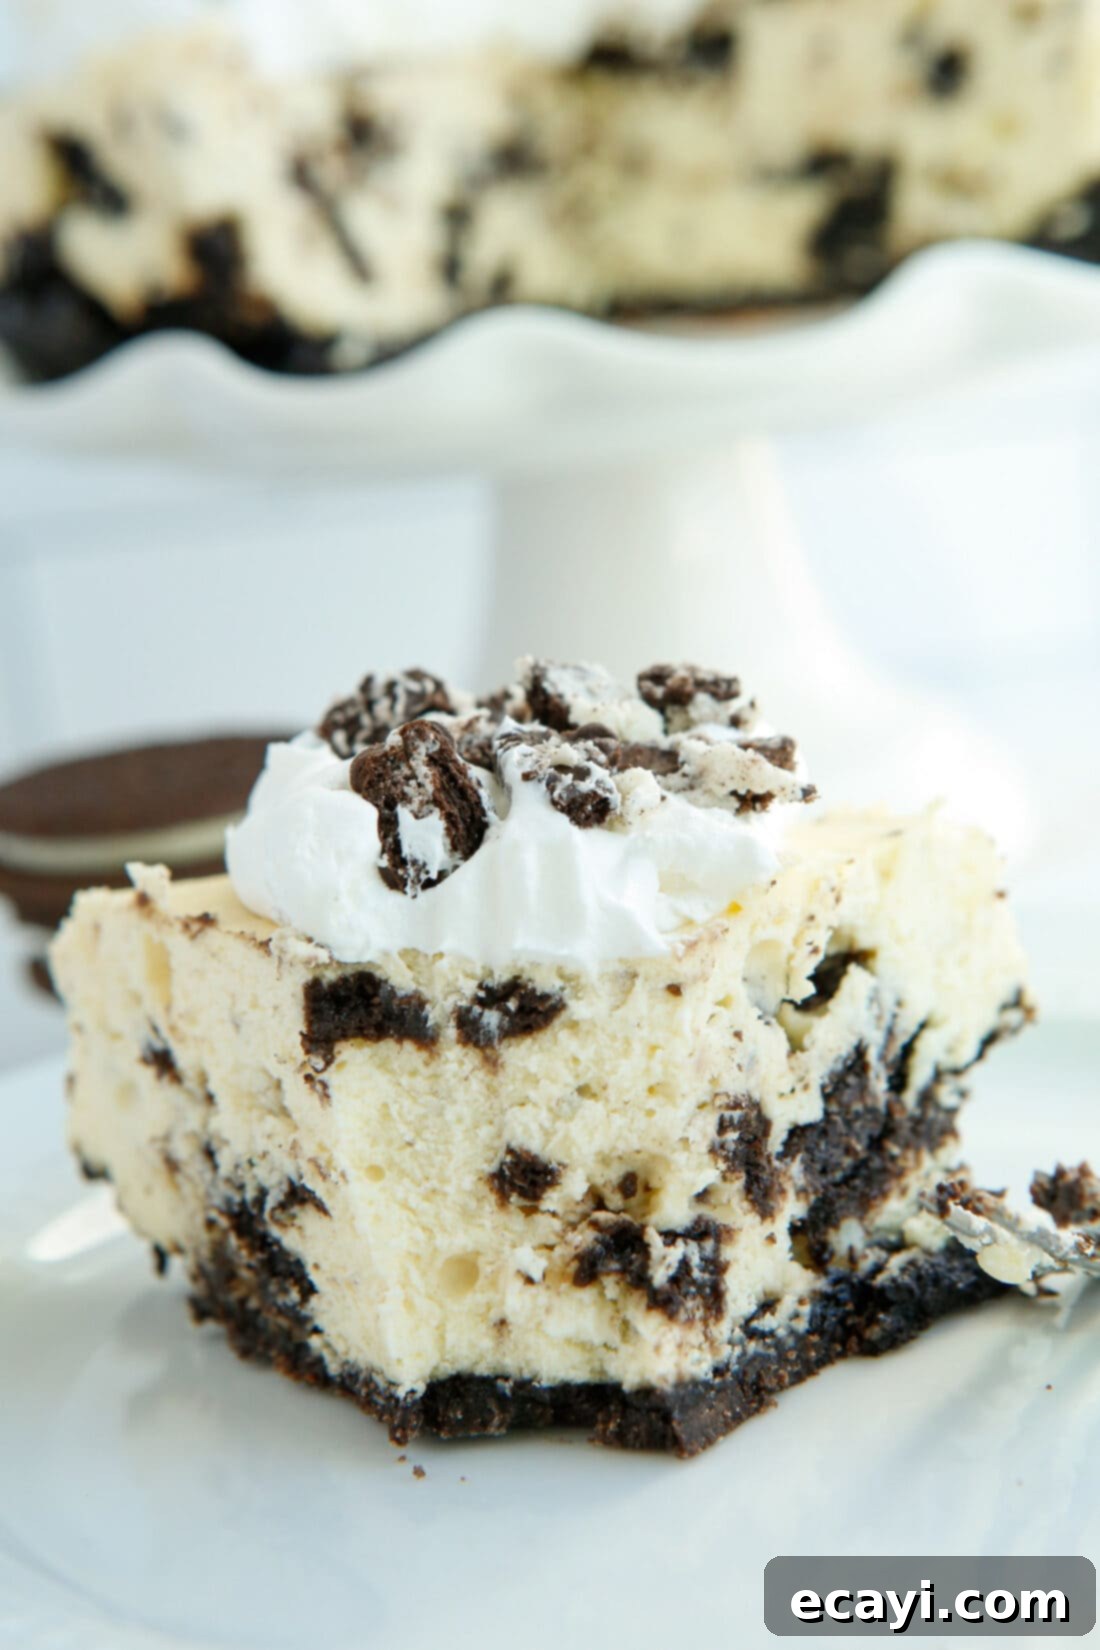
- Garnish and Serve: When you’re ready to indulge in your masterpiece, carefully remove the chilled cheesecake from the springform pan. If you encounter any sticking, a warm butter knife run gently along the edges can help with a clean release. Spread a generous layer of fresh whipped cream evenly across the top of the cheesecake. Then, sprinkle the remaining chopped Oreo cookies over the whipped cream for an extra burst of cookies and cream goodness and an appealing visual contrast. Slice the cheesecake using a warm, clean knife (wiping it between each slice for the neatest cuts) and serve immediately. Prepare for rave reviews!

Frequently Asked Questions & Expert Tips for Instant Pot Cheesecakes
To maintain its freshness and delicious texture, store your Instant Pot Oreo Cheesecake in an airtight container. Place it in the refrigerator, and it will keep beautifully for 4-5 days. If you’ve topped it with whipped cream, it’s best to add that just before serving, as whipped cream can deflate or weep over time in the fridge.
Absolutely! Cheesecake freezes exceptionally well, allowing you to prepare it ahead of time or save leftovers. To freeze, ensure the cheesecake is completely chilled and firm, then flash freeze it (without any toppings) on a plate for about an hour until solid. Once firm, wrap it tightly in several layers of plastic wrap, followed by a layer of aluminum foil. This double-layer protection helps prevent freezer burn. It can be stored in the freezer for up to 4 months. To thaw, simply transfer the frozen cheesecake to the refrigerator overnight, or allow it to sit at room temperature for a few hours until it reaches your desired serving consistency.
Condensation is a common occurrence when using a pressure cooker due to the steamy, enclosed environment. Don’t worry, it’s perfectly normal and easily managed. The aluminum foil placed tightly over the top of the cheesecake pan is specifically designed to help minimize this issue by creating a barrier. If you still notice a small amount of excess moisture on the surface of your cheesecake after cooking, you can gently blot it away with a clean paper towel before cooling and chilling.
It’s important to know that a cheesecake will naturally be slightly jiggly in the very center immediately after coming out of the Instant Pot. This is expected and not a sign of being undercooked. The cheesecake finishes setting and firming up during the crucial chilling period in the refrigerator. If, however, after the recommended 6 hours (or overnight) of chilling, your cheesecake is still noticeably too runny or hasn’t set properly, you can return it to the Instant Pot. Cook it for another 5-10 minutes on manual high pressure with a 10-minute natural pressure release. This additional cooking time should help it achieve the perfect firm yet creamy consistency.
Beyond the steps, a few key techniques guarantee success: 1. **Don’t Overmix:** Overmixing, especially after adding eggs, incorporates too much air, leading to cracks. Mix until just combined. 2. **Room Temperature Ingredients:** As mentioned, this is crucial for a smooth batter. 3. **Tap the Pan:** Gently tap the springform pan on the counter a few times after pouring the batter to release any trapped air bubbles, which can cause surface imperfections. 4. **Natural Pressure Release (NPR):** The 10-minute NPR is non-negotiable for cheesecakes; it prevents rapid temperature changes that can result in cracks. 5. **Thorough Chilling:** Patience is key. The cheesecake needs ample time in the fridge to fully set and develop its signature texture and flavor.
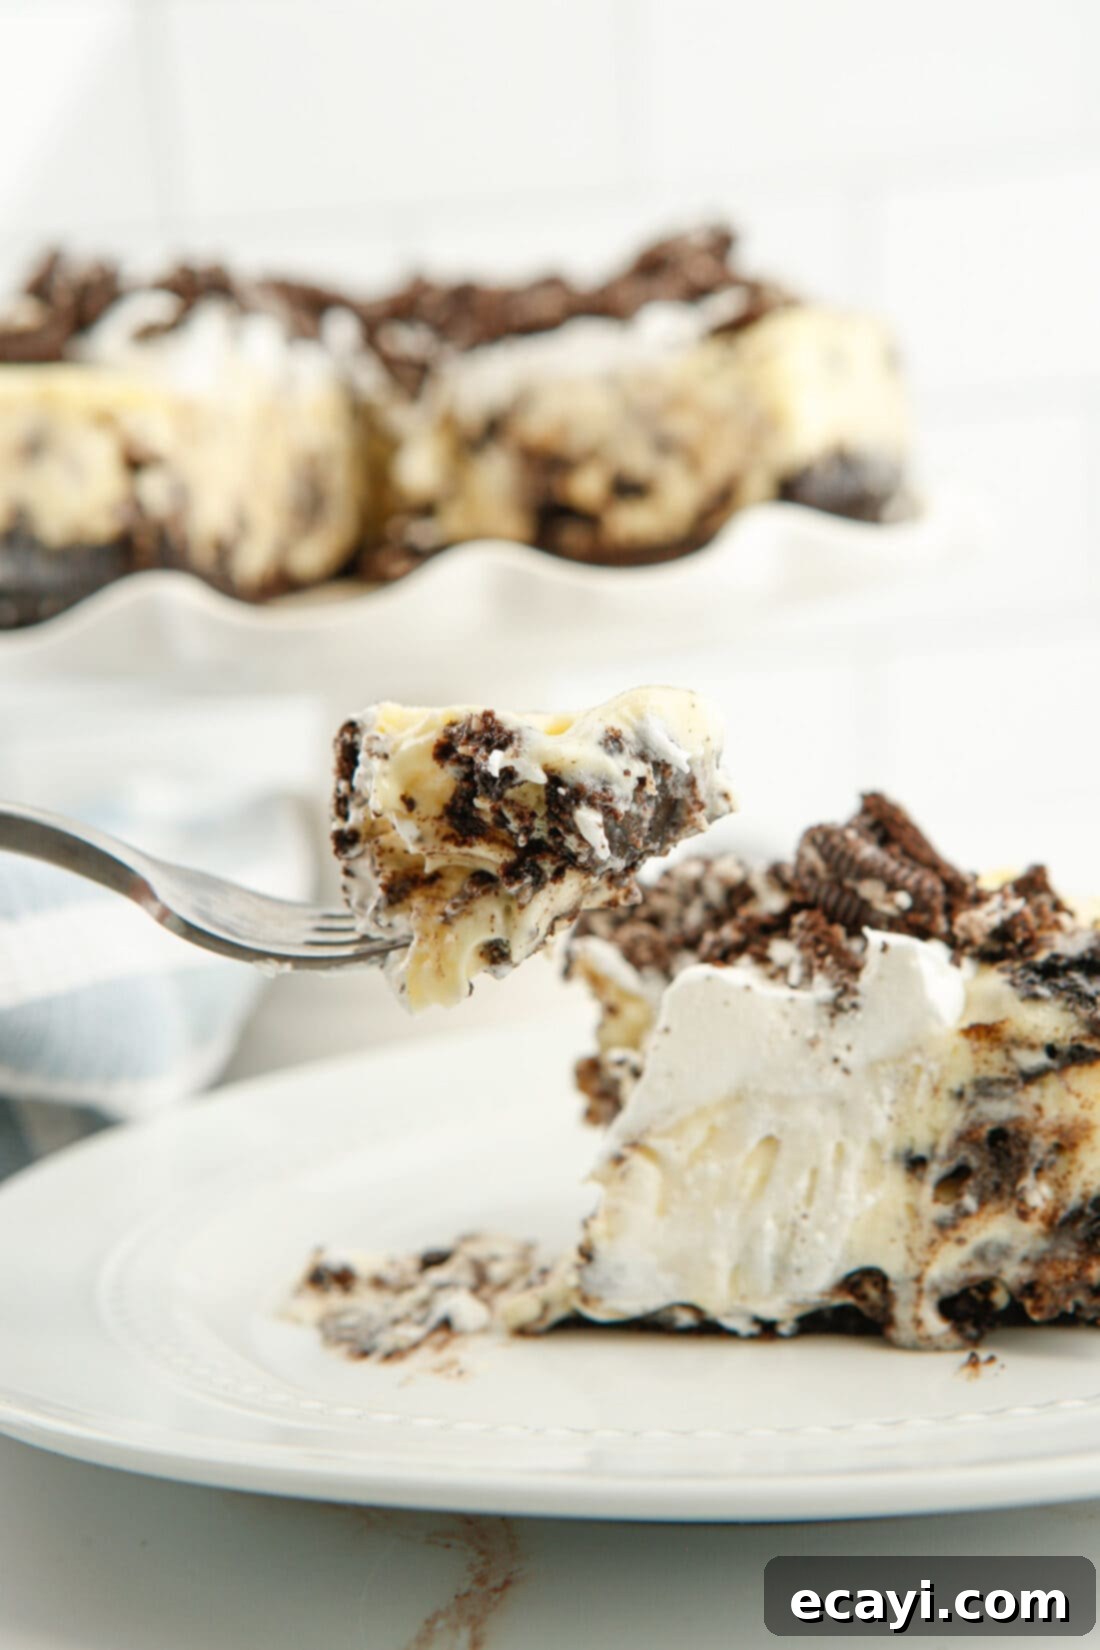
Creative Serving Suggestions for Your Oreo Cheesecake
While this Instant Pot Oreo Cheesecake is undeniably delicious on its own, a few thoughtful garnishes can elevate it to an even more spectacular dessert. Keep it wonderfully simple with a generous dollop of freshly whipped cream and a sprinkle of extra crushed Oreos for that classic cookies and cream aesthetic and added crunch. For those looking to impress with a fancier presentation, consider drizzling a decadent chocolate ganache or even a white chocolate ganache glaze over the top. A luscious caramel sauce or a bright berry compote (strawberries, raspberries, or cherries would be delightful) could also add another layer of flavor and visual appeal. This cheesecake pairs beautifully with a scoop of vanilla bean ice cream or a hot cup of coffee. Remember, this cheesecake is best served thoroughly chilled, ensuring every bite is refreshingly creamy and firm.
More Irresistible Oreo Dessert Ideas
- Oreo Cupcakes
- Oreo Icebox Cake
- Oreo Cheesecake Bars
- Oreo Cheesecake Brownies
- Fried Oreo
More Delicious Instant Pot Cheesecake Recipes
- Instant Pot Cherry Cheesecake
- Instant Pot Funfetti Cheesecake
- Instant Pot Strawberry Cheesecake
- Instant Pot Lemon Curd Cheesecake
I love to bake and cook and share my kitchen experience with all of you! Remembering to come back each day can be tough, that’s why I offer a convenient newsletter every time a new recipe posts. Simply subscribe and start receiving your free daily recipes!
Instant Pot Oreo Cheesecake
IMPORTANT – There are often Frequently Asked Questions within the blog post that you may find helpful. Simply scroll back up to read them!
Print It
Pin It
Rate It
Save ItSaved!
Ingredients
Crust
- 12 Oreo cookies crushed into crumbs
- 3 Tbsp unsalted butter melted
Cheesecake
- 16 oz cream cheese 2 8 oz packages, well softened at room temp
- ½ cup granulated sugar
- 2 large eggs at room temperature
- ¼ cup sour cream
- 3 Tbsp all-purpose flour sifted
- 1 tsp vanilla extract
- 15 Oreo cookies roughly chopped, divided
- 1 ½ cups water for the bottom of instant pot
- 1 cup whipped cream for topping
Things You’ll Need
-
6 qt Instant Pot Duo
-
7 inch springform pan
-
Electric mixer
Before You Begin
- Room temperature cream cheese and eggs produce the best results, ensuring a smooth, lump-free batter and preventing cracks.
- You do not need to separate the cream from the Oreos’ center. Crush them whole; the cream filling adds flavor and helps bind the crust.
- The cheesecake will be slightly jiggly in the center after cooking. This is normal and it will finish setting and firming up after being thoroughly chilled in the refrigerator. If it remains too runny after chilling, return it to the Instant Pot to cook for another 5-10 minutes.
- Springform pans are highly recommended for the effortless release of cheesecakes. If you encounter any difficulty releasing the cheesecake, gently run a warm butter knife around the inner edges of the pan.
- Store any leftover Instant Pot Oreo Cheesecake in an airtight container in the refrigerator for 4-5 days to maintain its freshness and texture.
Instructions
-
Crush the Oreo cookies into fine crumbs (with their filling) and mix them thoroughly with the melted butter until well combined. Press this mixture firmly into the bottom of your prepared 7-inch springform pan and place the pan into the freezer to chill while you prepare the cheesecake filling.
-
In a large mixing bowl, beat the softened cream cheese and granulated sugar together using an electric mixer until the mixture is smooth and creamy. Add the large eggs one at a time, mixing just until each is incorporated. Stir in the sour cream, sifted all-purpose flour, and vanilla extract until just blended. Gently fold in half of the roughly chopped Oreo cookies using a spatula.
-
Pour the cheesecake filling evenly into the chilled Oreo crust. Use a small spatula or knife to gently smooth the top surface of the cheesecake batter.
-
Tightly wrap the springform pan with aluminum foil, ensuring it covers the top completely to prevent condensation from dripping onto the cheesecake during cooking.
-
Lower the foil-wrapped cheesecake pan onto the trivet inside your Instant Pot (which should contain 1 ½ cups of water). Close the lid, turn the steam release valve to “Sealing,” and cook on Manual (or Pressure Cook) high pressure for 35 minutes. Once cooking is complete, allow a Natural Pressure Release (NPR) for 10 minutes, then carefully quick release any remaining steam.
-
Carefully remove the cheesecake from the Instant Pot. Let it sit on the counter in its pan for 15 minutes to cool down gradually. After this initial cooling, transfer the cheesecake to the refrigerator to chill for at least 6 hours, or ideally, overnight, to allow it to fully set and firm up.
-
When ready to serve, carefully remove the cheesecake from the springform pan. Spread the whipped cream across the top of the cheesecake and sprinkle the remaining chopped Oreos over the whipped cream. Slice with a warm, clean knife and serve your decadent Instant Pot Oreo Cheesecake!
Nutrition
The recipes on this blog are tested with a conventional gas oven and gas stovetop. It’s important to note that some ovens, especially as they age, can cook and bake inconsistently. Using an inexpensive oven thermometer can assure you that your oven is truly heating to the proper temperature. If you use a toaster oven or countertop oven, please keep in mind that they may not distribute heat the same as a conventional full sized oven and you may need to adjust your cooking/baking times. In the case of recipes made with a pressure cooker, air fryer, slow cooker, or other appliance, a link to the appliances we use is listed within each respective recipe. For baking recipes where measurements are given by weight, please note that results may not be the same if cups are used instead, and we can’t guarantee success with that method.
