Homemade Stovetop Kettle Corn Recipe: Your Easy Sweet & Salty Snack
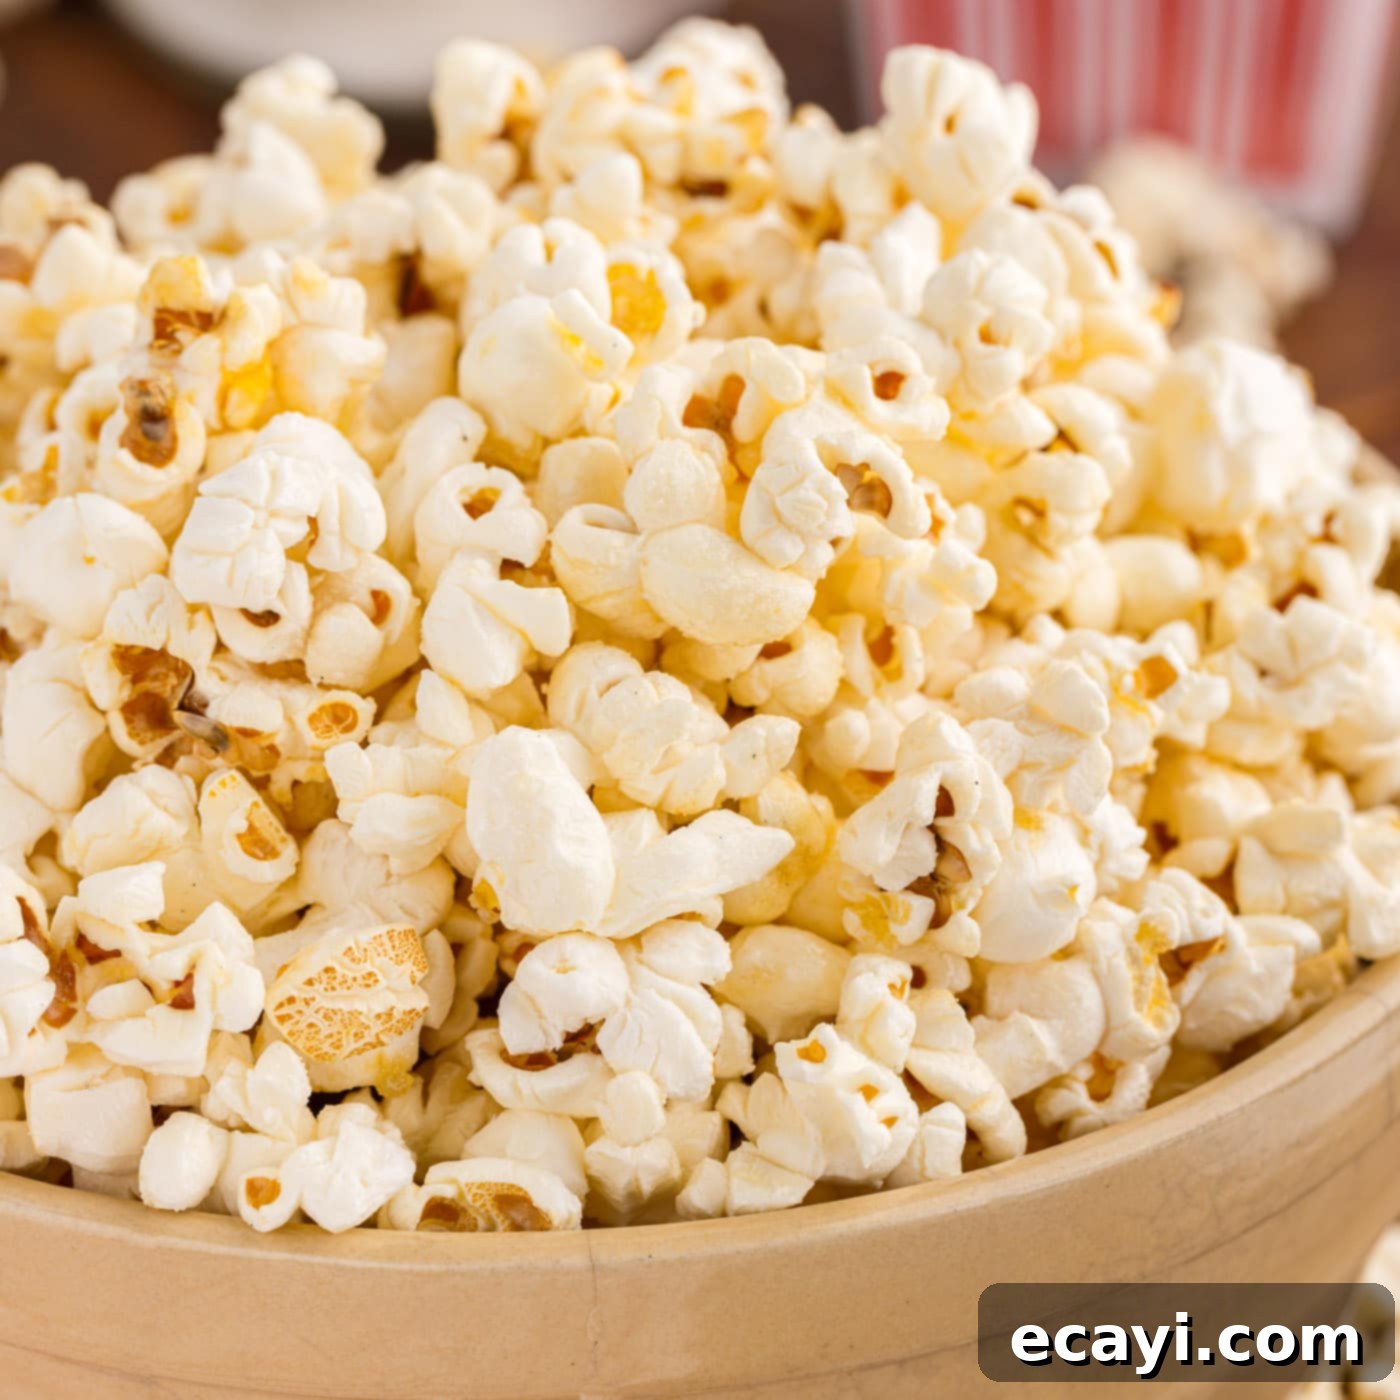
Craving that irresistible sweet and salty crunch of classic kettle corn? Look no further! This homemade kettle corn recipe lets you recreate the magic of county fairs and carnivals right in your kitchen with just four simple ingredients and a single skillet. Forget expensive pre-packaged bags; you can satisfy those nostalgic cravings in under 10 minutes, enjoying a fresh, perfectly balanced snack that’s infinitely better than store-bought versions. It’s an incredibly simple and rewarding way to bring a beloved treat into your home, guaranteeing a warm, crispy batch every time.

Why This Easy Kettle Corn Recipe is a Game Changer
Once you experience the sheer simplicity and delicious results of making kettle corn from scratch, you’ll wonder why you ever bought it. Our recipe streamlines the process, making it accessible for even novice cooks. Kettle corn traditionally gets its name from being popped in large iron kettles, and this stovetop method brings that authentic experience into your home using common kitchen tools. The crucial addition of granulated sugar creates a delightful caramelized sweetness that perfectly complements the savory notes of salt and the satisfying crunch of puffed corn kernels. It’s a versatile treat – ideal as a quick after-dinner delight, a cozy movie night companion, or a crowd-pleasing snack for gatherings.
We’re passionate about popcorn in all its forms, from rich, butter-drenched movie theater style to a myriad of creative homemade popcorn seasonings. However, there’s something uniquely comforting and universally loved about lightly sweetened kettle corn. It evokes cherished memories of joyful days at county fairs, bustling carnivals, and roadside stands. This timeless snack transcends generations, holding a permanent spot in our hearts and on our snack tables. Our recipe ensures you get that perfect balance of crispy texture and irresistible flavor, making it a go-to for any occasion. Plus, controlling the ingredients means you can adjust the sweetness and saltiness to your exact preference, creating your ultimate kettle corn experience. This recipe empowers you to create fresh, gourmet-quality kettle corn that’s healthier and more delicious than anything you’ll find pre-packaged.
Essential Ingredients for Perfect Homemade Kettle Corn
Making delicious kettle corn requires only a handful of readily available ingredients. Simplicity is key to this snack’s charm! You’ll find all precise measurements, detailed instructions, and a printable version of this recipe at the very end of this post for your convenience.
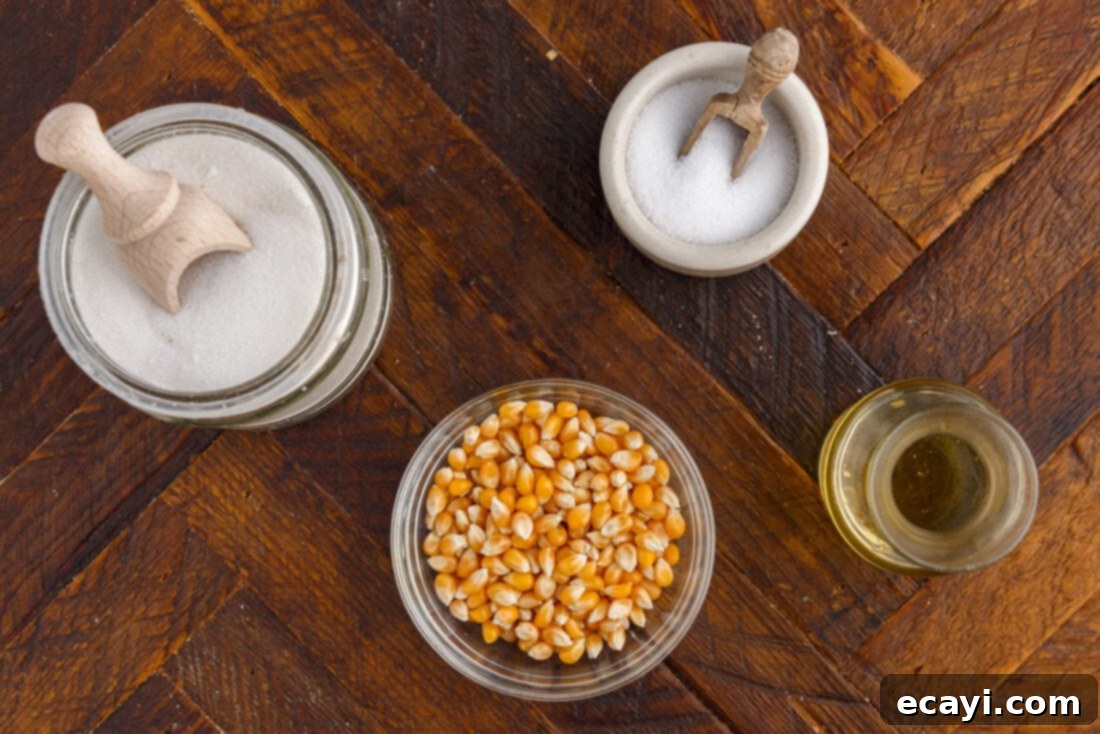
Ingredient Breakdown & Expert Substitution Tips
Let’s dive deeper into each ingredient to ensure your kettle corn turns out perfectly every time:
OIL – The choice of oil is critical for achieving light, fluffy popcorn and preventing a greasy texture. We recommend using a neutral-flavored oil with a high smoke point, such as vegetable oil, canola oil, or grapeseed oil. These oils allow the natural flavors of the corn and the sweet-salty coating to shine through. While coconut oil is another popular choice for popcorn, keep in mind it imparts a distinct flavor that some people love, while others prefer the classic taste of neutral oils. Always avoid olive oil or butter for popping, as their low smoke points can lead to burning and an unpleasant flavor, making your kettle corn taste scorched.
SUGAR – Granulated white sugar is your best friend here. Its fine texture melts and caramelizes beautifully around the popping kernels, creating that signature sweet coating that gives kettle corn its unique character. We do not recommend using brown sugar or powdered sugar for this recipe, as they can burn more easily or create a different texture that isn’t true to traditional kettle corn. The key is even distribution and constant motion to ensure the sugar coats the kernels without scorching, resulting in a crispy, sweet glaze.
SALT – A good quality fine sea salt or table salt works wonderfully. The salt content is crucial for balancing the sweetness and enhancing the overall flavor profile, creating that irresistible sweet and salty contrast. Our recipe calls for 2 tablespoons of sugar and 1/2 teaspoon of salt, which we’ve found creates a perfectly harmonious blend. However, taste preferences vary, and you can certainly adjust this. If you prefer a less salty snack, reduce the salt to 1/4 teaspoon. Sprinkling the sugar and salt onto the kernels before popping helps them adhere better as the corn expands. Alternatively, for those who like to control the salt level post-cooking, you can add it after the popcorn is cooked, tossing it vigorously to distribute, which also allows for tasting before committing to an amount.
CORN KERNELS – Use high-quality, unpopped corn kernels. Yellow or white popping corn varieties both work well, yielding a light and fluffy result. Ensure your kernels are fresh, as old kernels can lead to more unpopped “old maids” and less fluffy popcorn. Always store your kernels in an airtight container in a cool, dark place to maintain their freshness and popping integrity. Avoid microwave popcorn bags, which contain added ingredients and are not suitable for this stovetop method.
Step-by-Step Guide: Crafting Your Perfect Kettle Corn
These step-by-step photos and instructions are designed to help you visualize each stage of making this delightful recipe. For a concise, printable version of this recipe, complete with precise measurements and instructions, simply Jump to Recipe at the bottom of this page.
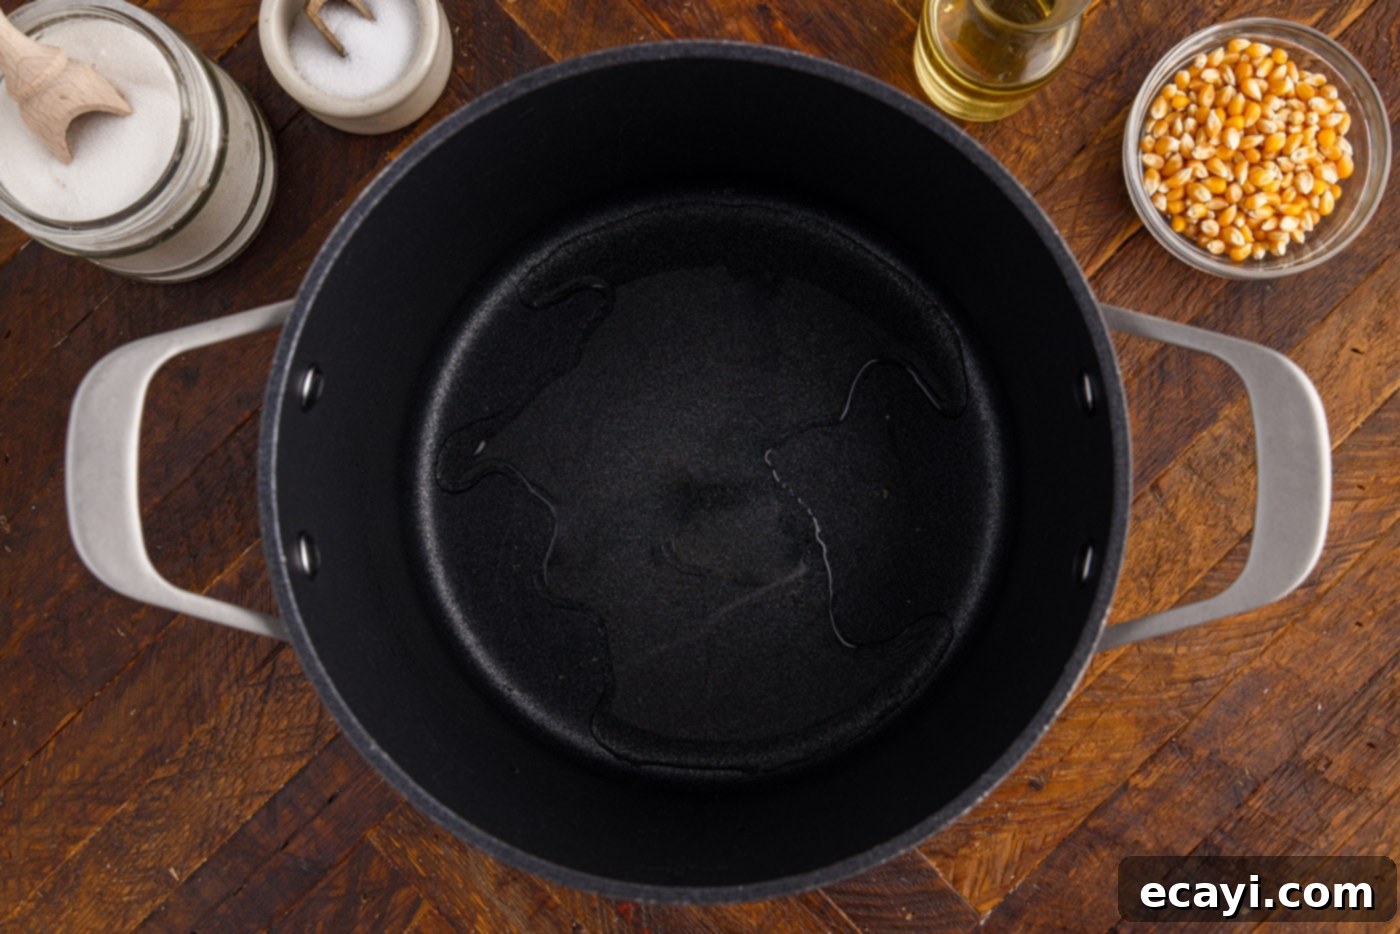
- Prepare Your Pot: Begin by coating the bottom of a large, heavy-bottomed pot or a deep skillet with your chosen neutral oil. It’s important to use a pot with a secure lid and ample space for the corn to expand once it starts popping. Place the pot over medium-high heat and wait until the oil begins to shimmer. This indicates it’s hot enough for popping.

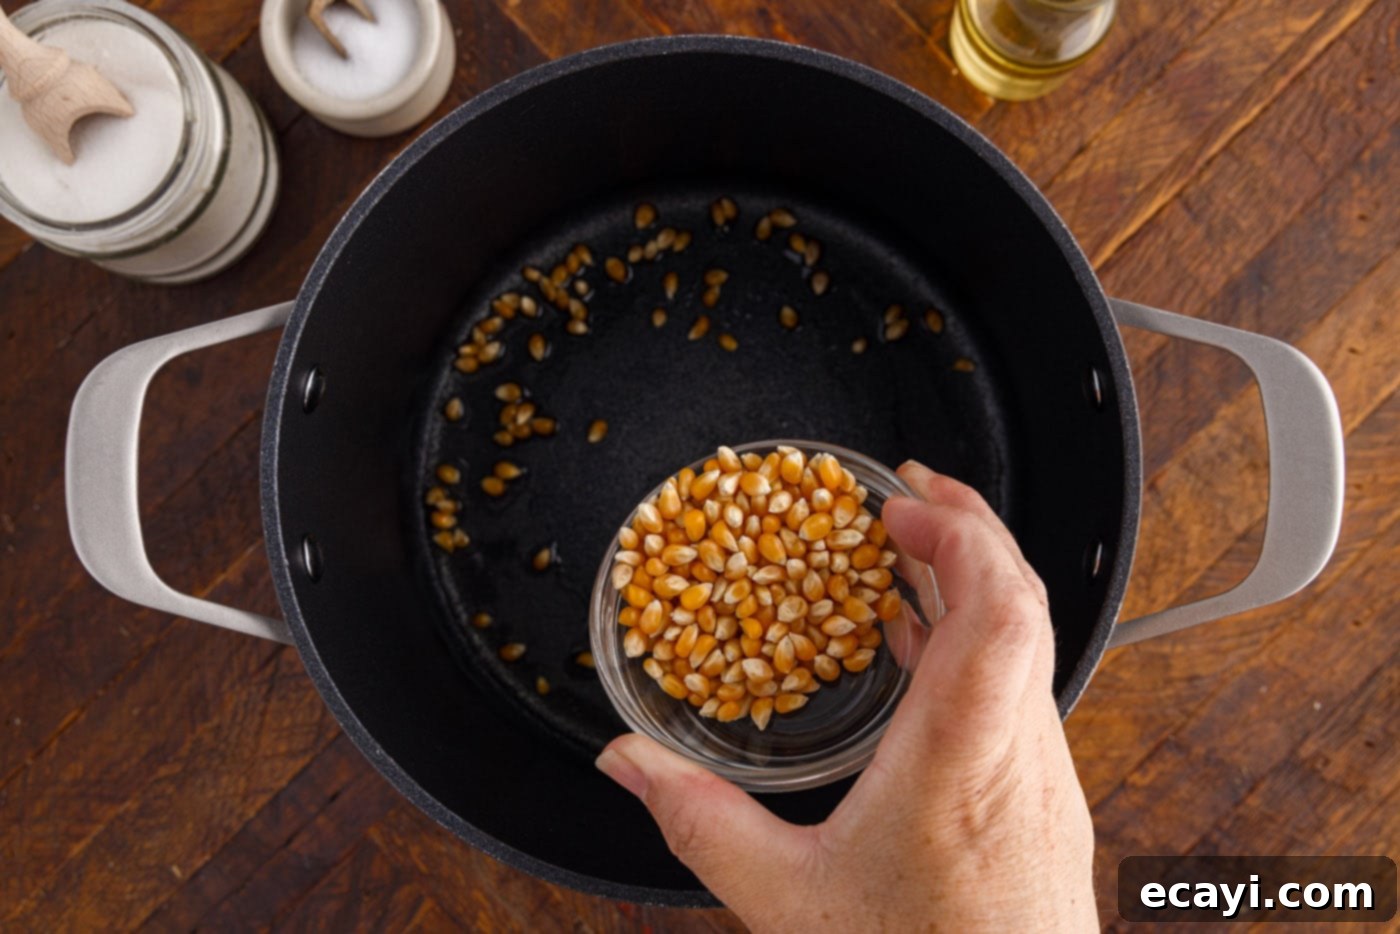
- Add Corn Kernels: Carefully sprinkle the corn kernels into the hot oil. Give the pan a gentle shake to ensure all kernels are lightly coated in the oil. This even coating is crucial for consistent popping and proper sugar adhesion.

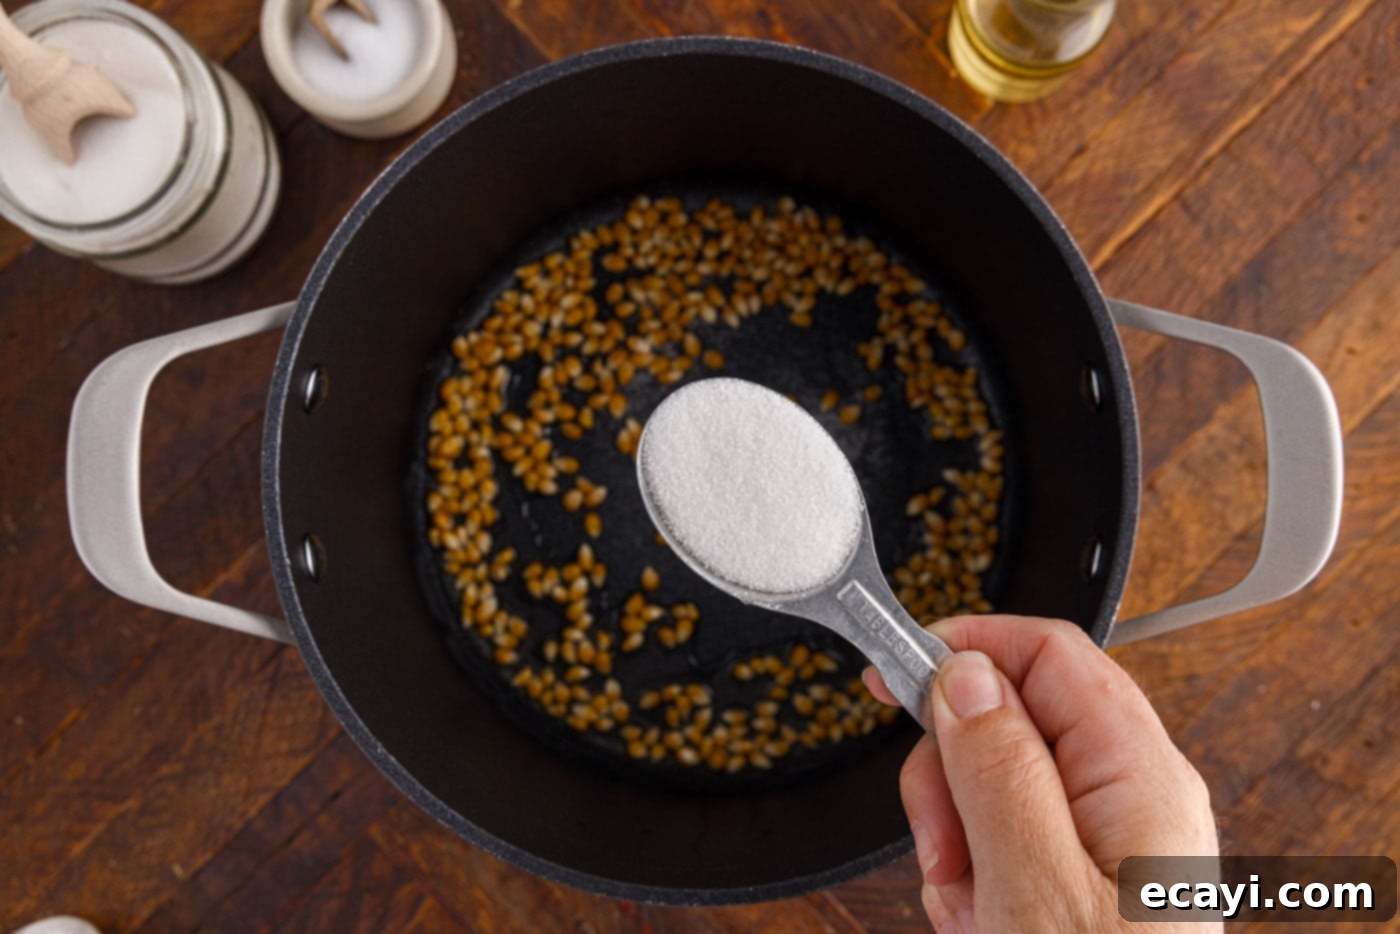
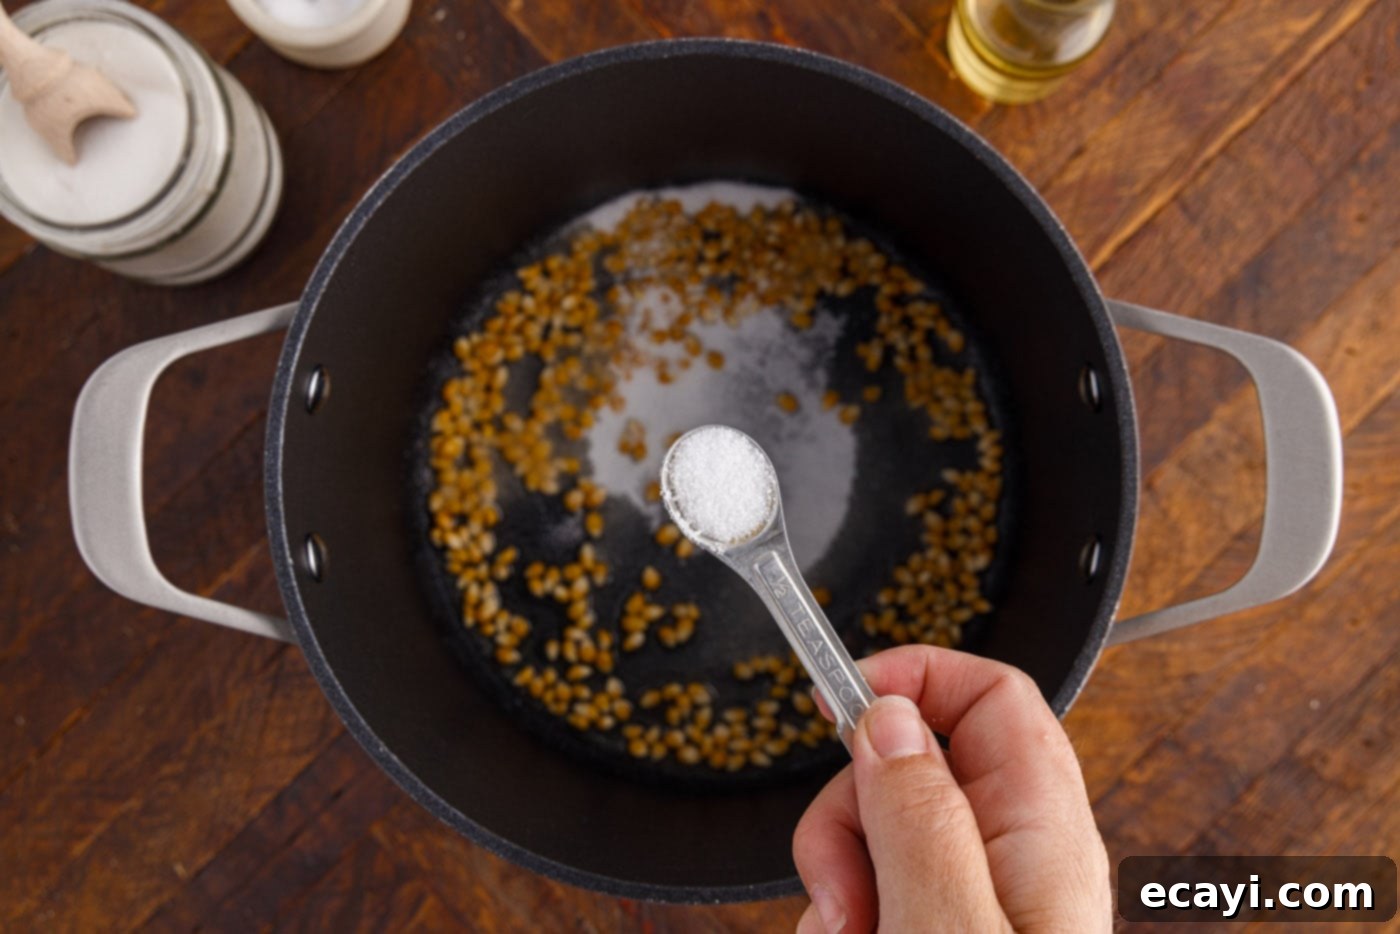
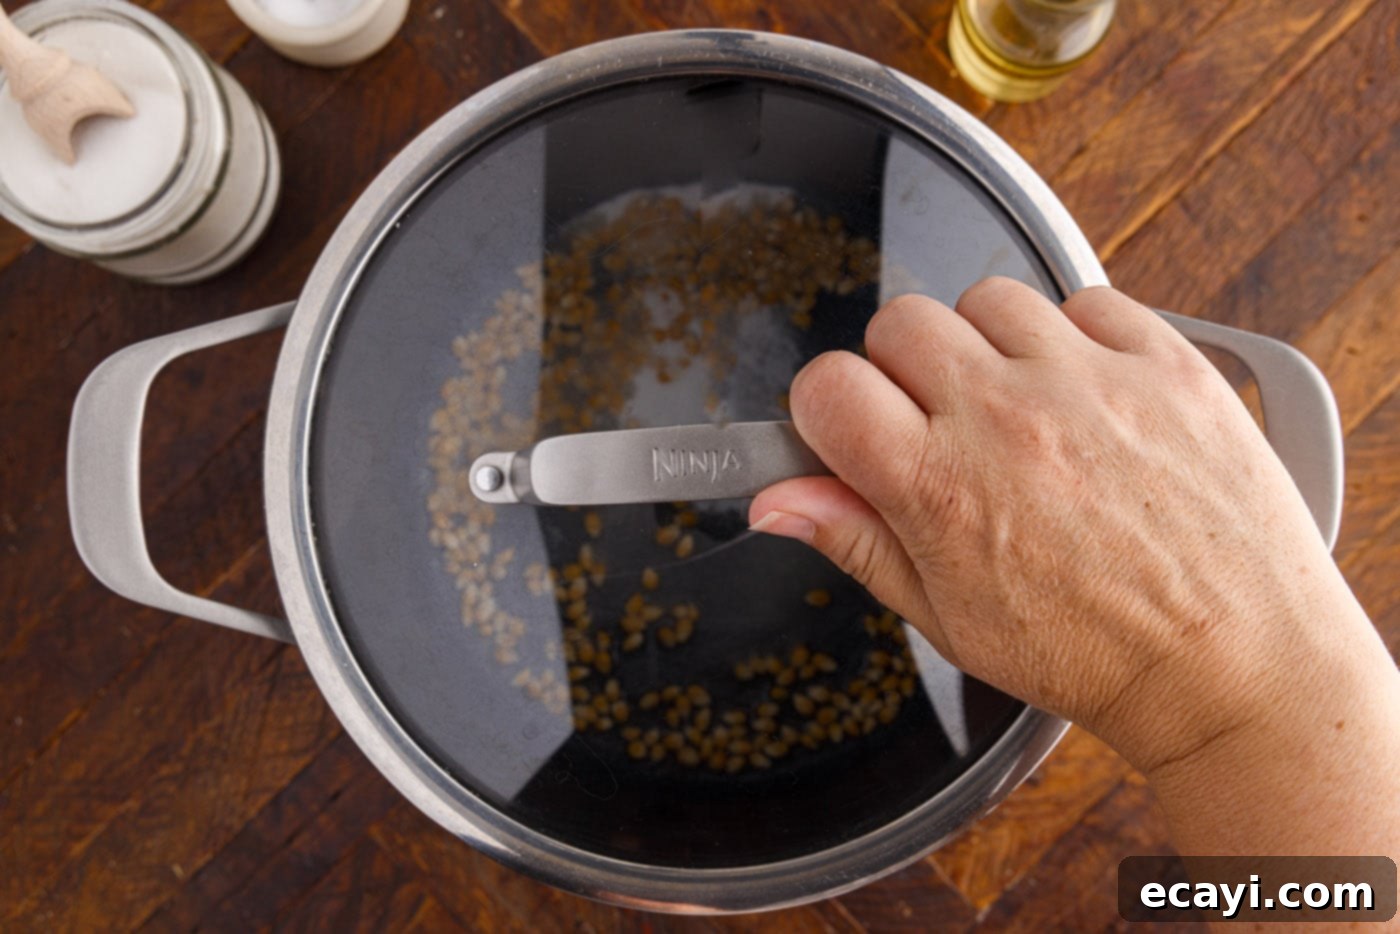
- Season and Cover: Immediately sprinkle the granulated sugar and salt evenly over the corn kernels. Once seasoned, quickly place the lid firmly on the pot. The sugar will start to melt as the kernels heat up, coating them as they pop.


- Constant Shaking is Key: Continue cooking over medium-high heat. This is the most important step for preventing the sugar from burning and ensuring even popping. You must shake the pan constantly, either by lifting it slightly off the burner and shaking vigorously, or by sliding it back and forth on the burner. Keep those kernels moving around inside the pan! This motion helps distribute the melting sugar evenly onto each kernel.
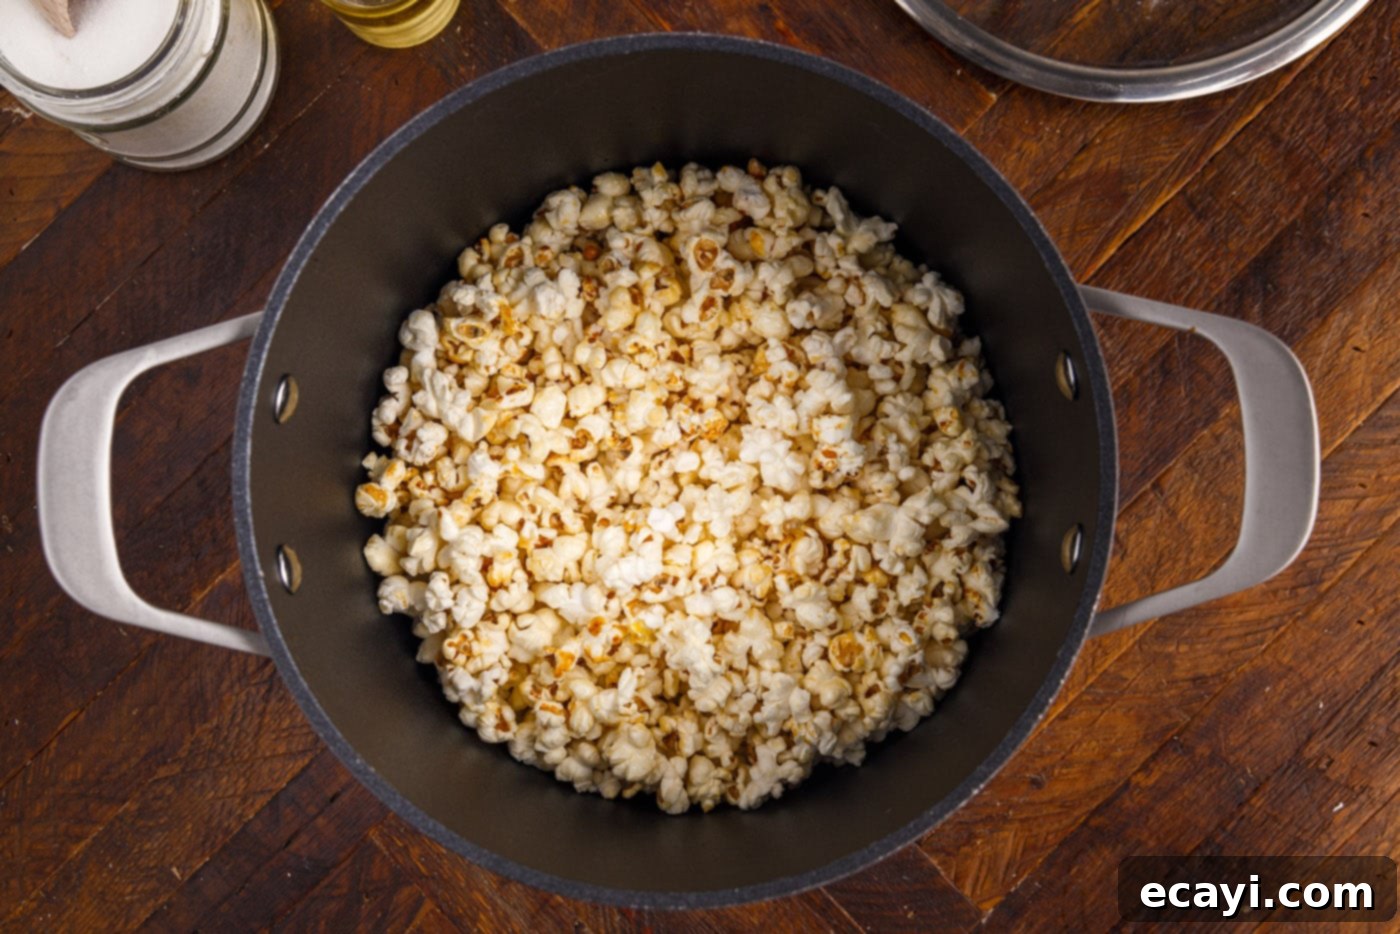
- Monitor the Popping: Soon, you’ll hear the kernels begin to pop. Maintain the constant shaking. Continue to cook until the popping sounds slow down significantly, reaching a point where there’s approximately a one-second pause between pops. This usually indicates that most of the corn has popped, and it’s time to remove it from the heat to prevent burning. Over medium heat, a batch of this size typically takes about 2 minutes to fully pop once the kernels are added to the hot oil.

- Cool Immediately: As soon as the popping slows to the one-second interval, immediately remove the pot from the heat. Pour the freshly popped kettle corn into a separate large bowl or spread it out onto a baking sheet to cool. This rapid cooling step is vital to prevent the hot pot from continuing to cook and potentially burning the sugary coating, ensuring a crispy, non-burnt finish.
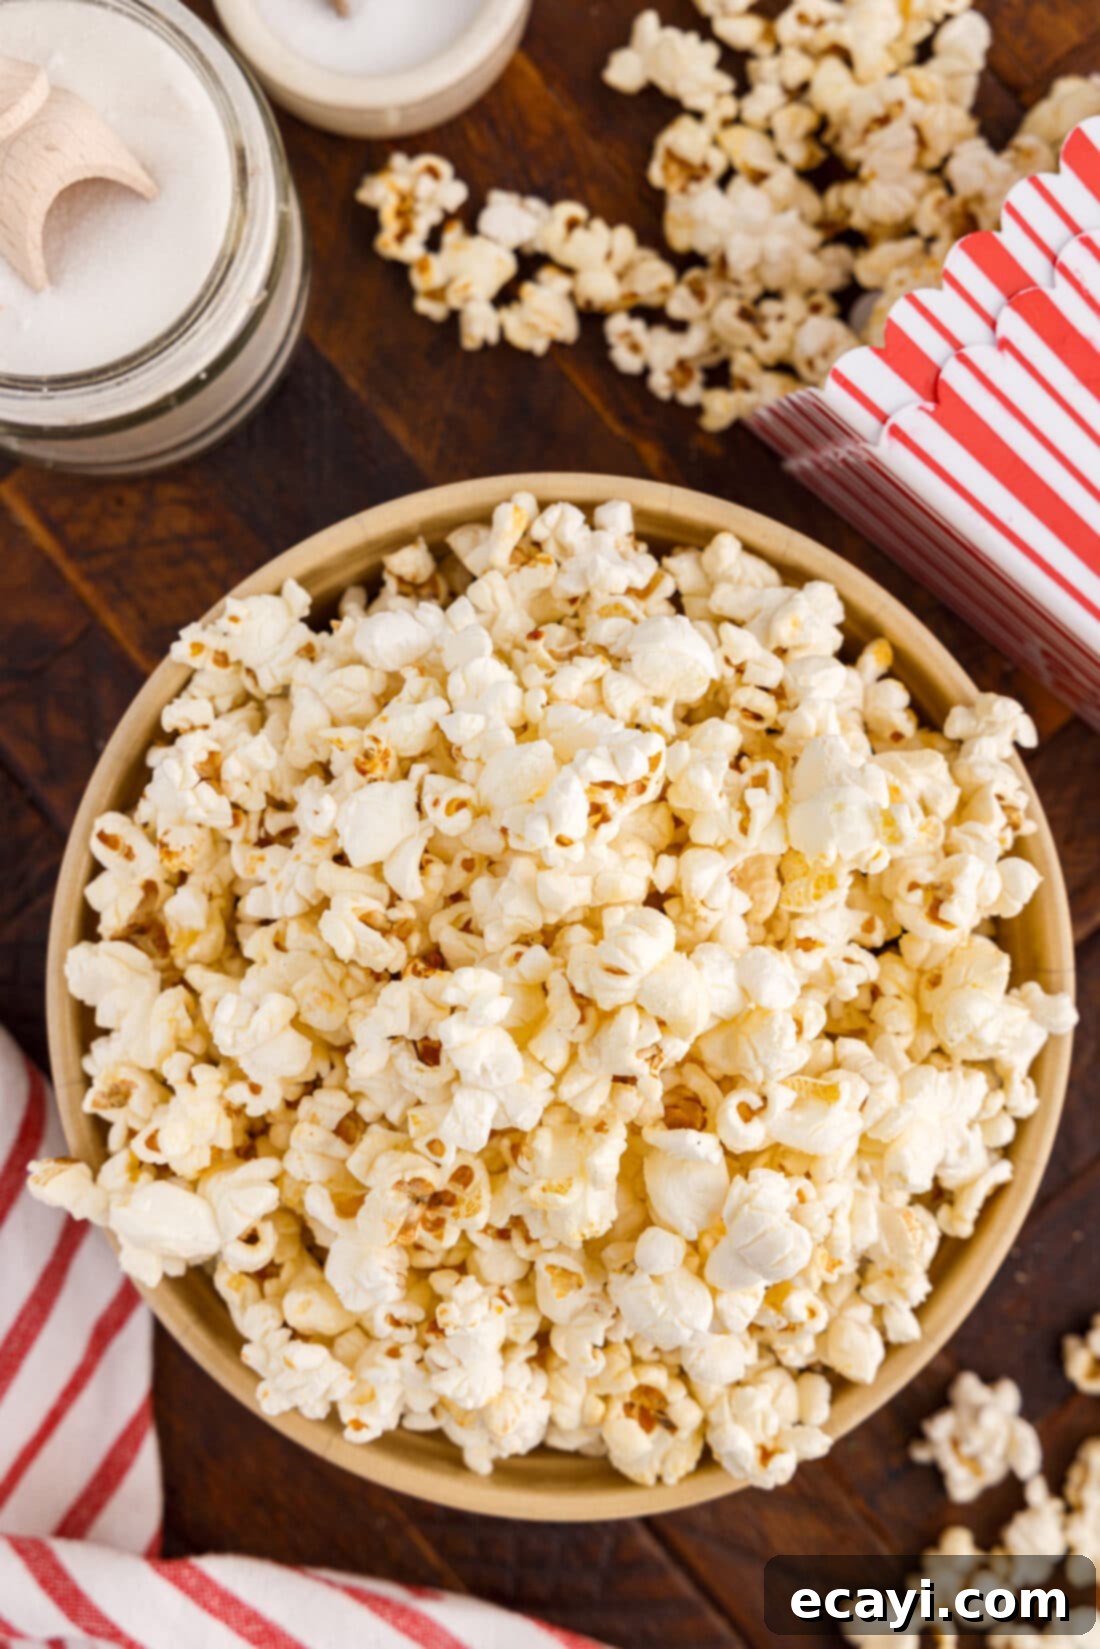
- Serve and Enjoy: Once the kettle corn has cooled slightly, you might find some clumps where the sugar has re-hardened, which is perfectly normal and part of the kettle corn experience. Gently break apart any larger chunks and remove any stubborn unpopped kernels. Your delicious homemade kettle corn is now ready to serve and enjoy!
Frequently Asked Questions & Expert Tips for Kettle Corn Success
While we firmly believe that kettle corn is best enjoyed immediately – especially given how quick and easy it is to make fresh – you can absolutely store any cooled leftovers. To maintain its delightful crispness and flavor, transfer the kettle corn into an air-tight container or a sealed ziptop bag. Store it at room temperature, away from direct sunlight or excessive humidity. When properly stored, homemade kettle corn can remain fresh and enjoyable for 5-6 days. Ensure the container is truly air-tight to prevent it from going stale or absorbing moisture, which can quickly turn your crispy treat soggy.
Sugar burning is a common issue when making kettle corn, but it’s entirely preventable with the right technique. Because sugar caramelizes and then scorches at a relatively low temperature, constant vigilance is required. Here are the key reasons and solutions:
- Lack of Movement: The most frequent cause of burning sugar is insufficient shaking. You must shake the pan constantly throughout the popping process. This keeps the kernels and sugar moving, ensuring even heat distribution and preventing the sugar from sitting in one spot and scorching.
- High Heat: While you start with medium-high heat, if it’s too intense for your stovetop or pot, the sugar can burn before the corn fully pops. Adjust the heat down slightly if you notice a burning smell early on or if the popping seems too aggressive.
- Leaving it in the Hot Pan: Once the popping slows (around 1 second between pops), it’s crucial to immediately remove the kettle corn from the hot pan. Even off the burner, residual heat in the pot can continue to cook and burn the sugar, leading to a bitter taste.
- Choosing the Wrong Pot: A lightweight pot or deep skillet is ideal, as it’s easier to shake continuously. Crucially, choose a pan with plenty of room for the corn to expand – overcrowding can lead to uneven popping and more burnt sugar. A secure lid is also essential to keep the heat and steam inside and the kernels from escaping.
- Trying to Pop Every Kernel: Don’t try to pop every single kernel if it means risking burnt sugar. It’s better to have a few unpopped kernels (often called “old maids”) than a batch of bitter, burnt kettle corn. The perfect batch prioritizes taste over a few leftover kernels.
While granulated white sugar is highly recommended for its consistent results and classic flavor profile in kettle corn, some variations are possible with caution. Brown sugar can be used, but it has a higher moisture content and a lower burning point, making it more prone to scorching. If you do use brown sugar, monitor it very closely and shake even more frequently to prevent it from sticking and burning. Powdered sugar is not recommended as it doesn’t caramelize in the same way and tends to clump, resulting in an inconsistent coating. For the best results and the authentic kettle corn experience, sticking with granulated white sugar is advisable.
For optimal stovetop kettle corn, a large, heavy-bottomed pot or a deep skillet with a tight-fitting lid is essential. The heavy bottom helps distribute heat evenly across the cooking surface, reducing hotspots that can lead to burning sugar and unevenly popped corn. Its large size provides ample room for the popcorn to expand and for you to shake the kernels effectively without them piling up. A secure lid is critical to contain the popping kernels and steam, ensuring efficient popping and preventing a messy explosion on your stovetop. Pots made from stainless steel or anodized aluminum are excellent choices. While cast iron can work due to its heat retention, you’ll need to be extra diligent about continuous shaking and promptly removing the popcorn to prevent burning after it’s done.

Creative Serving Suggestions for Your Kettle Corn
While kettle corn is undeniably delightful when served warm and fresh straight from the skillet, it also maintains its deliciousness and crunch at room temperature, making it a fantastic snack for any time. The sweet and salty contrast makes it incredibly addictive and universally appealing, whether you’re enjoying a quiet evening or hosting a lively event.
Consider making a generous batch for your next party, movie night, game day gathering, or even as a unique homemade gift. To add a fun, festive touch, serve individual portions in cute popcorn buckets or decorative cones. This not only looks appealing but also makes it easy for guests to grab and enjoy, minimizing mess. For a truly immersive carnival-themed party, don’t stop at kettle corn! You could easily whip up some homemade funnel cakes, serve classic cotton candy, or set up a hot dog bar. Going all out with these treats will transport your guests straight to the fairgrounds, creating an unforgettable experience!
For a unique twist, you can also experiment with additional toppings after the kettle corn has completely cooled. A light dusting of cinnamon sugar can add a warm, cozy flavor, perfect for autumn evenings. For a more decadent treat, a drizzle of melted white or dark chocolate can elevate it to a gourmet dessert snack – just ensure the kettle corn is fully cool before adding chocolate to prevent it from melting too quickly and making it sticky. A pinch of chili powder can even add an unexpected sweet and spicy kick, appealing to adventurous palates. The possibilities are endless for customizing your delicious homemade kettle corn!
More Delightful Sweet & Savory Snack Recipes
If you’ve enjoyed making this simple yet satisfying kettle corn, you’ll love exploring these other fantastic snack recipes from our collection. They’re perfect for parties, movie nights, or just everyday cravings for something delicious and easy to prepare:
- Classic Chex Mix
- Irresistible Muddy Buddies (Puppy Chow)
- Crunchy Keto Cheese Crackers
- Sweet and Salty Pretzels in a Jar
- Gourmet Crunchy Popcorn Chocolate Bark
I absolutely love to bake and cook, and my greatest joy is sharing my kitchen experiences and delicious recipes with all of you! Remembering to come back each day to discover new culinary delights can sometimes be a challenge, which is why I offer a convenient newsletter delivered straight to your inbox every time a new recipe is posted. Simply subscribe today and start receiving your free daily recipes – never miss another amazing dish!

Classic Stovetop Kettle Corn
IMPORTANT – There are often Frequently Asked Questions within the blog post that you may find helpful. Simply scroll back up to read them!
Print It
Pin It
Rate It
Save ItSaved!
Ingredients
- 1-2 Tablespoons vegetable oil (or other neutral oil like canola or grapeseed with high smoke point)
- ¼ cup corn kernels (high-quality, fresh popping corn for best results and fewer unpopped kernels)
- 2 Tablespoons granulated white sugar (essential for classic sweet and crispy kettle corn flavor)
- ½ teaspoon sea salt (adjust to your preferred taste for the perfect sweet-salty balance, can reduce to ¼ tsp)
Things You’ll Need
-
Large pot or deep skillet with lid (heavy-bottomed is best for even heat distribution and easier shaking)
Before You Begin & Expert Tips
- Choose Your Pot Wisely: Using a lightweight, yet heavy-bottomed pot or deep skillet makes it significantly easier to maintain the constant shaking motion throughout the cook time. Select a pan that offers plenty of room for the corn kernels to expand as they pop, and crucially, one with a secure-fitting lid to keep the kernels inside and the heat in. This also helps in coating the corn evenly for that signature sweet crunch.
- Prevent Burning is Key: Due to the sugar in this recipe, kettle corn can burn or scorch very easily. The most critical aspect to prevent this is to keep the kernels constantly moving in the pan. Additionally, as soon as the popping process slows down, get the popped corn out of the hot pan as quickly as possible. Don’t worry about trying to pop every single kernel; it’s always better to have a few unpopped “old maids” than a batch of burnt, bitter kettle corn.
- Adjust Salt to Taste: The specified amount of 2 tablespoons of sugar and 1/2 teaspoon of salt creates a delightful sweet and salty balance. However, individual preferences vary greatly. If you prefer a less salty flavor, feel free to reduce the salt to 1/4 teaspoon. You can also add salt after popping and taste-test as you go for precise control over the final flavor.
- Proper Storage for Freshness: While the absolute best way to enjoy kettle corn is warm and fresh, any cooled leftovers can be stored effectively. Place them immediately into an air-tight container or a tightly sealed ziptop bag. Kept at room temperature, away from humidity, your homemade kettle corn will maintain its freshness and satisfying crunch for 5-6 days. Ensuring the container is sealed tightly is critical to preventing staleness and maintaining texture.
- Optimal Oil Selection: A neutral-flavored oil with a high smoke point, such as vegetable, canola, or grapeseed oil, is highly recommended. This allows the sweet and salty flavors of the kettle corn to shine without any interfering oil tastes. Avoid oils like olive oil with lower smoke points.
- Ensuring Even Coating: The method of shaking the pan to coat kernels in oil initially, and then sprinkling sugar and salt evenly over them, is designed to ensure that each popped piece gets a delicious and balanced coating. Don’t skip these shaking steps for the best results!
Instructions
-
Coat the bottom of a large, heavy-bottomed pot or deep skillet with 1-2 tablespoons of neutral oil (like vegetable or canola). Place over medium-high heat and heat until the oil begins to shimmer, indicating it’s ready to pop the corn effectively.
-
Carefully add ¼ cup of corn kernels to the pan. Give the pan a quick shake to ensure all the kernels are coated in the hot oil, preparing them for even popping.
-
Evenly sprinkle 2 tablespoons of granulated white sugar and ½ teaspoon of sea salt over the kernels. Immediately place the lid securely on the pot. This quick action is crucial for capturing the heat and steam.
-
Continue cooking over medium-high heat, constantly shaking the pan. This continuous motion is crucial to keep the kernels and melting sugar moving, preventing scorching and ensuring even popping and coating. This is the most vital step for perfectly glazed kettle corn.
-
The kernels will soon begin to pop vigorously. Maintain constant shaking. Continue to cook until the popping sounds slow down considerably, reaching an interval of about one second between pops. This usually signifies that most of the corn has popped, and it’s time to remove it from the heat to prevent burning. (On medium heat, this batch size typically takes about 2 minutes once kernels are added to hot oil.)
Over medium heat, my kettle corn took about 2 minutes to pop once the kernels were added to the hot oil.
-
Immediately remove the pot from the heat and pour the hot kettle corn into a separate large bowl or spread it thinly onto a baking sheet. This stops the cooking process and prevents the sugar from burning due to residual heat, ensuring a crisp and perfectly coated result.
-
Once slightly cooled, gently break apart any larger clusters of kettle corn and remove any unpopped kernels. Your homemade sweet and salty kettle corn is now ready to be savored! Enjoy it warm or at room temperature for a delightful snack.
Nutrition
The recipes on this blog are tested with a conventional gas oven and gas stovetop. It’s important to note that some ovens, especially as they age, can cook and bake inconsistently. Using an inexpensive oven thermometer can assure you that your oven is truly heating to the proper temperature. If you use a toaster oven or countertop oven, please keep in mind that they may not distribute heat the same as a conventional full sized oven and you may need to adjust your cooking/baking times. In the case of recipes made with a pressure cooker, air fryer, slow cooker, or other appliance, a link to the appliances we use is listed within each respective recipe. For baking recipes where measurements are given by weight, please note that results may not be the same if cups are used instead, and we can’t guarantee success with that method.
