No-Bake Layered Jello Pie: An Easy, Vibrant & Creamy Dessert for Any Celebration
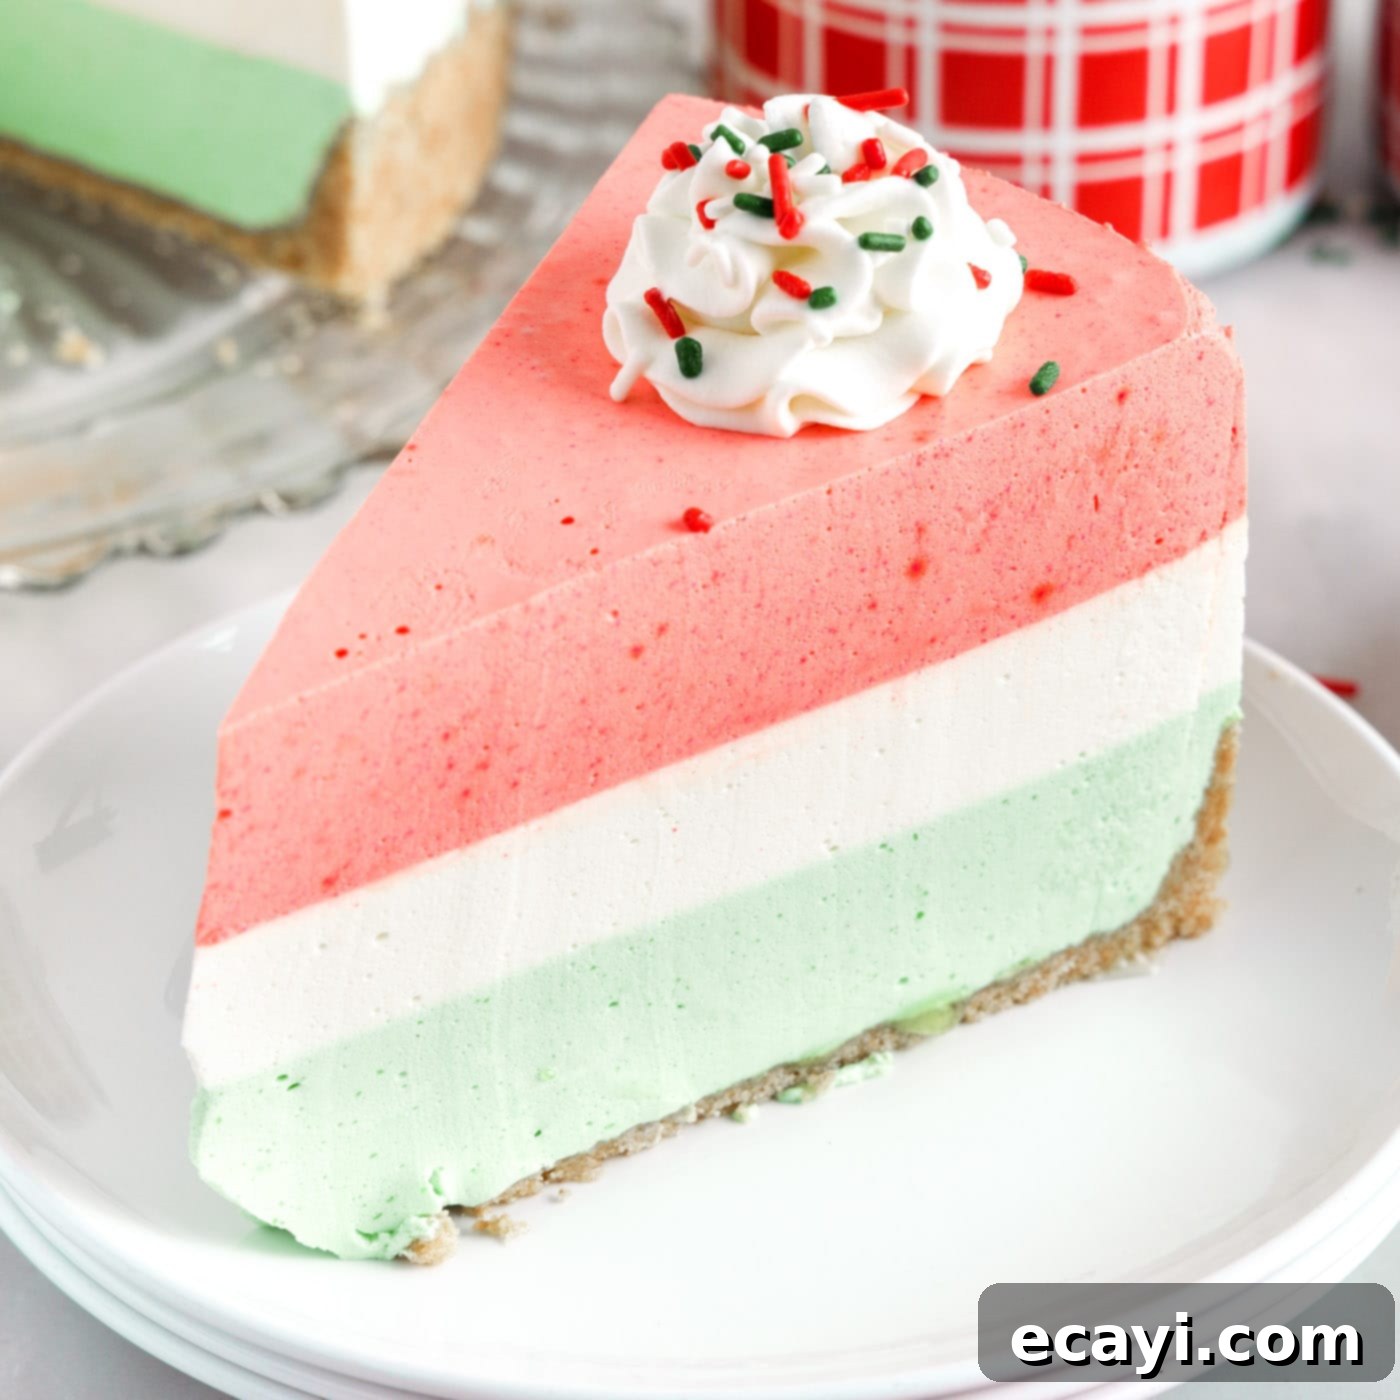
Prepare to delight your senses with this truly irresistible no-bake layered jello pie! Perfect for holidays, special occasions, or simply a fun weeknight treat, this dessert is as visually stunning as it is delicious. Featuring three distinct layers of creamy, whipped jello, each bursting with fruity flavor, all nestled atop a sweet, buttery graham cracker crust, it’s a showstopper that requires absolutely no oven time. Imagine the vibrant colors and smooth texture, making it a dessert that both kids and adults adore. This recipe is designed to be straightforward, allowing you to create an impressive treat with minimal effort, making it ideal for even beginner bakers (or no-bakers, in this case!).
Why This Layered Jello Pie Will Become Your Go-To Dessert
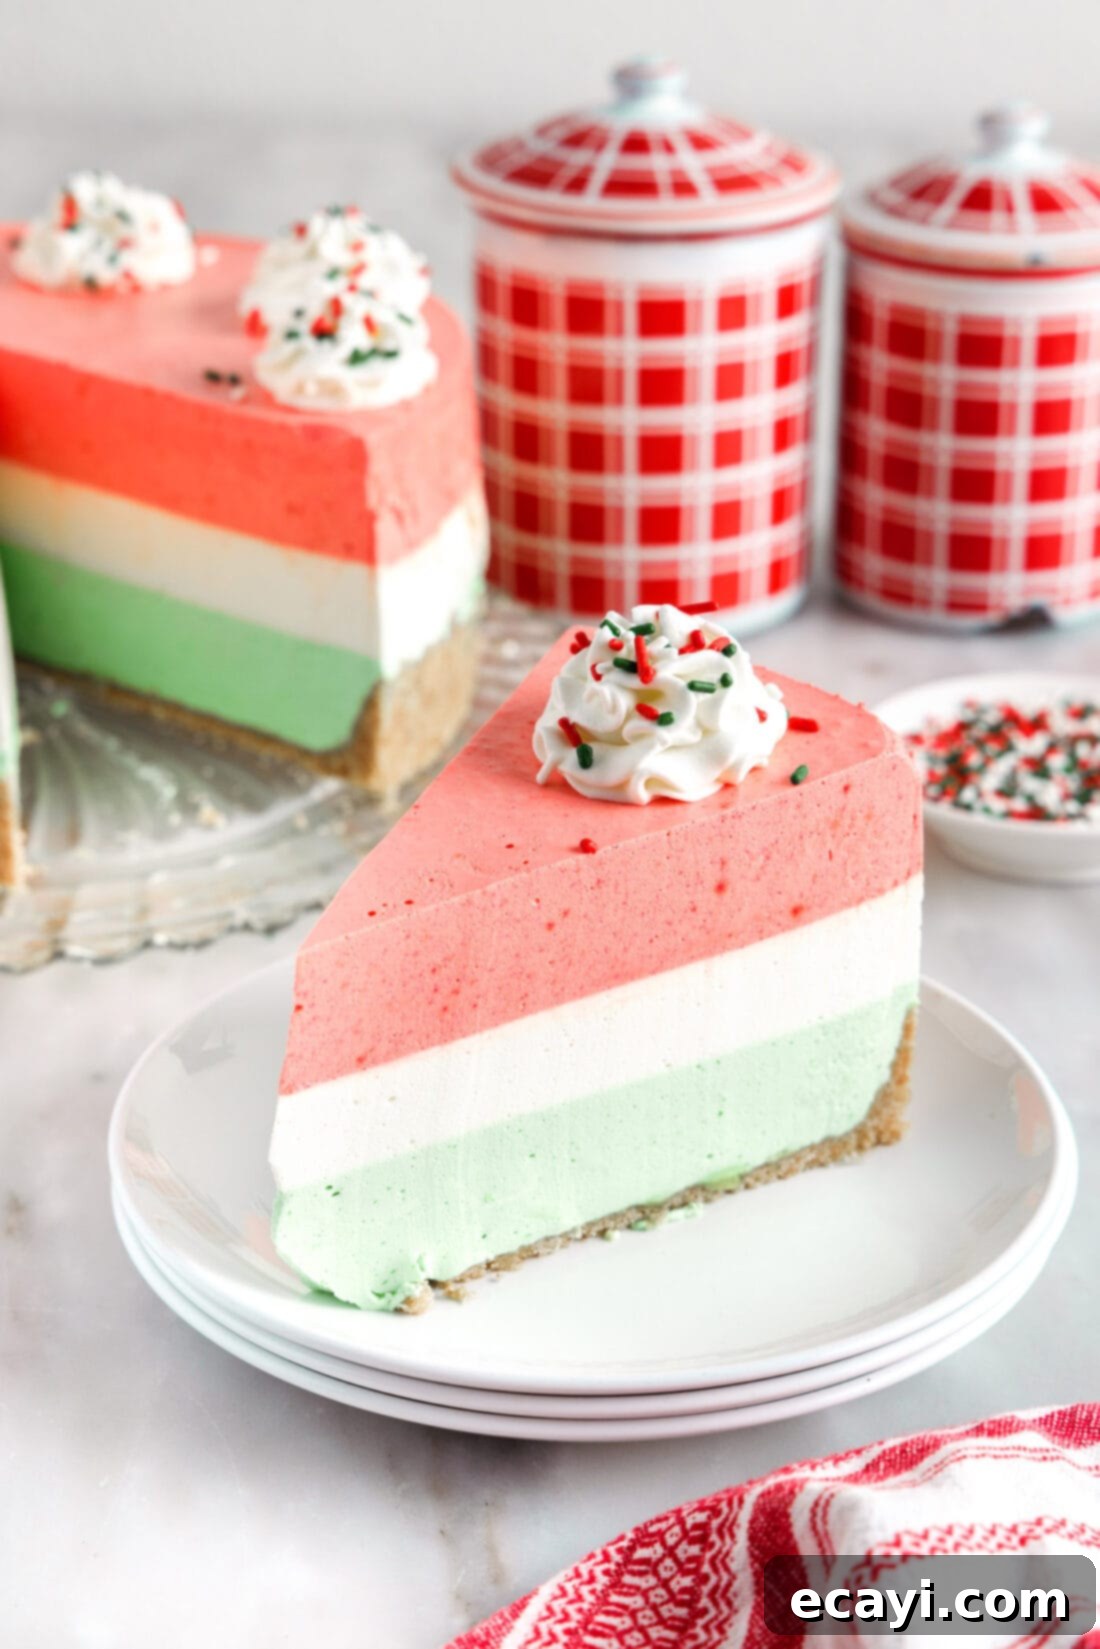
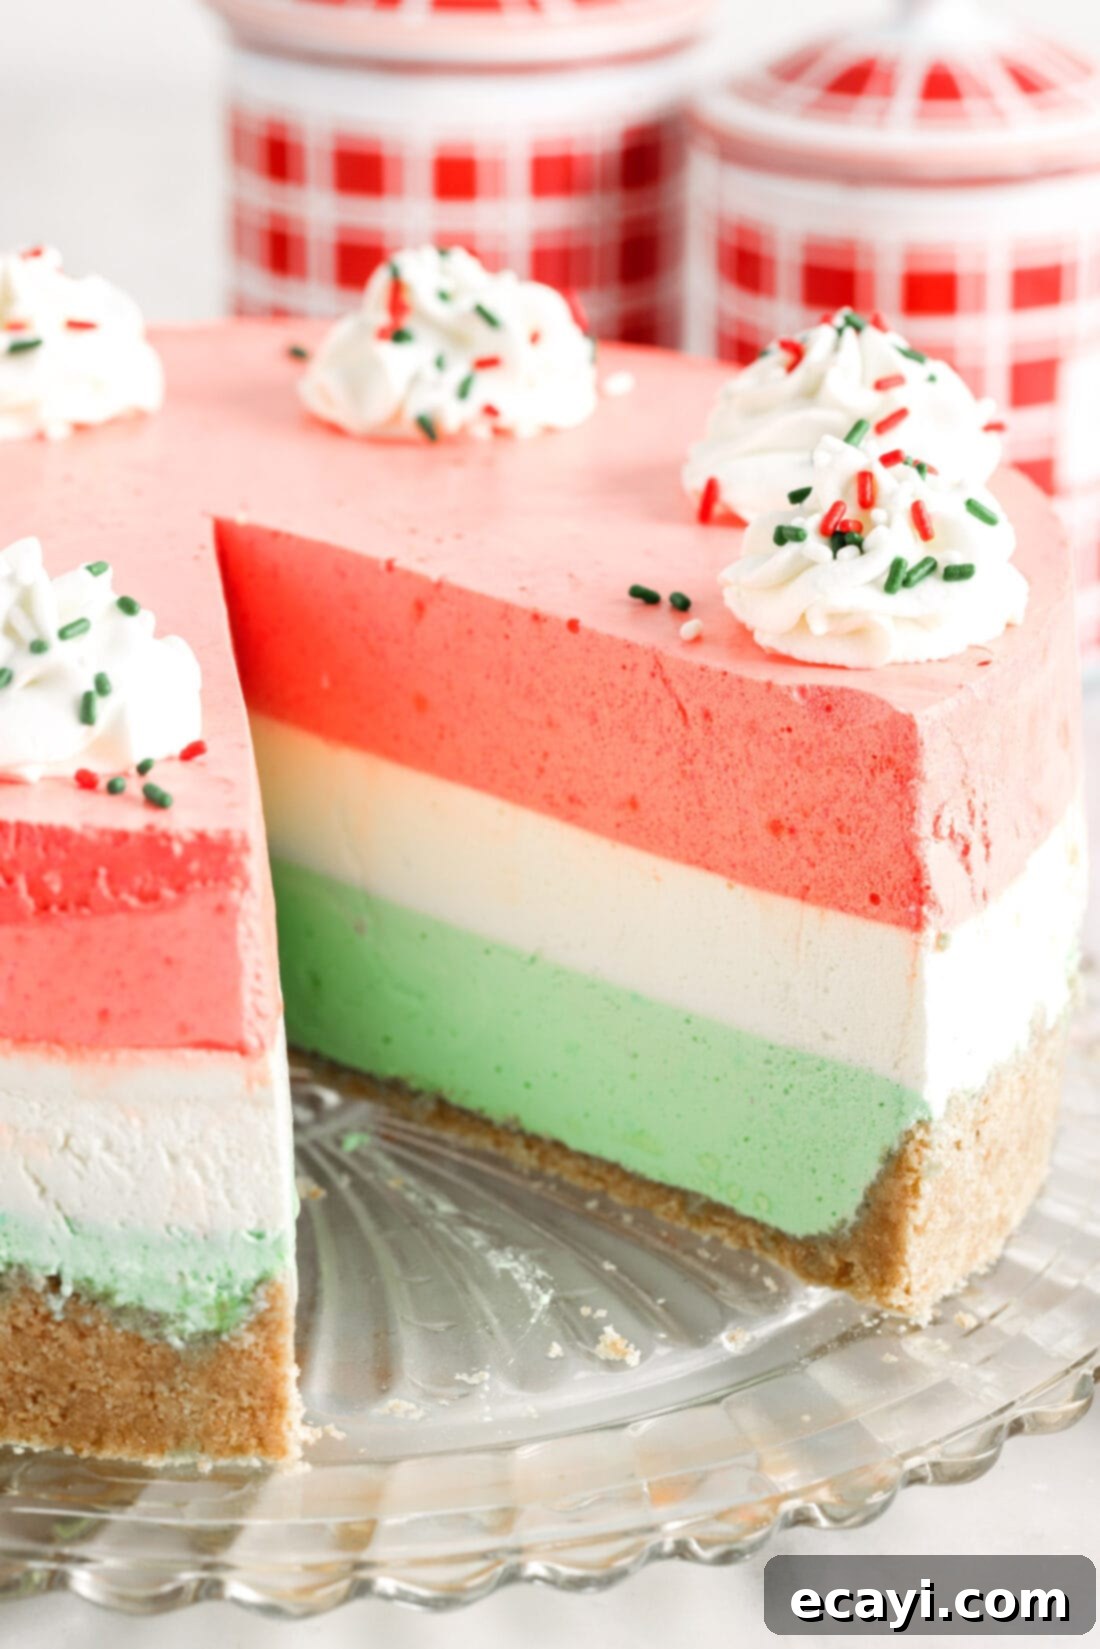
This layered jello pie isn’t just a dessert; it’s an experience! Its charm lies in its brilliant simplicity and remarkable versatility. You can craft this pie with virtually any color and flavor combination of jello imaginable, making it incredibly adaptable for different themes or seasonal festivities. The magic happens when you gently whisk dissolved jello with creamy Cool Whip, transforming it into light, airy, and fluffy layers that melt in your mouth. For our festive rendition, we’ve harmoniously combined the classic tastes of cherry, lime, and lemon jello, creating a vibrant Christmas jello pie that boasts a delightful balance of sweet, creamy, and fruity notes.
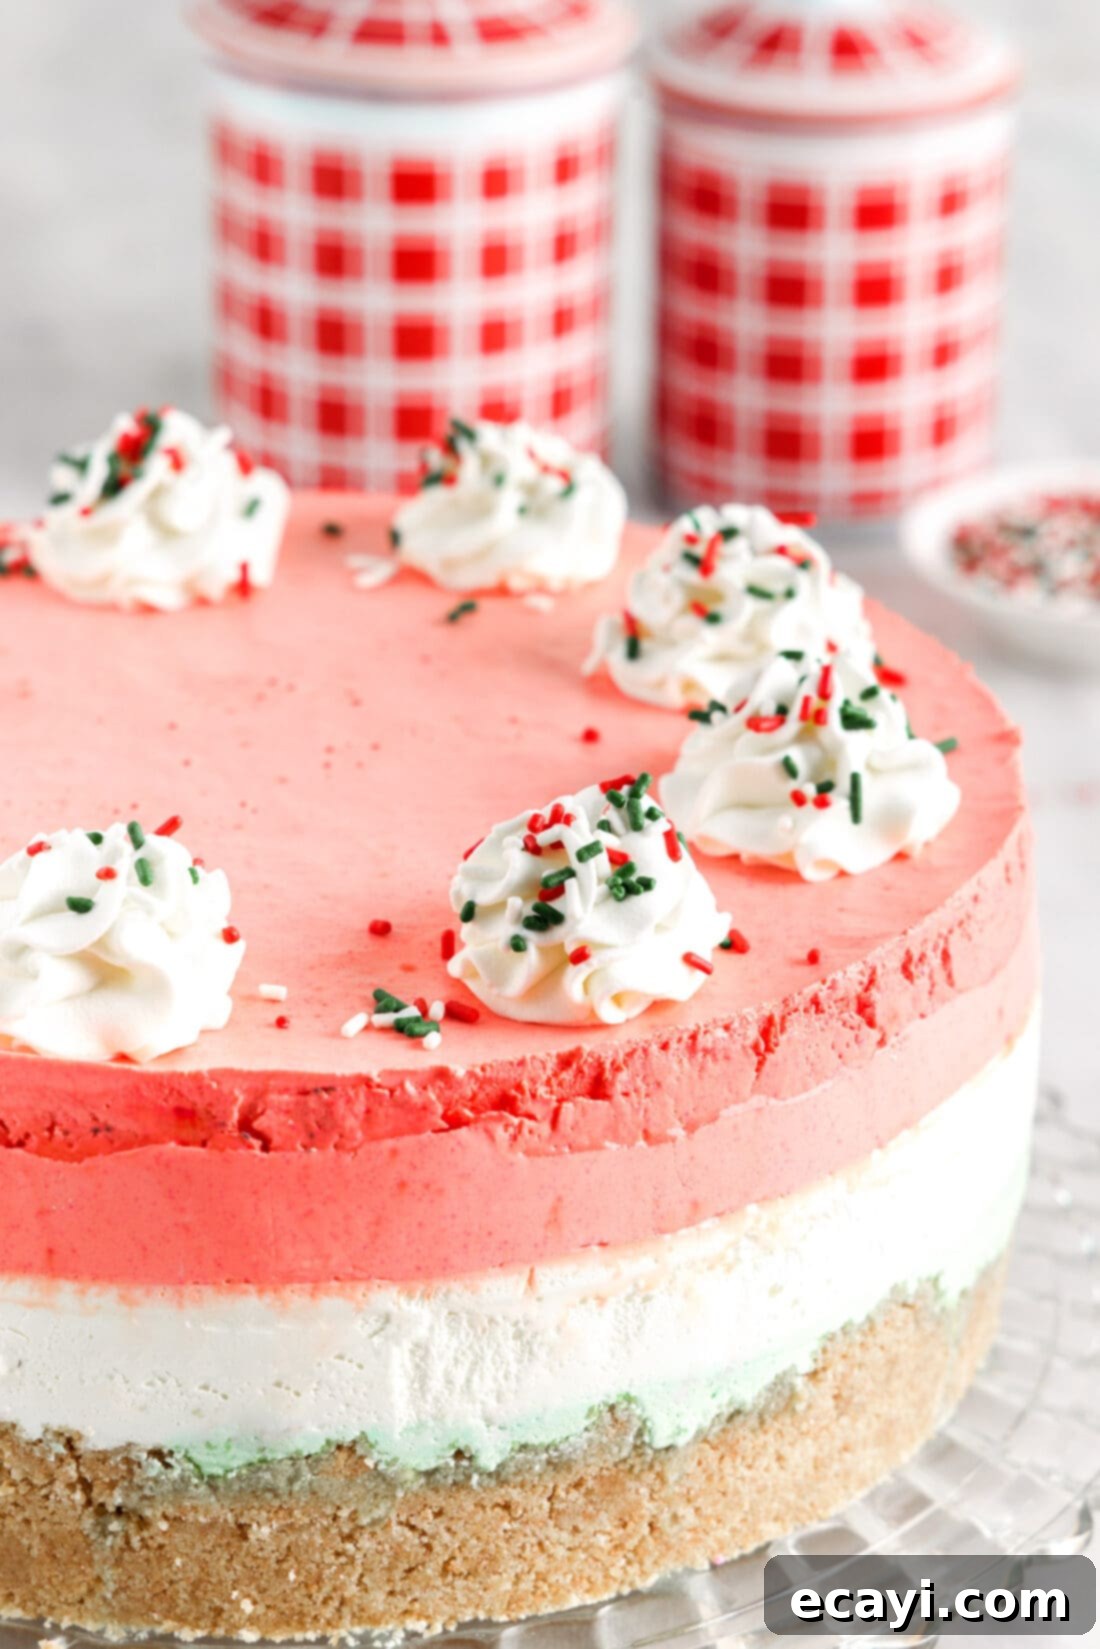
What truly sets this no-bake pie apart is its effortless elegance. It slices incredibly smoothly, revealing beautifully stacked layers of pastel colors that make for an incredibly pretty presentation on any dessert table. It’s a fantastic alternative to heavier baked goods, offering a refreshing and light option, especially after a substantial meal. The “no-bake” aspect is a huge advantage, freeing up your oven during busy holidays and simplifying your dessert preparation. Plus, who can resist the playful, nostalgic charm of a fluffy whipped jello confection? It’s a dessert that consistently garners smiles and compliments, proving that sometimes the simplest recipes yield the most spectacular results.
Essential Ingredients for Your Layered Jello Pie
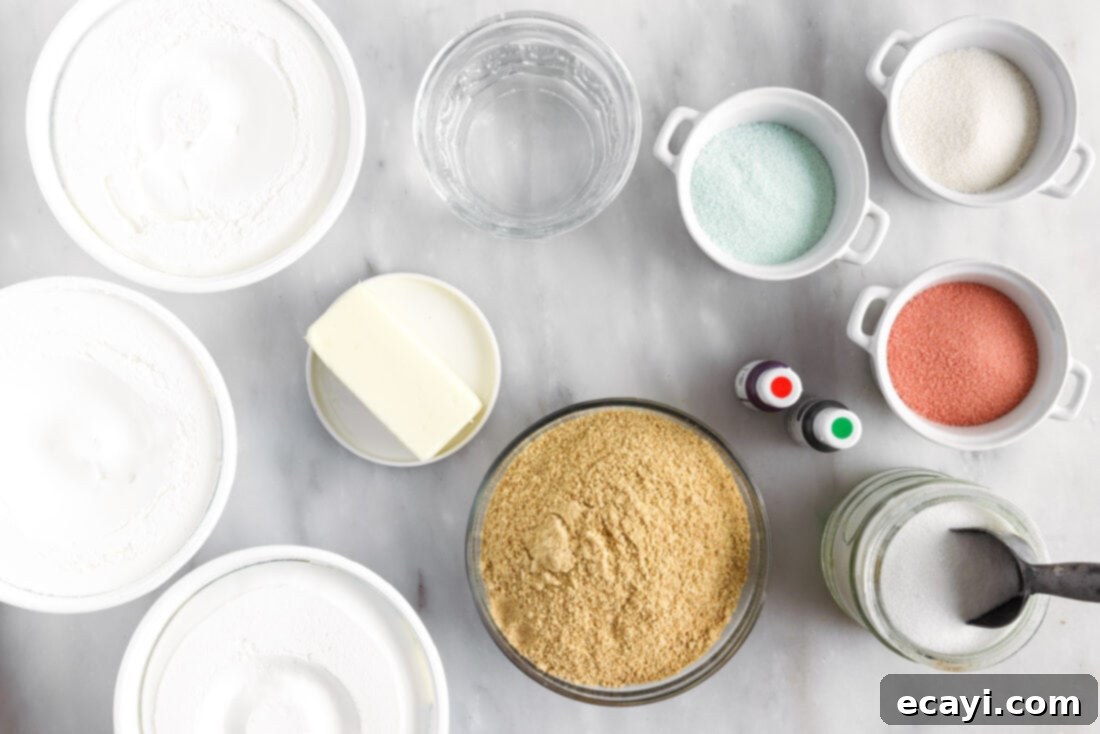
Creating this stunning layered jello pie requires a handful of readily available ingredients. While the full recipe card at the end of this post provides all precise measurements and detailed instructions, here’s a quick overview of what you’ll need to gather:
- **For the Crust:** Graham cracker crumbs, melted butter, and granulated sugar.
- **For the Jello Layers:** Lime jello mix, lemon jello mix, and cherry jello mix.
- **For the Creamy Texture:** Boiling water, cold water, and Cool Whip (or homemade whipped cream).
- **For Color Enhancement (Optional):** Red and green gel food coloring.
- **For Garnish (Optional):** Whipped cream and festive sprinkles.
These ingredients come together to form a harmonious blend of textures and flavors, from the crunchy crust to the smooth, airy jello layers. Make sure to have everything on hand before you begin for a seamless preparation process!
Ingredient Insight & Clever Substitutions for Your Jello Pie
Understanding your ingredients and knowing when and how to make substitutions can elevate your baking (or no-baking!) experience. Here’s a deeper look into the components of our layered jello pie:
CRUST Perfection: The foundation of this delightful pie is a classic graham cracker crust, made simply with graham cracker crumbs, rich melted butter, and a touch of sugar. This combination creates a sturdy yet tender base that complements the light jello filling. You can often find pre-crushed graham cracker crumbs in the baking aisle of most grocery stores, which saves a step. If they’re unavailable, don’t fret! You’ll need about 12 full sheets of graham crackers to yield the required 1½ cups of crumbs. Simply crush them in a food processor for a fine, even texture, or place them in a large zip-top bag and use a rolling pin to break them down. For ultimate convenience, a premade graham cracker crust is a perfectly acceptable shortcut. For a twist, consider using vanilla wafer crumbs or even crushed Oreo cookies for a different flavor profile that pairs wonderfully with many jello flavors.
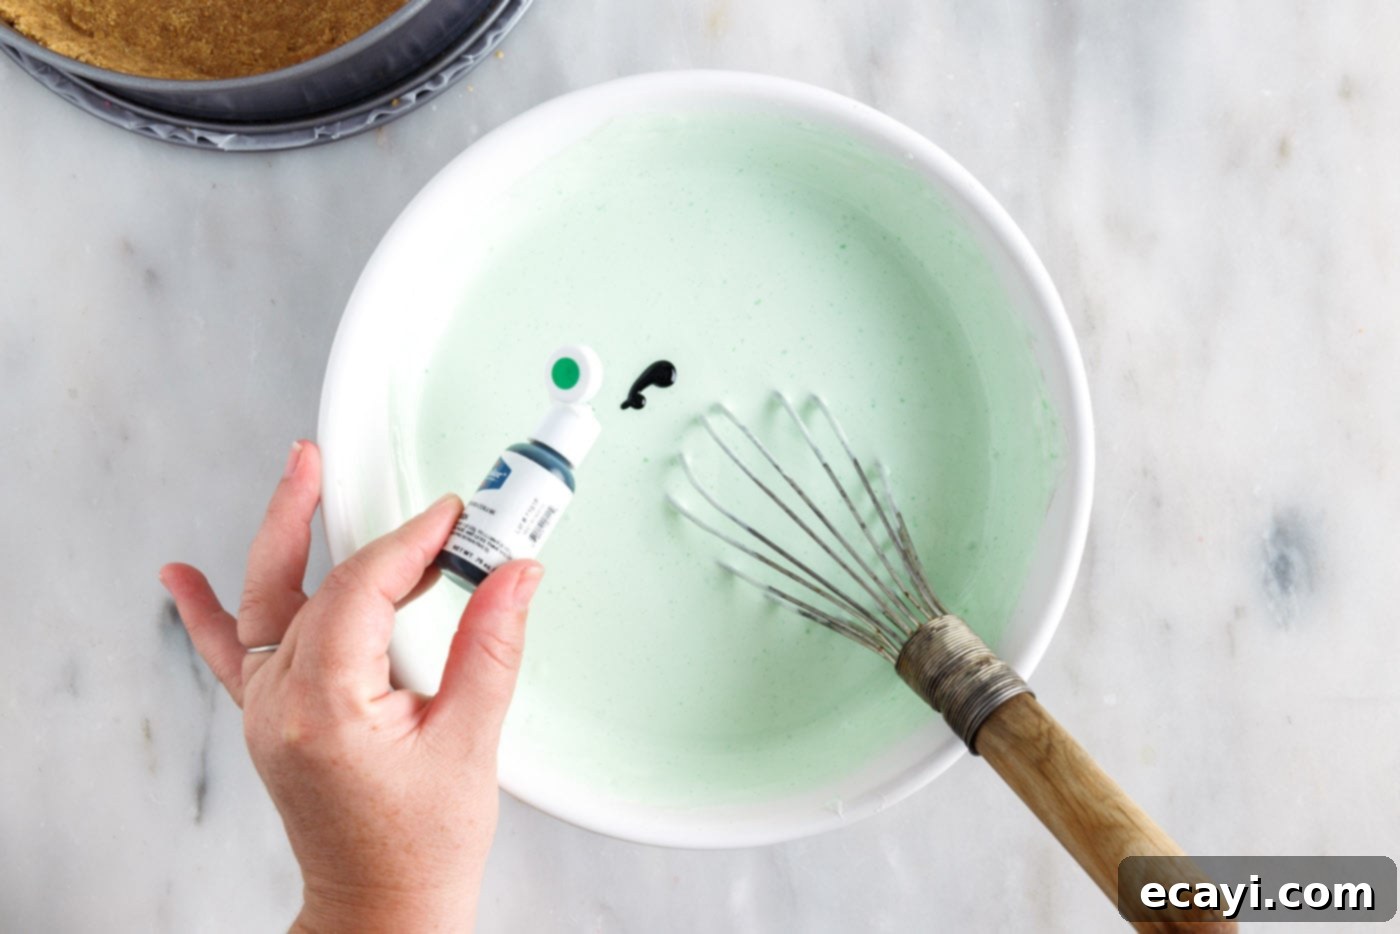
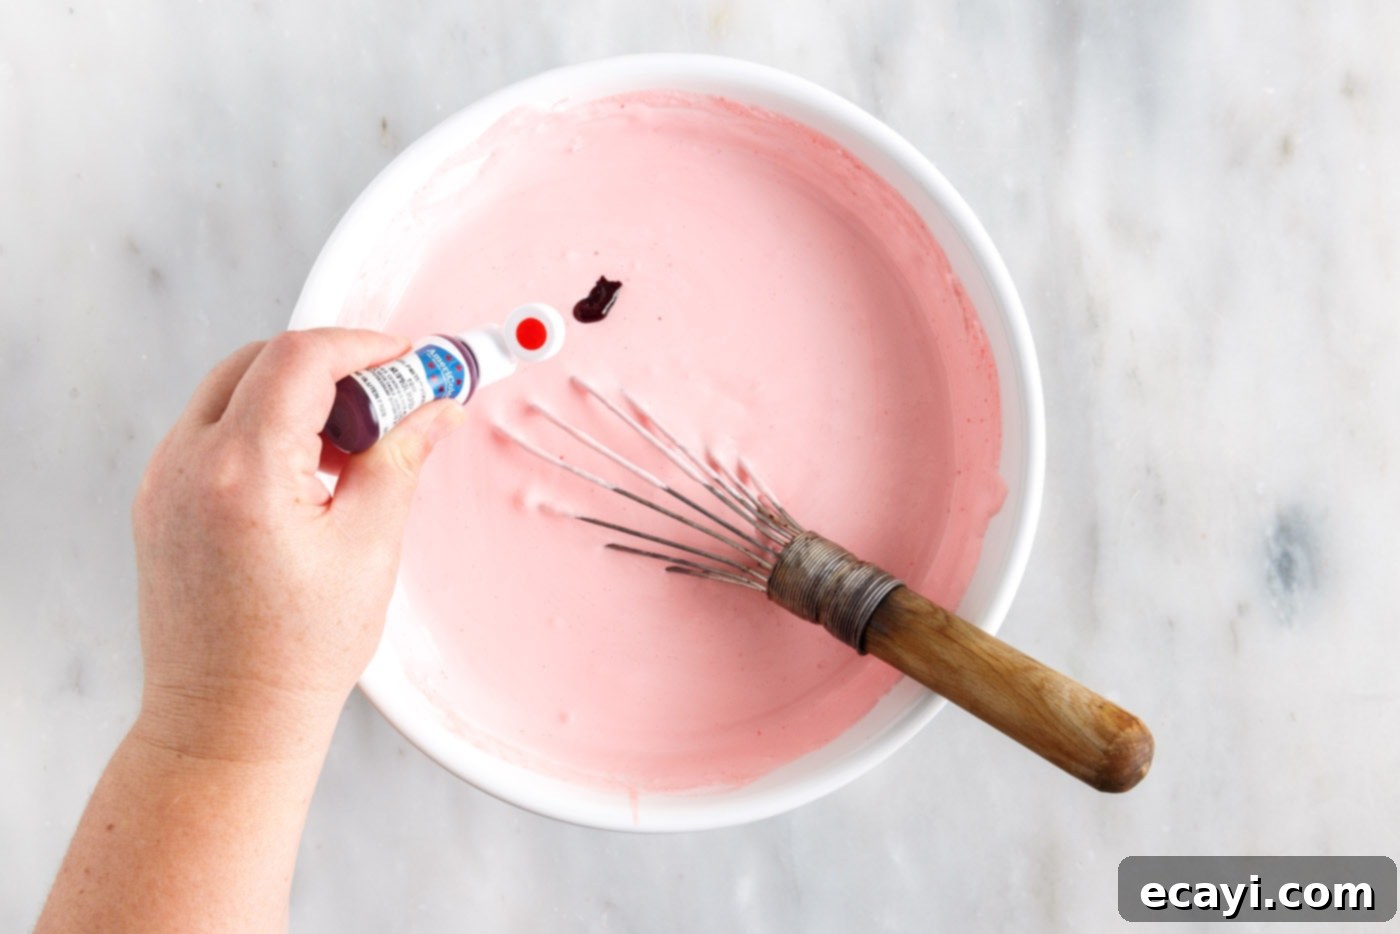
FILLING Flavors & Hues: Our chosen jello flavors – vibrant lime for green, cheerful cherry for red, and sunny lemon for a light, almost white layer – create a festive holiday palette. When mixed with Cool Whip, these jellos transform into beautiful pastel shades, offering a softer visual appeal. If you desire a more intense, saturated color for your layers (perhaps for a specific theme or if you prefer bolder hues), a drop or two of gel food coloring can be added. Gel food coloring provides concentrated color without altering the jello’s consistency. Remember, the color won’t deepen significantly after setting, so tint it to your desired vibrancy during the mixing stage.
COOL WHIP vs. Homemade Whipped Cream: Cool Whip is a convenient, stable, and deliciously light non-dairy whipped topping that contributes significantly to the fluffy, creamy texture of this pie. However, if you prefer to avoid Cool Whip or simply love the taste of homemade, you can absolutely substitute it with freshly whipped heavy cream. To do so, you’ll need approximately 3 cups of heavy whipping cream and 3 tablespoons of powdered sugar (also known as confectioners’ sugar). Beat these ingredients on medium-high speed with a whisk attachment until stiff peaks form. The homemade version will offer a richer, less airy texture and a delightful dairy flavor, while Cool Whip provides unparalleled stability for those distinct jello layers.
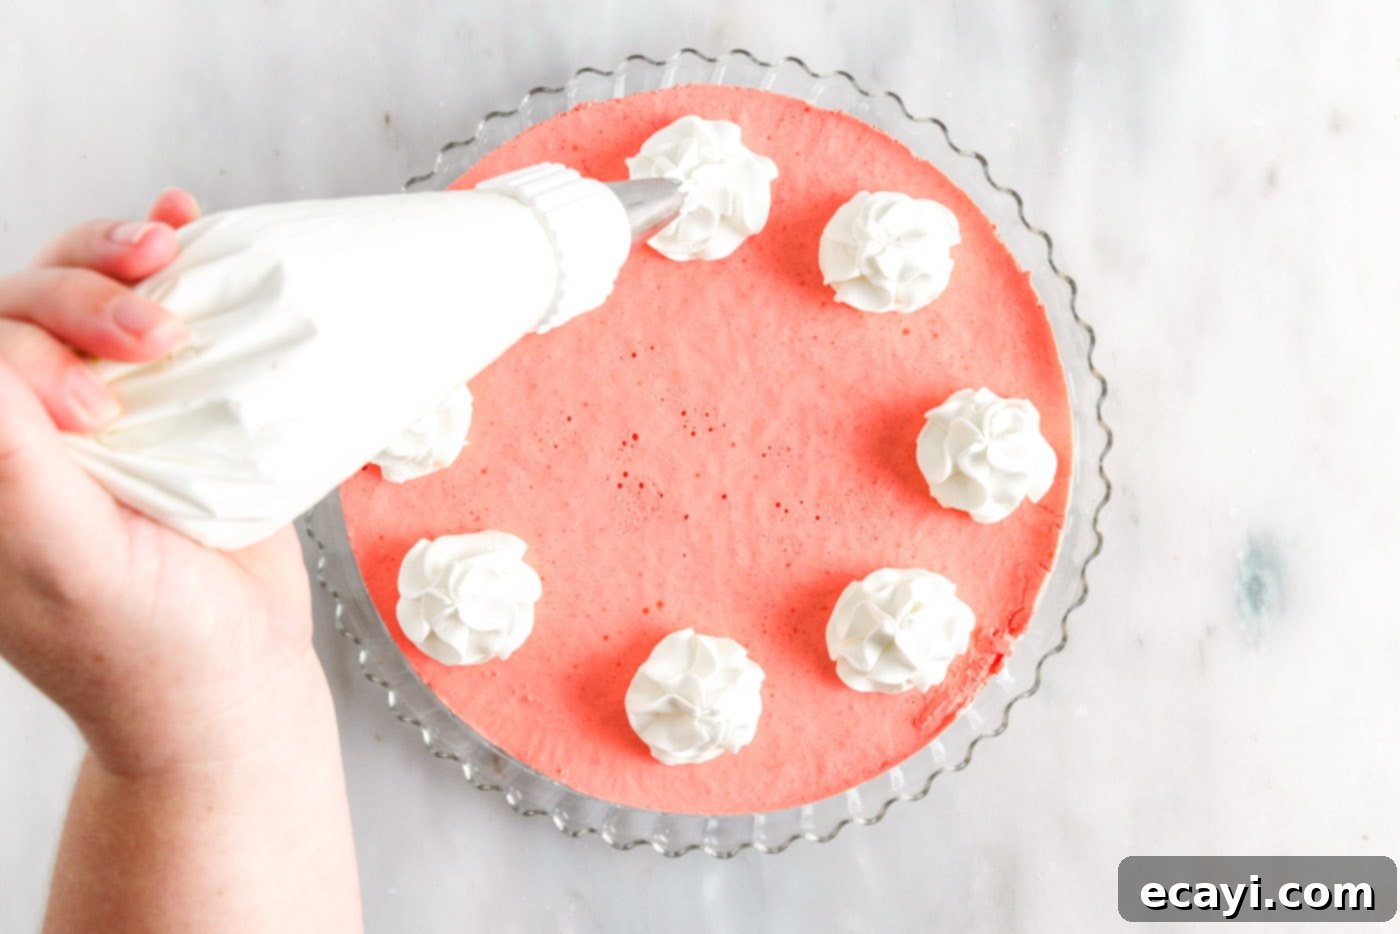
GARNISH Glamour: A beautifully garnished pie is always more inviting! To create elegant swirls for decoration, whip 1 cup of heavy cream until soft peaks appear. Gradually add 2-3 tablespoons of powdered sugar, continuing to whip until stiff peaks hold their shape. This firm whipped cream is perfect for piping. We love using a piping bag fitted with a #1M piping tip to create stunning rosettes and swirls around the edge of the pie. Beyond whipped cream, consider adding a sprinkle of festive Christmas-themed sprinkles, fresh berries (strawberries, raspberries, or lime slices), or even a few mint leaves for a touch of freshness. The garnish is your chance to add a personal, decorative flourish!
Step-by-Step Guide: Crafting Your Perfect Layered Jello Pie
These step-by-step photos and instructions are here to help you visualize how to make this recipe. You can Jump to Recipe to get the printable version of this recipe, complete with measurements and instructions at the bottom.
- First, prepare your deep dish springform pan. Line the bottom with a sheet of parchment paper to ensure easy removal and a clean presentation once the pie is set. This step is crucial for a flawless finish.
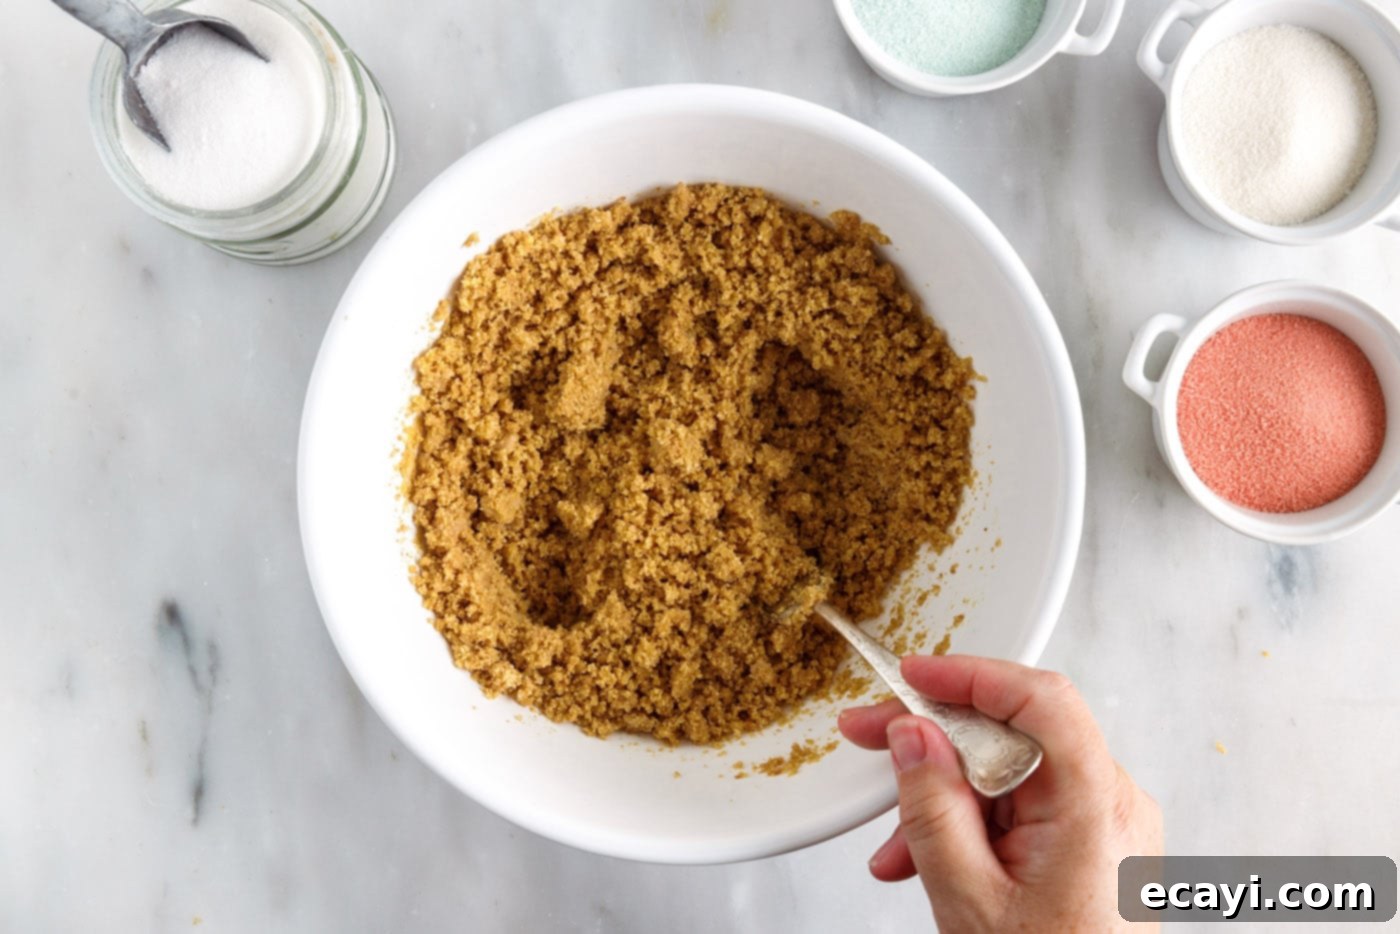
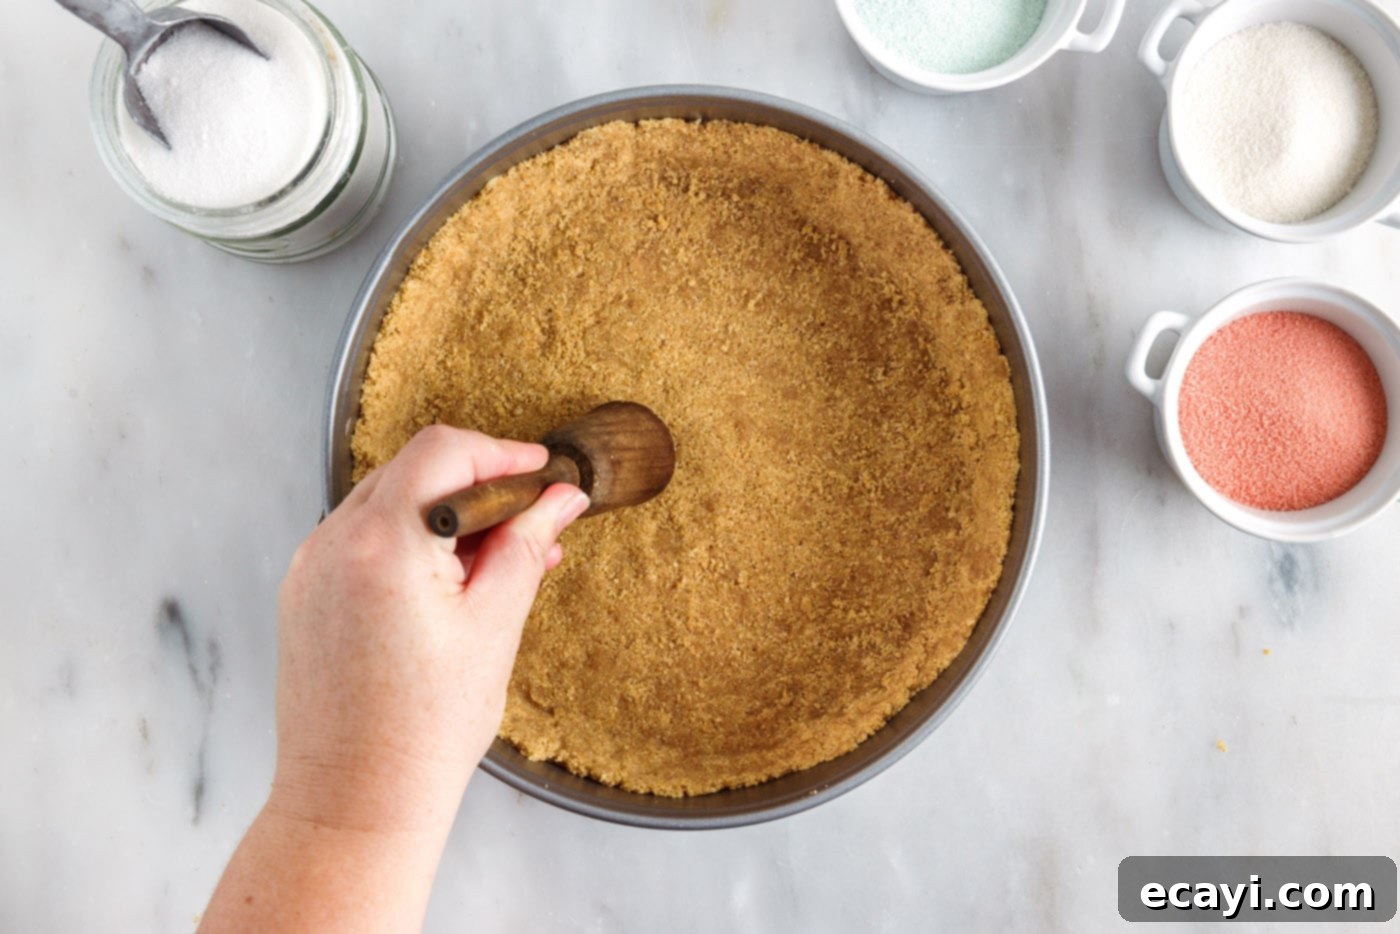
- In a medium bowl, combine the graham cracker crumbs, melted butter, and granulated sugar. Stir until all ingredients are thoroughly combined and the crumbs are evenly moistened. Press this mixture firmly into the bottom and up the sides (about 1 to 1½ inches high) of your prepared springform pan. A flat-bottomed glass or the back of a spoon can help you achieve a compact and even crust. Place the pan in the freezer to chill while you prepare the jello layers; this helps the crust set quickly and prevents it from crumbling when the first jello layer is added.


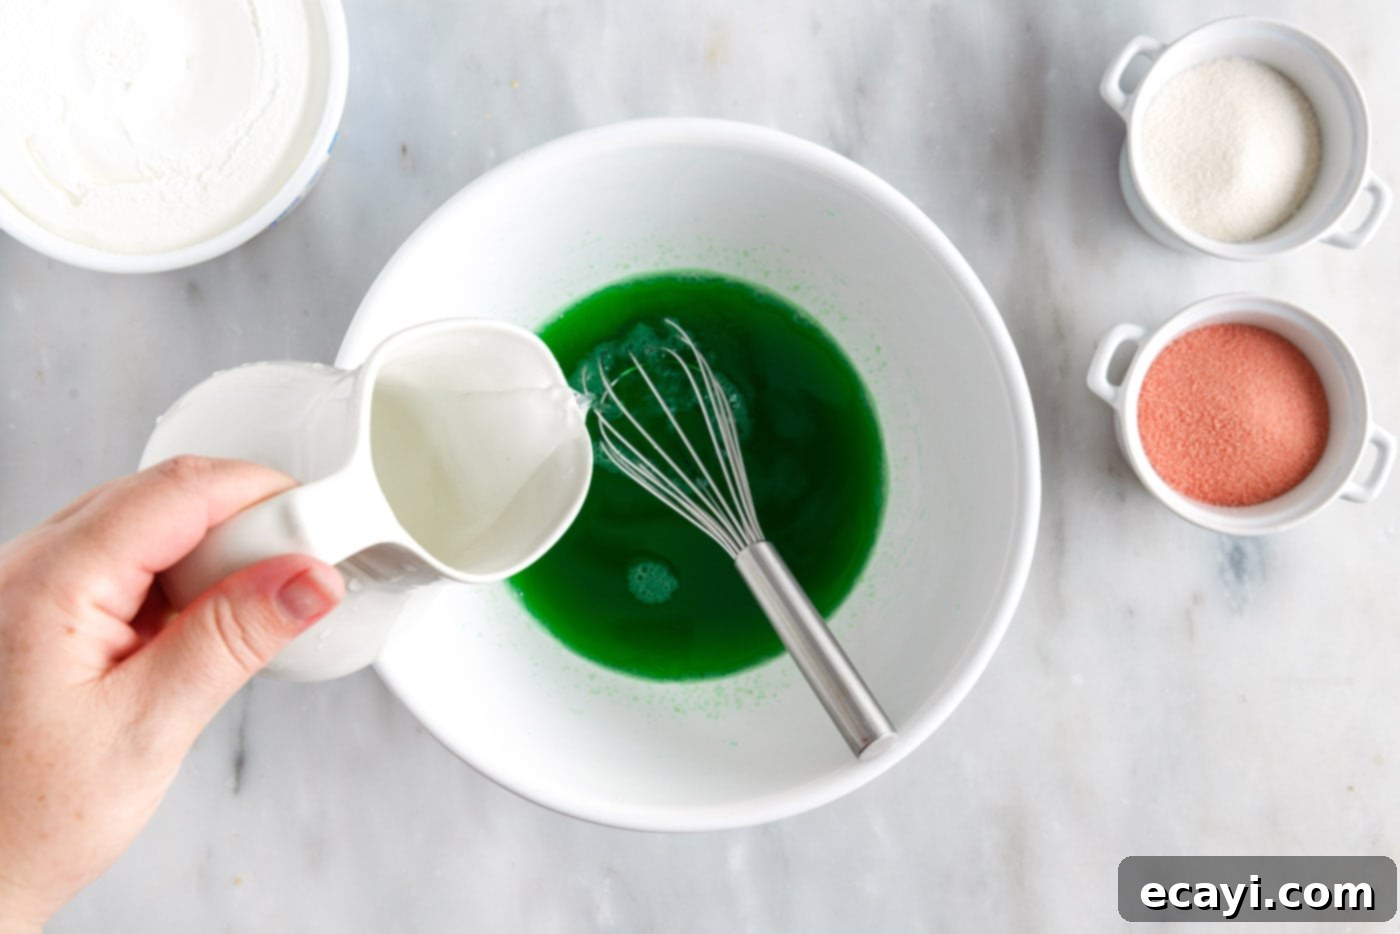
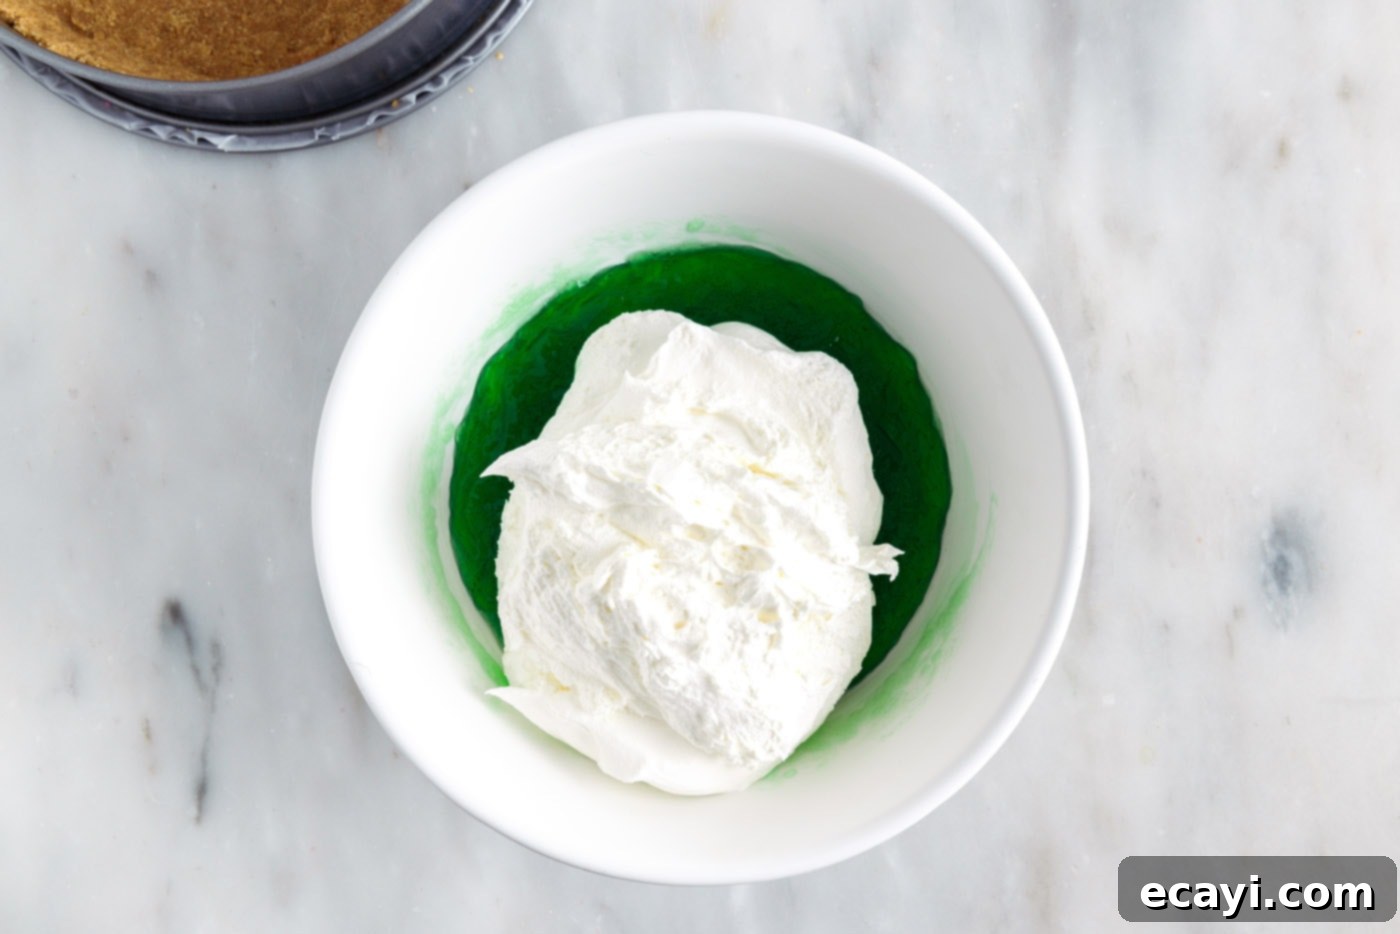
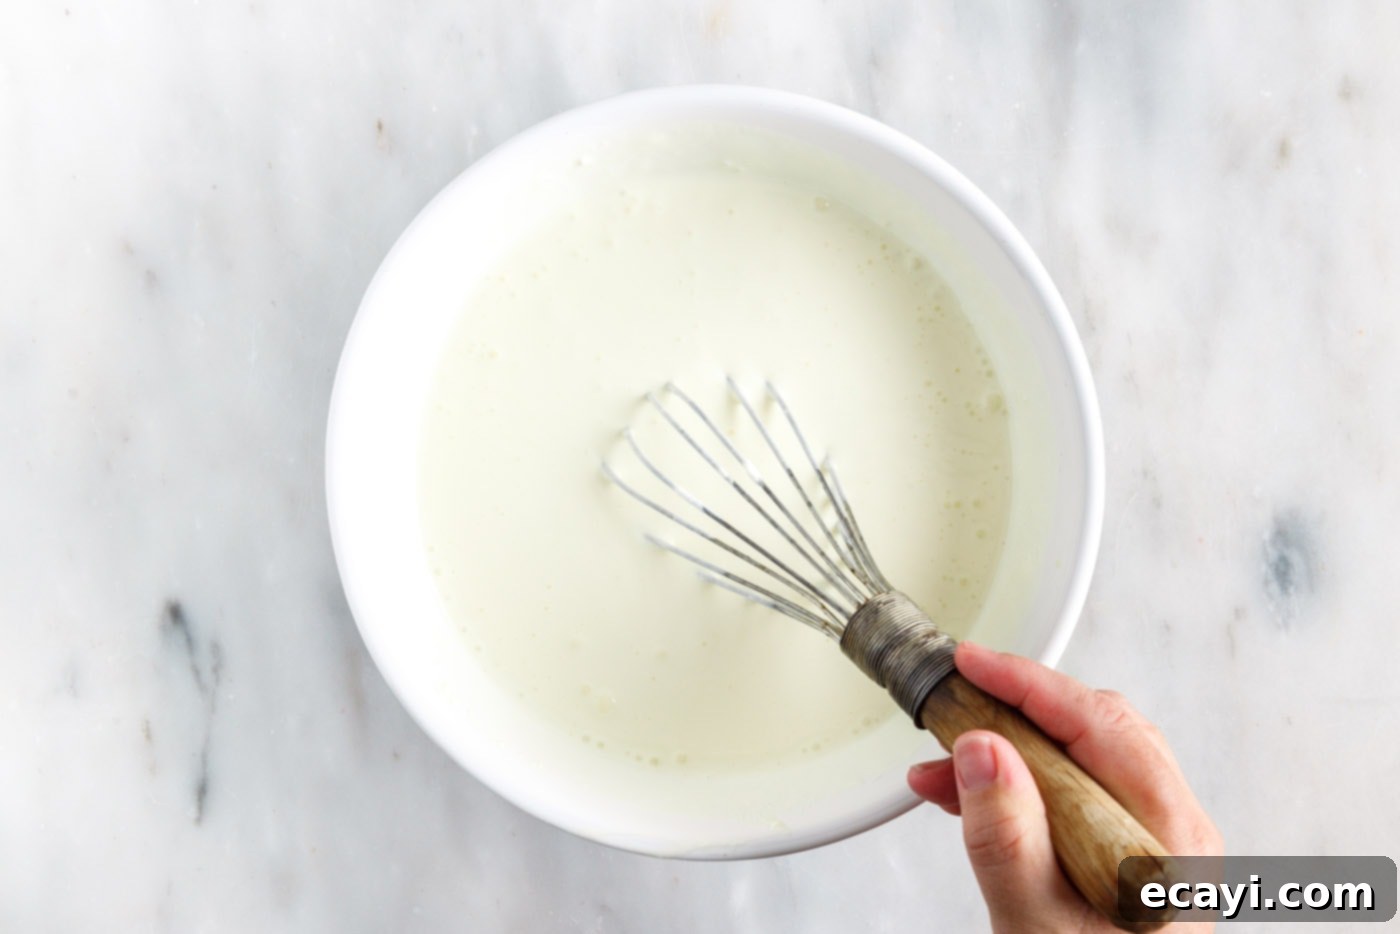
- For your first jello layer (e.g., lime), combine 1 cup of boiling water with the packet of lime jello mix in a medium mixing bowl. Whisk vigorously until the jello powder is completely dissolved, ensuring no granules remain. Once dissolved, stir in 1 cup of cold water. This cold water helps to bring the temperature down. Place this jello mixture into the refrigerator for 30-45 minutes. The goal is for the jello to cool and thicken to a syrupy consistency, but not set completely. It should be slightly viscous, like unset egg whites.

- Once the jello has reached the desired thickened but not fully set stage, gently whisk in one container of Cool Whip (8 ounces). The jello should be just slightly thickened enough to combine smoothly with the Cool Whip, creating a light and airy mixture. If your jello appears too thick or clumpy after chilling, you can microwave it in 10-second increments, stirring after each, to loosen it up slightly before adding the Cool Whip.

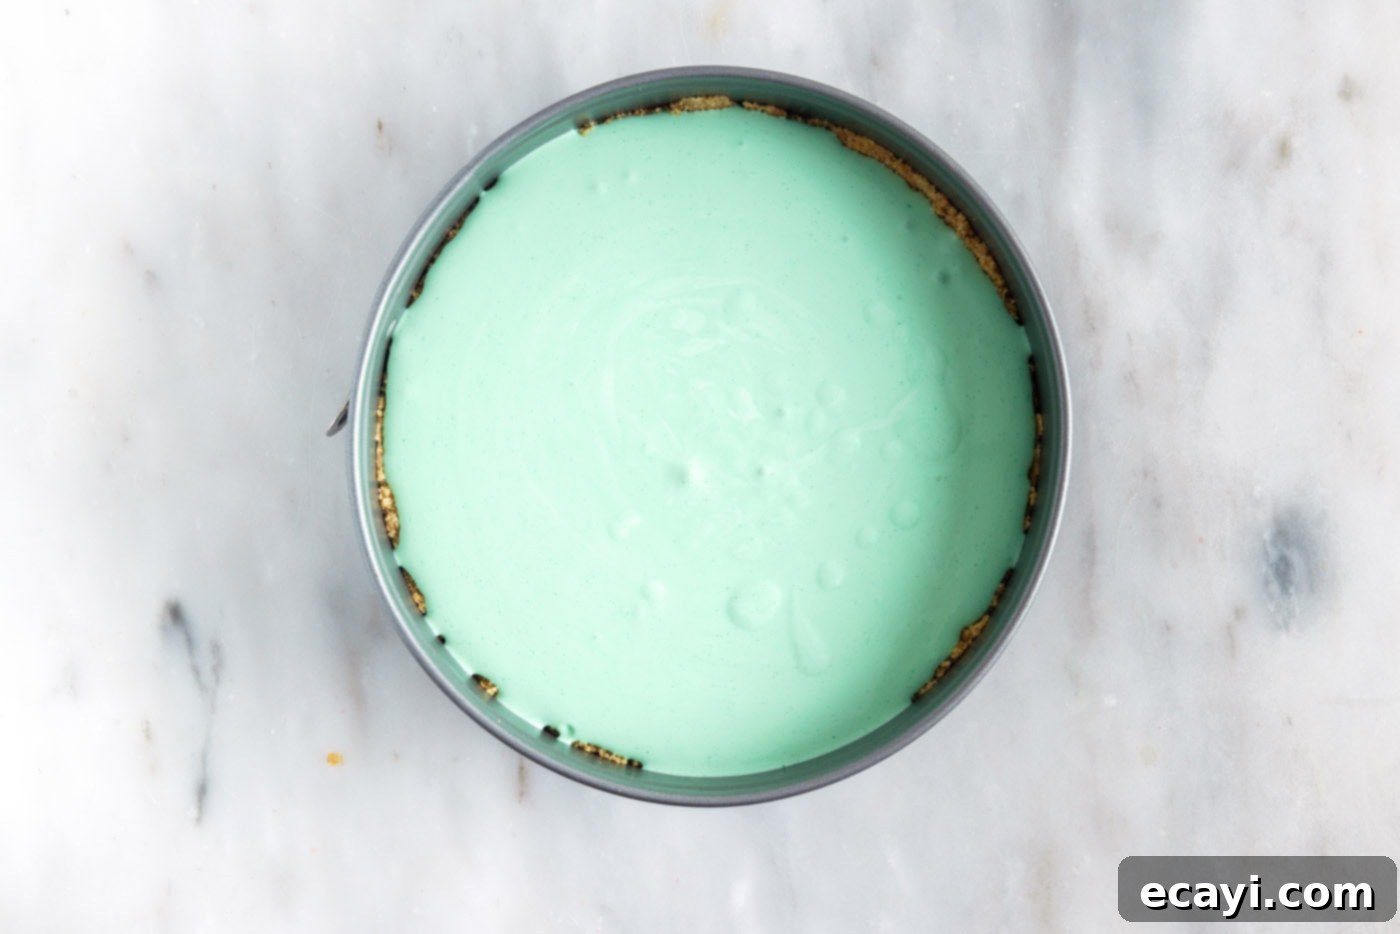
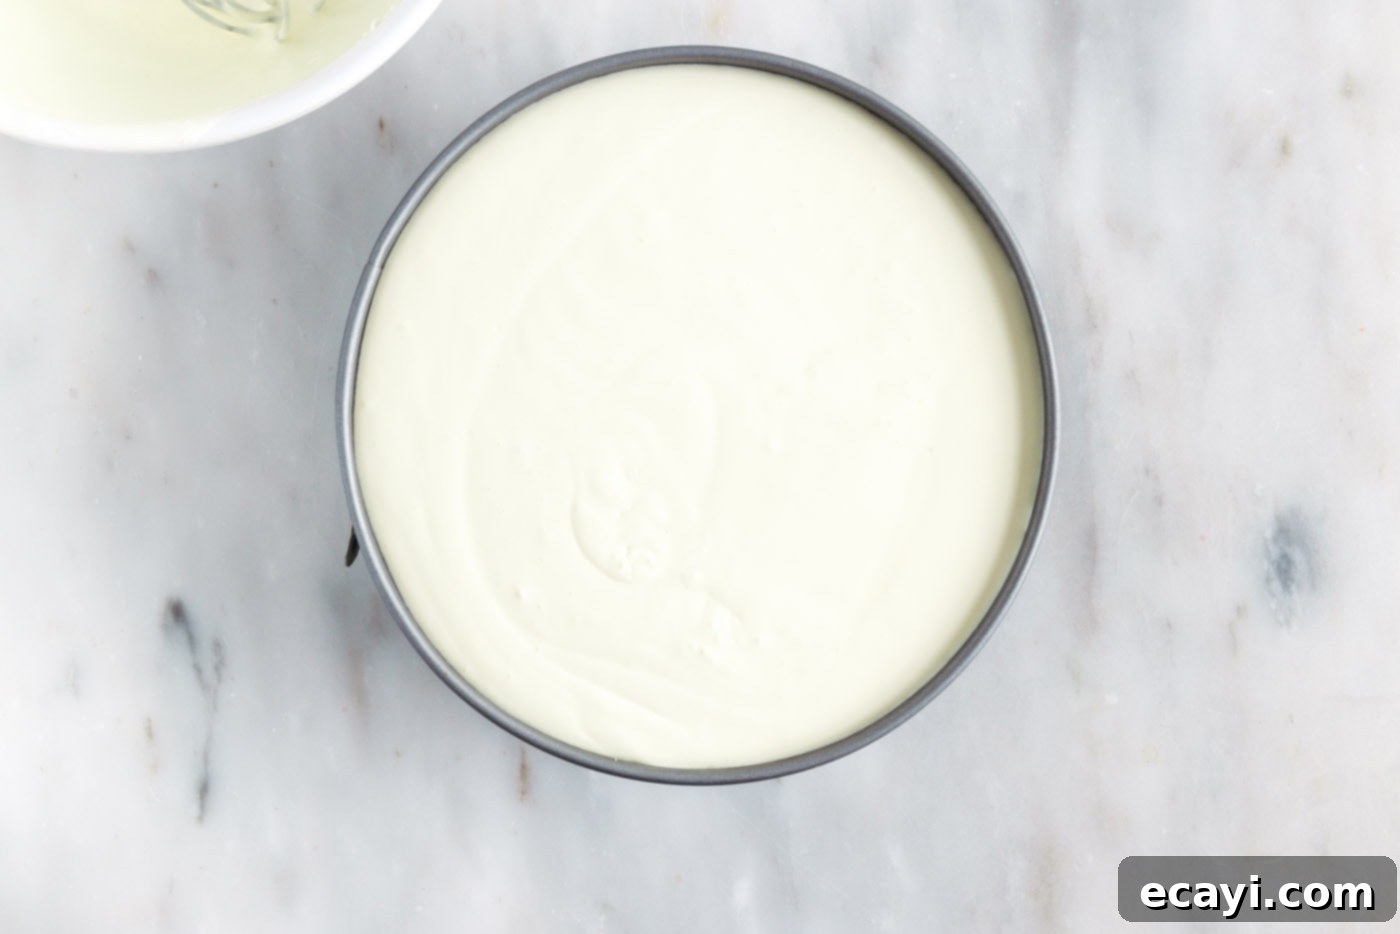
- If you desire a deeper green color for your lime layer, add a drop or two of green gel food coloring to the jello mixture, mixing until your desired shade is achieved. Transfer this creamy jello mixture evenly into the chilled graham cracker crust in the springform pan. Carefully place the pan back into the refrigerator to allow this first layer to begin setting, which typically takes about 30 minutes to an hour.


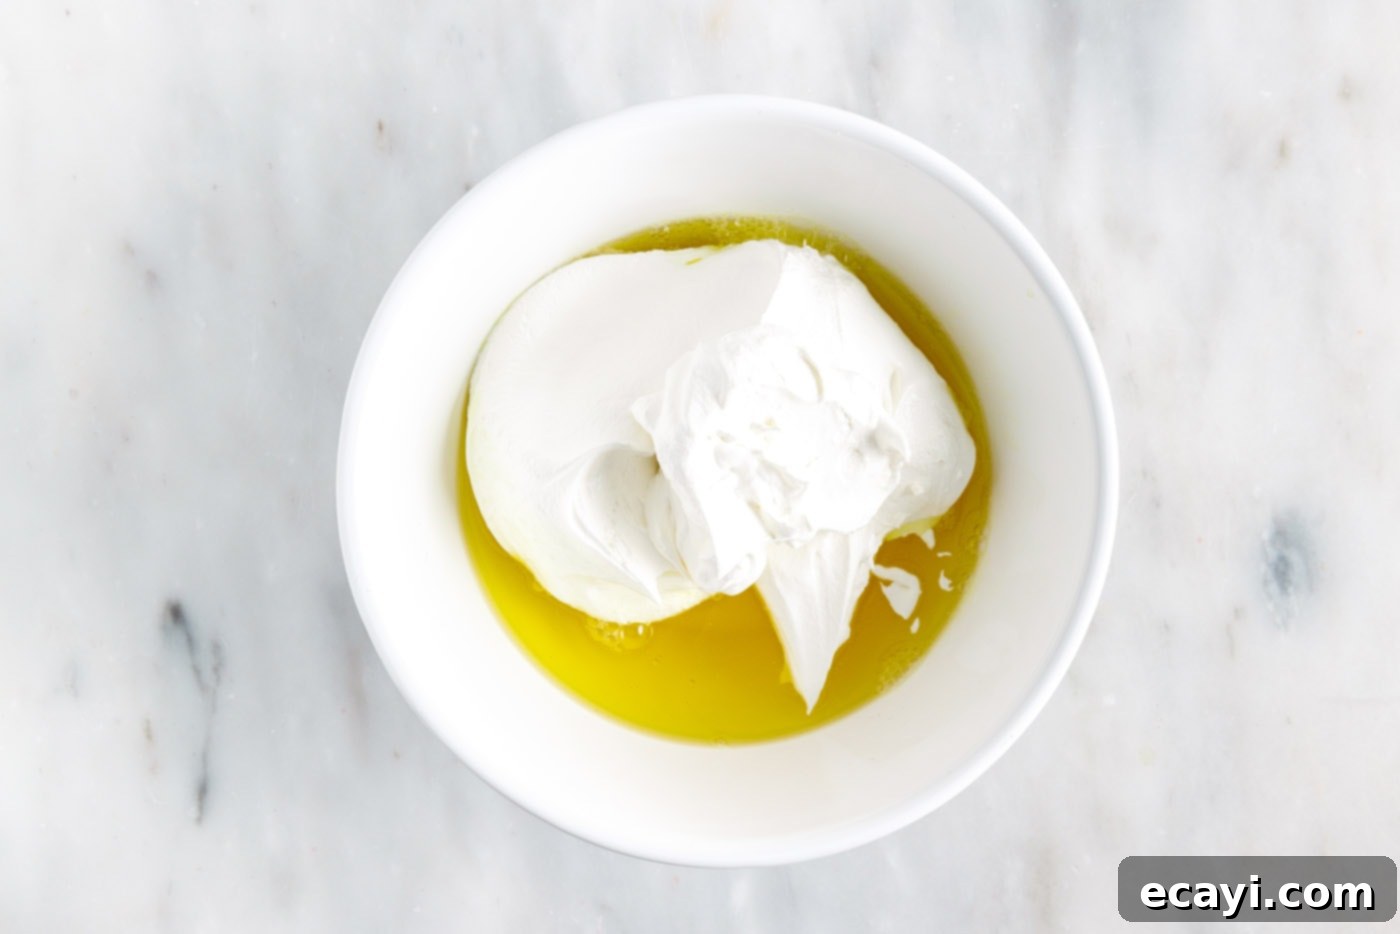
- Now, prepare the lemon jello mix following the exact same steps you used for the lime layer. Boil water, dissolve the jello, add cold water, and chill until thickened but not set. Once it has reached the ideal consistency, mix it thoroughly with a container of Cool Whip. For this layer, you typically won’t need to add food coloring, as the yellow jello, when combined with Cool Whip, will result in a lovely, light pastel color, creating the desired “white” layer in your festive pie. Once mixed, gently pour it on top of the green layer, which should now be partially set in the fridge. Return the pan to the refrigerator.


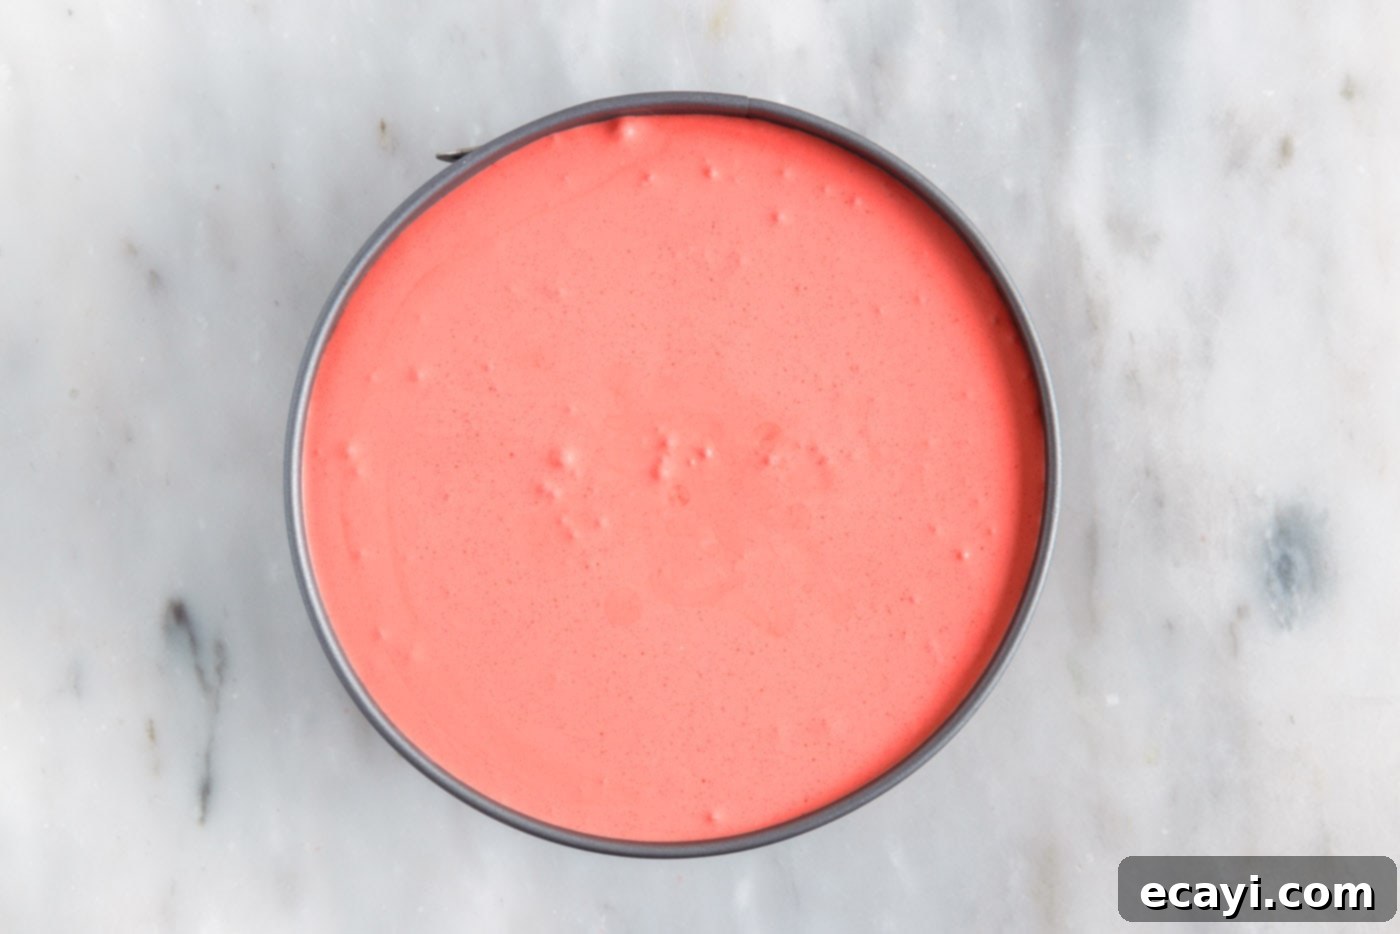
- Repeat the entire process for the final, “red” cherry jello layer. Prepare the jello, chill until thickened, mix with the last container of Cool Whip, and add a drop or two of red gel food coloring if you want to intensify its hue. Pour this red layer gently over the already setting lemon layer. Place the springform pan back into the refrigerator for its final chill.


- Allow the entire layered jello pie to chill in the refrigerator for a minimum of 3-4 hours, or preferably overnight, to ensure all layers are completely set and firm. Before serving, carefully loosen the pie from the springform pan. If needed, run a thin, sharp knife around the inner edge of the pan to help release the pie. Decorate with swirls of whipped cream and festive Christmas sprinkles, or any other garnish you prefer. Slice into individual portions with a warm, clean knife for the neatest cuts, and serve chilled. Enjoy your beautiful and delicious creation!

Frequently Asked Questions & Expert Tips for Jello Pie Success
Absolutely! Adding fresh fruit is a wonderful way to enhance both the flavor and visual appeal of your jello pie. You can gently fold small pieces of fruit, such as sliced strawberries, raspberries, or mandarin orange segments, into the jello-Cool Whip mixture before pouring it into the crust. Alternatively, fresh fruit makes a fantastic and vibrant garnish on top of the finished pie, offering a lovely contrast in texture and taste.
Yes, this is an excellent make-ahead dessert! You can fully prepare the layered jello pie a day in advance, storing it covered in the refrigerator. This allows ample time for all the layers to set perfectly, making serving day stress-free. For best presentation, it’s recommended to hold off on adding any garnishes, such as fresh whipped cream or sprinkles, until just before you are ready to serve.
When properly stored in the refrigerator in an airtight container or covered tightly with plastic wrap, your layered jello pie will maintain its delightful texture and flavor for up to 4 days. This makes it a great dessert for enjoying over several days or for feeding a small crowd.
Unfortunately, freezing is not recommended for this layered jello pie. Gelatin-based desserts tend to “weep” or become watery and lose their desired texture once frozen and then thawed. The integrity of the jello layers will be compromised. If you need to prepare it in advance, making it one day ahead and refrigerating it is your best option. Any leftovers should also be stored exclusively in the refrigerator to maintain quality.
There are a few common reasons why jello layers might not set. The most frequent issue is not chilling the jello mixture sufficiently before mixing with Cool Whip, or not chilling the layers adequately between additions. Ensure each jello mixture cools and thickens to a syrupy consistency (like unset egg whites) before folding in the Cool Whip. Also, give each subsequent layer at least 30-60 minutes in the refrigerator to firm up slightly before adding the next one. Patience is key for perfectly defined layers!
Delightful Serving Suggestions for Your Layered Jello Pie
This layered jello pie is incredibly versatile, making it a fantastic dessert to serve year-round, not just during the holidays. Its adaptability allows you to easily mix and match jello flavors and colors to suit any occasion, theme, or season. Imagine vibrant red and blue layers for a patriotic celebration, or pretty pastels for an Easter gathering. The possibilities are truly endless, making this a fun and easy pie you can recreate time and again!
For an elegant presentation, garnish each slice with a generous piping of freshly whipped cream, adding a luxurious touch. For holidays or themed parties, don’t shy away from festive sprinkles – think tiny stars, colored sugar, or even edible glitter. Fresh fruit, such as whole berries, a scattering of citrus zest, or a few sprigs of fresh mint, can add a refreshing counterpoint and beautiful natural color. Serve your layered jello pie well-chilled to maintain its perfect texture and maximize its refreshing qualities. Each slice offers a delightful combination of textures and sweet, creamy, fruity flavors. Enjoy the ease and deliciousness!
Discover More Delicious Jello Creations
If you’ve fallen in love with the magic of jello, there are so many other fantastic recipes to explore! Jello is not just for pies; it can be transformed into a variety of delightful desserts, from elegant trifles to playful cookies. Expand your jello repertoire with these popular and creative recipes:
- Jello Trifle – A stunning layered dessert with cake, custard, and fruit.
- Jello Cookies – Chewy, colorful cookies bursting with fruity jello flavor.
- Broken Glass Jello – A classic, vibrant, and incredibly fun mosaic-style dessert.
- Creamy Raspberry Jello Parfaits – Individual portions of creamy, fruity goodness perfect for any gathering.
- Whipped Jello Mandarin Orange Mousse – A lighter, airy mousse that’s a delightful citrus treat.
I absolutely adore sharing my passion for baking and cooking, along with my kitchen adventures, with all of you! Remembering to revisit my blog daily for new recipes can be a challenge, which is why I’ve made it easy for you. I offer a convenient newsletter that delivers a brand-new recipe straight to your inbox every time one posts. Simply subscribe today and start receiving your free daily recipes!
Layered Jello Pie
IMPORTANT – There are often Frequently Asked Questions within the blog post that you may find helpful. Simply scroll back up to read them!
Print It
Pin It
Rate It
Save ItSaved!
Ingredients
- 1 ½ cups graham cracker crumbs
- ½ cup salted butter melted
- ½ cup granulated sugar
- 3 ounces lime jello mix
- 3 ounces lemon jello mix
- 3 ounces cherry jello mix
- 3 cups boiling water divided
- 3 cups cold water divided
- 24 ounces Cool Whip 3 – 8 ounce containers
- red and green gel food color
- whipped cream and sprinkles optional as garnish
Things You’ll Need
-
Deep dish springform pan
-
Whisk
Before You Begin
- You will need a very deep springform pan to make this recipe – use a 9-inch springform pan that is 3 3⁄8” high or use a 10-inch springform pan with at least 3-inch high walls. This ensures all three layers will fit beautifully.
- You can find prepackaged graham cracker crumbs at most grocery stores. If you aren’t able to find them, you will need approximately 12 full sheets of graham crackers to yield 1 1/2 cups crushed. Crush them finely in a food processor or in a large zip-top bag using a rolling pin. Alternatively, you can save time by using a premade graham cracker crust.
- If you prefer to not use Cool Whip, you can substitute it with 3 cups of heavy whipping cream and 3 tablespoons of powdered sugar. Beat these ingredients on medium-high speed with a whisk attachment until stiff peaks form. This will create a richer, homemade whipped cream layer.
- To create a beautiful, stable whipped cream for decorating, whip 1 cup of heavy cream until soft peaks form. Then, add 2-3 tablespoons of powdered sugar and continue whipping until stiff peaks are achieved. We recommend piping pretty swirls onto the jello pie using a piping bag fitted with a #1M piping tip for an elegant finish.
- For distinct and even layers, it’s essential for each jello layer to set partially before adding the next. While you can mix up all the jello colors at the same time (they won’t fully set on the countertop), the pie itself requires at least 30 minutes to an hour in the refrigerator for each subsequent layer to begin firming up. The most efficient method is to mix the Cool Whip with the first thickened jello, pour it into the crust, and then chill the next layer of plain jello in the fridge while the first layer in the crust is beginning to set. This staggered approach helps maintain layer separation and stability.
Instructions
-
Prepare a deep dish springform pan (refer to the ‘Before You Begin’ section for pan size recommendations) by lining the bottom with a sheet of parchment paper.
-
Stir together graham cracker crumbs, melted butter, and sugar until fully combined. Press graham cracker crumbs firmly into the prepared springform pan, extending about 1-1½ inches up the sides to form the crust. Place the pan in the freezer to chill the crust while you prepare the jello mixtures.
-
In a medium mixing bowl, combine 1 cup of boiling water with the packet of lime jello. Stir until the jello is completely dissolved. Once dissolved, stir in 1 cup of cold water. Place this jello mixture in the refrigerator for 30-45 minutes to cool and thicken to a syrupy, unset consistency.
-
Once the jello has cooled and thickened – but not yet fully set – gently whisk in one 8-ounce container of Cool Whip. The jello should be just slightly thickened to allow it to combine smoothly with the Cool Whip. If it becomes too thick or lumpy, microwave it in 10-second intervals to loosen it up slightly.
-
Add a drop or two of green gel food coloring to the jello mixture until your desired color is achieved. Transfer this mixture evenly to the chilled crust in the springform pan. Place the pan back into the refrigerator to allow this first layer to set partially.
-
Prepare the lemon jello mix following the same steps as you did for the lime jello (boiling water, dissolving, cold water, and chilling). Once it has thickened and you’ve mixed it with one container of Cool Whip (no need to tint this one, as the yellow will naturally be very light and provide a beautiful “white” layer), pour it gently on top of the green layer, which should now be partially set. Return the pan to the fridge.
-
Repeat the entire process for the final “red” cherry jello layer. Prepare, chill, mix with the final container of Cool Whip, and add red gel food coloring if a more vibrant red is desired. Pour this mixture carefully over the lemon layer.
-
Allow the entire jello pie to chill in the refrigerator for at least 3-4 hours, or preferably overnight, to ensure all layers are completely set and firm. Decorate with whipped cream and Christmas sprinkles, if desired, just before serving. Gently loosen the pie from the springform pan (running a knife around the edge may be helpful), cut into neat slices, and serve chilled for a refreshing treat.
Nutrition
The recipes on this blog are tested with a conventional gas oven and gas stovetop. It’s important to note that some ovens, especially as they age, can cook and bake inconsistently. Using an inexpensive oven thermometer can assure you that your oven is truly heating to the proper temperature. If you use a toaster oven or countertop oven, please keep in mind that they may not distribute heat the same as a conventional full sized oven and you may need to adjust your cooking/baking times. In the case of recipes made with a pressure cooker, air fryer, slow cooker, or other appliance, a link to the appliances we use is listed within each respective recipe. For baking recipes where measurements are given by weight, please note that results may not be the same if cups are used instead, and we can’t guarantee success with that method.
