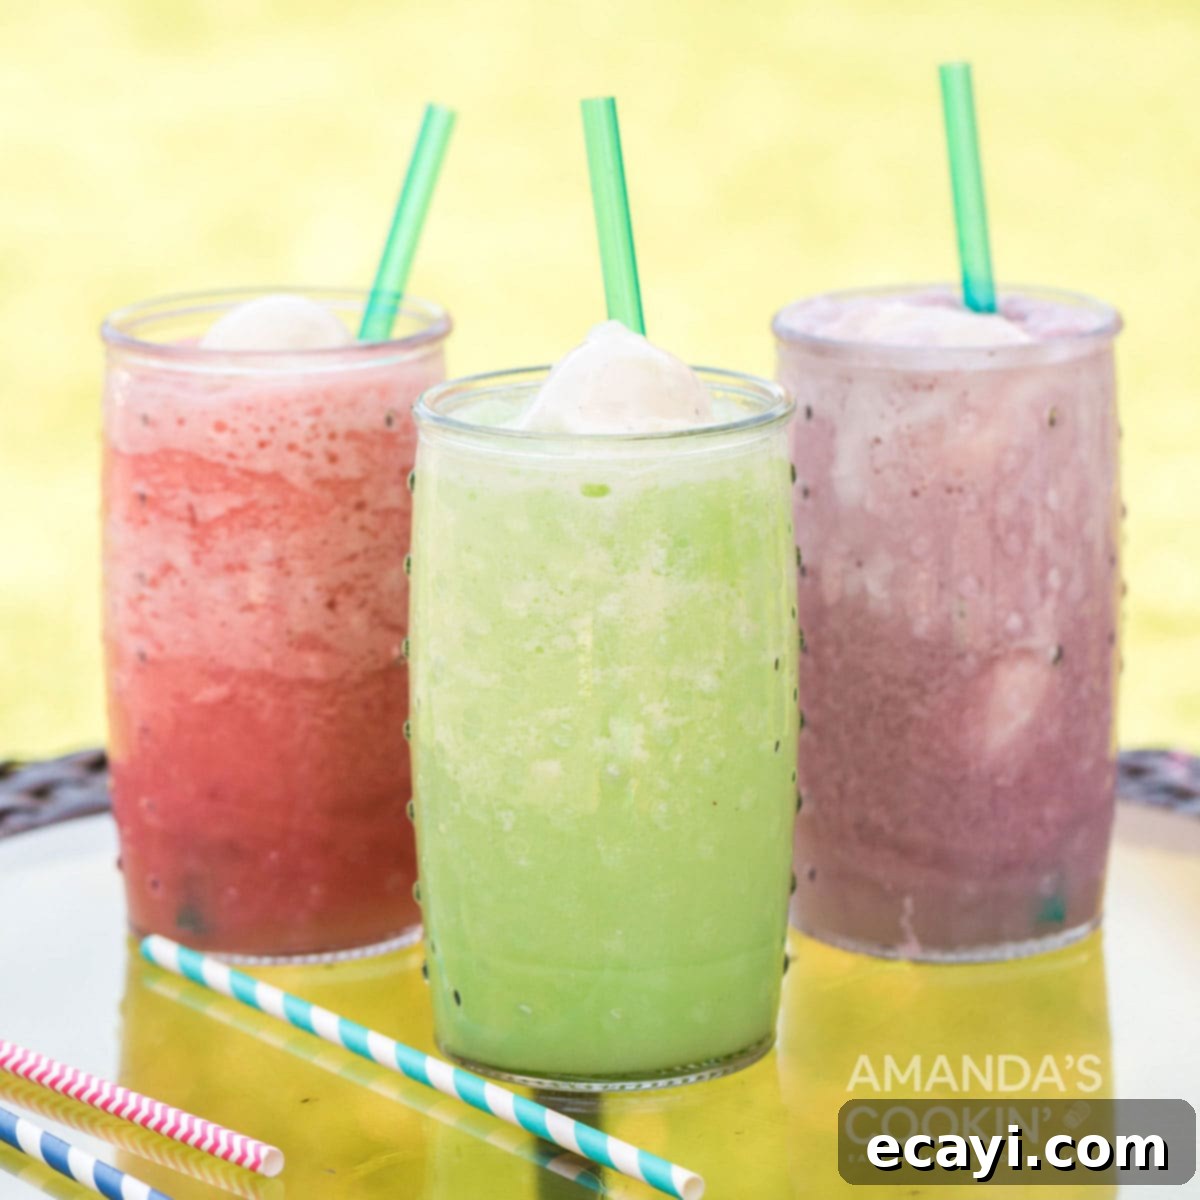
Ultimate Homemade Slushie Floats: Easy 3-Ingredient Summer Refreshment
As the sun shines brighter and temperatures rise, there’s nothing quite like a frosty, sweet treat to beat the heat. While store-bought options like Slurpees or Arctic Rushes are tempting, creating your own homemade slushie floats is an incredibly satisfying and budget-friendly alternative. This recipe is wonderfully simple, requiring just three core ingredients, plus water and ice. You can even pare it down to only two ingredients if you opt for a pure slushie without the delightful ice cream float!
Making these vibrant, refreshing drinks is so straightforward that it’s an ideal activity for kids, encouraging them to get involved in the kitchen and craft their own delicious summer beverages. Imagine the smiles as they pour their colorful concoctions and add a scoop of creamy vanilla ice cream. It’s not just a drink; it’s an experience, a memory in the making.
Why Our Homemade Slushie Floats Are a Summer Essential
Beyond their irresistible taste, there are numerous compelling reasons to choose homemade slushie floats over their commercial counterparts. This recipe isn’t just about making a drink; it’s about smart choices, family fun, and personalized refreshment.
Unbeatable Cost Savings
One of the most significant advantages of making your own slushie floats is the incredible cost efficiency. While a typical Slurpee from 7-Eleven or an Arctic Rush from Dairy Queen can set you back several dollars, each homemade slushie in this recipe costs less than 60 cents to create. Imagine the savings over a summer, especially when you’re quenching the thirst of an entire family or a group of friends. This recipe allows you to enjoy premium refreshment without breaking the bank, making summer indulgence more accessible for everyone.
A Cherished Family Tradition
These drinks aren’t just a recipe; they’re a vessel for creating cherished family memories. I vividly recall starting this tradition when my daughter was just four years old, constantly begging for store-bought Slurpees. It was then that we embarked on our journey to master homemade slushies and slushie floats. Even as my children grew older, not a summer has gone by without us whipping up a batch (or many!) of these vibrant, icy treats. It’s a simple joy that fosters togetherness, laughter, and a bit of playful culinary creativity. Every sip brings back a wave of nostalgia and the warmth of those shared summer moments.
Customization and Control
Unlike pre-made options, crafting slushies at home gives you complete control over the ingredients. You can adjust the level of sweetness to your family’s preference, experiment with different powdered drink mixes, or even incorporate fresh fruits for added flavor and nutrients. This flexibility ensures that every slushie is perfectly tailored to your taste buds, providing a healthier and more personalized beverage experience. From classic fruit flavors to exotic blends, the possibilities are endless when you’re the master mixer.
Essential Ingredients for Your Perfect Slushie Floats
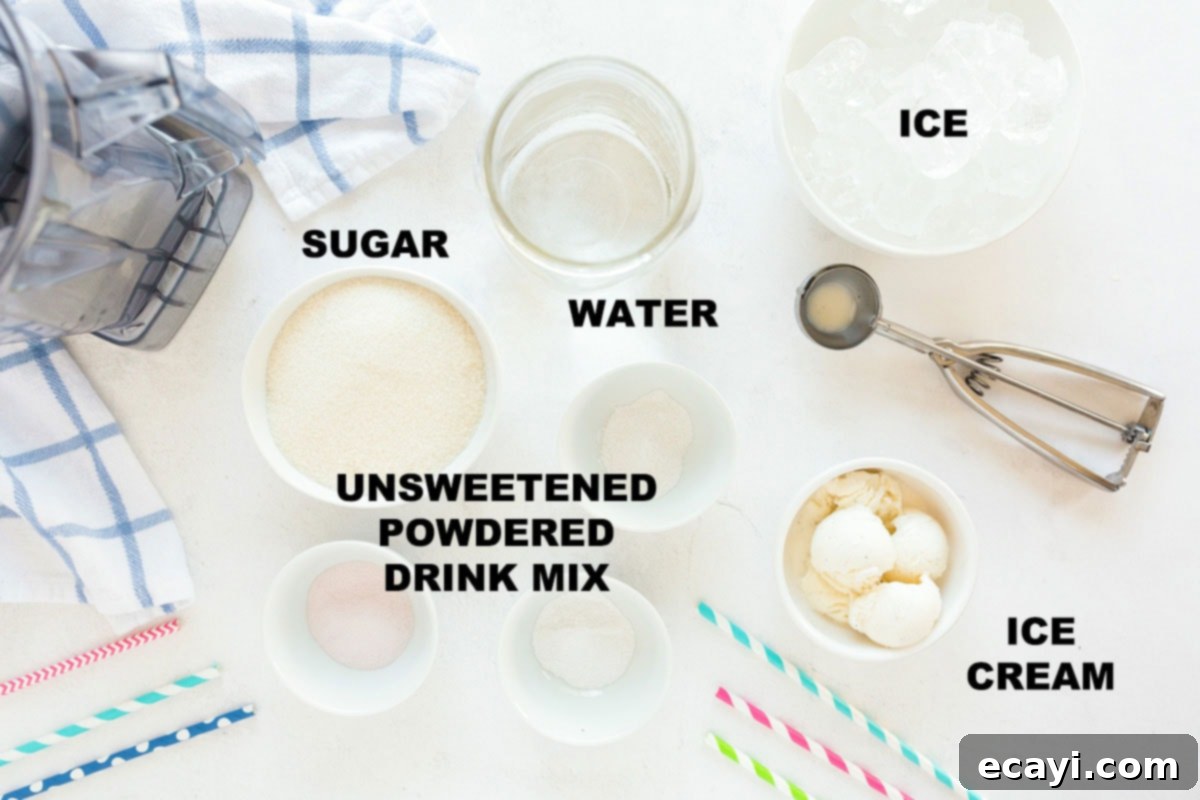
The beauty of this recipe lies in its simplicity, calling for just a handful of readily available ingredients. While we often reach for unsweetened packets of Kool-Aid for their vibrant colors and classic flavors, feel free to use any brand or type of powdered drink mix you prefer. Experimenting with different flavors is part of the fun!
Get all precise measurements, ingredients list, and detailed instructions in the printable recipe version available at the end of this post.
Ingredient Spotlight:
- Powdered Drink Mix (Unsweetened): The foundation of your slushie’s flavor and color. Kool-Aid is a classic choice, offering a wide variety of fruit flavors. You can also explore store brands or other unsweetened drink crystals. Opting for unsweetened gives you complete control over the sugar content.
- Granulated Sugar: Essential for balancing the tartness of the drink mix and achieving that signature sweet slushie taste. The recipe provides a guideline, but you can adjust the amount to your personal preference. Some prefer a sweeter slush, others less so.
- Cold Water: Crucial for dissolving the mix and sugar, and for blending everything smoothly. Using cold water helps maintain the icy consistency.
- Ice Cubes: The main component for the icy texture. Ensure you have plenty of good quality ice, as it will determine the slushie’s consistency.
- Vanilla Ice Cream: The magical addition that transforms a simple slushie into a creamy, dreamy float. Vanilla is a classic pairing, but don’t shy away from experimenting with other ice cream flavors that complement your slushie mix!
How to Make Homemade Slushie Floats: A Simple Guide
These step-by-step photos and instructions are provided to help you visualize each stage of making this delightful recipe. For a concise, printable version with all measurements and details, please scroll down to the end of this post.
Before you begin, ensure you have a high-powered blender that is specifically designed or capable of efficiently crushing ice. A good blender is key to achieving that perfectly smooth, icy slushie texture without leaving chunky ice pieces.
-
Combine Ingredients in Blender
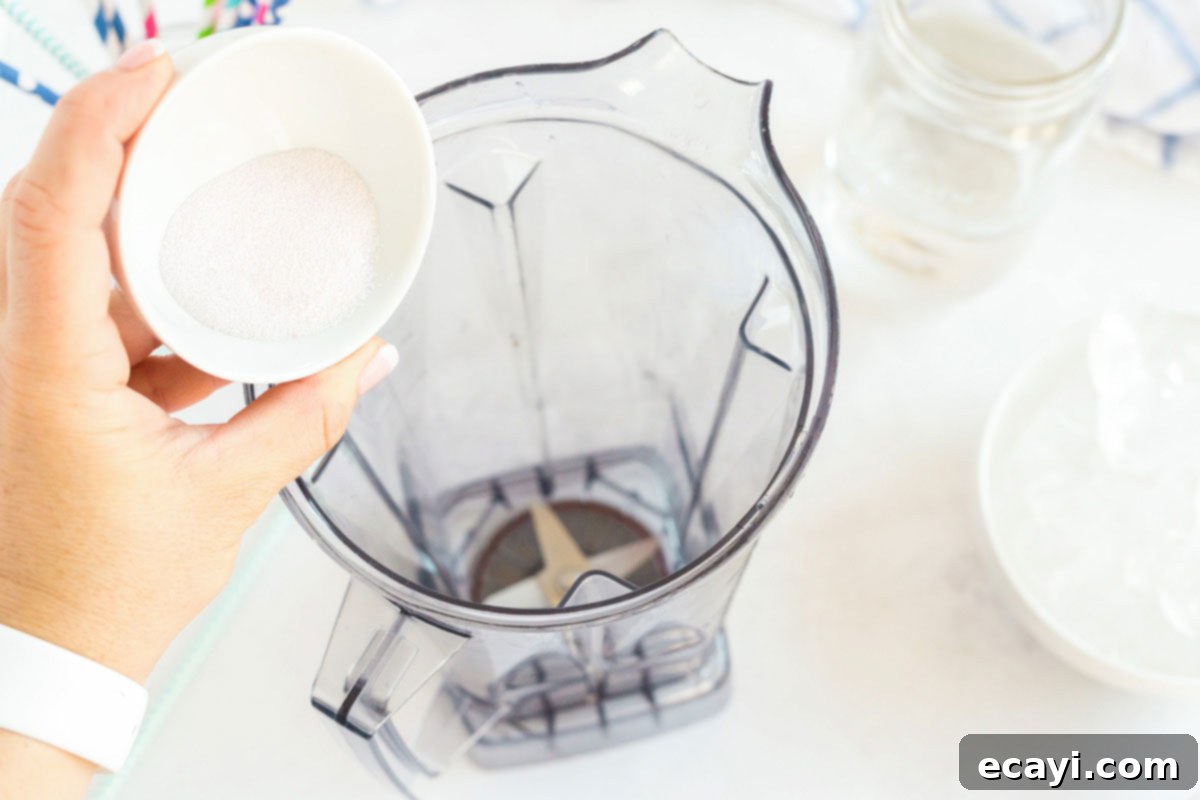
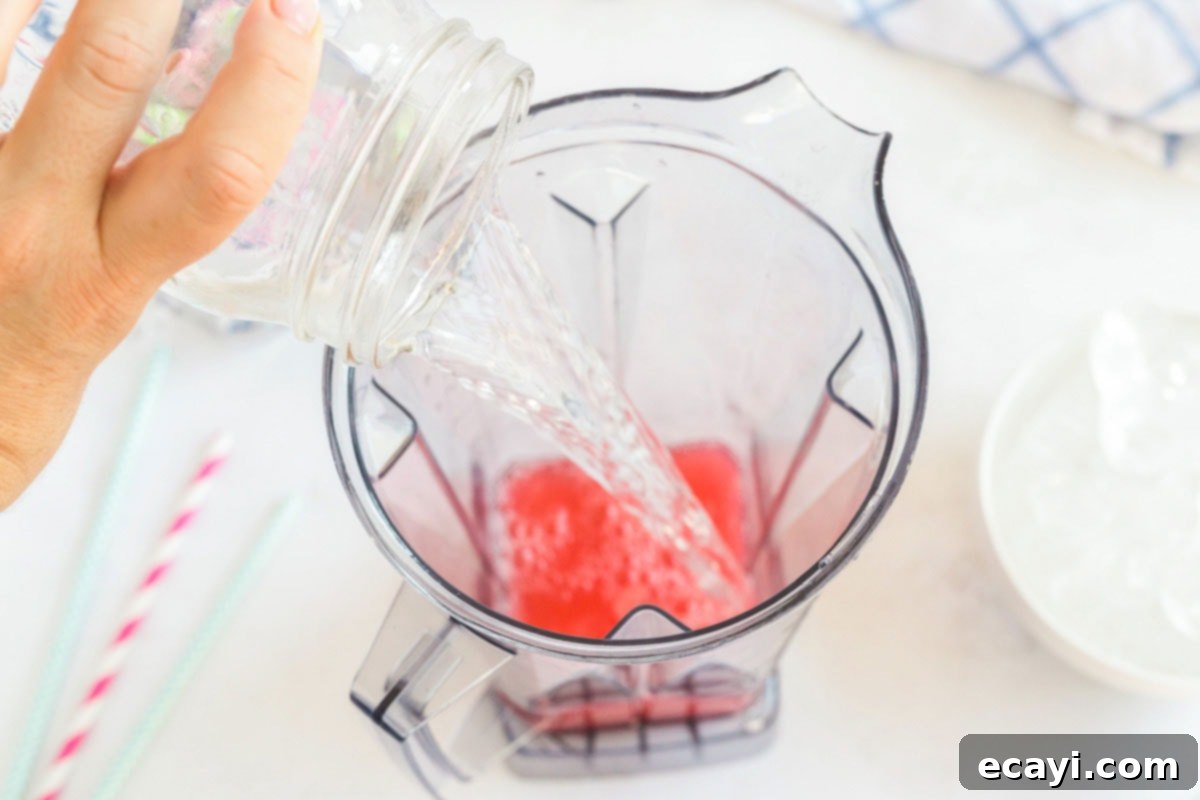
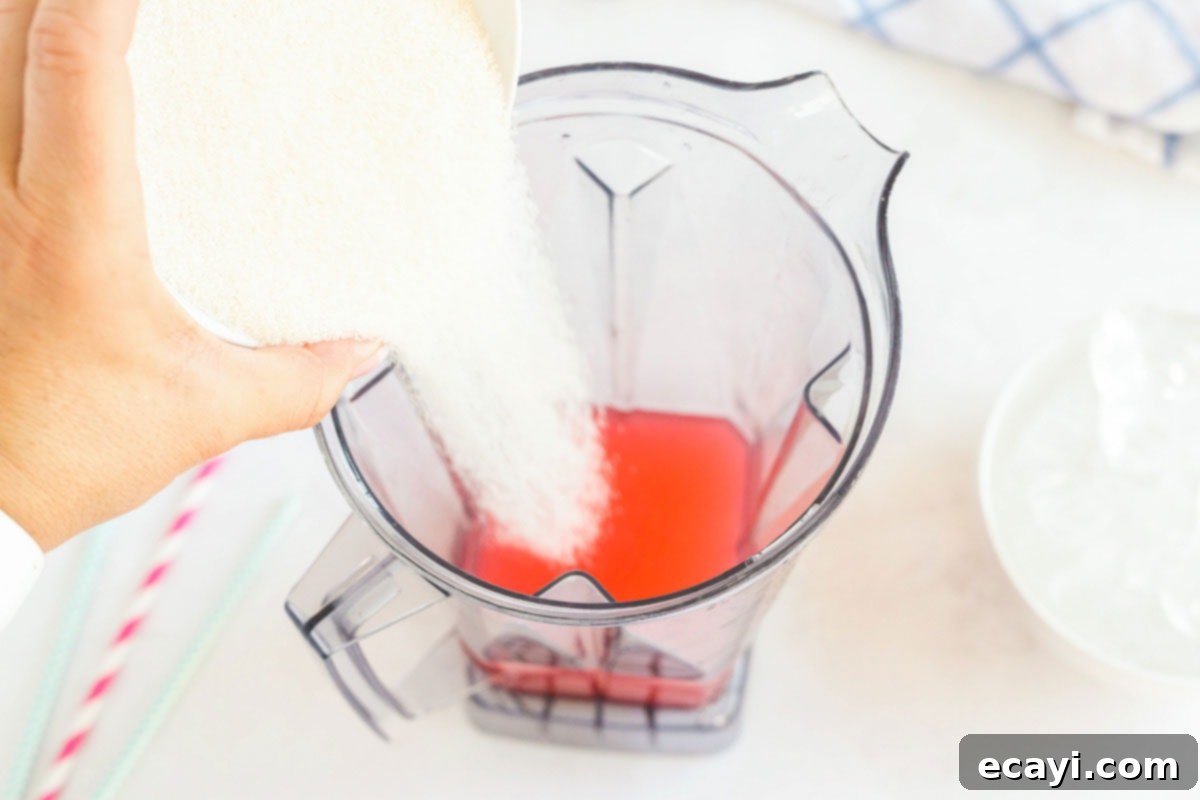
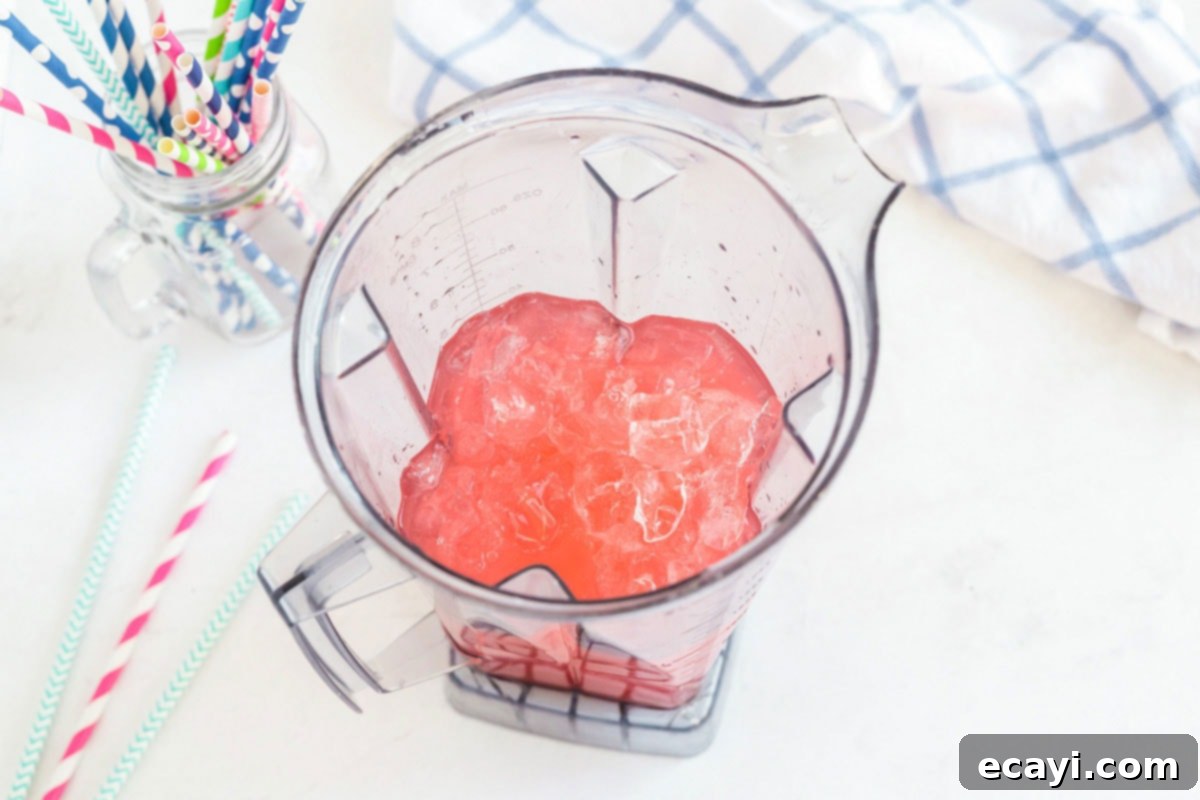
Begin by adding the powdered drink mix, water, sugar, and ice into your blender. It’s often helpful to add liquids first, then dry ingredients, and finally the ice. This helps prevent the powder from sticking to the bottom and ensures a more even blend. Be mindful of your blender’s capacity and fill level.


-
Blend to Perfect Slushie Consistency
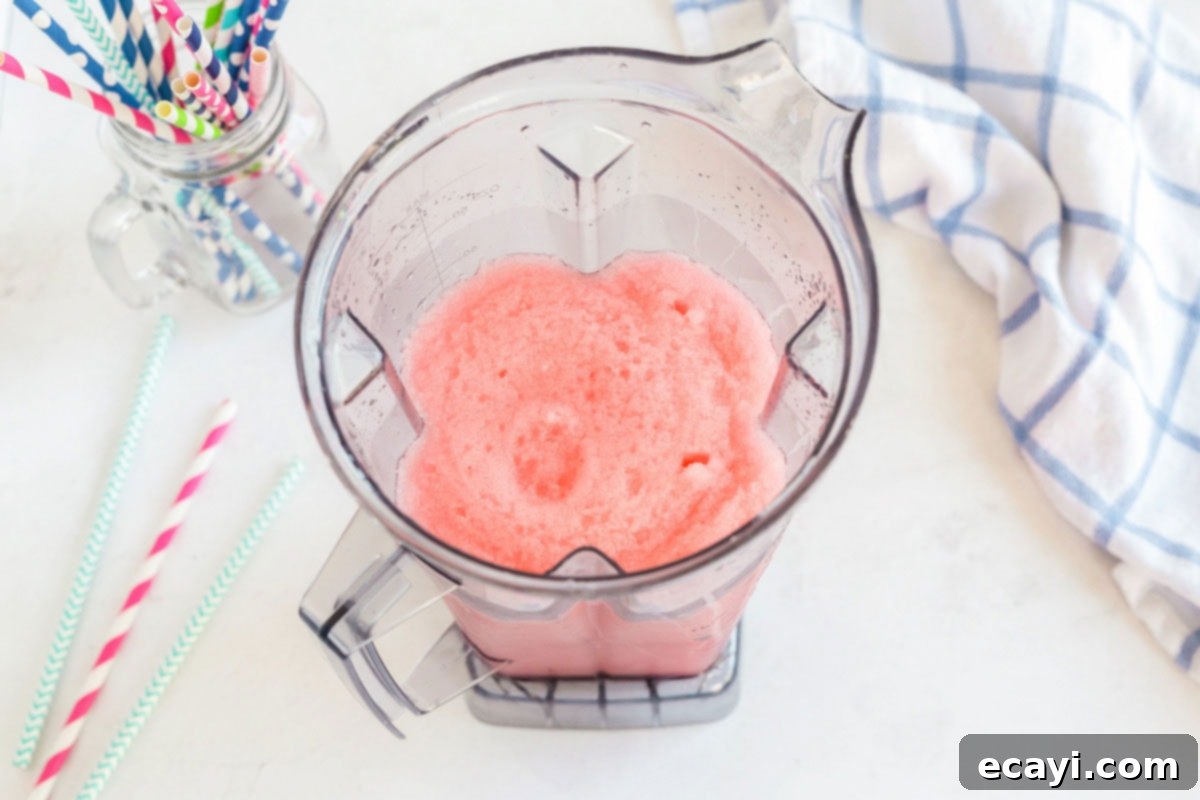
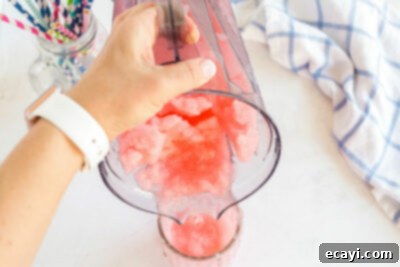
Secure the lid on your blender and begin to blend. Start with a pulse setting to break down the larger ice chunks, then switch to a continuous blend. You’ll want to blend until all the ice is finely crushed and you achieve a smooth, uniform slush-like consistency. It should be thick enough to hold its shape but still pourable. If it’s too thick, add a tiny splash of water. If it’s too thin, a few more ice cubes can help. Scrape down the sides of the blender with a spatula if any ingredients cling to the walls to ensure everything is thoroughly incorporated.

-
Serve and Enjoy Your Slushie Float
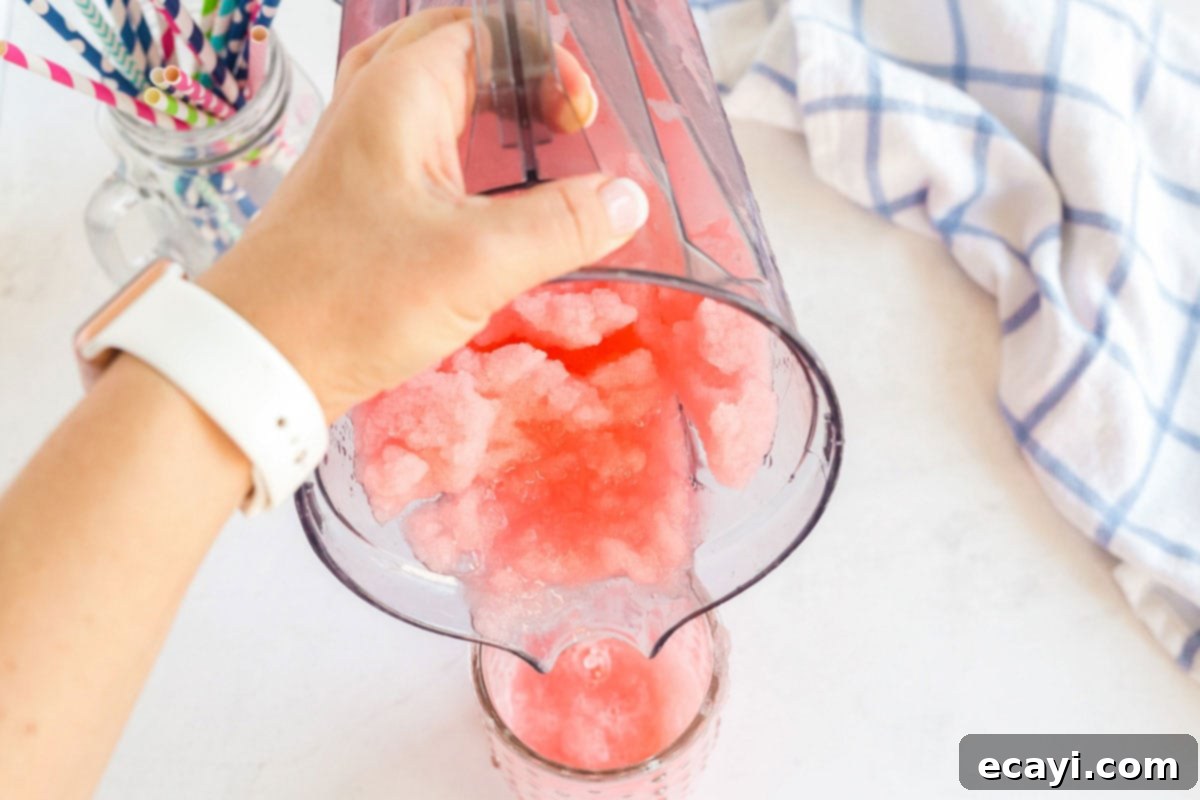
Once your slushie base is perfectly blended, pour it into two large glasses or four smaller ones, depending on your desired serving size. The vibrant color alone is inviting! Now, for the float experience, add a generous scoop (or two!) of creamy vanilla ice cream directly into the slushie. For an extra touch of fun and flair, consider adding some cute paper straws. Serve immediately and relish the refreshing burst of flavor and texture!

Expert Tips & FAQs for Perfect Homemade Slushie Floats
Unlock the full potential of your homemade slushies with these expert tips and answers to frequently asked questions. Whether you prefer a classic icy drink or a creamy, indulgent float, we’ve got you covered.
Three Delightful Ways to Enjoy Your Homemade Slushies:
This versatile recipe offers more than just one way to cool off. Explore these three fantastic variations:
- Just the Slush: The Classic Icy Refresher – Follow the instructions above, but simply omit the vanilla ice cream. This pure, icy drink is remarkably similar to popular commercial options like a 7-Eleven Slurpee or a Dairy Queen Arctic Rush. It’s perfect for those who crave a straightforward, intensely flavored, and frosty beverage. Fans of the nostalgic “Mr. Misty” will find this delightfully familiar!
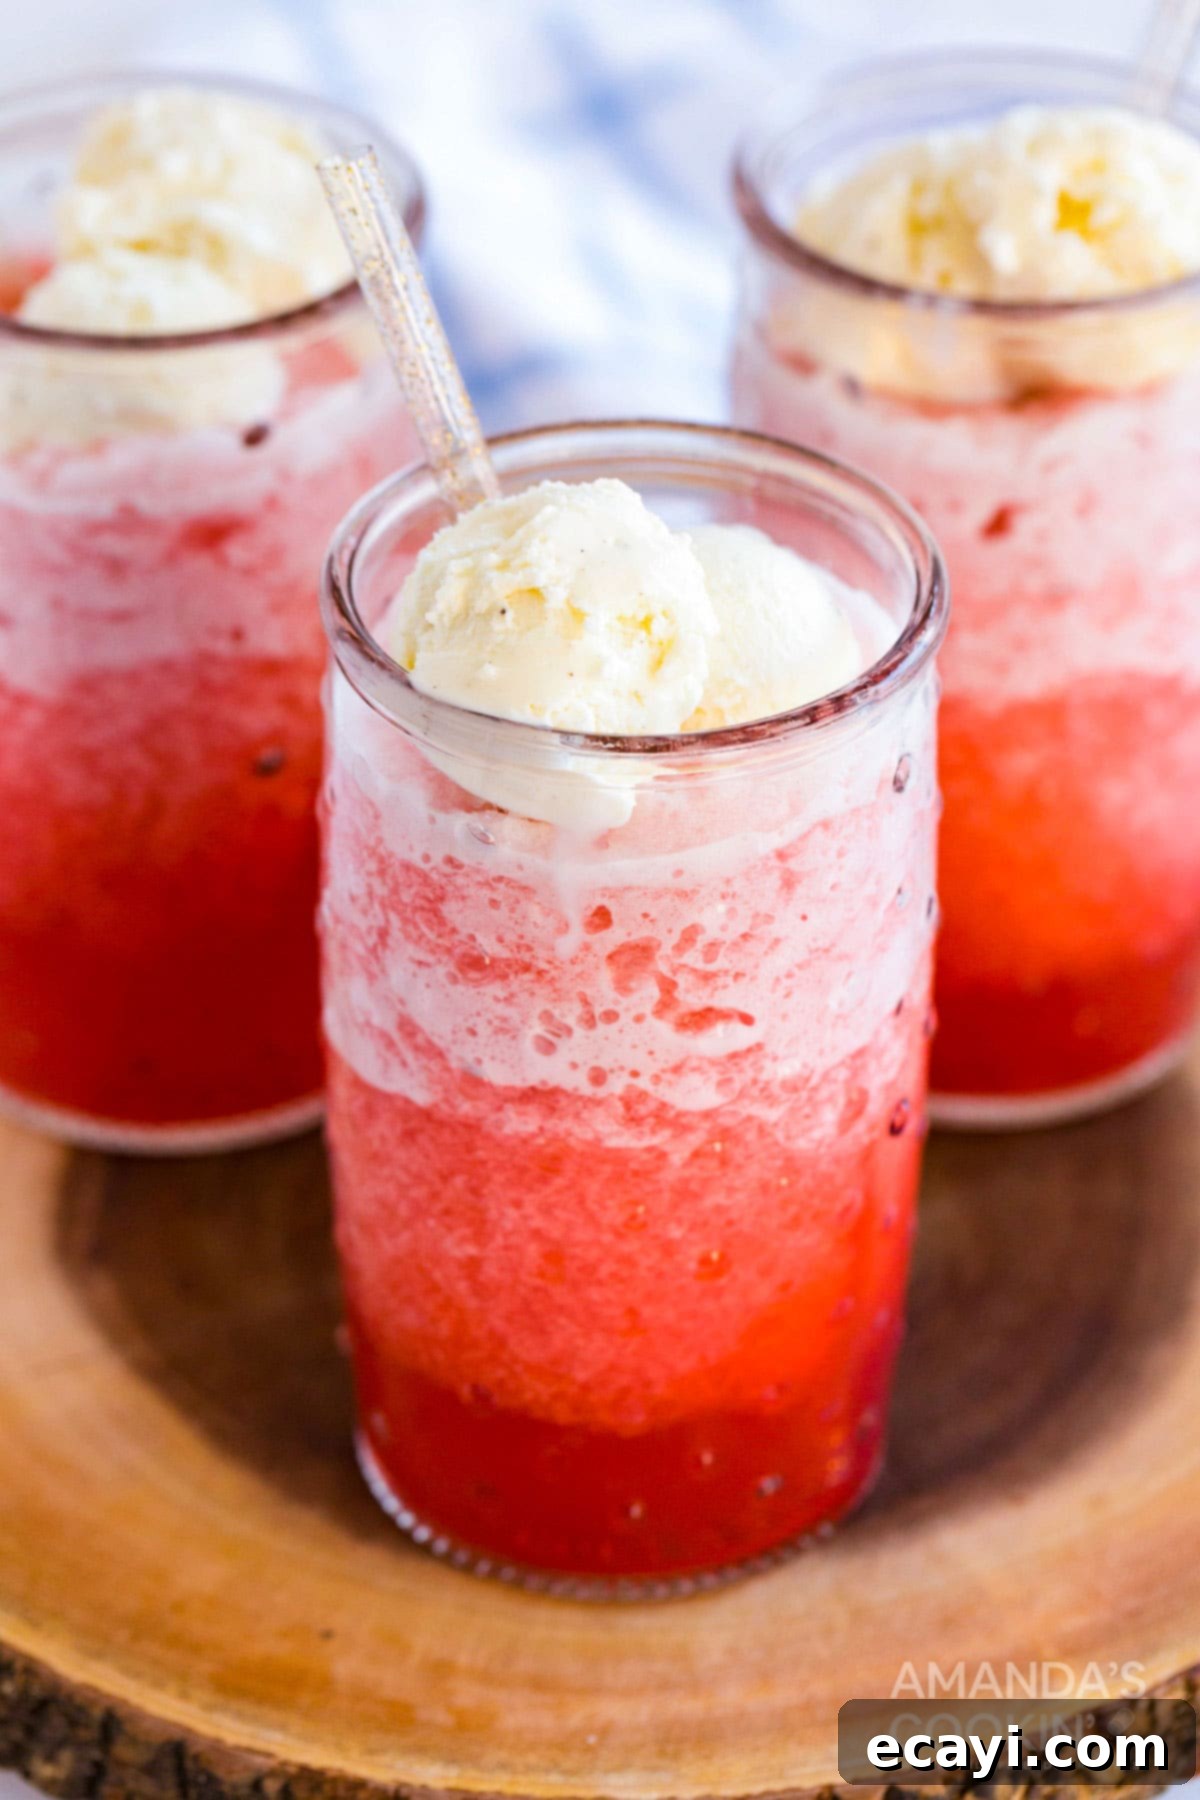
- Slushie Float: The Creamy Indulgence – This is the full experience as detailed in the recipe. By adding that luscious scoop of vanilla ice cream, you transform your icy slushie into a rich, creamy float. The cold slushie and the smooth ice cream create a harmonious blend of textures and temperatures, reminiscent of the beloved DQ Arctic Rush Float. It’s a truly decadent way to enjoy your summer drink.
- Blended Slushie Float: The Extra Smooth Treat – For those who adore a uniform, milkshake-like texture, this variation is a game-changer. After you’ve added the ice cream to your slushie, simply return the mixture to the blender and blend again for a short burst. This process fully incorporates the ice cream into the slush, resulting in an incredibly smooth, thick, and creamy consistency. It’s an even creamier take on the DQ Arctic Rush Float, offering an extra layer of indulgence.
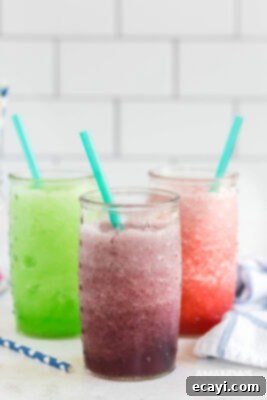
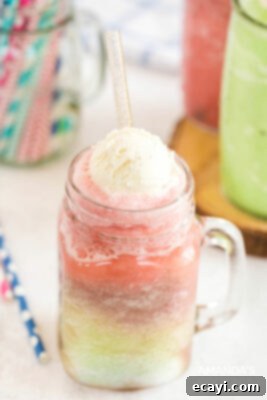
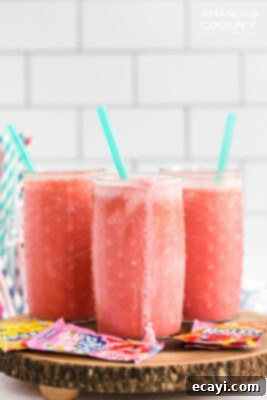
- Just the slush
- Slushie float
- Blended slushie float
Flavor Combinations and Creative Presentation:
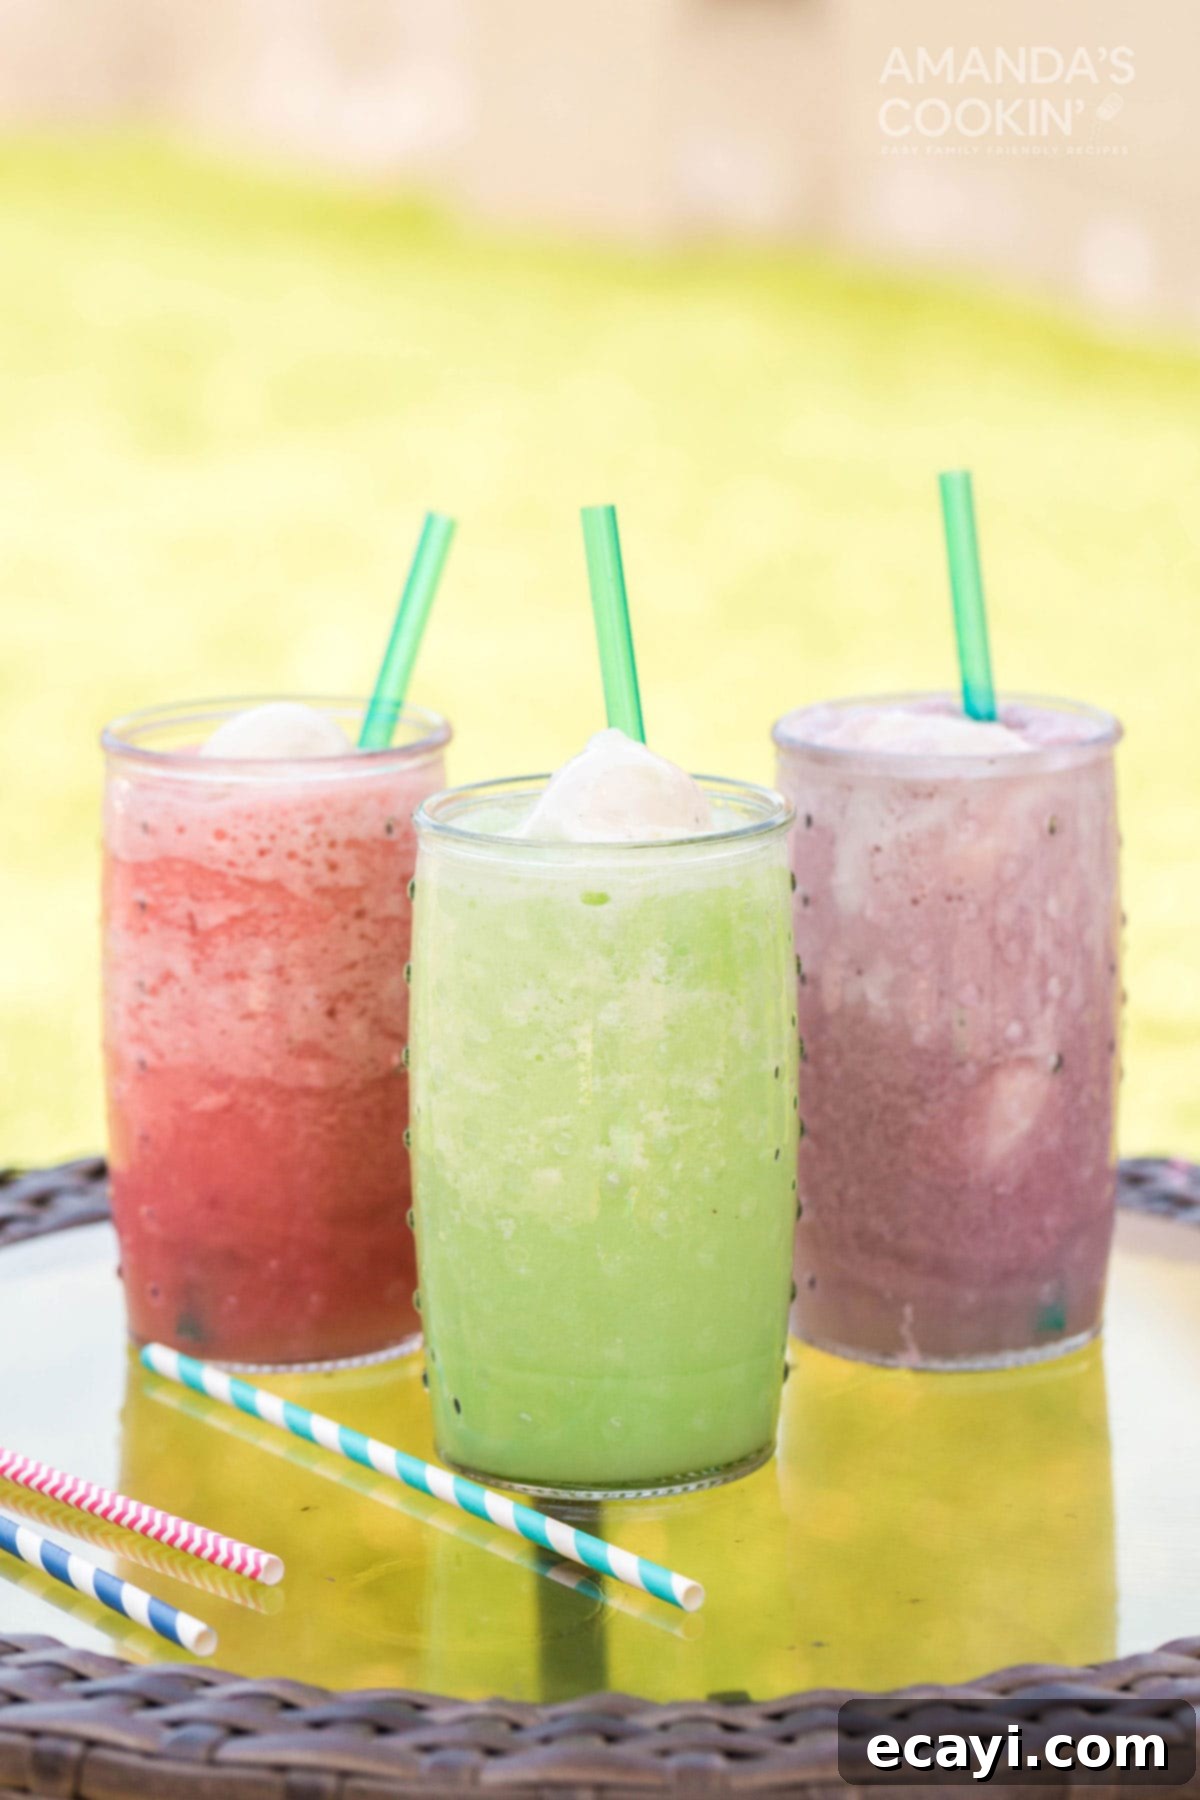
Don’t stop at single flavors! You can get truly creative with your homemade slushies. For an eye-catching and fun “unicorn look,” try layering different colored slushie flavors in the same glass. Imagine vibrant stripes of cherry, blue raspberry, and lime! This is especially popular for parties and for delighting children. We adore making our own slushies throughout the summer, finding it an unparalleled way to cool off and enjoy endless flavor combinations. We genuinely hope you and your family enjoy these refreshing treats as much as we do!
Make Ahead & Storage:
While slushies are best enjoyed immediately for optimal texture, you can prepare the slushie base (without the ice cream) ahead of time. Store it in an airtight container in the freezer. When ready to serve, you might need to re-blend it with a little more water or ice to get the perfect consistency. You can also freeze individual servings in ice cube trays and blend them later for quick, single-serve treats.
Adult Versions:
For a grown-up twist, consider adding a splash of your favorite spirit to the slushie base. Vodka, rum, or tequila can transform these kid-friendly drinks into sophisticated summer cocktails. Just be sure to label them clearly if serving alongside non-alcoholic versions!
More Fun Summer Ideas to Keep You Cool!
If you’re loving these slushie floats, you’ll definitely want to explore these other fantastic recipes perfect for summer days. From creamy desserts to fruity drinks, there’s something for every taste:
- Homemade Mint Chocolate Chip Ice Cream – Indulge in a classic, perfectly refreshing dessert.
- Cherry Peach Slushie – A delightful blend of two popular summer fruits.
- Strawberry Banana Fizzy Float – A bubbly, fruity twist on the traditional float.
- Pina Colada Recipe – Transport yourself to a tropical paradise with this classic.
- Easy Strawberry Lemonade – A timeless favorite, enhanced with sweet strawberries.
- Patriotic Vodka Lemonade Slushie – A spirited and festive drink for adult gatherings.
I genuinely love spending time in the kitchen, experimenting with new recipes, baking delightful treats, and then sharing all my culinary discoveries with you! I understand how busy life gets, and remembering to bookmark or search for your favorite recipes can be a challenge. That’s why I’ve made it incredibly easy for you to stay updated with my weekly newsletter! You can subscribe for free today, and I’ll personally send you delicious, easy-to-make recipes directly to your email inbox every single week. Join our community of home cooks and never miss a tasty update!
Homemade Slushie Floats (Just Like Slurpees!)
IMPORTANT – Discover even more helpful tips, tricks, and frequently asked questions within the main blog post above. Be sure to scroll up to read them for the best slushie experience!
Print It
Rate It
Save ItSaved!
Ingredients
- 0.13 ounce package of unsweetened powdered drink mix any flavor, e.g., Kool-Aid
- 2 cups cold water
- ½ cup granulated sugar adjust to taste, up to an additional 1/4 cup
- 4 cups ice cubes
- 2 scoops vanilla ice cream for floats
Equipment You’ll Need
-
High-powered Blender
-
Ice Cream Scoop
-
Colorful Paper Straws (optional, for fun!)
Before You Begin: Explore Slushie Variations
- Just the Slush – For a pure, icy drink resembling a Slurpee or DQ Arctic Rush, follow the instructions but simply leave out the ice cream.
- Slushie Float – For the classic creamy indulgence, follow all instructions and add a scoop of vanilla ice cream. This creates a delightful float texture, much like a DQ Arctic Rush Float.
- Blended Slushie Float – To achieve an extra smooth, milkshake-like texture, add the ice cream, then return the mixture to the blender and blend briefly again until fully incorporated. This results in an even creamier version of the DQ Arctic Rush Float.
Instructions
-
In a high-powered blender, combine the powdered drink mix, cold water, sugar, and ice cubes. Blend thoroughly until a smooth, slush-like consistency is achieved and no large ice chunks remain.

-
Pour the freshly blended slushie into two large glasses or four smaller glasses. If making a float, add a generous scoop or two of vanilla ice cream to each serving. Garnish with a fun paper straw if desired, and serve immediately to enjoy!

Nutrition
The recipes on this blog are tested with a conventional gas oven and gas stovetop. It’s important to note that some ovens, especially as they age, can cook and bake inconsistently. Using an inexpensive oven thermometer can assure you that your oven is truly heating to the proper temperature. If you use a toaster oven or countertop oven, please keep in mind that they may not distribute heat the same as a conventional full sized oven and you may need to adjust your cooking/baking times. In the case of recipes made with a pressure cooker, air fryer, slow cooker, or other appliance, a link to the appliances we use is listed within each respective recipe. For baking recipes where measurements are given by weight, please note that results may not be the same if cups are used instead, and we can’t guarantee success with that method.
This post originally appeared here on July 1, 2009, and has since been extensively updated with new photos, expanded content, and expert tips to enhance your slushie-making experience.
