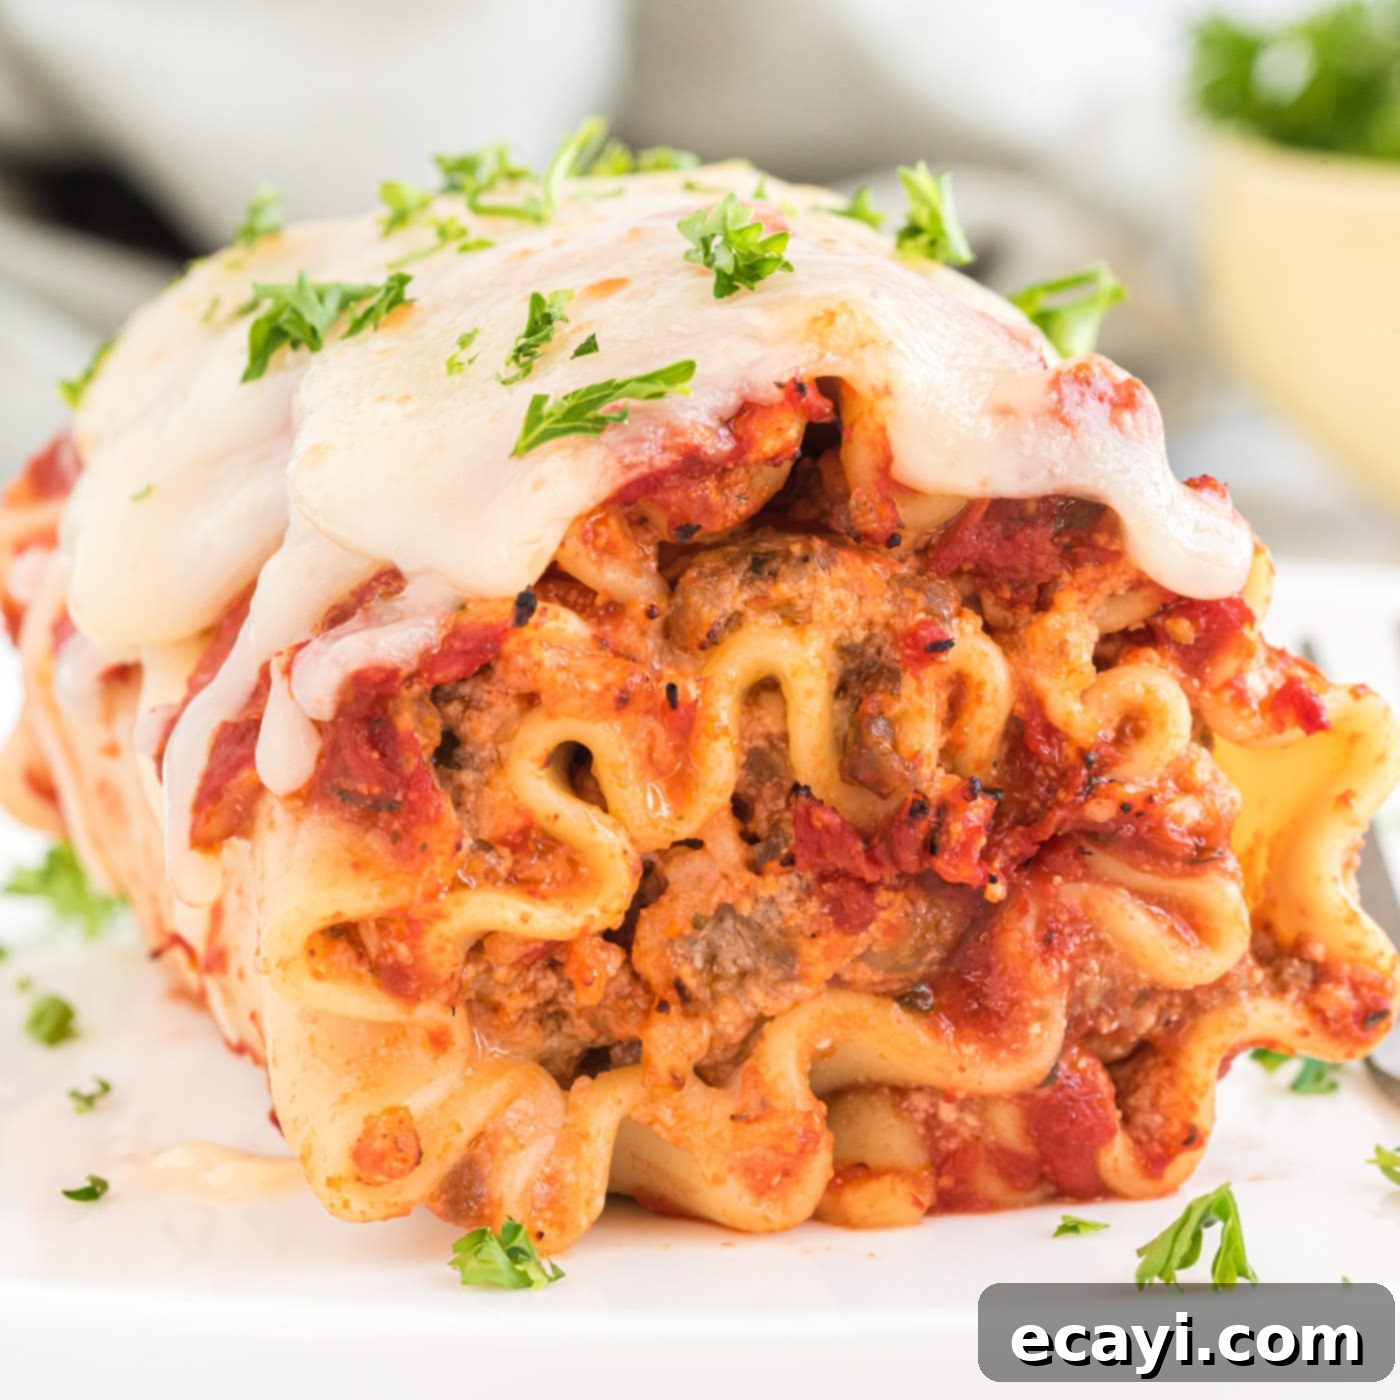
Effortless & Delicious Lasagna Roll Ups: The Perfect Make-Ahead Italian-American Dinner
Say goodbye to the struggle of layering traditional lasagna and embrace the simplicity and elegance of Lasagna Roll Ups! This ingenious recipe delivers all the beloved flavors and textures of a classic Italian lasagna – savory sweet Italian sausage and ground beef, creamy ricotta, melted mozzarella, and sharp Parmesan cheese, all enveloped in tender, no-boil noodles – but in a convenient, individual portion format. It’s an ideal solution for busy weeknights, meal prepping, or entertaining, promising a deeply satisfying meal with significantly less fuss.
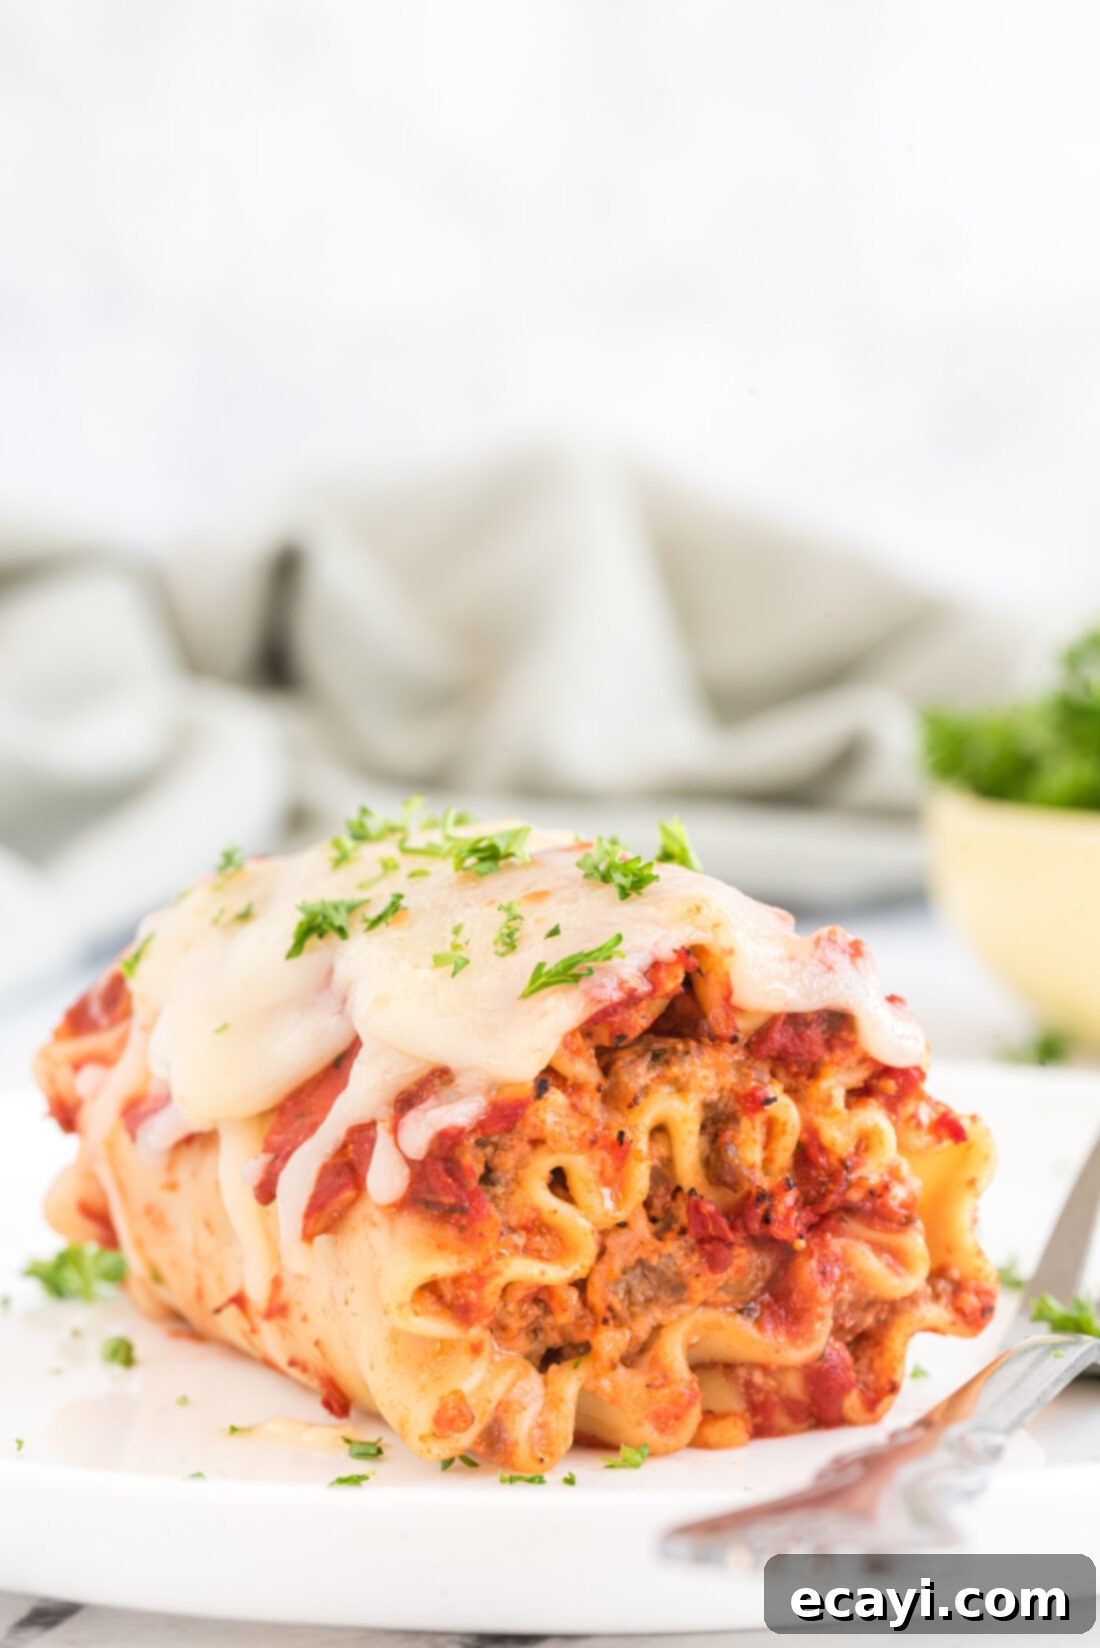
Why Lasagna Roll Ups are a Game Changer
Traditional lasagna is undeniably a culinary masterpiece, but it can often be a time-consuming and messy affair to prepare, bake, and serve. This lasagna roll up recipe transforms the experience by offering all the robust, comforting flavors of your favorite classic lasagna in a much more manageable package. Instead of meticulously layering ingredients, you simply mix the rich meat and cheese fillings and spread them onto individual noodles before rolling them into perfect, self-contained portions.
The beauty of this method lies in its efficiency and convenience. Combining all the filling ingredients into one mixture drastically cuts down on preparation time. Furthermore, the individual roll ups make serving an absolute breeze, eliminating the messy slices and ensuring everyone gets a perfectly portioned piece with an even distribution of sauce, meat, and cheese. This recipe isn’t just easier; it’s also incredibly versatile. Lasagna roll ups are fantastic for making ahead of time, allowing you to prepare them days in advance for hassle-free weeknight dinners. They also freeze exceptionally well, becoming a freezer-friendly staple that can be pulled out and baked whenever a comforting, homemade meal is needed. This makes them an invaluable asset for meal planning and ensuring delicious, nutritious food is always within reach, even on your busiest days.
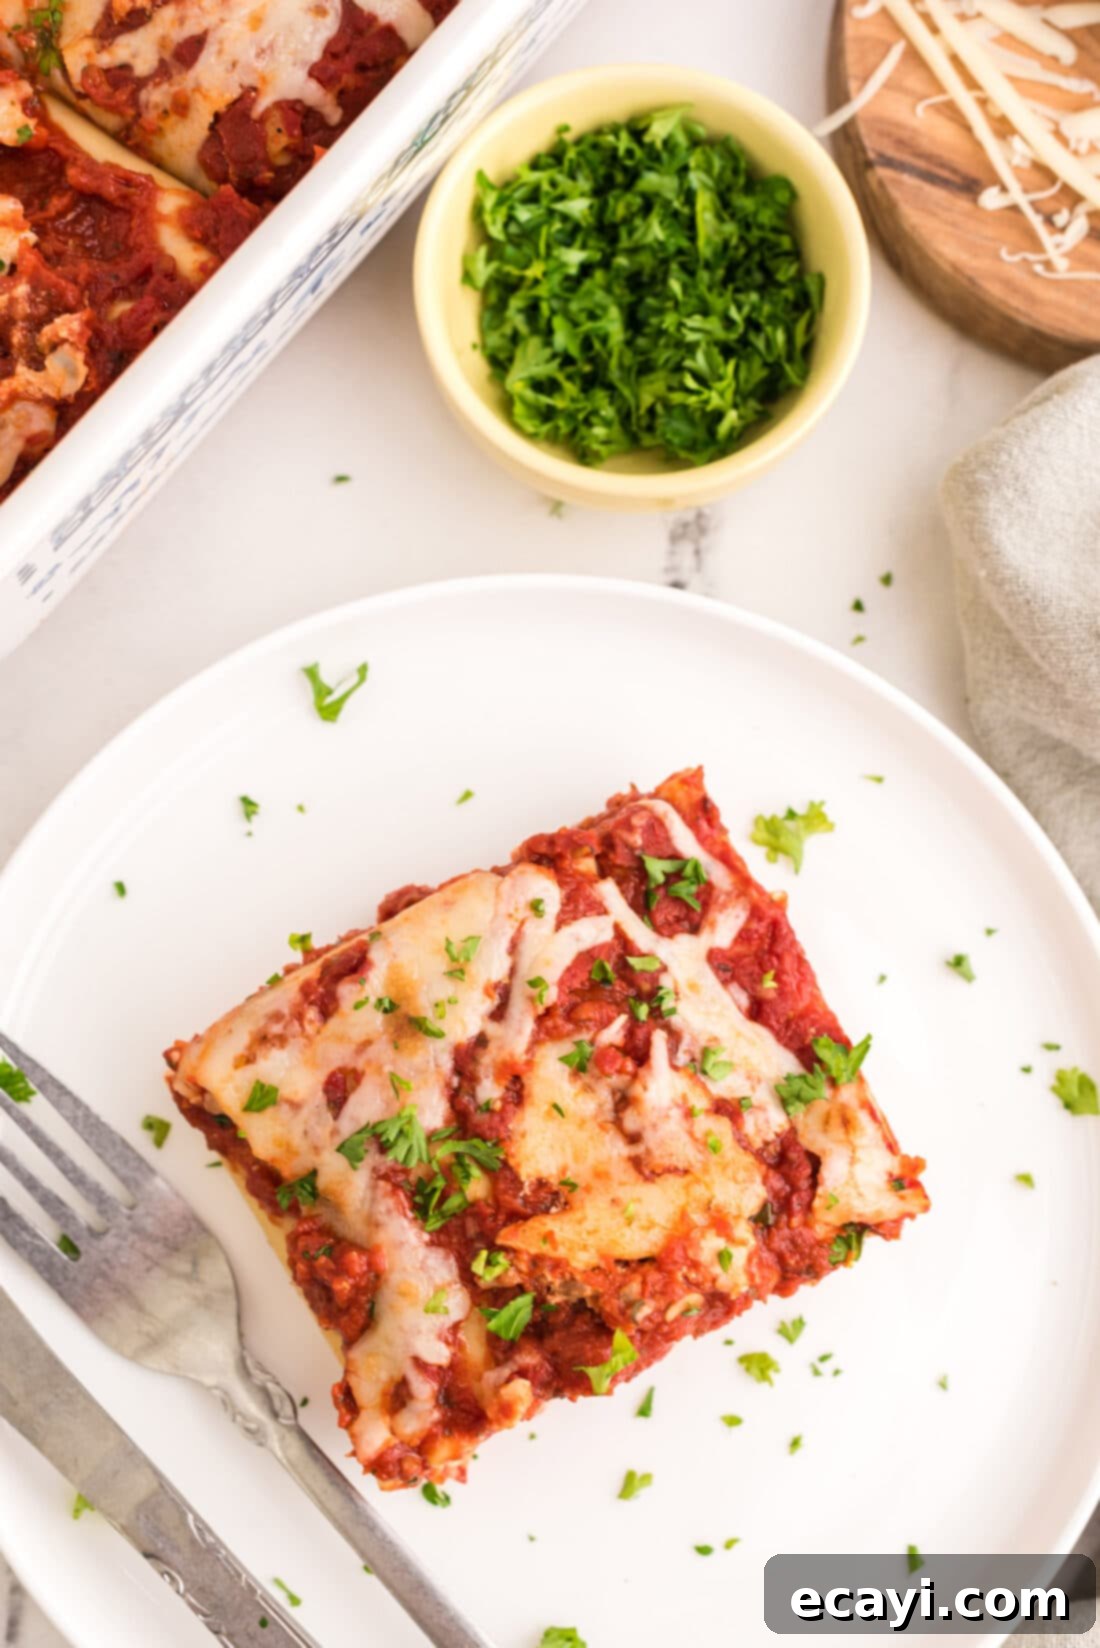
Essential Ingredients for Your Lasagna Roll Ups
Crafting the perfect lasagna roll ups requires a balance of high-quality ingredients that come together to create that signature Italian-American comfort food experience. While a full list of measurements and step-by-step instructions can be found in the printable recipe card at the end of this post, let’s dive into some key components and helpful tips for selecting them.
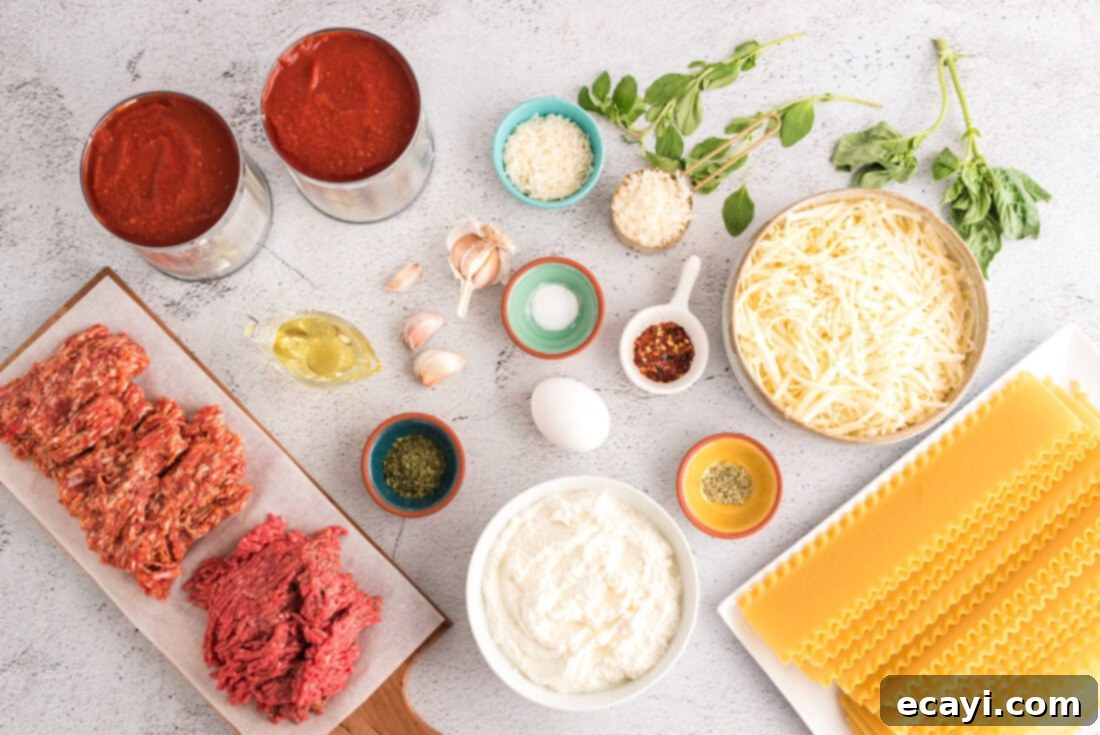
Ingredient Spotlight & Smart Substitutions
Each ingredient plays a crucial role in the symphony of flavors that define these lasagna roll ups. Understanding their purpose and knowing when and how to substitute can help you customize this dish to your liking.
Lasagna Noodles – The Foundation
We highly recommend using **no-boil oven-ready lasagna noodles** for this recipe. They are a true time-saver, significantly minimizing the prep work. Unlike traditional noodles that require a full boil, these simply need a quick dip in hot water (around 30 seconds) to become pliable enough for rolling. This brief softening ensures they cook perfectly in the oven without becoming mushy or brittle. If you prefer, you can certainly substitute with regular lasagna noodles; just ensure they are cooked al dente according to package directions before proceeding with the rolling step. Overcooked noodles will tear easily, so keep an eye on them!
The Hearty Meat Mixture – Flavorful & Satisfying
- Ground Beef: Lean ground beef (80/20 or 85/15) works best, offering a rich flavor without excessive grease. You can substitute with ground turkey or chicken for a lighter option, though the flavor profile will shift.
- Sweet Italian Sausage: This is a star ingredient, bringing a wonderful depth of flavor, subtle sweetness, and aromatic spices (like fennel) to the dish. Make sure to remove the casings before browning. If you prefer a bit of heat, hot Italian sausage can be used. For a vegetarian version, consider using a plant-based ground meat alternative.
The Rich Tomato Sauce – Aromatic & Savory
- Crushed Tomatoes: Two 28-ounce cans of good quality crushed tomatoes form the base of our robust sauce. Their thick consistency provides excellent coverage and flavor. You can also use diced tomatoes and blend them slightly if you prefer a smoother sauce.
- Aromatics & Spices: Freshly minced garlic and a touch of red pepper flakes (adjust to your heat preference) are sautéed in **olive oil** to build the flavor foundation. Fresh basil and oregano are key for that authentic Italian taste; fresh herbs always offer a brighter, more vibrant flavor than dried ones, but dried can be used in a pinch (use about a third of the amount). Fennel seeds complement the Italian sausage beautifully, enhancing its anise-like notes.
The Creamy Cheese Filling – Essential Ricotta Blend
- Ricotta Cheese: This is the cornerstone of any good lasagna filling, providing a wonderfully creamy texture. Full-fat ricotta offers the best flavor and consistency. Ensure it’s well-drained to prevent a watery filling.
- Egg: A single beaten egg acts as a binder, helping the ricotta mixture hold its shape when baked.
- Parsley & Salt: Dried parsley adds a herbaceous note. Fresh parsley would be even better for a pop of color and freshness. Salt is crucial to season the cheese mixture properly.
- Mozzarella Cheese: Shredded mozzarella provides that iconic melty, gooey texture. Dividing it allows for some to be incorporated into the filling and the rest to create a golden-brown top crust.
- Parmesan Cheese: Freshly grated Parmesan adds a sharp, salty, umami kick. Again, dividing it ensures flavor throughout and a perfect finish.
How to Make Delicious Lasagna Roll Ups
These step by step photos and instructions are here to help you visualize how to make this recipe. You can Jump to Recipe to get the printable version of this recipe, complete with measurements and instructions at the bottom.
- Begin by preheating your oven to 375°F (190°C) to ensure it’s ready for baking.
- In a large saucepan or skillet, brown the ground beef and sweet Italian sausage together over medium-high heat. Break the meat into small crumbles as it cooks, ensuring no pink remains. Once fully cooked, drain any excess grease thoroughly and set the cooked meat aside to cool.
- In the same saucepan (or a clean one), heat the olive oil over medium heat. Add the minced garlic and red pepper flakes, sautéing for just a minute until the garlic is fragrant and softened, being careful not to burn it. Stir in both cans of crushed tomatoes, fresh basil, oregano, and fennel seeds. Bring the sauce to a gentle boil, then reduce the heat to a simmer. Let it cook for approximately 20 minutes, stirring occasionally, allowing the flavors to meld and deepen. Avoid overcooking, which can dry out the sauce. Remove from heat.
- To prepare the creamy filling, combine the ricotta cheese, beaten egg, dried parsley, and salt in a large mixing bowl. Mix thoroughly until well combined. Fold in 2 cups of the shredded mozzarella cheese and ¼ cup of the grated Parmesan cheese. Once the cooked meat has cooled sufficiently, mix it into the ricotta cheese mixture. Finally, stir in 1 cup of the prepared tomato sauce into the filling to add moisture and flavor.
- In a small separate bowl, combine the remaining 1 cup of mozzarella cheese and 2 tablespoons of Parmesan cheese. This mixture will be used later for the topping.
- Bring a large pot of water to a rolling boil. While the water heats, line a clean kitchen towel or paper towels on your work surface. Add 3-4 no-boil lasagna noodles to the boiling water at a time. Using tongs, remove the noodles after just 30 seconds – this brief dip is simply to soften them and make them pliable for rolling, not to cook them through. Lay the softened noodles flat on the kitchen towel to cool slightly and absorb excess water. Continue this process until all noodles are prepared.
- Turn off the heat for the pot of water. Carefully pour a small amount of the boiled water into a separate bowl and keep it near your work surface. This warm water can be used to briefly dip any noodles that become stiff while you are working, ensuring they remain pliable for rolling.
- Spread 1 cup of the rich tomato sauce evenly over the bottom of a 13×9 baking dish. This layer will prevent the roll ups from sticking and adds extra moisture and flavor to the base.
- Take one softened lasagna noodle and lay it flat. Spread a generous ⅓ cup of the filling mixture evenly over the bottom three-quarters of the noodle, leaving the top quarter (the last 2-3 inches) uncovered. This clear edge will help create a neat seal. Starting from the end with the filling, carefully roll the noodle into a tight tube shape. Place the rolled lasagna into the prepared baking dish, seam side down, ensuring it fits snugly with other rolls. Repeat with the remaining noodles and filling.
- Evenly spoon the remaining tomato sauce over the rolled lasagna noodles in the dish, making sure each roll up is completely covered. This helps keep the noodles moist and ensures the sauce flavor permeates throughout the dish.
- Cover the baking dish tightly with aluminum foil. Bake on the middle rack of your preheated oven for about 40 minutes, or until the sauce is bubbly and hot. The foil helps to steam the noodles and cook the filling thoroughly.
- After 40 minutes, remove the lasagna roll ups from the oven. Carefully adjust your oven rack to the highest position, approximately 6 inches from the heating element, for broiling. Evenly sprinkle the reserved mixture of mozzarella and Parmesan cheese over the top of each individual roll up. Do not replace the foil. Broil for a minute or two, watching carefully, until the cheese melts, turns golden brown, and begins to bubble. Broiling too long can burn the cheese quickly.
- Once removed from the oven, allow the lasagna roll ups to cool and set for 15-20 minutes before serving. This crucial resting time ensures the filling solidifies slightly, making for easier and cleaner serving.
Frequently Asked Questions & Expert Tips for Lasagna Roll Ups
Absolutely! This recipe is ideal for meal prepping. You can assemble the entire dish up to the point of baking, using a disposable foil pan for convenience if you plan to transport it. When the instructions call for covering with aluminum foil, use a sheet of parchment paper directly over the roll ups first, then wrap the entire pan tightly with aluminum foil. Refrigerate for up to 3 days. When ready to bake, remove the outer foil (but keep the parchment if using a disposable pan to prevent cheese sticking), ensure it’s at room temperature for about 30 minutes, and bake as directed, potentially adding a few extra minutes to the baking time.
Yes, lasagna roll ups freeze beautifully! To freeze, prepare the roll ups as directed, but instead of baking, place a sheet of parchment paper directly over the top of the assembled rolls in the pan. Wrap the entire pan securely with aluminum foil (you might want to double-wrap to prevent freezer burn). Freeze for up to 1 month. When you’re ready to enjoy them, thaw the frozen roll ups in the refrigerator for 1 to 2 days. To bake, remove the parchment and foil, re-cover with fresh aluminum foil, and increase the baking time as needed, typically by 20-30 minutes, or until thoroughly heated through and bubbly. Then proceed with the broiling step for a golden cheese topping.
It’s common for no-boil noodles to stiffen slightly as they cool. The trick is to have a bowl of the warm boiled water nearby. If a noodle feels too rigid to roll without cracking, simply dip it back into the warm water for 5-10 seconds, then lay it back on your towel for a moment before spreading the filling. This will make it pliable again.
For an even deeper flavor in your tomato sauce, consider adding a splash of red wine or a teaspoon of sugar to balance the acidity of the tomatoes. A bay leaf simmered with the sauce can also contribute to its aromatic complexity.
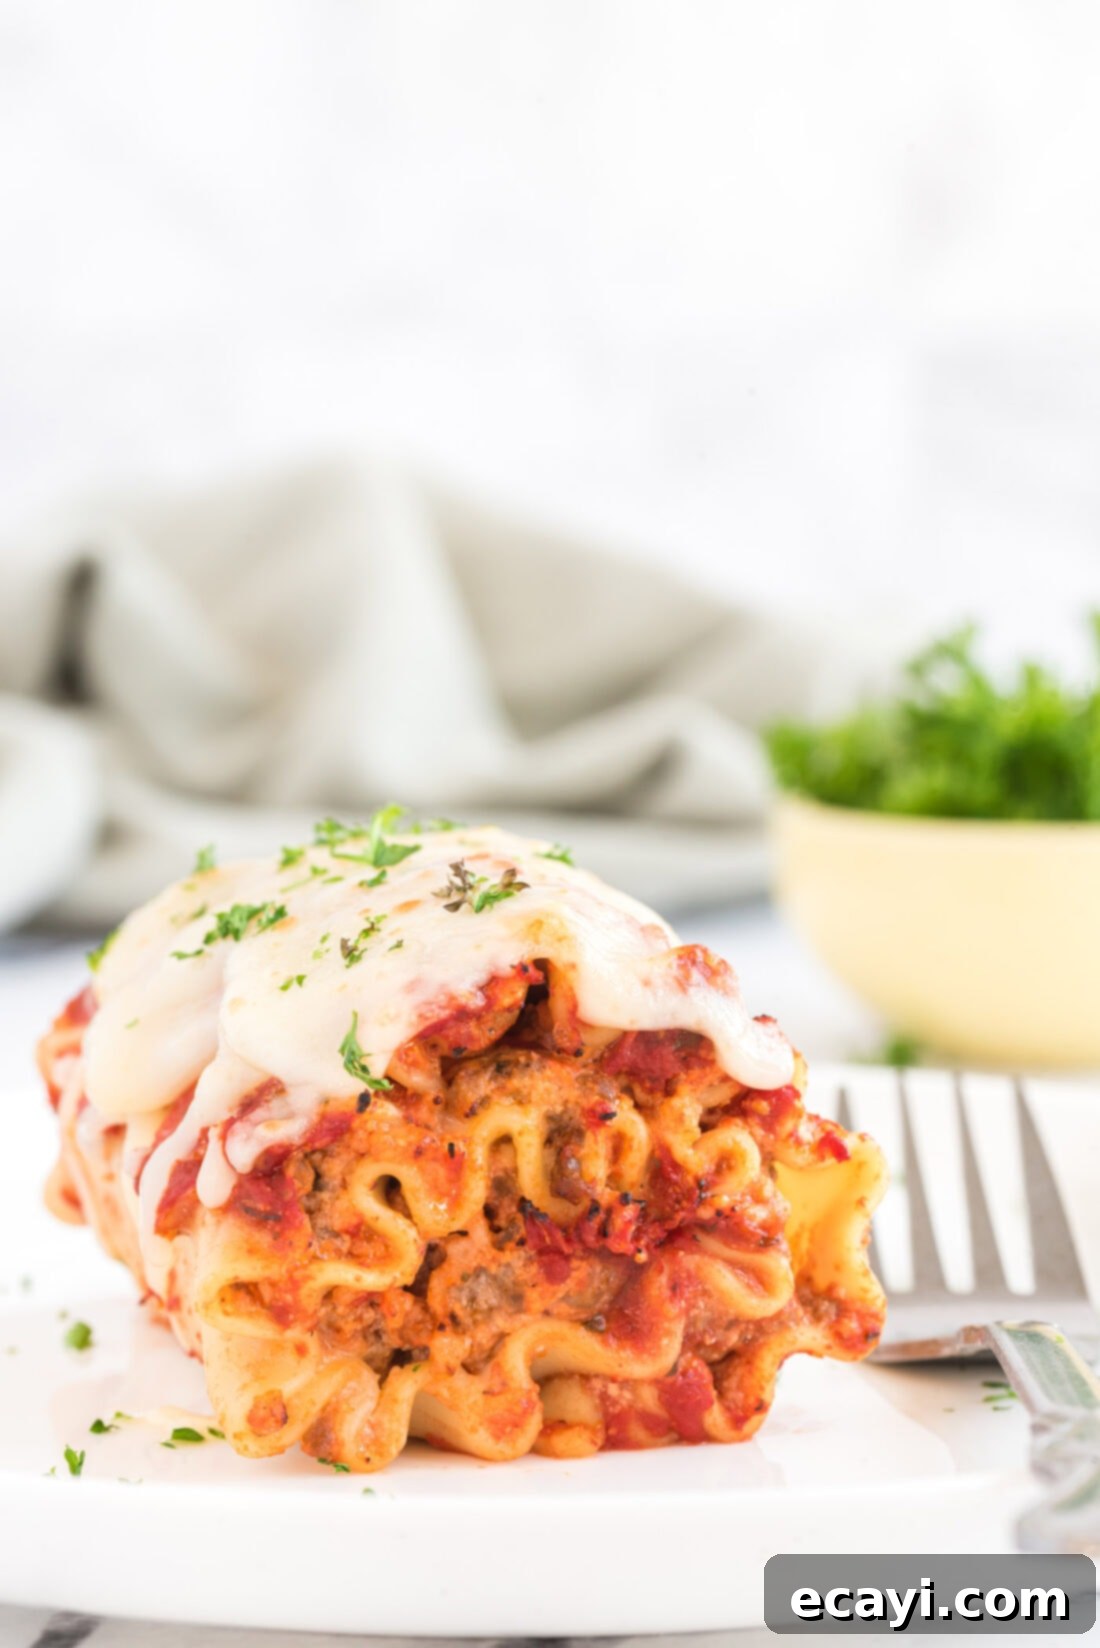
Delightful Serving Suggestions
While lasagna roll ups are incredibly satisfying on their own, pairing them with a few complementary side dishes can elevate your meal into a full Italian feast. Consider serving them alongside a crisp, leafy green salad with a light vinaigrette to balance the richness of the pasta. A basket of warm garlic bread or crusty Italian bread is perfect for soaking up any extra sauce. For a complete dining experience, a glass of medium-bodied red wine, such as Chianti or Merlot, would be an excellent accompaniment. These individual portions also make them fantastic for potlucks or dinner parties, as they are easy to serve and impressive to look at.
More Comforting Casserole Recipes to Explore
If you love the ease and heartiness of baked casseroles, you’re in for a treat! Discover more delicious, family-friendly recipes that bring warmth and flavor to your table:
- Baked Ziti
- Ravioli Lasagna
- John Wayne Casserole
- Southwest Ground Beef Casserole
- Beef Stroganoff Casserole
- Chicken Enchilada Casserole
- Stuffed Shells
I love to bake and cook and share my kitchen experience with all of you! Remembering to come back each day can be tough, that’s why I offer a convenient newsletter every time a new recipe posts. Simply subscribe and start receiving your free daily recipes!
Lasagna Roll Ups
IMPORTANT – There are often Frequently Asked Questions within the blog post that you may find helpful. Simply scroll back up to read them!
Print It
Pin It
Rate It
Save ItSaved!
Ingredients
- 14 lasagna noodles no boil, oven ready noodles
- ½ pound ground beef
- 1 pound sweet Italian sausage casings removed
- 2 tablespoons olive oil
- 3 cloves garlic smashed and minced
- ½ teaspoon red pepper flakes
- 56 ounces crushed tomatoes 2 – 28 ounce cans
- 1 tablespoon fresh basil chopped
- 1 tablespoon fresh oregano chopped
- ½ teaspoon fennel seeds
- 15 ounces Ricotta cheese
- 1 egg beaten
- 1 tablespoon dried parsley
- ½ teaspoon salt
- 3 cups shredded Mozzarella cheese divided
- ¼ cup + 2 tablespoons fresh grated Parmesan cheese divided
Things You’ll Need
-
13×9 baking dish
Before You Begin
- This recipe can be prepared ahead, using a disposable lasagna foil pan is best. Where the instructions state to cover the pan with aluminum foil, cover with a sheet of parchment paper instead. Wrap pan in aluminum foil, and refrigerate for up to 3 days or freeze for up to 1 month. (If frozen, thaw the roll ups in the refrigerator for 1 to 2 days.) To bake, remove the parchment, replace with aluminum foil, and increase baking time as needed.
Instructions
-
Preheat oven to 375 F.
-
In a large saucepan, brown the ground beef and Italian sausage together. Drain and set aside to cool.
-
Over medium heat, saute the garlic and red pepper flakes in the olive oil just until soft. Add both cans of tomatoes, basil, oregano and fennel seeds. Bring to a boil then reduce heat and simmer for 20 minutes, stirring occasionally. Do not over cook and dry out the sauce. Remove from heat.
-
To make the filling, in a large bowl mix the Ricotta cheese, egg, parsley, and salt together. Add in 2 cups of the Mozzarella cheese and 1/4 cup of the Parmesan cheese. Mix the drained and cooled meat into the Ricotta cheese mixture. Add 1 cup of the cooled sauce.
-
In a small bowl, mix together the remaining 1 cup of Mozzarella cheese and 2 tablespoons of Parmesan cheese. Set aside.
-
Bring a pot of water to a boil. Meanwhile line work surface with a clean kitchen towel. Add 3-4 noodles to the water at a time. Using tongs, remove noodles after 30 SECONDS (just long enough to soften them and make them pliable) and lay them on the kitchen towel. Continue until all noodles are ready.
-
Turn water off and carefully pour some of the boiled water into a bowl. Keep near your work surface to dip noodles in if they are not pliable enough to roll.
-
Spread 1 cup of the tomato sauce into a 13×9 baking dish.
-
Spread a heaping 1/3 cup of filling mixture onto bottom 3/4 of each noodle, leaving top 1/4 of the noodle uncovered. Starting from the end with cheese, roll the noodle into a tube shape and arrange in baking dish seam side down.
-
Top evenly with remaining sauce, covering each noodle completely.
-
Cover the dish with aluminum foil. Bake on the middle rack until the sauce bubbles, about 40 minutes.
-
Remove roll ups from the oven and adjust the oven rack to the highest position. It should be about 6 inches from the heating element. Sprinkle remaining Mozzarella and Parmesan mixture evenly over each individual roll up. Do not replace the foil. Broil until cheese starts to brown (watch carefully, only a minute or so!). Cool 15-20 minutes before serving to allow the roll ups to set.
Nutrition
The recipes on this blog are tested with a conventional gas oven and gas stovetop. It’s important to note that some ovens, especially as they age, can cook and bake inconsistently. Using an inexpensive oven thermometer can assure you that your oven is truly heating to the proper temperature. If you use a toaster oven or countertop oven, please keep in mind that they may not distribute heat the same as a conventional full sized oven and you may need to adjust your cooking/baking times. In the case of recipes made with a pressure cooker, air fryer, slow cooker, or other appliance, a link to the appliances we use is listed within each respective recipe. For baking recipes where measurements are given by weight, please note that results may not be the same if cups are used instead, and we can’t guarantee success with that method.
This post originally appeared here on November 27, 2011 and has since been updated with new photos and expert tips, and expanded content to enhance your cooking experience.
