Master the Art of Popovers: An Easy 5-Ingredient Recipe for Perfectly Puffed & Golden Rolls
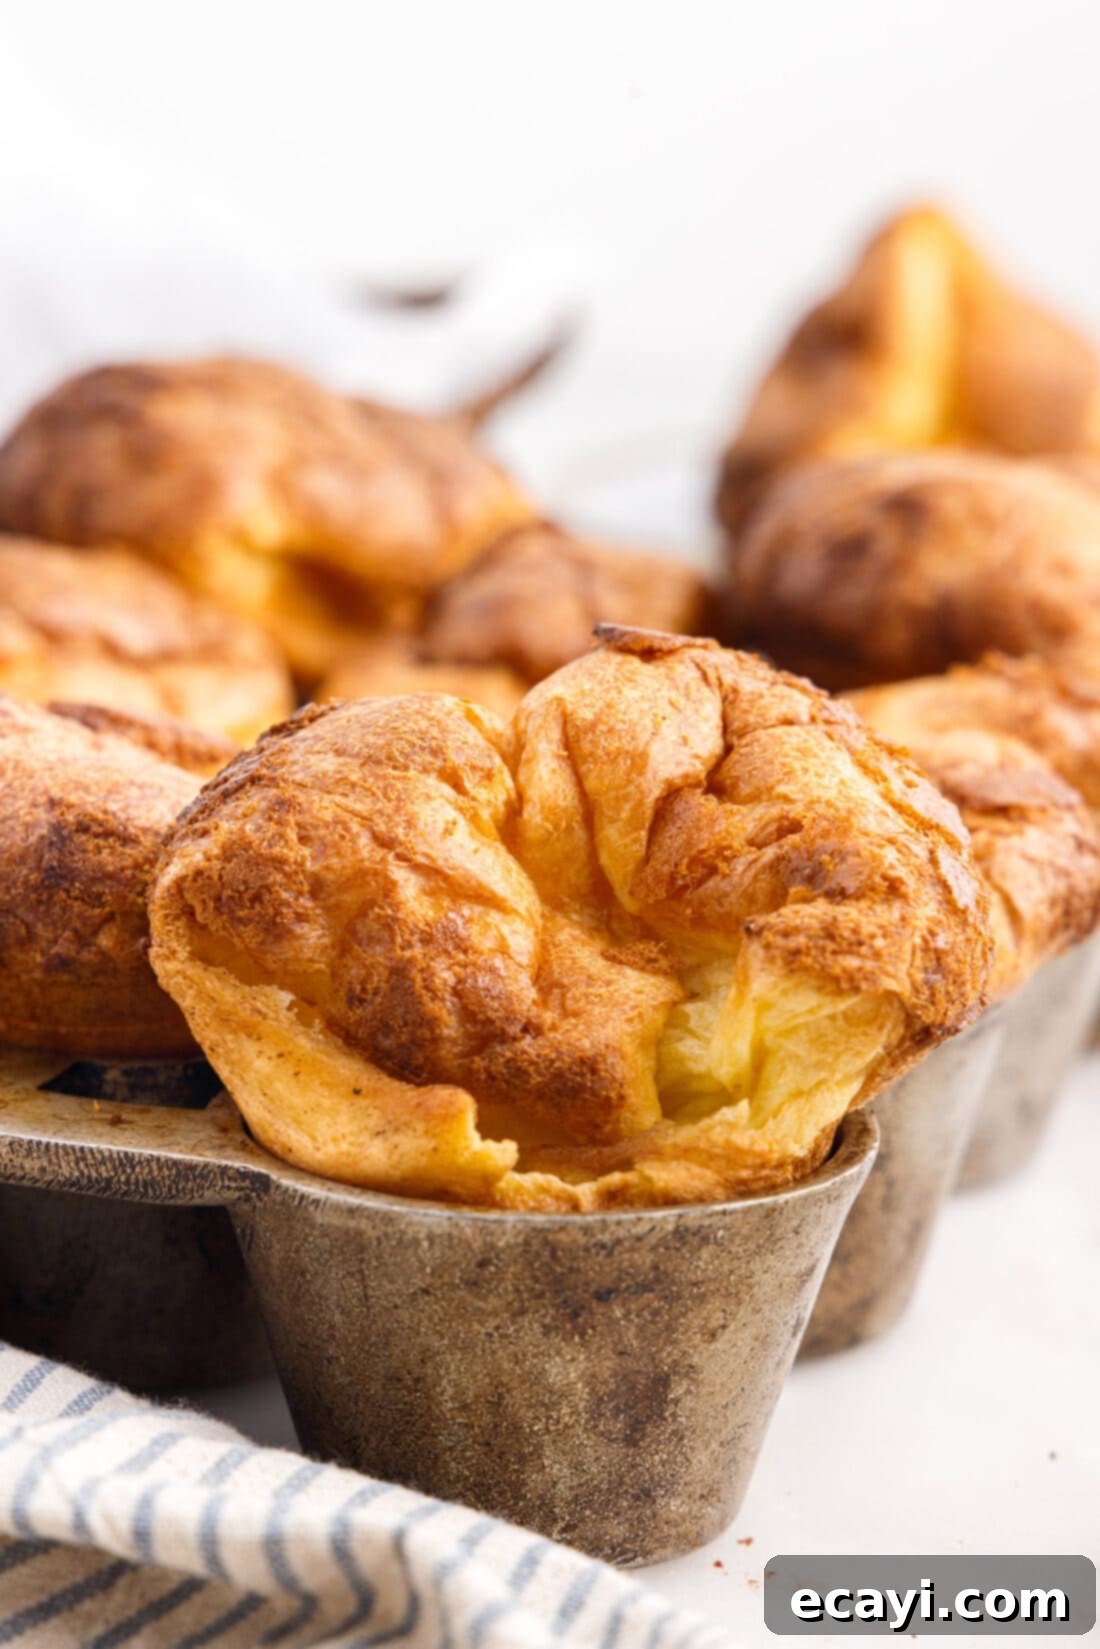
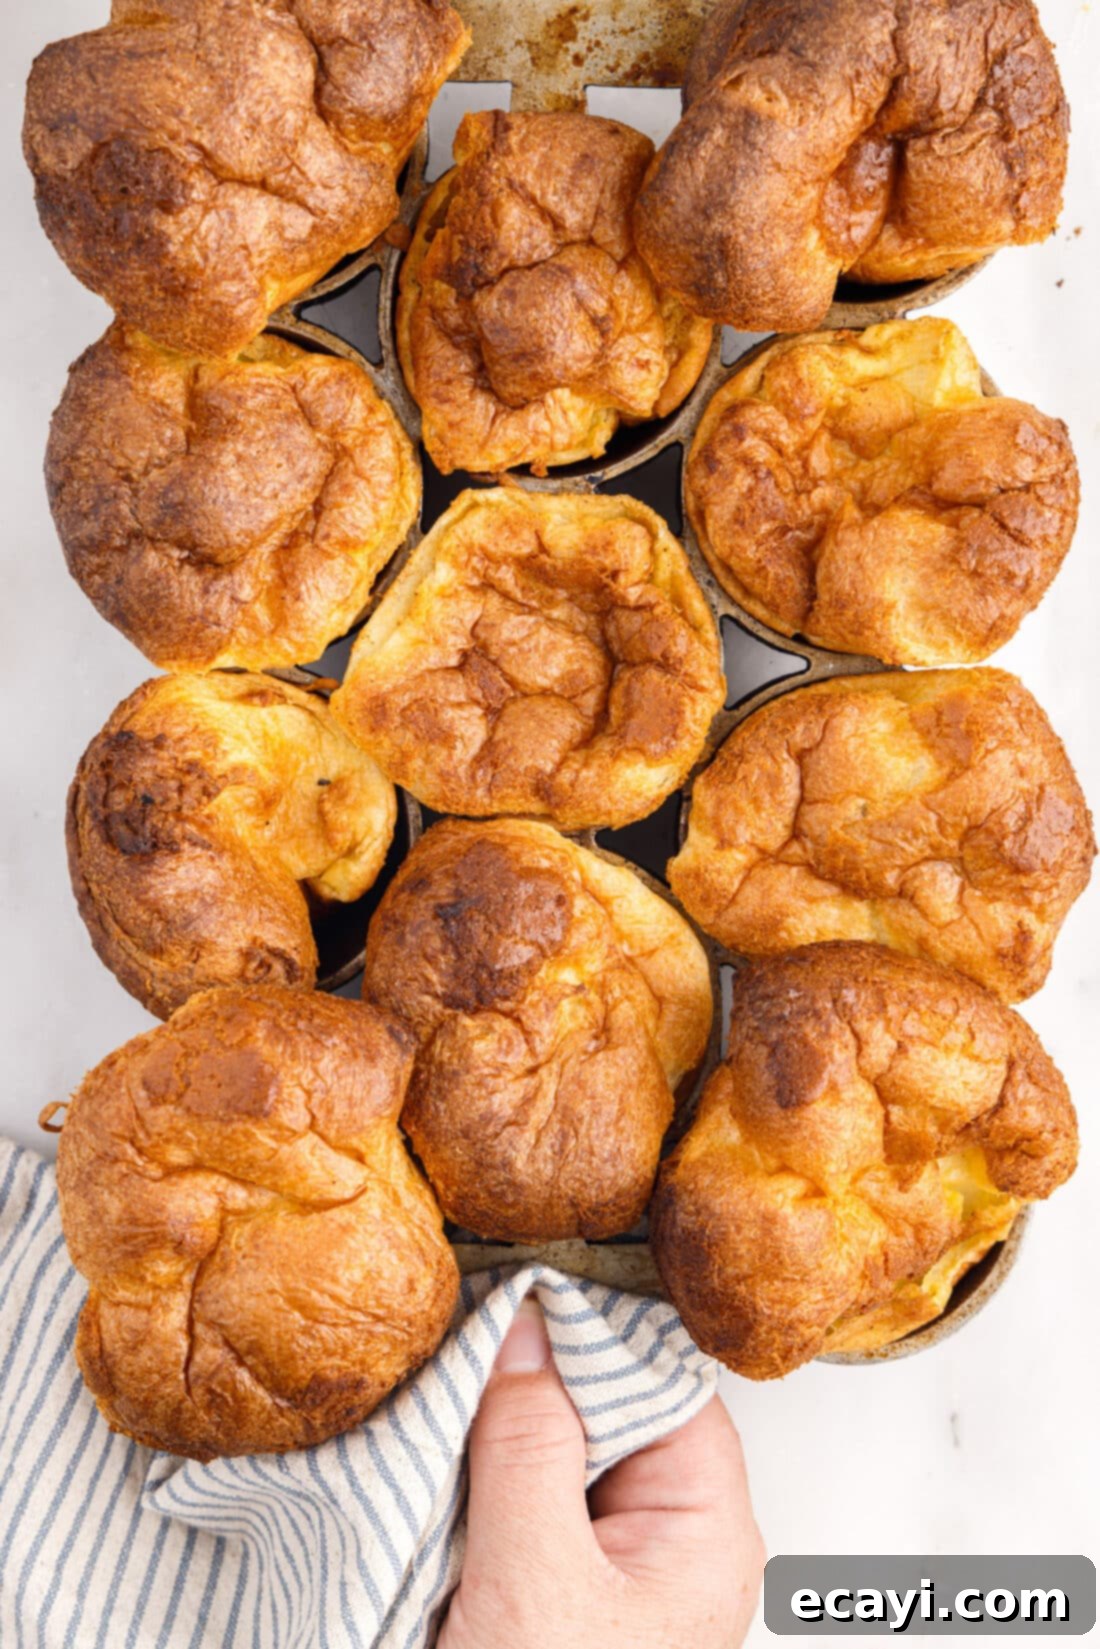
Discover the delightful simplicity of homemade popovers with this incredibly easy 5-ingredient recipe. These elegant, yet simple, rolls are baked to a delicate crisp golden brown on the outside, revealing an airy, hollow, and incredibly soft interior. Their unique texture and subtle flavor make them a versatile companion, perfect for elevating both your breakfast spread and your dinner table. Forget complicated baking; with just a few basic ingredients and simple techniques, you’ll be creating impressive popovers that will have everyone asking for your secret!
The Magic Behind This Easy Popover Recipe
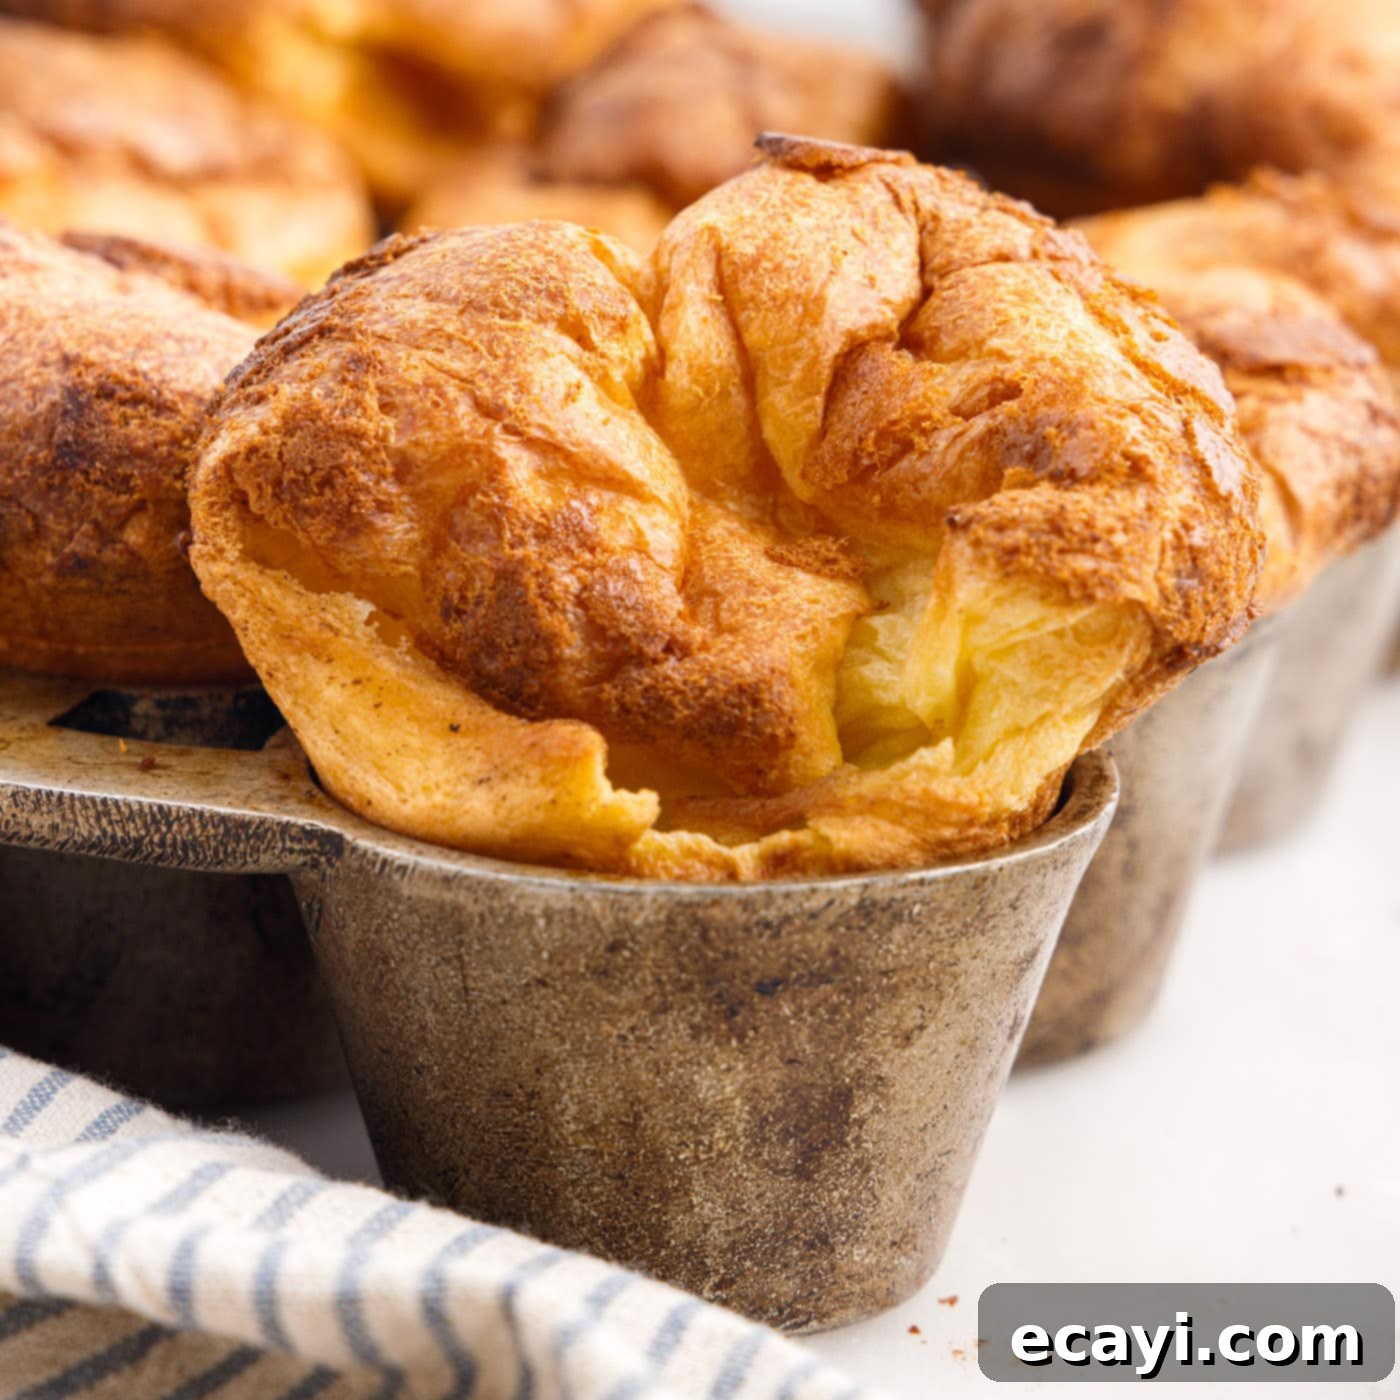
Popovers are a truly special baked good, and their charm lies in their unique characteristics. Unlike traditional yeast-risen breads or dinner rolls, popovers rely entirely on an egg-rich batter and high heat to achieve their impressive stature and signature hollow center. There’s no yeast or leavening agents like baking powder or soda involved here; the magic happens through steam. As the thin batter bakes in a scorching hot oven, the liquid within rapidly turns to steam, causing the gluten structure from the flour and protein from the eggs to expand dramatically, pushing the batter upwards and “popping” over the rim of the pan. This process creates that wonderfully crisp exterior and the distinctively airy, soft interior that makes popovers so irresistible.
This particular recipe stands out for its simplicity and effectiveness. With just five common ingredients, a popover tin (though a muffin tin can be a substitute in a pinch), and a blender to ensure a smooth, well-combined batter, you can confidently create bakery-quality popovers right in your own kitchen. We’ll guide you through each step, ensuring you achieve that perfect puff and golden hue every time, making this recipe a reliable favorite for any occasion.
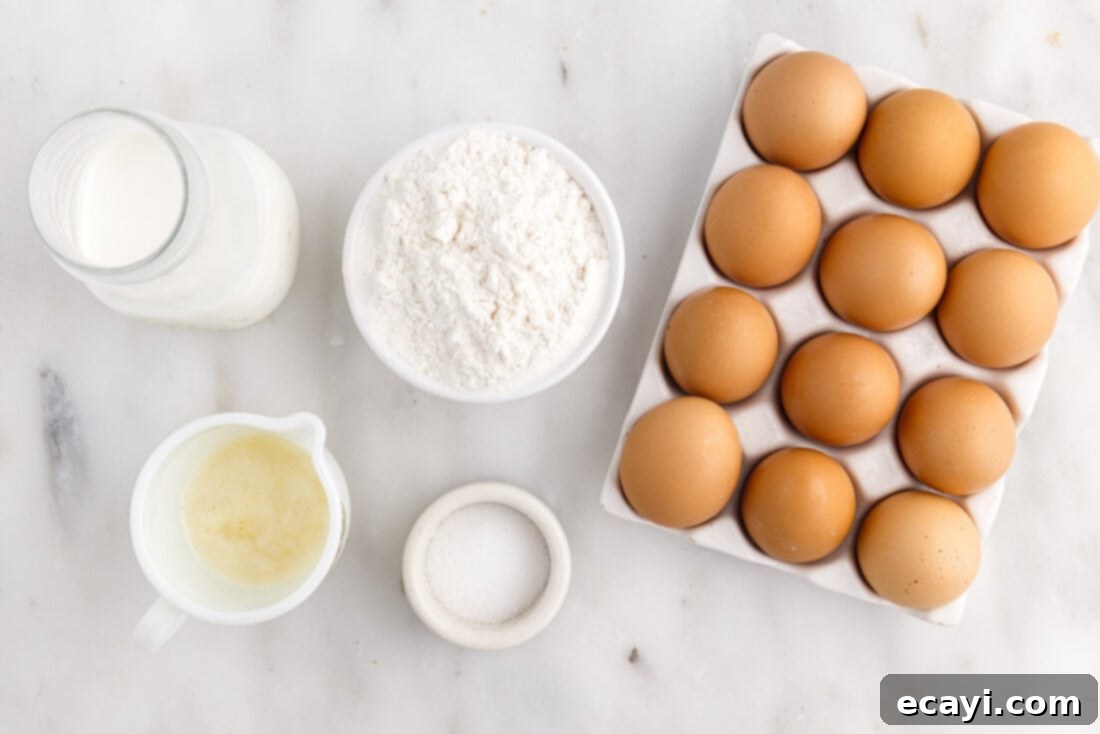
Essential Ingredients for Your Popovers
Crafting perfect popovers requires only a handful of staple ingredients, but paying attention to their quality and preparation can make all the difference. You’ll find the precise measurements, detailed instructions, and a printable version of this recipe at the very end of this comprehensive guide. Here’s what you’ll need to gather:
- All-Purpose Flour: The structural backbone of your popovers.
- Large Eggs: Key for richness, binding, and the dramatic rise.
- Whole Milk: Provides moisture and contributes to a beautiful golden-brown crust.
- Melted Butter: For flavor, tenderness, and preventing sticking.
- Sea Salt: To balance and enhance all the flavors.
Ingredient Deep Dive & Expert Substitution Suggestions
Understanding each ingredient’s role and how to handle it properly is crucial for popover success. Here’s a closer look at what goes into your batter and some tips for best results:
Flour: The Foundation of Structure
The type and measurement of flour are critical for achieving that signature light and airy interior. We recommend using good quality all-purpose flour. The key to measuring flour correctly for popovers is to avoid compaction. Always use the “scoop and sweep” method:
- First, aerate your flour by fluffing it with a spoon or whisk directly in its container.
- Gently spoon the aerated flour into a dry measuring cup until it overflows slightly.
- Use the flat edge of a butter knife or a straight kitchen tool to level off the excess flour, ensuring it’s flush with the top of the measuring cup.
Never pack the flour down, tap the measuring cup on the counter, or scoop directly from the bag without aerating. Doing so can add too much flour, leading to dense, heavy popovers instead of the light, hollow ones you’re aiming for. The right amount of flour ensures the perfect balance between structure and airiness.
Eggs and Milk: The Dynamic Duo for Rise and Richness
Both eggs and milk play vital roles in the popover’s texture and rise, and their temperature is paramount. It’s absolutely essential that both these ingredients are at room temperature before you begin mixing. Why?
- Room Temperature Eggs: Cold eggs can cause the melted butter to seize and become lumpy in the batter, making it harder to achieve a smooth consistency. Room temperature eggs also emulsify better with other ingredients, leading to a more uniform batter and ultimately a more consistent rise.
- Room Temperature Milk: Similar to eggs, cold milk can shock the batter and prevent the gluten from relaxing properly, hindering the popovers’ ability to puff up to their full potential. Warm (but not hot) milk helps create a smooth batter and ensures the steam forms efficiently during baking. We recommend whole milk for its richness, which contributes to a more tender crumb and a beautiful golden-brown crust. While you can substitute with lower-fat milk, the texture and browning might be slightly less robust.
Butter: Flavor and Crispness
Melted butter not only adds a delicious richness to the batter but is also crucial for greasing the popover pan. The residual butter in the hot pan creates a flavorful, crispy crust as the popovers bake. Ensure your butter is fully melted but not scorching hot when adding it to the batter.
Sea Salt: A Touch of Flavor
A small amount of sea salt is essential to enhance the overall flavor profile of the popovers, bringing out the subtle sweetness of the milk and eggs and balancing the richness of the butter. Don’t skip it!
How to Achieve Perfect Popovers: A Step-by-Step Guide
These step-by-step photos and instructions are designed to help you visualize each stage of making this recipe. For a quick reference or to print, you can Jump to Recipe to get the printable version, complete with measurements and instructions, located at the bottom of this post.
- Prepare Your Oven and Pan: Begin by placing a popover pan on the bottom shelf of your oven. This position allows the popovers to receive maximum heat from below, crucial for their initial powerful rise. To prevent the tops from over-browning while ensuring they cook through, position a second oven shelf approximately 12 inches above the bottom shelf. Place a standard sheet pan on this upper shelf; this acts as a heat shield, protecting the delicate tops of your popovers from direct overhead heat.
- Preheat Thoroughly: Preheat your oven to a blazing 450°F (232°C). This high initial temperature is key to activating the steam that makes popovers “pop.” It’s not enough for the oven to simply register the temperature; continue heating the oven for an additional 20 minutes *after* it indicates it has reached 450°F. This ensures the popover pan itself is screaming hot, which is absolutely vital for an explosive rise.
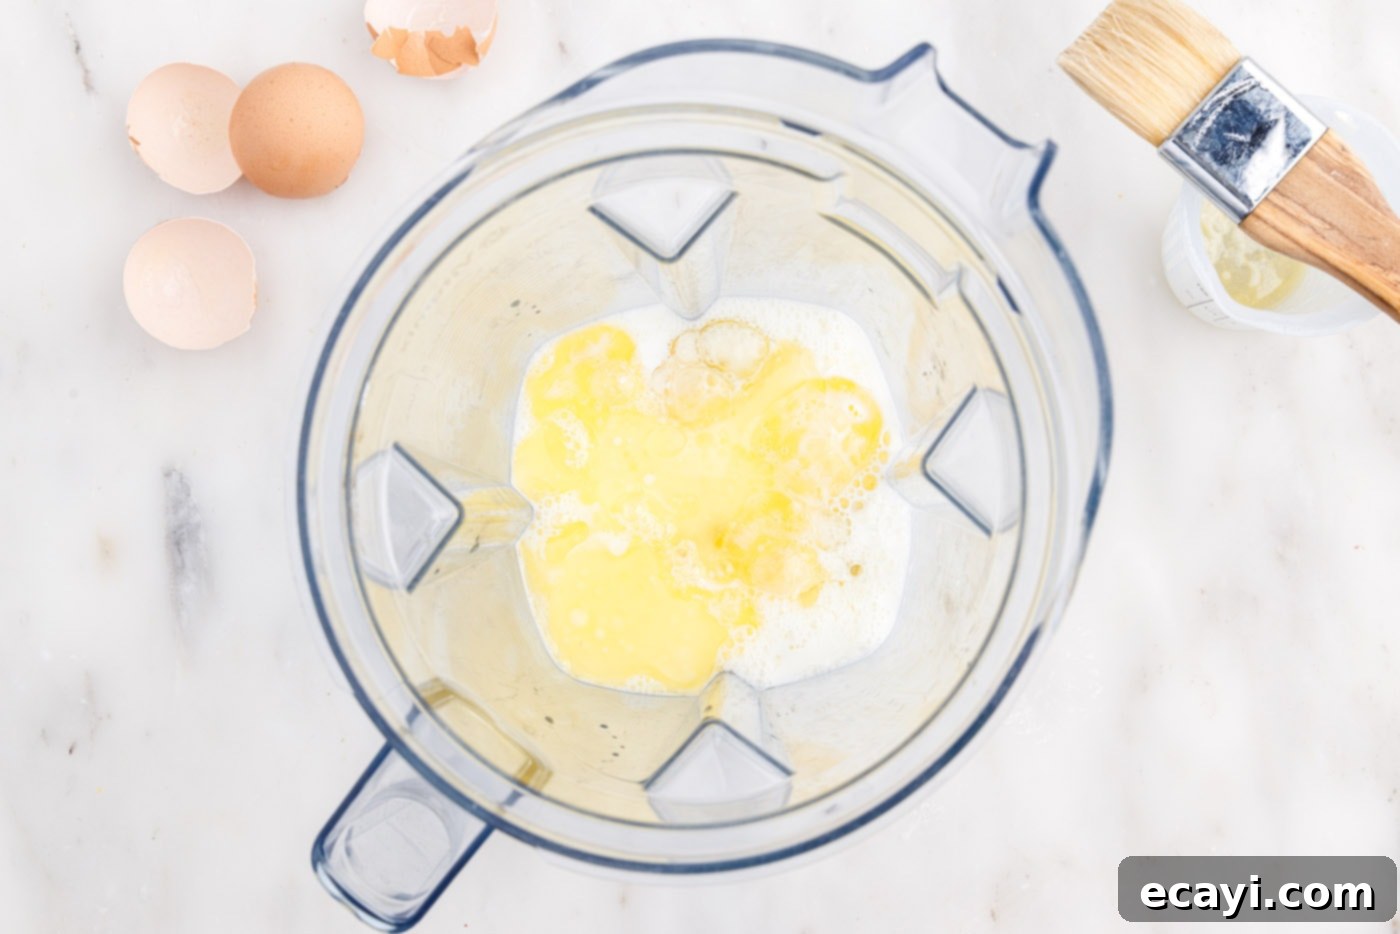
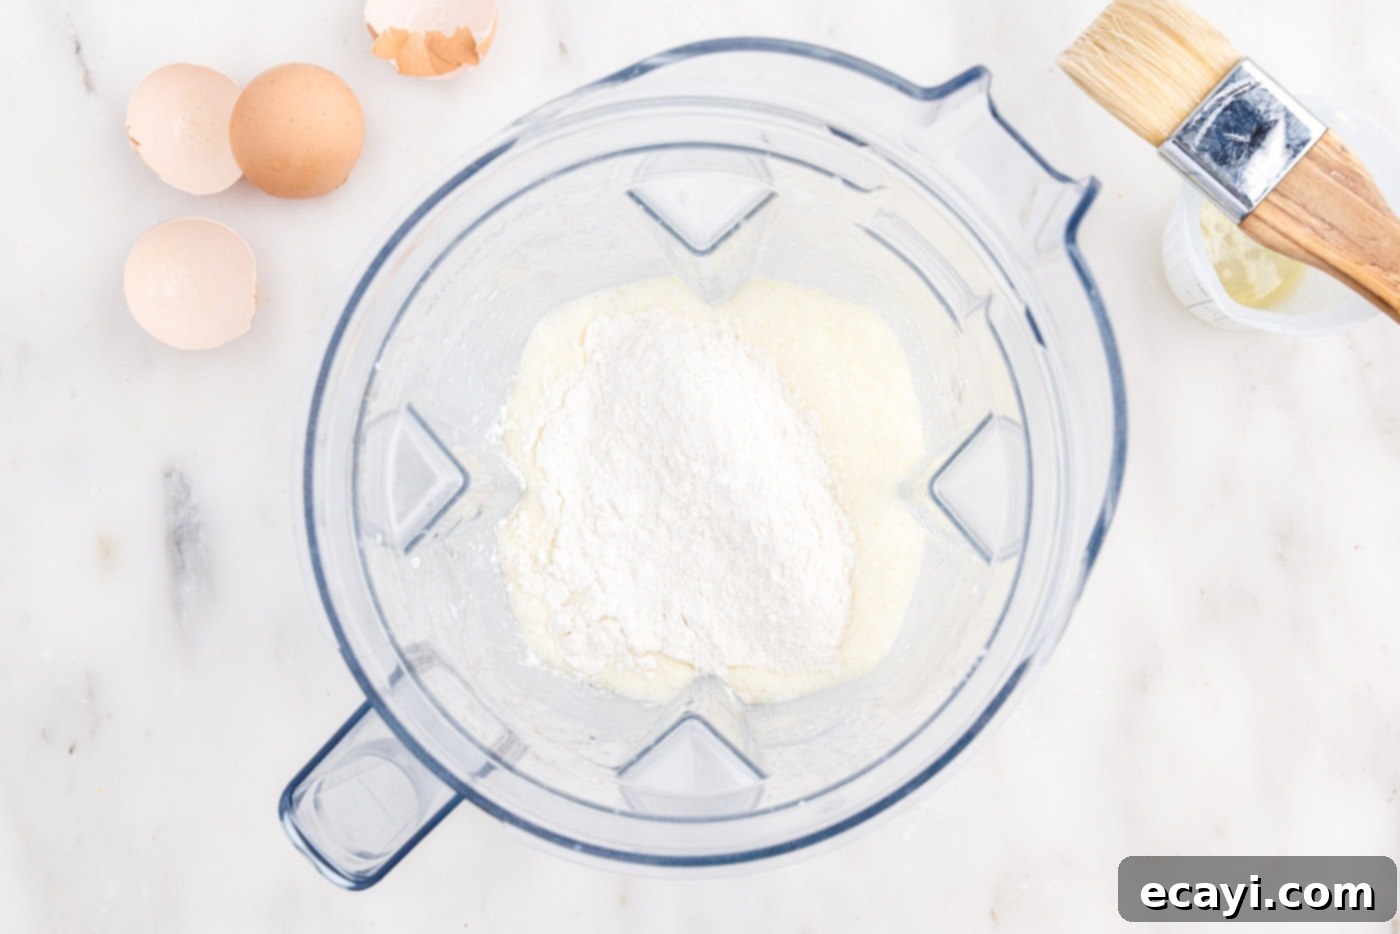
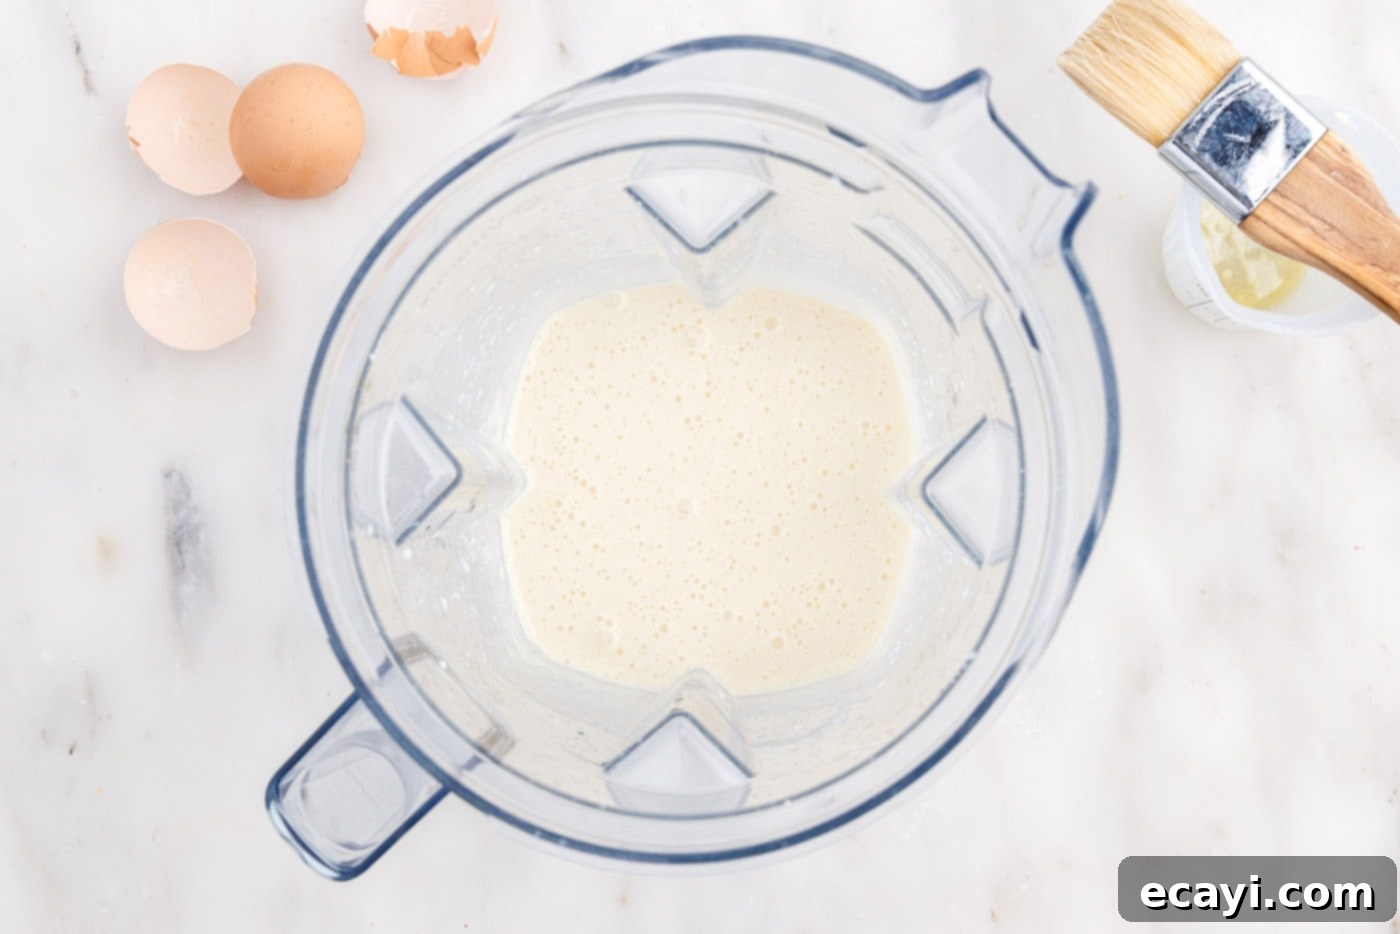
- Prepare the Batter (and Let it Rest): While your oven is preheating, prepare your simple popover batter. In a blender, combine 2 tablespoons of melted butter (remember, it should be melted but not boiling hot), your room-temperature eggs, and room-temperature milk. Pulse the blender a few times until these ingredients are thoroughly combined and smooth. Next, add the all-purpose flour and sea salt. Pulse several more times, just until the flour is fully incorporated and the batter is smooth. Be careful not to overmix, as this can develop too much gluten and result in tougher popovers. Once mixed, let the batter rest at room temperature for at least 15 minutes. This resting period allows the gluten to relax and the flour to fully hydrate, contributing to a better rise and texture.


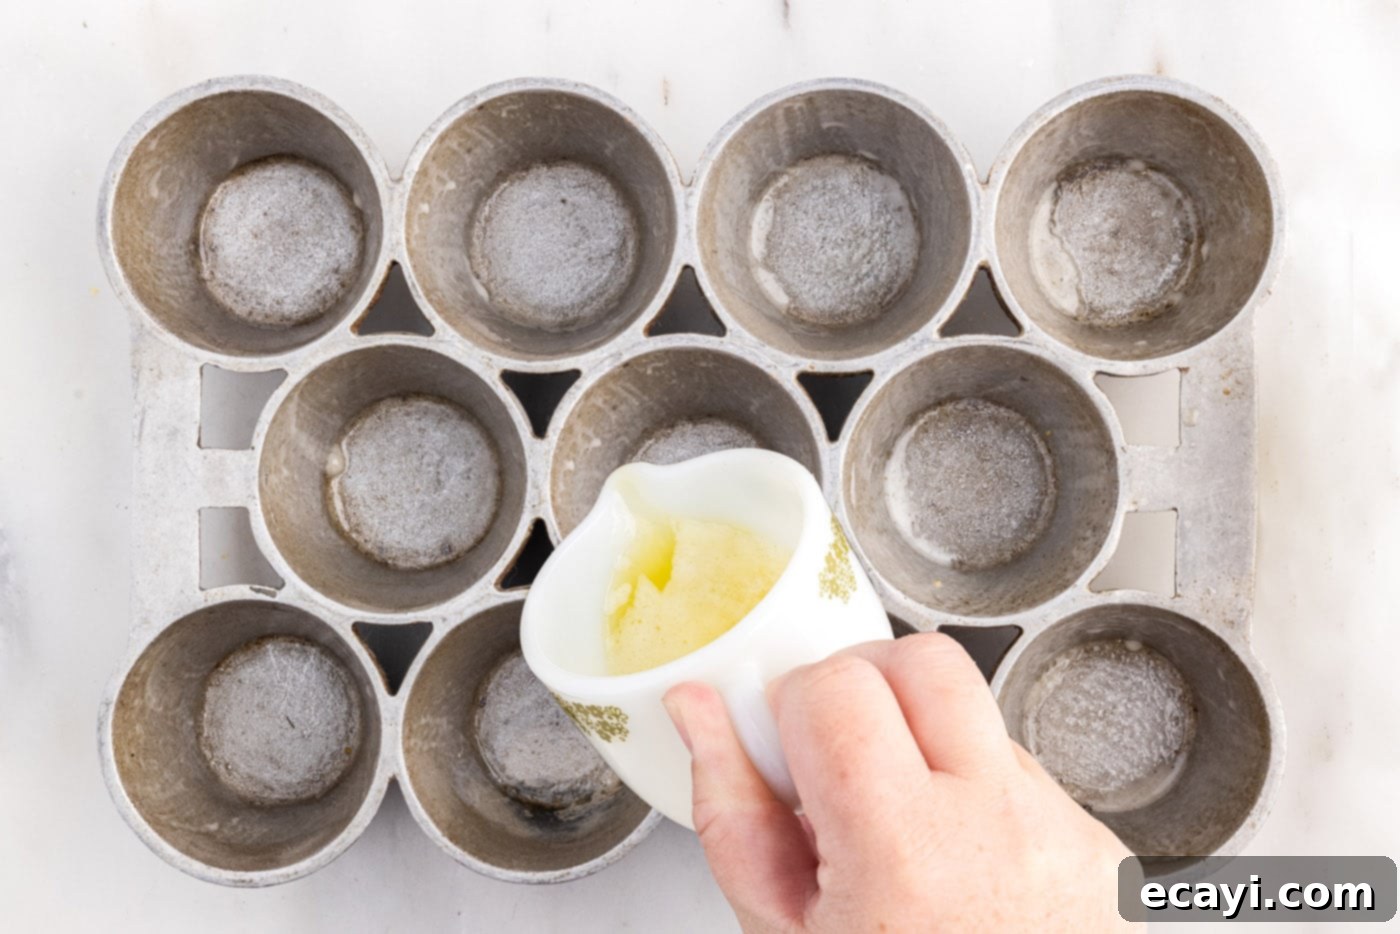
- Butter the Hot Pan: Once the oven has been thoroughly preheated and your pan is sizzling hot, carefully remove the popover pan from the oven. Using the remaining 2 tablespoons of melted butter, quickly and carefully pour a drizzle into the bottom of each popover cup. Be extremely cautious, as the butter will likely splatter and sizzle aggressively when it hits the hot metal. Work quickly to ensure each cup gets an even coating of melted butter before the pan cools down significantly. This butter layer contributes to a crispy exterior and prevents sticking.

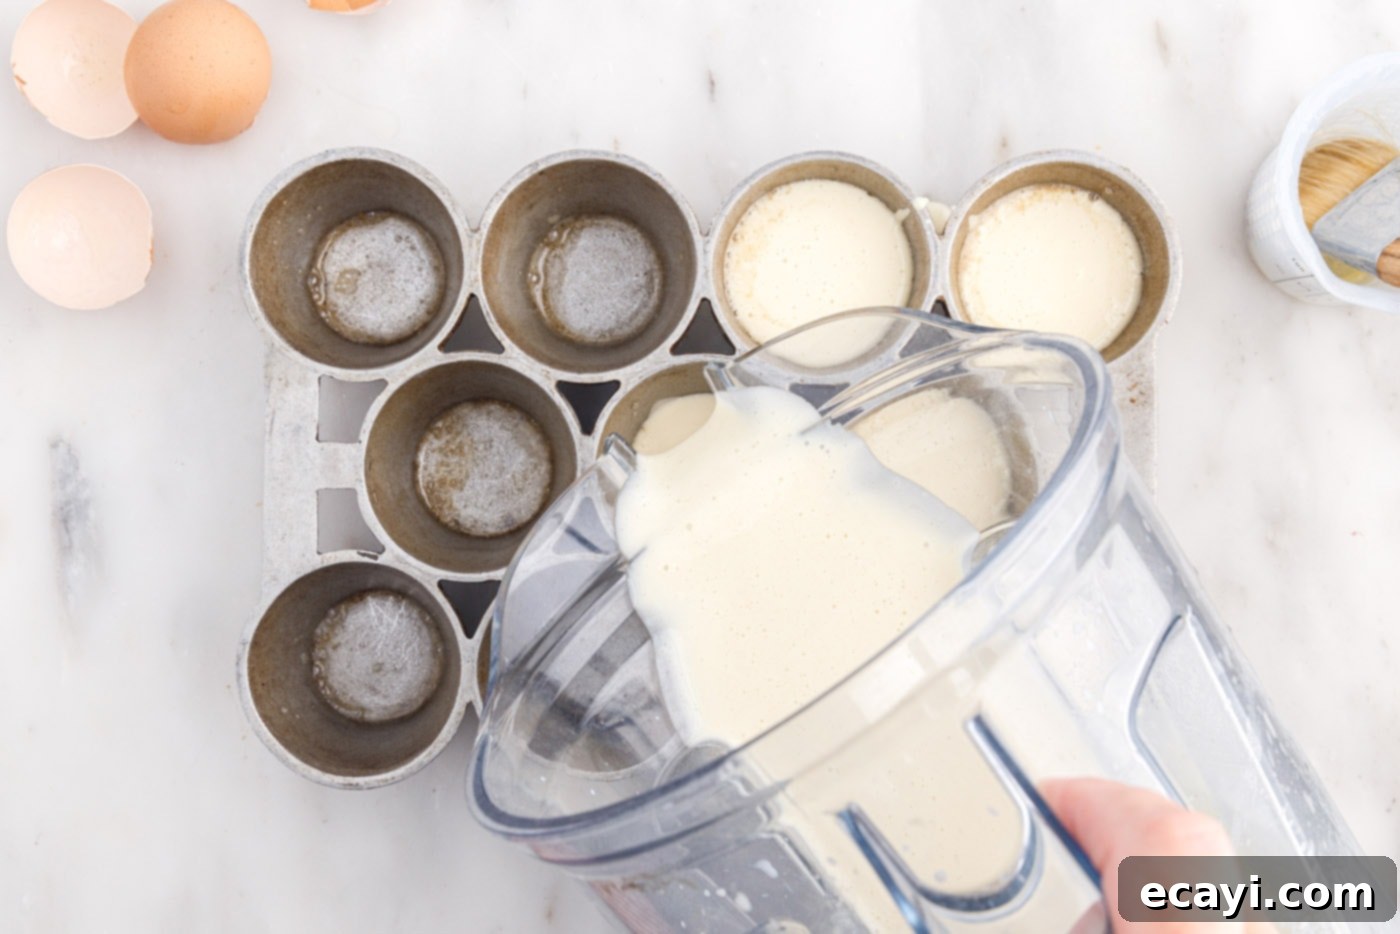
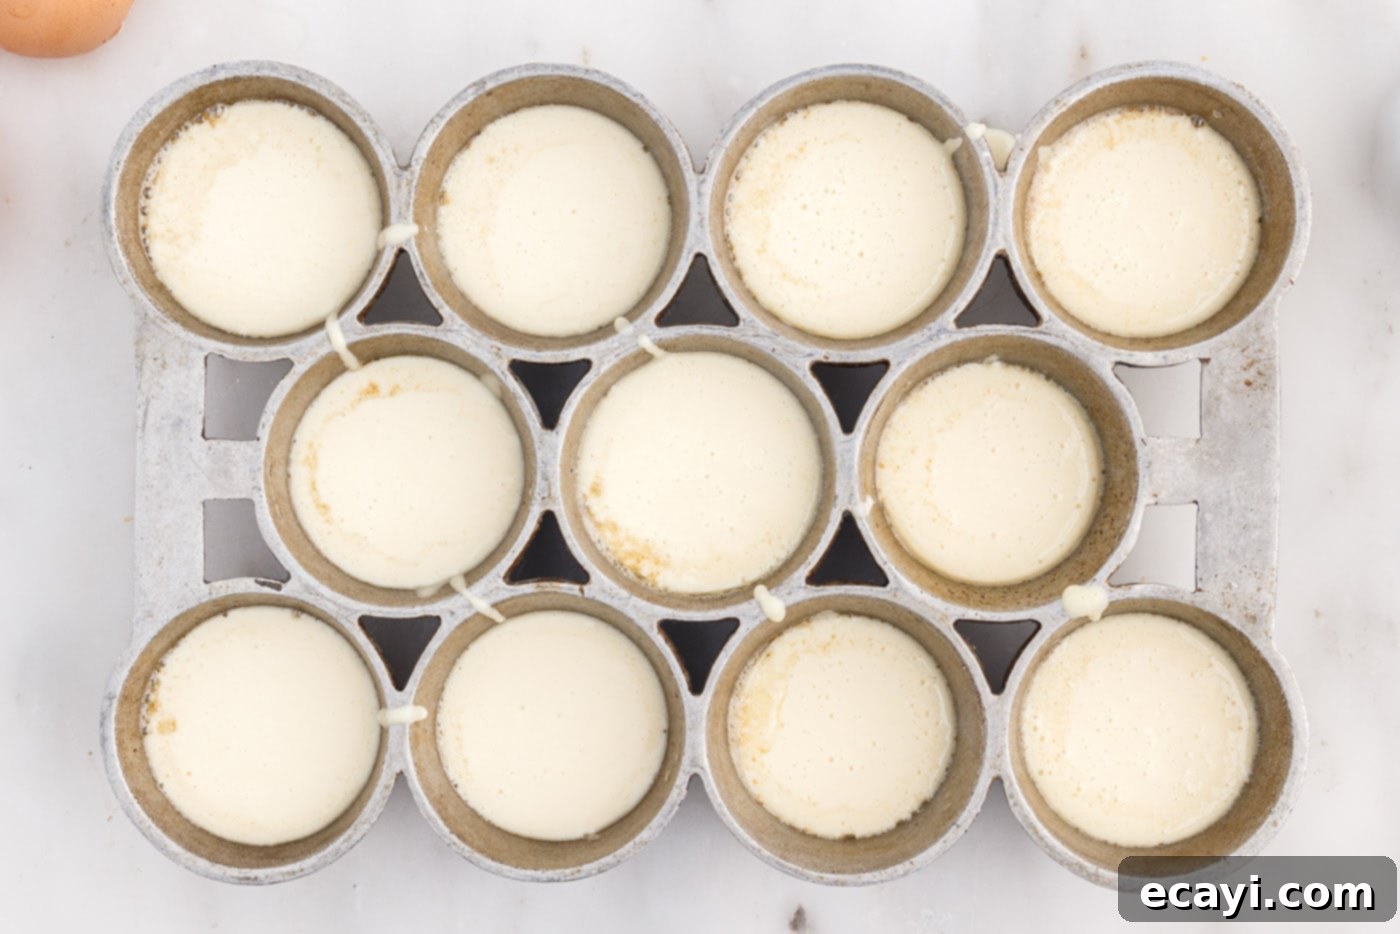
- Fill the Cups: Immediately after buttering the pan, pour the rested batter into each hot cup. Fill each cup approximately 2/3 of the way full. Resist the urge to overfill, as this can prevent the popovers from reaching their maximum height and might cause them to overflow.


- Bake and Reduce Heat (No Peeking!): Carefully return the filled popover pan to the bottom shelf of your preheated oven. Bake at 450°F (232°C) for 20 minutes. During this crucial initial phase, the high heat creates a burst of steam, causing the dramatic “pop.” After 20 minutes, *without opening the oven door*, reduce the oven temperature to 350°F (175°C) and continue baking for another 10 minutes. It is vital not to open the oven door during the baking process, especially in the first 20 minutes, as the sudden drop in temperature will cause your popovers to deflate immediately. The lower temperature allows the popovers to cook through and become sturdy, setting their crisp crust without burning.
- Serve Immediately: Once baked, remove the popovers from the oven. Their golden, puffed appearance will be a testament to your baking skills! Carefully remove them from the popover pan (they should release easily due to the butter and crisp exterior). Serve them immediately while they are warm and at their crispiest. They are fantastic simply as is, or with a generous pat of butter and/or your favorite jam.
Frequently Asked Questions & Expert Tips for Popover Success
Popovers are unequivocally best enjoyed fresh, straight from the oven, when their exterior is crisp and their interior is at its most airy. While leftovers can be enjoyed for several hours after baking, their texture will begin to change. After some time, typically beyond 4-6 hours, popovers tend to lose their crispness and become drier and tougher. For the best culinary experience, we recommend baking only what you intend to consume immediately. If you do have a few leftover, consider gently warming them in a toaster oven for a few minutes to regain some crispness, though they may not be as perfect as freshly baked.
While baked popovers are best fresh, you can absolutely prepare the popover batter in advance! Mix the batter as directed (ingredients, rest, etc.), then store it in an airtight container in the refrigerator for up to one day. When you’re ready to bake, remove the batter from the refrigerator and let it come to room temperature (this might take 30-60 minutes, depending on your kitchen’s ambient temperature). This warming step is crucial for ensuring the batter performs optimally and achieves that spectacular rise. Then, proceed with the baking instructions as usual, ensuring your pan is thoroughly preheated.
Yes, a muffin tin can be used if you don’t have a dedicated popover pan. However, be aware that the results will differ. Popover pans are specifically designed with deeper, narrower wells spaced further apart, which encourages the batter to climb dramatically upwards, creating their distinct tall base and impressive domed top with a significantly hollow interior. When using a muffin tin, your popovers will likely be shorter, broader, and less dramatically “popped.” They may also have a slightly denser interior than those baked in a proper popover pan. If using a muffin tin, make sure to grease it very well and still preheat it thoroughly in the oven before adding the batter to encourage as much rise as possible.
Expert Tips for Unbeatable Popovers:
- Don’t Peek! As mentioned in the instructions, resist the temptation to open the oven door during baking. The sudden influx of cold air can cause your popovers to deflate instantly, ruining their beautiful puff.
- Oven Calibration: Ovens can vary significantly. Investing in an inexpensive oven thermometer can help you ensure your oven is truly heating to the proper temperature. Accurate temperature control is paramount for popover success.
- Batter Consistency: The batter should be smooth and pourable, similar to heavy cream. If it seems too thick, a tiny splash more milk (at room temperature) can help, but avoid making it too watery.
- Immediate Service: Popovers are at their peak freshness and crispness the moment they emerge from the oven. Gather your diners just before they finish baking for the ultimate experience!
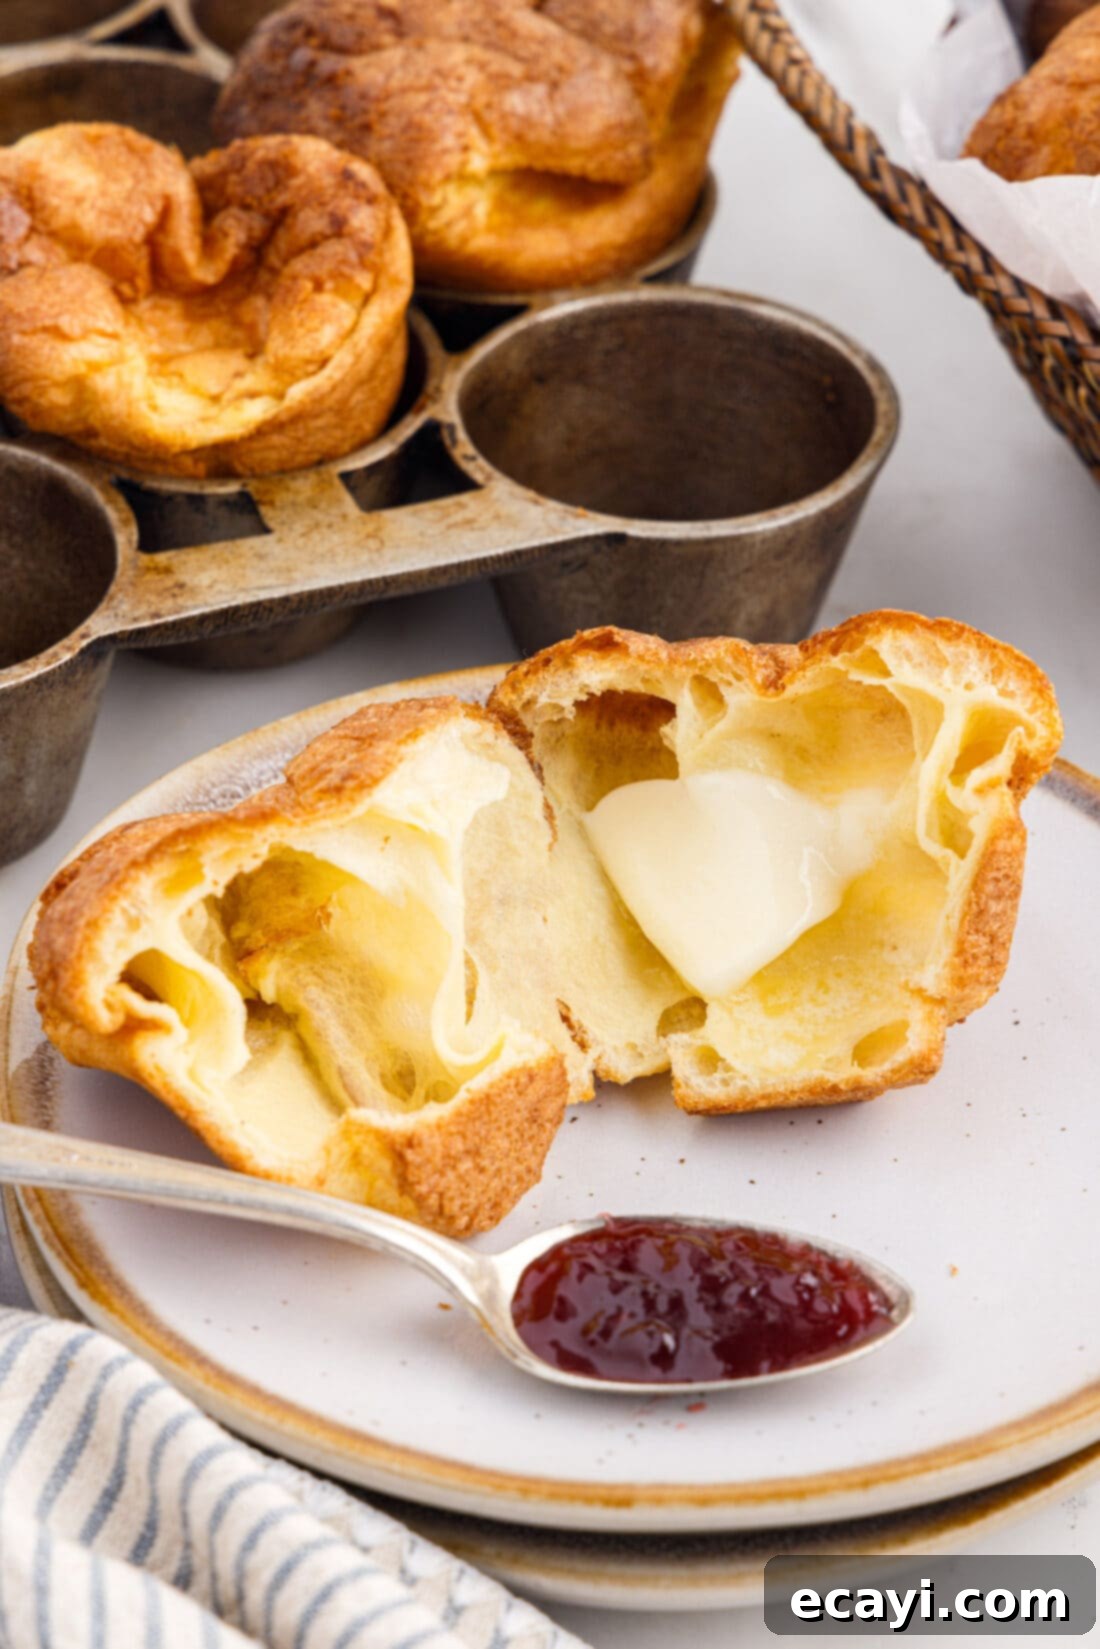
Delicious Serving Suggestions for Every Occasion
These fluffy, airy rolls are incredibly versatile and can be tailored to complement a wide range of meals, from a hearty breakfast to a sophisticated dinner. Their neutral yet rich flavor makes them a perfect canvas for both sweet and savory accompaniments.
Sweet Pairings:
- Simply irresistible when smeared with a generous pat of soft butter, allowing the natural flavors to shine.
- Elevate your breakfast or brunch by serving them with your favorite fruit jams, jellies, or preserves.
- For a touch of pure sweetness, sprinkle a dusting of cinnamon sugar on top immediately after baking.
- Transform them into a decadent treat by spreading them with homemade cinnamon honey butter or a dollop of whipped cream and fresh berries.
Savory Pairings:
- Popovers make an excellent accompaniment to warm, comforting soups and stews, perfect for soaking up every last drop.
- Serve them alongside your favorite roasted meats, such as prime rib or a holiday roast chicken, much like a traditional Yorkshire pudding.
- They are a delightful addition to any dinner plate, offering a light and intriguing alternative to standard bread rolls.
- Enjoy them simply with a cup of freshly brewed coffee or tea in the morning for a light yet satisfying start to your day.
More Related Recipes You’ll Love
If you’ve enjoyed making these easy popovers, you might also be interested in exploring other delicious bread and roll recipes that are perfect for any meal or snack:
- Bretzel Rolls (Pretzel Sandwich Rolls)
- Hot Cross Buns
- Parmesan Garlic Rolls
- Homemade Hawaiian Rolls
- Homemade Pull-Apart Dinner Rolls
I’m passionate about baking and cooking, and I love sharing my kitchen experiences and tested recipes with all of you! To make sure you never miss out on a new culinary adventure, I offer a convenient newsletter every time a new recipe posts. Simply subscribe today and start receiving your free daily recipes directly in your inbox!

Popovers
IMPORTANT – There are often Frequently Asked Questions within the blog post that you may find helpful. Simply scroll back up to read them!
Print It
Pin It
Rate It
Save ItSaved!
Ingredients
- 4 Tablespoons butter melted, divided
- 3 large eggs at room temperature
- 1 cup whole milk at room temperature
- 1 cup all-purpose flour
- ½ teaspoon sea salt
Things You’ll Need
-
Popover pan
-
Blender
Before You Begin
- For the best, most consistent results and that signature pop, diligently follow these recommendations: ensure all wet ingredients (eggs, milk) are at room temperature, allow the batter to rest adequately, thoroughly preheat both the oven and the popover pan, and carefully pour the melted butter into the sizzling hot pan just before adding the batter. These factors collectively make a monumental difference in the finished texture and appearance.
- Properly measuring your flour is critical to achieving a light, airy, and well-risen popover. Always use the “scoop and sweep” method: first, aerate the flour with a spoon or whisk. Then, gently spoon the flour into your measuring cup until it’s slightly mounded. Finally, level it off precisely with the flat edge of a butter knife or a similar straight utensil. Absolutely do not pack the flour down, and never tap the measuring cup on the counter or any other surface. Too much flour will result in dense, heavy popovers that fail to puff up.
- Popovers require sufficient cooking time for the internal steam to fully expand the batter and for the outer shell to form a sturdy, crisp structure that retains its shape. This can sometimes lead to the tops becoming overly dark. To prevent this, placing a sheet pan on the top oven rack acts as a heat shield. This simple trick effectively blocks some of the direct top heat, ensuring your popovers remain a beautiful golden brown while still baking completely through.
Instructions
-
Place a popover pan in the oven on a bottom shelf. Position a second shelf about 12 inches above the bottom shelf. Place a sheet pan on the top shelf (this will help protect the popovers from over-browning).
-
Preheat the oven to 450°F. Continue heating the oven for 20 minutes after the oven registers 450°F to ensure the pan is piping hot.
-
Meanwhile, combine 2 tablespoons of melted butter, room temperature eggs, and room temperature milk in a blender and pulse until completely smooth. Add the flour and salt, then pulse several more times until just combined. Let the batter rest for 15 minutes.
-
When the oven and pan are thoroughly preheated, carefully remove the popover pan. Drizzle the remaining 2 tablespoons of melted butter into the bottom of each hot cup – be very careful as it will splatter. Work quickly to coat each cup.
-
Pour the rested batter into each prepared cup, filling them about 2⁄3 of the way full.
-
Carefully return the pan to the oven. Bake for 20 minutes at 450°F. WITHOUT opening the oven door, reduce the oven temperature to 350°F and continue baking for 10 minutes more.
-
Remove the popovers from the oven and serve immediately. Enjoy them plain, or with butter and/or jam.
Nutrition
The recipes on this blog are tested with a conventional gas oven and gas stovetop. It’s important to note that some ovens, especially as they age, can cook and bake inconsistently. Using an inexpensive oven thermometer can assure you that your oven is truly heating to the proper temperature. If you use a toaster oven or countertop oven, please keep in mind that they may not distribute heat the same as a conventional full sized oven and you may need to adjust your cooking/baking times. In the case of recipes made with a pressure cooker, air fryer, slow cooker, or other appliance, a link to the appliances we use is listed within each respective recipe. For baking recipes where measurements are given by weight, please note that results may not be the same if cups are used instead, and we can’t guarantee success with that method.
