The Ultimate Gross-Out Kitty Litter Cake Recipe: Deliciously Disgusting Halloween Fun
Prepare for gasps, giggles, and a whole lot of delicious disbelief with this incredibly realistic Kitty Litter Cake! While its appearance might suggest a trip to the litter box, don’t let the crumbled “litter” and chocolate “surprises” fool you. Beneath this hilariously disgusting facade lies a wonderfully soft, moist dirt cake, expertly crafted with creamy pudding and crunchy cookies. This iconic Halloween dessert is guaranteed to be the most talked-about treat at any spooky gathering, delivering a delightful shock factor followed by pure dessert bliss.
Why This Gross-Out Kitty Litter Cake Recipe is a Must-Try
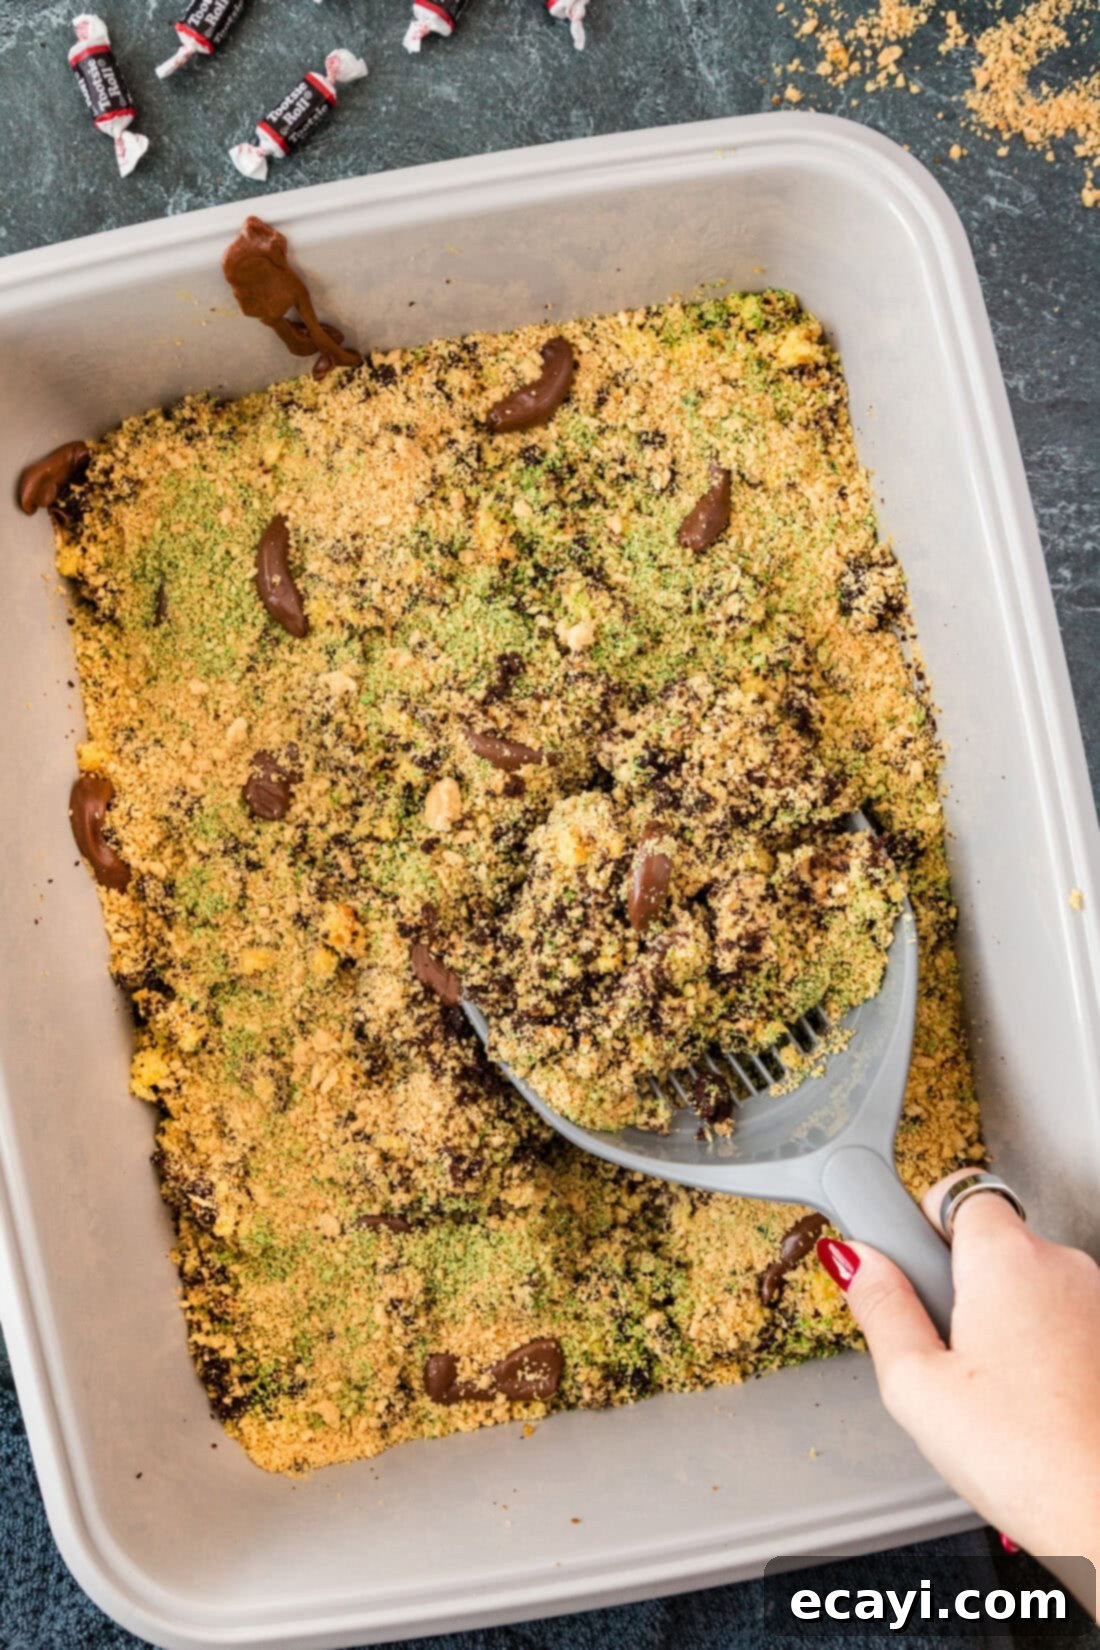
I understand, the very thought of a “kitty litter cake” might make you squirm, but trust me, this is where the magic happens! This classic Halloween party dessert is a marvel of culinary deception. It’s essentially a decadent dirt cake, elevated with specific ingredients to create its signature repulsive yet enticing appearance. We achieve this with a combination of fluffy cake mix, rich instant vanilla pudding, finely crumbled cookies, and the perfect chocolate “deposits” made from Tootsie Rolls. Having served this culinary prank countless times over the past decade, I can confidently say it never fails to be the absolute highlight and main topic of conversation at every Halloween event.
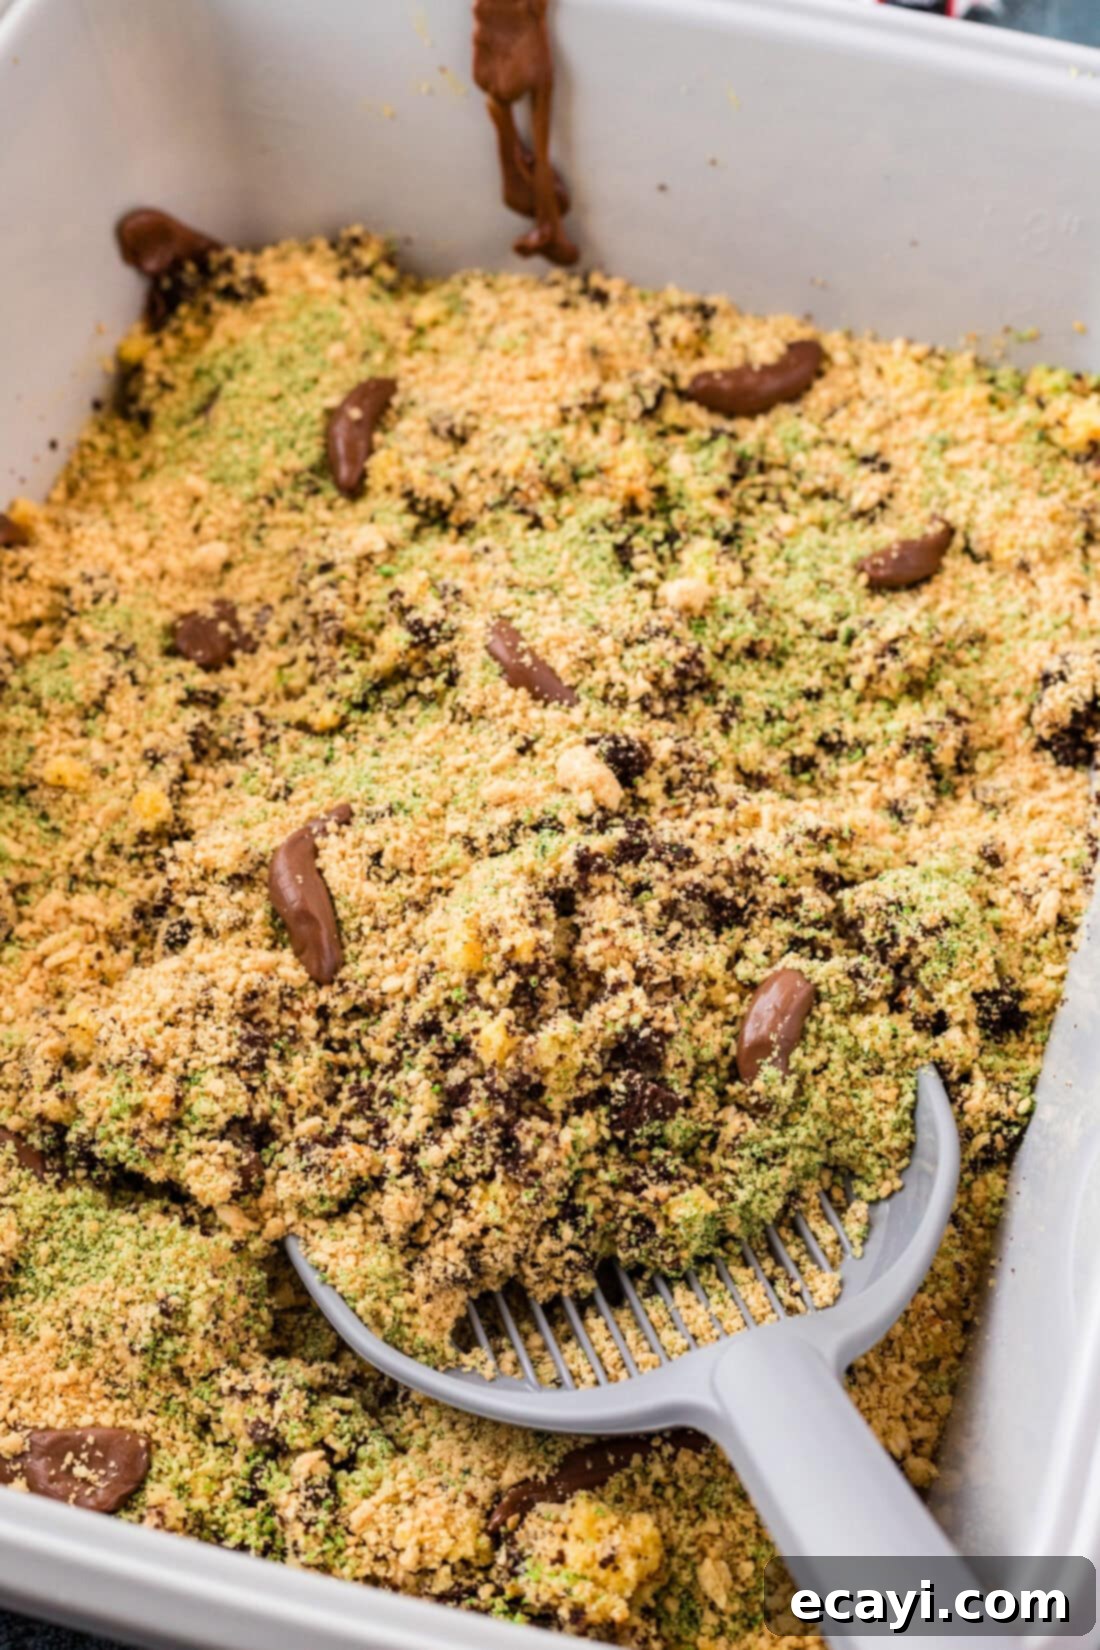
The secret to this kitty litter cake’s uncanny realism lies in a clever trick: a small portion of the cookie crumbs is subtly tinted with a touch of green food coloring. This simple addition mimics the green chlorophyll often found in actual cat litter, pushing the visual authenticity to an unparalleled level. The more realistic, the more impactful, and the louder the reactions! If you’re aiming for a genuinely spooky or delightfully “gross” vibe for your Halloween spread, this recipe offers a refreshing and hilarious departure from the usual array of cute and charming holiday treats. It’s a statement dessert that promises both shock and satisfaction.
RELATED – For more playfully repulsive Halloween ideas, these Boogers on a Stick are another fantastic and incredibly easy-to-make option to gross out your guests!
Key Ingredients for Your Kitty Litter Cake
To create this masterpiece of disgustingly delicious dessert, you’ll need a few common baking ingredients, thoughtfully selected for their contribution to both taste and visual effect. You can find all precise measurements, specific ingredients, and detailed instructions in the printable recipe card located at the very end of this post.
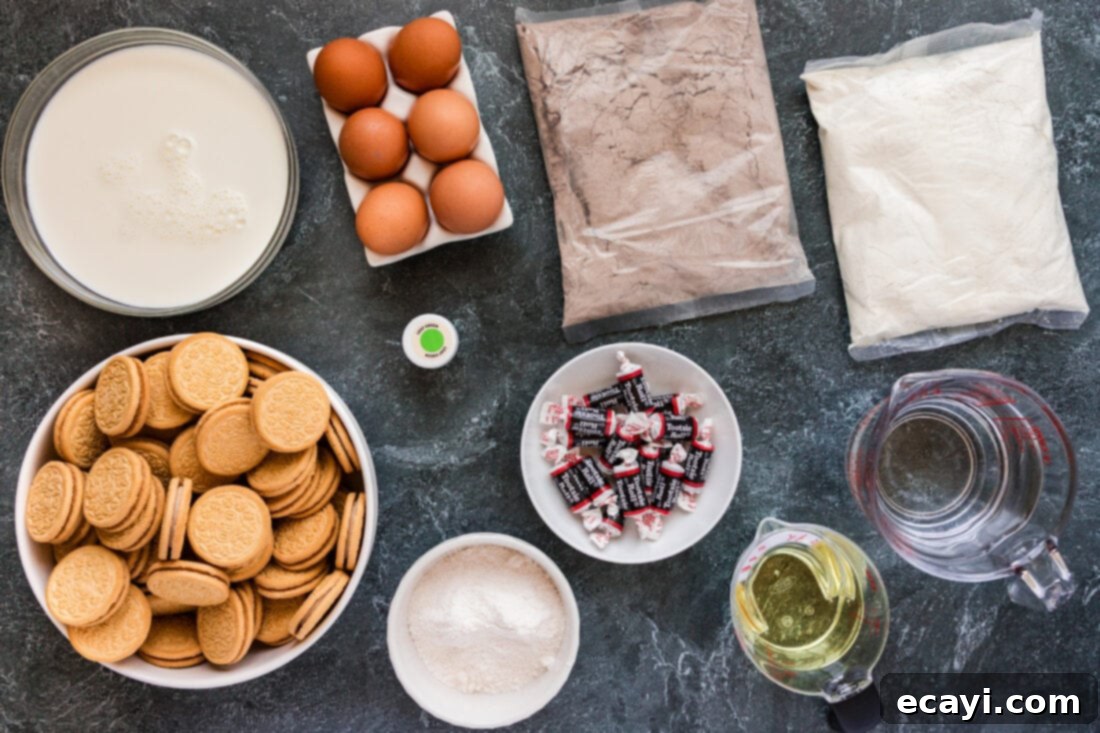
Ingredient Deep Dive & Clever Substitutions
Let’s take a closer look at the components that make this kitty litter cake truly special, along with some helpful tips and substitution ideas:
CAKE MIX – The foundation of our “dirt.” To achieve the ideal visual texture reminiscent of actual dirt, select two distinct cake mix flavors. Yellow and chocolate, or white and chocolate, are perfect choices. The contrasting colors create a marbled, varied appearance when crumbled, significantly enhancing the realistic effect of the “litter.” Remember to also gather the supplementary ingredients required on the cake mix boxes (eggs, oil, water, etc.) to prepare them.
COOKIES – These are the crucial element for our “litter” texture. Golden Oreos are exceptional for this recipe, offering a perfect color and crumb consistency. However, feel free to substitute with any off-brand vanilla sandwich cookies; they will yield equally fantastic results. If you prefer a darker “litter” or want to add another layer of chocolatey flavor, regular chocolate sandwich cookies (like classic Oreos) can also be used, though they might make the green tint less noticeable.
PUDDING – A key player in moisture and binding. It is essential to use instant vanilla pudding. The instant variety sets quickly and provides the ideal creamy consistency without making the cake too wet. While vanilla is traditional, don’t hesitate to experiment with other pudding flavors! I’ve successfully made this cake with pistachio pudding, which naturally adds a fantastic green hue and earthy flavor, making it even more authentic-looking without extra food coloring. Chocolate or butterscotch pudding could also add interesting color variations and flavors.
TOOTSIE ROLLS – These are the “unpleasant surprises” that truly complete the illusion. The small Tootsie Rolls are perfect due to their pliable texture when warmed, allowing for easy shaping into convincing “deposits.” If Tootsie Rolls aren’t available, other soft, chewy chocolate candies or even homemade fudge rolled into shapes can work in a pinch. The goal is to have something that looks authentically… well, like what you’d find in a litter box!
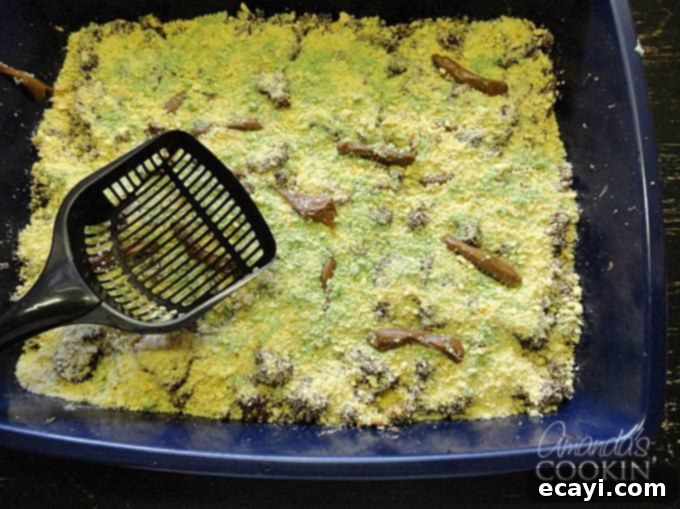
SERVING VESSEL – Presentation is everything for this cake! To maximize the comedic and gross-out effect, serving it in a small, brand new kitty litter box is highly recommended. You can easily find an inexpensive one at dollar stores or online (like this one: small kitty litter box). The same goes for the pooper scooper – ensure it’s new and clean! When selecting a litter box, aim for one that is rather shallow and not excessively large, as the cake might not fill a very deep or wide container. A box around 18x14x5 inches, as pictured in this recipe, is often ideal. Always give the new box a thorough wash before use to ensure food safety.
Crafting Your Unforgettable Kitty Litter Cake
These step-by-step photos and detailed instructions are designed to guide you through the process of making this delightfully disgusting recipe. For a convenient printable version of this recipe, complete with precise measurements and instructions, simply Jump to Recipe at the bottom of this page.
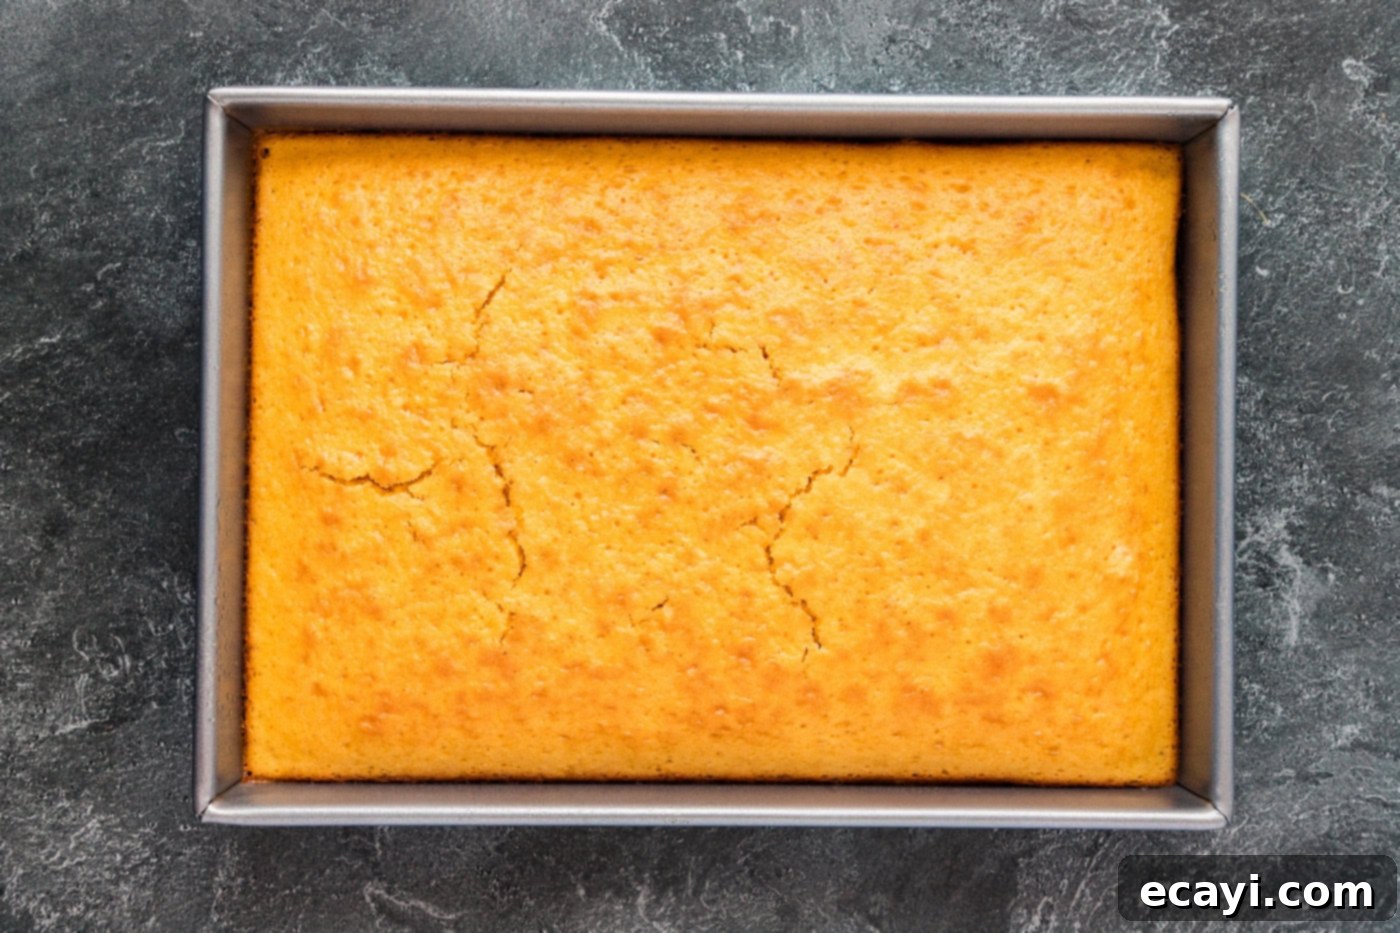
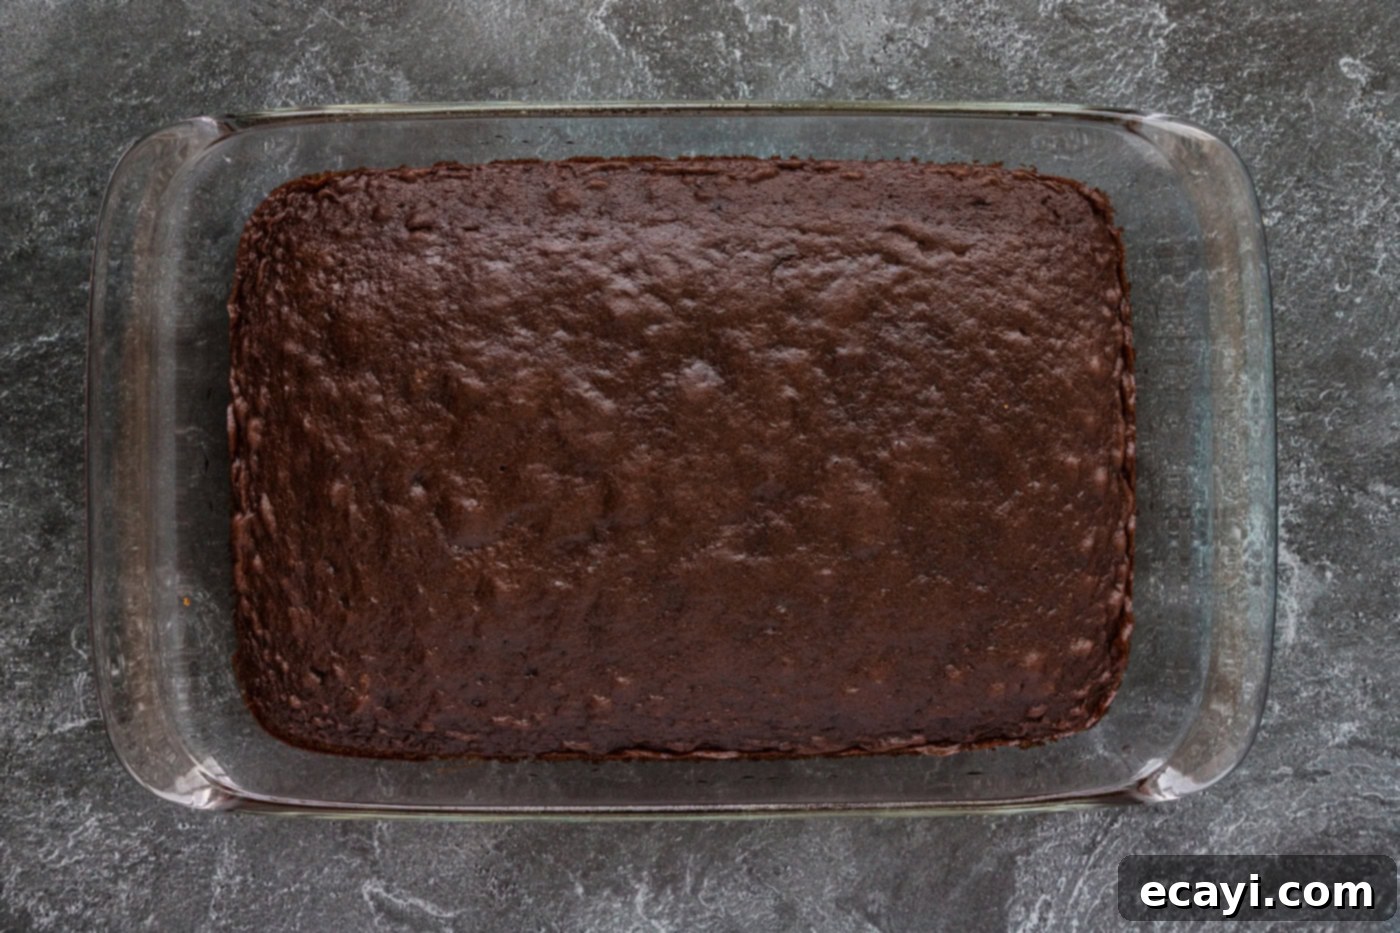
- Bake the Cakes: Begin by preparing both cake mixes (chocolate and yellow/white) according to the directions provided on their respective boxes. You can use any size baking pans, but two 13×9 inch pans are often the easiest and most practical for this recipe, allowing the cakes to cool quickly and be crumbled uniformly. Ensure the cakes are completely cooled to room temperature before proceeding.


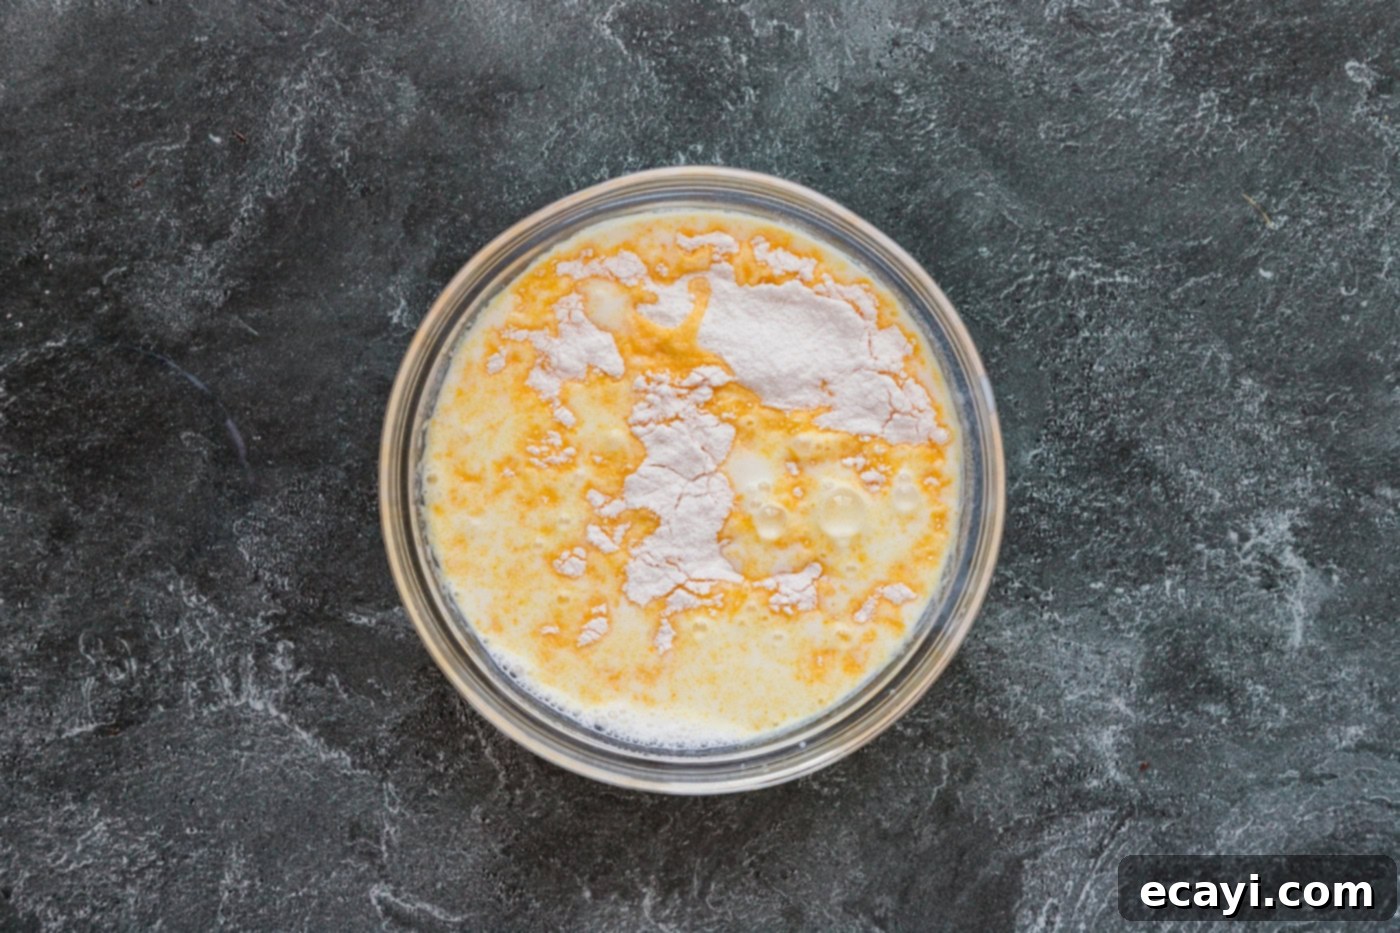
- Prepare the Pudding: Following the package instructions, prepare your instant vanilla pudding mix. Once prepared, transfer it to the refrigerator to chill thoroughly. Chilled pudding provides the best texture and helps keep the cake moist without making it soggy.

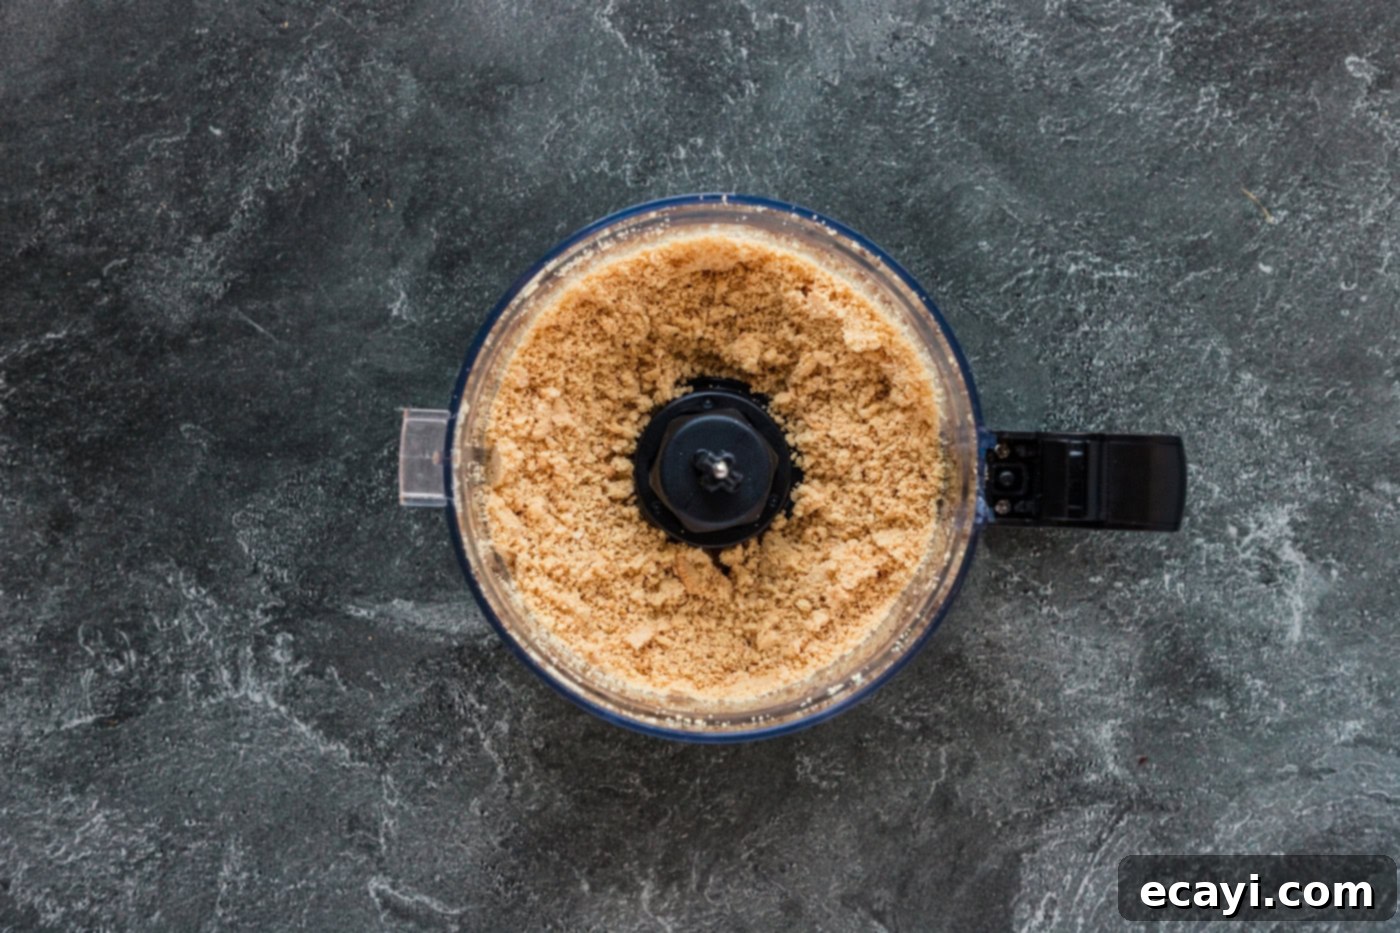
- Crumble the Cookies: Take your vanilla sandwich cookies and break them into smaller pieces. Process them in batches in a food processor until they form fine crumbs, stopping occasionally to scrape down the sides. This step is crucial for achieving the “litter” texture. Set aside all but about 1/4 cup of the crumbs. This reserved portion will be used for our special “chlorophyll” effect.

- Color the Green Crumbs: To the 1/4 cup of cookie crumbs you set aside, add a few drops of green food coloring. Using your fingers, carefully mix and work the food coloring into the crumbs until they achieve a uniform, subtle green color. This small detail is what truly sells the illusion of cat litter, so don’t skip it!
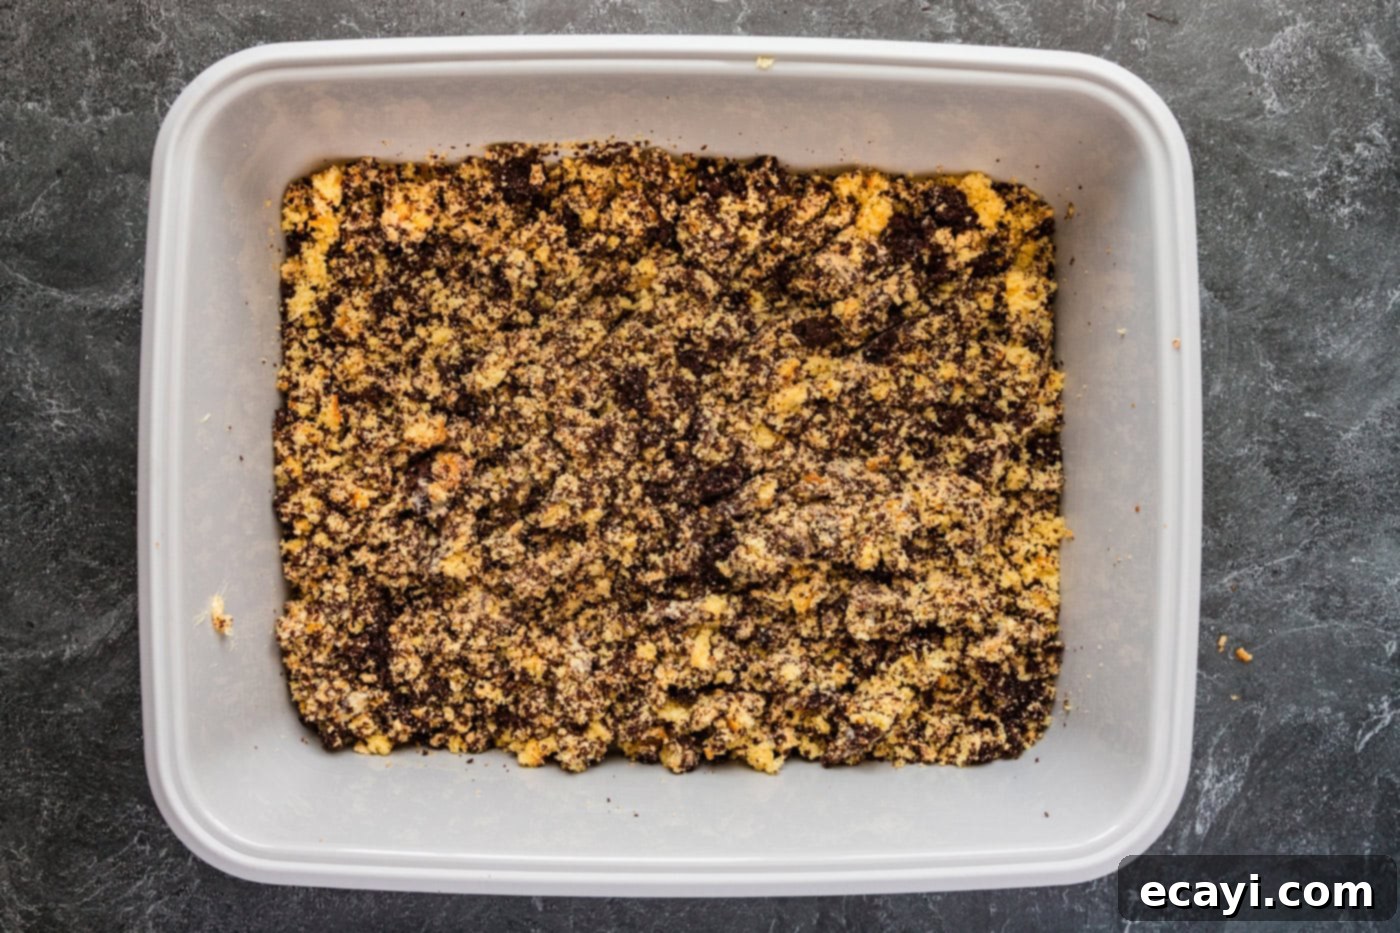
- Assemble the Base: Once your baked cakes have fully cooled, crumble them directly into your thoroughly cleaned, new litter box. Break them into varying sizes, simulating the natural texture of dirt. Toss the crumbled cake with half of the remaining uncolored cookie crumbs and the chilled pudding. Gently mix just enough of the pudding to moisten the cake and crumbs; you want a cohesive but not soggy consistency. Combine everything carefully to avoid overmixing. This forms the bulk of your “litter” base.


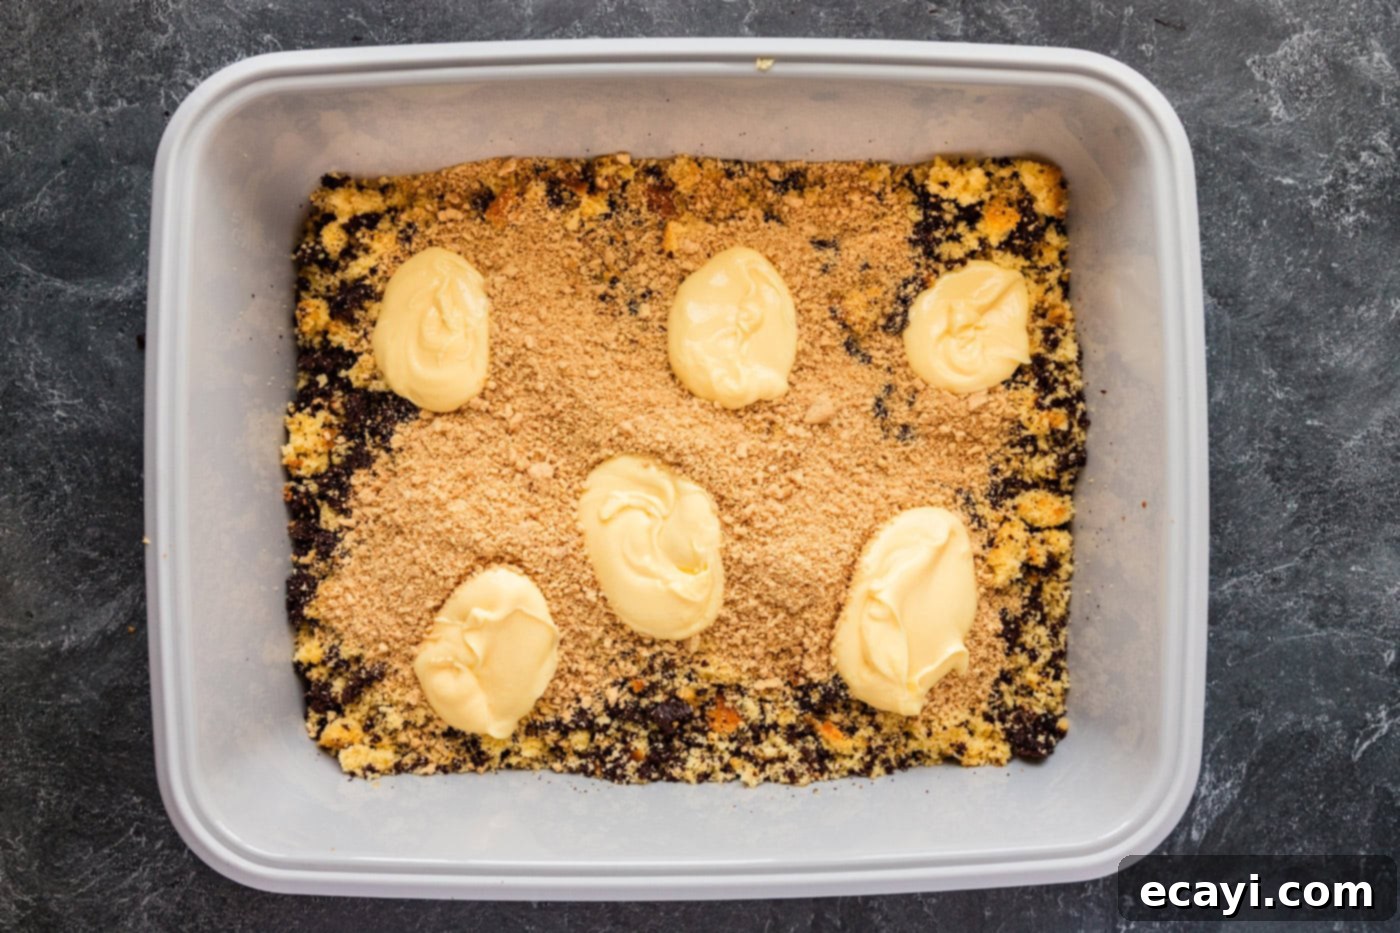
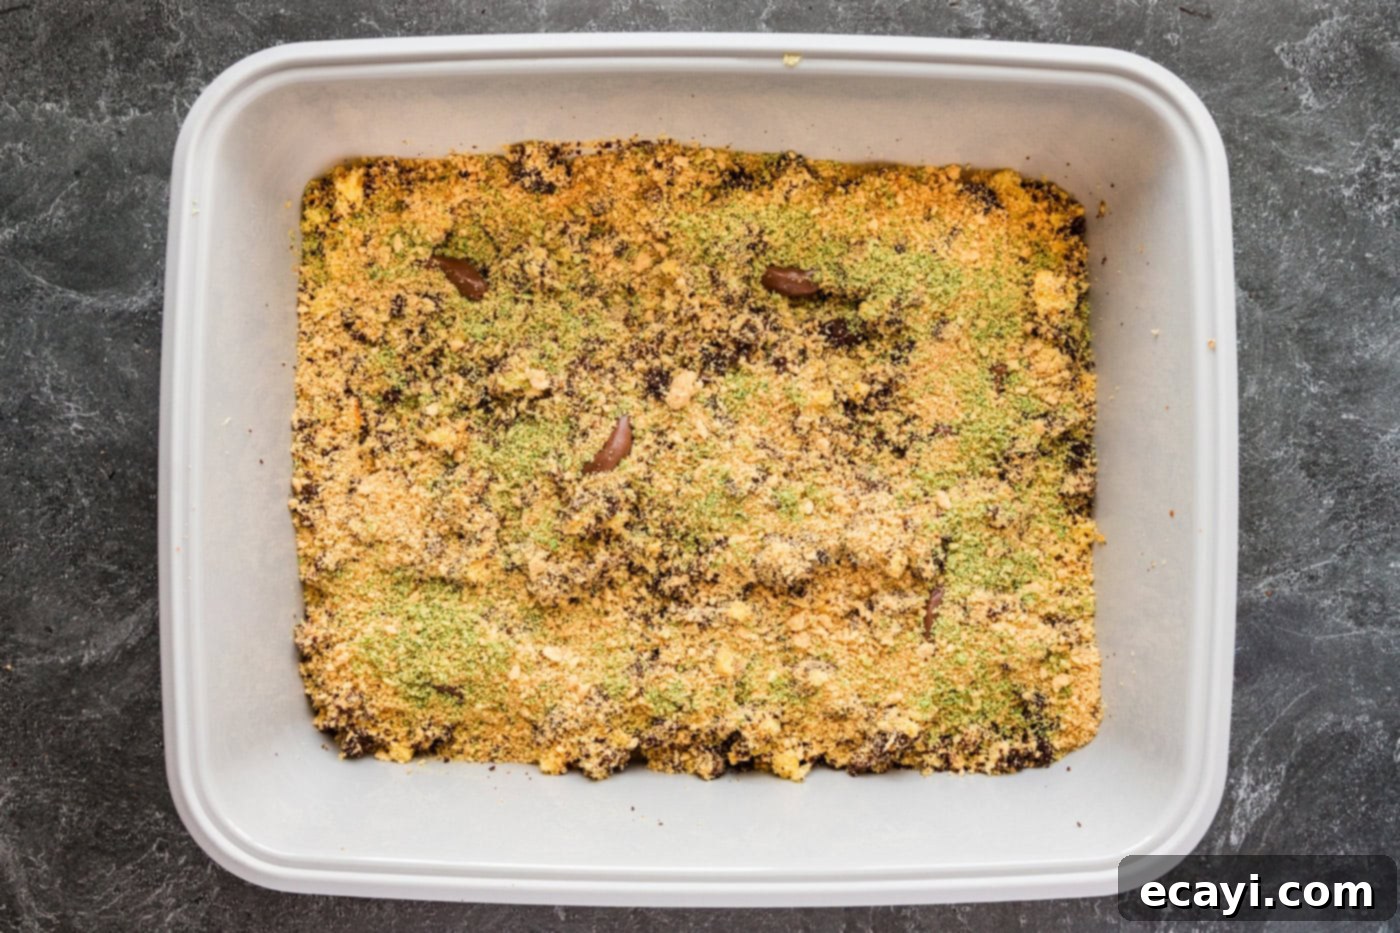
- Add the First “Surprises”: Take three unwrapped Tootsie Rolls and place them in a microwave-safe dish. Heat them in the microwave for a few seconds until they are soft and easily pliable. Carefully shape the ends to remove any bluntness, curving them slightly to resemble actual cat droppings. Repeat this process with three more Tootsie Rolls. Bury these six shaped Tootsie Rolls discreetly within the cake mixture, ensuring some are partially visible. Then, sprinkle the other half of the uncolored cookie crumbs over the top of the cake, creating another layer of “litter.”

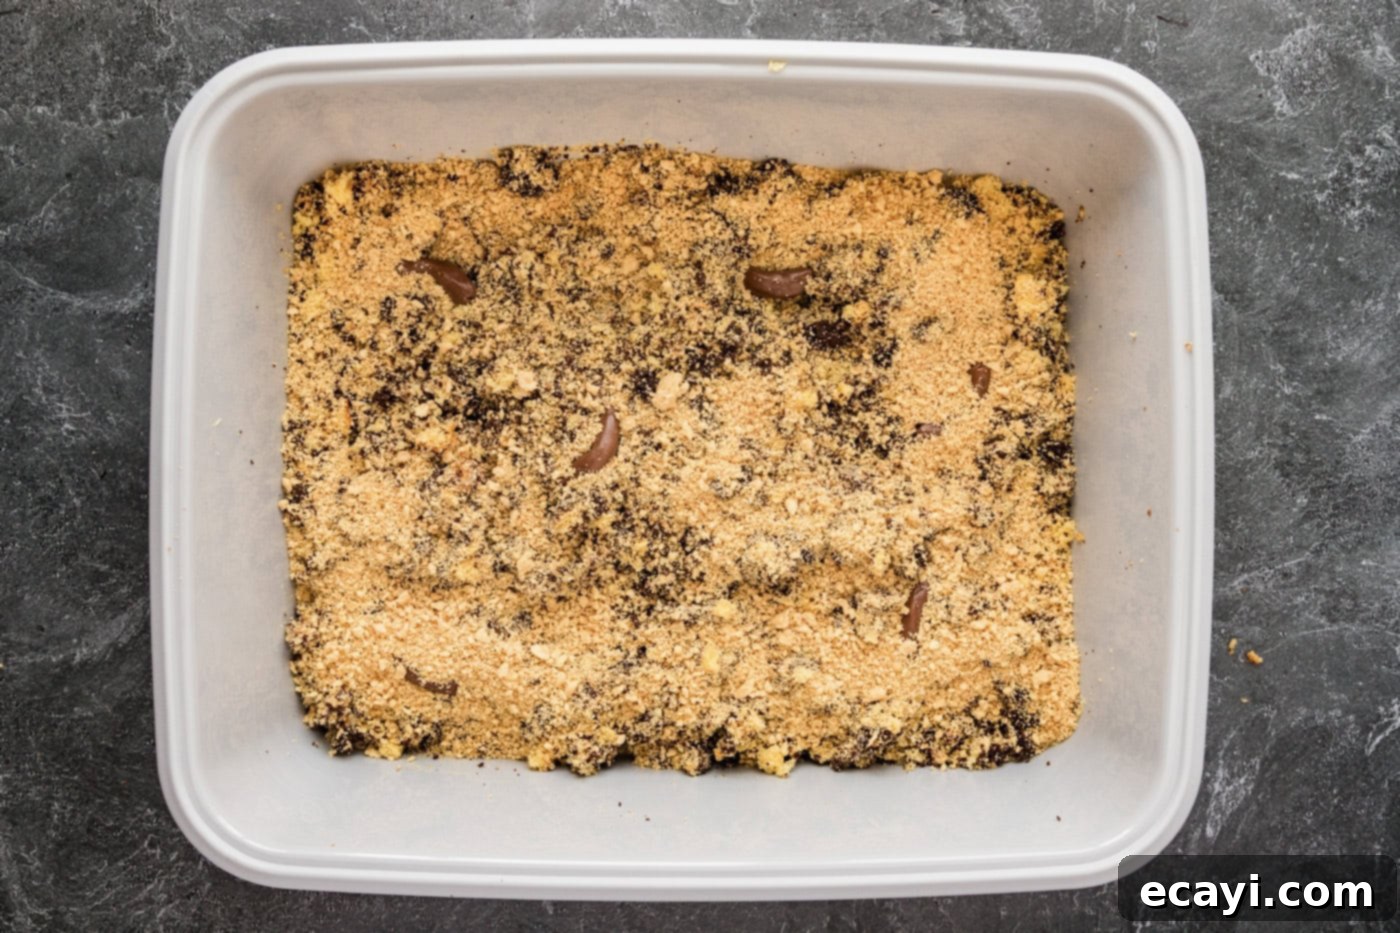
- Scatter Green “Chlorophyll” Crumbs: Lightly scatter the prepared green cookie crumbs over the entire surface of the cake. This subtle layer completes the illusion, effectively mimicking the green chlorophyll bits commonly found in commercial cat litter. It’s a small touch that makes a huge difference in realism!

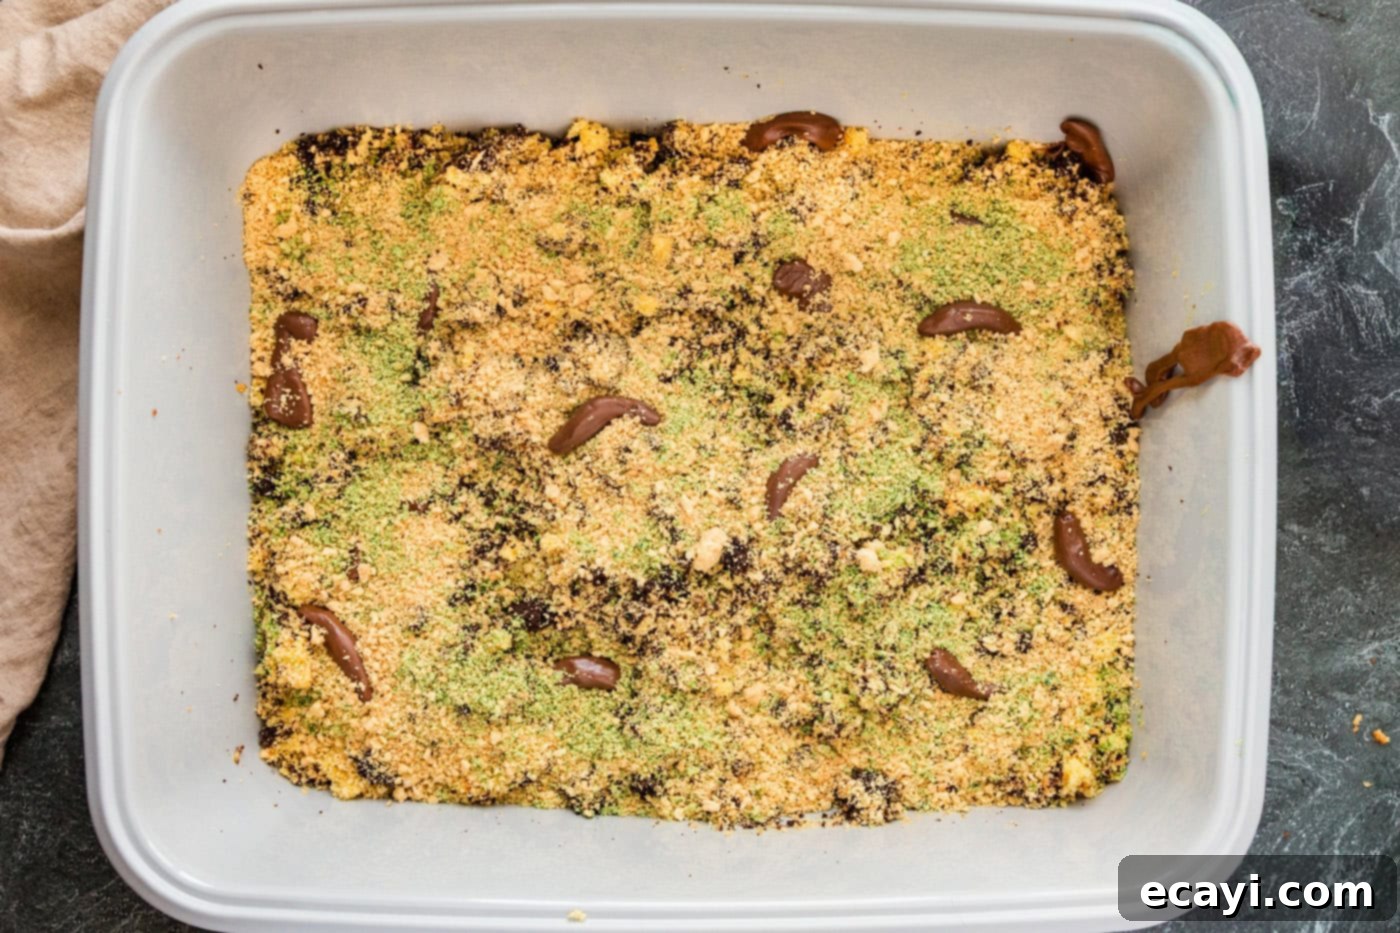
- Create More “Deposits”: For an even more authentic look, heat another three Tootsie Rolls in the microwave until they are almost melted but still hold some shape. Use a spoon or a small spatula to scrape and smear them onto various spots on top of the cake, creating a “fresh” appearance. Lightly sprinkle some additional cookie crumbs over these newly placed Tootsie Rolls to partially cover them.
- Final Touches and Presentation: Spread the remaining Tootsie Rolls over the top of the cake. For an extra touch of humor and grossness, take one last Tootsie Roll, heat it until pliable, and drape it slightly over the side of the kitty litter box, as if it’s just been “used.” Sprinkle this final piece lightly with cookie crumbs. Serve your masterpiece with a brand new pooper scooper, inviting your guests to dig in! The reactions will be priceless.

Frequently Asked Questions & Expert Tips for Kitty Litter Cake
To maintain its freshness and deliciousness, store any leftover kitty litter cake tightly covered with plastic wrap. Keep it in the refrigerator, where it will remain fresh and delicious for up to 4 days. Before serving leftovers, allow them to come to room temperature for the best flavor and texture.
Absolutely! This kitty litter cake is an excellent make-ahead dessert, perfect for busy Halloween party preparations. You can prepare and assemble the entire cake the day before you plan to serve it. Simply wrap the top of the litter box tightly with plastic wrap to prevent it from drying out and store it in the refrigerator overnight. This allows the flavors to meld beautifully and gives you one less thing to worry about on party day.
No food processor? No problem! You can achieve perfectly crumbled cookies using a sturdy ziploc bag and a rolling pin. Place the cookies in the bag, seal it, and roll over them with the rolling pin until they reach your desired crumb consistency. A blender or even simply crushing them by hand with a potato masher can also work.
While this recipe is designed for convenience using cake and pudding mixes, you can certainly use homemade versions for a from-scratch approach. Just ensure your homemade cake is cooled completely before crumbling, and your pudding is prepared and thoroughly chilled to achieve the right consistency.
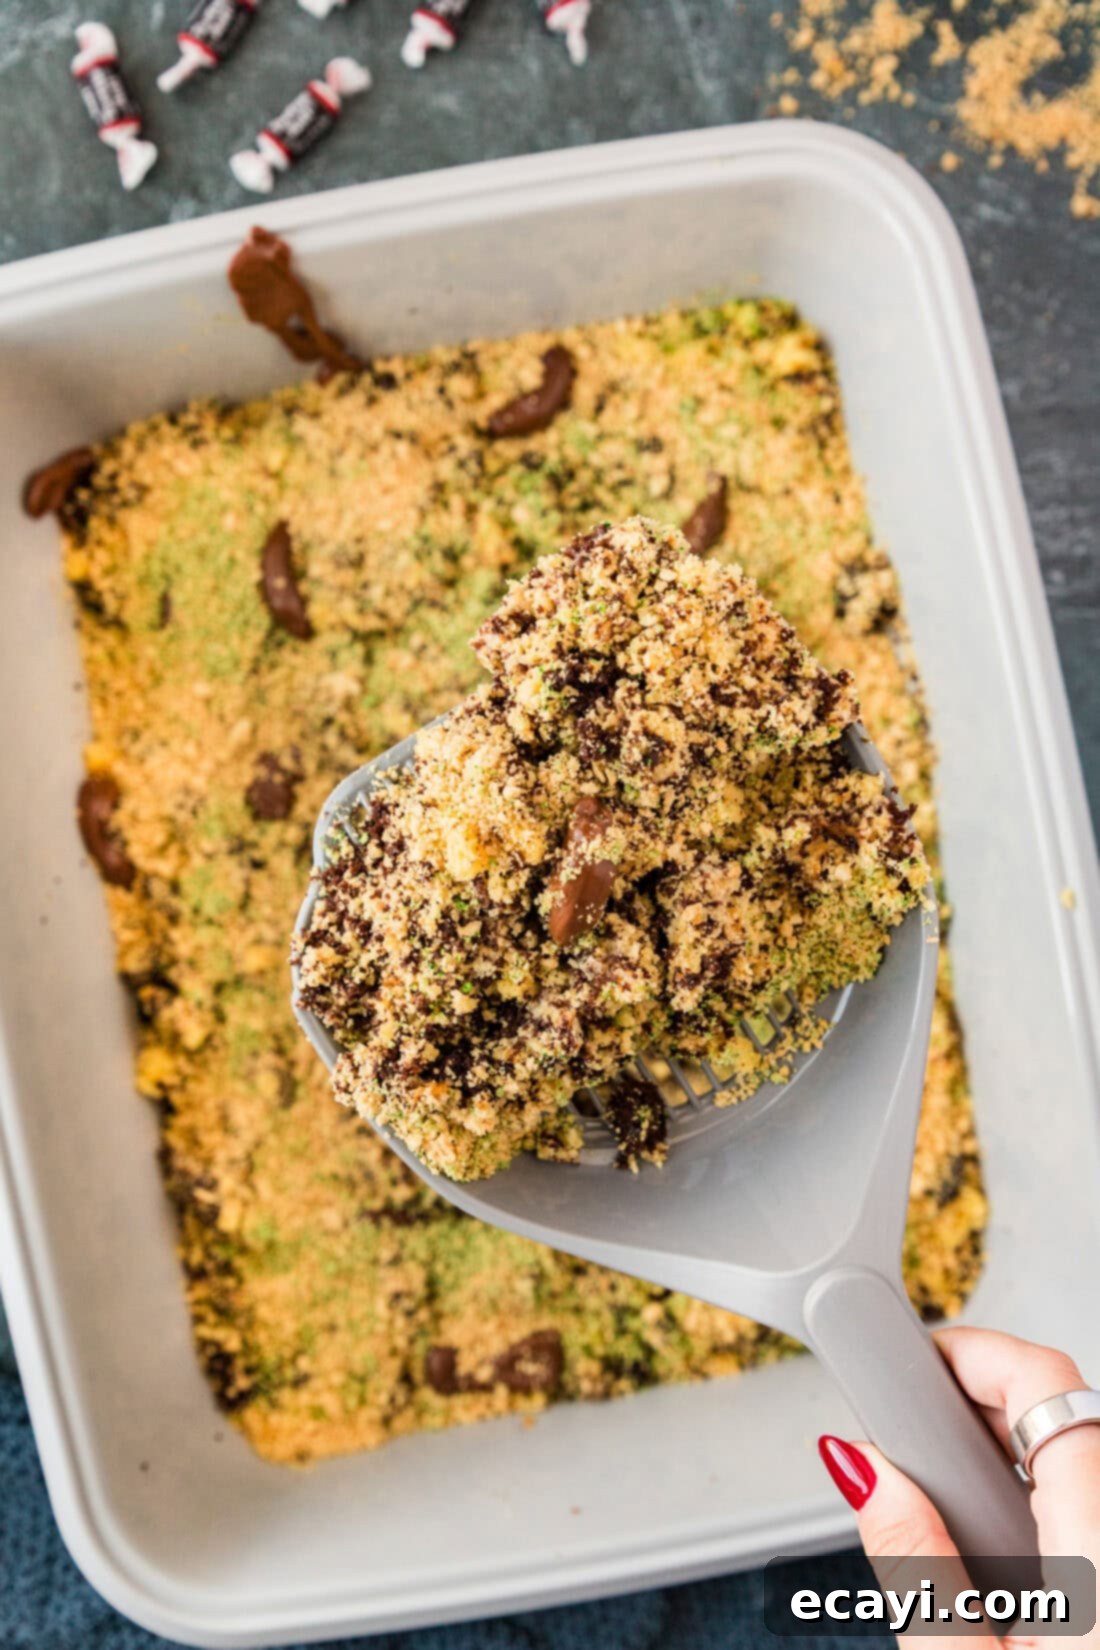
Serving Your Spooky Kitty Litter Cake
For the best possible flavor and texture, aim to serve your kitty litter cake slightly above room temperature. If you’ve prepared it in advance and stored it in the refrigerator, remember to take it out about 30-40 minutes before serving. This allows the cake and pudding to soften slightly and for the flavors to truly shine. Present it proudly with your new, unused pooper scooper, encouraging guests to embrace the fun and dig in. It’s truly a unique dessert experience that embodies the spirit of Halloween! Happy Haunting and Happy Halloween!
More Delightfully Spooky Halloween Recipes
If you’re still in the mood for more Halloween-themed culinary adventures, check out these other fantastic recipes that are perfect for your spooky celebrations:
- Halloween Dirt Cups
- Witch Finger Cookies
- Spider Web Taco Dip
- Jalapeno Popper Mummies
I absolutely adore sharing my passion for baking and cooking, and all my kitchen experiences, with each and every one of you! It can be challenging to remember to check back every day for new delights, which is why I offer a convenient newsletter delivered straight to your inbox whenever a new recipe is posted. Simply subscribe here and start receiving your free daily recipes, so you never miss a delicious moment!
Kitty Litter Cake
IMPORTANT – There are often Frequently Asked Questions and Expert Tips within the main blog post that you may find incredibly helpful for success. Simply scroll back up to read them!
Print It
Pin It
Rate It
Save ItSaved!
Ingredients
- 15.25 ounce chocolate cake mix prepared according to package directions
- 15.25 ounce yellow cake mix prepared according to package directions
- 5.1 ounces vanilla instant pudding mix one large box, prepared and chilled
- 25 ounces vanilla sandwich cookies such as Golden Oreos, crushed
- Green food coloring
- 15 small Tootsie Rolls unwrapped
Things You’ll Need
-
small, new kitty litter box
-
new cat litter scooper
-
Food processor (or ziploc bag and rolling pin)
Before You Begin
- For the most convincing “litter” appearance, choose two cake mix flavors that offer a stark color contrast, such as yellow and chocolate, or white and chocolate. This creates a visually appealing marbling effect when the cakes are crumbled. Remember to gather all necessary ingredients to prepare the cake mixes as instructed on their boxes.
- Cake mix weights can vary, but don’t worry too much about slight differences. Whether your mix is 15.25 ounces or 13.25 ounces, it will work perfectly fine for this recipe.
- The presentation is key! Find a small, inexpensive kitty litter box to use as your serving dish, and a new pooper scooper for serving. You can often find these items at dollar stores or online. It’s crucial that the box is brand new and thoroughly washed before it comes into contact with food. Avoid very large or deep cat boxes, as the cake might not fill the space adequately. A shallow box, roughly 18x14x5 inches (as depicted in the recipe photos), usually works best for achieving the desired effect.
- Ensure your baked cakes are cooled completely before crumbling. Warm cakes will become gummy and difficult to work with.
Instructions
-
Prepare both cake mixes (chocolate and yellow/white) and bake according to the directions on the back of each box. Any size pans will work, but two 13×9 inch pans are often the easiest to manage. Allow the cakes to cool completely to room temperature.15.25 ounce chocolate cake mix, 15.25 ounce yellow cake mix
-
Prepare the instant vanilla pudding mix according to package directions. Once prepared, chill the pudding in the refrigerator until it is firm and ready to be incorporated into the cake.5.1 ounces vanilla instant pudding mix
-
In small batches, crumble the vanilla sandwich cookies into fine crumbs using a food processor, scraping down the sides often to ensure an even texture. Set aside all but approximately 1/4 cup of the crushed cookies.25 ounces vanilla sandwich cookies
-
To the reserved 1/4 cup of cookie crumbs, add a few drops of green food coloring. Use your fingers to mix the coloring into the crumbs until they achieve a subtle and even green shade, mimicking chlorophyll in cat litter.
-
Once the cakes are completely cooled, crumble them directly into your new, clean kitty litter box. Add half of the remaining (uncolored) cookie crumbs and the chilled pudding. Gently mix and toss these ingredients together, adding just enough pudding to moisten the cake and crumbs without making the mixture soggy. You want a loose, dirt-like consistency.
-
Place three unwrapped Tootsie Rolls in a microwave-safe dish and heat briefly until they are soft and pliable. Carefully shape their ends so they are no longer blunt, curving them slightly to resemble cat droppings. Repeat this process with 3 more Tootsie Rolls, then strategically bury these six shaped candies into the cake mixture. Sprinkle the other half of the uncolored cookie crumbs evenly over the top layer of the cake.
-
Lightly scatter the green cookie crumbs you prepared in step 4 over the top surface of the cake. This final touch enhances the realism, simulating the chlorophyll flecks found in real kitty litter.
-
Heat 3 more Tootsie Rolls in the microwave until they are almost melted, but still thick enough to scrape. Use a small spoon or spatula to scrape and spread these softer Tootsie Rolls onto various spots on the cake, creating a “fresher” appearance. Sprinkle additional cookie crumbs over these areas to partially cover them.
-
Spread any remaining Tootsie Rolls over the top of the cake. For a truly memorable presentation, take one Tootsie Roll, heat it until it’s very pliable, and drape it realistically over the side of the kitty litter box. Sprinkle it lightly with a few more cookie crumbs. Serve this hilariously gross dessert with a brand new pooper scooper, and prepare for delighted shrieks and laughter!
Expert Tips & FAQs
- Store any leftovers of your kitty litter cake covered tightly with plastic wrap. Keep it in the refrigerator for up to 4 days to maintain freshness.
- Yes, you can easily prepare this kitty litter cake a day ahead of time, which is perfect for party planning. Simply assemble the cake, wrap the top securely with plastic wrap, and store it in the fridge until serving.
- If you don’t own a food processor, you can still get finely crushed cookies by placing them in a heavy-duty ziploc bag and crushing them with a rolling pin or even the bottom of a heavy pan.
- Always ensure the kitty litter box and scooper you use for serving are brand new and thoroughly cleaned to meet food safety standards.
- For an extra touch of “gross,” consider adding gummy worms or candy bugs on top of the cake, as if they are crawling out of the “litter.”
Nutrition
The recipes on this blog are tested with a conventional gas oven and gas stovetop. It’s important to note that some ovens, especially as they age, can cook and bake inconsistently. Using an inexpensive oven thermometer can assure you that your oven is truly heating to the proper temperature. If you use a toaster oven or countertop oven, please keep in mind that they may not distribute heat the same as a conventional full sized oven and you may need to adjust your cooking/baking times. In the case of recipes made with a pressure cooker, air fryer, slow cooker, or other appliance, a link to the appliances we use is listed within each respective recipe. For baking recipes where measurements are given by weight, please note that results may not be the same if cups are used instead, and we can’t guarantee success with that method.
This iconic kitty litter cake recipe originally debuted here on October 30th, 2011, and has since been lovingly updated with refreshed photos, enhanced instructions, and even more expert tips to help you create the perfect gross-out Halloween treat. Below is an image of the original presentation that first captured imaginations and gained immense popularity over the years!
