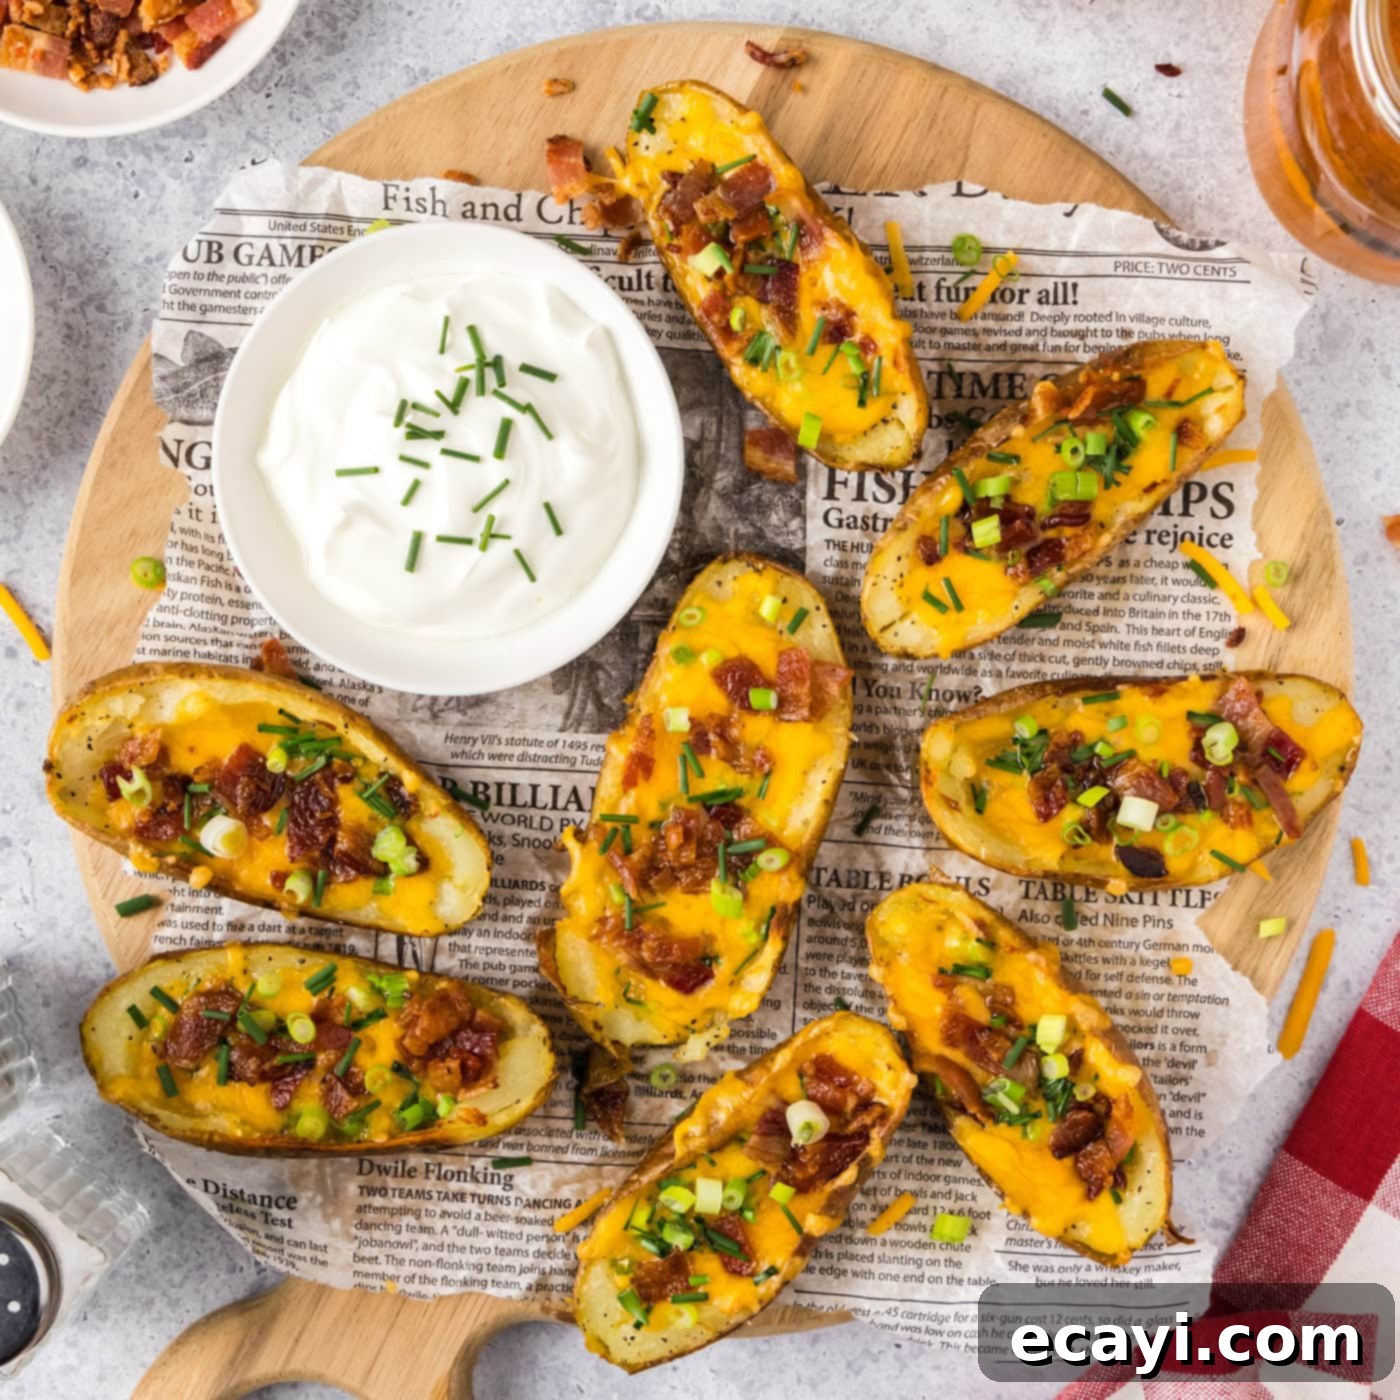
The Ultimate Crispy Loaded Potato Skins: A Game Day & Party Appetizer Masterpiece
Crispy potato skins, generously loaded with a harmonious blend of melted cheese, savory bacon, fresh green onions, and fragrant chives, are undeniably the ultimate appetizer for any game day gathering, festive party, or casual get-together. This classic comfort food delivers an irresistible combination of textures and flavors that will have your guests reaching for more before you can even set the platter down!
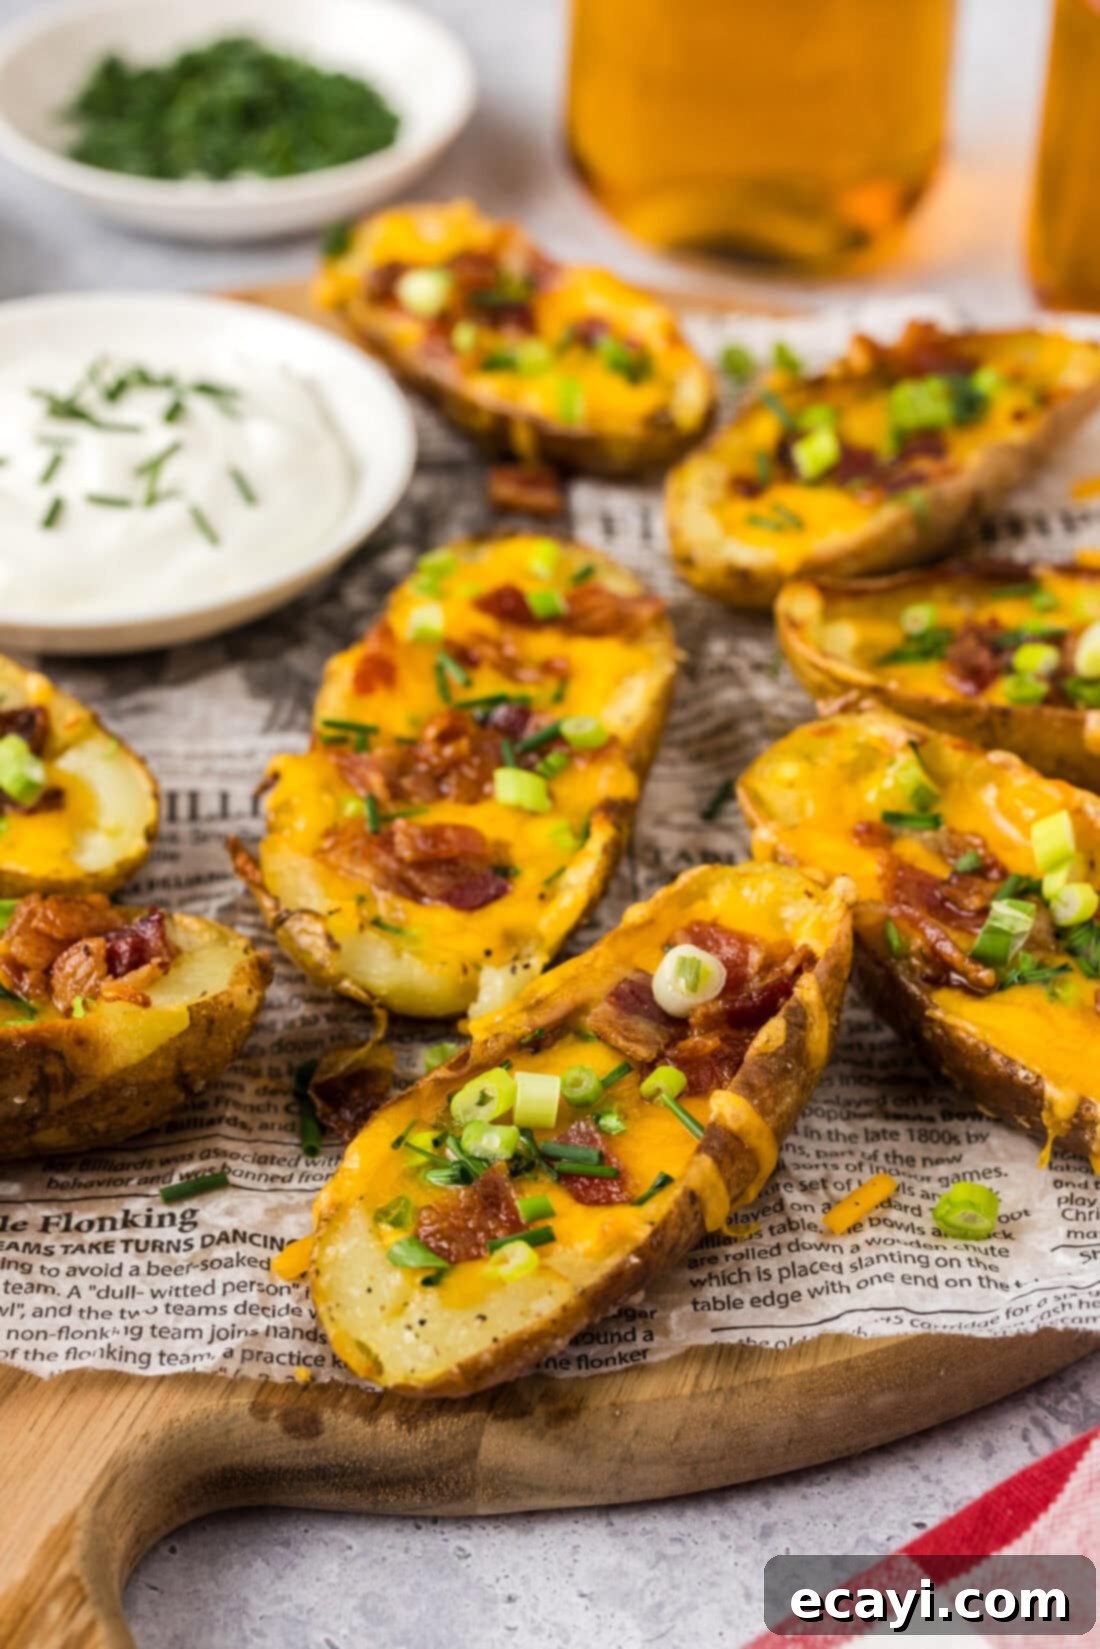
Why This Loaded Potato Skins Recipe is a Crowd-Pleaser
There’s a reason loaded potato skins consistently disappear first at any social event. This recipe isn’t just about combining ingredients; it’s about creating a symphony of textures and tastes. We meticulously prepare the potato shells to achieve an unparalleled crispiness on the outside, transforming them into the perfect edible vessel for a rich, gooey interior. Imagine biting into that golden-brown, slightly salty potato skin, followed by the warm, melted cheese, the smoky crunch of bacon, and the fresh bite of green onions and chives. It’s a complete flavor experience in every single bite.
What sets this recipe apart is the double-baking method. First, the potatoes are baked until tender, then halved and hollowed. The shells are then brushed with olive oil and seasoned again before a second bake. This crucial step is key to developing that incredible crispy exterior, ensuring the skins are sturdy enough to hold all their delicious fillings without becoming soggy. This thoughtful preparation elevates a simple potato into an extraordinary appetizer that everyone raves about.
There’s something inherently satisfying about stuffing a hollowed-out potato shell with an abundance of cheesy, savory goodness. These homemade potato skins, much like our jalapeno poppers, are a perennial favorite and a frequent request whenever we host friends and family. Beyond their party appeal, they are also incredibly versatile for meal prepping. You can prepare and freeze them in advance, making them a convenient, quick snack or a last-minute appetizer for unexpected guests any day of the week!
Essential Ingredients for Perfect Potato Skins
Crafting the best loaded potato skins starts with selecting the right ingredients. Below is a list of what you’ll need for this irresistible appetizer. For precise measurements and detailed instructions, refer to the printable recipe card located at the conclusion of this post.
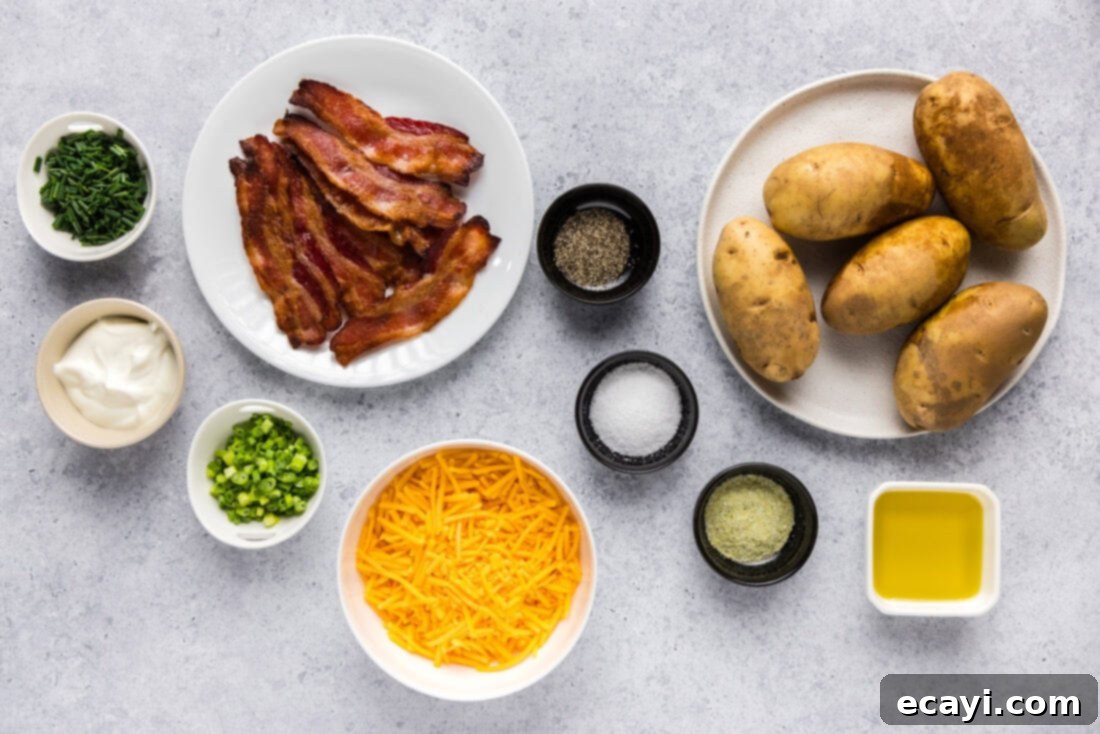
Ingredient Spotlight & Smart Substitutions
Understanding your ingredients is key to culinary success. Here’s a deeper dive into the components of our crispy potato skins:
POTATOES – Russet potatoes are unequivocally the best choice for making potato skins. Their high starch content results in a fluffy interior once baked, while their thick, sturdy skins hold up exceptionally well to baking and scraping, ensuring a perfectly crispy shell. When selecting Russets, look for firm potatoes free of blemishes, sprouts, or soft spots. Don’t worry if a few skins break during the hollowing process – it happens! We always recommend baking a couple more potatoes than you think you’ll need, just in case. The scooped-out potato flesh is far too good to waste; repurpose it by adding it to our baked potato soup, mashing it for a side dish, or pan-frying it with some onions for delicious breakfast potatoes.
CHEESE – For that ideal gooey, melted perfection, we always recommend freshly grated cheese from a block. Block cheese typically contains fewer anti-caking agents than pre-shredded varieties, allowing it to melt more smoothly and uniformly. A sharp cheddar is classic, but a blend of cheddar and Monterey Jack, or even a Colby Jack, offers a wonderful flavor profile and excellent melt. However, if convenience is your priority, pre-bagged shredded cheese will still yield delicious results; just be aware it might not melt quite as seamlessly. Feel free to experiment with other cheeses like pepper jack for a spicy kick or smoked gouda for a deeper flavor.
BACON – The smoky, salty crunch of bacon is non-negotiable for truly loaded potato skins. You can use any type of bacon you prefer – regular, thick-cut, or even turkey bacon for a lighter option. For the best texture and flavor, cook your bacon until extra crispy before crumbling or chopping it into small pieces. You can bake it in the oven, fry it on the stovetop, or even crisp it in an air fryer for less mess.
TOPPINGS – Freshness is key for the final garnishes. Green onions (scallions) provide a mild, oniony zest and a vibrant green color. Chives add a delicate onion flavor that is slightly sweeter and more subtle than green onions. Both contribute significantly to the overall taste and visual appeal. For an extra layer of flavor and creaminess, consider serving your potato skins with a dollop of sour cream or Greek yogurt. Other popular additions include a sprinkle of paprika for color, a dash of hot sauce for heat, or even a spoonful of salsa for a Tex-Mex twist.
Crafting Crispy & Delicious Potato Skins: A Step-by-Step Guide
These step-by-step photos and instructions are here to help you visualize how to make this recipe with ease. For a printable version of this recipe, complete with precise measurements and comprehensive instructions, simply Jump to Recipe at the bottom of this post.
- Preheat your oven to 400°F (200°C). This ensures the oven is at the optimal temperature for even baking from the start.
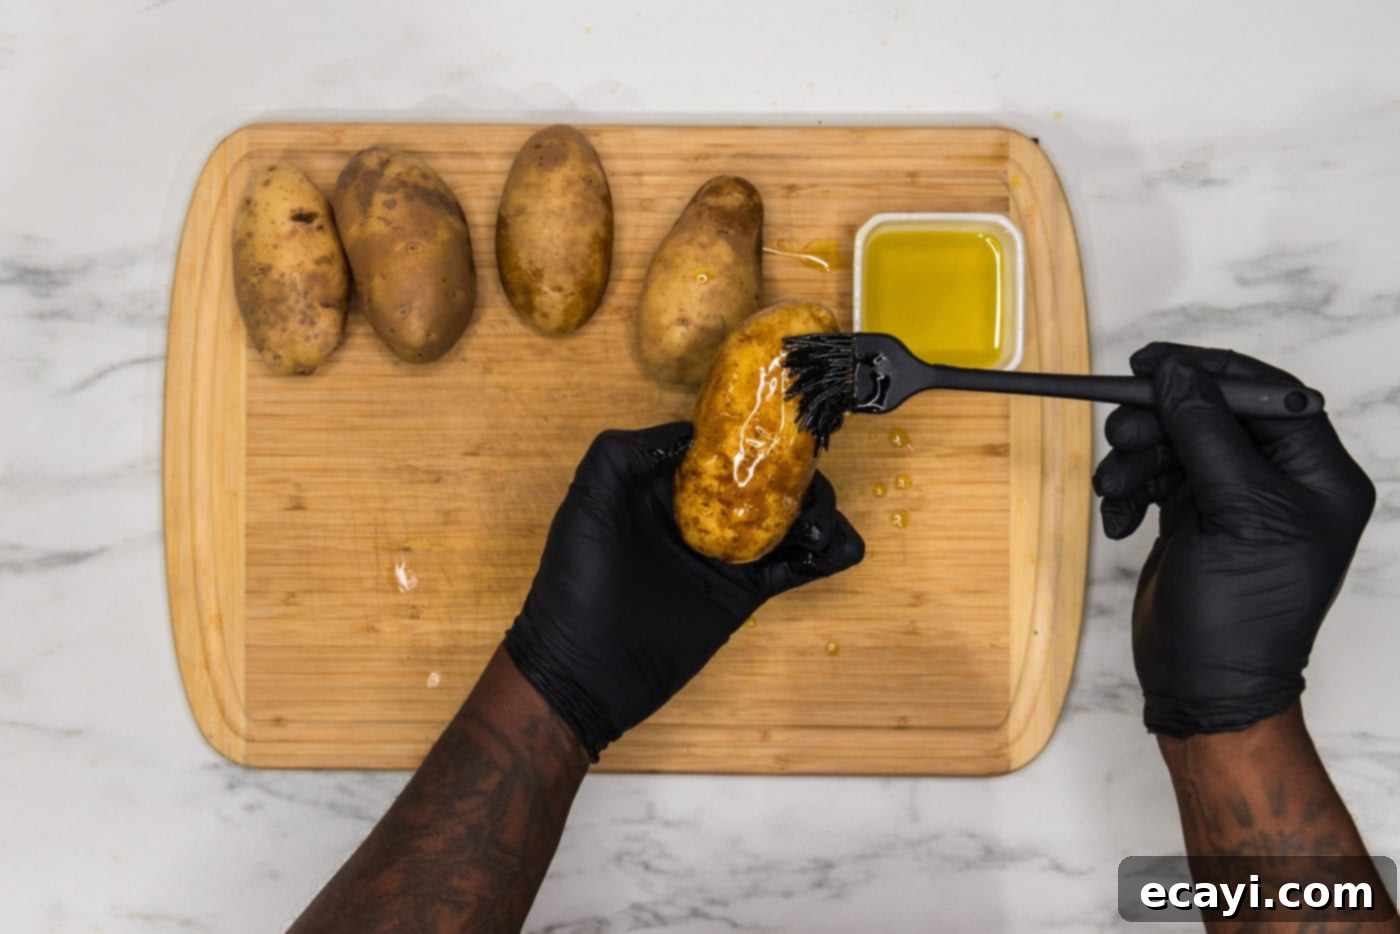
- Thoroughly wash and dry your Russet potatoes. A clean skin is essential. Use a pastry brush to coat all sides of the potatoes evenly with olive oil. This helps the skin crisp up beautifully and absorb the seasonings.
- Season the olive oil-coated potatoes generously with Kosher salt, garlic powder, and freshly ground black pepper. These seasonings penetrate the skin and potato flesh, building a foundational layer of flavor.
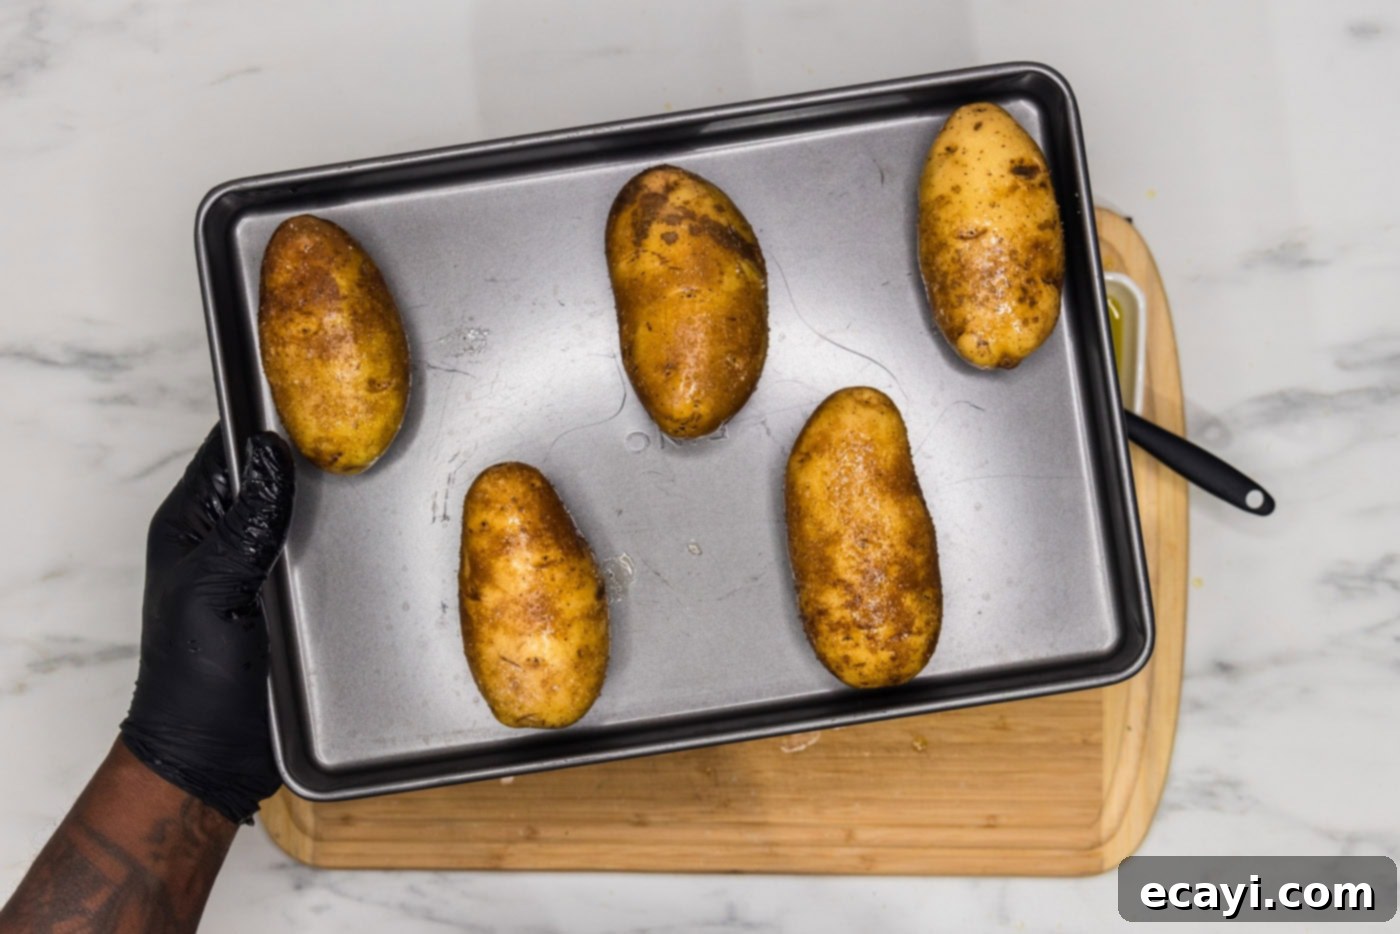
- Place the seasoned potatoes directly on a baking sheet. Bake in the preheated oven for 30-35 minutes, or until they are fork-tender. You should be able to easily pierce them with a fork.
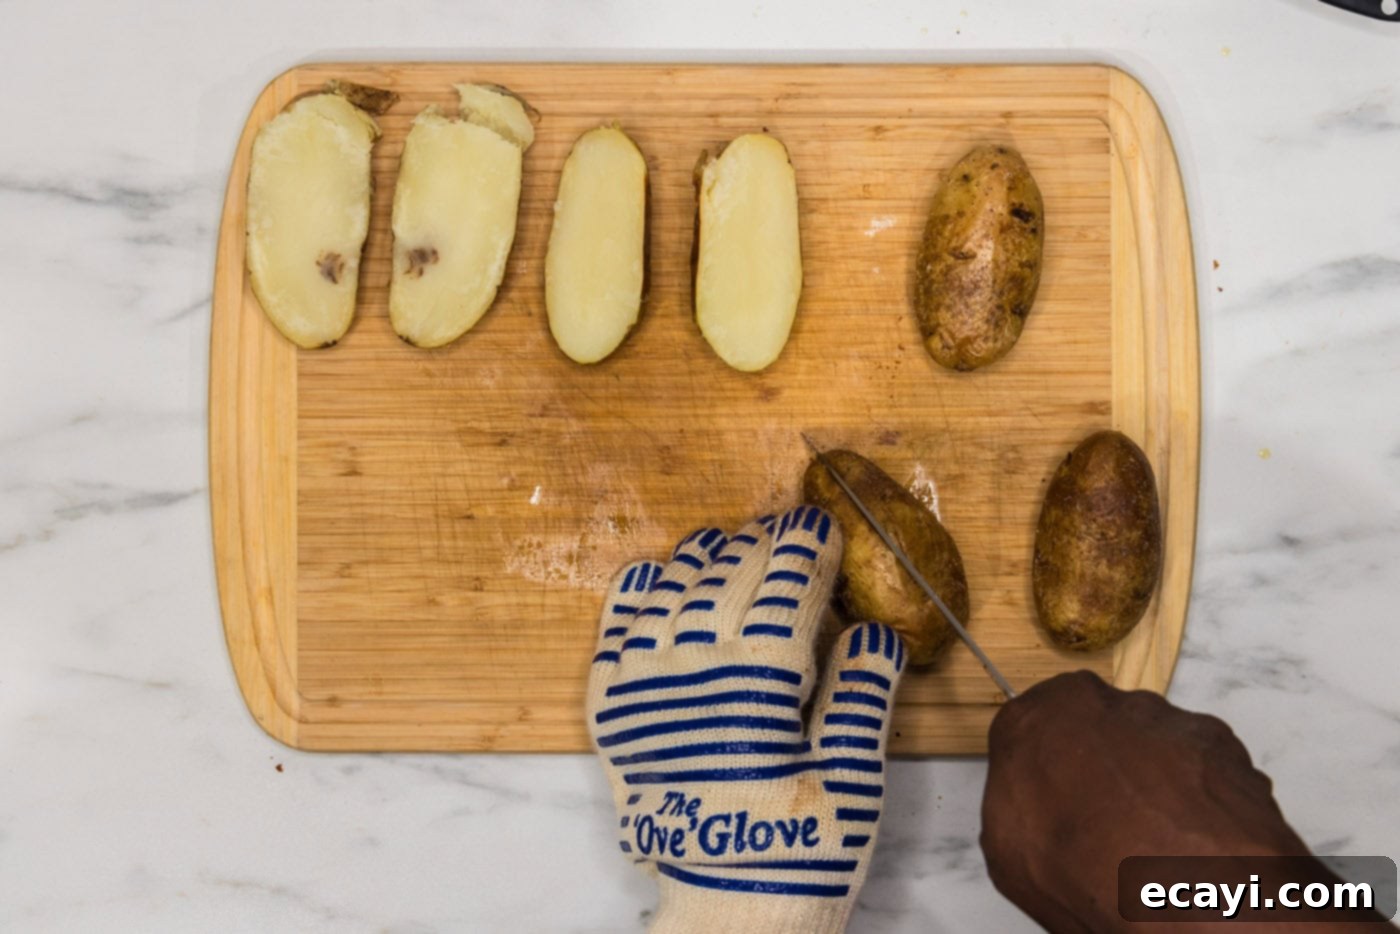
- Remove the potatoes from the oven, but do not turn the oven off. Allow them to cool slightly so they are easier to handle. Carefully slice each potato in half lengthwise. Remember, the potatoes will still be hot, so using heat-resistant oven gloves or a kitchen towel is highly recommended.
- Using a small spoon or scoop, carefully scrape out some of the cooked potato flesh from each half, leaving about a 1/2-inch border of potato still attached to the skin. If you prefer them extra crispy, you can leave only about 1/4-inch. Be gentle to avoid tearing the skin. The scooped-out potato can be saved for other recipes like mashed potatoes or potato soup.
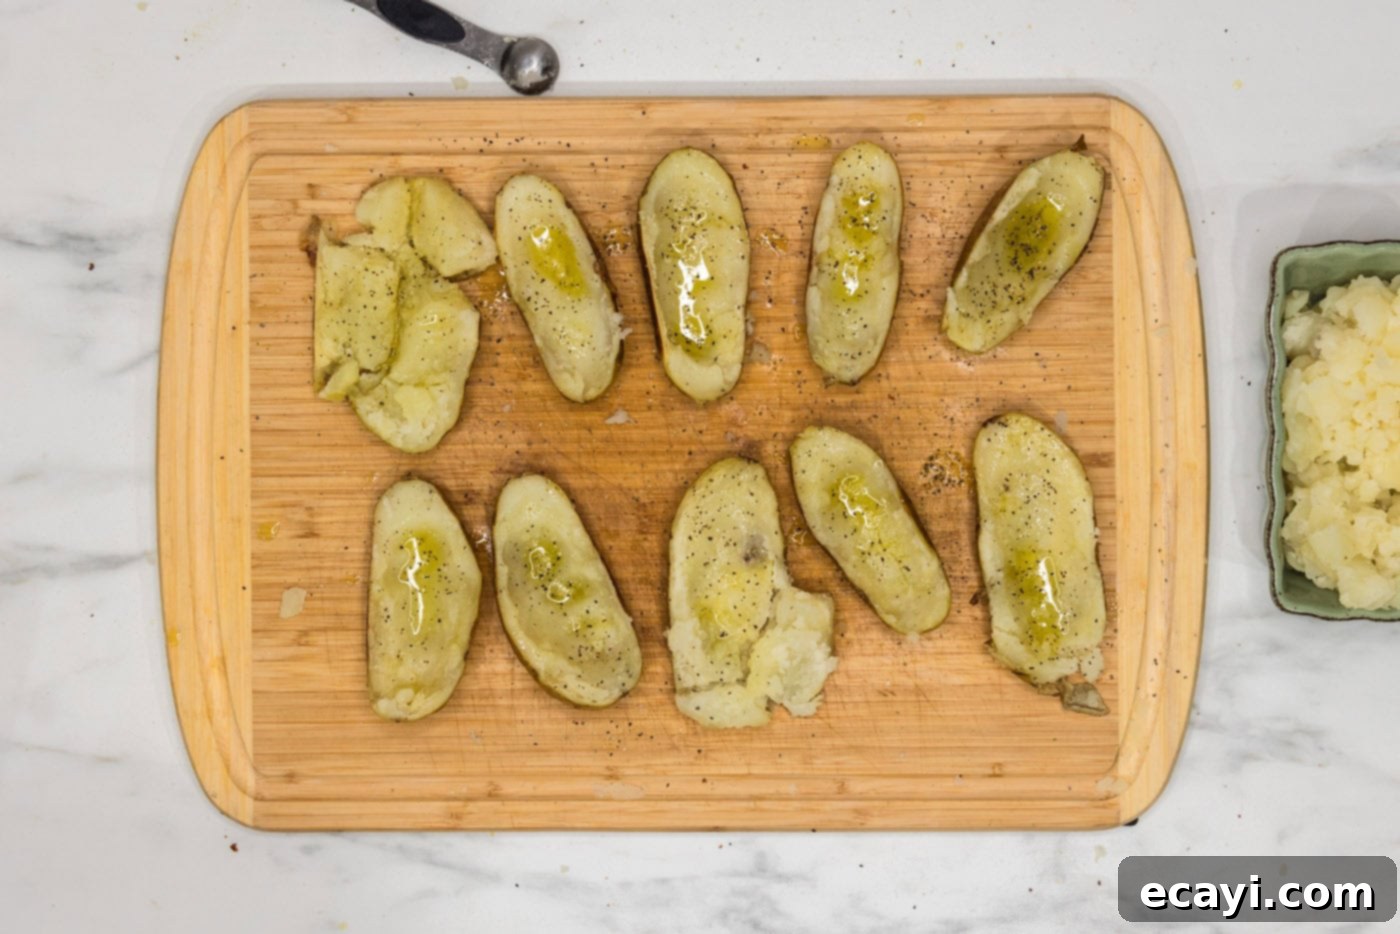
- Once hollowed, brush the inside of each potato skin with a little more olive oil. This helps to further crisp up the interior and edges. Season again lightly with Kosher salt and black pepper to enhance the flavor.
- Place the potato skins back on the baking sheet, cut-side up. Bake for an additional 15-20 minutes, or until the edges are golden brown and crispy. This second bake is crucial for achieving that desirable texture.
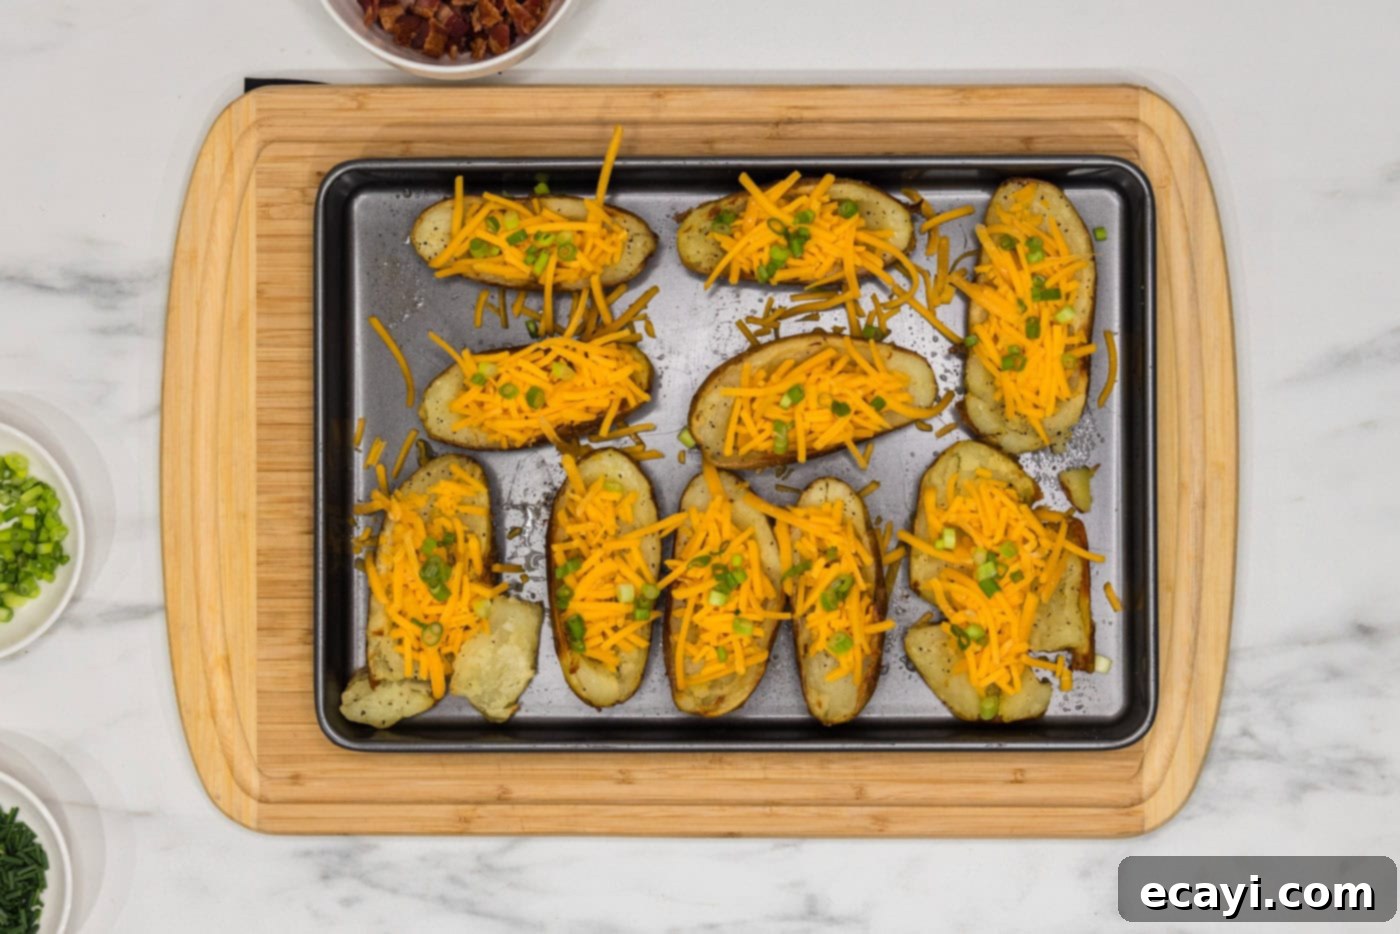
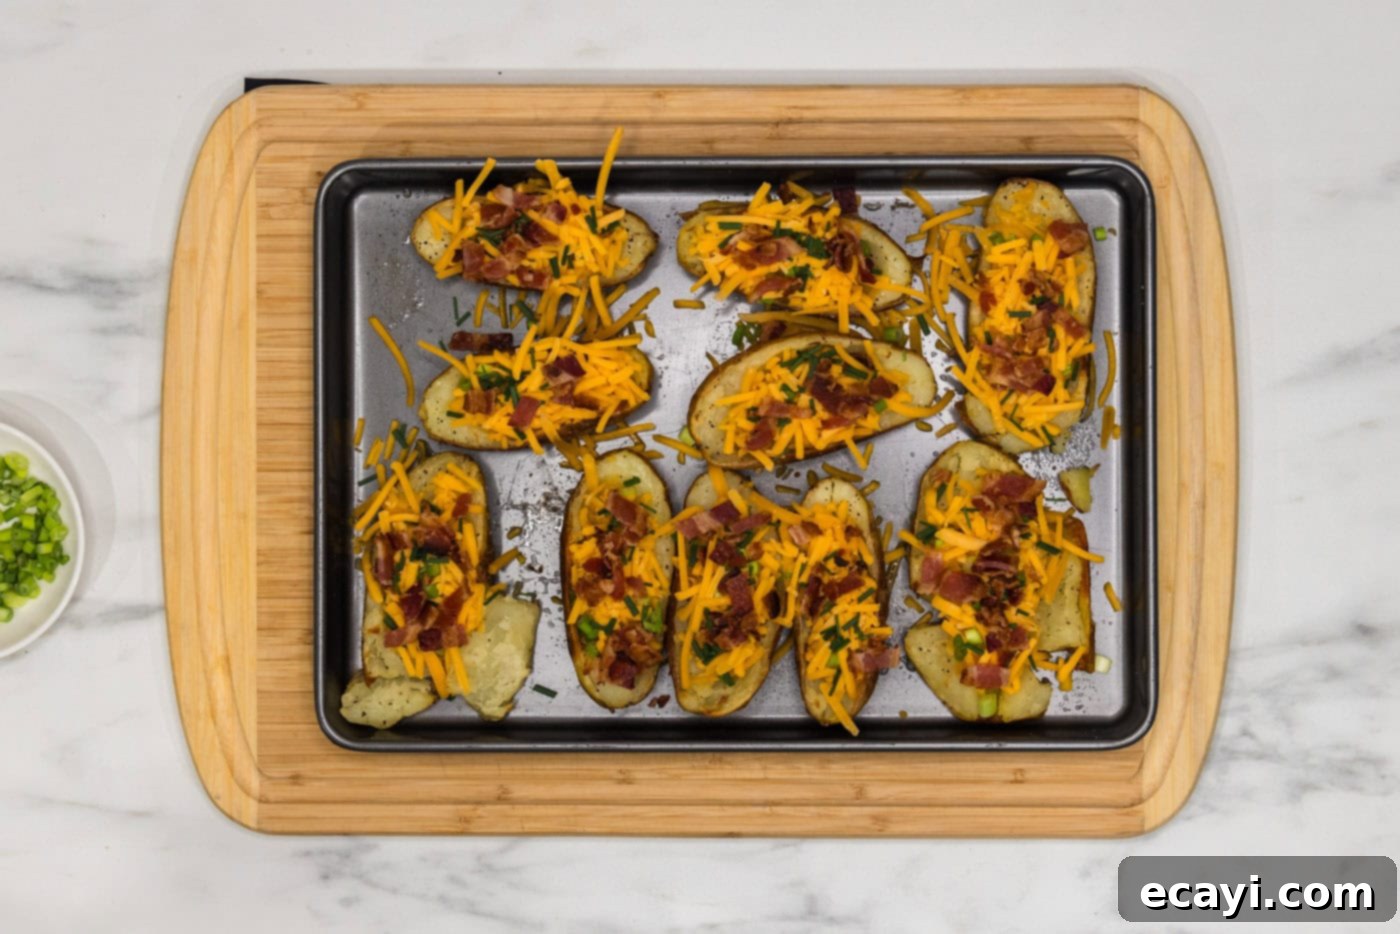
- Remove the crispy skins from the oven and carefully turn the oven’s setting to broil. Generously fill each potato skin with shredded cheese, a sprinkle of green onions, and fresh chives. Finish by topping with the crumbled cooked bacon.
- Return the loaded potato skins to the oven under the broiler for 1-3 minutes. Keep a close eye on them, as broilers can vary significantly, and cheese melts quickly. You’re looking for the cheese to be perfectly melted and bubbly, with a slight golden hue. Serve immediately and enjoy!
Frequently Asked Questions & Expert Tips for Perfect Potato Skins
To maintain their deliciousness and crisp texture, store any leftover potato skins in an airtight container in the refrigerator for up to 4 days. When reheating, avoid the microwave, as it will make them soggy. Instead, for best results, reheat them in an air fryer at 350°F (175°C) for 5-7 minutes, or in a preheated 375°F (190°C) oven for 10-15 minutes, until they are heated through and the skins are crispy again. This will help restore that delightful crunch.
Absolutely! Potato skins are an ideal make-ahead appetizer and freeze beautifully. You can prepare them up to the point of baking the empty skins. Once baked and hollowed, allow the potato skins to cool completely. Then, transfer them to a baking sheet and flash freeze them until solid – this prevents them from sticking together. Once solid, place them in a large freezer-safe zip-top bag or an airtight container, and they can be stored in the freezer for up to 3 months. When you’re ready to enjoy them, bake the frozen skins at 400°F (200°C) for approximately 15-20 minutes, or until they are crisped to your liking. Then, simply fill them with your desired toppings (cheese, bacon, green onions, chives) and pop them under the broiler for 1-3 minutes, just as you would with fresh skins, until the cheese is melted and bubbly.
While the classic bacon, cheese, and chive combination is timeless, potato skins are incredibly versatile! You can get creative with your toppings. Consider a “Broccoli Cheddar” version with steamed broccoli florets and sharp cheddar, or a “Buffalo Chicken” skin with shredded chicken tossed in buffalo sauce, blue cheese crumbles, and a drizzle of ranch. “Philly Cheesesteak” skins with thinly sliced steak, onions, and provolone are another fantastic option. For a breakfast twist, try them with scrambled eggs, sausage, and a sprinkle of hot sauce.
The double-baking method is the secret to achieving truly crispy potato skins. The initial bake cooks the potato flesh until tender. After scooping, the second bake of the empty skins, often brushed with a bit more oil, dehydrates the potato skin further and creates a robust, golden-brown, and incredibly crispy exterior. This prevents the skins from becoming soggy once loaded with moist ingredients like cheese and sour cream, ensuring a superior texture.
Serving Your Irresistible Potato Skins
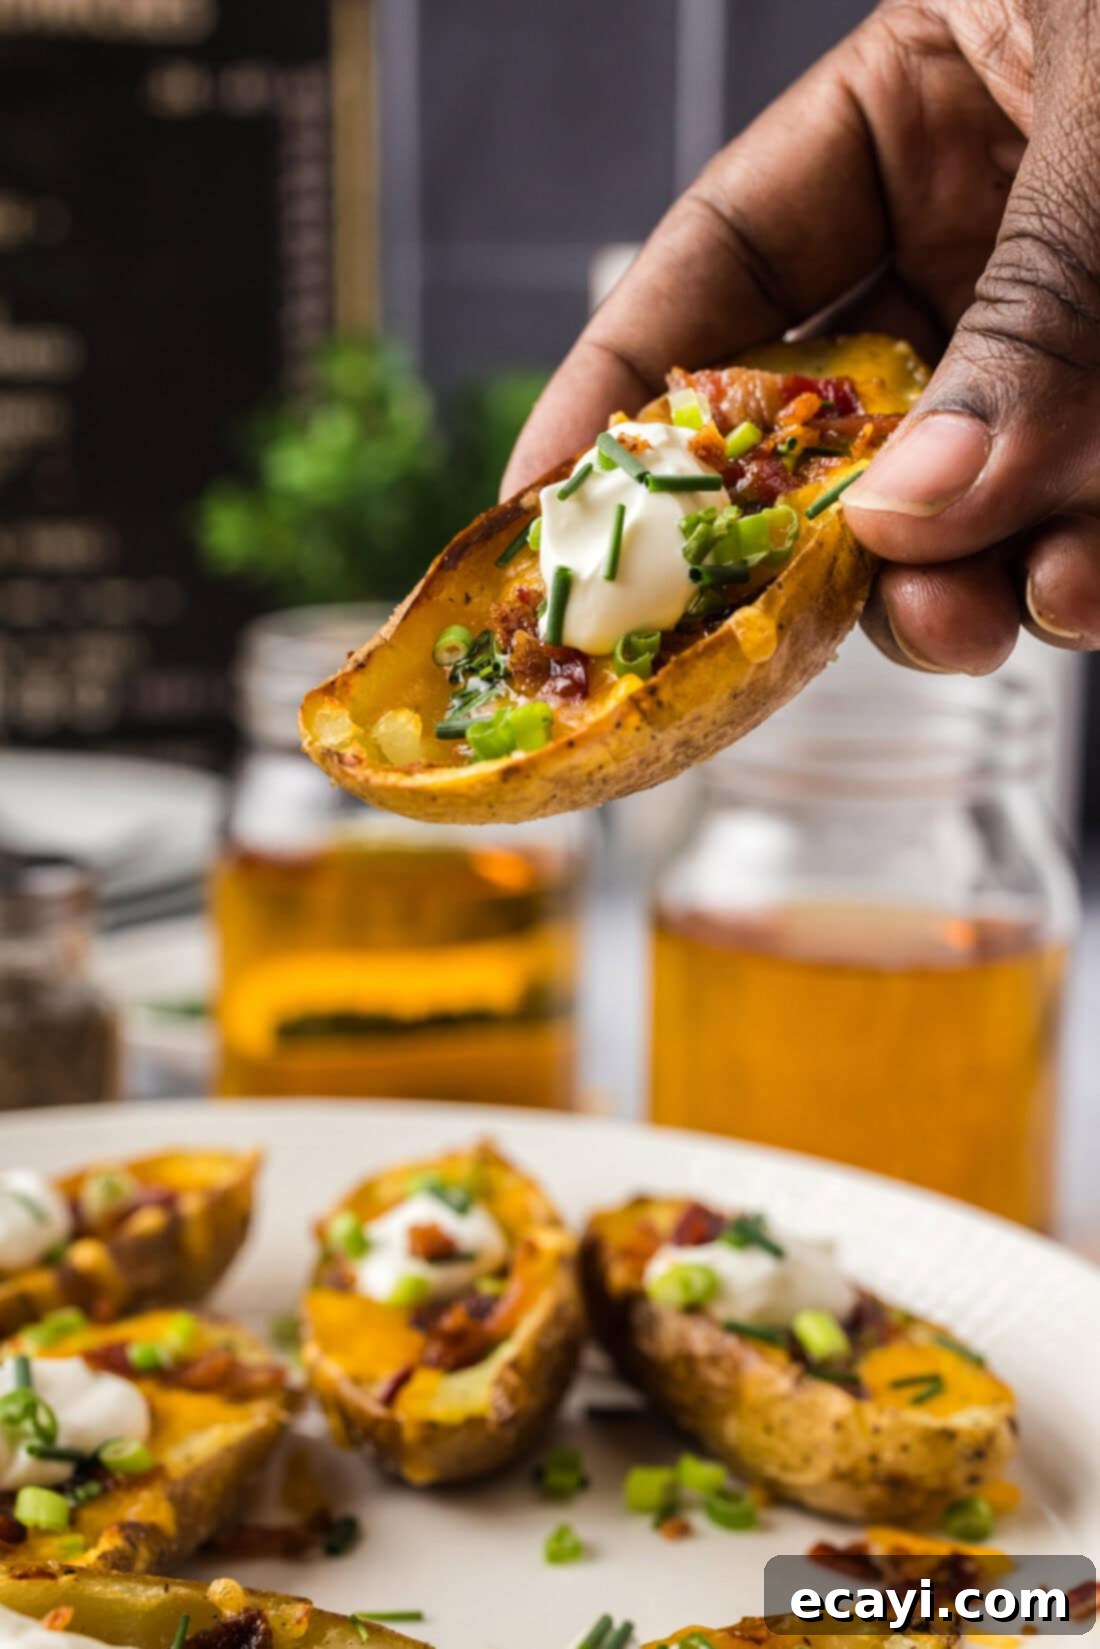
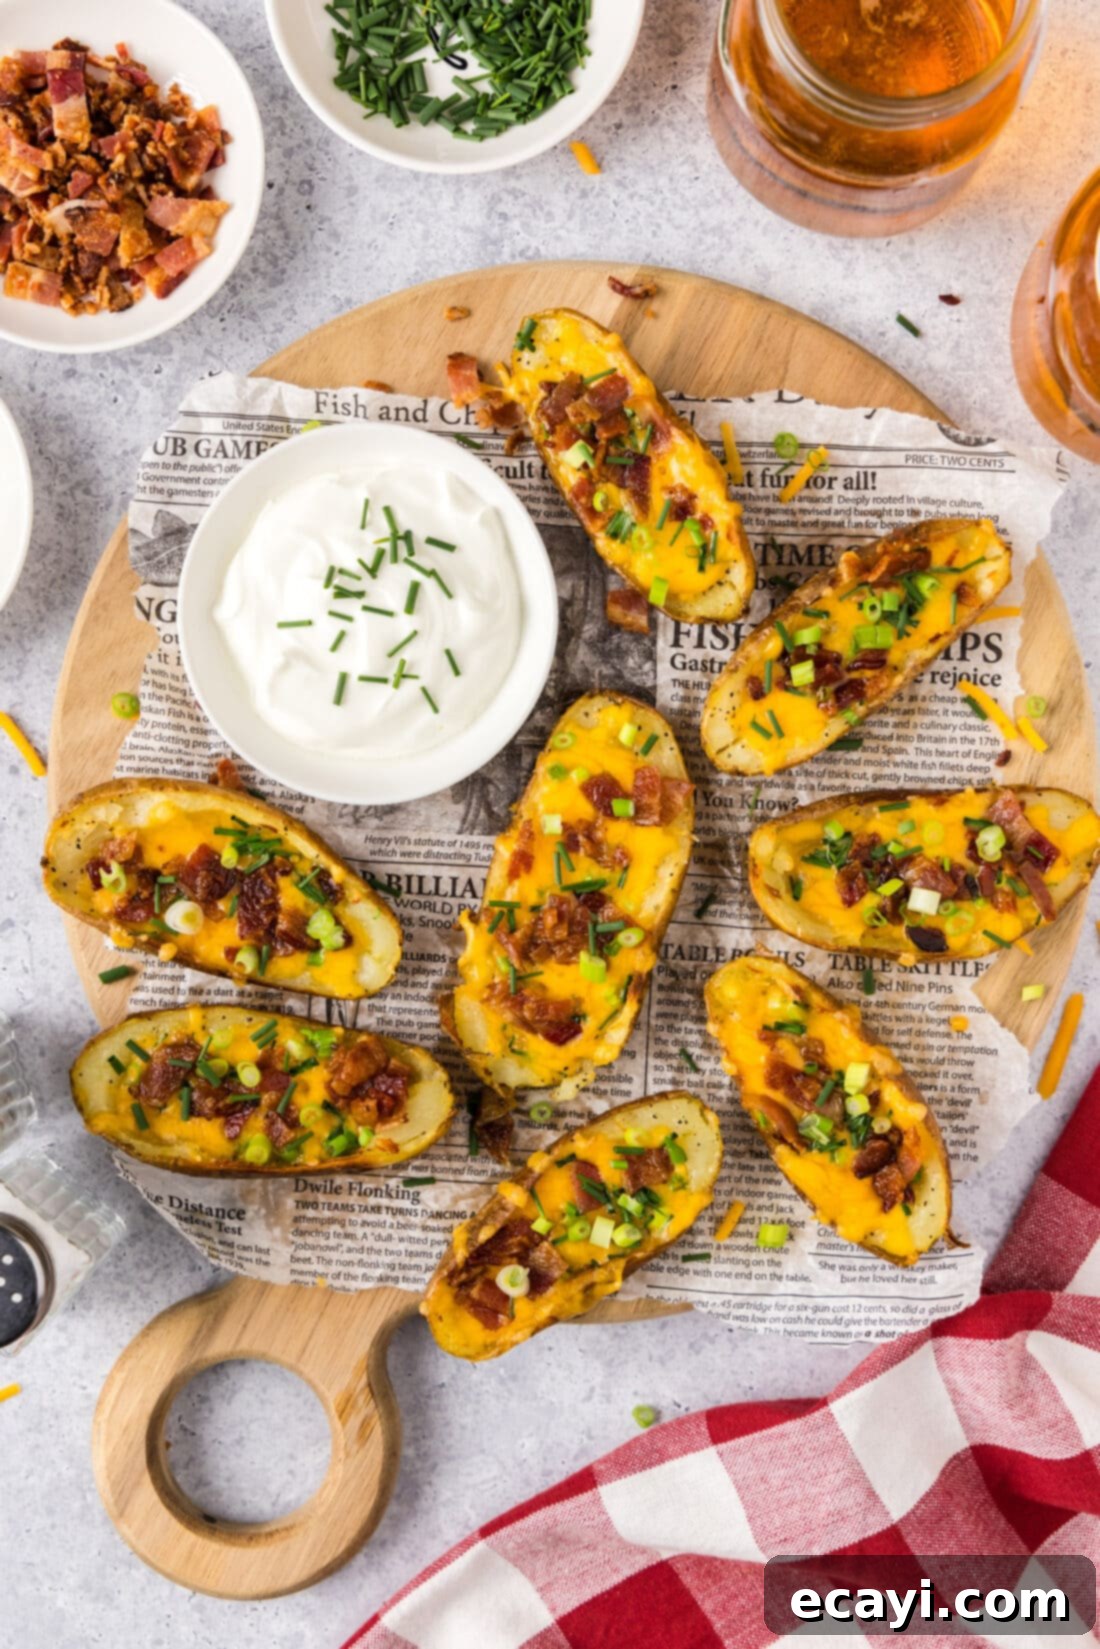
These crispy, loaded potato skins are a true culinary chameleon, perfect for an array of occasions. Serve them as the star appetizer for high-energy football parties, elegant holiday get-togethers, or simply any occasion that calls for a cheesy, satisfying finger food that guests can easily grab and enjoy. They’re designed for convenience and maximum flavor impact, making them ideal for mingling and socializing.
Beyond being a fantastic standalone appetizer, potato skins also make an excellent side dish. Imagine them paired alongside juicy grilled meats like steaks or burgers, complementing the main course with their rich, savory flavors. For an extra layer of decadence, always offer a bowl of cool sour cream or a lighter Greek yogurt for dipping. A sprinkle of extra chives or a dash of hot sauce can also elevate the experience. Honestly, there’s never a wrong time to indulge in these delightful potato creations!
More Must-Try Appetizer Recipes
If you loved these potato skins, you’ll surely enjoy these other crowd-pleasing appetizer recipes:
- Roast Beef Sliders
- Air Fryer Jalapeno Poppers
- Bacon Cheeseburger Meatballs
- Bacon Wrapped Lil Smokies
I love to bake and cook and share my kitchen experience with all of you! Remembering to come back each day can be tough, that’s why I offer a convenient newsletter every time a new recipe posts. Simply subscribe and start receiving your free daily recipes!

Potato Skins
IMPORTANT – There are often Frequently Asked Questions within the blog post that you may find helpful. Simply scroll back up to read them!
Print It
Pin It
Rate It
Save ItSaved!
Ingredients
- 5 medium Russet potatoes
- 3 Tablespoons olive oil divided
- Kosher salt to taste
- garlic powder to taste
- black pepper to taste
- 1 ½ cups shredded cheddar cheese
- 3 Tablespoons sliced green onions
- 2 Tablespoons sliced fresh chives
- 8 slices cooked bacon chopped or crumbled
Things You’ll Need
-
Pastry brush
-
Baking sheet
Before You Begin
- When scraping out the potato, you may end up with some broken potatoes. We always make sure to make more than we need just in case we have casualties!
Instructions
-
Preheat oven to 400 F.
-
Wash and dry potatoes. Use a pastry brush to coat all sides of the potatoes with olive oil.
-
Season the potatoes with Kosher salt, garlic powder, and black pepper.
-
Place potatoes on a baking sheet and bake in the oven for 30-35 minutes, or until fork tender.
-
Remove from oven but don’t turn the oven off. Slice potatoes in half lengthwise. Potatoes will be hot so be sure to use heat resistant oven gloves.
-
Carefully scrape out some of the cooked potato flesh, leaving about 1/2-inch still in the skin (1/4-inch if you like them really crispy!). We used a small measuring spoon.
TIP – You can simply eat the potato you scooped from the skins, add it to baked potato soup, or fry it up for breakfast potatoes!
-
Brush the inside of the potatoes with olive oil. Season with more Kosher salt and black pepper.
-
Place potato skins back on the baking sheet and bake an additional 15-20 minutes, or until edges are browned.
-
Remove from oven, turn oven up to broil. Add shredded cheese, green onions, and chives. Top with crumbled bacon. Put back in the oven for 1-3 minutes, just long enough to melt the cheese.
Expert Tips & FAQs
- Store leftover potato skins in an air-tight container kept in the refrigerator for up to 4 days. Reheat in the air fryer or in a 375F oven for 10-15 minutes.
- Freezing – You can bake and scoop the potato skins then allow them to fully cool before transferring them to a baking sheet. Flash freeze the skins until solid. Once solid, place them in a large ziptop bag or air-tight container and freeze for up to 3 months. Bake the skins from frozen at 400F until crisped, around 15-20 minutes. Then fill them with toppings and pop them under the broiler as recipe states.
Nutrition
The recipes on this blog are tested with a conventional gas oven and gas stovetop. It’s important to note that some ovens, especially as they age, can cook and bake inconsistently. Using an inexpensive oven thermometer can assure you that your oven is truly heating to the proper temperature. If you use a toaster oven or countertop oven, please keep in mind that they may not distribute heat the same as a conventional full sized oven and you may need to adjust your cooking/baking times. In the case of recipes made with a pressure cooker, air fryer, slow cooker, or other appliance, a link to the appliances we use is listed within each respective recipe. For baking recipes where measurements are given by weight, please note that results may not be the same if cups are used instead, and we can’t guarantee success with that method.
