Homemade Cherry Gelato: Your Ultimate Guide to a Refreshing Summer Indulgence
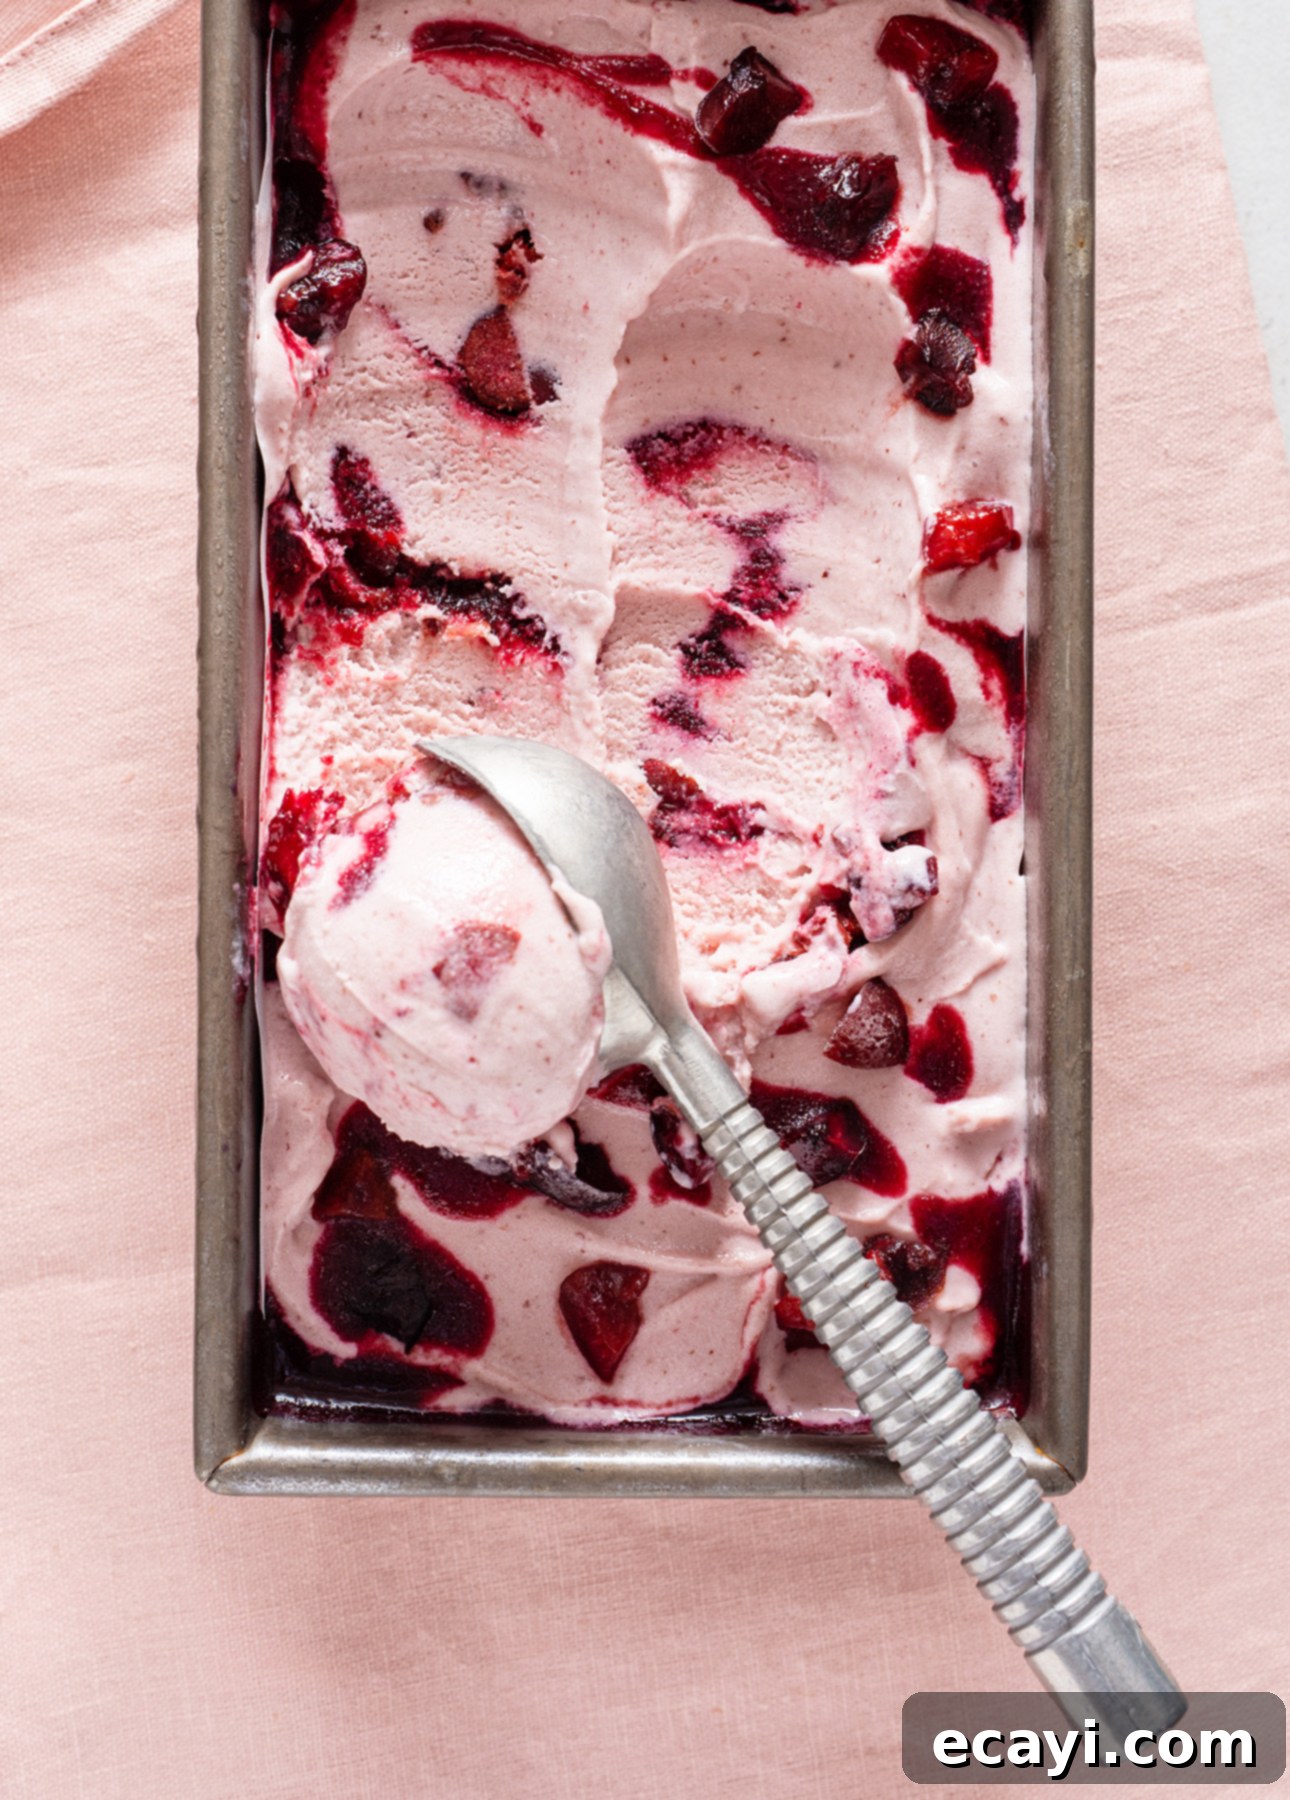
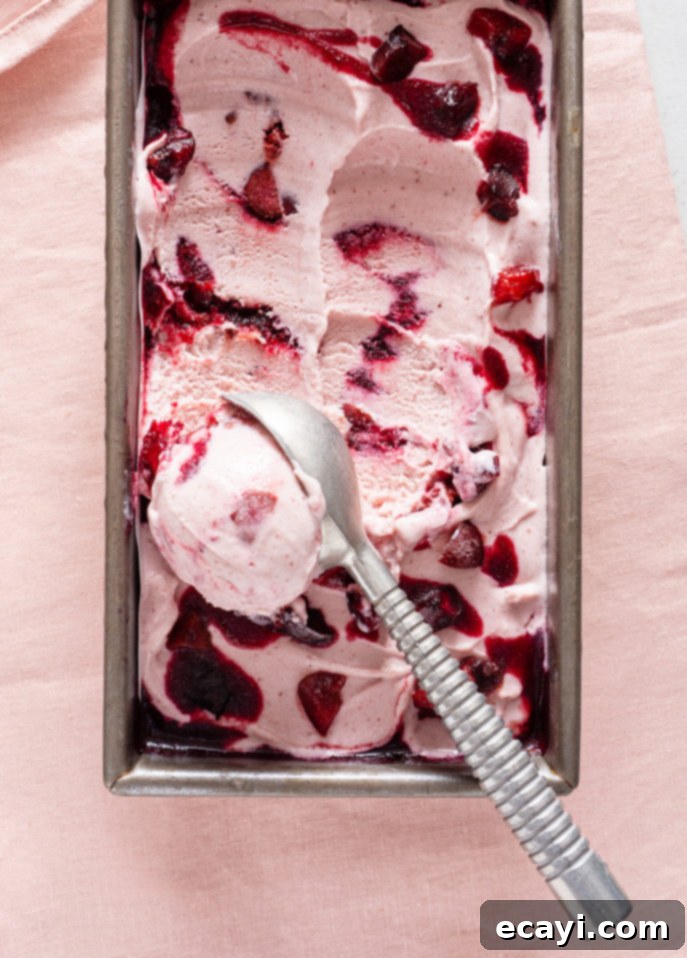
This homemade cherry gelato, bursting with vibrant swirls and generous chunks of fresh, juicy cherries, is truly the quintessential summer delight! It’s a dessert that perfectly balances refreshing coolness with elegant presentation and an explosion of natural fruit flavor in every spoonful.
This post contains affiliate links. Full disclosure is at the bottom of the article.
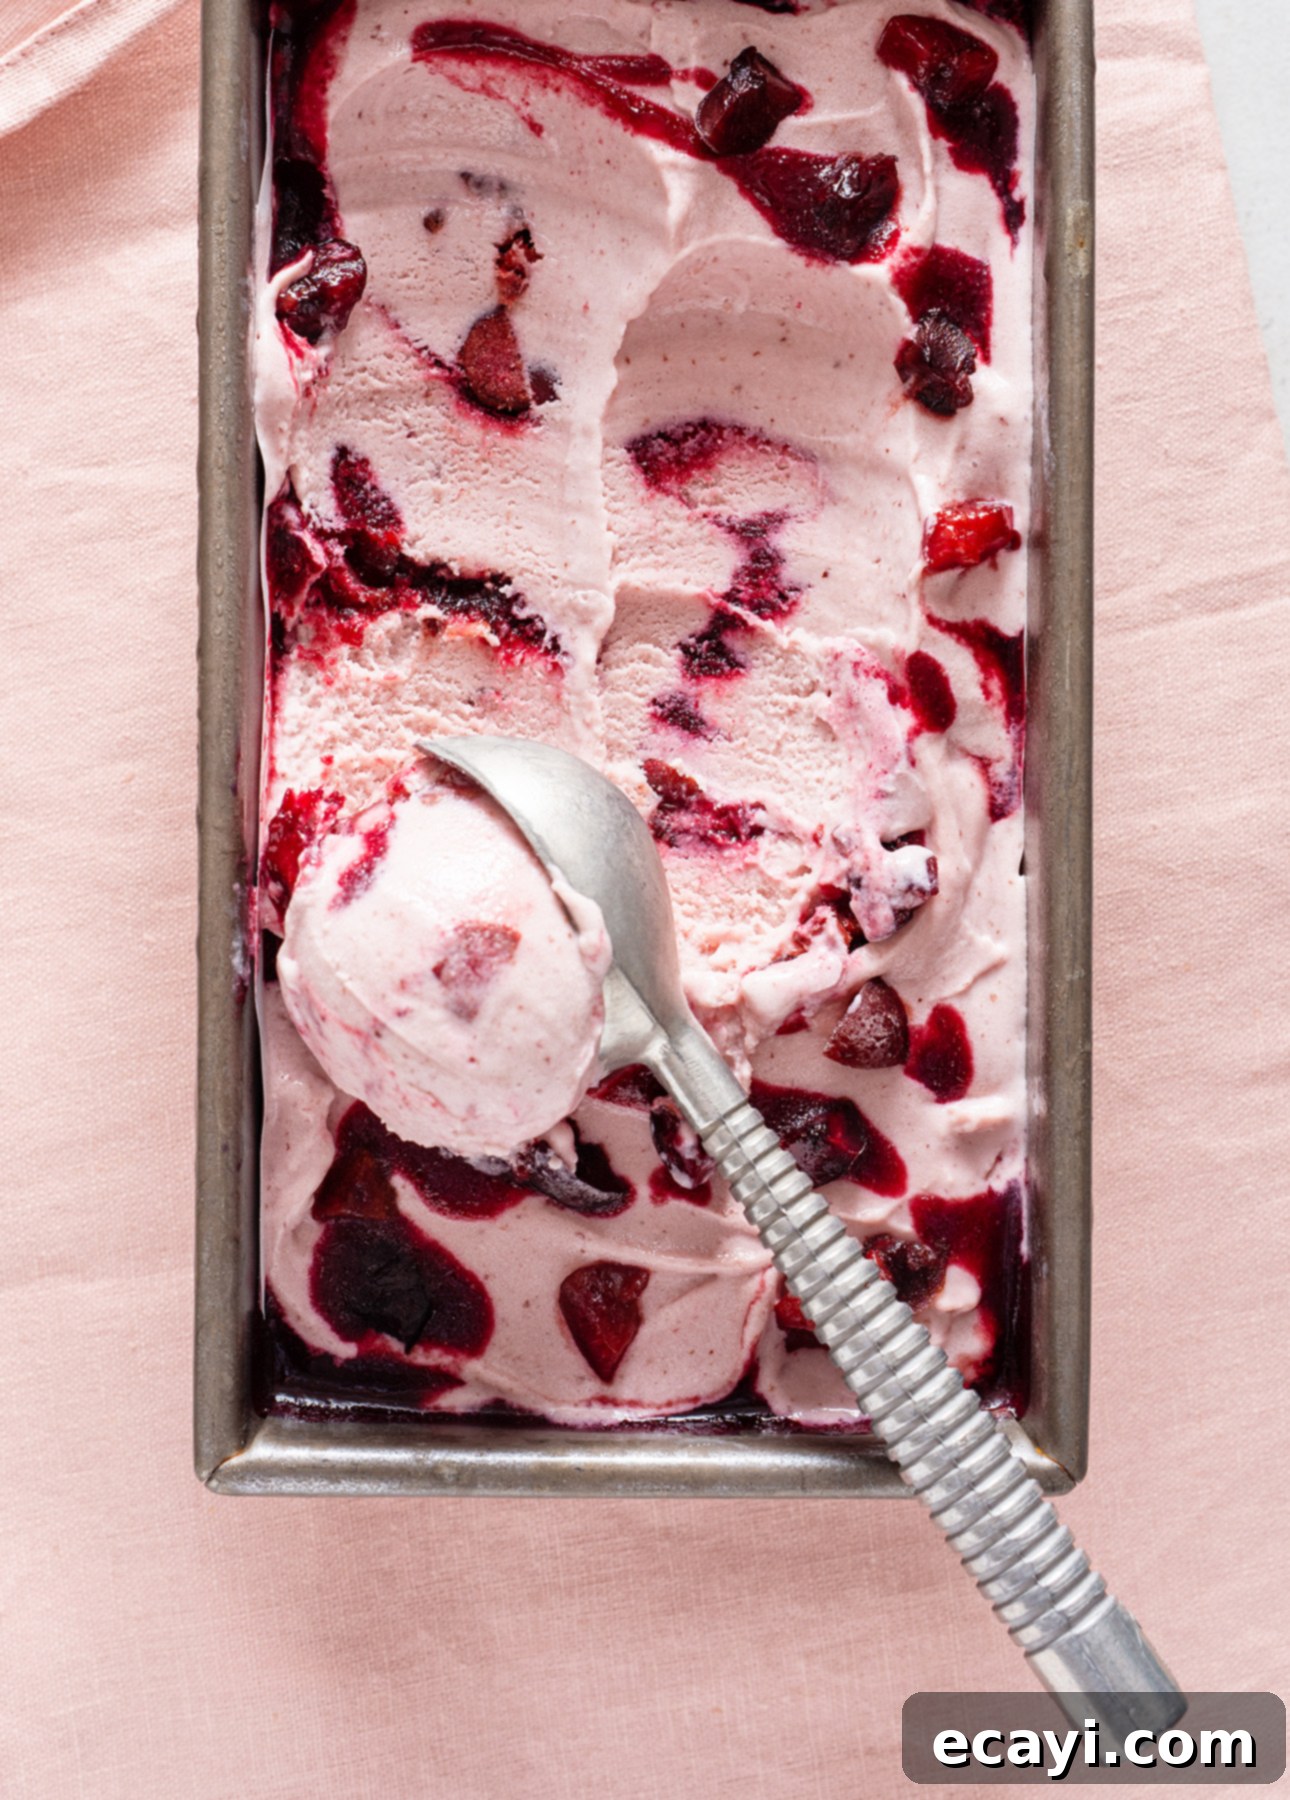
There’s something uniquely satisfying about homemade gelato, especially when the summer sun is at its peak. For me, this particular Cherry Gelato recipe comes remarkably close to perfection. Imagine wonderfully ripe, sweet cherries, transformed into a luxuriously smooth gelato base, then generously rippled through with a concentrated, punchy cherry puree. The resulting texture and flavor combination—cool creaminess meeting sharp, intense fruitiness in every bite—is nothing short of pure luxury. It elevates a simple dessert into an unforgettable experience.
This vibrant pink cherry gelato has become a beloved staple in my kitchen throughout the warmer months. It consistently feels like a step above traditional ice cream, largely because the authentic, bright cherry flavor shines through so clearly. Unlike many store-bought options that rely on artificial flavors, this recipe celebrates the natural sweetness and slight tartness of fresh cherries, creating a treat that feels both decadent and genuinely refreshing. Whether you’re a seasoned gelato maker or a beginner, this recipe offers a rewarding experience with a delicious outcome.
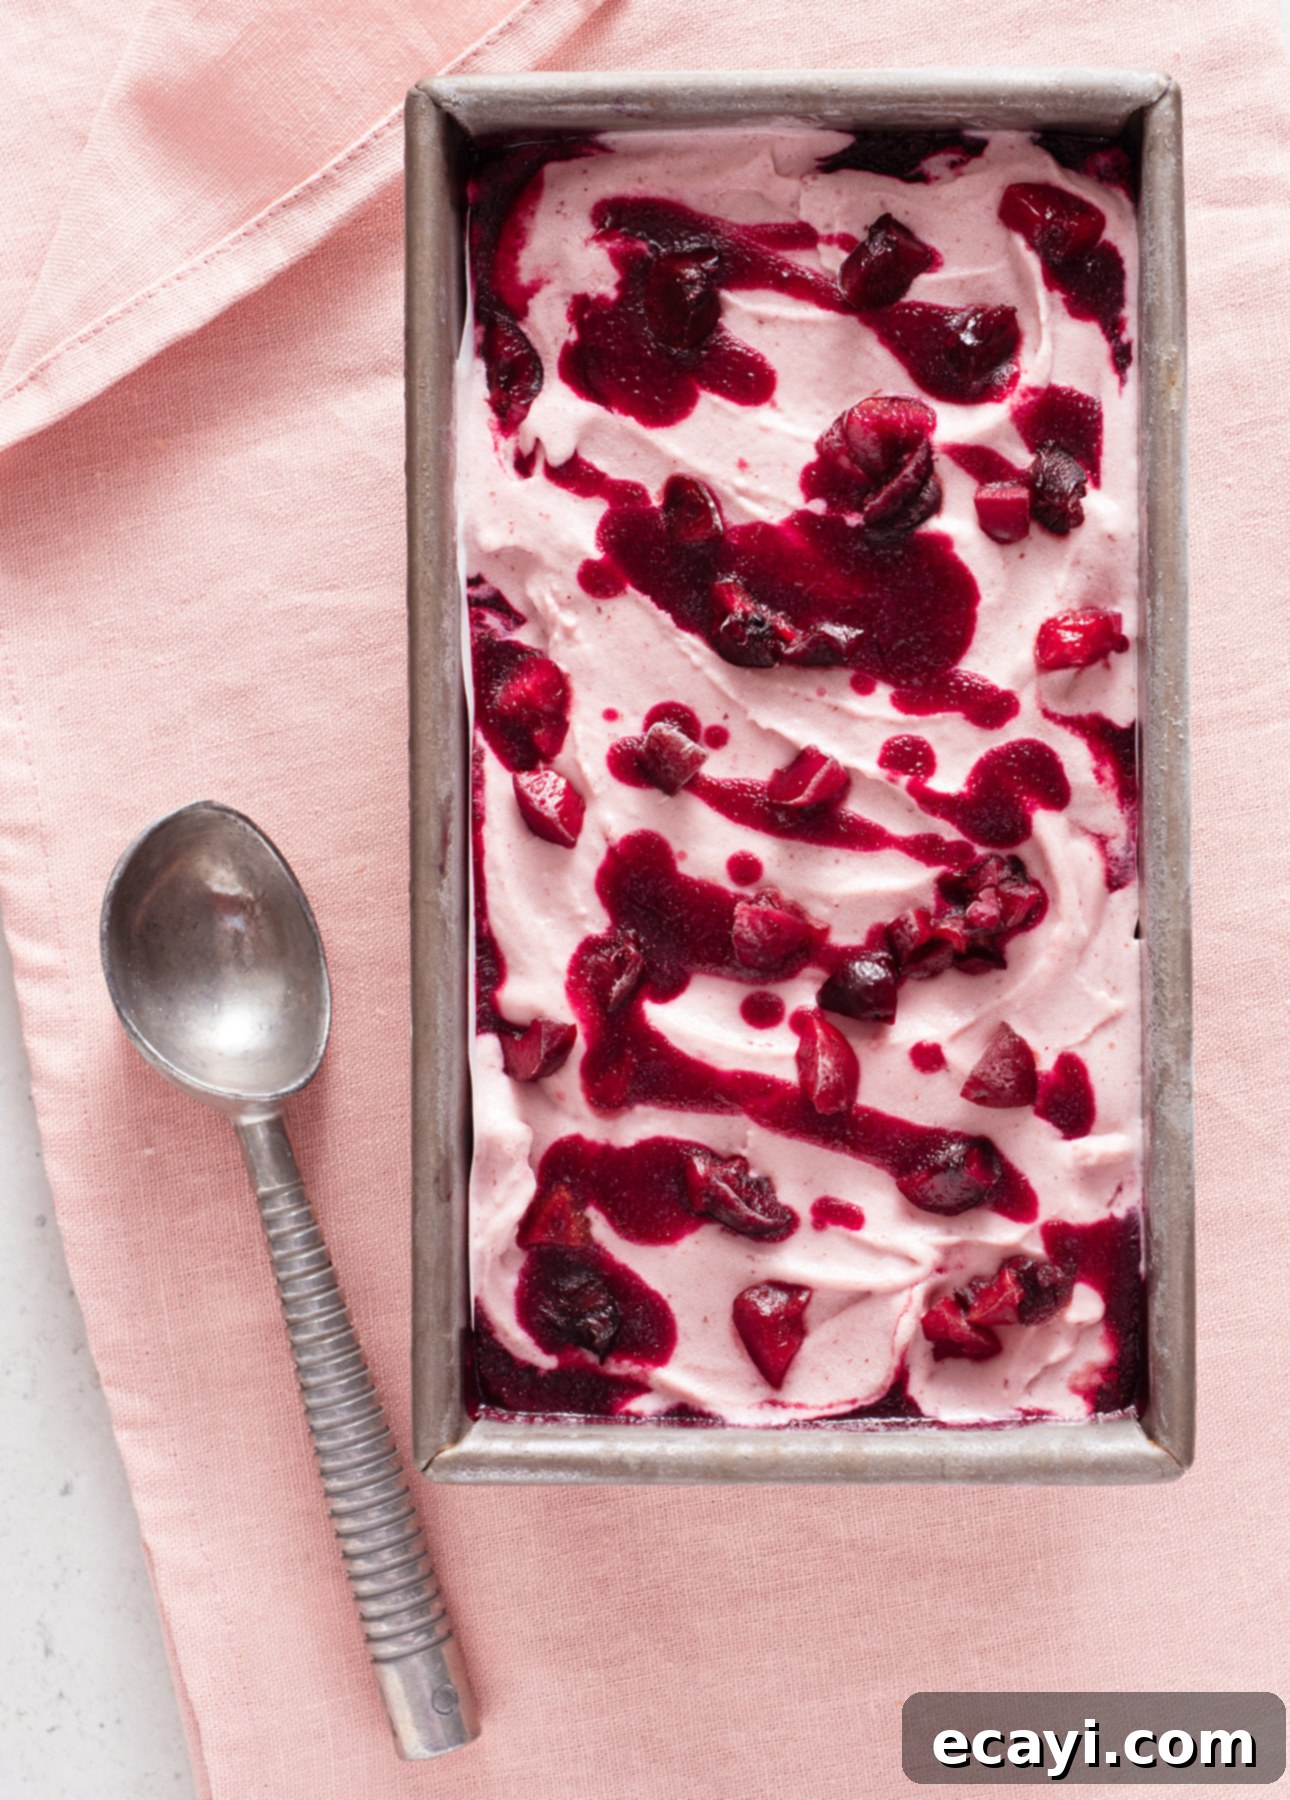
This striking cherry gelato is an absolute showstopper when served as a sophisticated dessert after a dinner party with friends. Its elegant appearance and complex flavor profile are sure to impress your guests. However, be warned: it’s also dangerously delicious when eaten straight from the container during a quiet, indulgent moment on the weekend. The temptation to enjoy its creamy, fruity goodness all by yourself is incredibly strong. Consider yourself thoroughly warned!
Essential Tips for Crafting Perfect Homemade Cherry Gelato
Creating exceptional homemade gelato, especially with a delicate flavor like cherry, requires attention to detail. These helpful tips will ensure your cherry gelato turns out silky smooth, intensely flavorful, and utterly irresistible. From selecting the best fruit to perfecting the serving temperature, mastering these techniques will elevate your frozen dessert game.
Source the Ripest Cherries or Opt for Convenient Frozen Ones
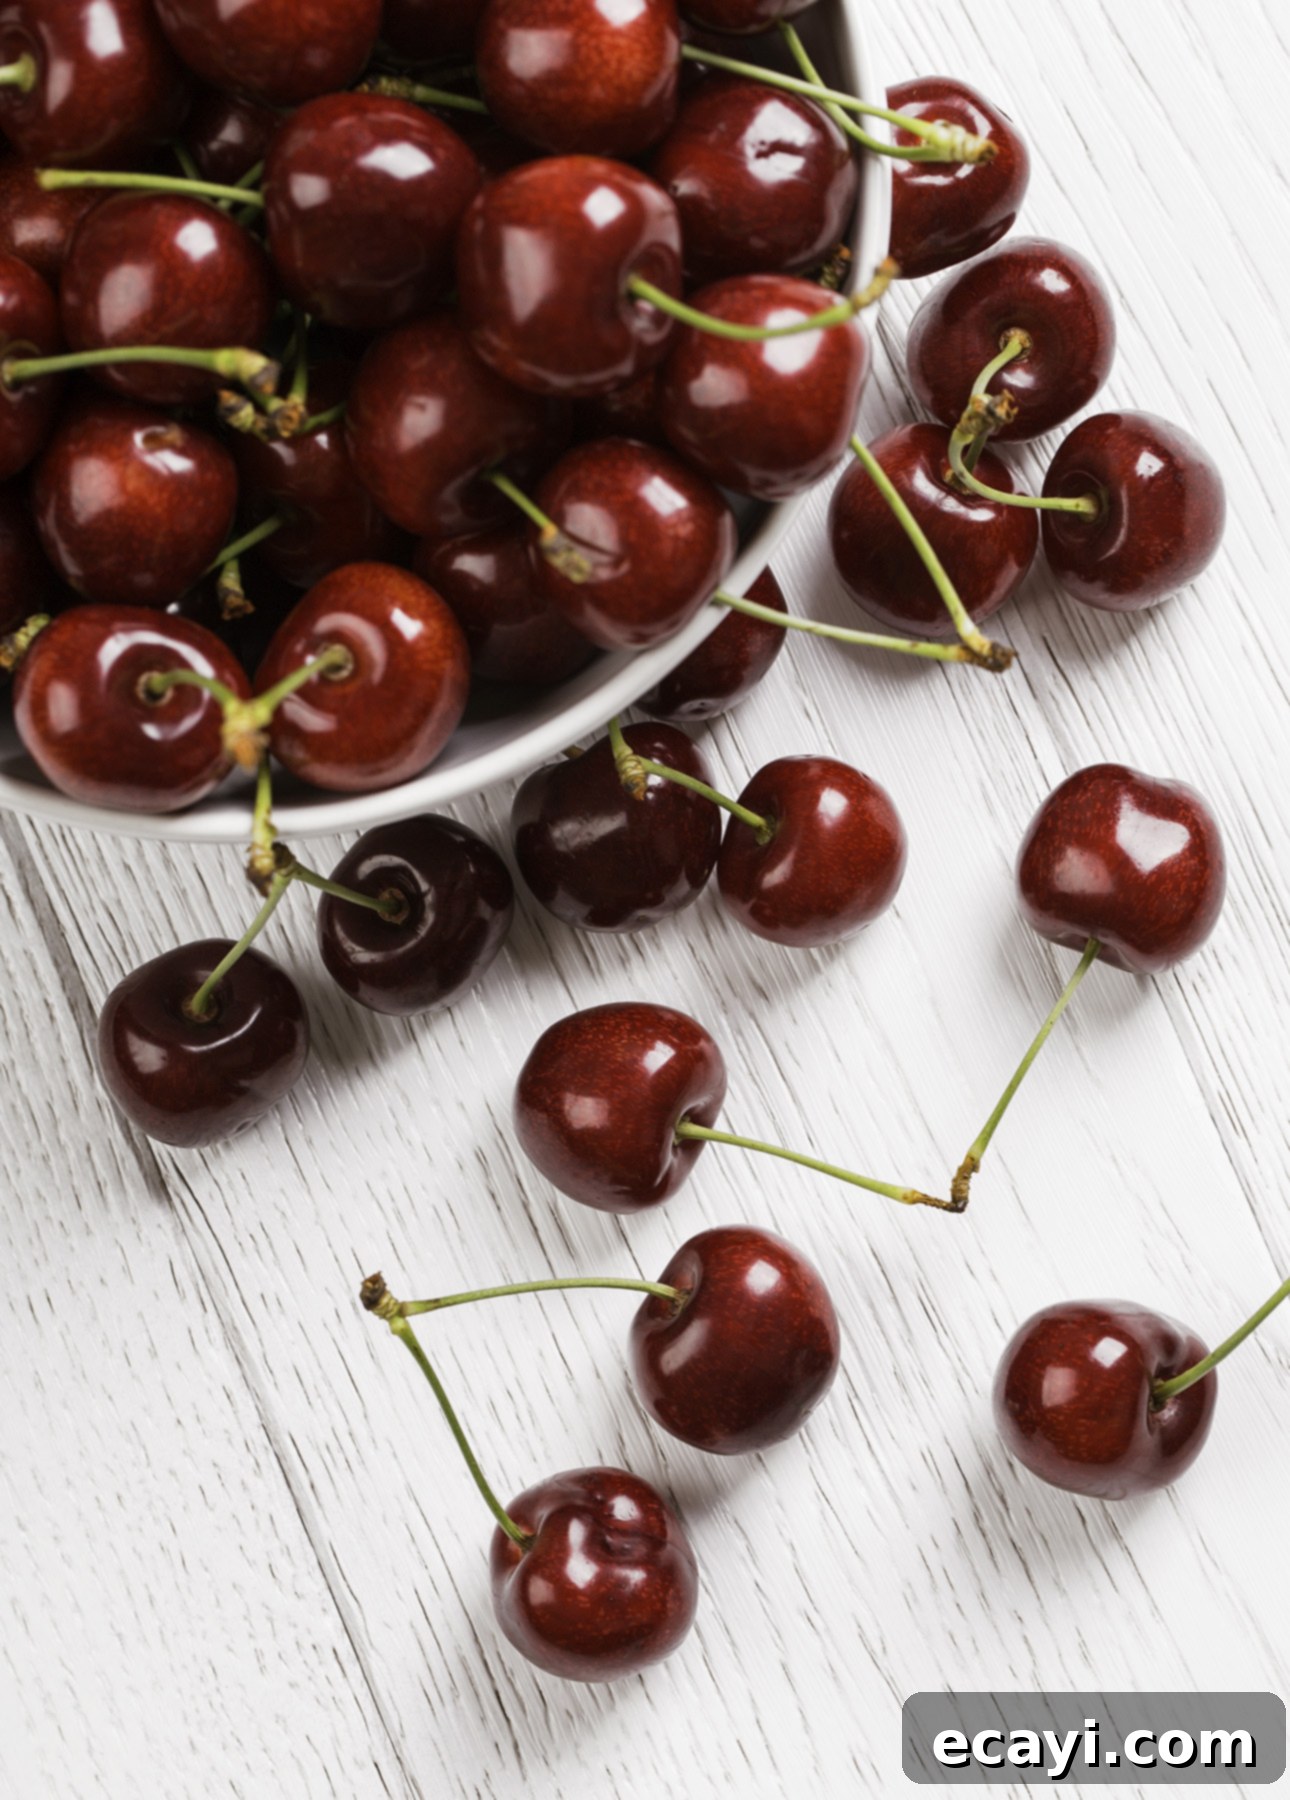
The secret to truly outstanding cherry gelato lies in the quality of your cherries. For the most aromatic and juicy flavor, seek out plump cherries that feel soft to the touch. These are at their peak ripeness, offering maximum sweetness and a depth of flavor that will truly shine in your gelato. While this frozen treat is a perfect way to celebrate cherry season—typically from early June to mid-August—don’t feel limited by seasonality.
You can achieve equally delicious results using high-quality frozen cherries. Frozen fruits are picked and packaged at their ripest, locking in their flavor and nutrients, so you can be confident that gelato made with frozen cherries will be incredibly tasty. An added bonus? Frozen cherries almost always come pre-pitted, saving you a significant amount of prep time and effort, making this recipe accessible year-round.
Make the Smart Investment: A Cherry Pitter
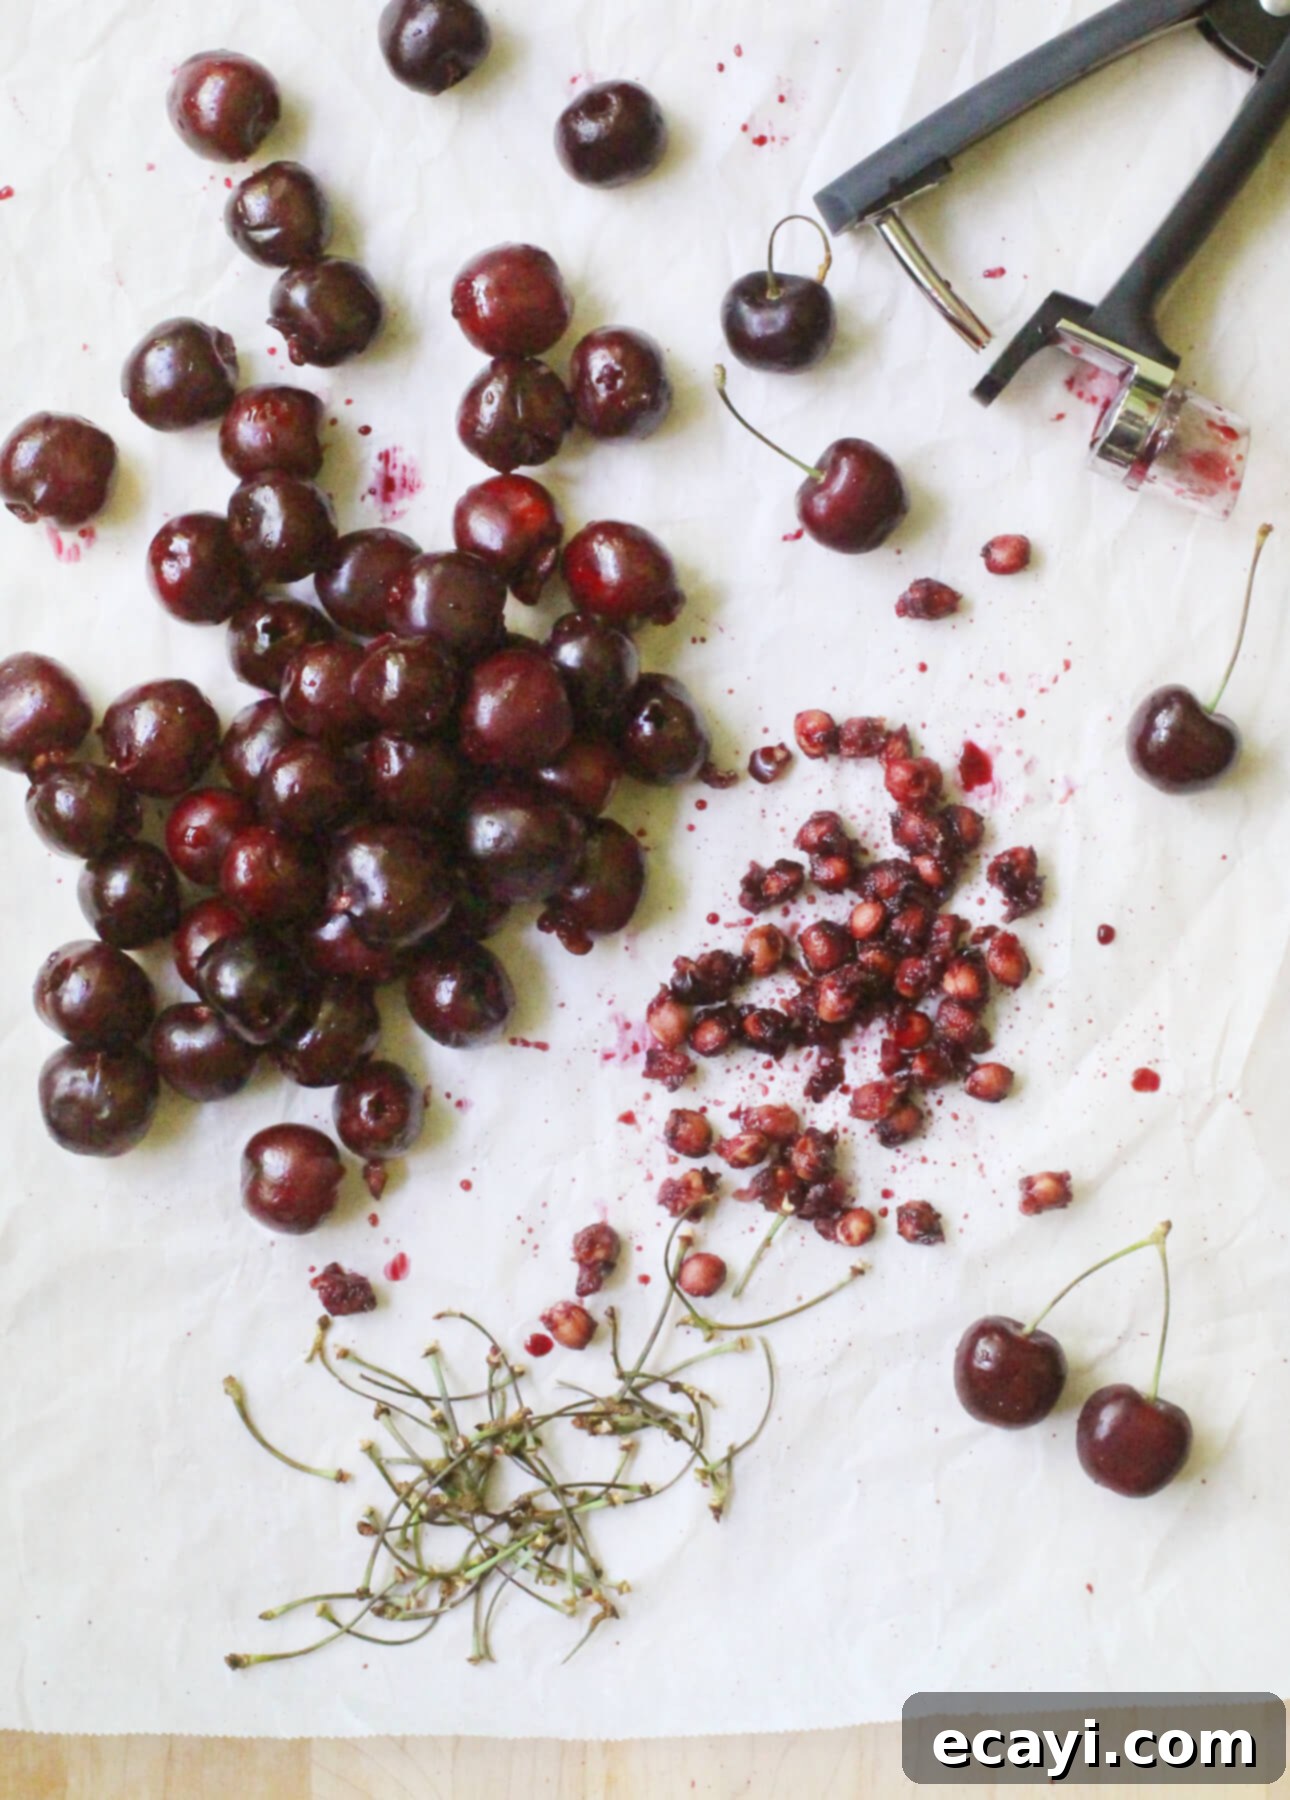
If you consider yourself a true cherry enthusiast, a cherry pitter isn’t just a nice-to-have gadget; it’s an absolute necessity. Let’s be honest: pitting cherries can be a tedious and messy chore. I speak from experience, having probably halved and pitted thousands of cherries over the years for various recipes. While it’s not inherently difficult, the sheer volume can be daunting.
A few years ago, I finally succumbed to the allure of a dedicated cherry pitter. My motivation was a combination of a hungry toddler who loved cherries but hated pits, and an impulsive desire for a shiny new kitchen gadget (because, why not? We all deserve a little kitchen luxury!). The Oxo cherry pitter had been lingering on my Amazon wish list for ages, and I can tell you unequivocally, it is worth every single penny. Like all Oxo products, it’s robust, comfortable to hold and use, remarkably efficient, and incredibly easy to clean. Priced at around $15, it’s also wonderfully affordable. From the moment I pitted my first cherry in less than a second, I haven’t looked back! This isn’t a sponsored endorsement; I’m just a genuine and enthusiastic fan. If you’re as serious about cherries as I am, I promise this gadget won’t end up gathering dust at the back of your kitchen drawer; it will become your best friend during cherry season.
Understanding the Gelato Base for This Cherry Gelato Recipe
For this particular cherry gelato, my preferred method involves using a Sicilian-style gelato base. What sets this base apart is its use of cornstarch as a thickening agent instead of traditional egg yolks. This creates a remarkably silky, almost ethereal texture that I believe perfectly complements the juicy, bright, and fruity flavor of cherries. The cornstarch helps to create a lighter, cleaner mouthfeel that allows the natural fruit essence to truly shine without the richness that egg yolks can impart. You can learn all about the nuances of Sicilian-style gelato in my comprehensive guide.
However, if you have a preference for a richer, more classic gelato, you can certainly adapt this cherry gelato recipe using my classic gelato base, which relies on a higher proportion of egg yolks for its thickening. To do so, simply prepare the custard as indicated in the classic base recipe, and then refrigerate it overnight. Once thoroughly chilled, gently mix in the cold cherry puree, strain the mixture for an ultra-smooth finish, and then churn it according to the instructions provided in the recipe below. Both bases yield delicious results; the choice ultimately comes down to your desired texture and richness.
The Importance of Planning Ahead for Optimal Gelato Texture
Just like with many fine culinary creations, patience is a key ingredient when making gelato. As with all gelato flavors, it’s crucial to begin the cherry gelato-making process at least a day in advance. Both the intense cherry puree and the creamy gelato base require significant refrigeration time to cool down completely. This chilling period is absolutely essential before they are combined and churned in your ice cream maker. Gelato custard must be thoroughly chilled—ideally to a temperature between 39-41°F (4-5°C)—before churning. This critical step ensures that the mixture freezes quickly and efficiently in the machine, which in turn produces the smallest possible ice crystals. The result? That incredibly smooth, silken texture that defines authentic gelato.
Don’t Forget to Temper Your Cherry Gelato Before Serving
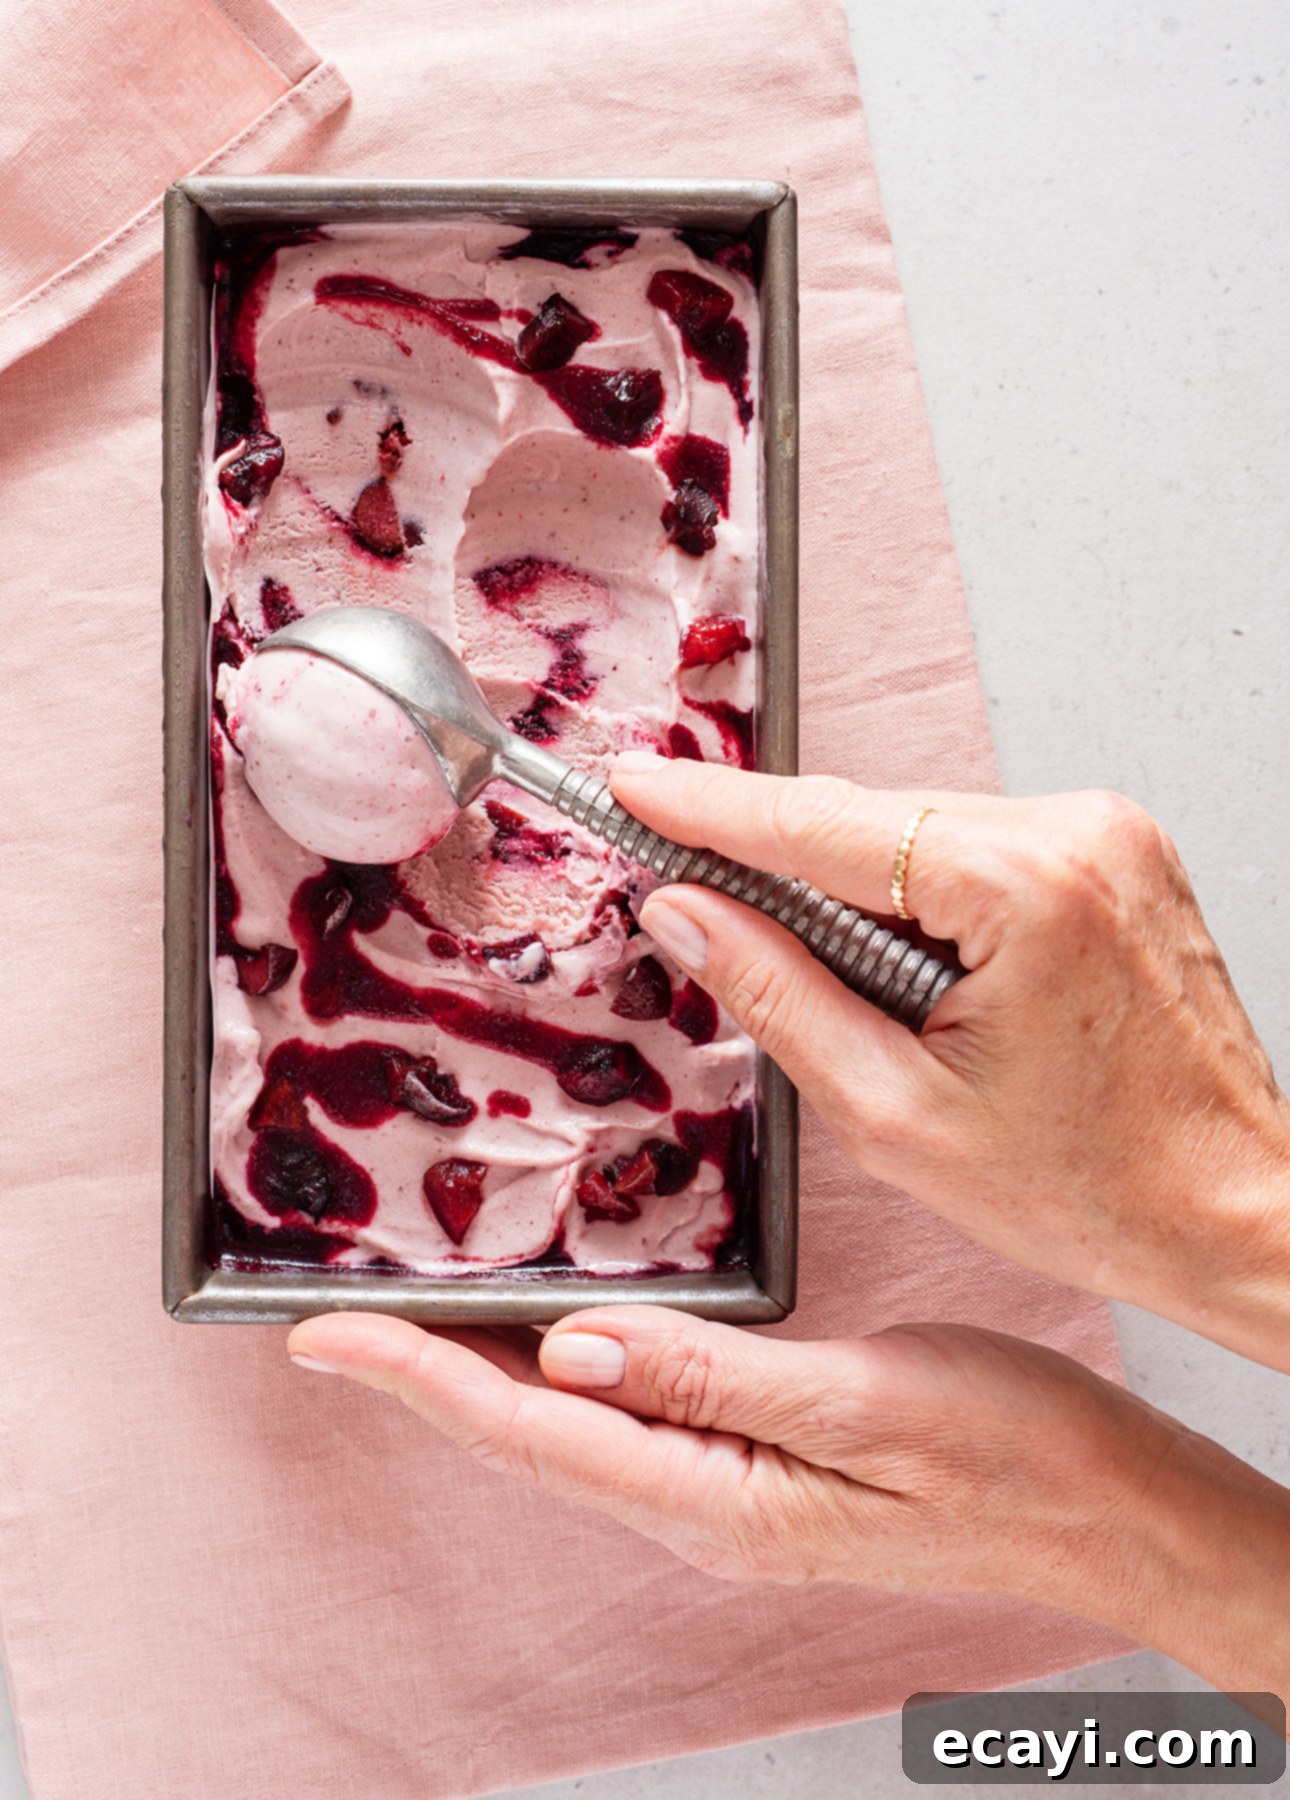
One of the most important secrets to enjoying homemade gelato at its absolute best, just like you would in a traditional Italian gelateria, is to remember to temper it before serving. Always take your cherry gelato out of the freezer and let it sit at room temperature for 15 to 20 minutes prior to scooping. This crucial step serves multiple purposes.
Firstly, gelato has a lower fat content and less incorporated air compared to American-style ice cream, which means it freezes significantly harder. Tempering it allows it to soften just enough to become easily scoopable. Secondly, and perhaps more importantly, this brief tempering period brings the gelato to an ideal temperature and consistency. This slight warming “wakes up” the flavors, allowing the complex notes of the cherry and the creamy base to fully develop and bloom on your palate. It also restores that luxurious, velvety texture that is so characteristic of authentic gelato and so incredibly easy to fall in love with.
Additional Resource: Your Comprehensive Guide to Making Italian Ice Cream at Home
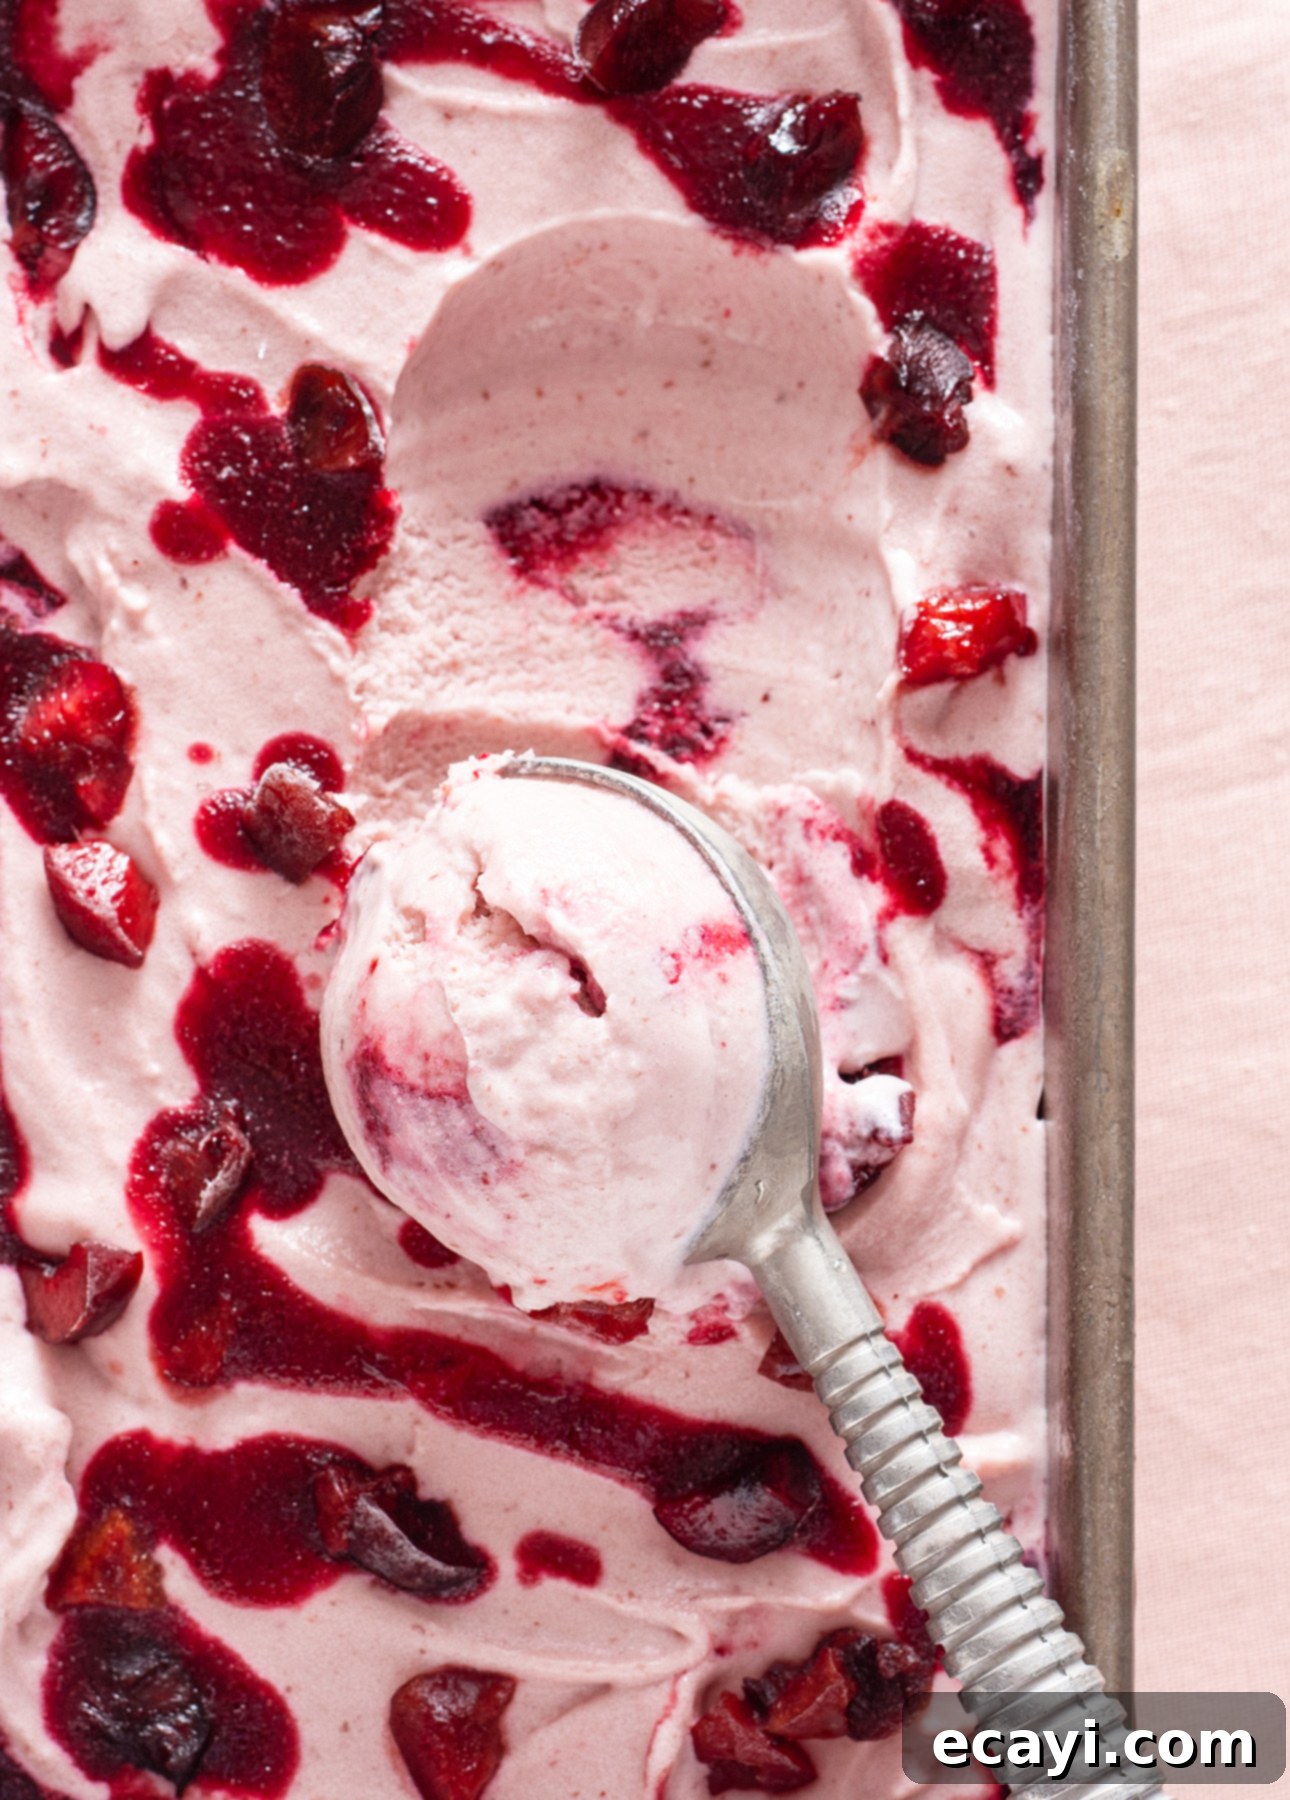
If you’re new to the wonderful world of gelato making, or simply want to deepen your knowledge and refine your skills, you absolutely must explore my detailed guide to making Italian ice cream at home. This extensive guide is a culmination of over 20 years of my personal gelato-making experience, packed with all the information, tips, and tricks I’ve gathered along the way. It’s designed to transform you into a confident and skilled gelato artisan.
Within this guide, you’ll uncover the fascinating distinctions that set authentic gelato apart from American-style ice cream, delving into the science behind its unique texture and intense flavor. You’ll learn the differences between a classic gelato base and a Sicilian-style gelato base, understanding how each contributes to the final product. The guide also explains why an ice cream maker is an indispensable tool for achieving the best Italian ice cream results, and it provides access to all of my colorful gelato recipes in one convenient location. Prepare for a delightful journey into the art of frozen dessert making. Happy churning!
Unlock the Secrets: Gelato Video Masterclass
For those who prefer a visual learning experience, don’t miss out on my free gelato video masterclass! This engaging and informative cooking class will walk you through everything you need to know to make exceptional gelato right in your own kitchen. You’ll discover the fundamental differences between gelato and ice cream, understanding the nuances that give gelato its unique appeal.
The masterclass teaches you how to create a versatile gelato base that can be customized into a multitude of delicious flavors. I’ll share all my personal secrets and expert tips for churning and serving outstanding gelato, ensuring perfect texture and flavor every time. Furthermore, you’ll even learn how to craft dairy-free, vegan gelato, expanding your repertoire to cater to various dietary preferences. In essence, it’s a comprehensive, visually rich, and easy-to-follow class designed to quickly transform you into a confident gelato master. Watch Now!
Pin Recipe
Cherry Gelato Recipe
Ingredients
For the gelato base
- 1 batch Sicilian-Style Gelato Base (preferred) or Classic Gelato Base (omit the vanilla bean)
For the cherry puree
- 2 cups pitted cherries, coarsely chopped
- ½ cup granulated sugar
- 2 tbsp freshly squeezed lemon juice (about ½ lemon)
To assemble
- ½ cup pitted cherries, diced
- 1 tbsp cherry liqueur (also called Cherry Heering) or kirsch (cherry brandy) (optional, helps keep gelato at a softer texture even when fully frozen)
Instructions
-
For the gelato base: Prepare your chosen gelato base according to its specific recipe instructions (either Sicilian-style or Classic), ensuring you omit the vanilla bean if using the Sicilian base. Once prepared, strain the base into an airtight container to remove any solids and ensure an exceptionally smooth texture. Allow it to cool down to room temperature, then transfer it to the refrigerator and chill overnight. This extended cooling period is paramount; the gelato base must be very cold before churning, as this will prevent the formation of large ice crystals and produce the smoothest, silkiest texture imaginable.
-
To make the cherry puree: Combine the coarsely chopped pitted cherries, granulated sugar, and freshly squeezed lemon juice in a small, heavy-bottomed saucepan. Bring the mixture to a gentle boil over medium heat, stirring occasionally. Once boiling, reduce the heat to a simmer and continue cooking for approximately 5 minutes, or until the cherries have softened significantly and the mixture has visibly thickened. Remove from heat and, using either a stand blender, a stick blender (immersion blender), or a food processor, puree the cherry mixture until it is completely smooth. Transfer the vibrant cherry puree to an airtight container and refrigerate until it is thoroughly chilled. This cooling step is crucial for the final gelato texture.
-
Measure out exactly 1 cup (250 ml) of the chilled cherry puree. (Any remaining puree can be saved and enjoyed in smoothies, swirled into yogurt, or served over pancakes or cake).
Pour ½ cup (125 ml) of the measured cherry puree into the thoroughly chilled gelato custard base. Whisk gently but thoroughly until the puree is fully incorporated and the custard takes on a beautiful, even pink hue. If you choose to add the optional cherry liqueur or kirsch, stir it in at this stage. Transfer the cherry-infused custard mixture to the bowl of your ice cream maker. Churn according to the manufacturer’s instructions. The churning process is complete when the gelato is thick, icy, but still soft and resembles soft-serve ice cream.
-
To assemble the gelato with ripples and chunks: Prepare an airtight container or a loaf pan for freezing. Spread approximately a third of the freshly churned, soft gelato evenly over the bottom of the container. Drizzle a third of the remaining cherry puree over this layer, and then sprinkle with a third of the diced cherries. Repeat this layering process: add another third of the gelato, followed by another drizzle of cherry puree and a sprinkle of diced cherries. Finally, top with the last portion of gelato, drizzle with the remaining cherry puree, and sprinkle with the final diced cherries. Using a knife or a spoon, gently swirl the layers together a couple of times for a beautiful ripple effect, but don’t overmix.
-
STORAGE: If you used a loaf pan, cover it tightly with a layer of plastic wrap pressed directly onto the surface of the gelato, and then with a second layer of plastic wrap or foil to prevent ice crystals and freezer burn. If you used a container with a lid, ensure it’s airtight. Freeze the assembled cherry gelato until it is firm enough to scoop, which will take at least 2 hours.
For the absolute best texture and creamiest consistency, cherry gelato is at its peak if enjoyed within 2 weeks of churning. Beyond this period, some ice crystals will inevitably begin to form, especially if stored in the freezer compartment of a standard refrigerator (which experiences more temperature fluctuations than a dedicated chest freezer). While the gelato will still be perfectly edible for up to 2 months, its texture won’t be quite as smooth and luxurious. My advice is always to savor it as quickly as possible after churning to experience its optimal quality.
-
SERVING: Always remember to take your cherry gelato out of the freezer and let it temper at room temperature for 15-20 minutes before serving. This crucial step not only makes it significantly easier to scoop (due to gelato’s lower fat content causing it to freeze harder than ice cream) but also allows the gelato to soften to its ideal, luscious consistency. This tempering period is essential for the flavors to fully bloom and for you to enjoy the treat at its perfect temperature and texture, just like a professional gelateria.
-
MAKE IT DAIRY FREE: To adapt this delicious recipe for a dairy-free diet, simply substitute the regular milk with an equal amount of lactose-free milk or oat milk in your chosen gelato base. For the heavy cream, use lactose-free heavy cream or a rich soy cream, ensuring it has a high fat content for creaminess. These substitutions will allow you to enjoy all the wonderful flavor of cherry gelato without dairy.
-
MAKE IT VEGAN: For a completely plant-based version, explore my dedicated recipe and detailed instructions for making vegan gelato. This guide provides specific ingredients and techniques to achieve a rich, creamy, and flavorful vegan frozen dessert.
Video
Did you make this?
Tell me how you liked it! Leave a comment or take a picture and tag it with @foodnouveau on Instagram.
Explore More Irresistible Gelato Recipes
Once you’ve mastered this delightful cherry gelato, you might find yourself eager to explore other incredible flavors. Browse through all my gelato recipes for endless inspiration! Each recipe is crafted to bring authentic Italian frozen dessert flavors into your home, guaranteeing a new favorite for every palate and occasion. Whether you crave rich chocolate, nutty indulgence, bright citrus, or exotic fruits, you’re sure to find a new beloved treat.
- Dark Chocolate Gelato
- Milk Chocolate and Hazelnut Gelato
- Pistachio Gelato
- Orange Almond Gelato
- Coffee Gelato
- Lemon Gelato
- Maple Gelato
- Blueberry Gelato
- Raspberry Rose Gelato
- White Chocolate and Strawberry Gelato
- Fresh Peach Gelato
- Mango and Passion Fruit Gelato (Vegan)
- Rhubarb Gelato
- Sweet Corn Gelato
This site participates in the Amazon Associates Program, an affiliate advertising program designed to provide a means for the site to earn fees by linking to Amazon and affiliated sites. If you click on an affiliate link, I may earn advertising or referral fees if you purchase through such links at no extra cost to you. This helps me create new content for the blog–so thank you! Learn more about advertising on this site by reading my Disclosure Policy.
