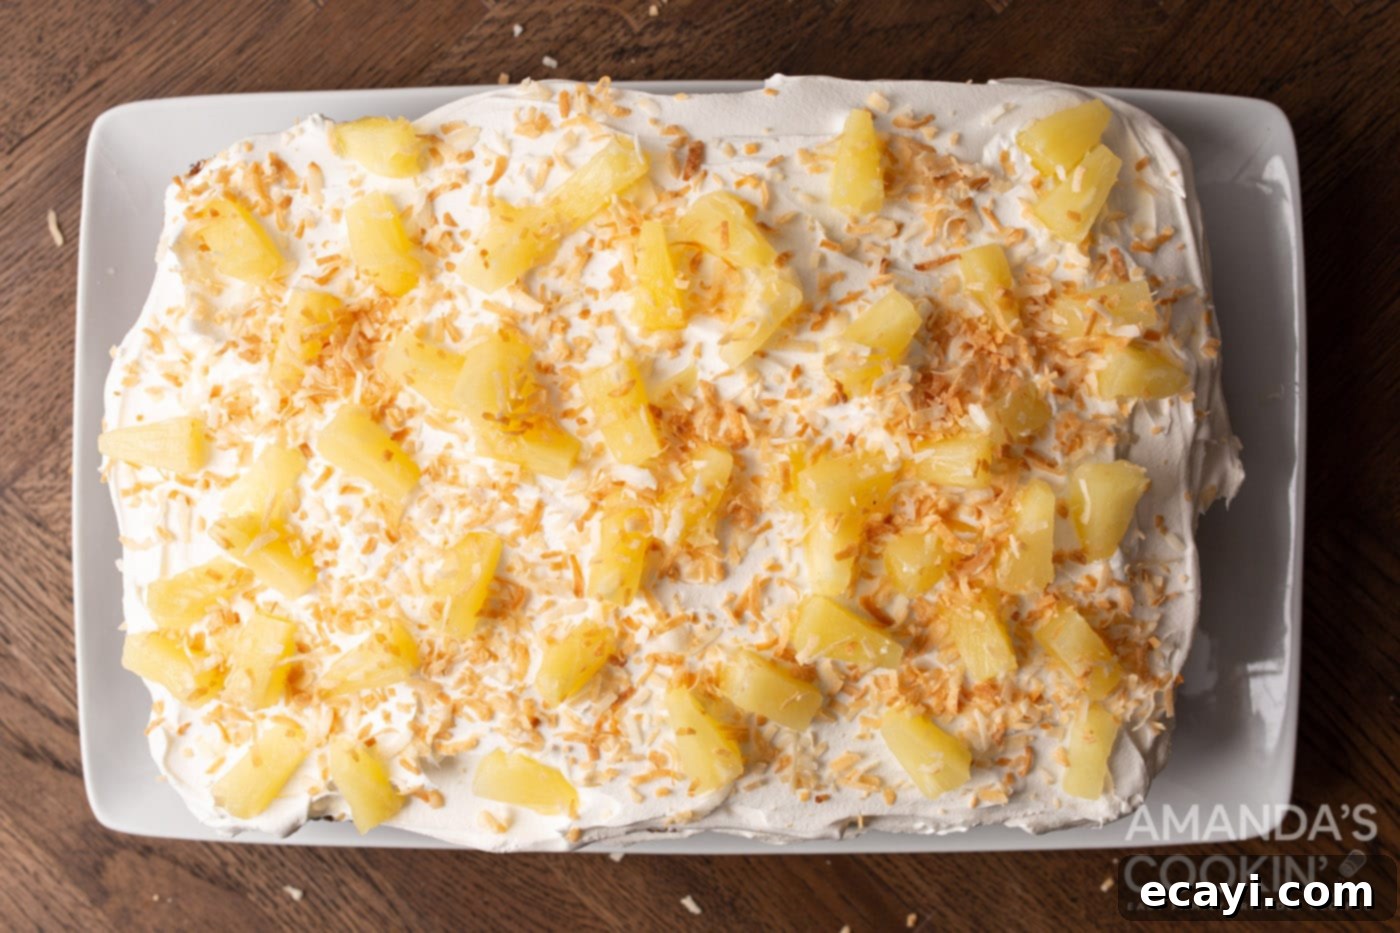
Tropical Pineapple Poke Cake: Your Easy & Refreshing Summer Dessert Recipe
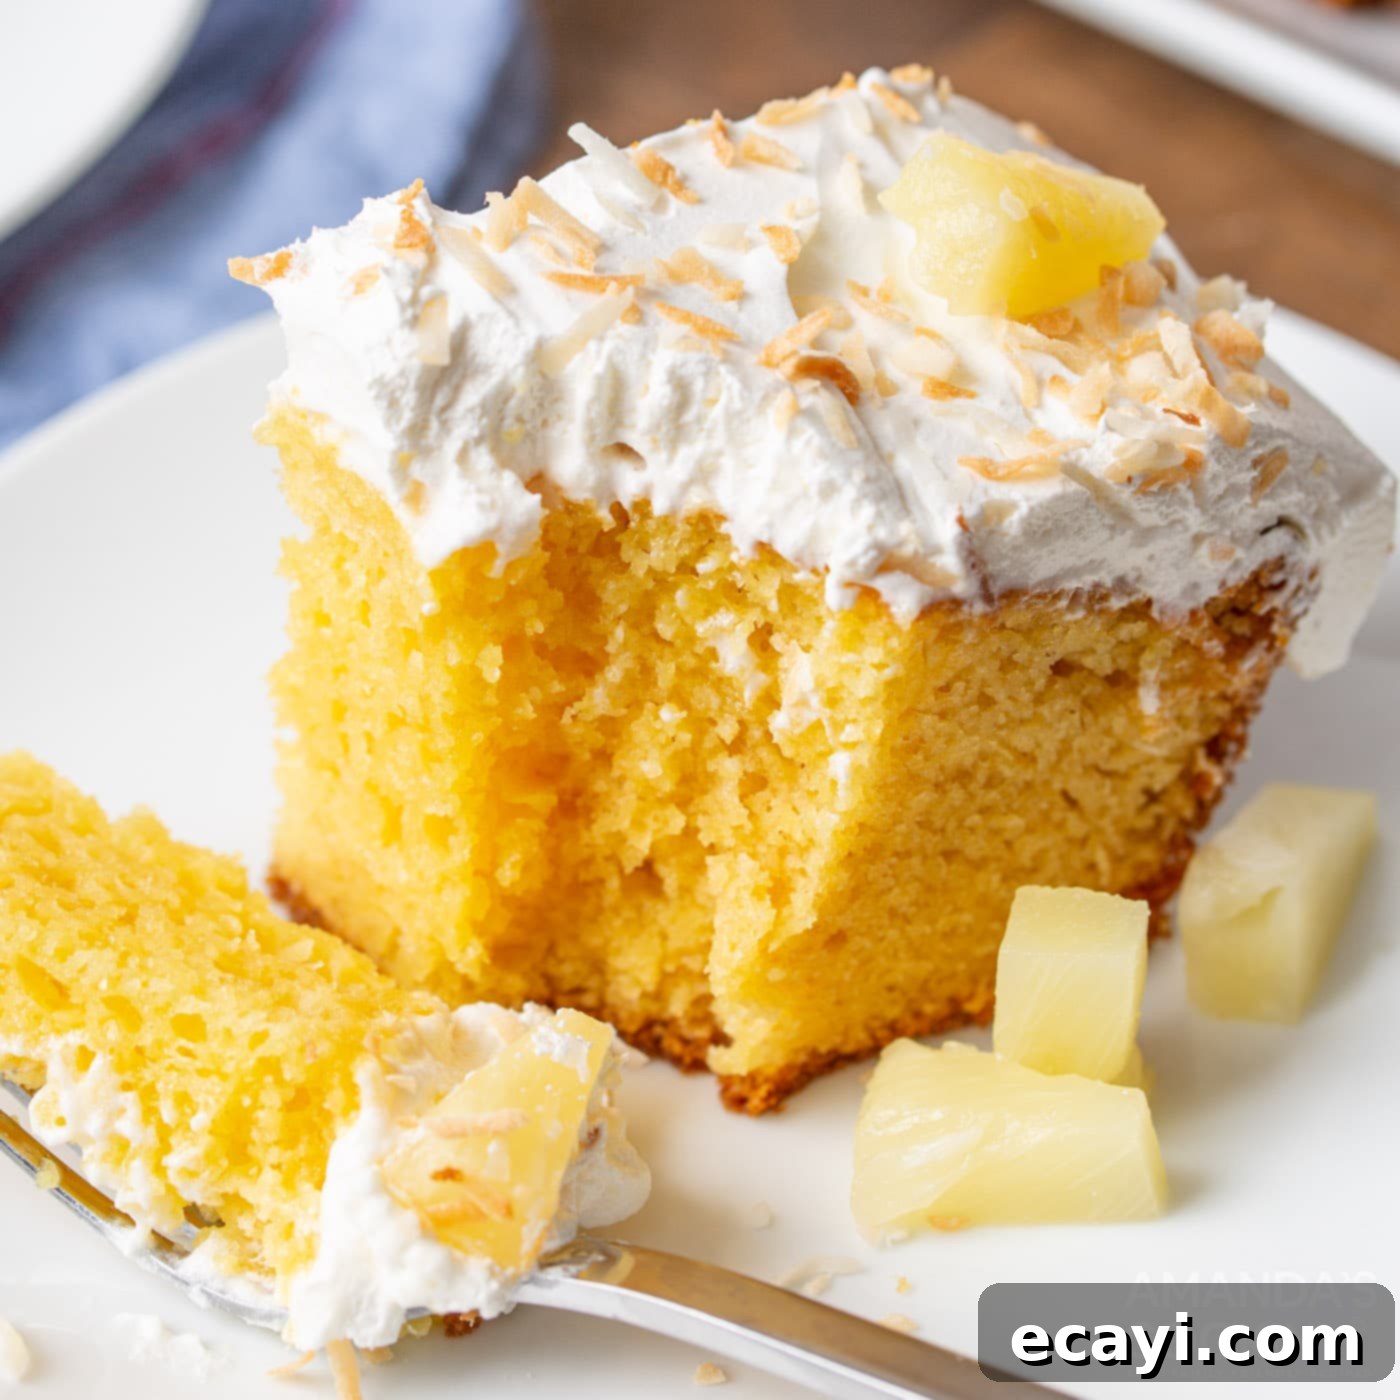
Get ready to embrace the vibrant flavors of summer with this incredibly delicious and effortlessly refreshing pineapple poke cake. This beloved dessert combines a moist, tender cake base with the sweet, tangy burst of pineapple-infused gelatin, all crowned with a fluffy whipped topping and an irresistible sprinkle of toasted coconut and bright maraschino cherries. It’s a true crowd-pleaser that requires minimal effort thanks to a clever shortcut: a simple box of cake mix. Perfect for potlucks, barbecues, or simply a sweet escape on a warm afternoon, this pineapple poke cake is guaranteed to become your go-to summer treat. With just a few staple ingredients – cake mix, pineapple jello, creamy Cool Whip, and juicy pineapple chunks – you’ll create a dessert that tastes like a tropical vacation in every bite.
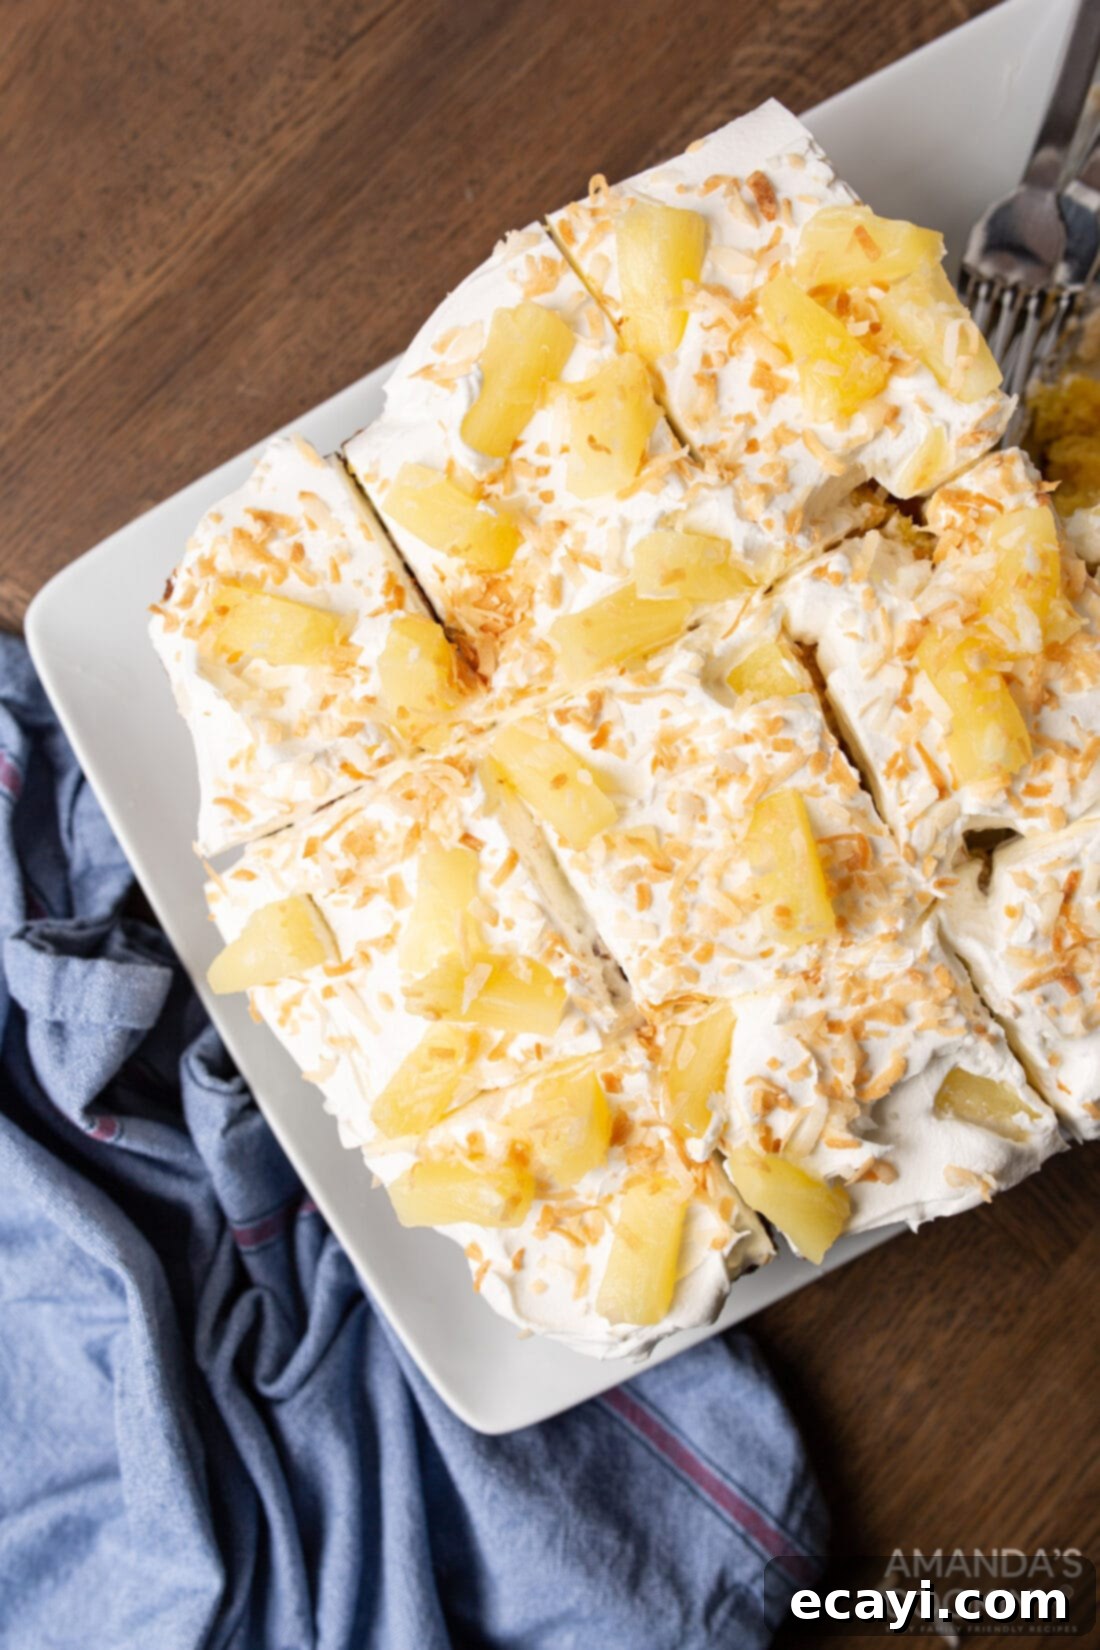
Why This Pineapple Poke Cake Recipe Works Wonders
This pineapple poke cake isn’t just a dessert; it’s a testament to simple indulgence, making it an absolute dream come true for anyone seeking a delightful yet easy-to-prepare treat. The magic lies in its perfect marriage of textures and flavors. Imagine a light, airy cake base, infused deeply with the sweet and slightly tart essence of pineapple jello, creating an unparalleled moistness that regular cakes often lack. Topping this succulent foundation is a generous layer of creamy Cool Whip, providing a cool and velvety contrast. But the experience doesn’t end there! A vibrant sprinkle of fresh or canned pineapple chunks, delicately toasted coconut, and cheerful maraschino cherries elevates this cake from simply delicious to truly extraordinary.
What makes this specific pineapple poke cake recipe so special? It’s the ultimate blend of convenience and gourmet appeal. Using a boxed cake mix streamlines the baking process, saving you precious time without sacrificing flavor or quality. The “poke” technique ensures that every forkful is bursting with that incredible tropical flavor, delivering a refreshing sensation with each bite. It’s an ideal recipe for entertaining, as it can be made ahead of time, allowing the flavors to meld beautifully and the cake to chill to perfection. This makes it a stress-free option for any gathering, from casual backyard cookouts to celebratory summer parties. If you love classic desserts with a tropical twist, this recipe is tailored for you. It’s sweet, it’s refreshing, and it embodies everything wonderful about a sunny day.
RELATED: If you’re enchanted by tropical flavors and easy baking, you might also like these delightful recipes: Mini Pineapple Upside Down Cakes for individual servings, or the zesty Orange Pineapple Cake for a citrusy twist.
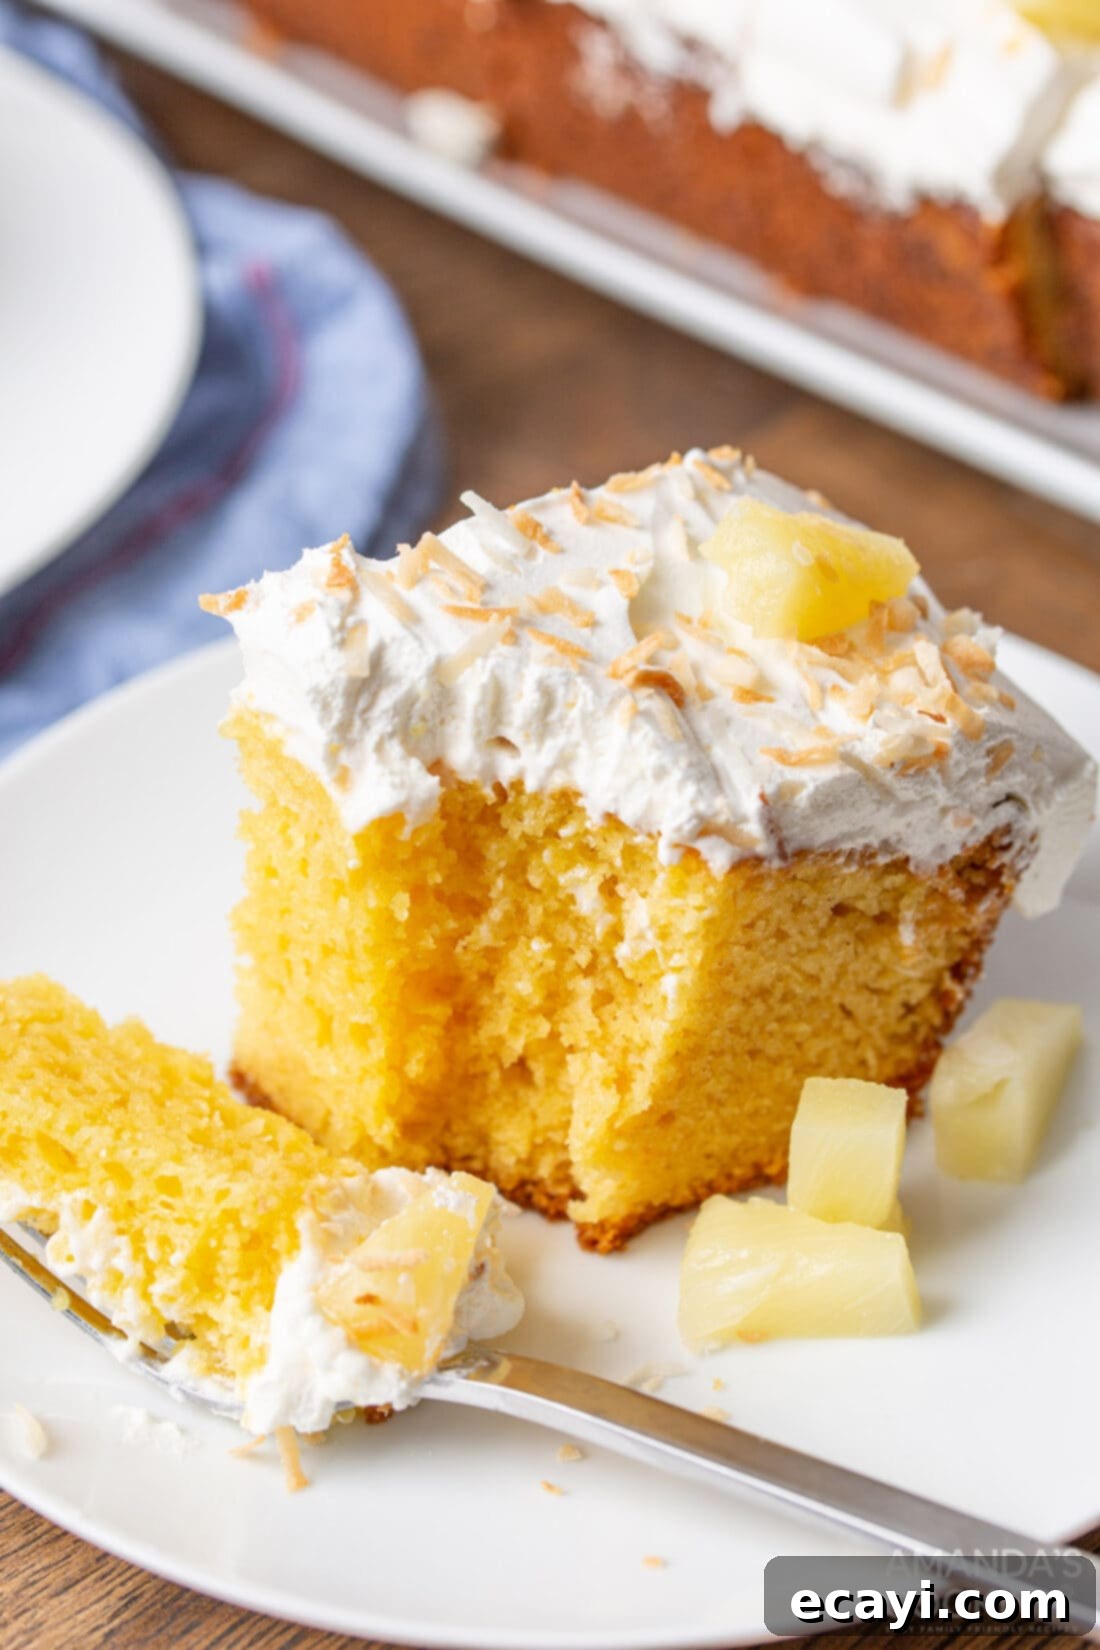
Essential Ingredients for Your Pineapple Poke Cake
Crafting this tropical delight requires a handful of readily available ingredients, ensuring that this easy dessert remains true to its simple nature. While specific measurements and detailed instructions are provided in the printable recipe card at the conclusion of this post, let’s dive into a closer look at what you’ll need to gather to bring this refreshing cake to life.
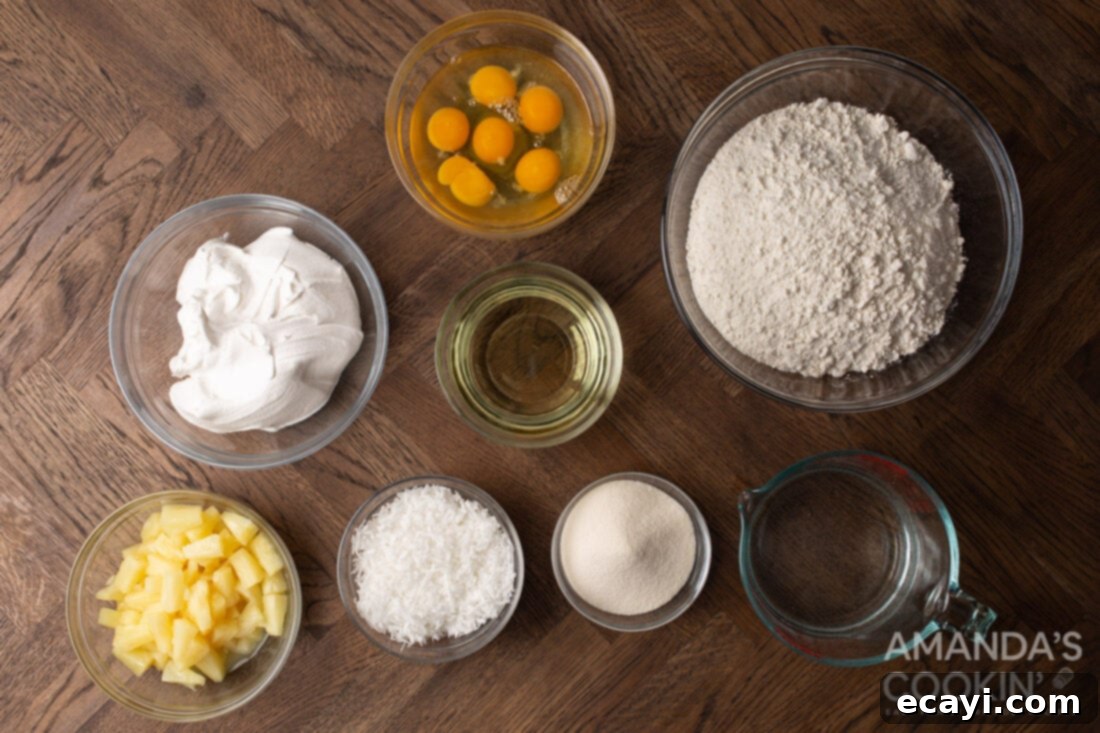
Ingredient Insight and Smart Substitution Ideas
Understanding each ingredient’s role and knowing potential substitutions can elevate your baking experience and ensure success, even if you need to adapt. Here’s a deeper look into the components of our pineapple poke cake:
CAKE BASE – The foundation of any great poke cake is a moist and tender cake. For this recipe, we lean into the convenience of a good quality box cake mix. This smart shortcut significantly reduces prep time, allowing you to get to the delicious part much faster. You have options here: a classic yellow cake mix will provide a rich, buttery flavor and a lovely golden hue, complementing the pineapple beautifully. Alternatively, a white cake mix offers a slightly lighter vanilla flavor and creates a more striking color contrast with the vibrant pineapple jello, making the infused areas pop. Whichever you choose, ensure you follow the package instructions for preparing the batter and baking. While a box mix is our recommended path for ease, if you’re a purist or simply prefer baking from scratch, you can certainly use your favorite homemade pineapple cake recipe as the base. Just make sure the homemade cake is sturdy enough to withstand the “poking” and absorption of the jello.
POKE INGREDIENT: PINEAPPLE JELLO – This is where the “poke” in poke cake comes from, and it’s key to infusing that incredible fruity flavor and extra moisture into every crevice of your cake. We specifically use pineapple jello to amplify the tropical theme, ensuring a cohesive flavor profile. When preparing the jello, it’s crucial to follow the recipe card’s instructions for the amount of boiling water. You want it dissolved but still in liquid form, ready to be poured. While pineapple jello is ideal, don’t hesitate to experiment with other fruit-flavored gelatins if you’re feeling adventurous. Lemon or lime jello could offer a tangy contrast, while orange jello would enhance the tropical notes beautifully. Just ensure it’s fully dissolved before pouring.
CREAMY TOPPING – The light and fluffy topping is what brings this dessert together. Our recipe calls for Cool Whip, a popular whipped topping that offers excellent stability and a consistently smooth texture, making it incredibly easy to spread. It also provides a lovely cool counterpoint to the sweet cake. If you prefer a more homemade touch or want to control the sweetness, a homemade whipped topping can be a fantastic alternative. To make your own, simply whip heavy cream with a little powdered sugar and a touch of vanilla extract until soft peaks form. This will give you a richer, creamier topping that melts deliciously in your mouth. Just be aware that homemade whipped cream tends to be less stable than Cool Whip, so it’s best to add it closer to serving time or keep the cake well chilled.
VIBRANT GARNISHES – The toppings are not just for decoration; they add layers of flavor and texture that truly complete this pineapple poke cake. Our chosen combination features juicy pineapple chunks, golden toasted coconut, and bright red maraschino cherries. The pineapple chunks, whether canned (and thoroughly drained) or fresh, provide bursts of sweet and tangy fruitiness. Toasted coconut is a game-changer, adding a nutty aroma and a delightful crunch that contrasts wonderfully with the soft cake and creamy topping. Maraschino cherries, with their vivid color and sweet, almond-like flavor, are the perfect final touch, adding a pop of color and a classic garnish to this tropical masterpiece. Remember, all toppings are optional and can be customized to your taste. You could add macadamia nuts for more crunch, a drizzle of caramel, or even a different kind of fruit. Feel free to mix and match to create your perfect pineapple poke cake!
How to Make the Best Pineapple Poke Cake: Step-by-Step Guide
These step-by-step photos and detailed instructions are provided to help you visualize the process and ensure your pineapple poke cake turns out perfectly. For the complete printable version of this recipe, including exact measurements and a comprehensive ingredient list, please Jump to Recipe located at the bottom of this post.
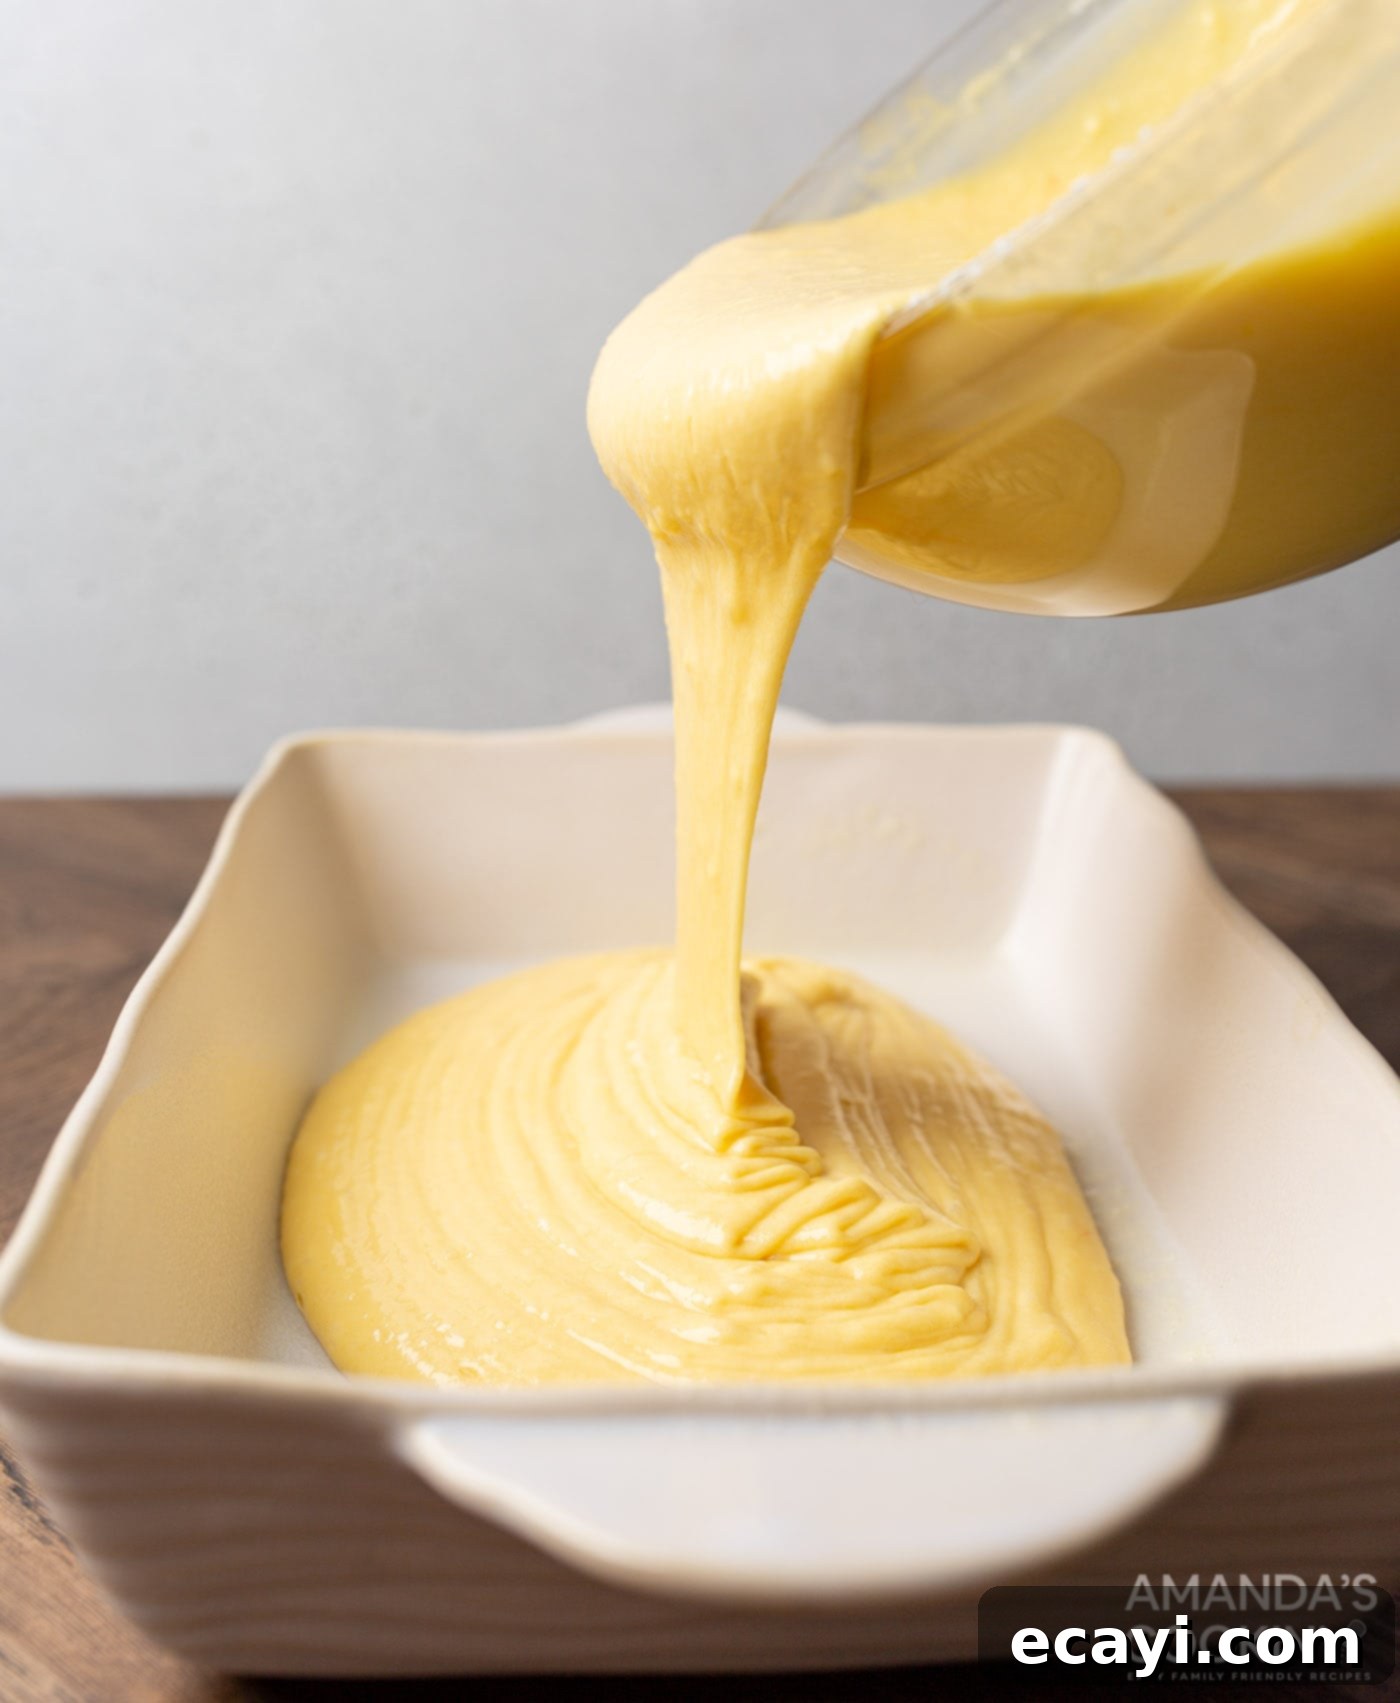
- **Prepare and Bake the Cake:** Begin by preparing your chosen cake mix (yellow or white) according to the specific instructions provided on the box. This typically involves combining the mix with eggs, water, and oil. Once your batter is smooth, pour it evenly into a greased 13×9 inch baking pan. Bake the cake as directed by the box mix, keeping an eye on it to ensure it’s cooked through. A toothpick inserted into the center should come out clean. Allow the baked cake to cool for about 10-15 minutes on a wire rack after removing it from the oven. This initial cooling period is important for the cake to set slightly before the next step.

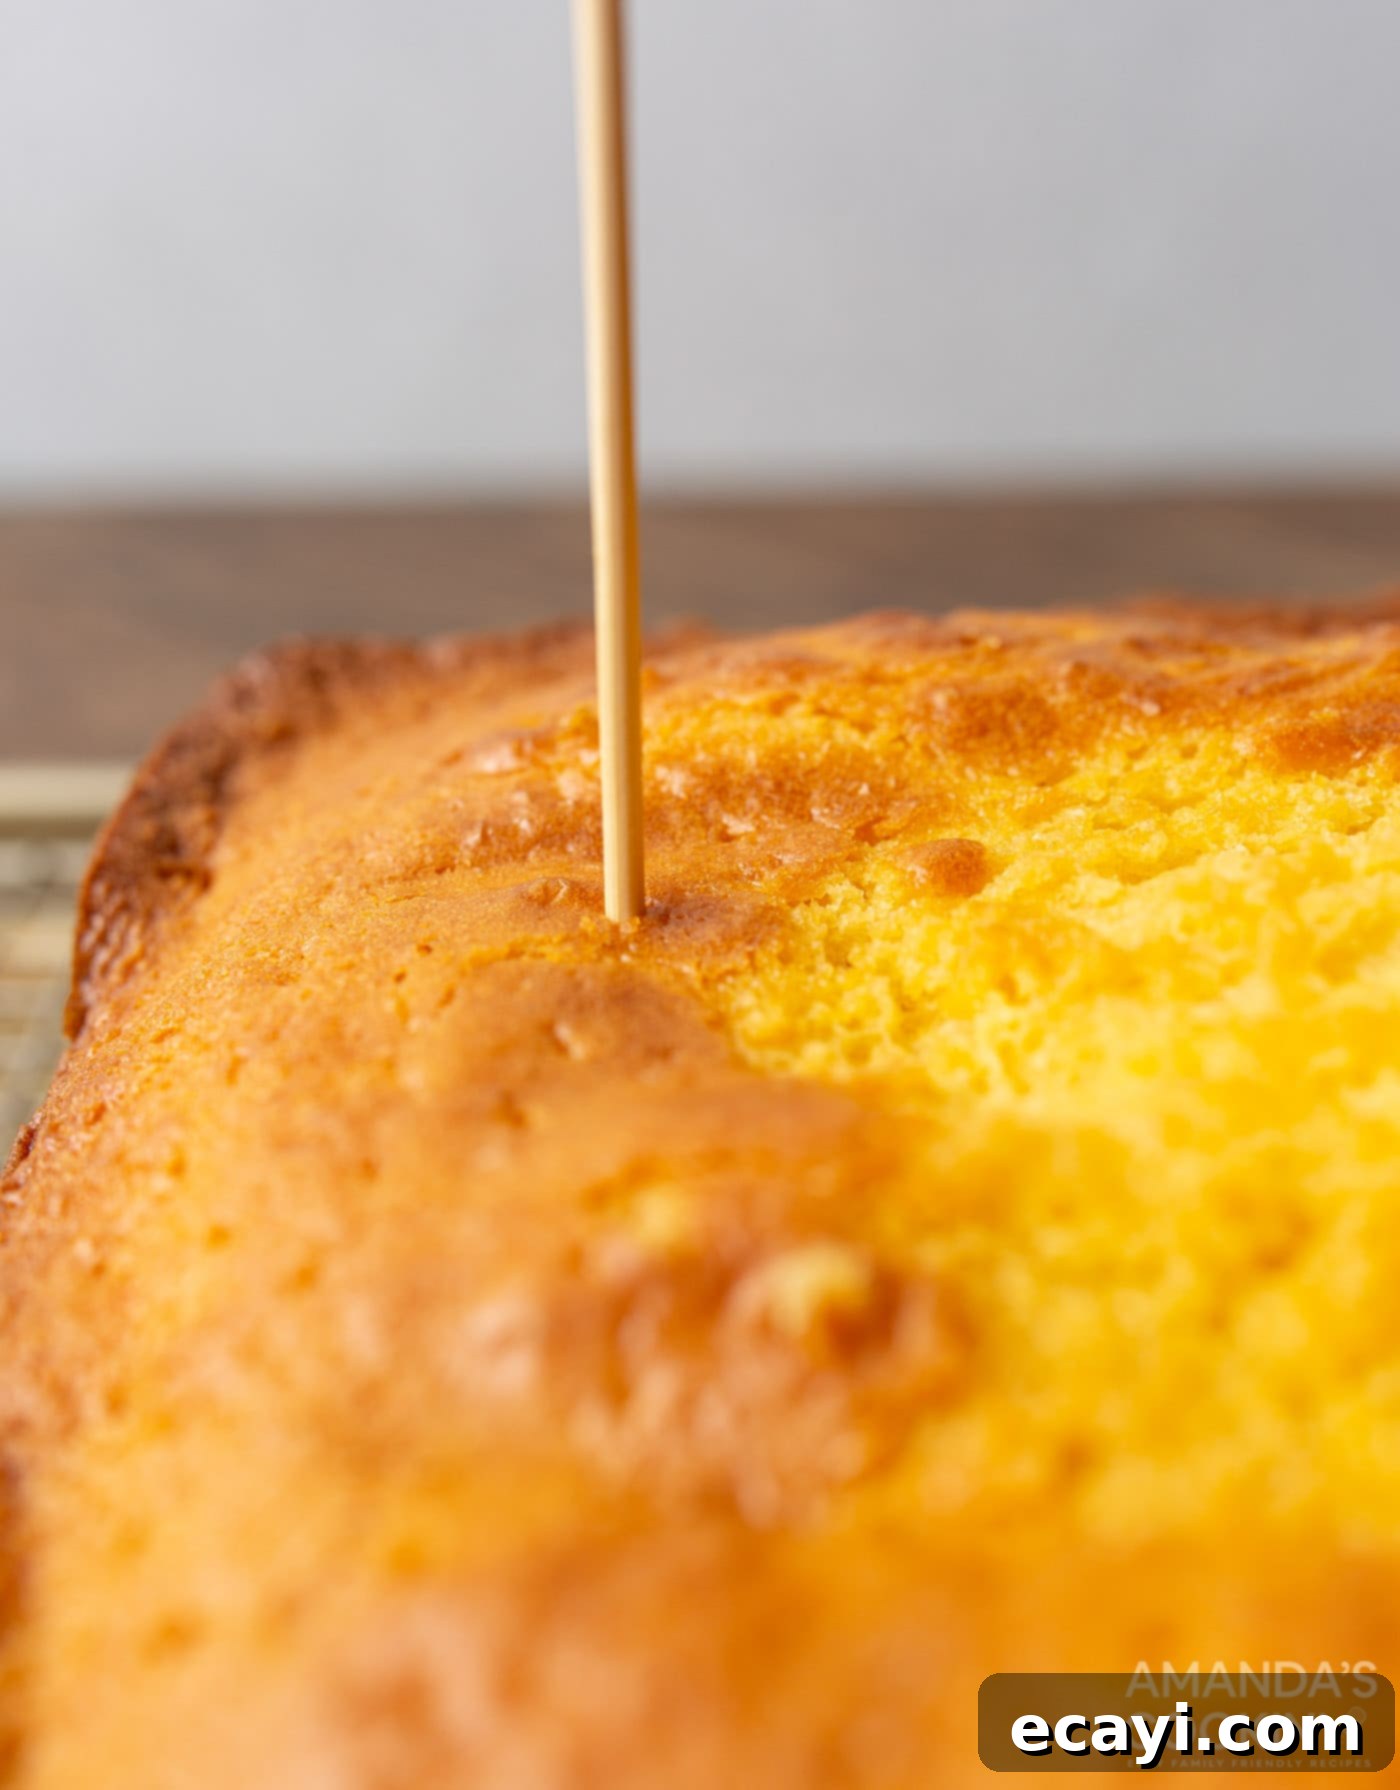
- **Poke the Holes:** Once the cake has slightly cooled but is still warm, it’s time for the signature “poke” action! Grab a serving fork, the handle of a wooden spoon, or even a chopstick or dowel. Systematically poke holes all over the surface of the cake, ensuring they are evenly spaced, about ½ to 1 inch apart. Don’t be shy; make sure the holes go deep enough to allow the jello to seep into the cake, but avoid going all the way to the bottom to prevent leakage. These holes are essential for absorbing the liquid gelatin, which infuses the cake with flavor and moisture.

- **Prepare the Pineapple Jello:** In a liquid measuring cup or a medium bowl, add the pineapple jello powder. Carefully pour 1 ½ cups of boiling water over the jello powder. Whisk vigorously until the gelatin powder is completely dissolved and no granules remain. This step is crucial for ensuring the jello sets properly and distributes evenly throughout the cake. Make sure there are no clumps before proceeding.
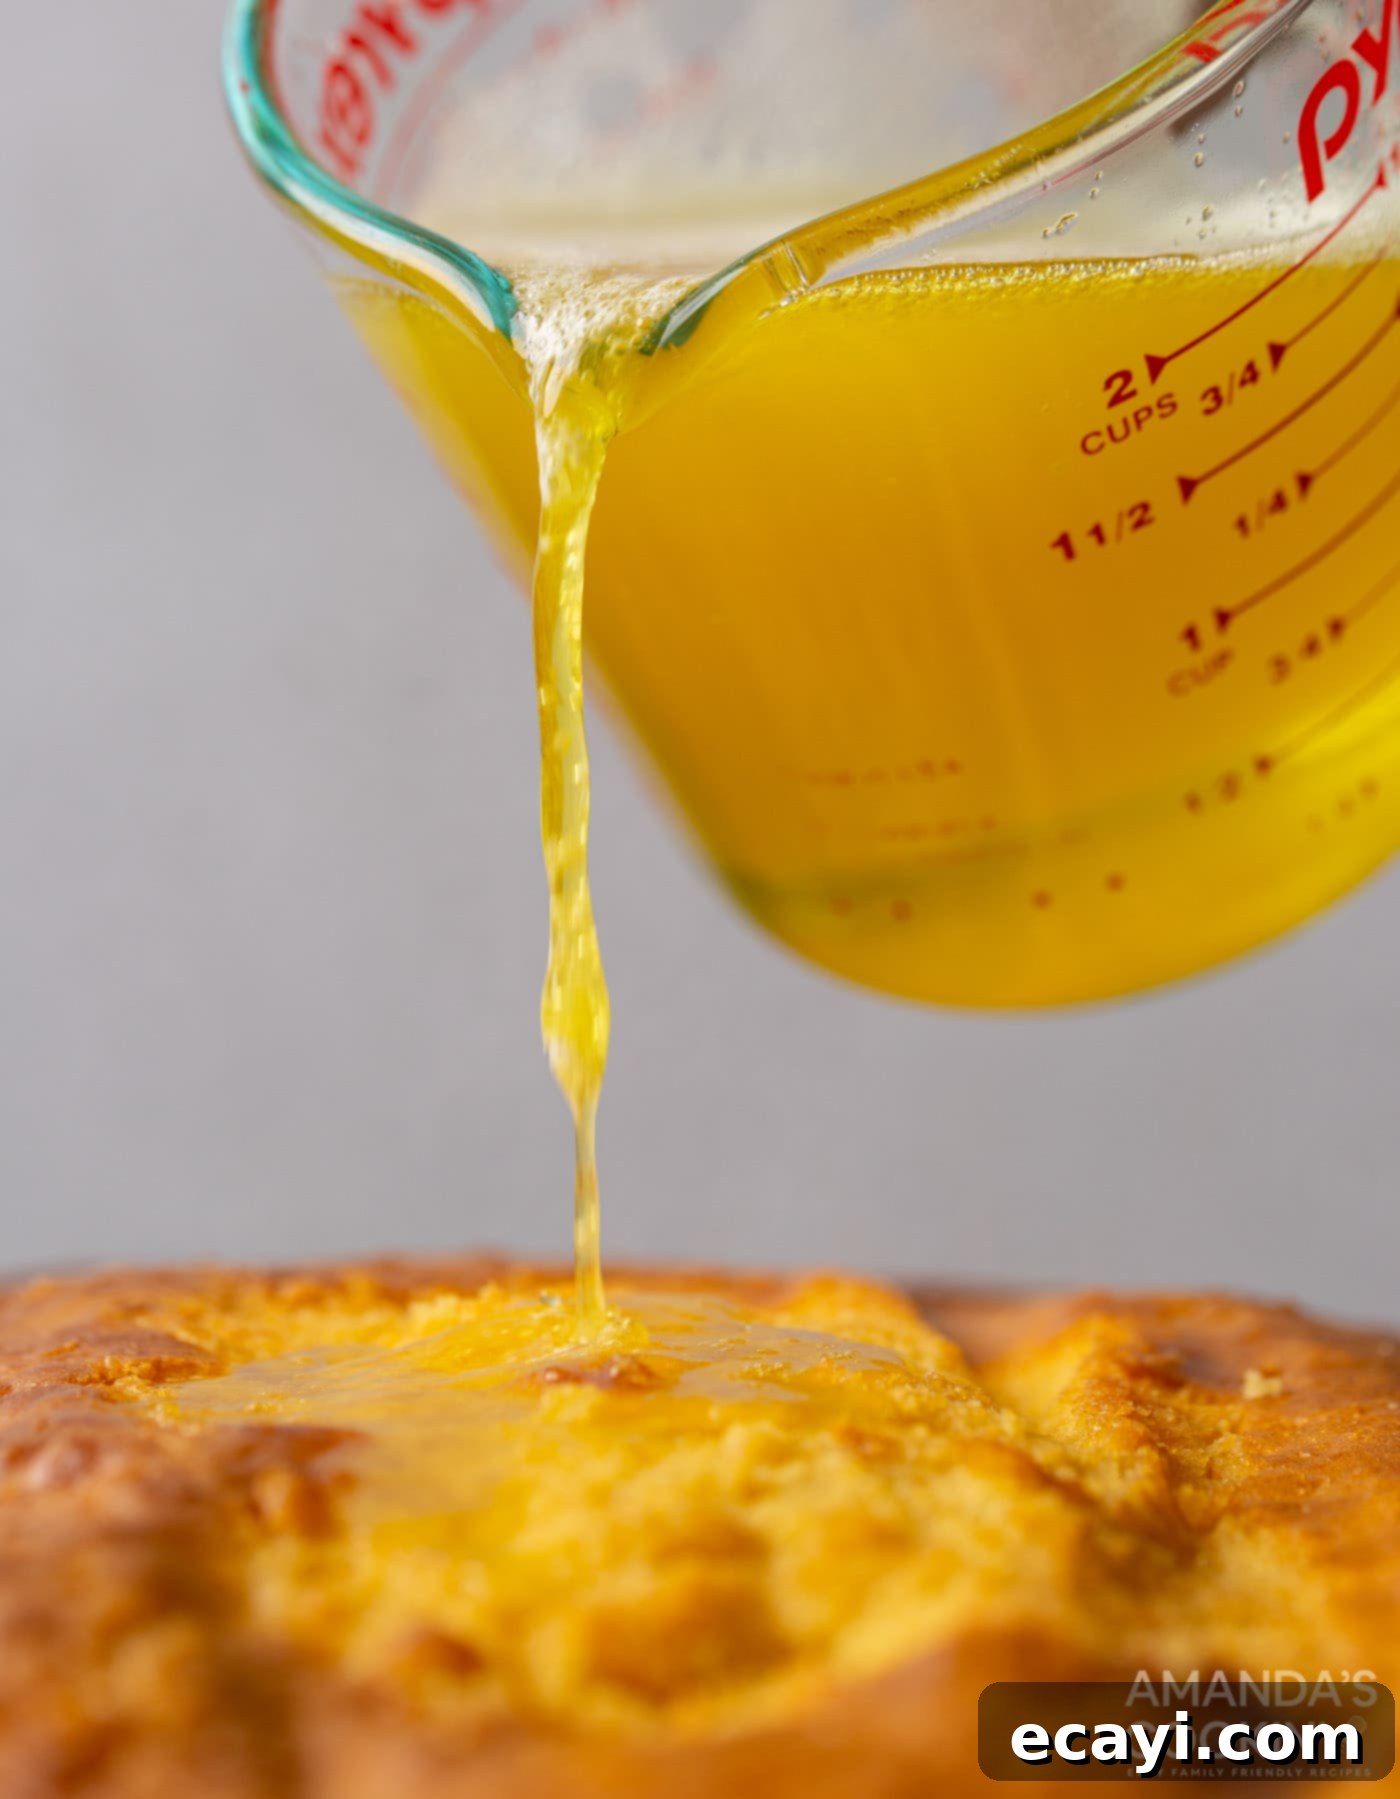
- **Infuse the Cake with Jello:** With the jello still in its liquid form and slightly warm (not hot), slowly and carefully pour it over the entire surface of the poked cake. Take your time with this step, allowing the liquid to gradually fill each hole and soak into the cake. You may need to pour over certain areas multiple times to ensure even saturation. The goal is for the jello to thoroughly penetrate the cake, creating those delightful pockets of flavor and moisture.

- **Chill for Setting:** Once the jello has been poured, transfer the baking pan with the cake into the refrigerator. Allow it to chill for at least 45 minutes. This refrigeration period is vital for the jello to set firmly within the cake’s structure, ensuring that the cake becomes perfectly moist and retains its shape.
- **Frost and Decorate:** After the initial chilling, remove the cake from the refrigerator. Evenly spread the Cool Whip over the entire top surface of the cake, creating a smooth, creamy layer. Now for the fun part: decorating! Generously top the Cool Whip with your drained pineapple chunks, the fragrant toasted coconut, and the colorful maraschino cherries. Arrange them as desired for a beautiful presentation.

- **Final Chill Before Serving:** For the best flavor and texture, return the decorated cake to the refrigerator for another 1-2 hours before serving. This allows the Cool Whip to set properly and all the flavors to fully meld, resulting in a cohesive and utterly delightful dessert.
- **Toast the Coconut (If not pre-toasted):** If your shredded coconut isn’t already toasted, this simple step adds a significant flavor and texture boost. Spread the shredded coconut evenly in a single layer on a clean sheet pan. Place it into a preheated 350°F (175°C) oven for just a few minutes. It’s crucial to watch the coconut very closely, as it can go from perfectly golden to burnt in a matter of seconds. Stir it gently once or twice for even toasting. Remove from the oven as soon as it turns a light golden brown and let it cool completely before using as a topping.
Frequently Asked Questions & Expert Tips for Pineapple Poke Cake
Absolutely, making this cake a day in advance is highly recommended! It allows the jello to fully set and the flavors to deepen and meld together, resulting in an even more delicious and moist dessert. To store it, cover the baking dish tightly with plastic wrap or use an airtight lid. Keep it refrigerated until you’re ready to serve. For the best presentation and texture, we recommend adding the garnishes – such as maraschino cherries, fresh pineapple chunks, and toasted coconut – right before serving. This prevents the coconut from becoming soggy and keeps the fruit looking vibrant.
Yes, you certainly can use fresh pineapple! Since the pineapple is used as a topping and not baked into the cake, fresh pineapple works beautifully and adds a lovely, bright flavor. If using fresh, dice it into small, uniform chunks. It’s very important to let your cut pineapple sit on a few layers of paper towels for a while, pressing gently to help drain as much excess liquid as possible. This prevents the topping from becoming watery and potentially affecting the Cool Whip. For optimal freshness and appearance, top the cake with fresh pineapple just before you’re about to serve it.
For best results, you’ll want tools that create holes wide enough for the jello to seep in, but not so wide that the cake collapses. A serving fork with sturdy tines is an excellent choice, as is the handle of a wooden spoon (the round end). You can also use a chopstick, a skewer, or even a metal straw. Aim for holes that are about ½ to 1 inch apart and go about two-thirds of the way down into the cake. Avoid poking too many holes close together, which could weaken the cake’s structure.
Yes, while Cool Whip is convenient and stable, you can absolutely use homemade whipped cream for a richer, more natural flavor. To make homemade whipped cream, simply beat 2 cups of cold heavy cream with ½ cup of powdered sugar and 1 teaspoon of vanilla extract until stiff peaks form. Alternatively, you could use a cream cheese frosting for an even denser, tangier topping, which would pair wonderfully with the pineapple. Just make sure whatever topping you choose is chilled before spreading it on the cake.
Leftover pineapple poke cake should always be stored in the refrigerator. Cover it tightly with plastic wrap or transfer it to an airtight container. When properly stored, the cake will remain fresh and delicious for 3-4 days. The flavors actually continue to meld and deepen over time, so you might find it tastes even better the next day! Just be sure to keep it chilled to maintain the integrity of the jello and whipped topping.
Delightful Serving Suggestions
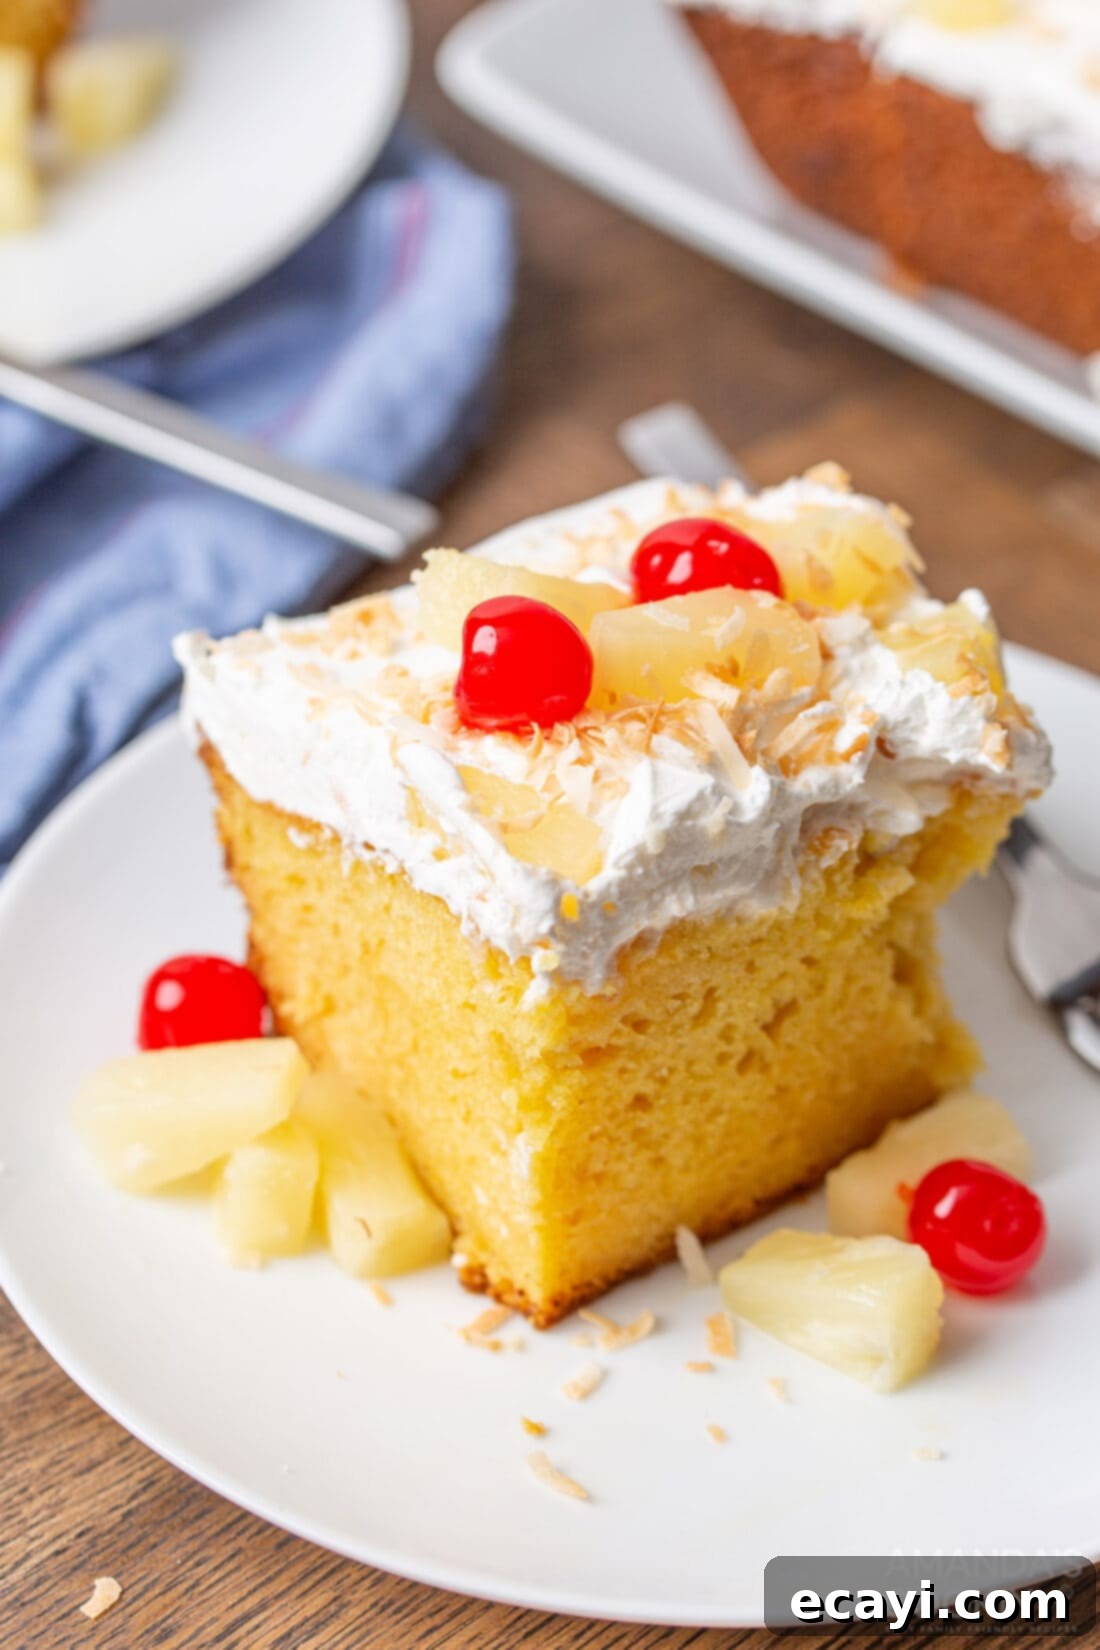
This pineapple poke cake is an incredibly versatile dessert, light enough to enjoy after a hearty meal, yet decadent enough to be the star of any dessert table. It’s perfect for casual gatherings, holiday celebrations, or simply as a refreshing treat on a hot summer day. You can serve it directly from the refrigerator, chilled, or allow it to come to room temperature for about 15-20 minutes, which can soften the cake and enhance its flavors. Cut into 15 generous slices, or more if you’re serving a larger crowd with smaller portions.
While the cake is fantastic on its own with just the Cool Whip and pineapple jello infusion, the added garnishes truly elevate the experience. For a classic presentation, top your cake with a simple layer of creamy Cool Whip (or homemade whipped cream), then artfully arrange the drained pineapple chunks, toasted coconut, and bright red maraschino cherries. These toppings add a wonderful textural contrast and a burst of vibrant color that makes the cake visually appealing.
Consider enhancing your serving with a scoop of vanilla bean ice cream or a drizzle of a light tropical fruit sauce. A sprinkle of finely chopped fresh mint could also add a refreshing aromatic touch. Whether you serve it plain or dressed up, this pineapple poke cake is sure to bring smiles and a taste of the tropics to everyone who tries it.
Explore More Delicious Poke Cake Recipes
If you’ve fallen in love with the ease and flavor of this pineapple poke cake, you’re in for a treat! The world of poke cakes is vast and full of delightful variations. Here are a few more incredible poke cake recipes to inspire your next baking adventure:
- Raspberry Poke Cake: A sweet and tangy delight bursting with berry flavor.
- Pistachio Poke Cake: A unique and subtly nutty green cake that’s surprisingly refreshing.
- Boston Cream Poke Cake: Indulge in a classic flavor combo, reimagined in poke cake form.
- Lemon Curd Poke Cake: Zesty and bright, perfect for citrus lovers.
- Banana Pudding Poke Cake: A comforting, Southern-inspired favorite infused with rich banana goodness.
- Watermelon Poke Cupcakes: Fun, individual servings with a summer fruit twist.
- Chocolate Poke Cake: The ultimate decadent treat for chocolate enthusiasts.
I absolutely adore sharing my culinary adventures and kitchen wisdom with all of you! Remembering to check back for new recipes can sometimes be a challenge, which is why I offer a convenient newsletter delivered straight to your inbox every time a new recipe is published. Simply subscribe today and start receiving your free daily recipes, ensuring you never miss out on a delicious creation!

Pineapple Poke Cake
IMPORTANT – There are often Frequently Asked Questions within the blog post that you may find helpful. Simply scroll back up to read them!
Print It
Pin It
Rate It
Save ItSaved!
Ingredients
- 15 oz box yellow or white cake mix, prepared (you will need the ingredients on the back of the box for the cake itself)
- 6.8 oz pineapple jello prepared in liquid form, but not chilled (2 small boxes, will require 1 1/2 cups boiling water)
- 16 oz Cool Whip (or your preferred homemade whipped topping)
- 20 oz canned pineapple chunks thoroughly drained of liquid, or freshly diced pineapple
- ¾ cup shredded coconut (toasted, optional but recommended)
- maraschino cherries (for garnish, optional)
Tools & Equipment You’ll Need
-
13×9 inch baking dish – Essential for baking the cake and assembling the poke cake.
-
Mixing bowls – For preparing the cake batter and dissolving the jello.
-
Whisk or sturdy fork – For whisking the jello and poking holes in the cake.
-
Measuring cups and spoons – For accurate ingredient measurements.
-
Small sheet pan – If you plan to toast your shredded coconut.
Before You Begin & Expert Tips
- Toasting Coconut for Maximum Flavor: If your recipe calls for toasted coconut and it’s not pre-toasted, simply spread the shredded coconut evenly on a sheet pan. Bake in a 350°F (175°C) oven for just a few minutes. Crucially, keep a very close watch, as coconut can brown and burn quickly. Stir occasionally for even browning.
- Optimal Storage for Freshness: Store your completed pineapple poke cake tightly covered with plastic wrap or in an airtight container in the refrigerator. It will stay wonderfully fresh and delicious for 3-4 days. This cake is even better the next day as the flavors deepen!
- Preventing Soggy Toppings: If using fresh pineapple, ensure it is thoroughly drained and patted dry with paper towels to prevent excess moisture from affecting the Cool Whip topping. For the best texture, add all fresh fruit and toasted coconut toppings just before serving.
- Even Jello Distribution: When pouring the liquid jello over the poked cake, do it slowly and systematically. Ensure the jello has a chance to seep into all the holes, not just sit on top. You might need to gently spread it or pour in stages.
- Room Temperature Serving: While delicious chilled, allowing the cake to sit at room temperature for 15-20 minutes before serving can soften the cake slightly and enhance the overall tropical flavors.
Instructions
-
Prepare your desired cake mix (yellow or white) according to the instructions provided on the box. Pour the prepared batter into a greased 13×9 inch baking pan and bake until a toothpick inserted comes out clean.
-
Remove the cake from the oven and let it cool in the pan on a wire rack for ten minutes.
-
Using a serving fork, the handle of a wooden spoon, or a dowel, carefully poke holes all over the warm cake. Aim for even spacing and depth to ensure optimal jello absorption.
-
In a liquid measuring cup or medium bowl, add the pineapple jello powder. Pour in 1 1/2 cups of boiling water and whisk until the jello is completely dissolved.
-
Slowly pour the liquid gelatin over the entire poked cake, making sure to drizzle it over each hole multiple times for thorough infusion.
-
Place the cake in the refrigerator and chill for a minimum of 45 minutes to allow the jello to set.
-
Remove the chilled cake from the refrigerator. Evenly frost the top with Cool Whip. Then, generously top the Cool Whip with your drained pineapple chunks, toasted shredded coconut, and vibrant maraschino cherries as desired for garnish.
-
Return the cake to the refrigerator for another 1-2 hours to allow the topping to set and all the flavors to fully meld before slicing and serving. Enjoy your tropical treat!
Nutrition Facts (Approximate per serving)
The recipes on this blog are tested with a conventional gas oven and gas stovetop. It’s important to note that some ovens, especially as they age, can cook and bake inconsistently. Using an inexpensive oven thermometer can assure you that your oven is truly heating to the proper temperature. If you use a toaster oven or countertop oven, please keep in mind that they may not distribute heat the same as a conventional full sized oven and you may need to adjust your cooking/baking times. In the case of recipes made with a pressure cooker, air fryer, slow cooker, or other appliance, a link to the appliances we use is listed within each respective recipe. For baking recipes where measurements are given by weight, please note that results may not be the same if cups are used instead, and we can’t guarantee success with that method.
