Delicious & Moist Fresh Strawberry Pound Cake with Luscious Pink Glaze
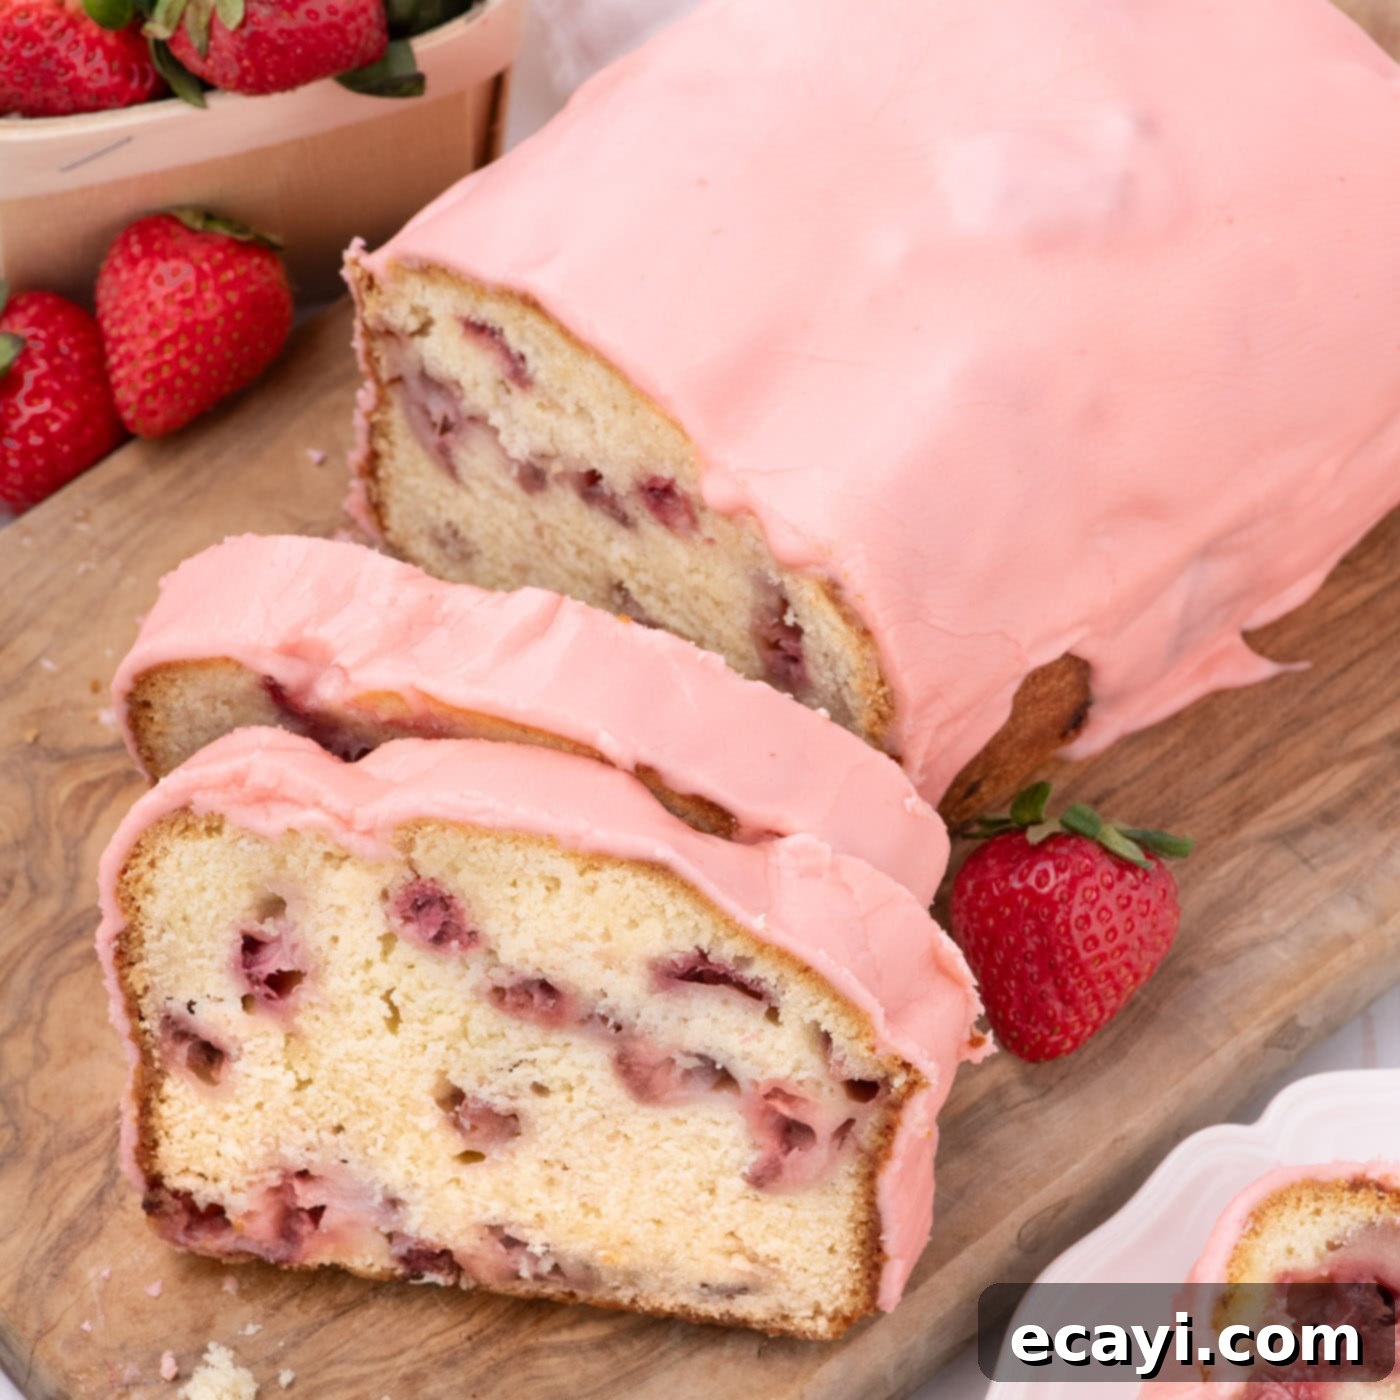
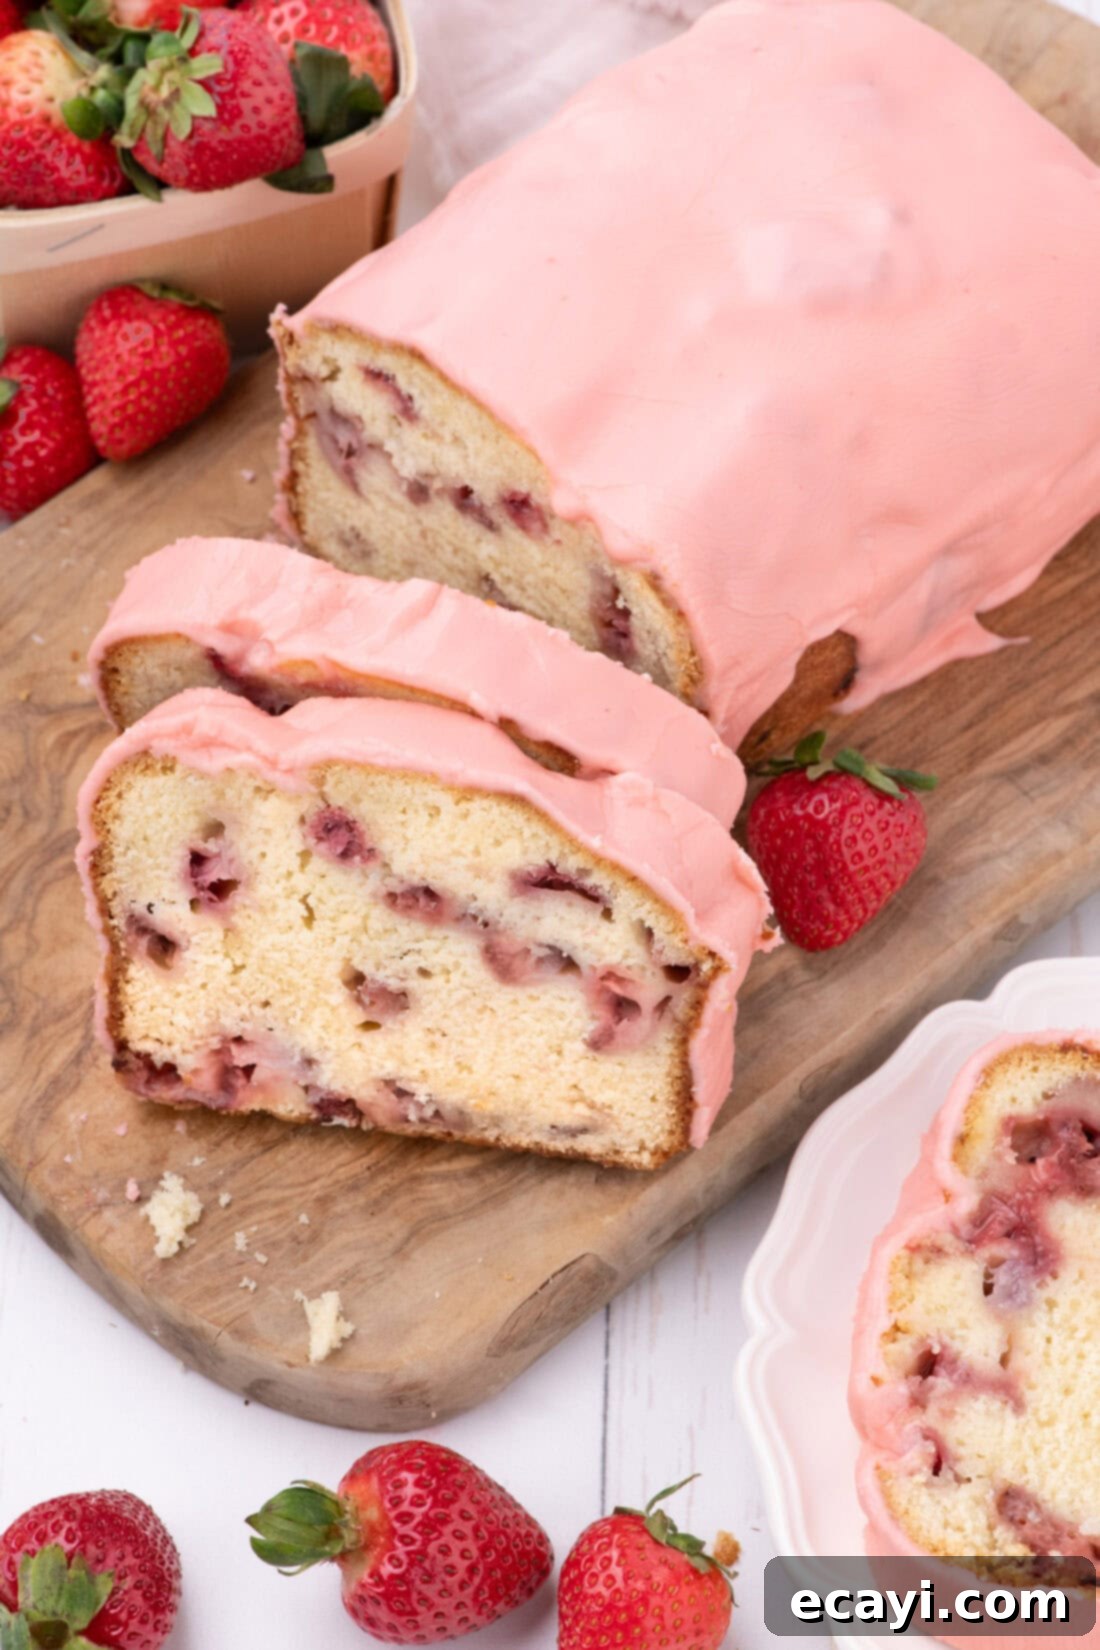
There’s nothing quite like the vibrant taste of fresh strawberries, and this spectacular fresh strawberry pound cake recipe truly captures their essence. It’s generously studded with perfectly ripe, juicy berries and elegantly crowned with a beautiful, creamy pink strawberry glaze. This isn’t just any quick bread; it’s a culinary masterpiece that delivers on every front – incredibly moist, wonderfully dense yet tender, and perfectly sweet. Each slice offers a melt-in-your-mouth experience with a delicate crumb that will leave you craving more. It’s the perfect treat for spring gatherings, summer picnics, or simply a delightful everyday indulgence that celebrates the best of seasonal fruit.
Why This Fresh Strawberry Pound Cake Recipe Is a Must-Try
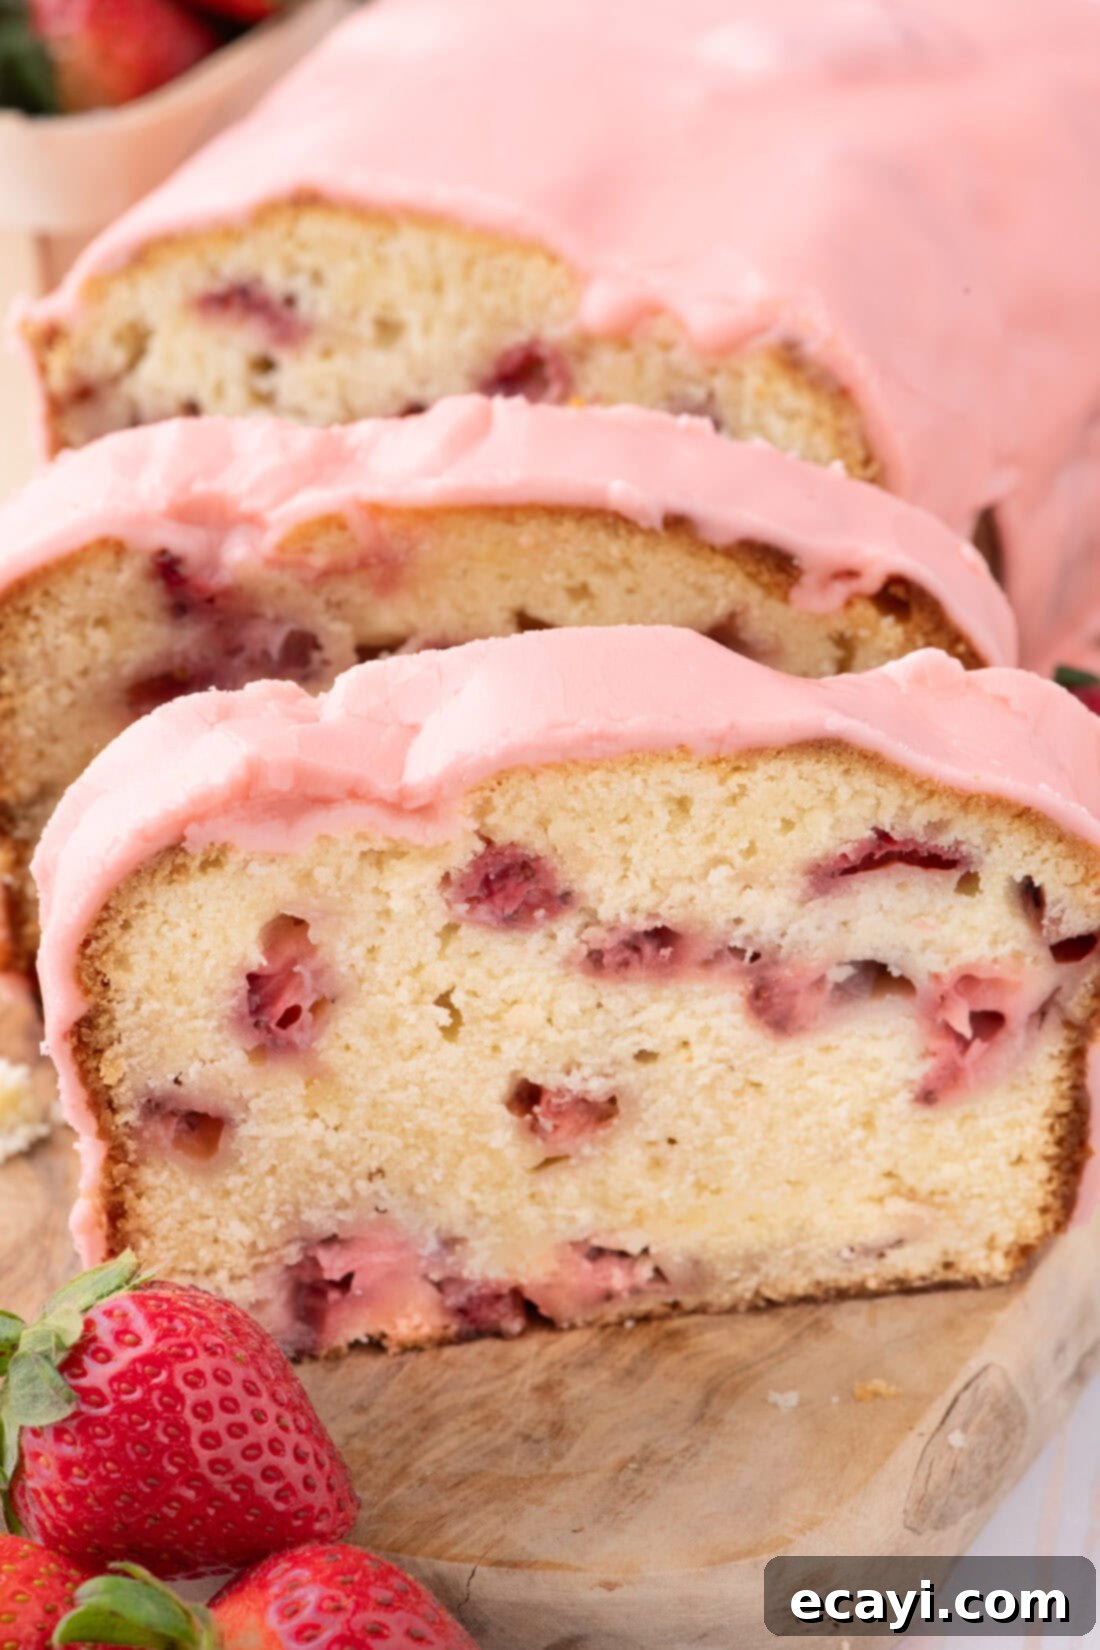
This strawberry pound cake isn’t just a dessert; it’s an experience. It creates an exceptionally moist and flavorful quick bread with a crumb so tender it almost seems to dissolve in your mouth. The secret lies in a careful balance of ingredients and precise techniques, ensuring a consistent, delightful texture every time. Each bite is a harmonious blend of rich buttery flavor, the subtle tang of sour cream, and bursts of sweet, fresh strawberries. Topped with a vibrant, naturally pink strawberry glaze, this cake is as visually appealing as it is delicious. It’s a true celebration of spring and summer, transforming simple ingredients into something truly extraordinary. Imagine a world without this cake – unthinkable, right? Those luscious red strawberries on your counter are practically begging to be transformed into this delightful pound cake, or perhaps a batch of soft strawberry muffins or a grand strawberry bundt cake. Who are we to deny such a sweet request?
Essential Ingredients for Your Strawberry Pound Cake
To embark on this delightful baking journey, you’ll need a selection of fresh, high-quality ingredients. While the full list with precise measurements and detailed instructions is available in the printable recipe card at the very end of this post, let’s highlight some key components and their roles in creating the perfect strawberry pound cake. Gathering your ingredients beforehand, and ensuring they are at the correct temperature, will make the baking process smooth and enjoyable.
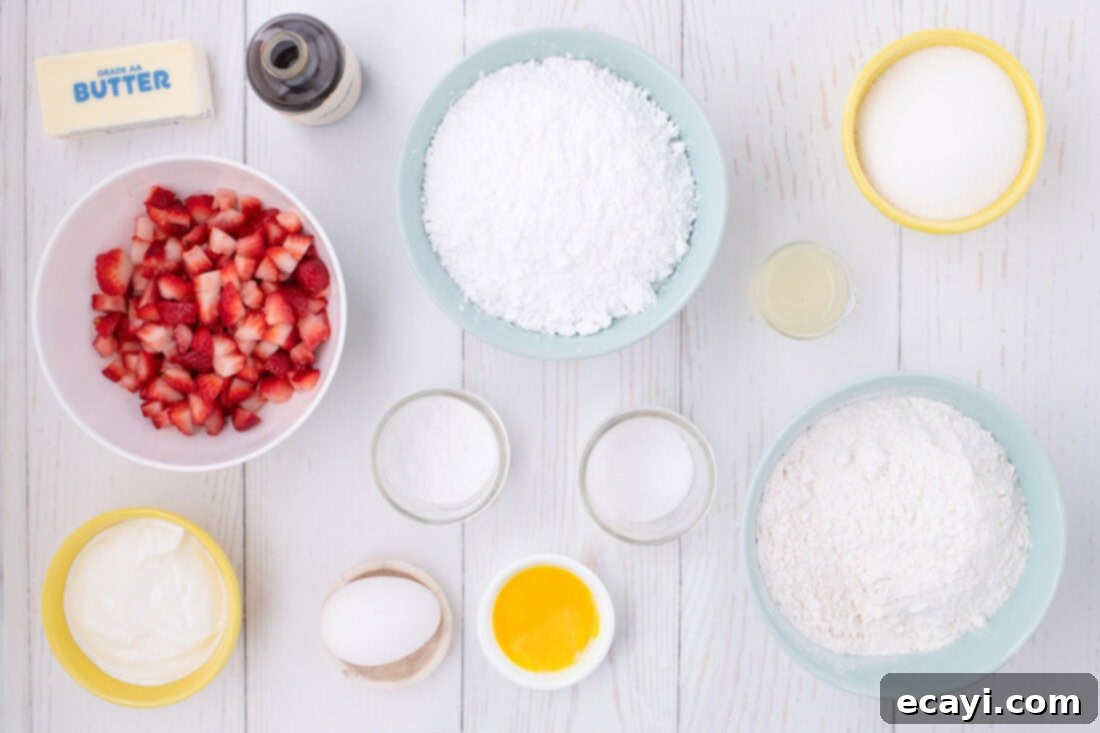
Detailed Ingredient Information and Smart Substitutions
Understanding each ingredient’s purpose can greatly enhance your baking success and allow for informed substitutions when needed.
- STRAWBERRIES – For this recipe, a standard 1-pound container of fresh strawberries will provide you with more than enough berries for both the cake and the irresistible glaze. The key to the best flavor lies in choosing ripe, bright red strawberries with fresh green caps. These berries are at their peak sweetness and juiciness. This recipe is absolutely perfect for utilizing a bountiful harvest of freshly picked berries from your garden or a local farm. While fresh is highly recommended for optimal texture and flavor, if you must use frozen, ensure they are fully thawed and thoroughly patted dry to minimize excess moisture, which can affect the cake’s consistency.
- ALL-PURPOSE FLOUR – The foundation of our pound cake. All-purpose flour provides the necessary structure. For best results, measure your flour by spooning it into the measuring cup and leveling it off, rather than scooping directly, to avoid a dense cake. Sifting it with the other dry ingredients ensures an even distribution and lighter texture.
- BAKING POWDER & SALT – Baking powder is our leavening agent, giving the cake its beautiful rise and tender crumb. Salt, though used in a small amount, is crucial for balancing the sweetness and enhancing all the other flavors in the cake.
- GRANULATED SUGAR – This provides sweetness and helps to tenderize the cake. When creamed with butter, it also creates air pockets that contribute to the pound cake’s light yet dense texture.
- UNSALTED BUTTER – Softened, room temperature unsalted butter is vital. It creams beautifully with sugar, incorporating air that makes the cake light and fluffy. Using unsalted butter allows you to control the salt content in your recipe precisely. If using salted butter, reduce the added salt by ¼ teaspoon.
- EGGS & EGG YOLK – Large eggs and an extra egg yolk add richness, moisture, and structure to the cake. It’s critical that they are at room temperature to emulsify properly with the butter and sugar mixture, ensuring a smooth, cohesive batter.
- FULL-FAT SOUR CREAM – The secret to an incredibly moist and tender pound cake! Room temperature full-fat sour cream adds a wonderful tang, richness, and moisture without thinning the batter too much. Greek yogurt can be a suitable substitute if it’s full-fat and at room temperature.
- VANILLA EXTRACT – A classic flavor enhancer that complements the strawberries beautifully. Use good quality pure vanilla extract for the best taste.
- LEMON JUICE – Freshly squeezed lemon juice is used in both the cake batter (to coat the strawberries and add a bright note) and the glaze. It brightens the flavor of the strawberries and cuts through the sweetness, creating a more dynamic taste profile.
- POWDERED SUGAR (CONFECTIONERS’ SUGAR) – Essential for the smooth, pourable strawberry glaze. Sift it to prevent lumps for a perfectly silky finish.
Expert Tips for Crafting the Perfect Strawberry Pound Cake
Achieving a bakery-quality pound cake is all about paying attention to a few key details. Follow these tips for a truly exceptional result:
- Room Temperature Ingredients are Non-Negotiable: This is arguably the most important tip. Ensure your butter, eggs, and sour cream are all at room temperature. Cold ingredients don’t emulsify properly, leading to a lumpy batter and a cake with an inconsistent, potentially dense or tough texture. Plan ahead and take them out of the refrigerator at least an hour before you begin baking.
- Creaming Butter and Sugar: The process of properly beating the sugar and softened butter is absolutely crucial for the cake’s rise and tender crumb. While beating for five minutes might seem like a long time, this extended creaming aerates the mixture significantly, incorporating tiny air bubbles that expand during baking, contributing to a lighter, airier texture and a beautiful rise. Look for a very pale, fluffy mixture.
- Preventing Over-Browning: Pound cakes can sometimes brown too quickly on top before the interior is fully cooked. To prevent this, check your cake halfway through the baking time. If the top is already a deep golden brown, loosely tent a piece of aluminum foil over the loaf pan for the remainder of the bake. This will shield the top from direct heat while allowing the interior to finish cooking.
- The Perfect Glaze Consistency: The strawberry glaze should have a consistency similar to thick toothpaste or a pourable yet robust syrup. It needs to be thick enough to cling to the cake and hold a lovely drip pattern without running straight off the sides. If your glaze is too thin, add more powdered sugar a tablespoon at a time. If it’s too thick, add a tiny bit more strawberry juice (or milk/water) in half-teaspoon increments until you reach the desired pourable, yet substantial, consistency.
- Don’t Overmix the Flour: Once you add the flour mixture, mix only until just combined. Overmixing develops the gluten in the flour, which can lead to a tough and chewy pound cake instead of a tender one.
- Testing for Doneness: The classic toothpick test is your best friend. Insert a toothpick into the center of the cake; if it comes out clean or with a few moist crumbs attached (but no wet batter), your cake is ready.
- Cooling Patience: Allow the pound cake to cool in the pan for the recommended time before attempting to remove it. This allows the cake to set and firm up, preventing it from crumbling or sticking to the pan. Transferring it to a wire rack to cool completely before glazing and slicing is also important for the glaze to set properly and for the cake to finish its internal cooking and settle.
Step-by-Step: How to Make This Delicious Strawberry Pound Cake
These step-by-step photos and instructions are designed to help you visualize each stage of making this delectable recipe. For a quick reference to the complete, printable version of this recipe, including all measurements and detailed instructions, simply Jump to Recipe at the bottom of this post.
- Begin by preheating your oven to 350°F (175°C). Prepare a 9 x 5-inch metal loaf pan by thoroughly greasing it, then lining the bottom and sides with parchment paper, leaving an overhang to easily lift the cake out later.
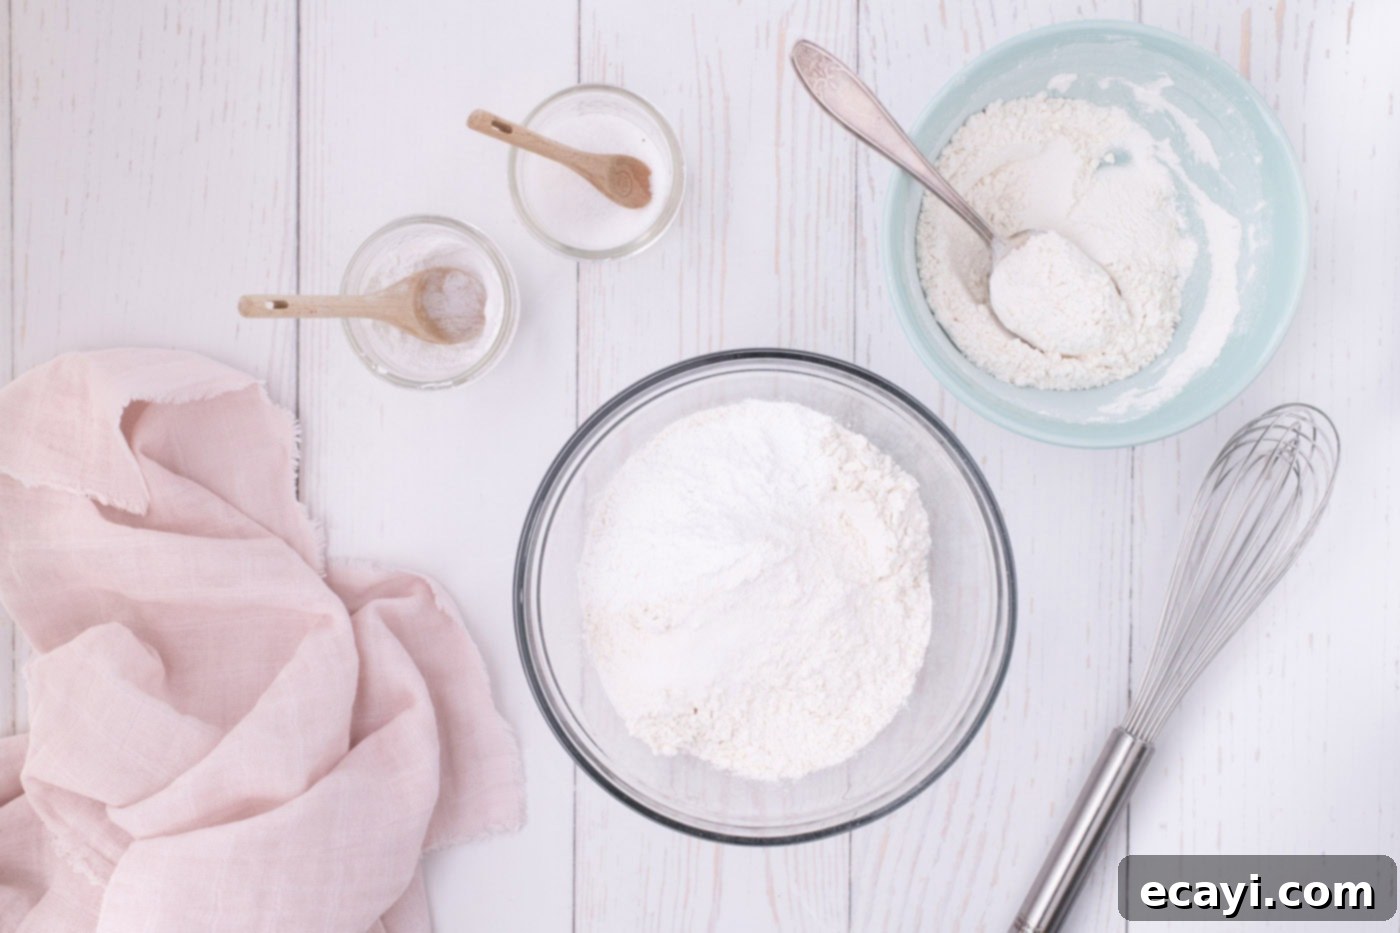
- In a medium-sized mixing bowl, whisk together the dry ingredients: the measured flour, baking powder, and salt. Whisk until they are well combined and evenly distributed. Set this bowl aside for later use.

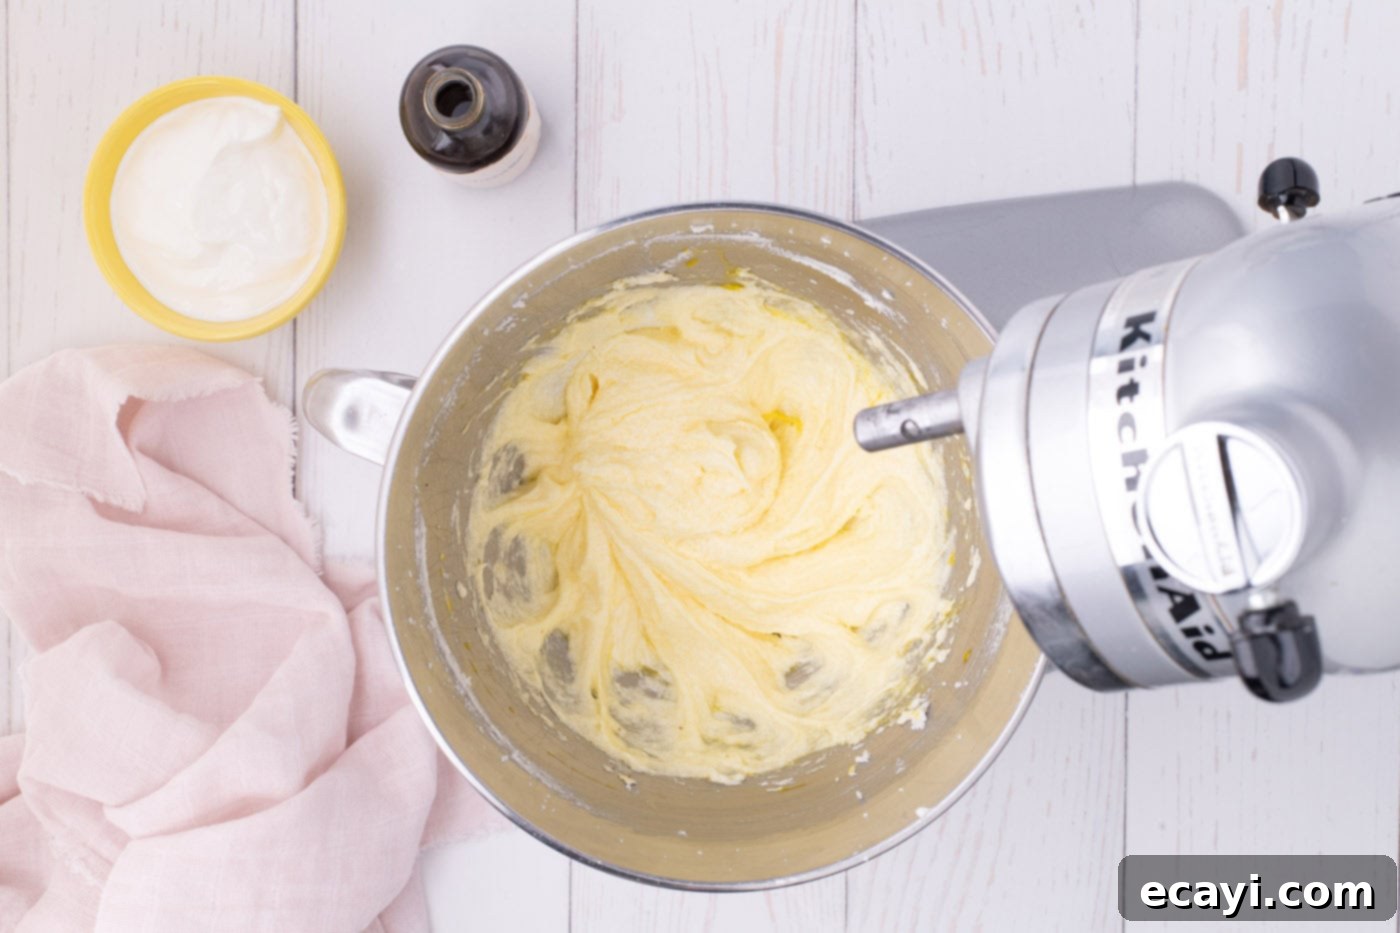
- In the bowl of a stand mixer, fitted with the paddle attachment, combine the granulated sugar and the softened, room-temperature unsalted butter. Beat this mixture on high speed for a full five minutes. The goal is a light, fluffy, and very pale mixture, indicating that ample air has been incorporated. This creaming step is vital for the cake’s texture and rise. Refer to the ‘Tips’ section for more detail.

- Next, add the large egg and the extra egg yolk to the creamed butter and sugar. Mix on medium speed until they are just combined into the batter, being careful not to overmix at this stage.
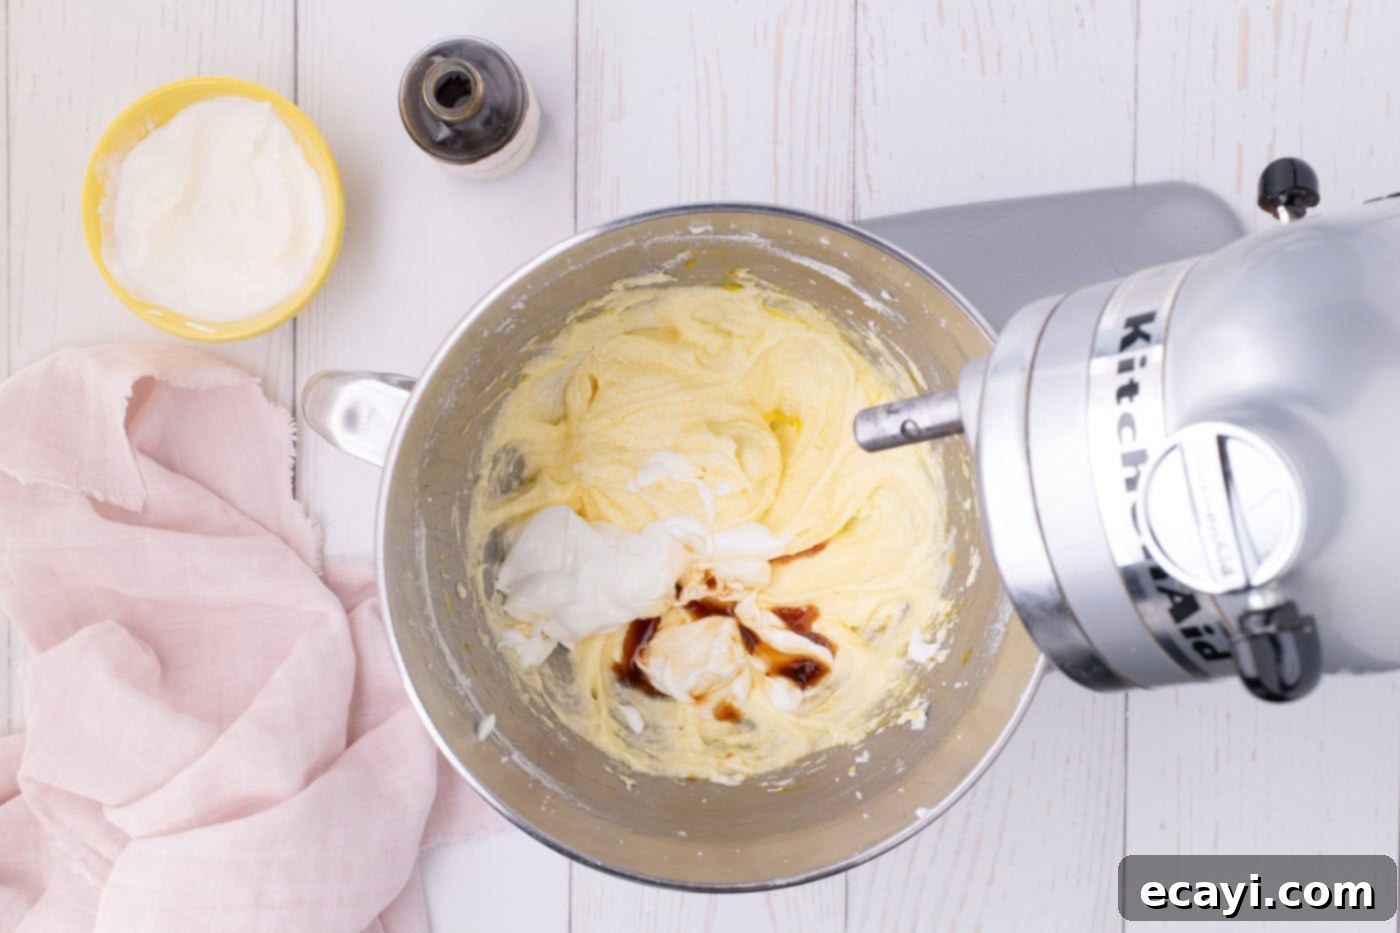
- Add half of the room-temperature sour cream along with the vanilla extract to the mixture. Beat on low speed until these wet ingredients are just incorporated into the batter, ensuring a smooth consistency.

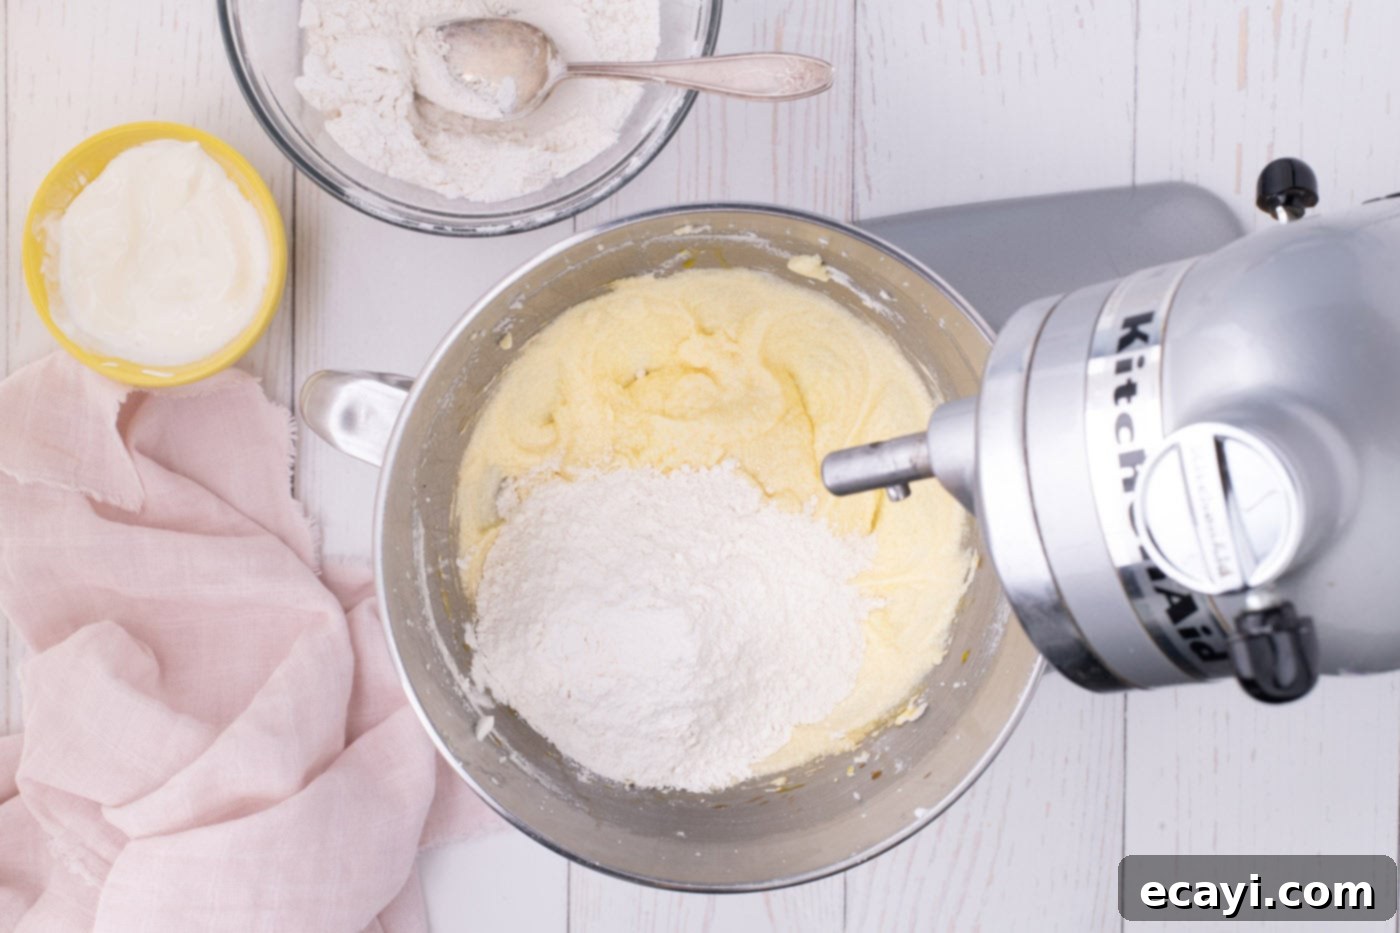
- Gradually incorporate the dry ingredients. Add 1 cup of the flour mixture to the wet ingredients and mix until just combined, ensuring no dry streaks remain. Repeat this process by adding the remaining sour cream, mixing until just combined, followed by the remaining 1 cup of the flour mixture, mixing after each addition until everything is incorporated without overmixing.

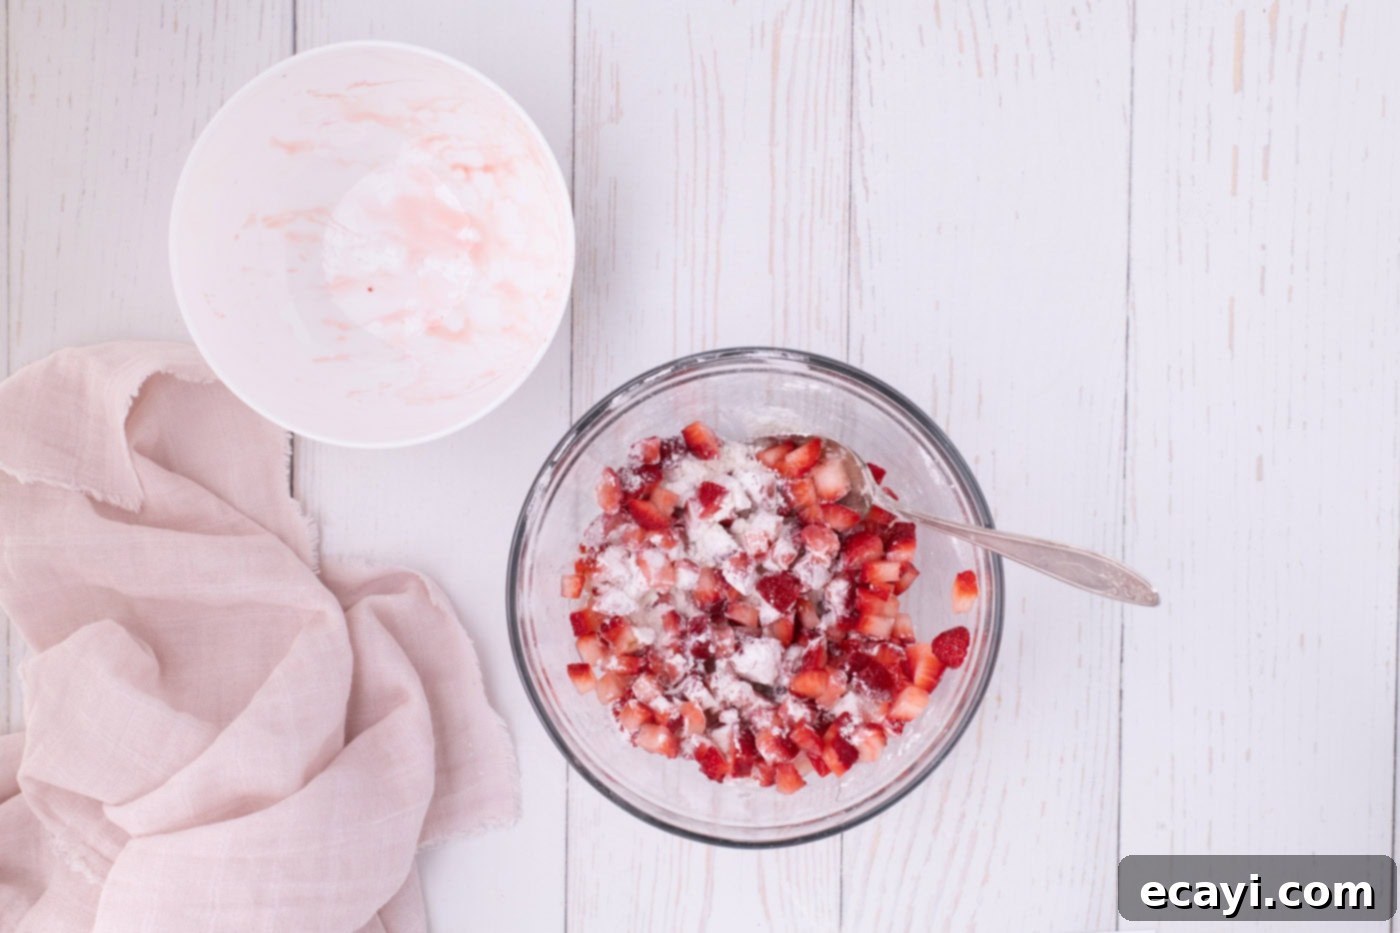
- Prepare the strawberries for the cake. In a separate bowl, add 2 teaspoons of freshly squeezed lemon juice to the 1 ½ cups of diced fresh strawberries and gently toss to coat. Let the strawberries sit for 2 minutes to allow the lemon juice to lightly penetrate. Then, transfer these strawberries to the remaining ¼ cup of flour mixture. Stir carefully until all the strawberries are thoroughly coated; this helps prevent them from sinking to the bottom of the cake during baking.

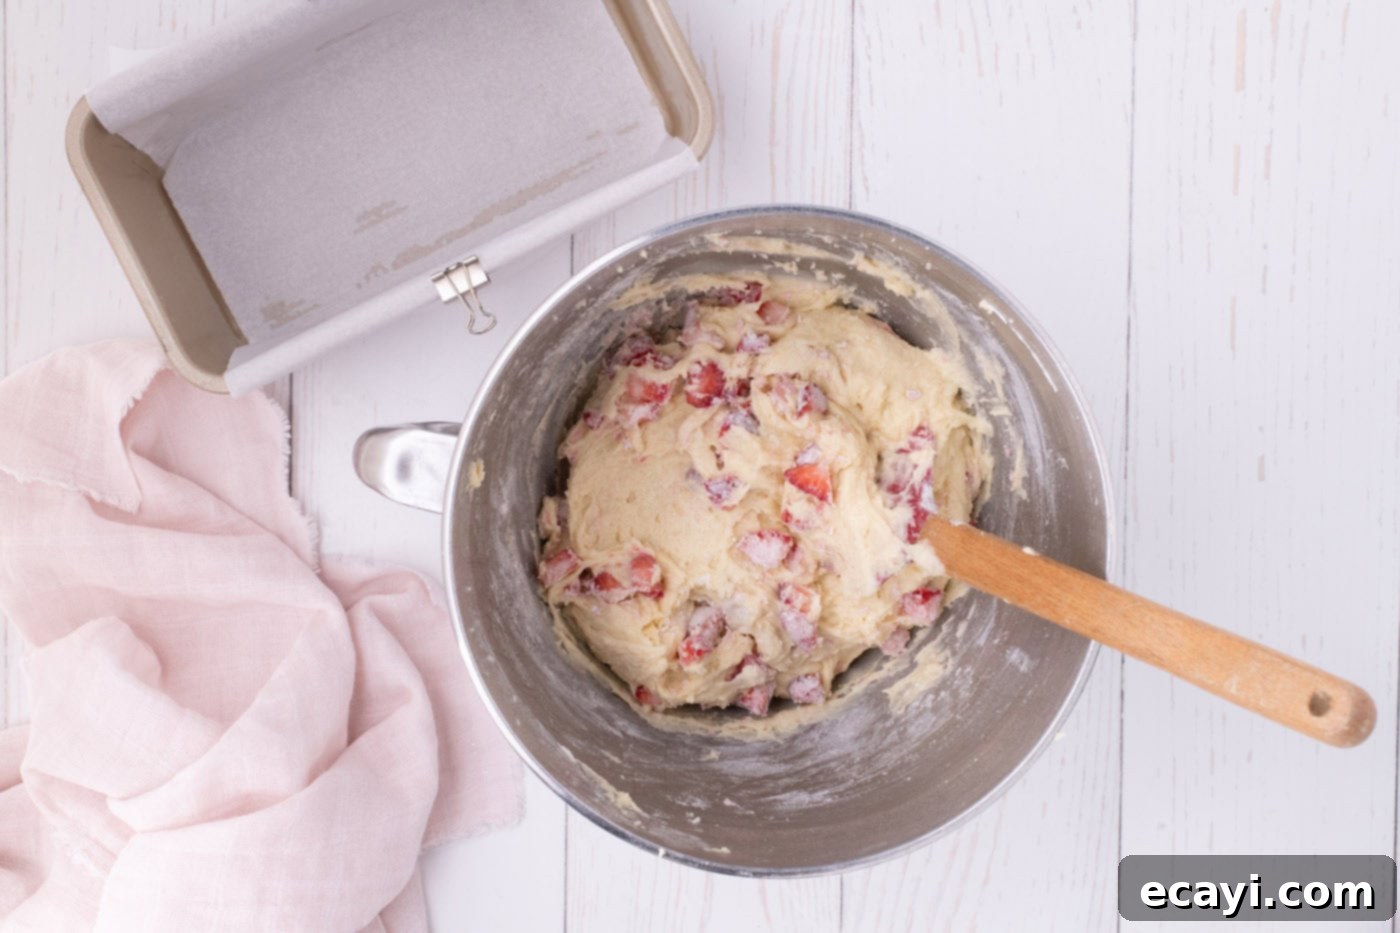
- Using a soft silicone spatula, gently fold 1 cup of the coated strawberries into the pound cake batter. Be careful not to mash the strawberries or overmix the batter.

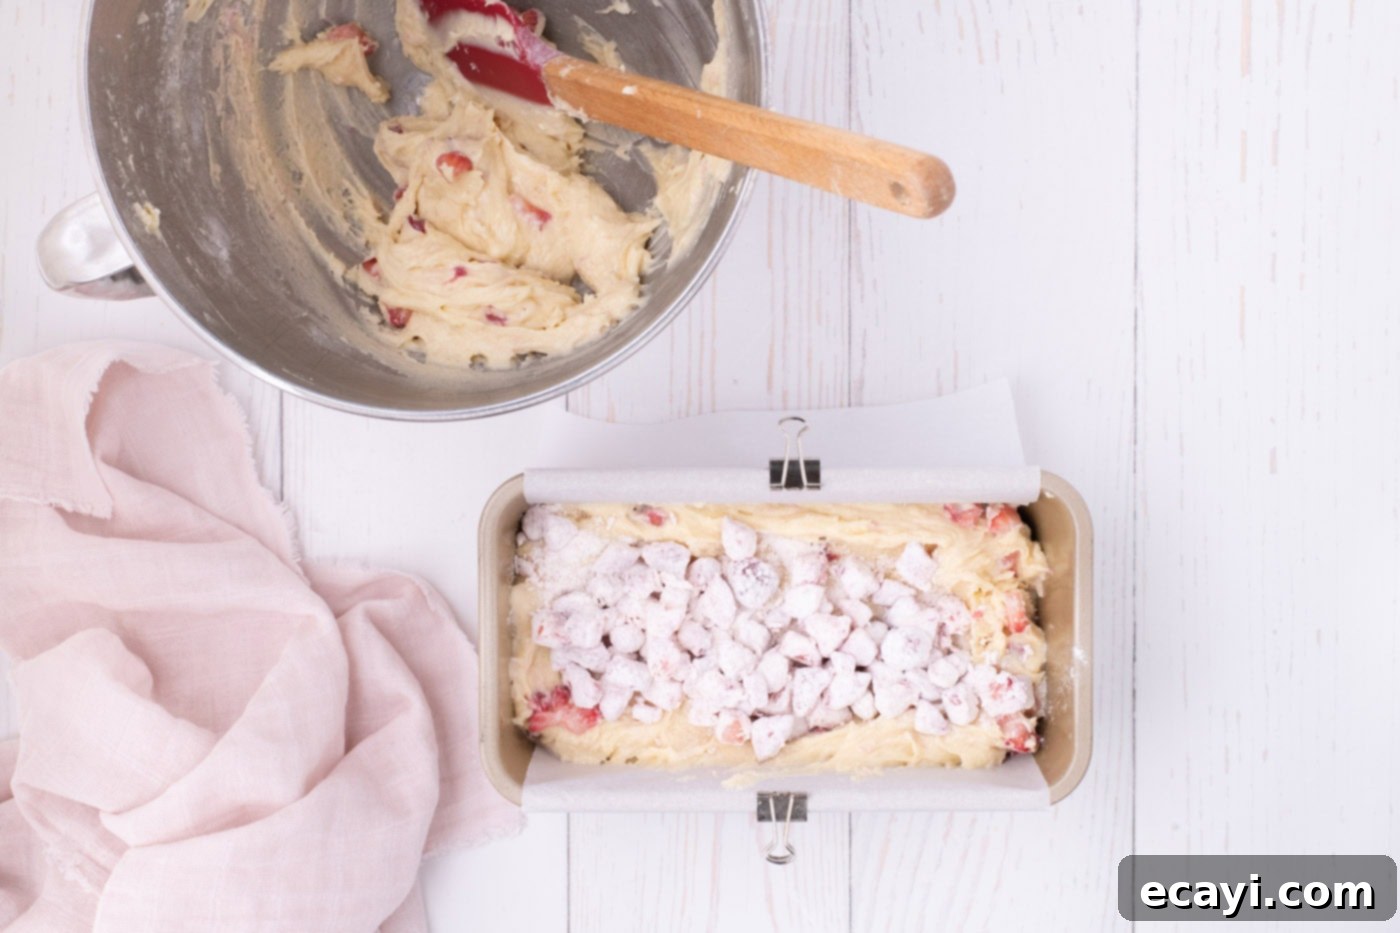
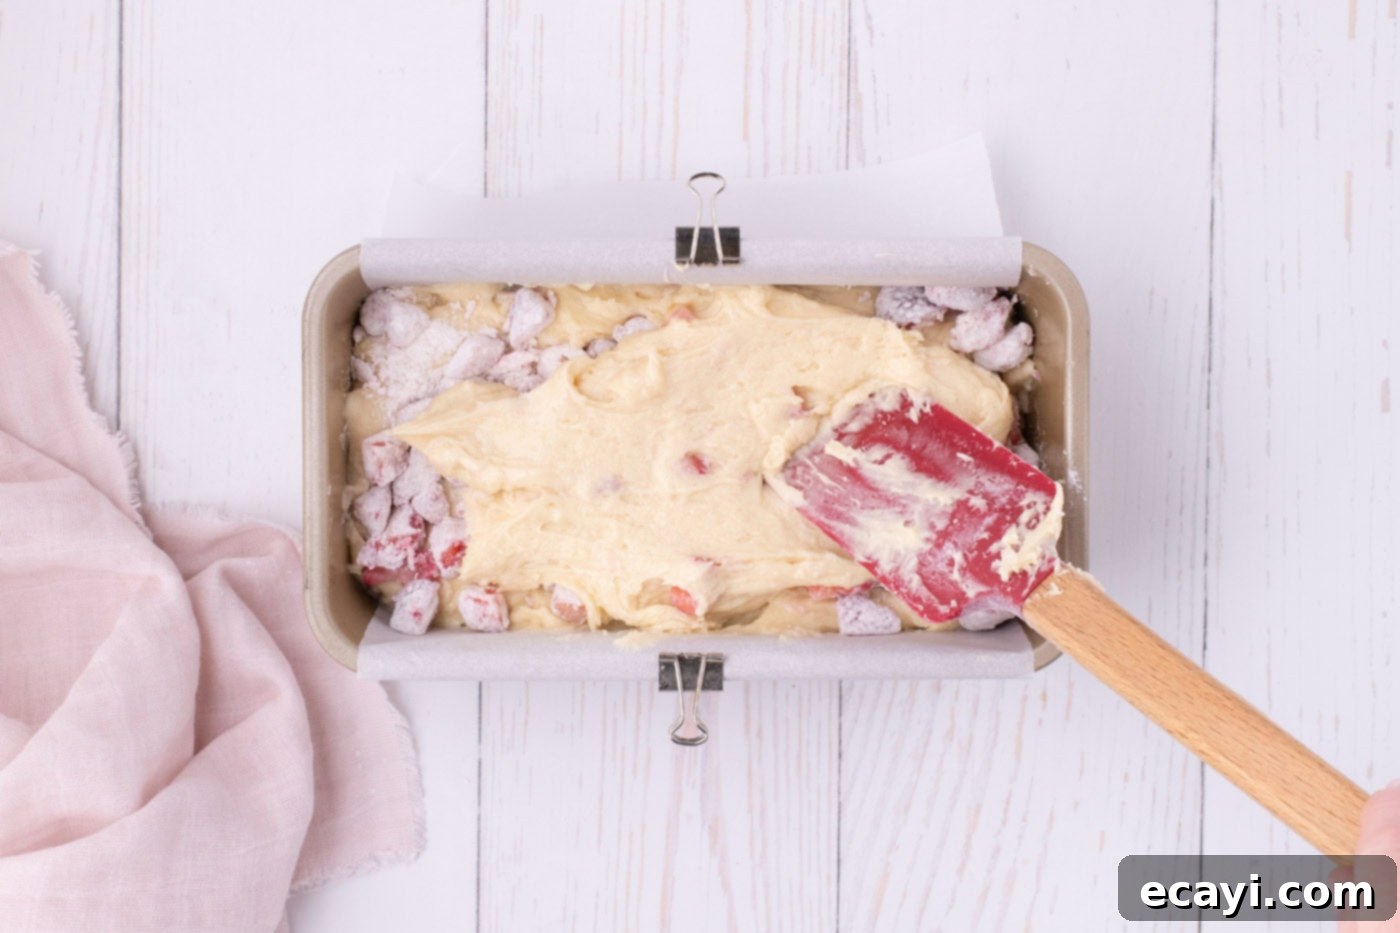
- Transfer about three-quarters of the prepared batter into the greased and parchment-lined loaf pan. Spread it evenly across the bottom. Then, sprinkle the remaining coated strawberries generously over this layer of batter in the pan.

- Carefully spread the remaining batter over the strawberries, ensuring it reaches all corners of the loaf pan and creates a smooth, even top layer. This encases the strawberries beautifully within the cake.

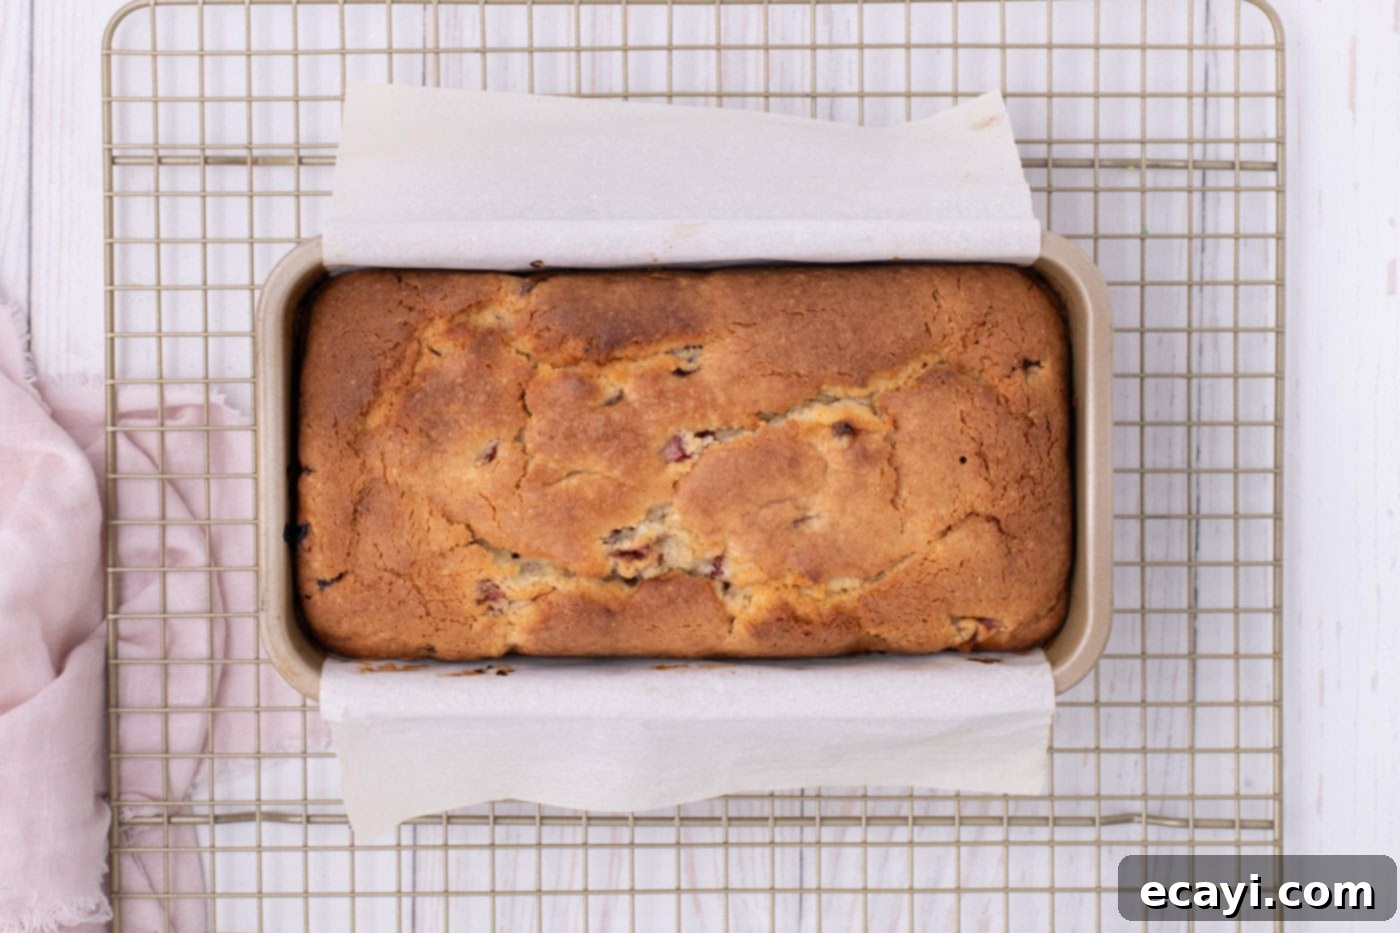
- Bake the pound cake in the preheated oven for 60-65 minutes, or until a wooden toothpick inserted into the center comes out clean. If the top starts to brown too much before the cake is done, loosely tent it with aluminum foil.
- Once baked, remove the loaf pan from the oven and allow the cake to cool in the pan for 1 hour. This crucial cooling time allows the cake to set and prevents it from breaking when removed.

Crafting the Luscious Strawberry Glaze
No strawberry pound cake is complete without a beautiful, vibrant glaze. This simple yet flavorful glaze adds an extra layer of sweetness and a touch of elegance to your homemade treat.
- To begin the glaze, take 1 cup of diced fresh strawberries and place them in a small bowl. Sprinkle 2 tablespoons of granulated sugar over the strawberries. Gently toss them and let them sit for about 10 minutes. This resting period allows the sugar to draw out the natural juices from the strawberries, intensifying their flavor and creating the base for your glaze.
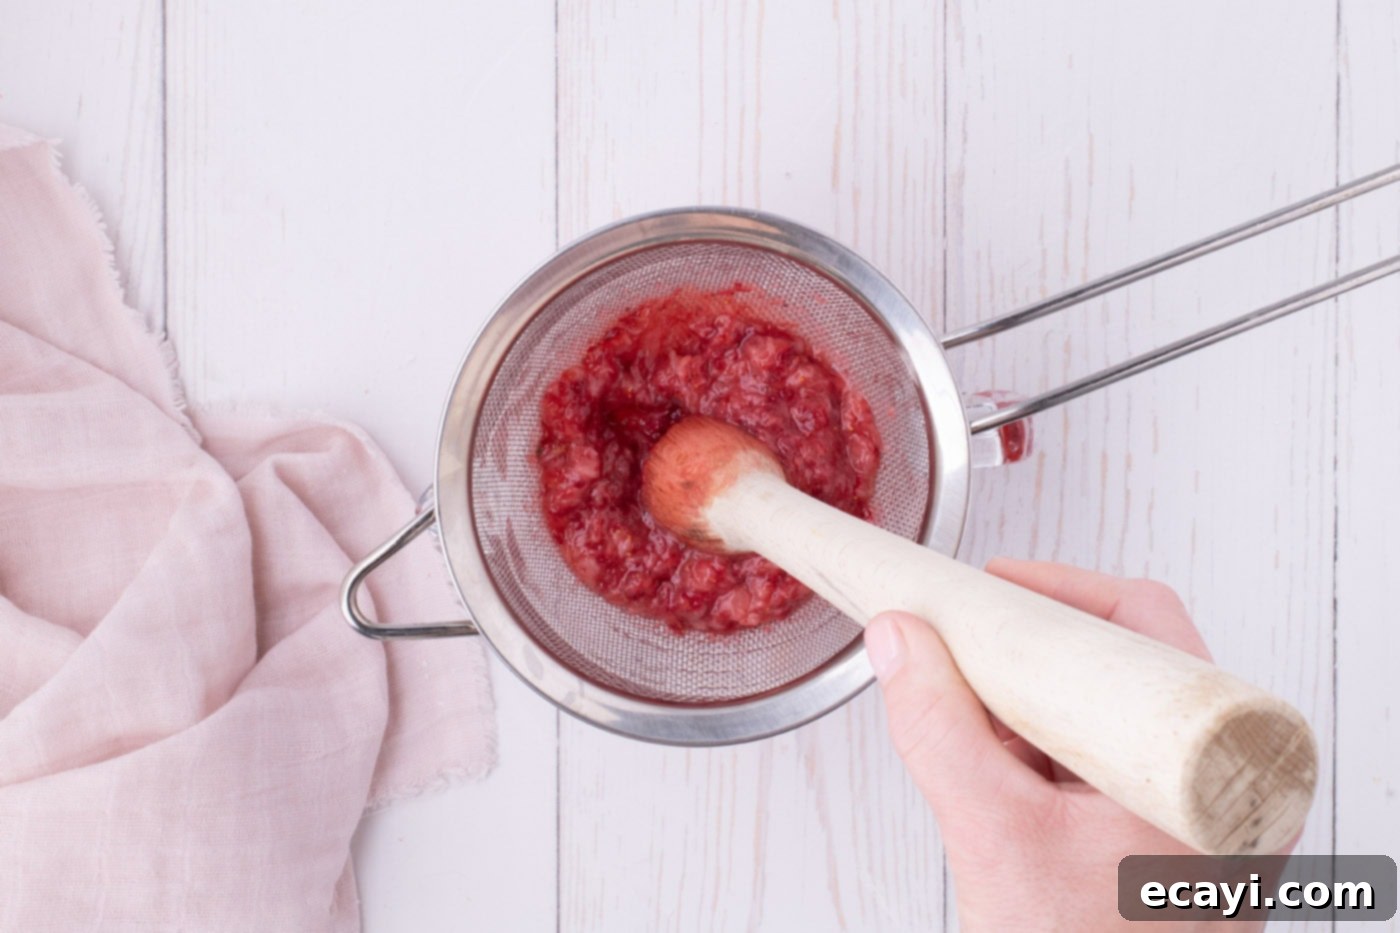
- After the strawberries have rested, place them (along with all their accumulated juices) into a fine mesh sieve. Position the sieve over another bowl to collect the precious strawberry juice. You will need approximately 3 tablespoons of this vibrant strawberry juice for the glaze. If you find you don’t have quite enough juice, you can gently muddle the strawberries in the sieve with the back of a spoon to extract more.

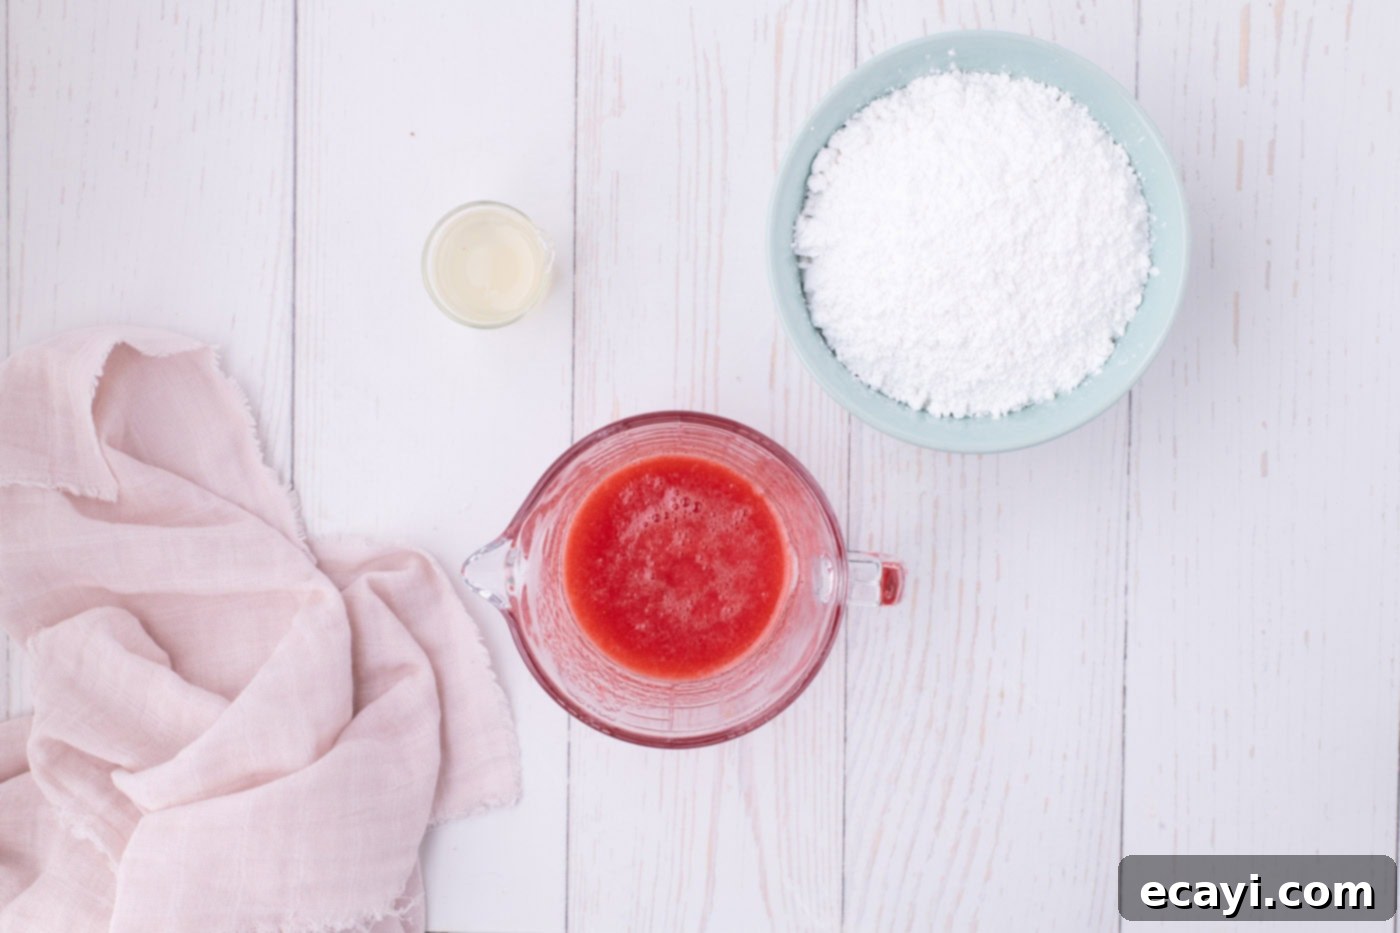
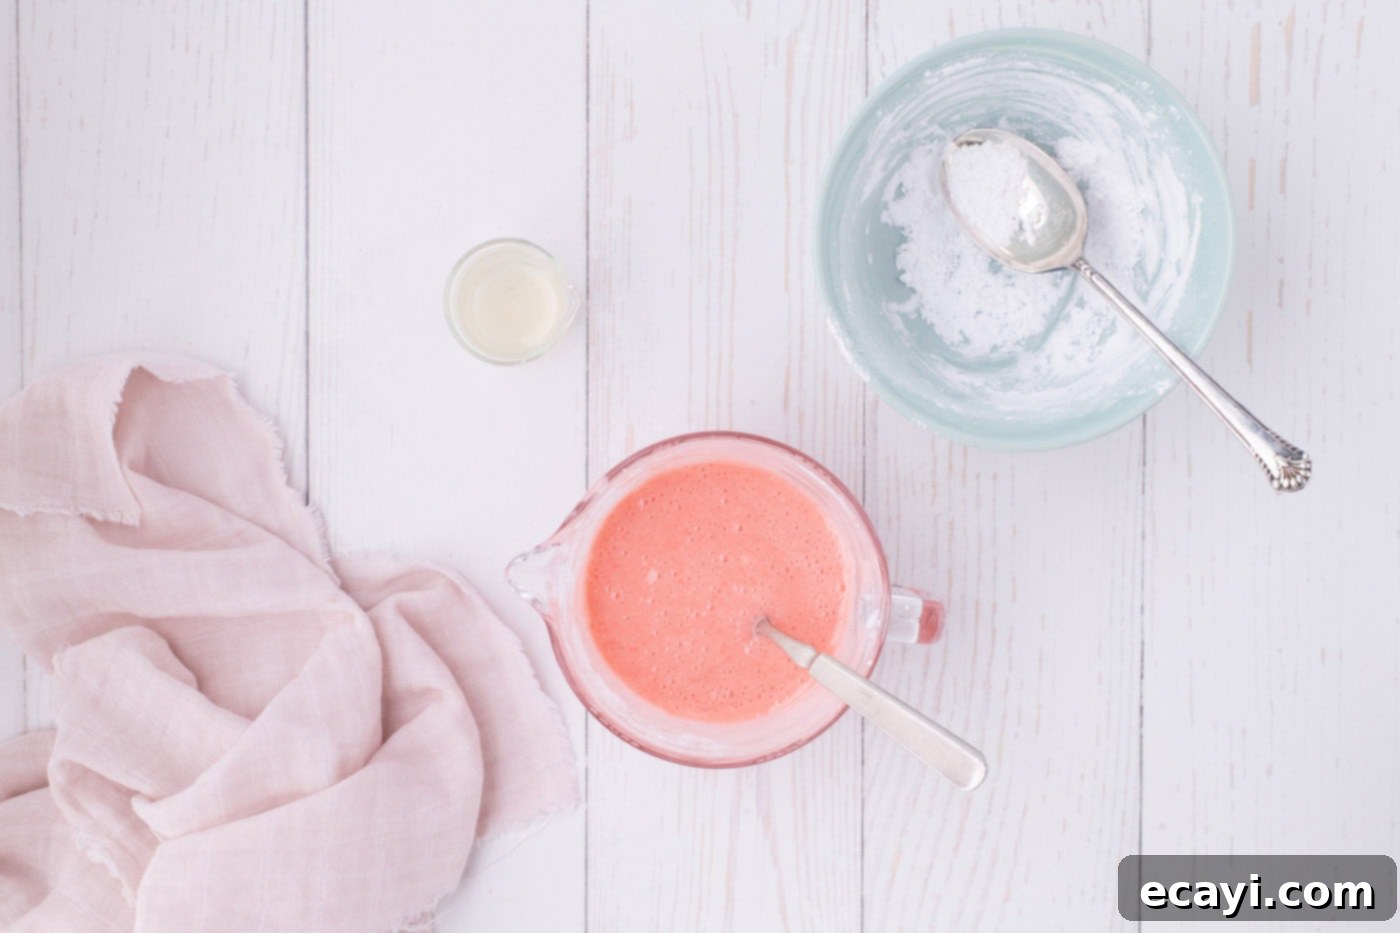
- Carefully transfer exactly 3 tablespoons of the collected strawberry juice to a small measuring cup or a pourable bowl. To this, add 3 tablespoons of fresh lemon juice and the powdered sugar. Whisk or stir vigorously until the mixture is completely smooth and thick. Remember, the ideal consistency for the glaze is similar to thick toothpaste – pourable but substantial enough to hold a decorative drip down the sides of the cake. If you prefer a thinner, more runny glaze, you can gradually add additional strawberry juice (or a tiny bit of water/milk) in 1-teaspoon increments until your desired consistency is achieved.


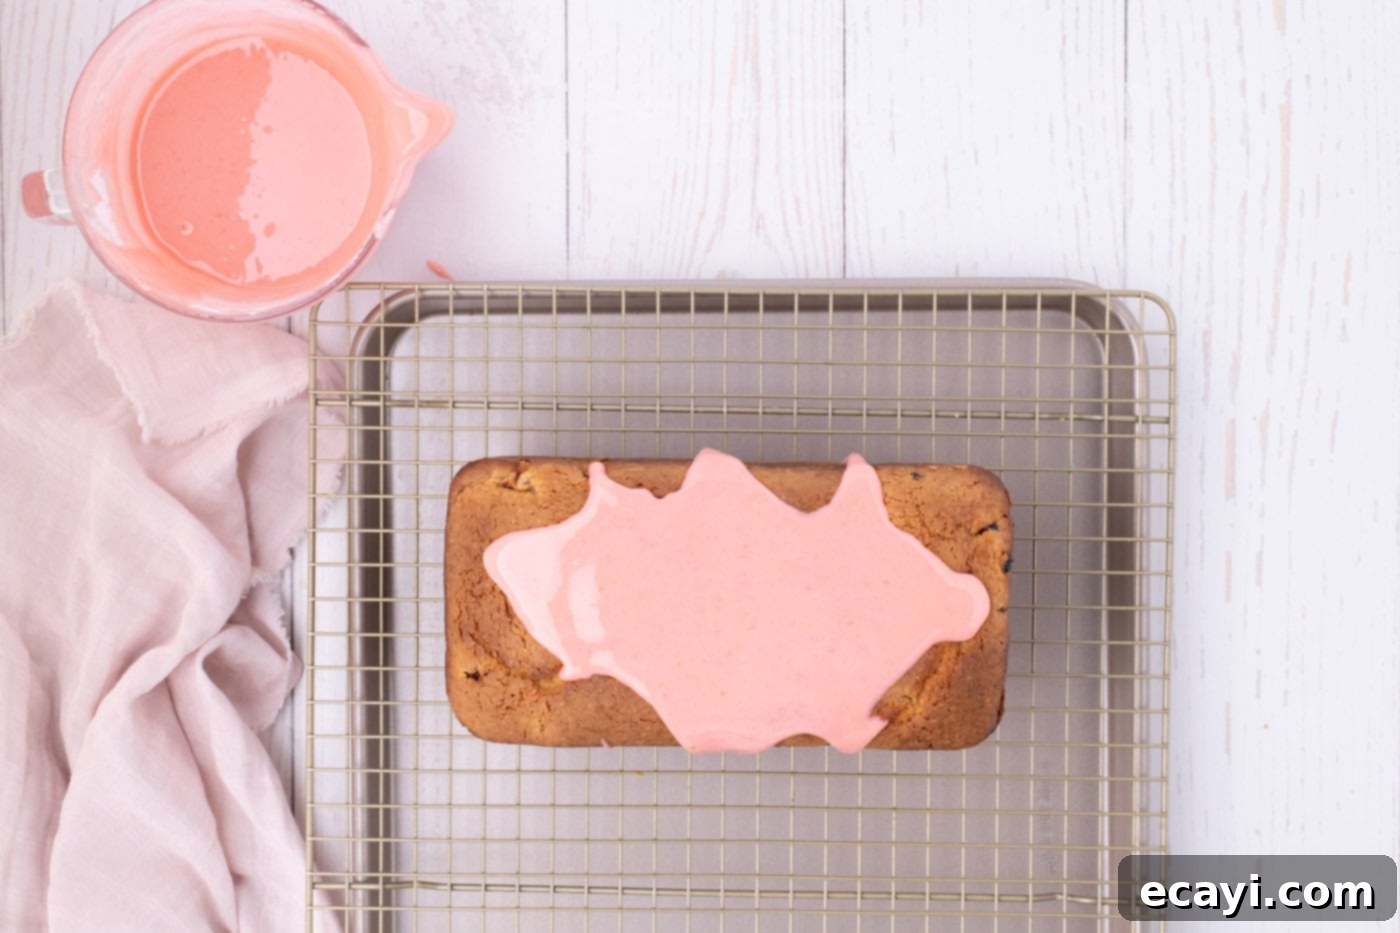
- Once your pound cake has cooled sufficiently, carefully remove it from the loaf pan, peeling away the parchment paper. Place the cooled cake on a wire rack, which should be set over a baking sheet or a piece of parchment paper to catch any excess glaze drips. Slowly and evenly pour the prepared strawberry glaze over the top of the pound cake, allowing it to naturally cascade down the sides for a beautiful finish.

- Allow the glaze ample time to set and firm up before you proceed to slice and serve your magnificent strawberry pound cake. This ensures the glaze doesn’t smudge and provides a clean, beautiful presentation.
Frequently Asked Questions & Expert Tips for Strawberry Pound Cake
Here are answers to common questions and additional expert advice to help you master this delicious strawberry pound cake.
While the recipe specifically calls for fresh strawberries to achieve the best flavor and texture, frozen berries can be used in a pinch. However, you must be very careful: frozen strawberries contain significantly more water, which can lead to a gluey or soggy pound cake. If you opt for frozen, thaw them completely and then pat them extremely dry with paper towels to remove as much excess moisture as possible. You may also want to toss them in an extra tablespoon of flour to help absorb any remaining liquid. Be aware that the texture and overall freshness will be superior with fresh berries.
It is highly recommended to stick with a metal loaf pan for this pound cake. Metal pans are superior heat conductors, meaning they heat up quickly and distribute heat evenly, which is crucial for achieving a beautiful rise and a perfectly cooked interior in pound cakes. Glass or ceramic pans tend to heat more slowly and retain heat longer, which can result in a cake with a dark, overcooked exterior and a potentially undercooked center. For consistent baking results and that ideal pound cake texture, a metal pan is your best choice.
Several factors can contribute to a pound cake collapsing during baking. One common culprit is over-whipping the eggs, which incorporates too much air that can then deflate as the cake bakes. Always mix eggs only until just combined into the batter. Another significant reason is inconsistent oven temperature; ensure your oven is accurately calibrated with an oven thermometer and avoid opening the oven door too frequently, as sudden temperature drops can cause a cake to fall. Also, vigorously closing the oven door can jostle the delicate structure of a rising cake, leading to a collapse. Lastly, an incorrectly measured amount of leavening agent (baking powder) or insufficient creaming of butter and sugar (which traps air) can also be factors.
To keep your strawberry pound cake fresh and moist, store it in an airtight container at room temperature for 2-3 days. If you wish to extend its shelf life, wrap it well with plastic wrap or aluminum foil and store it in the refrigerator for up to 5-6 days. Make sure the glaze has fully set before wrapping to prevent it from sticking.
Absolutely! Freezing is an excellent way to preserve your pound cake for future enjoyment. If you plan on freezing it, it’s highly recommended to hold off on applying the glaze until after thawing. This prevents the glaze from getting smushed or sticky when wrapped. To freeze, ensure the pound cake is completely cooled. Wrap it tightly a few times in plastic wrap, followed by a layer of heavy-duty aluminum foil, or place it in a gallon-sized freezer bag, pressing out as much air as possible. It can be stored in the freezer for up to 3 months. When you’re ready to enjoy it, thaw the pound cake overnight at room temperature before glazing and serving.
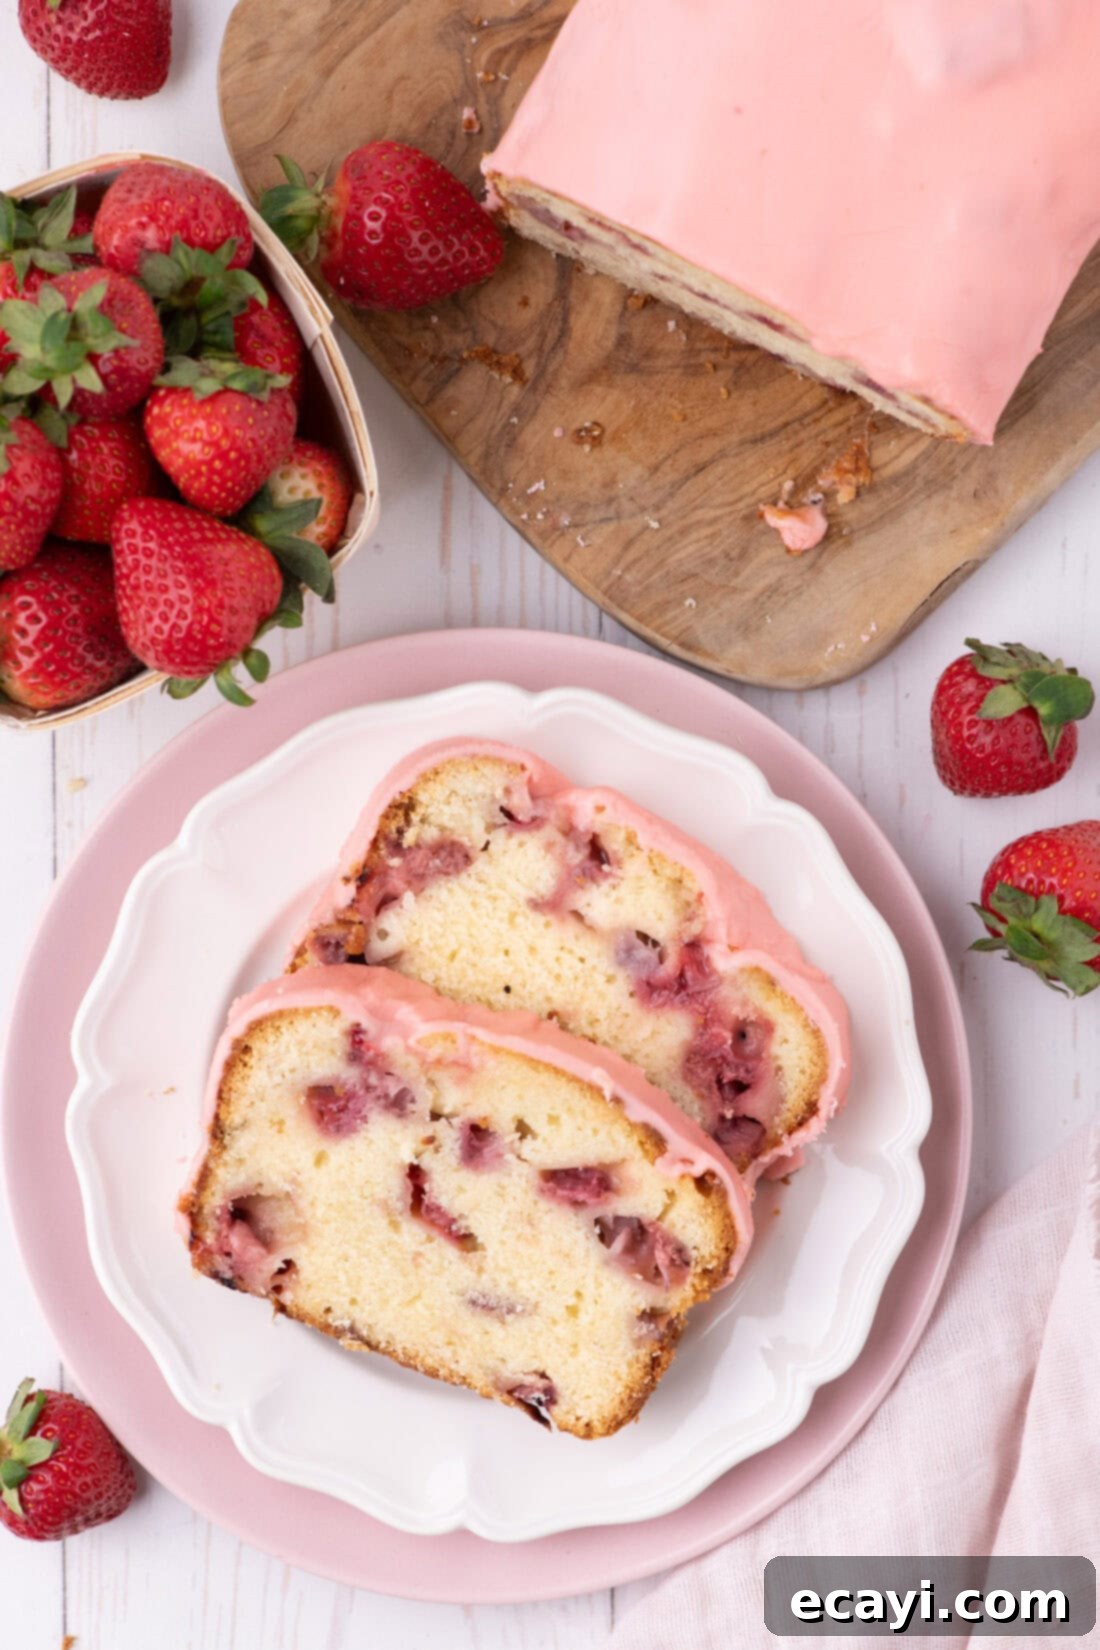
Delightful Serving Suggestions for Your Strawberry Pound Cake
Once your stunning strawberry pound cake is cooled and glazed, simply slice and serve! This cake is wonderfully versatile and absolutely divine, whether enjoyed with or without its sweet, tangy pink glaze. If you’re not a fan of glaze, a simple dusting of powdered sugar offers an equally elegant and delicious alternative. Pair a generous slice with a hot cup of freshly brewed coffee or a soothing herbal tea for a perfect morning indulgence. It also makes for a delightful mid-day snack, a refreshing dessert after a light lunch, or a sweet and satisfying treat to round off any dinner. For an extra special touch, consider serving it with a dollop of fresh whipped cream, a scoop of vanilla bean ice cream, or a side of additional fresh strawberry slices. Enjoy every delightful bite!
More Irresistible Strawberry Recipes to Explore
If you adore the taste of fresh strawberries as much as we do, you’re in luck! There are countless ways to enjoy this beloved fruit in various desserts. Here are a few more fantastic strawberry recipes you might enjoy trying:
- Strawberry Lasagna: A no-bake dessert featuring layers of creamy goodness and fresh berries.
- Strawberry Slab Pie: Perfect for feeding a crowd, this large-format pie is packed with juicy strawberries.
- Strawberry Icebox Cake: An easy, refreshing dessert that requires no baking, ideal for hot days.
- Strawberry Shortcake Trifle: Layers of classic strawberry shortcake elements assembled into an impressive dessert.
I absolutely love to bake and cook, and it brings me immense joy to share my kitchen experiences and cherished recipes with all of you! Remembering to come back each day to discover new culinary delights can sometimes be a challenge, which is precisely why I offer a convenient newsletter delivered straight to your inbox every time a new recipe posts. Simply subscribe today and start receiving your free daily recipes, ensuring you never miss out on delicious inspiration!
Strawberry Pound Cake
IMPORTANT – Don’t miss the detailed Frequently Asked Questions and Expert Tips sections within the blog post! They contain valuable advice to ensure your baking success. Simply scroll back up to read them!
Print It
Pin It
Rate It
Save ItSaved!
Ingredients
For the Moist Strawberry Pound Cake
- 2 ¼ cups all purpose flour divided (2 cups for batter, ¼ cup for strawberries)
- 2 teaspoons baking powder
- ½ teaspoon salt
- 1 cup granulated sugar
- ½ cup unsalted butter softened to room temperature
- 1 large egg + 1 egg yolk, both at room temperature
- ½ cup full fat sour cream at room temperature
- 1 ½ teaspoons vanilla extract
- 1 ½ cups diced fresh strawberries
- 2 teaspoons lemon juice freshly squeezed
For the Vibrant Strawberry Glaze
- 1 cup diced strawberries
- 2 Tablespoons granulated sugar
- 3 Tablespoons lemon juice freshly squeezed
- 2 ⅔ cups powdered sugar
Essential Equipment You’ll Need
-
9×5 metal loaf pan ensures even baking
-
Stand mixer or a powerful hand mixer
-
Fine mesh strainer for extracting strawberry juice
-
Wire cooling rack for proper air circulation
Important Notes Before You Begin Baking
- For the absolute best flavor and texture, always select ripe, bright red strawberries with fresh green caps. A 1-pound container is generally ample for both the cake and glaze.
- Ensure all your dairy and eggs are at room temperature. This critical step promotes proper emulsification and prevents a dense, unappealing cake texture.
- Fresh strawberries are highly recommended. Frozen berries can introduce too much water, leading to a gluey or less appealing pound cake texture. If using frozen, thaw and pat them very dry.
- A metal loaf pan is preferred over glass or ceramic due to its superior heat conduction, which results in a better rise and more even bake for pound cakes.
Detailed Instructions for Strawberry Pound Cake
Preparing the Pound Cake
-
Preheat your oven to 350°F (175°C). Grease a 9 x 5-inch metal loaf pan thoroughly and line the bottom and sides with parchment paper, leaving an overhang for easy removal.
-
In a medium-sized bowl, whisk together the 2 ¼ cups of all-purpose flour (separated as 2 cups for batter and ¼ cup for strawberries), baking powder, and salt. Set aside.
-
In the bowl of a stand mixer fitted with the paddle attachment, combine the granulated sugar and softened butter. Beat on high speed for five minutes until the mixture is very pale in color and fluffy.
TIP – This creaming process is crucial. The extended beating incorporates air, which helps the cake achieve a wonderful rise and tender texture. Don’t shorten this step!
-
Add the room-temperature large egg and egg yolk to the mixture. Mix on medium speed until just combined, ensuring not to overbeat.
-
Add half of the room-temperature full-fat sour cream and the vanilla extract. Mix until just combined on low speed.
-
Add 1 cup of the whisked flour mixture and mix until just combined, being careful not to overmix. Repeat this process by adding the remaining sour cream, mixing until combined, and then adding the final 1 cup of the flour mixture, mixing gently after each addition until just incorporated.
-
In a separate bowl, toss the 1 ½ cups of diced fresh strawberries with 2 teaspoons of freshly squeezed lemon juice. Let them stand for 2 minutes. Then, transfer these strawberries into the remaining ¼ cup of the flour mixture and stir until they are well coated. This step helps prevent the berries from sinking during baking.
-
Using a soft silicone spatula, gently fold 1 cup of the flour-coated strawberries into the prepared cake batter until evenly distributed.
-
Transfer approximately three-quarters of the strawberry batter into the prepared loaf pan, spreading it evenly. Evenly sprinkle the remaining coated strawberries over this layer of batter.
-
Gently spread the remaining batter over the top of the strawberries, making sure to reach all corners and smooth the surface as much as possible.
-
Bake for 60-65 minutes, or until a wooden toothpick inserted into the center of the cake comes out clean.
TIP – If the top of the cake begins to brown too quickly, loosely tent aluminum foil over the loaf pan for the remaining baking time to prevent over-browning.
-
Remove the loaf pan from the oven and allow the pound cake to cool in the pan for 1 hour before attempting to remove it. This prevents the cake from breaking or sticking.
To Make the Luscious Strawberry Glaze
-
In a small bowl, combine 1 cup of diced strawberries with 2 tablespoons of granulated sugar. Allow the mixture to sit for 10 minutes, enabling the strawberries to release their natural juices.
-
Place the sugared strawberries and their accumulated juices into a fine mesh sieve set over another bowl. Press gently to extract the juice. You’ll need exactly 3 tablespoons of strawberry juice for the glaze. If needed, muddle the strawberries lightly in the sieve to extract more liquid.
-
Transfer the 3 tablespoons of strawberry juice to a measuring cup or small pourable bowl. Stir in the 3 tablespoons of lemon juice and the powdered sugar until the glaze is completely smooth and thick.
TIP – The glaze should resemble thick toothpaste in consistency, ensuring it will beautifully coat the cake without running off too quickly. Adjust consistency with tiny amounts of extra juice or powdered sugar.
-
Once the pound cake is fully cooled, remove the parchment paper. Place the cake on a wire rack set over a baking sheet (to catch drips). Slowly pour the prepared glaze over the top, letting it drip decoratively down the sides.
-
Allow the strawberry glaze to fully set and harden before slicing and serving your magnificent strawberry pound cake. This usually takes about 15-30 minutes.
Extended Expert Tips & Frequently Asked Questions
- Storage Best Practices – To maintain optimal freshness, store your strawberry pound cake in an airtight container at room temperature for up to 2-3 days. If you need it to last longer, it can be stored in the refrigerator for 5-6 days. Always ensure the glaze is completely set before placing it in a container to prevent sticking.
- Freezing for Future Enjoyment – Yes, this pound cake freezes wonderfully! For best results when freezing, I highly recommend holding off on applying the glaze until you’ve thawed the cake. This prevents the glaze from becoming damaged or smushed during wrapping and storage. To freeze, ensure the pound cake is completely cooled. Wrap the entire loaf tightly a few times in plastic wrap, followed by a layer of aluminum foil (or place it in a large, gallon-sized freezer bag, removing as much air as possible). Store in the freezer for up to 3 months. To serve, thaw the frozen pound cake at room temperature for several hours or overnight, then prepare and apply the glaze just before serving.
Nutritional Information
The recipes on this blog are tested with a conventional gas oven and gas stovetop. It’s important to note that some ovens, especially as they age, can cook and bake inconsistently. Using an inexpensive oven thermometer can assure you that your oven is truly heating to the proper temperature. If you use a toaster oven or countertop oven, please keep in mind that they may not distribute heat the same as a conventional full sized oven and you may need to adjust your cooking/baking times. In the case of recipes made with a pressure cooker, air fryer, slow cooker, or other appliance, a link to the appliances we use is listed within each respective recipe. For baking recipes where measurements are given by weight, please note that results may not be the same if cups are used instead, and we can’t guarantee success with that method.
