Delightful Watermelon Cookies: Your Ultimate Guide to Creating Festive Summer Sugar Cookie Treats
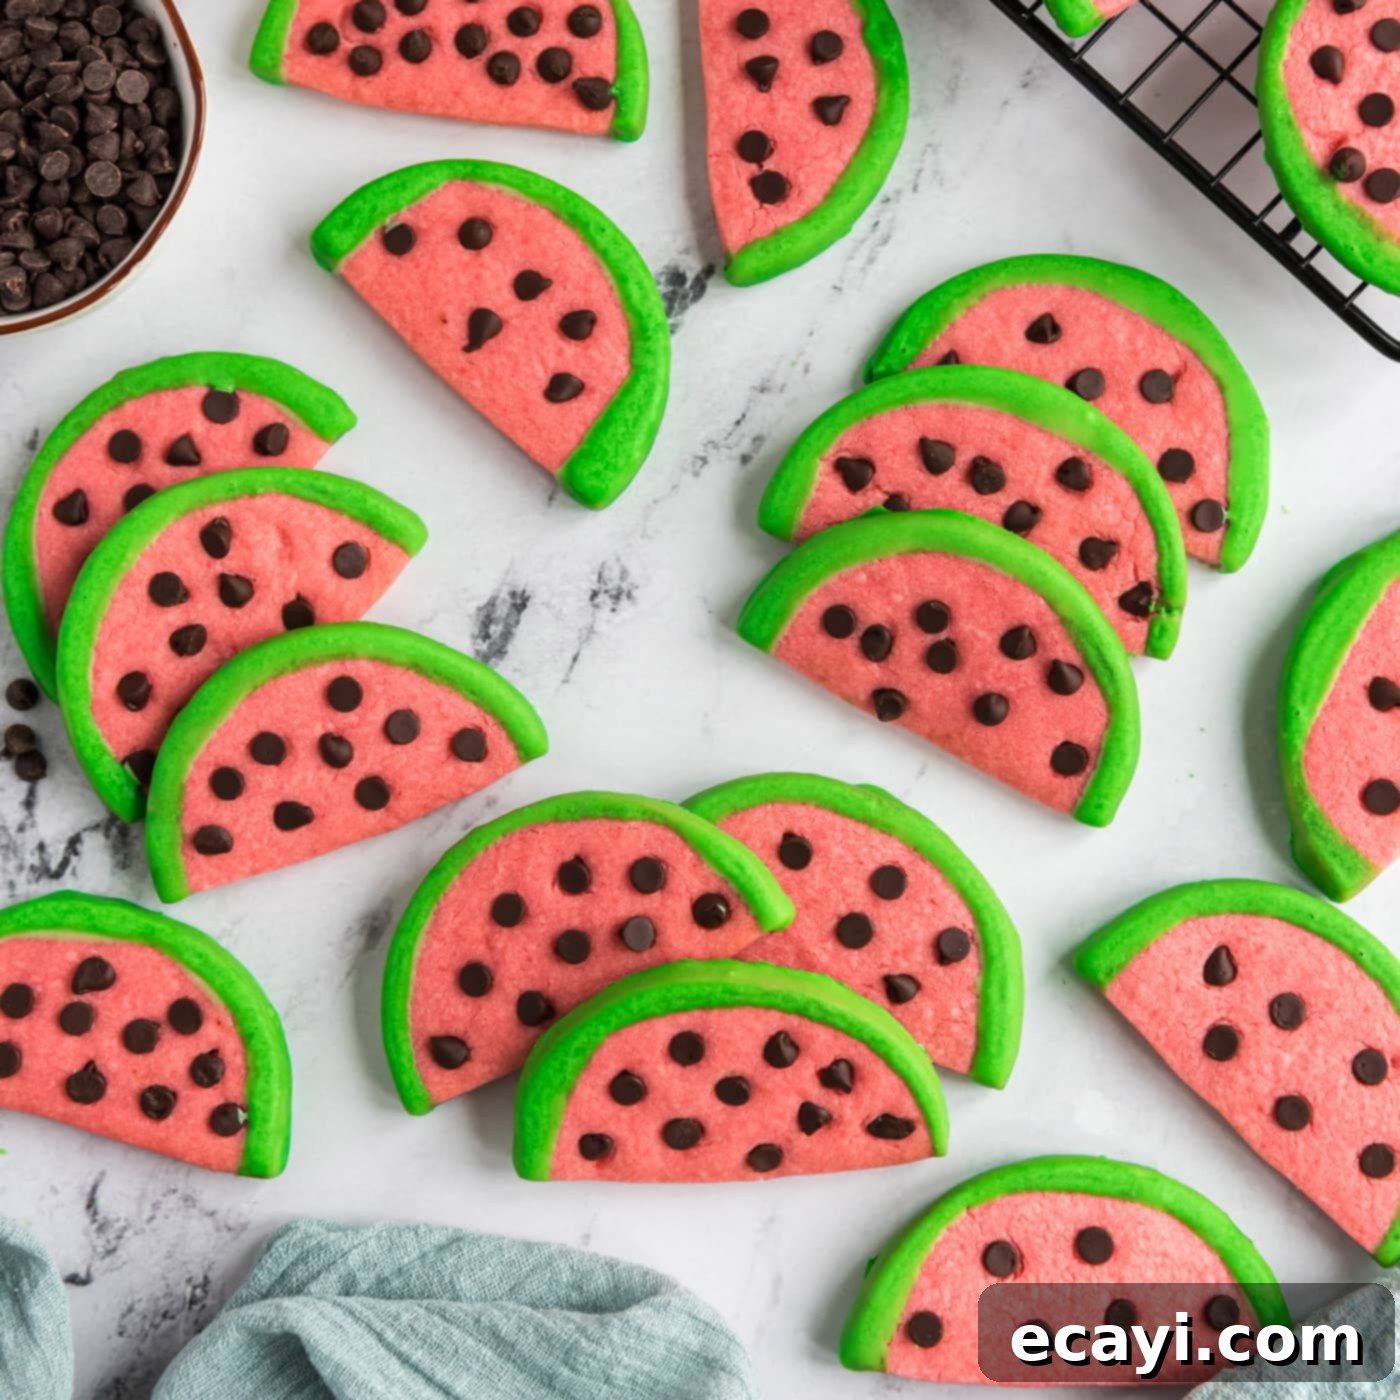
These adorable watermelon cookies are a true celebration of summer, bringing a touch of playful charm to any gathering. Starting with a classic, tender sugar cookie dough, they are artfully dotted with miniature chocolate chips to mimic the seeds of a watermelon. The magic truly happens when these delightful cookies are rolled in a vibrant, colored glaze, perfectly replicating the look of your favorite juicy summer fruit! While they may not taste like watermelon, their cheerful appearance and sweet, buttery flavor make them absolutely irresistible.
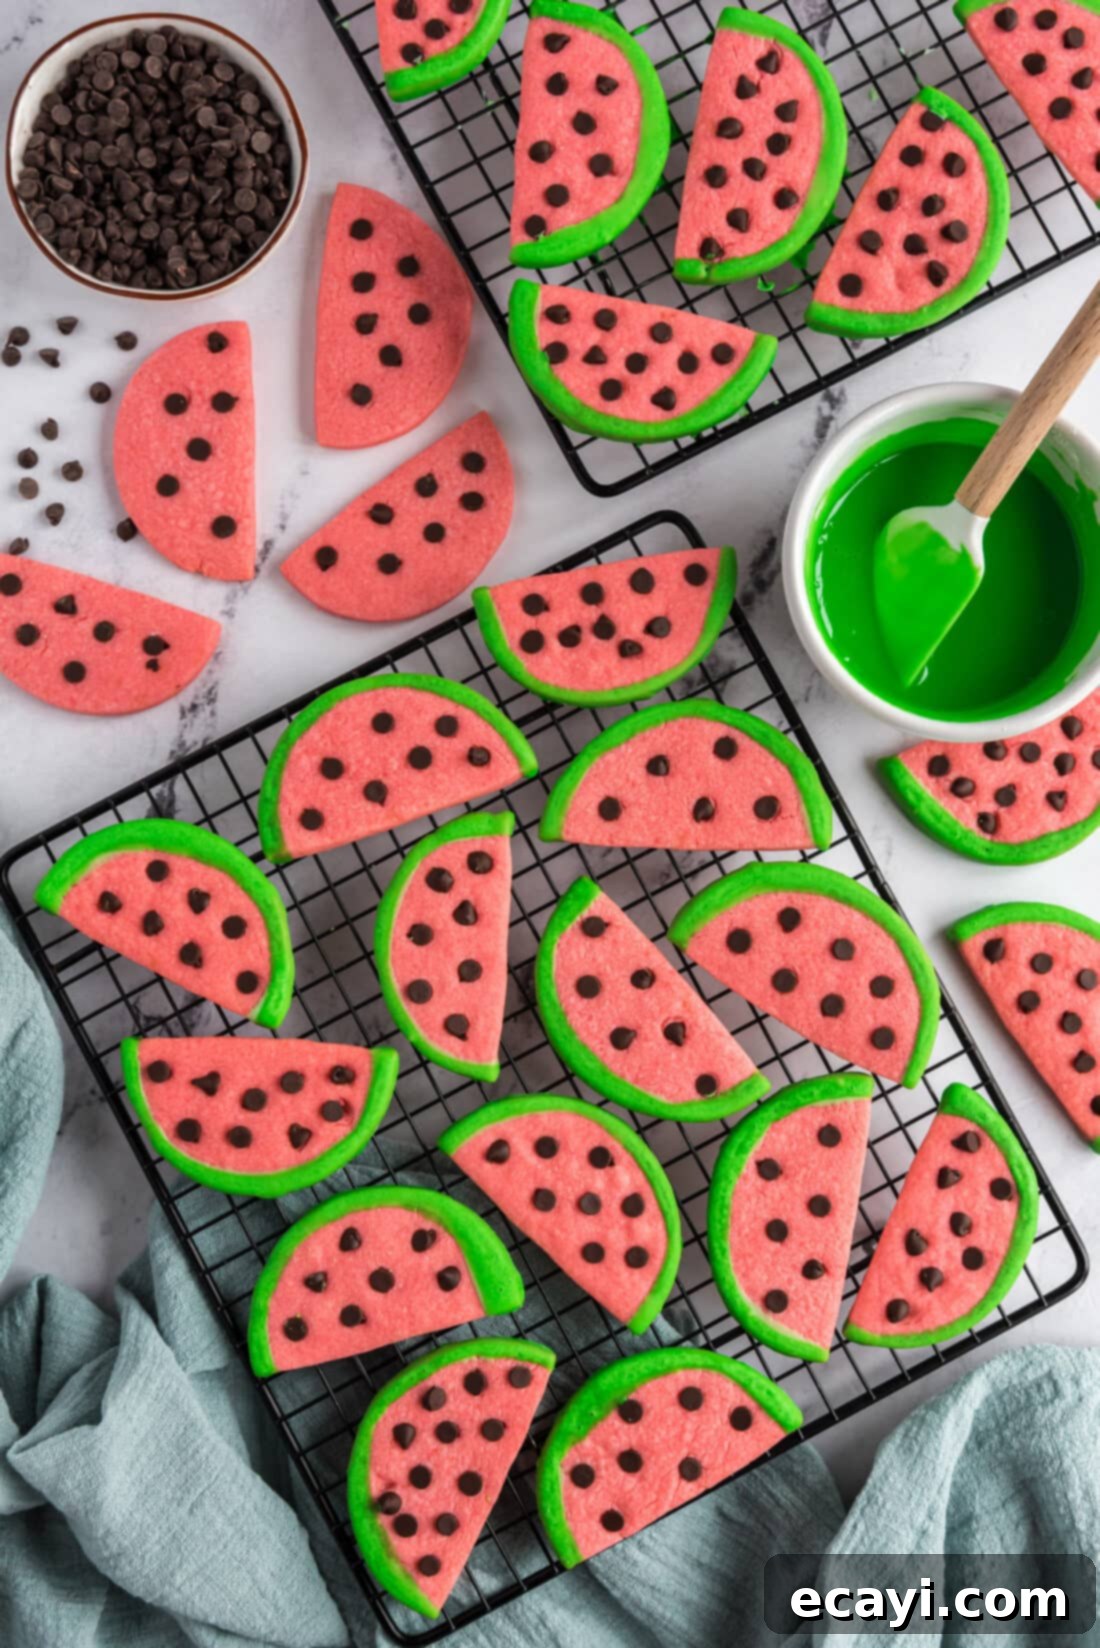
Why This Watermelon Cookie Recipe Works
Watermelon cookies are more than just a dessert; they’re a conversation starter and a guaranteed crowd-pleaser, especially during the warmer months. This recipe stands out for several reasons. First, it uses a reliable and delicious sugar cookie base that bakes up perfectly every time, offering a soft, chewy texture that everyone loves. The simple addition of a few drops of red food coloring to the dough gives it a subtle pink hue, enhancing the illusion of a ripe watermelon slice even before the glaze is applied.
The beauty of these cookies lies in their visual appeal. They perfectly capture the essence of summer fun without the fuss of complicated decorating techniques. Dipping and rolling the cookie halves in a vibrant green glaze creates that iconic watermelon rind, while mini chocolate chips are strategically placed to resemble the seeds. This clever design makes them an instant hit at summer picnics, BBQs, pool parties, and cookouts. They are incredibly festive and bring a smile to every face, young and old. Despite their lack of actual watermelon flavor, their charming appearance ensures they never last long on the dessert table. They’re a testament to how simple ingredients can create a truly spectacular and memorable treat.
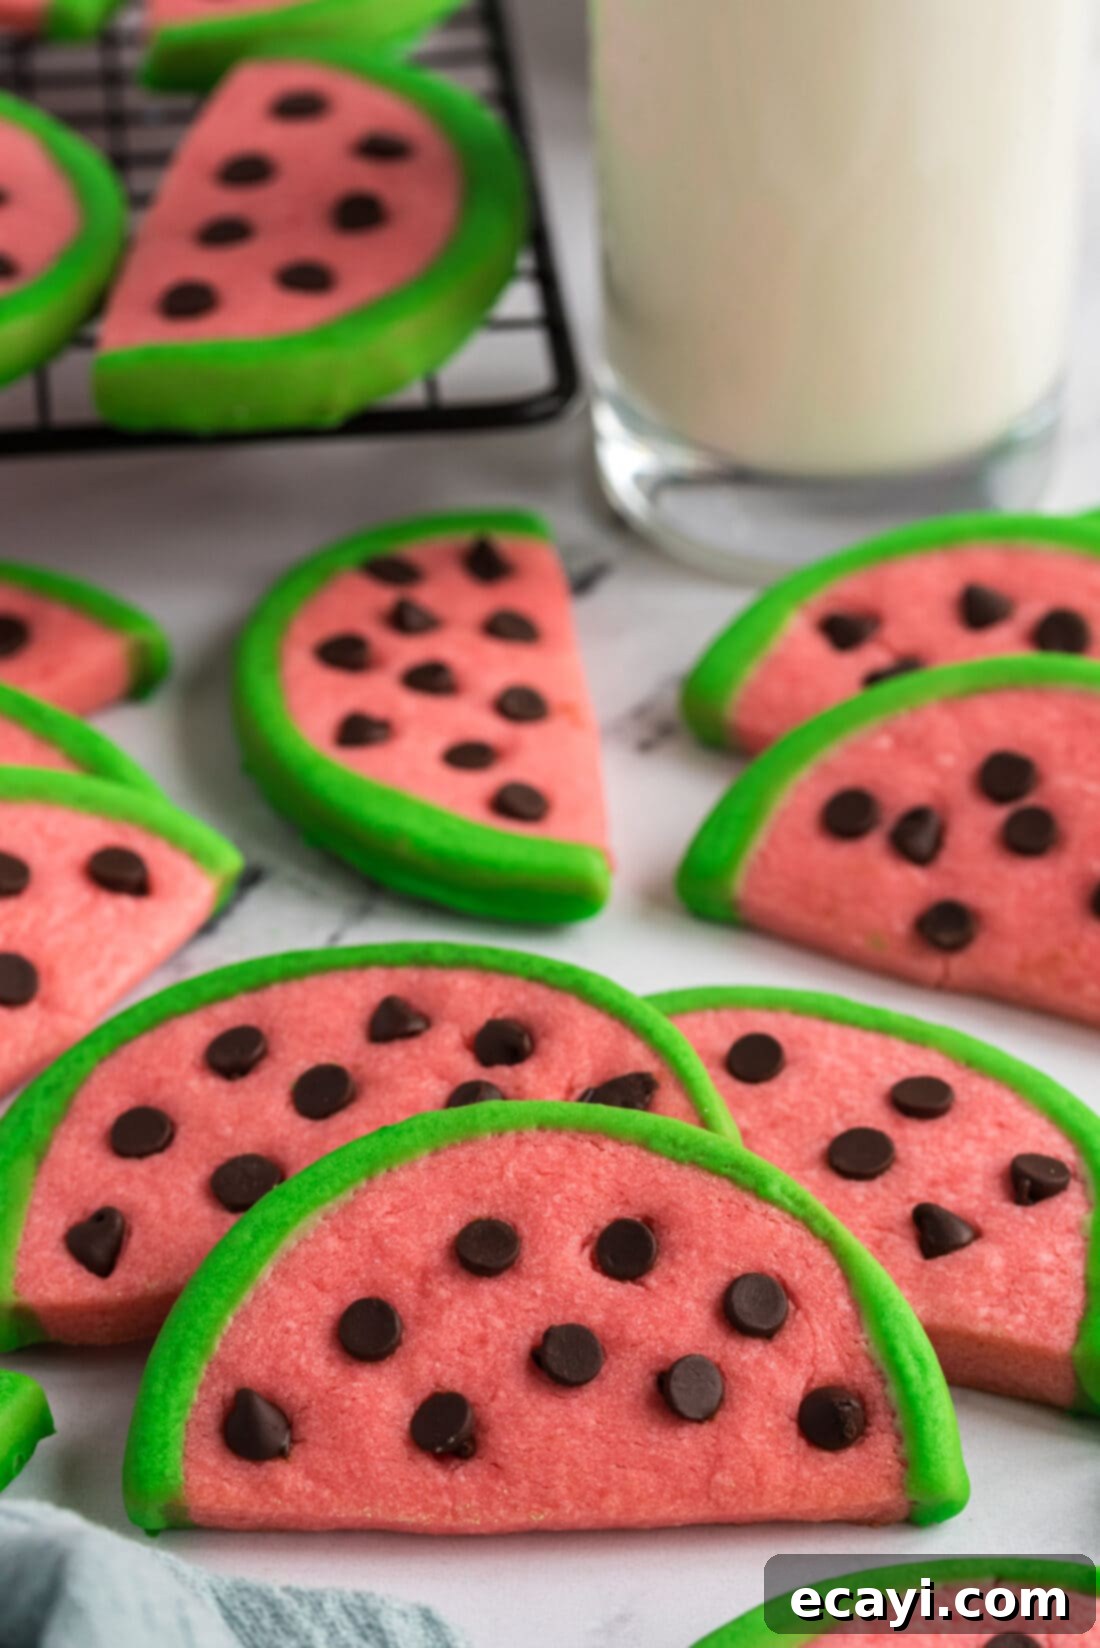
Essential Ingredients for Watermelon Sugar Cookies
To create these delightful watermelon-themed sugar cookies, you’ll need a selection of common baking staples for the cookie dough and a few simple items for the vibrant glaze. All precise measurements and detailed instructions can be found in the printable recipe card at the very end of this post.
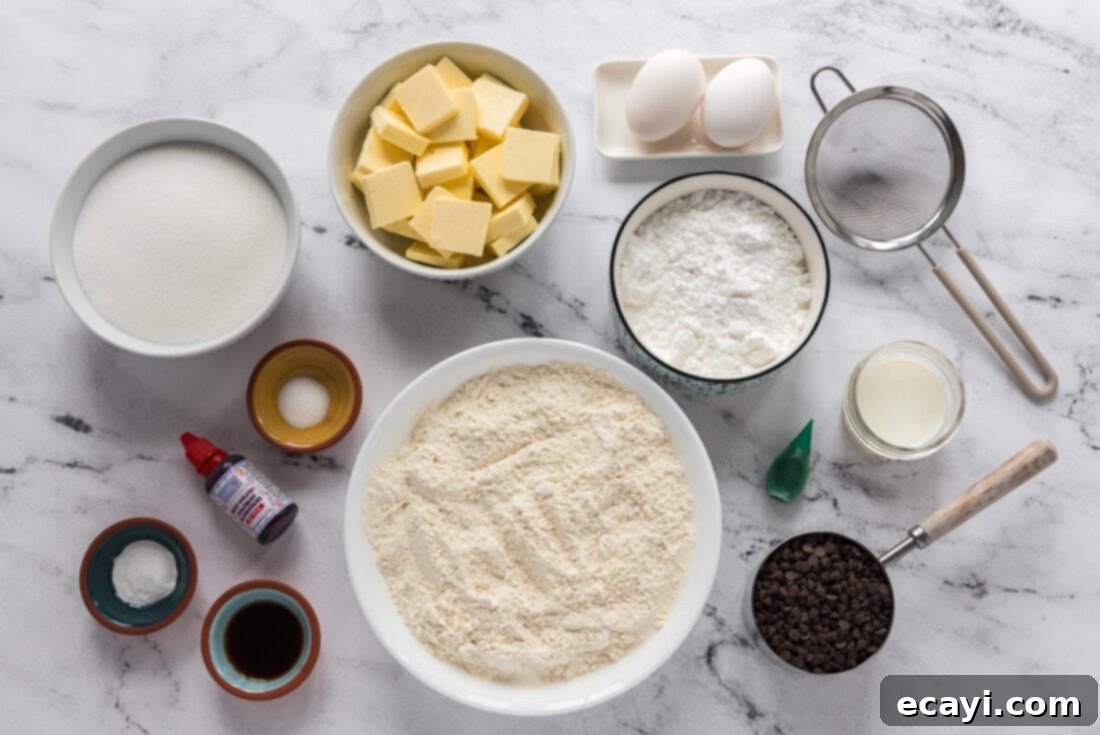
Ingredient Information and Expert Substitution Advice
Let’s dive deeper into the ingredients you’ll need and some helpful tips for each to ensure your watermelon cookies turn out perfectly.
For the Cookie Dough:
- Flour: All-purpose flour is the standard choice here, providing the necessary structure for a classic sugar cookie. Sifting it beforehand can help prevent lumps and ensure a lighter, airier dough.
- Baking Powder & Salt: These are your leavening and flavor agents. Baking powder helps the cookies rise slightly, giving them a tender texture, while salt balances the sweetness and enhances all the flavors. Don’t skip the salt!
- Unsalted Butter: Using cold, unsalted butter is key for a sturdy sugar cookie that holds its shape. When butter is cold and cut into small pieces, it incorporates into the dough more evenly without overworking it, leading to a more tender cookie. If you only have salted butter, you can reduce the added salt in the recipe by ¼ teaspoon per stick of butter used.
- Granulated Sugar: This provides sweetness and contributes to the cookie’s tender texture. Using granulated sugar helps achieve that crisp edge and soft center.
- Eggs: Eggs act as a binder, adding moisture and richness to the dough, which helps hold the cookies together and gives them a desirable chewiness.
- Vanilla Extract: A crucial flavor enhancer, vanilla extract brings warmth and depth to the sweet sugar cookie base. Pure vanilla extract is always recommended for the best flavor.
- Red Food Coloring: A small amount of red food coloring (or pink) is added to the dough to give it a subtle watermelon flesh color. Paste gel food coloring is often more concentrated and provides a more vibrant hue with less liquid, but liquid food coloring works just as well; you might just need a few extra drops.
For the Glaze:
- Powdered Sugar: Also known as confectioners’ sugar, this is the base for our smooth, quick-setting glaze. Sifting it is highly recommended to remove any lumps and ensure a perfectly smooth consistency.
- Milk: A small amount of milk (dairy or non-dairy) is used to achieve the right consistency for the glaze. Start with the minimum amount and add more gradually, drop by drop, until you reach a consistency that’s thick enough to coat the cookies but thin enough to drip smoothly.
- Green Food Coloring: This is what gives our “watermelon rind” its characteristic color. Similar to the red food coloring for the dough, paste gel food coloring will yield a more intense green. If using liquid food coloring, you may need 15-20 drops or more to achieve a bright, appealing green.
Plus:
- Miniature Semi-Sweet Morsels: These tiny chocolate chips are perfect for mimicking watermelon seeds. Their size is ideal, and the semi-sweet flavor provides a nice contrast to the sweet cookie and glaze.
How to Make Delicious Watermelon Cookies
These step-by-step photos and detailed instructions are here to guide you through the process of making this fun recipe. For a quick reference or to print, you can Jump to Recipe to get the complete printable version with all measurements and instructions at the bottom of the page.
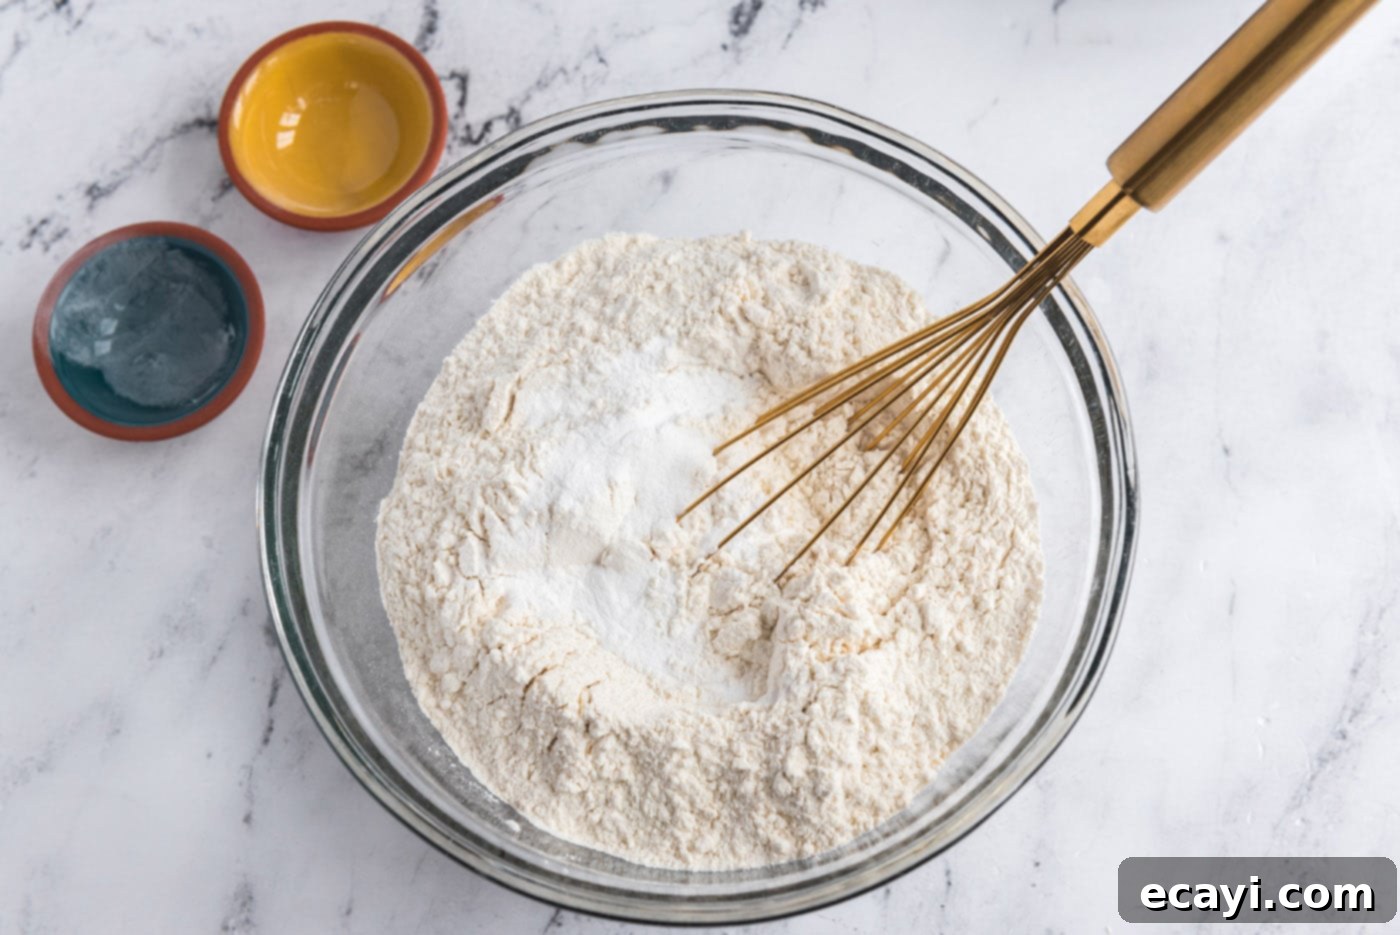
- Combine Dry Ingredients: In a medium-sized mixing bowl, thoroughly whisk together the all-purpose flour, baking powder, and salt. This ensures these dry ingredients are evenly distributed throughout the dough. Once mixed, set this bowl aside.

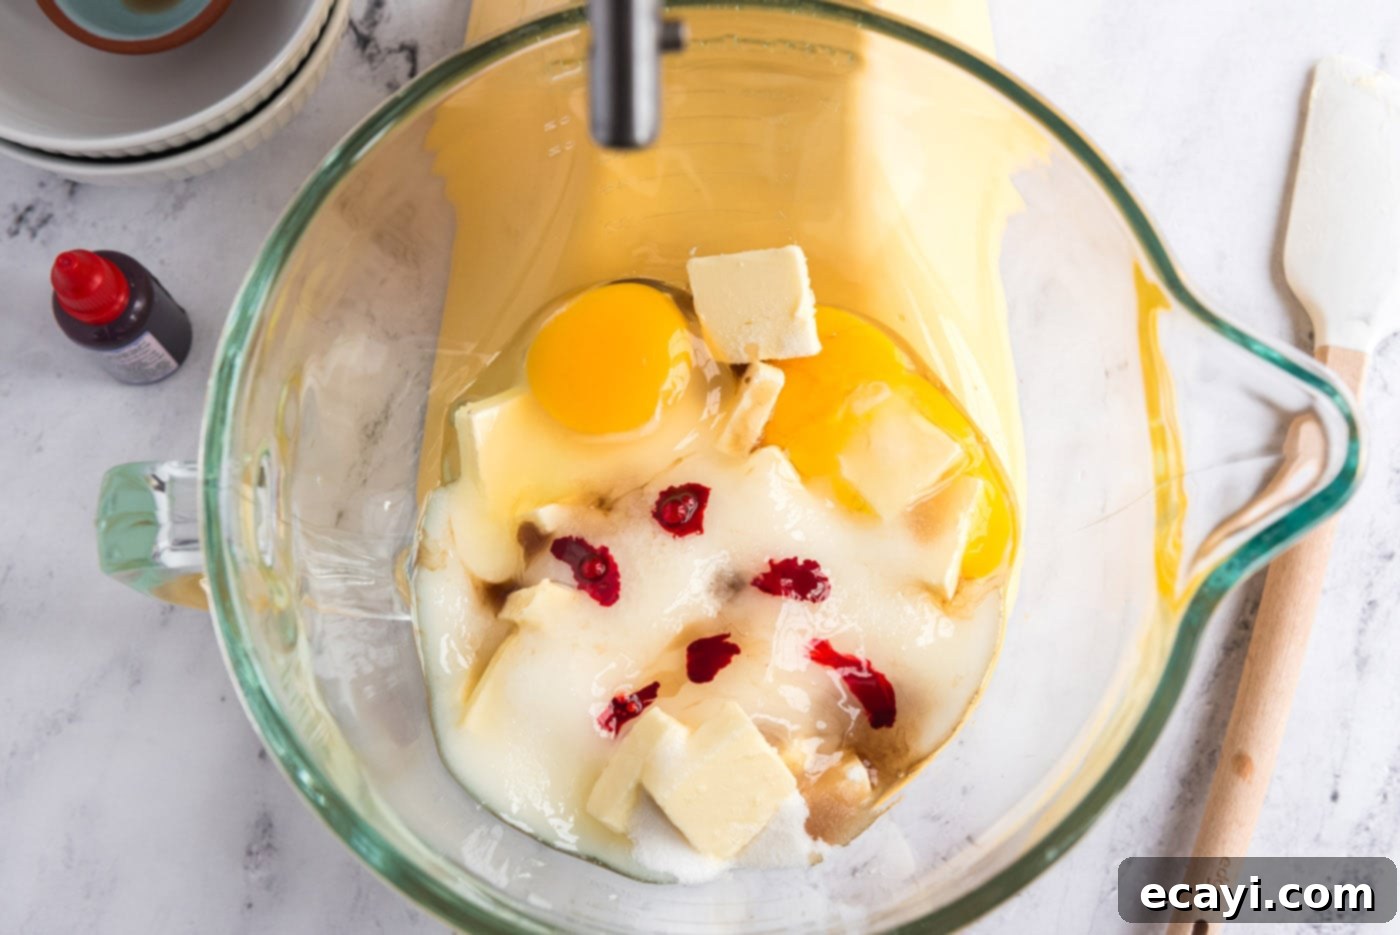
- Cream Wet Ingredients: In the bowl of your stand mixer (or using a hand mixer), add the cold butter slices, granulated sugar, eggs, vanilla extract, and red food coloring. Begin beating these ingredients together on medium speed until they are well incorporated. It’s perfectly normal if you still see small lumps of butter at this stage; they will fully combine as you add the flour.

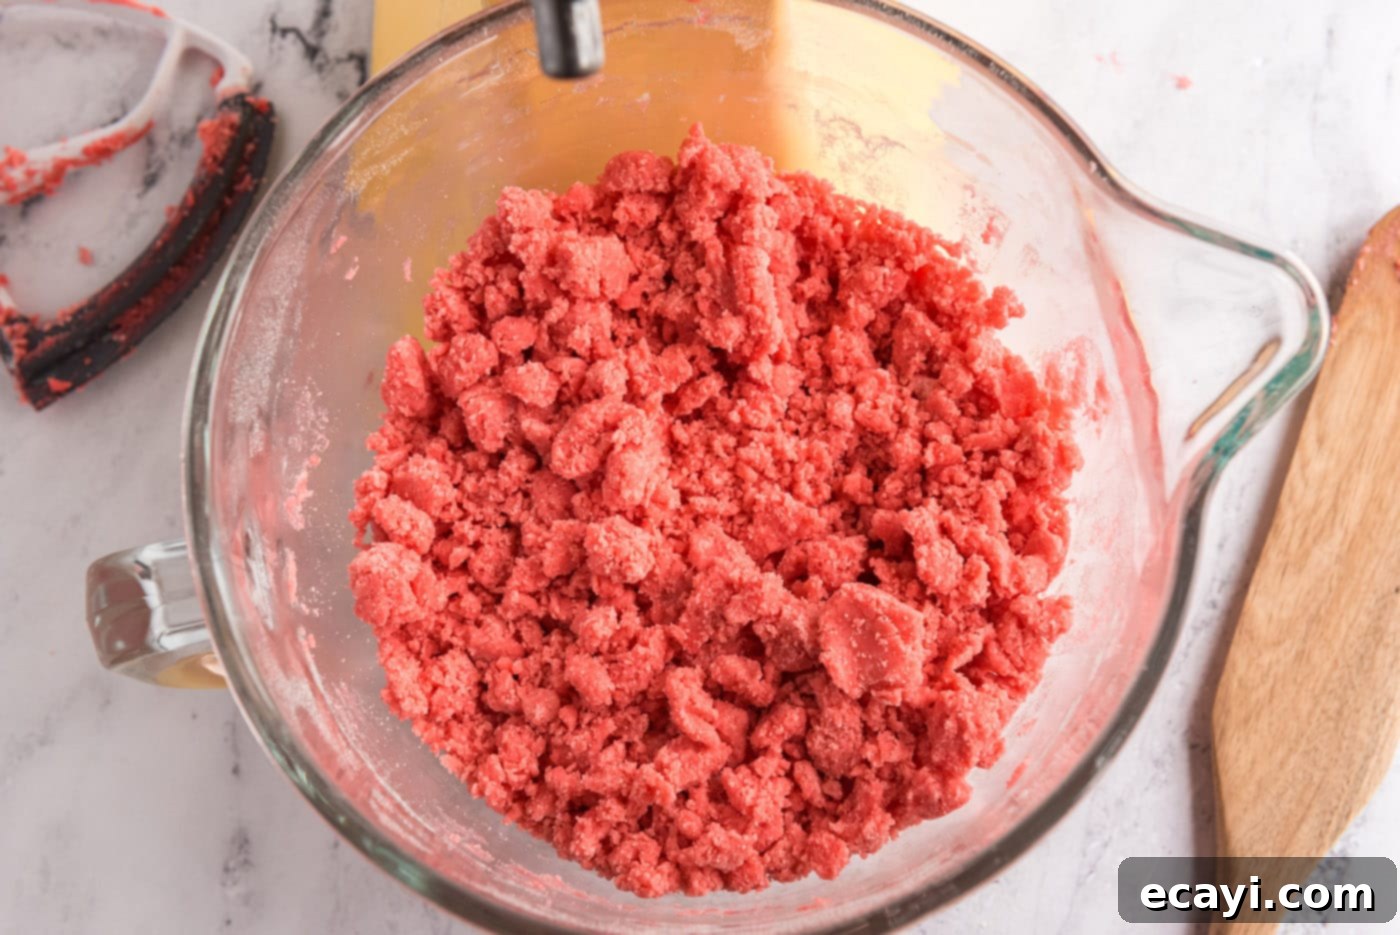
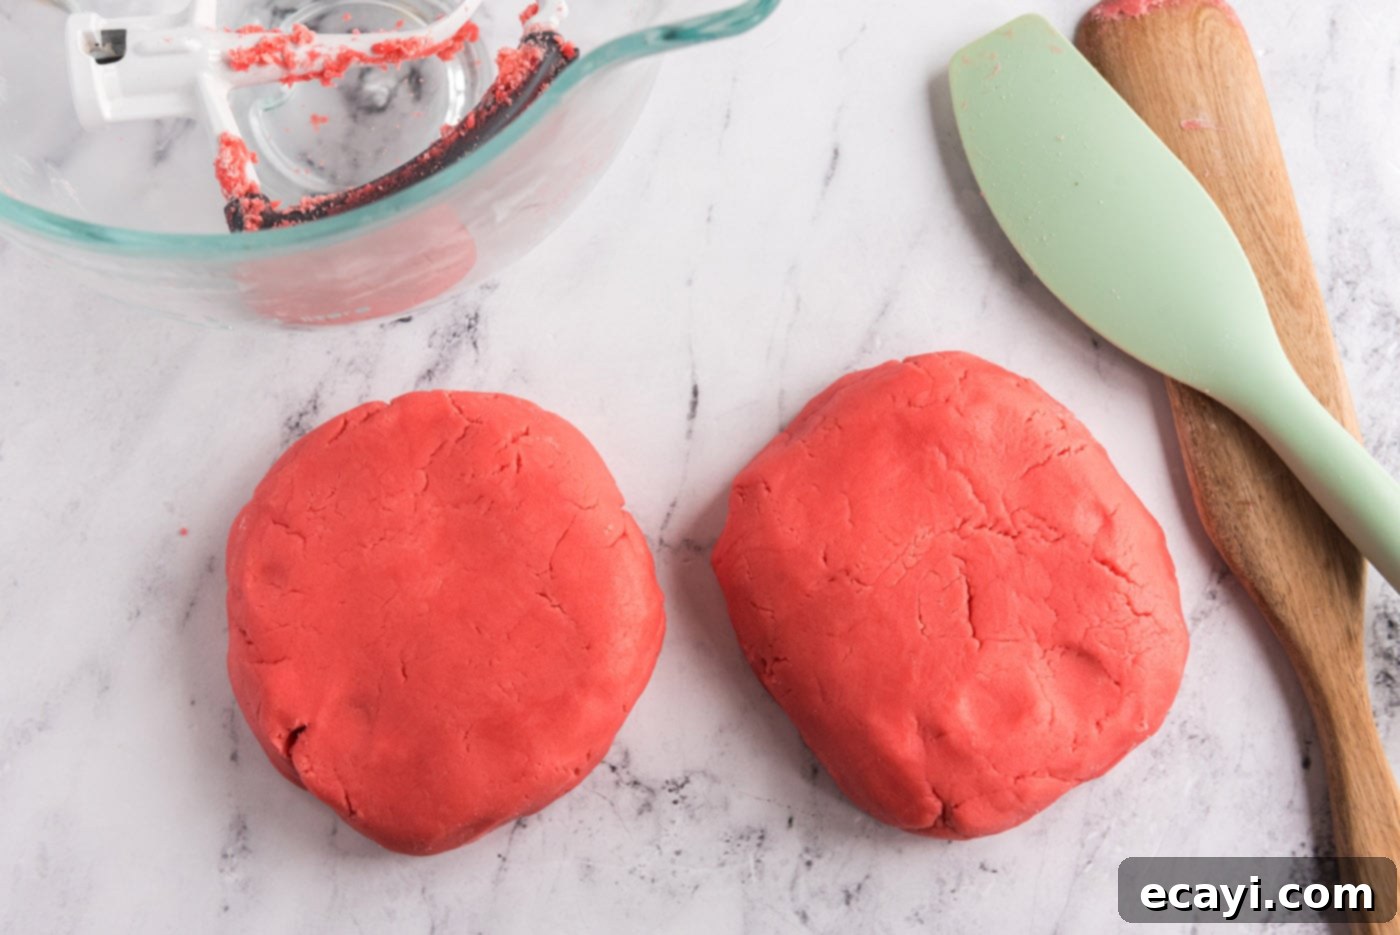
- Form the Dough: Reduce your mixer speed to low. Gradually add the reserved flour mixture to the wet ingredients, mixing until everything is just incorporated and no streaks of dry flour remain. Be careful not to overmix, as this can lead to tough cookies. Use a sturdy rubber spatula to gather all the dough together from the sides and bottom of the bowl, ensuring a uniform consistency.

- Chill the Dough: Remove the cookie dough from the bowl and divide it into two equal batches. For each batch, place it between two sheets of parchment paper. Using a rolling pin, roll the dough out evenly to approximately ¼ inch thickness. Rolling between parchment paper prevents sticking and makes transfer easier. Once rolled, place both batches of dough in the refrigerator to chill for at least two hours. This chilling step is crucial; it helps prevent the cookies from spreading too much during baking and ensures they hold their shape beautifully.

- Prepare for Baking: Preheat your oven to 400°F (200°C). Prepare your baking sheets; insulated baking sheets are highly recommended for even baking and to prevent the bottoms from browning too quickly. If you don’t have insulated sheets, line regular baking sheets with parchment paper or silicone baking mats.
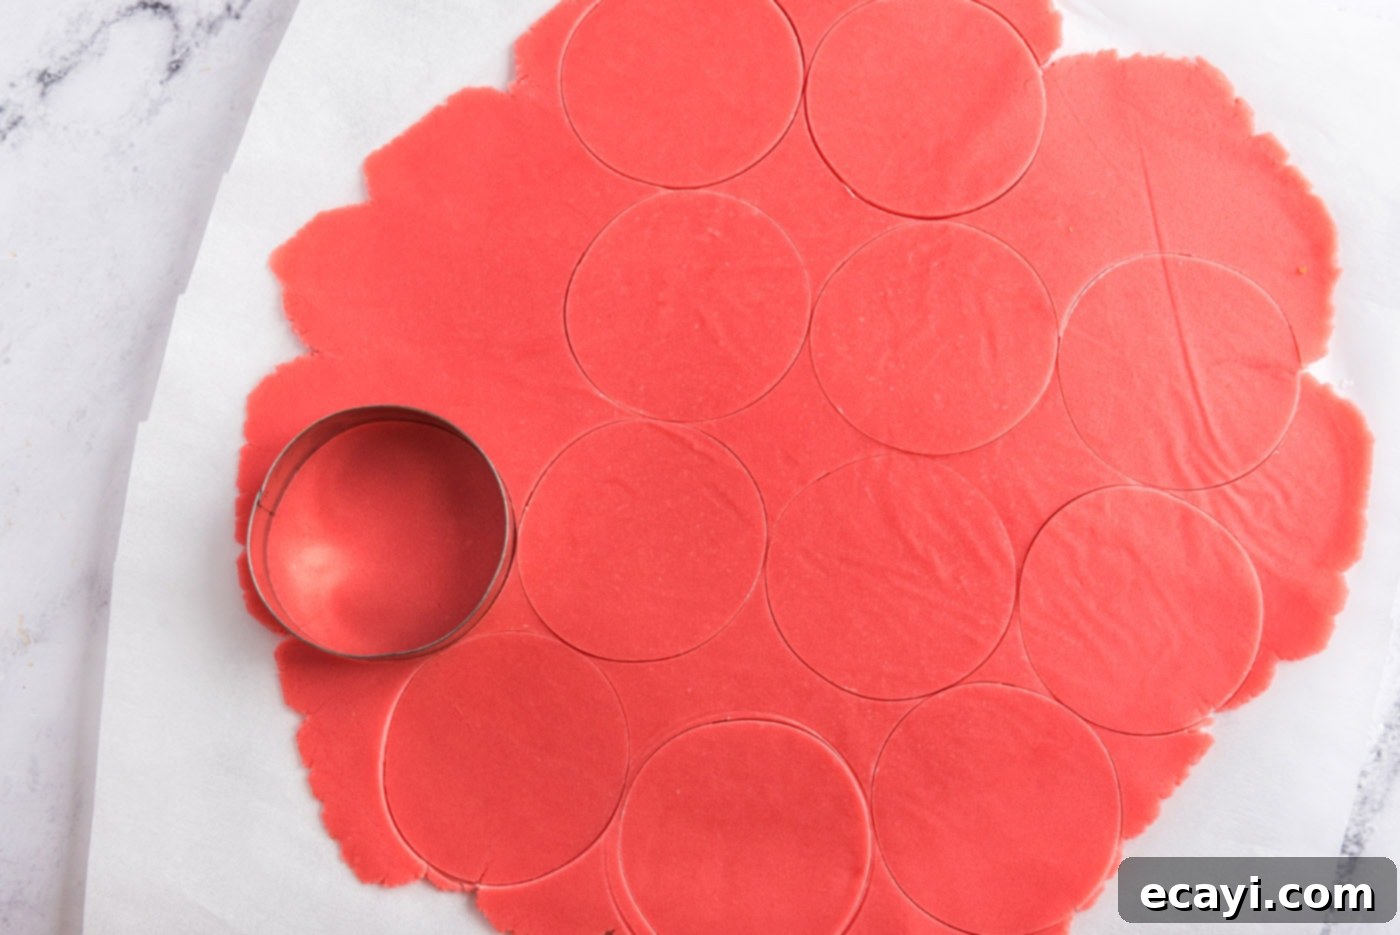
- Cut Out Cookie Shapes: Take one batch of chilled dough out of the refrigerator. Using a round cookie cutter or biscuit cutter (approximately 2 inches in diameter), cut out as many circles as possible.

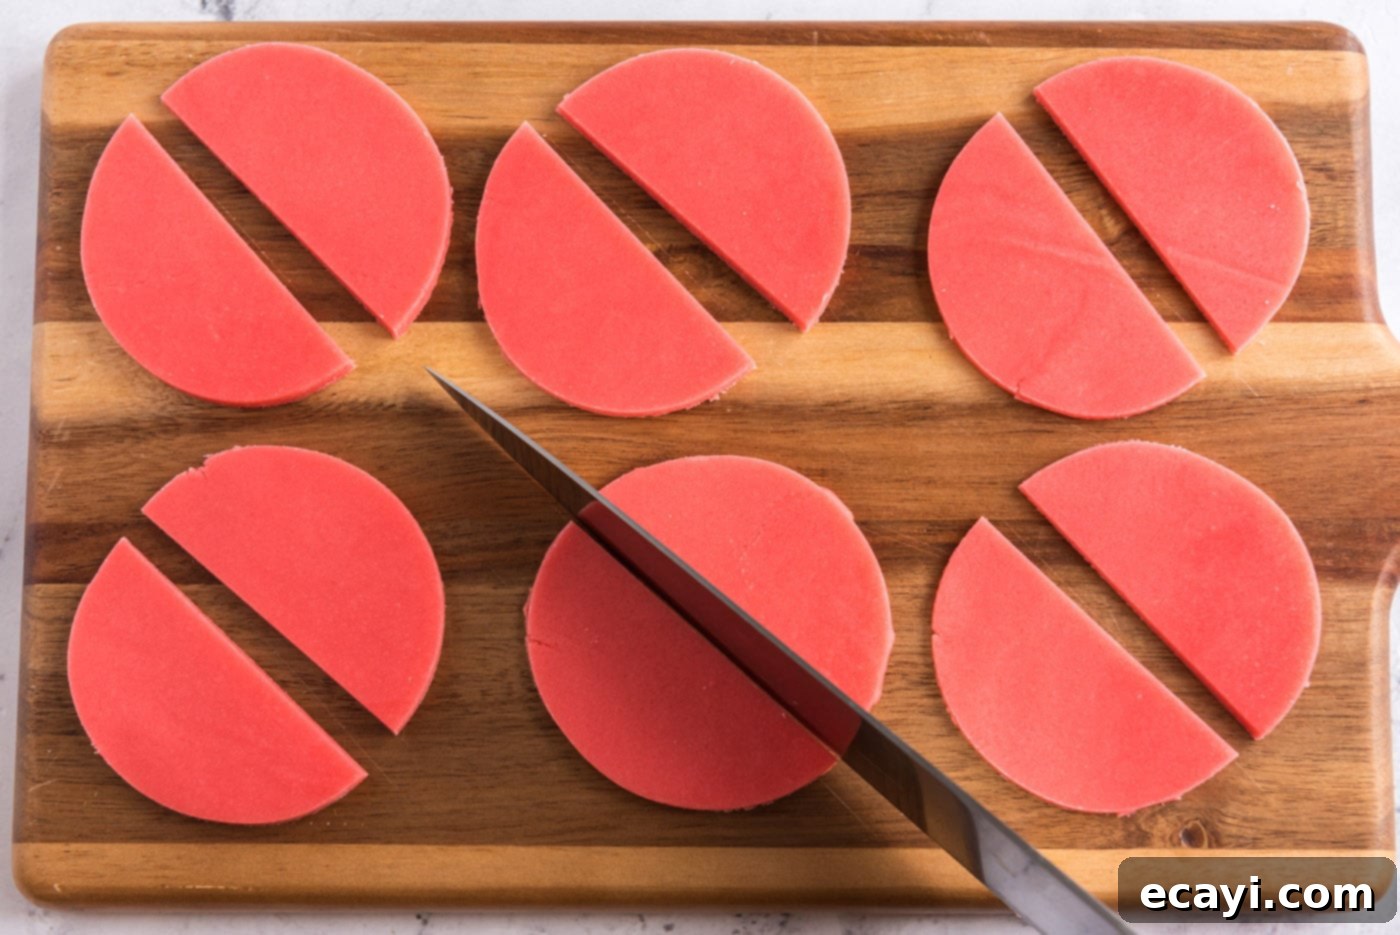
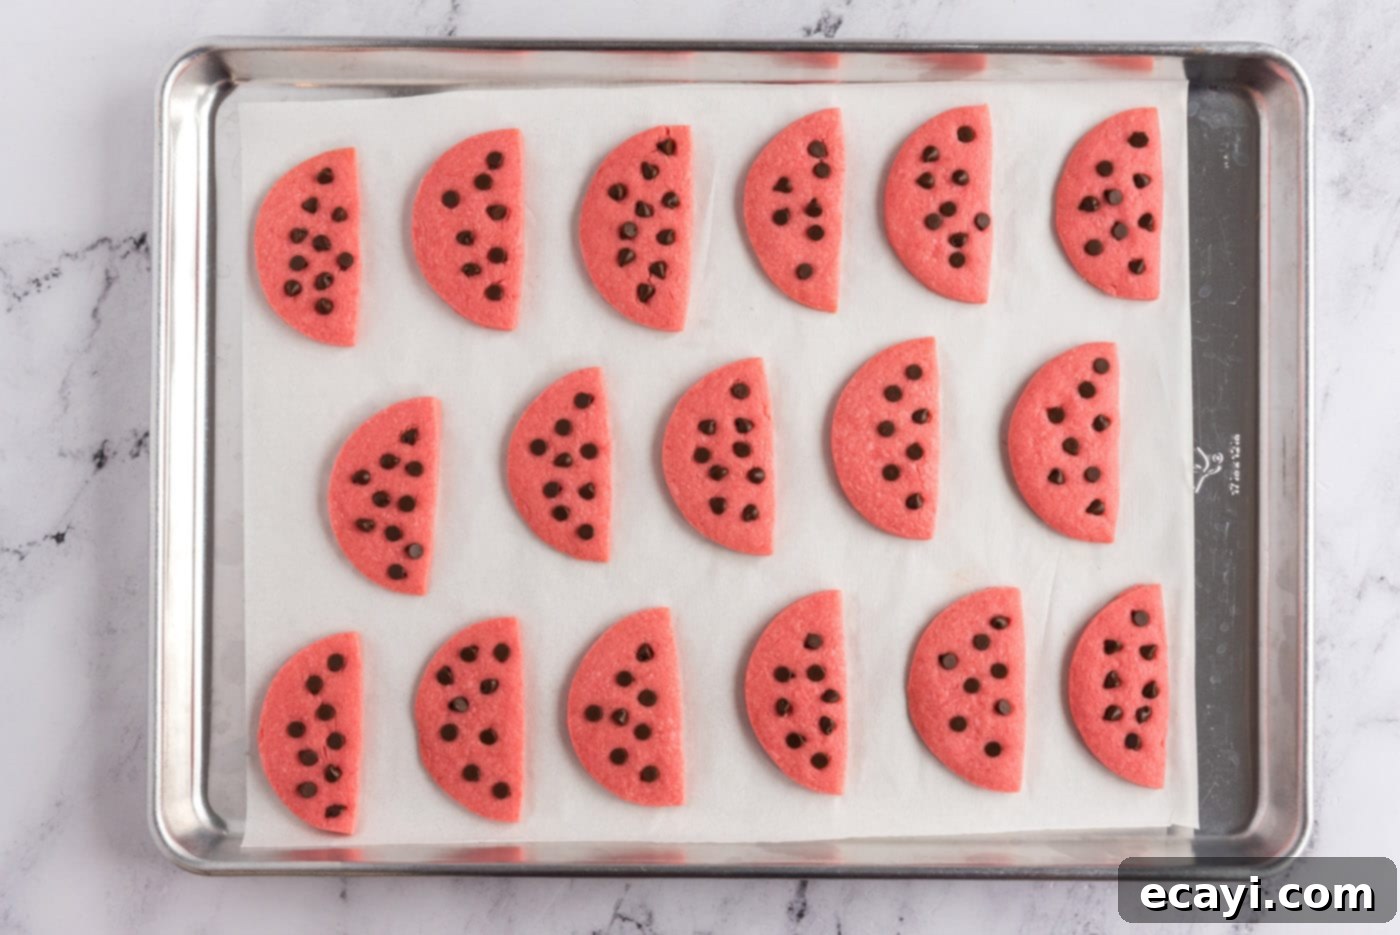
- Slice into Halves: With a dough scraper or a sharp knife, carefully cut each cookie circle in half, creating semi-circles that resemble watermelon slices. Arrange these halves on your prepared baking sheet, leaving about 1 inch of space between each cookie to allow for slight expansion.

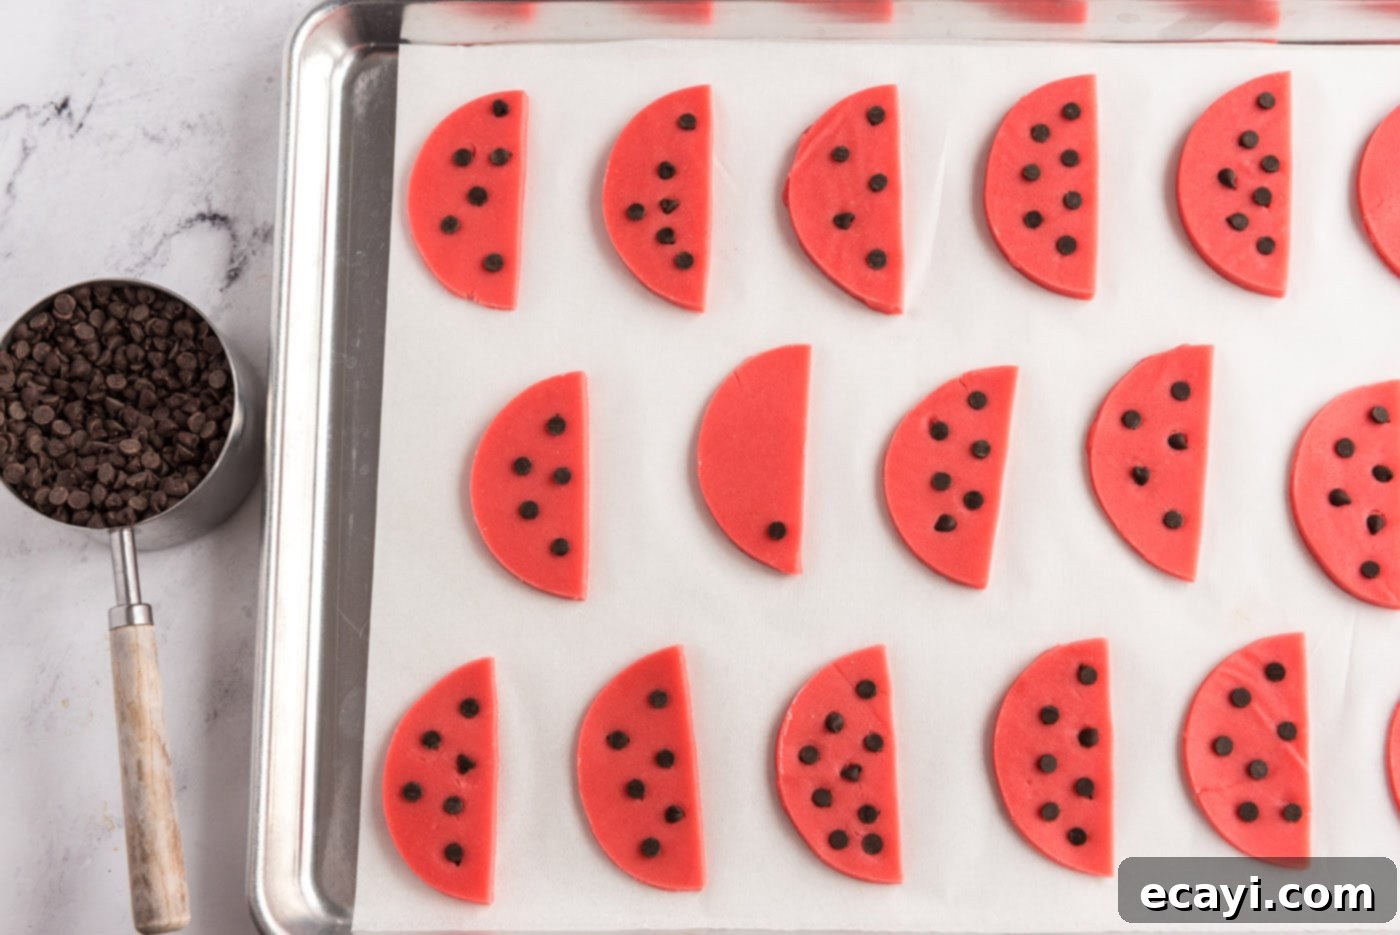
- Add Watermelon Seeds: Gently press 3-4 miniature semi-sweet morsels into the flat side of each semicircle. These will be your “watermelon seeds.” Be careful not to press them all the way through the dough.

- Bake to Perfection: Bake the cookies for 6-8 minutes. Start checking them at the 6-minute mark. My cookies were perfectly baked in 7 minutes. They should be slightly puffed up but not browned around the edges. Overbaking will result in dry, crumbly cookies, so keep a close eye on them. Once baked, remove the baking sheets from the oven and allow the cookies to cool on the sheets for 5 minutes. This helps them set up and prevents breakage. After 5 minutes, carefully transfer them to a wire cooling rack to cool completely before glazing.

- Utilize Scraps: After cutting out circles from each batch of dough, gather the scraps, gently knead them together, and re-roll them between parchment paper. Place the re-rolled dough back in the refrigerator to chill again before cutting more shapes. Repeat this process until all the dough has been used, maximizing your yield of delicious cookies.
Glazing Your Watermelon Cookies for that Perfect Look
The glaze is what truly transforms these sugar cookies into miniature watermelon slices. It’s a simple process that adds that vibrant, irresistible touch.
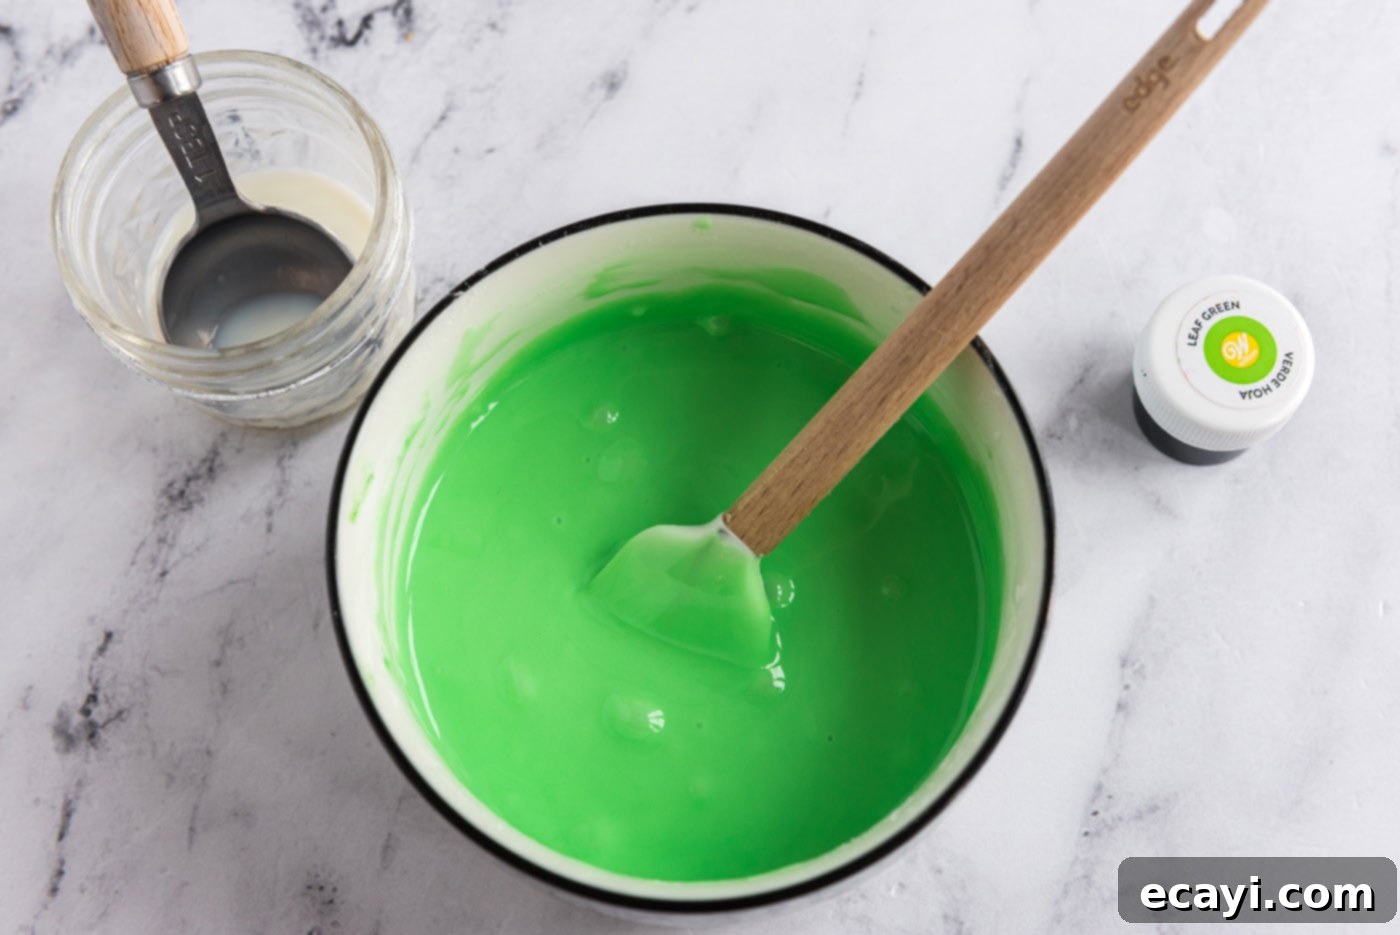
- Prepare the Glaze: In a small bowl, whisk together the sifted powdered sugar, 2 tablespoons of milk, and green food coloring. Start with a few drops of food coloring and add more until you achieve your desired bright green color. If the glaze is too thick to easily dip, add the remaining milk (or more, drop by drop) until it reaches a smooth, pourable consistency that will coat the cookie but still drip off excess easily. It should not be watery.

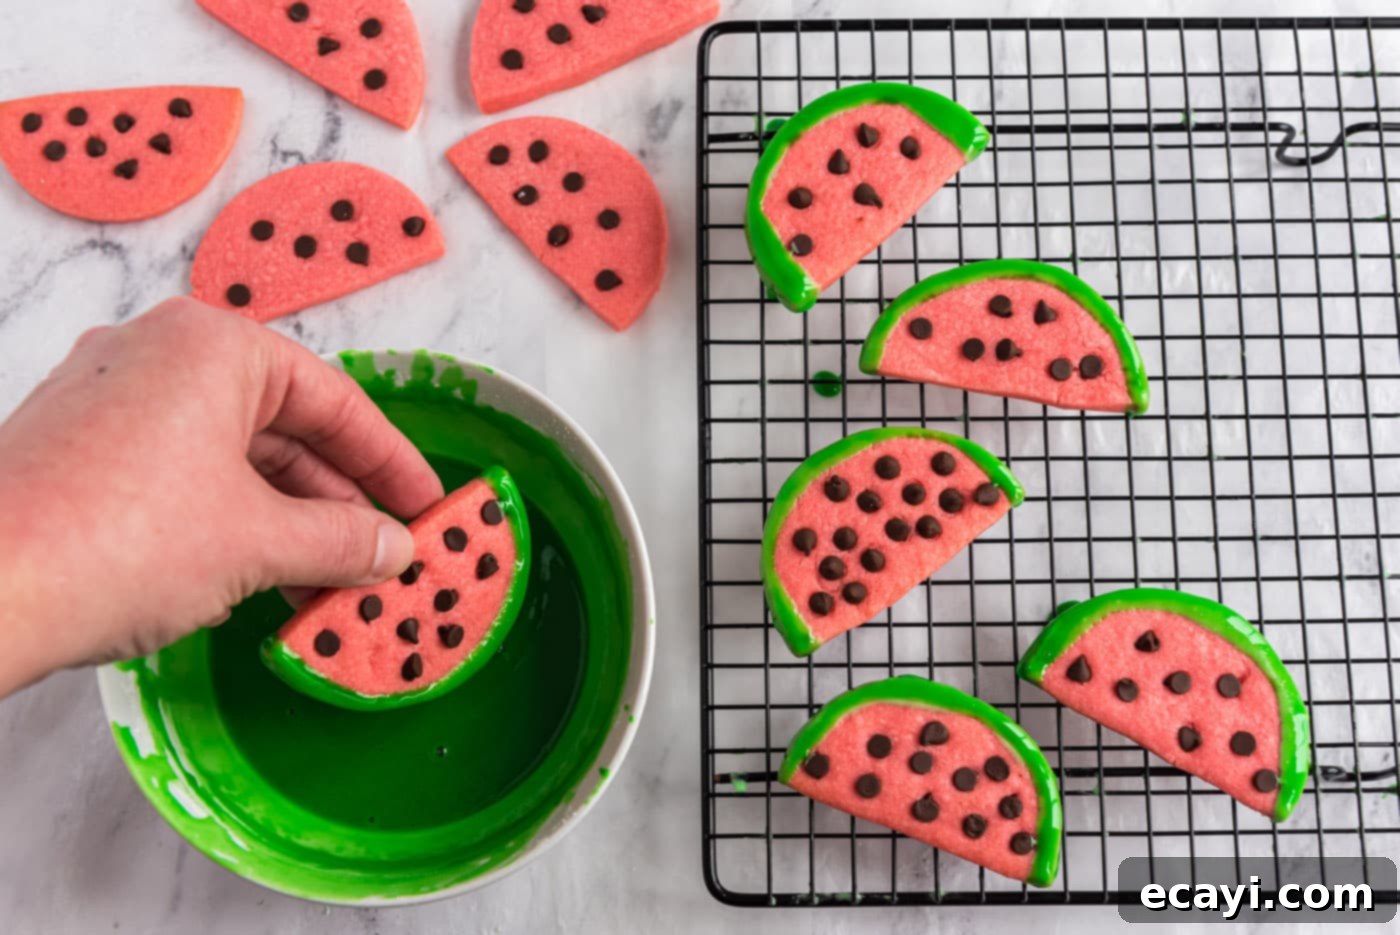
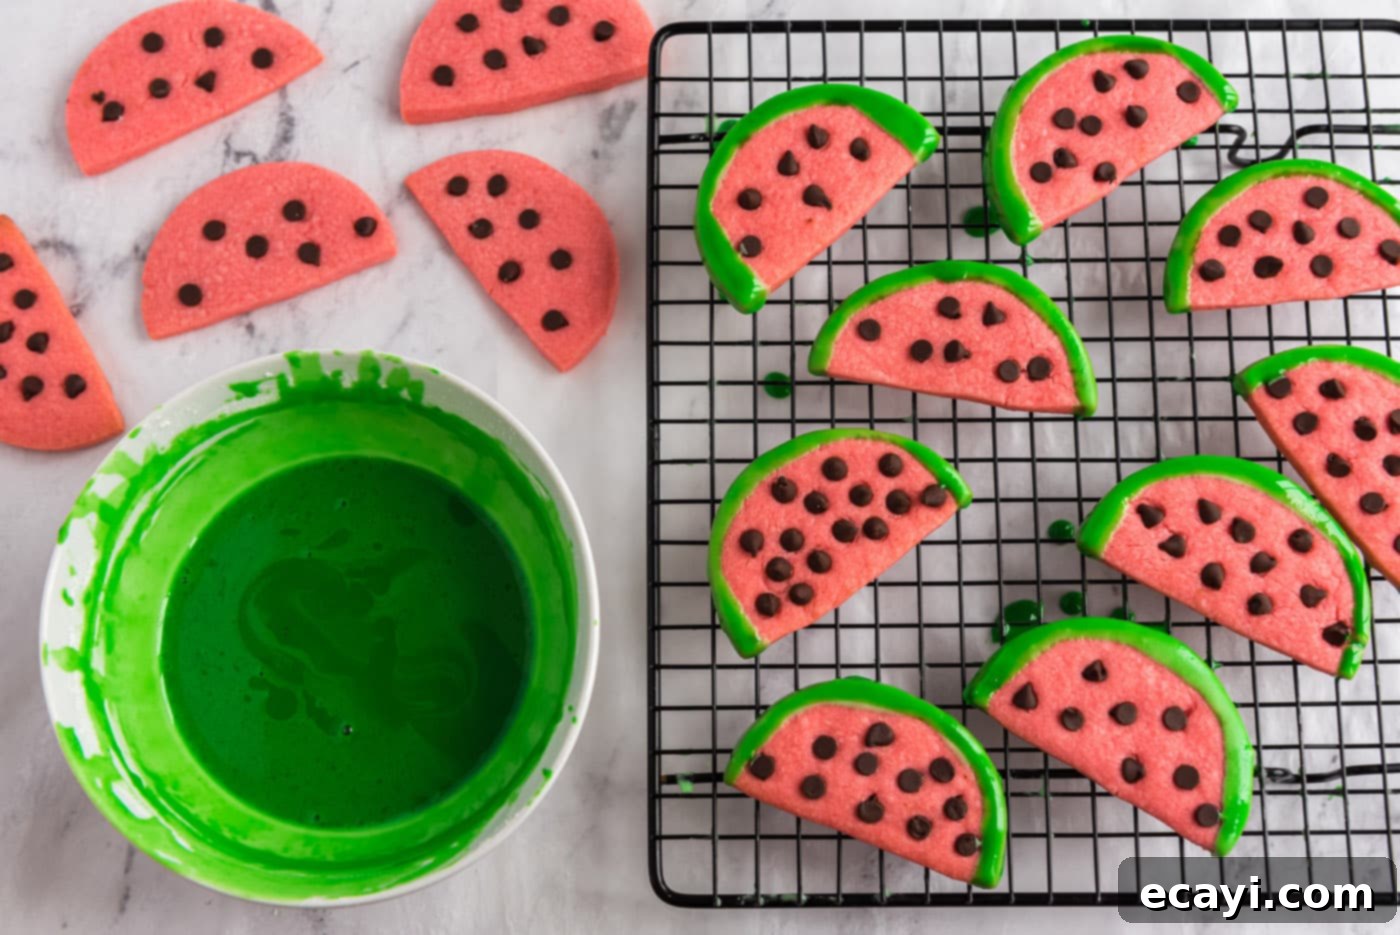
- Dip the Cookies: Cover your counter or work surface with wax paper or parchment paper. Place cooling racks over the wax paper; this setup will catch any excess glaze drips. To decorate each cookie, hold a cooled semi-circle by its flat edge and gently roll or dip its rounded outer edge into the green glaze. Allow any excess glaze to drip back into the bowl for a few seconds.

- Set the Glaze: Carefully place the glazed watermelon cookies onto the prepared cooling racks. The excess glaze will continue to drip onto the wax paper below, making for easy cleanup. Allow the glaze to set completely, which can take an hour or two depending on humidity, before handling or stacking the cookies. Once dry, they are ready to be admired and devoured!

Frequently Asked Questions & Expert Tips for Watermelon Cookies
These festive cookies are designed to *look* like watermelon slices, but their flavor is that of a classic, sweet sugar cookie. They do not naturally taste like watermelon. However, if you’re adventurous, you could experiment by substituting the vanilla extract with a few drops of watermelon extract. I haven’t personally tried this, so I can’t guarantee the flavor outcome, but it could be a fun twist!
Absolutely! These cookies are great for making ahead. You can easily prepare and glaze them a day or two in advance. Store the finished cookies in an airtight container at room temperature until you’re ready to serve them. This makes them perfect for party planning.
Yes, you can freeze the cookie dough for future baking! Simply wrap the dough balls tightly in plastic wrap, then place them inside a gallon-sized freezer bag. The dough can be frozen for up to 2 months. When you’re ready to bake, let the frozen dough soften slightly at room temperature until it’s pliable enough to roll out. Then, proceed with rolling it between parchment paper and cutting out your shapes as directed in the recipe. Freezing baked and glazed cookies isn’t recommended as the glaze can become sticky or weep upon thawing.
To keep your watermelon cookies fresh and delicious, store them in an airtight container at room temperature. They will maintain their quality for 3-4 days. For best results, place a piece of parchment paper between layers if stacking to prevent the glaze from sticking.
Several factors contribute to cookie spread. Firstly, ensure your butter is cold and cut into small pieces as specified. Overworking the dough can also lead to excess spreading, so mix until just combined. Most importantly, don’t skip the chilling step! Chilling the rolled-out dough for at least two hours (or even overnight) solidifies the butter, which helps the cookies hold their shape in the hot oven. Using insulated baking sheets also promotes even baking without excessive spread.
While the recipe specifically calls for round cutters to create the watermelon slice effect, you can certainly experiment with other shapes. Just keep in mind that the “watermelon” aesthetic is achieved by cutting a round cookie in half. If you use other shapes, they might be cute themed cookies but won’t replicate the watermelon slice look. You could even use small leaf cutters for an extra decorative touch!
Glaze consistency is key! If your glaze is too thick, add more milk a tiny bit at a time (e.g., ¼ teaspoon) and stir until it reaches the desired consistency. If it’s too thin and runny, slowly whisk in more sifted powdered sugar until it thickens up. It should be thick enough to cling to the cookie but thin enough to level out smoothly.
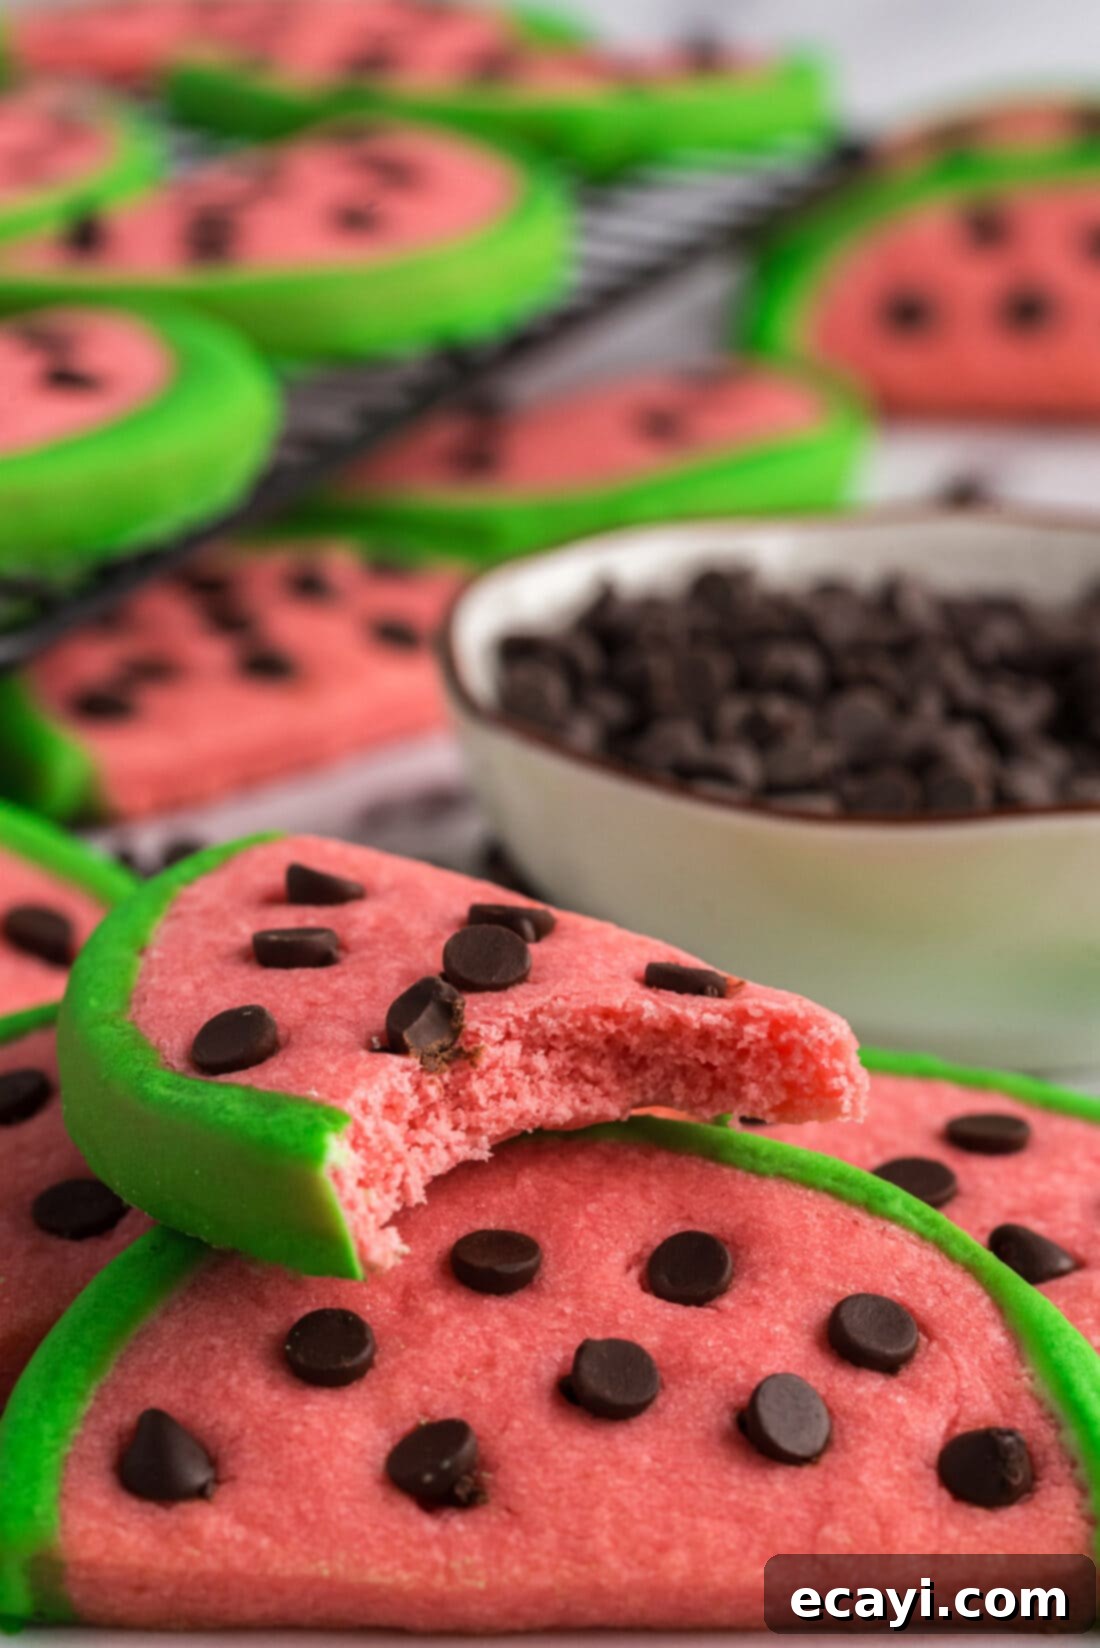
Creative Serving Suggestions for Watermelon Cookies
There’s arguably no fruit that evokes the sweet, carefree spirit of summertime quite like watermelon. These charming watermelon cookies are designed to capture that very essence! They are incredibly versatile and perfect for a variety of occasions:
- Summer Parties & Potlucks: Bring a plate of these to any summer gathering, and watch them disappear! They add a vibrant pop of color and a fun, thematic touch to your dessert spread.
- Family Baking Sessions: This recipe is fantastic for baking with kids. They’ll love helping to press in the chocolate chip “seeds” and dipping the cookies in the green glaze. It’s a wonderful activity that results in a delicious treat.
- Alongside Refreshing Beverages: Pair these delightful cookies with a tall, frosty glass of cold milk for a classic pairing. For a more adult-friendly option, they also complement iced tea, lemonade, or even a light summer cocktail beautifully.
- Dessert Boards: Arrange them on a dessert board with other summer-themed treats, fresh berries, and perhaps some real watermelon slices for a truly impressive display.
- Homemade Gifts: Package a few in a cellophane bag with a pretty ribbon for a thoughtful homemade gift or party favor.
No matter how you serve them, these cute watermelon cookies are sure to be a sweet highlight of any summer day.
More Delightful Watermelon-Inspired Recipes
If you love the vibrant flavors and fresh feel of watermelon, here are a few more recipes to enjoy:
- Watermelon Pizza
- Watermelon Salad
- Mint Watermelon Smoothie
- Watermelon Poke Cupcakes
I absolutely adore spending time in the kitchen, experimenting with new recipes, and then sharing my culinary adventures and creations with all of you! It can be tough to remember to check back daily for new content, which is why I offer a convenient newsletter delivered right to your inbox every time a fresh recipe is posted. Simply subscribe today and start receiving your free daily recipes, making it easier than ever to discover your next favorite dish!
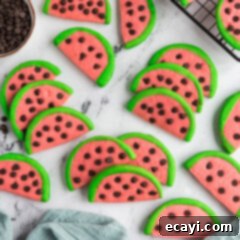
Watermelon Sugar Cookies
IMPORTANT – There are often Frequently Asked Questions within the blog post that you may find helpful. Simply scroll back up to read them!
Print It
Pin It
Rate It
Save It
Saved!
Prevent your screen from going dark
Course:
Dessert
Cuisine:
American
40
cookies
2 hours
22 minutes
168
Amanda Davis
Ingredients
Sugar Cookie Dough
-
3 ¾
cups
all purpose flour -
1
teaspoon
baking powder -
½
teaspoon
salt -
1
cup
cold unsalted butter
cut into 1/2 tablespoon slices -
1 ½
cups
granulated sugar -
2
eggs -
2
teaspoon
vanilla extract -
6
drops red food coloring
Plus
-
1
cup
miniature semi sweet morsels
Glaze
-
1 ½
cups
powdered sugar
sifted -
2-3
tablespoons
milk -
green paste food coloring
OR 15-20 drops green food coloring
Things You’ll Need
-
Mixing bowls -
Stand mixer
or hand mixer -
Rubber spatula -
Rolling pin -
2 inch round cookie cutter
Before You Begin
- *Note: Insulated baking sheets are highly recommended for baking sugar cookies as they help prevent over-browning and ensure an even bake. If you only have regular cookie sheets, be sure to line them with parchment paper or a silicone baking mat for best results.
- This recipe is designed to yield approximately 36-52 cookies. The exact number will depend on the size of your cookie cutter and how efficiently you re-roll your dough scraps.
Instructions
-
In a medium bowl, whisk together flour, baking powder, and salt until well combined. Set aside.
-
Add the cold butter slices, granulated sugar, eggs, vanilla extract, and red food coloring to the bowl of your stand mixer. Beat on medium speed until the ingredients are thoroughly incorporated. Do not be concerned if small lumps of butter are still visible at this stage.
-
Turn the mixer down to low speed and gradually add the whisked flour mixture. Mix until all ingredients are just incorporated and no traces of dry flour remain. Gather all the dough together from the bowl using a sturdy rubber spatula to form a cohesive ball.
-
Remove the dough from the bowl and separate it into two equal batches. Place one batch of dough between two sheets of parchment paper and roll it out evenly to approximately ¼ inch thick. Repeat this process with the second batch of dough. Chill both rolled-out dough batches in the refrigerator for at least two hours.
-
Preheat your oven to 400 degrees F (200°C) and ensure you have insulated baking sheets ready, or line regular sheets with parchment paper.
-
Retrieve one batch of rolled dough from the refrigerator. Use a round cookie cutter or biscuit cutter (about 2 inches in diameter) to cut out as many circles as possible.
-
Using a dough scraper or a sharp knife, carefully cut each cookie circle in half to create semicircle “watermelon slices.” Place these halves on the prepared baking sheet, spacing them approximately 1 inch apart.
-
Gently press miniature semi-sweet morsels into the flat, “flesh” side of each semicircle to resemble watermelon seeds.
-
Bake for 6-8 minutes, beginning to check for doneness after 6 minutes (my cookies were perfectly baked in 7 minutes). The cookies should be slightly puffed but not visibly browned. Avoid overbaking, which leads to dry, crumbly cookies. Remove from the oven and allow the cookies to cool on the baking sheets for 5 minutes. Then, transfer them to a wire cooling rack to cool completely before glazing.
-
For each batch of cookie dough, after cutting out the initial circles, gather the remaining dough scraps, gently knead them together, and re-roll between parchment paper. Place the re-rolled dough back in the refrigerator to chill before cutting more shapes. Continue this process until all dough has been used.
For the Glaze
-
In a small bowl, whisk together the sifted powdered sugar, 2-3 tablespoons of milk, and green food coloring until a smooth, vibrant green glaze forms. Adjust milk, drop by drop, until the desired consistency (thick enough to coat, thin enough to drip) is achieved.
-
Cover your counter with wax paper and place cooling racks over the wax paper to catch any drips. To decorate the cookies, hold a cooled cookie by its flat side and gently roll the rounded outer edge in the green glaze, allowing any excess to drip back into the bowl.
-
Place the glazed watermelon cookies onto the cooling racks. The excess glaze will continue to drip through onto the wax paper. Allow the glaze to set completely (this may take an hour or more, depending on humidity) before moving or stacking the cookies.
Expert Tips & FAQs
- Store your finished watermelon cookies in an airtight container at room temperature for 3-4 days to maintain freshness.
- Freezing Dough: For future use, you can freeze the cookie dough. Wrap the dough balls tightly in plastic wrap, then place them inside a gallon-sized freezer bag. Freeze for up to 2 months. Before baking, let the dough soften slightly until pliable, then roll it out between parchment paper and cut shapes as usual.
- Cold Butter is Key: Ensure your butter is very cold when you start the dough. This helps create a tender cookie and prevents excessive spreading during baking.
- Don’t Overmix: Mix the dough just until combined. Overmixing develops the gluten in the flour, which can lead to tough cookies.
- Vibrant Colors: For truly vibrant colors, especially for the green glaze, consider using gel food coloring. It’s more concentrated than liquid food coloring and won’t thin out your glaze or dough as much.
Nutrition
Serving:
1
cookie
|
Calories:
168
cal
|
Carbohydrates:
24
g
|
Protein:
2
g
|
Fat:
7
g
|
Saturated Fat:
4
g
|
Polyunsaturated Fat:
0.3
g
|
Monounsaturated Fat:
2
g
|
Trans Fat:
0.2
g
|
Cholesterol:
21
mg
|
Sodium:
34
mg
|
Potassium:
62
mg
|
Fiber:
1
g
|
Sugar:
14
g
|
Vitamin A:
158
IU
|
Calcium:
13
mg
|
Iron:
1
mg
Tried this Recipe? Pin it for Later!
Follow on Pinterest @AmandasCookin or tag #AmandasCookin!
The recipes on this blog are meticulously tested using a conventional gas oven and a gas stovetop. Please note that cooking appliances, particularly older ovens, can vary in their heating consistency. For accurate baking, we recommend using an inexpensive oven thermometer to verify that your oven is truly reaching the specified temperature. If you opt for a toaster oven or countertop oven, be aware that their heat distribution may differ from a full-sized conventional oven, potentially requiring adjustments to your cooking or baking times. For recipes prepared with specialized appliances like pressure cookers, air fryers, or slow cookers, a link to the specific appliance models we use is typically provided within each respective recipe. In baking recipes where measurements are provided by weight, please understand that using cup measurements instead may lead to inconsistent results, and we cannot guarantee success with this alternative method.
This post was originally published on May 29, 2010, and has been extensively updated with fresh photos, enhanced details, and expert tips to provide you with the best possible baking experience.
