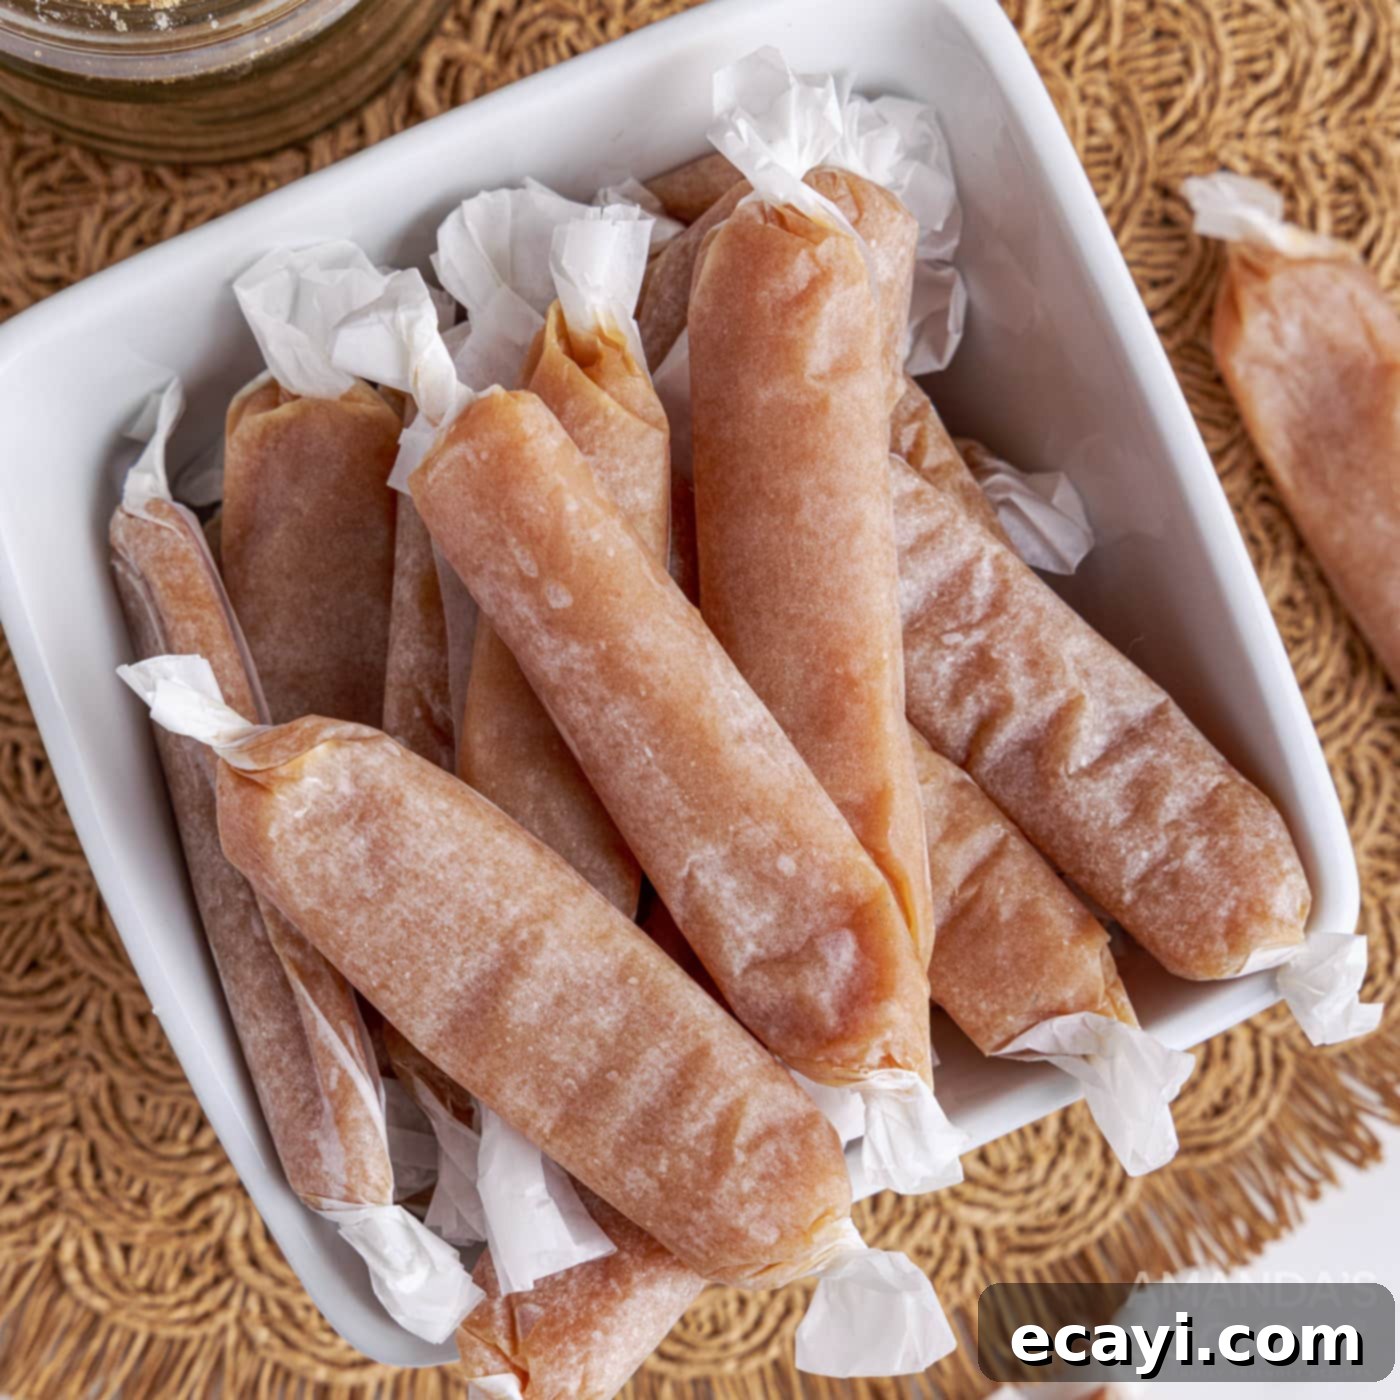
Mastering Microwave Caramels: Your Easy Recipe for Soft, Chewy Homemade Treats
Craving rich, buttery, and perfectly chewy caramels but short on time? Look no further! These homemade microwave caramels are an absolute game-changer. With just a handful of common ingredients and the magic of your microwave, you can whip up a batch of incredibly soft and luscious caramels that are perfect for any occasion. Forget the traditional stovetop methods that demand constant stirring and can be prone to burning; this recipe simplifies the process, making gourmet caramel achievable for even the most novice candy maker.
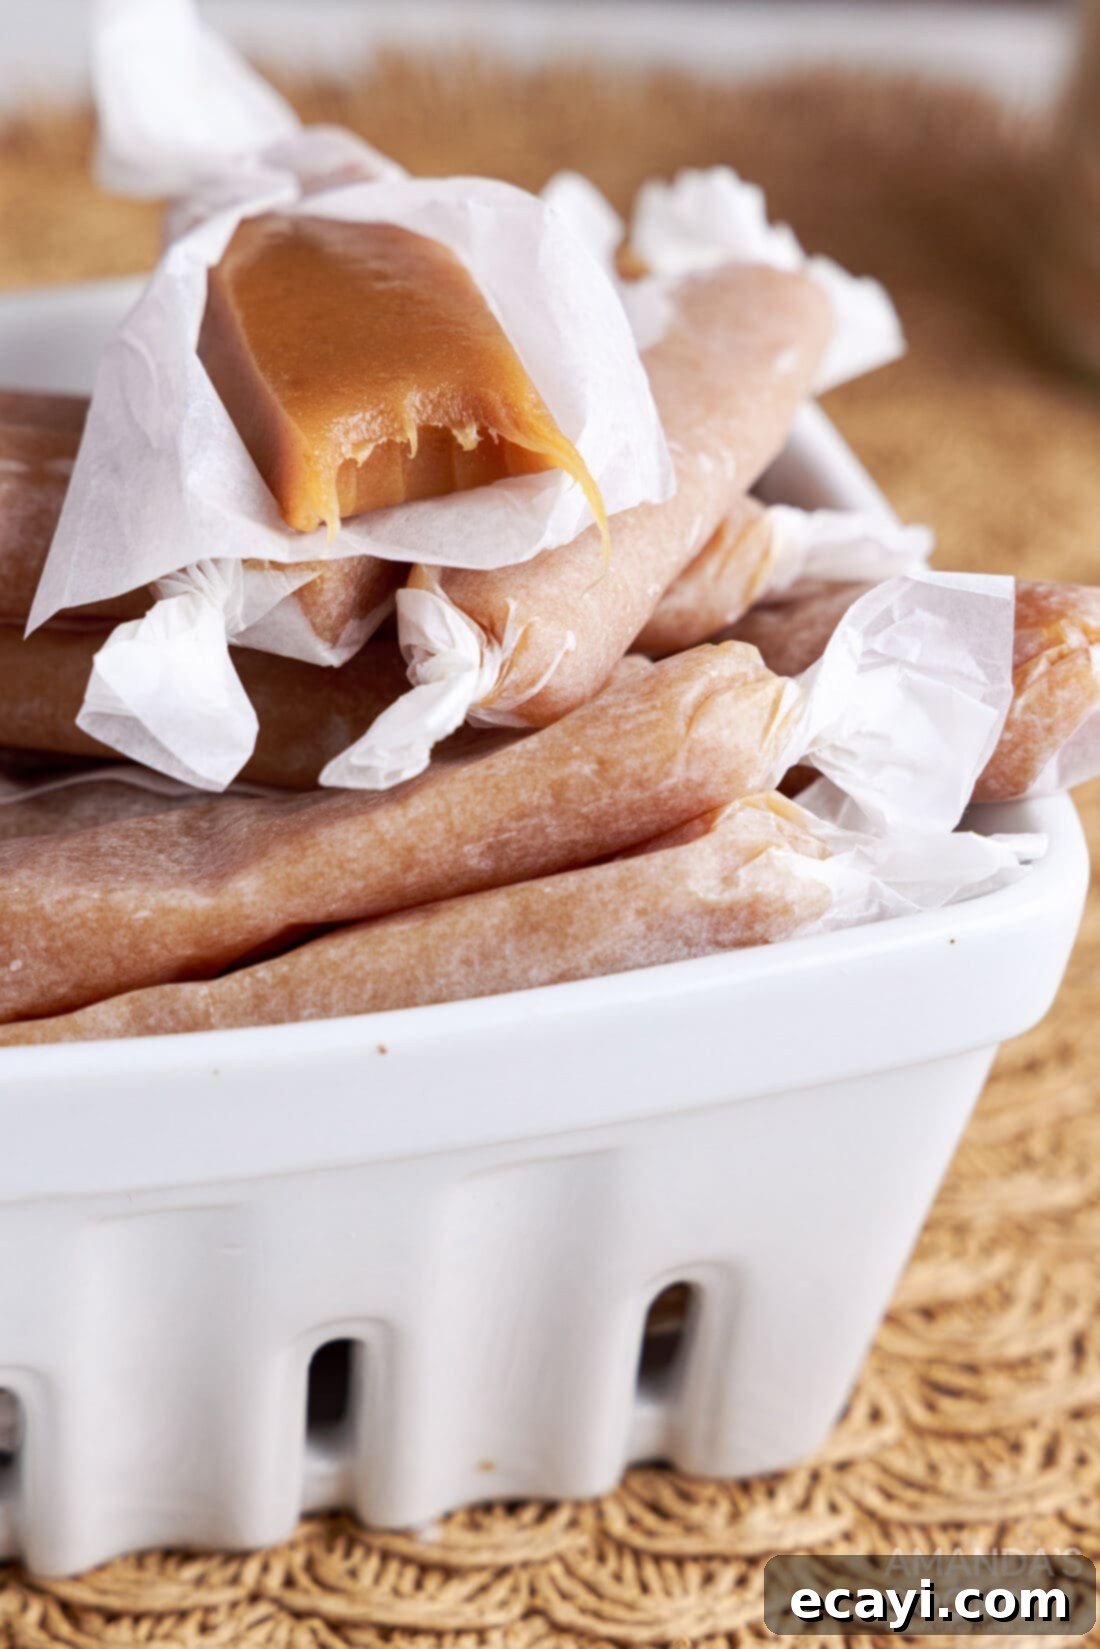
Why This Microwave Caramel Recipe is a Must-Try
The holiday season, or any season for that matter, just wouldn’t be complete without an abundance of delightful homemade candies. While classic treats like peanut brittle, festive chocolate barks, and creamy fudge are always welcome, these microwave caramels stand out as a truly indispensable recipe to bookmark. What makes them so special?
The primary advantage is, of course, the microwave. Traditional caramel making can be intimidating, often involving precise temperature control on a stovetop, and continuous stirring to prevent scorching. With this microwave method, the process becomes significantly more forgiving and requires far less active attention. The microwave provides a consistent, gentle heat that helps the sugar mixture cook evenly, reducing the chances of hot spots and burning that can plague stovetop versions.
Beyond the ease, these soft and chewy caramels are incredibly versatile. They make for sweet little treats that are perfect for thoughtful gift-giving during the holidays. Imagine presenting a beautiful box of your own homemade caramels to friends, family, or neighbors – it’s a personal touch that truly warms the heart. But you don’t have to wait for a special occasion; these delicious candies are equally wonderful to have on hand year-round for a quick indulgence or to satisfy a sweet craving. They offer that delightful melt-in-your-mouth texture and rich, buttery flavor that defines a perfect caramel.
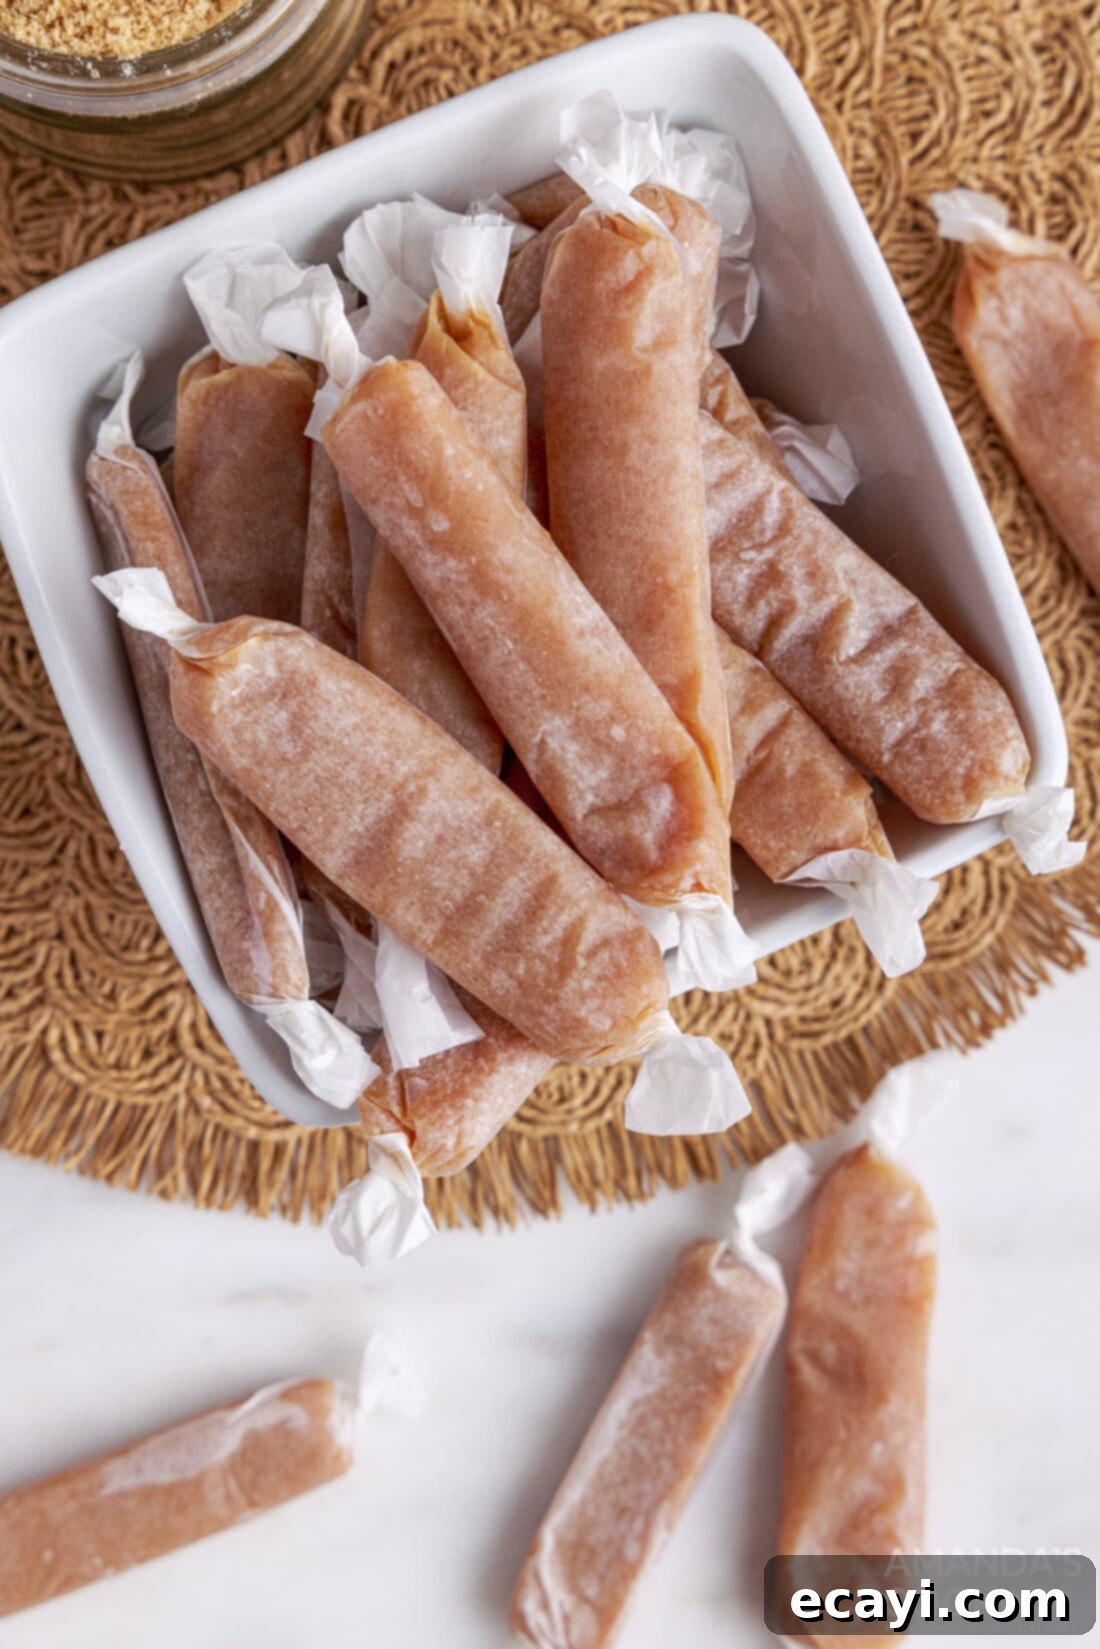
Essential Ingredients for Perfect Microwave Caramels
You’ll be amazed at how simple the ingredient list is for these gourmet-quality caramels. For precise measurements and detailed instructions, be sure to check out the printable recipe card located at the very end of this comprehensive guide. Gathering your ingredients before you start will make the process even smoother and more enjoyable.
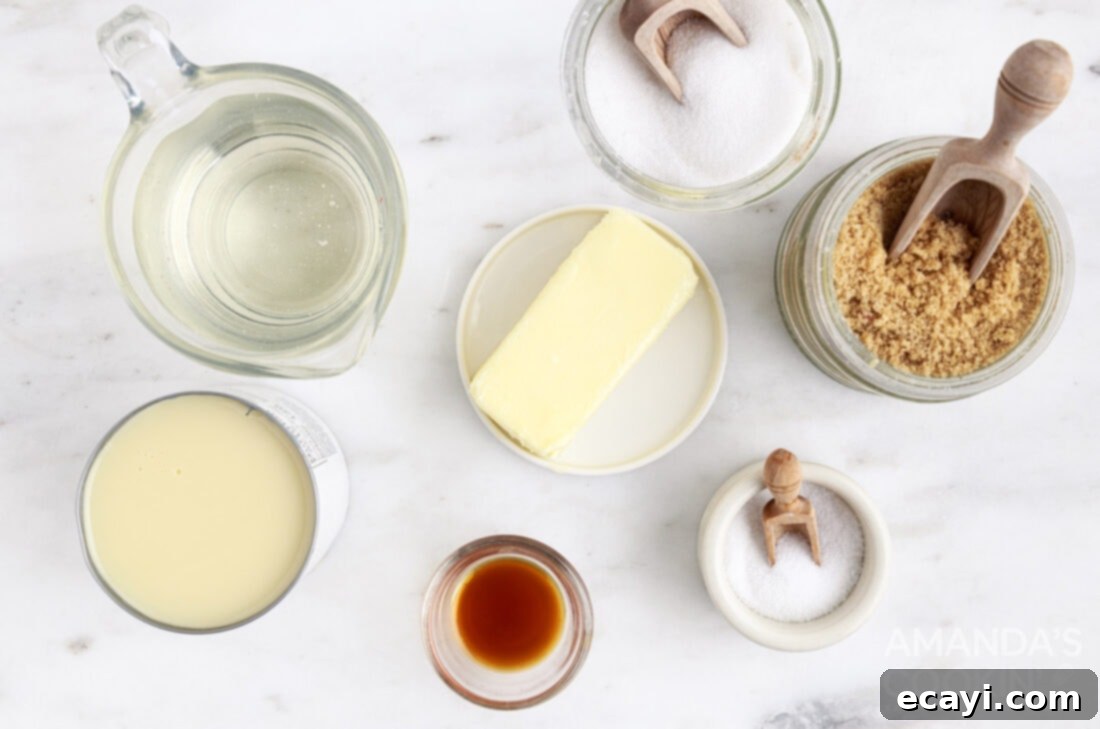
Ingredient Spotlight & Expert Substitution Tips
Each ingredient plays a crucial role in achieving the perfect soft, chewy texture and rich flavor of these homemade caramels. Understanding their function can help you achieve consistent results every time.
UNSALTED BUTTER – For this caramel recipe, it is absolutely essential to use unsalted butter. Using salted butter can throw off the delicate balance of flavors, potentially making your caramels taste too salty or metallic, and could also affect the caramelization process. Unsalted butter allows you to control the exact amount of salt, if any, you wish to add later. Make sure your butter is fresh for the best flavor.
LIGHT CORN SYRUP – Light corn syrup is a non-negotiable ingredient in this recipe. Its primary function is to prevent the sugar from crystallizing. Without corn syrup, your caramels would likely turn grainy and brittle instead of smooth and chewy. It also contributes to the caramel’s delightful chewiness and helps maintain its soft consistency even after cooling. Do not substitute with dark corn syrup (which has a stronger molasses flavor) or other syrups like maple or honey, as they will drastically change the flavor and texture.
LIGHT BROWN SUGAR & GRANULATED SUGAR – The combination of both light brown sugar and granulated sugar is key to the complex flavor profile and desirable texture of these caramels. Granulated sugar provides the foundational sweetness and structure, while light brown sugar, with its molasses content, adds a deeper, more nuanced caramel flavor and contributes to the chewiness. Ensure your light brown sugar is packed firmly when measuring to get the correct amount.
SWEETENED CONDENSED MILK – Sweetened condensed milk is what gives these caramels their signature creamy richness and luxurious smoothness. It’s a fundamental component that provides both dairy fat and sugar, contributing significantly to the caramel’s luscious texture and sweet taste. Make sure you’re using sweetened condensed milk, not evaporated milk, as they are very different products and using the wrong one will ruin the recipe.
VANILLA EXTRACT – A good quality vanilla extract enhances all the other flavors in the caramel, adding a warm, aromatic depth. It should be added at the very end of the cooking process to preserve its delicate flavor, as heat can diminish its potency. You can experiment with other extracts like almond or maple for a different twist, but vanilla is the classic choice.
SALT (Optional) – While the recipe doesn’t strictly require it, adding 1/2 teaspoon of salt (preferably fine sea salt) is highly recommended. Salt acts as a flavor enhancer, balancing the sweetness of the caramel and bringing out its rich, buttery notes. A touch of salt transforms a merely sweet treat into an incredibly addictive one, offering that popular sweet-and-salty dynamic. Feel free to adjust the amount to your personal preference, or even sprinkle a little flaky sea salt on top before the caramels set for an elegant finish.
Step-by-Step Guide: Crafting Your Perfect Microwave Caramels
These step-by-step photos and detailed instructions are provided to help you visualize each stage of making this delicious recipe. For a convenient, printable version of this recipe, complete with precise measurements and full instructions, simply jump to the recipe card at the bottom of this post.
- Melt the Butter: Begin by placing the unsalted butter in a large, microwave-safe, and deep bowl. A deep bowl is crucial to prevent the mixture from boiling over during the cooking process. Microwave the butter on full power until it is completely melted, which usually takes about 30-60 seconds depending on your microwave.
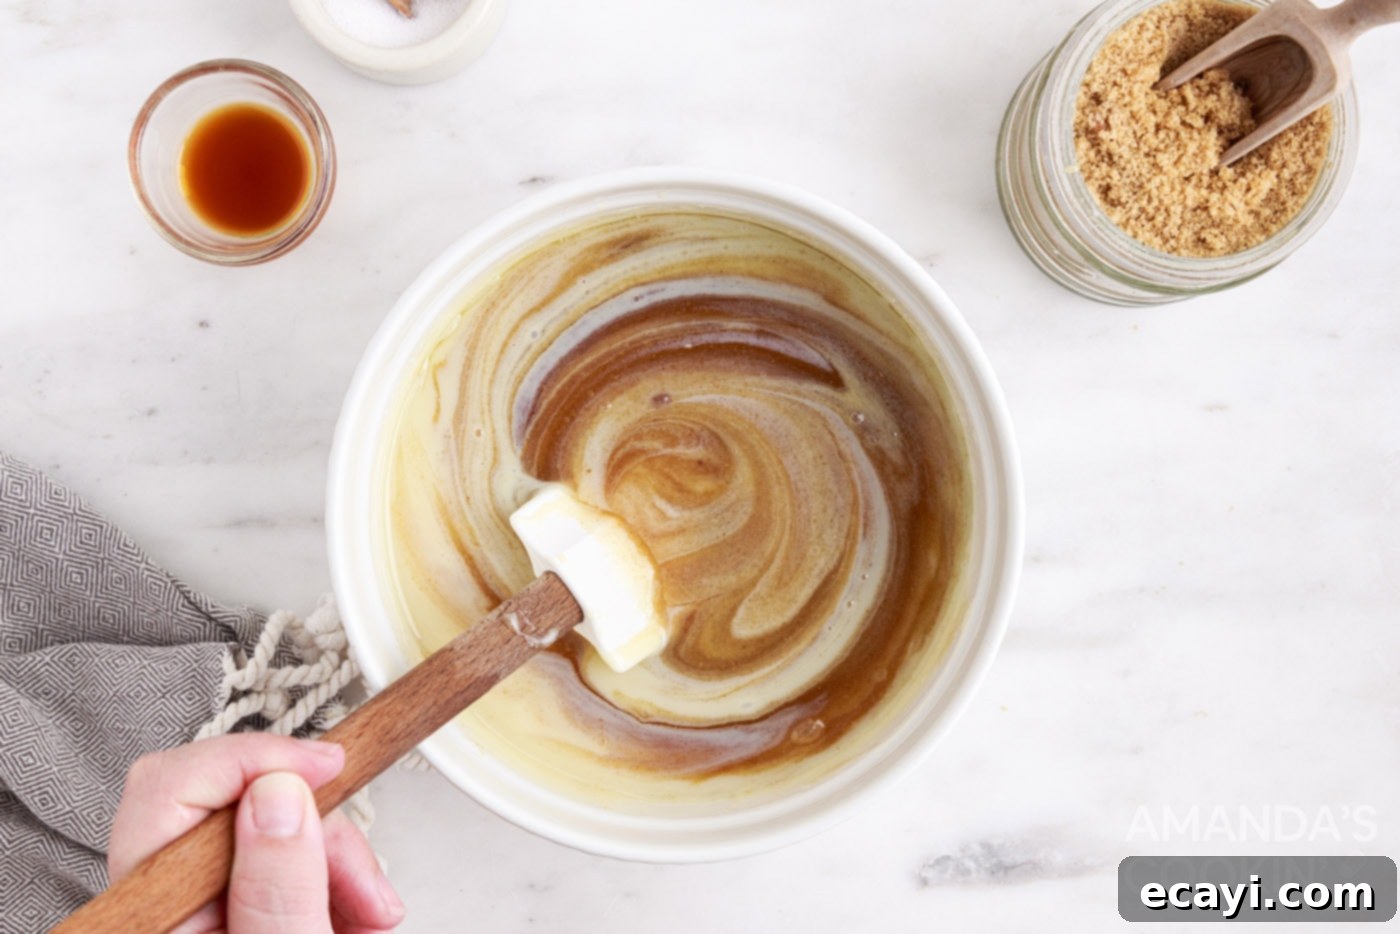
- Combine Sugars and Syrup: To the melted butter, stir in the light corn syrup, light brown sugar, and granulated sugar. Mix thoroughly until all the sugar is moistened and mostly incorporated. Return the bowl to the microwave and cook on full power for 1-2 minutes, or until the mixture begins to boil vigorously. Keep a close eye on it, as microwaves vary in power.
- Introduce Sweetened Condensed Milk: Once the sugar mixture is boiling, carefully remove the bowl from the microwave. Whisk in the sweetened condensed milk until the mixture is smooth and evenly combined. This step is important for preventing curdling and ensuring a consistent caramel texture.
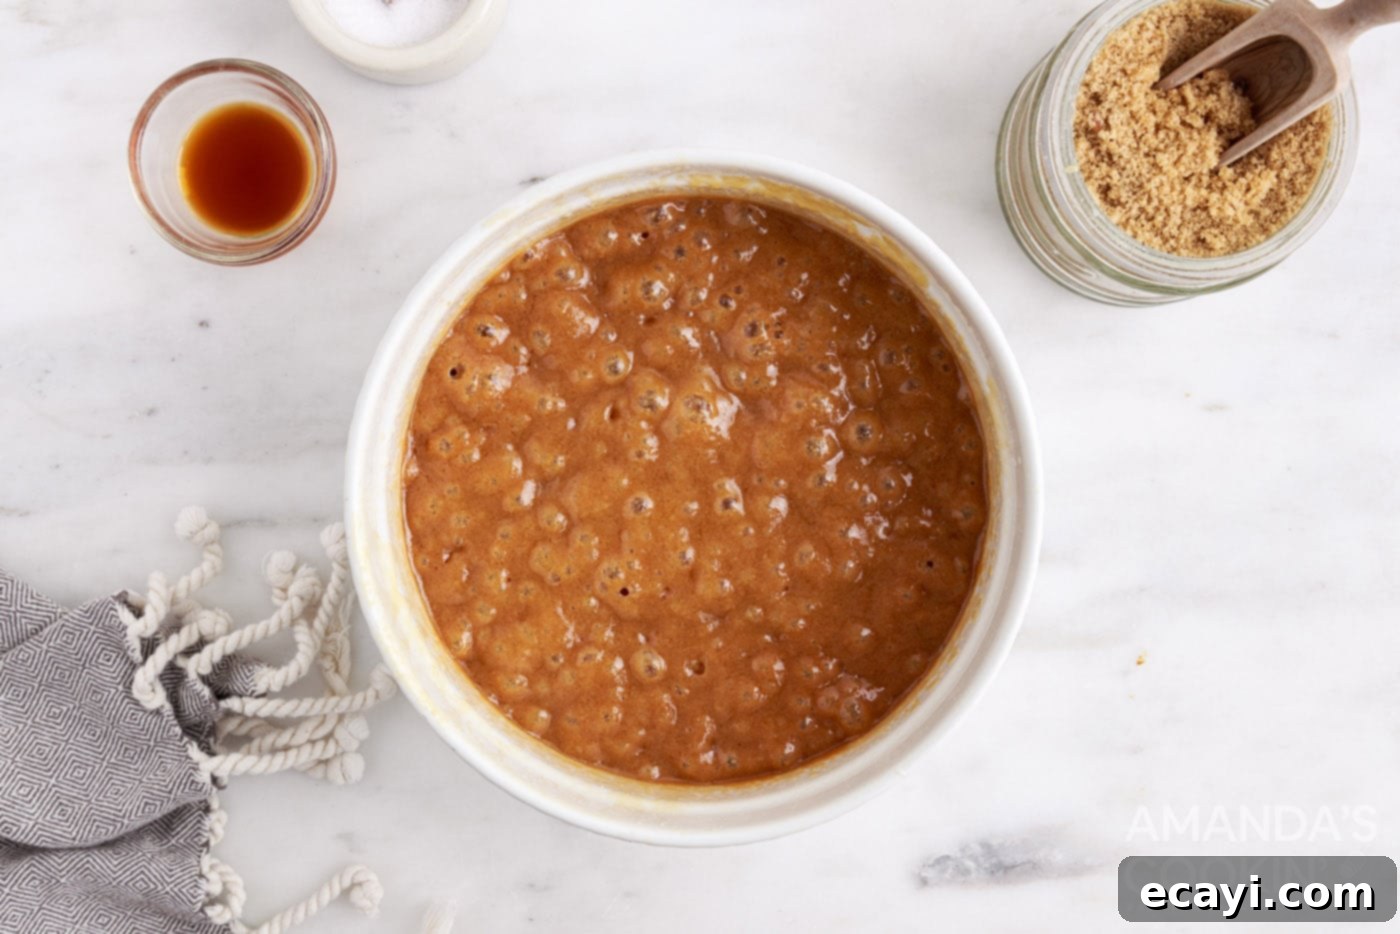
- Cook to Perfection: Place the bowl back into the microwave. Cook for an additional 3 1/2 minutes on full power. Remove, whisk thoroughly, making sure to scrape down the sides and bottom of the bowl to redistribute any hotter or cooler spots, then cook for another 3-4 minutes. The key to perfectly soft and chewy caramels is reaching the right temperature: 240-248°F (115-120°C) on a reliable candy thermometer. This temperature range ensures your caramels will be thick and delightfully chewy. If they don’t reach this temperature, they will be too soft and sticky.
- Flavor with Vanilla and Salt: Once the caramel has reached the desired temperature, stir in the vanilla extract. If you are using the optional salt, add it now as well. Stir until fully incorporated. The vanilla adds a beautiful depth of flavor that complements the rich caramel notes.
- Prepare Your Pan: Prepare a jelly roll pan, half sheet pan, or a 9×13 inch casserole dish by buttering it generously or lining it with parchment paper. This step is crucial for easy removal of the set caramels.
EXPERT TIP – The size of the pan you choose will directly affect the thickness of your finished caramel slices. A smaller pan will yield thicker caramels, while a larger pan will result in thinner ones. If you opt for a smaller, deeper pan, keep in mind that the caramels may require a slightly longer cooling and setting time.
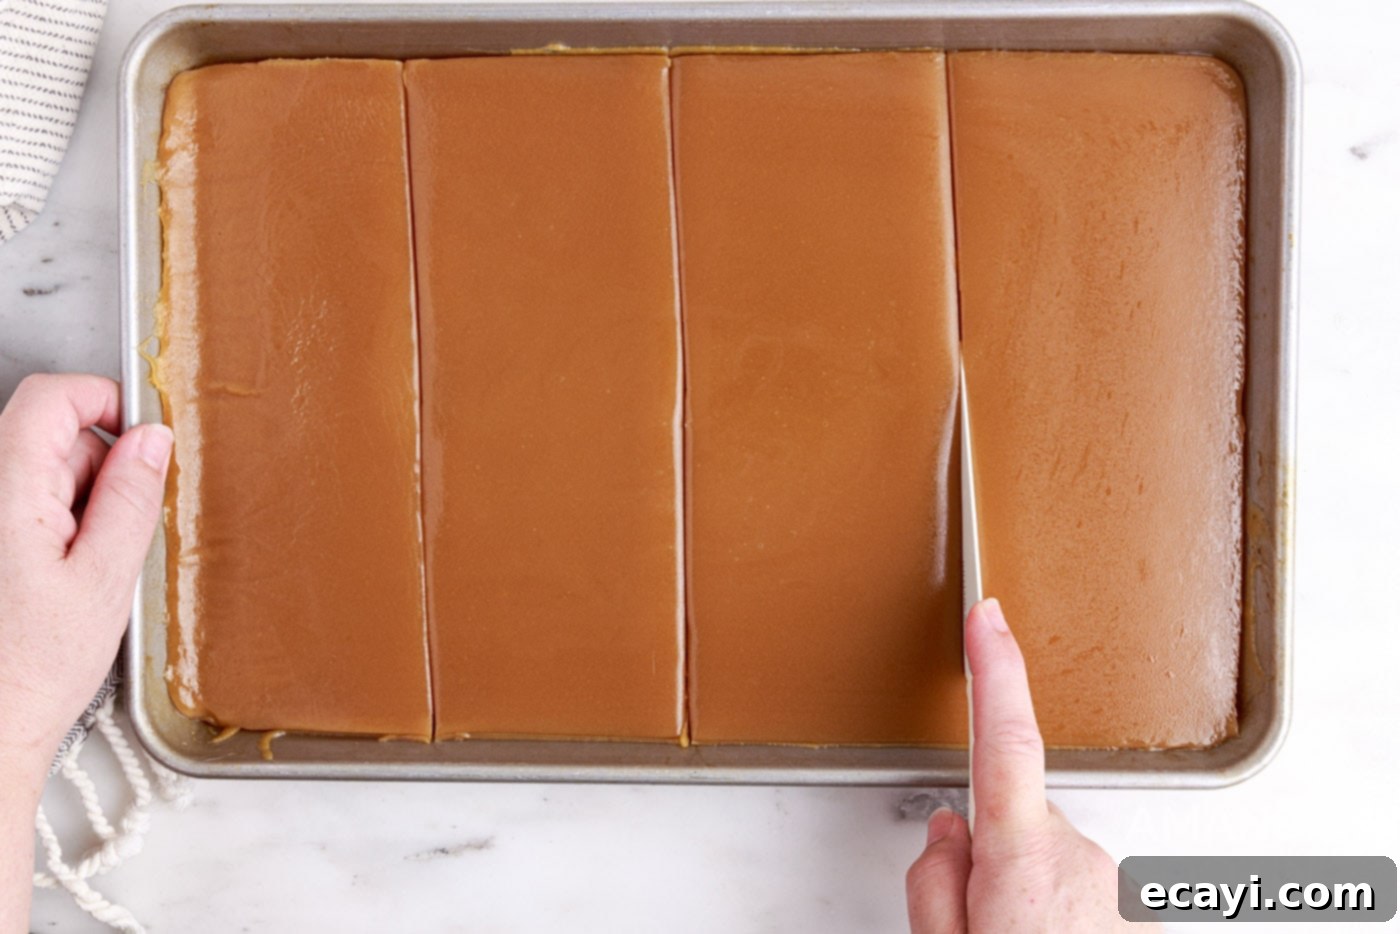
- Cool Completely: Carefully pour the hot cooked caramel mixture into your prepared pan. Do not scrape the bottom of the bowl too vigorously, as any crystallized sugar could cause the entire batch to crystallize. Allow the caramel to cool completely and set at room temperature for 1-2 hours, or until firm enough to cut. Resist the urge to rush this step; proper cooling is essential for the perfect texture.
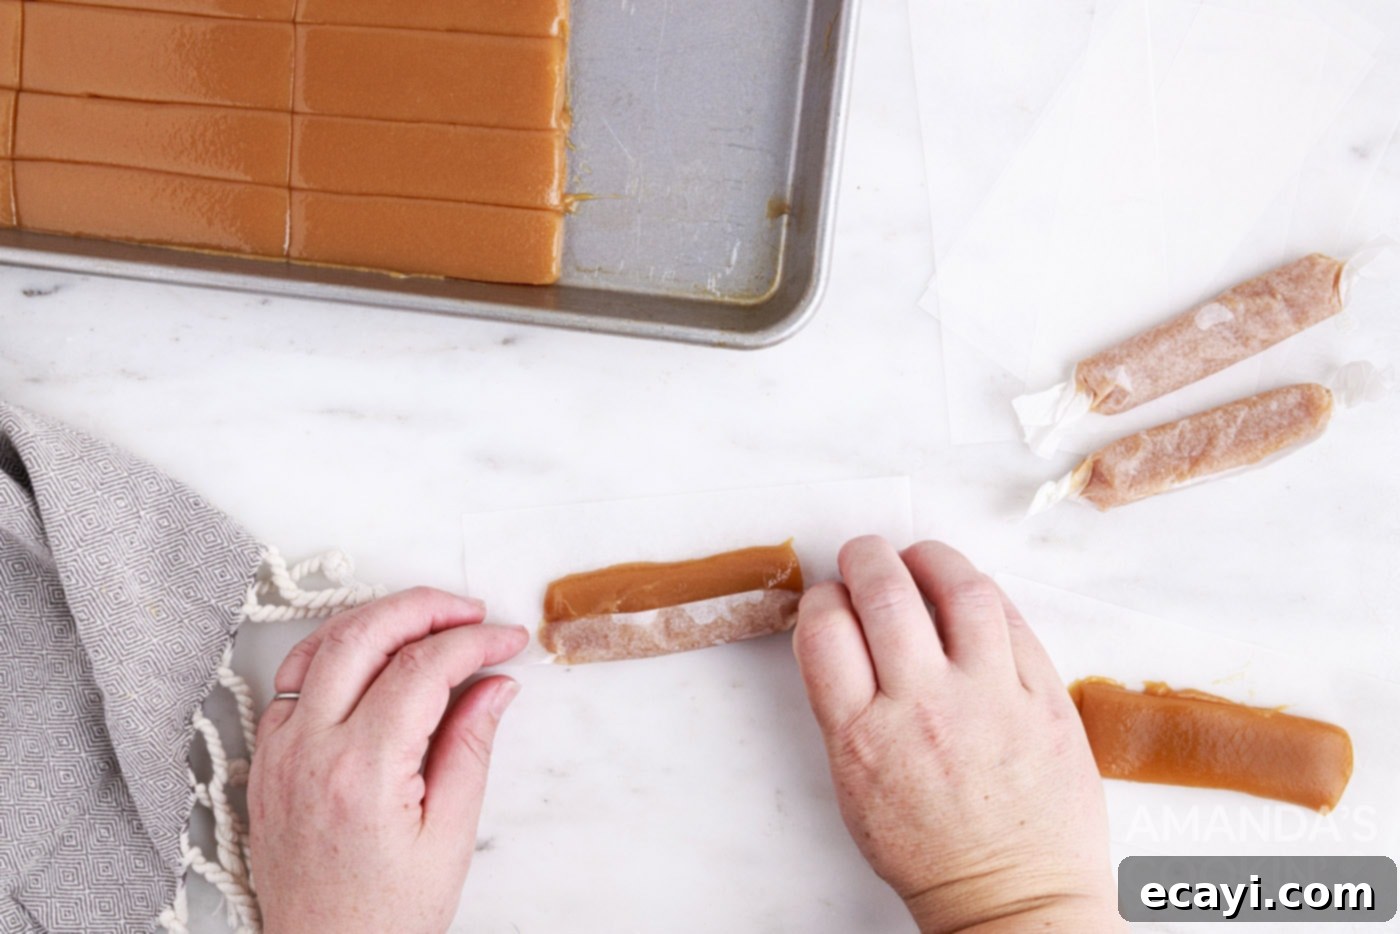
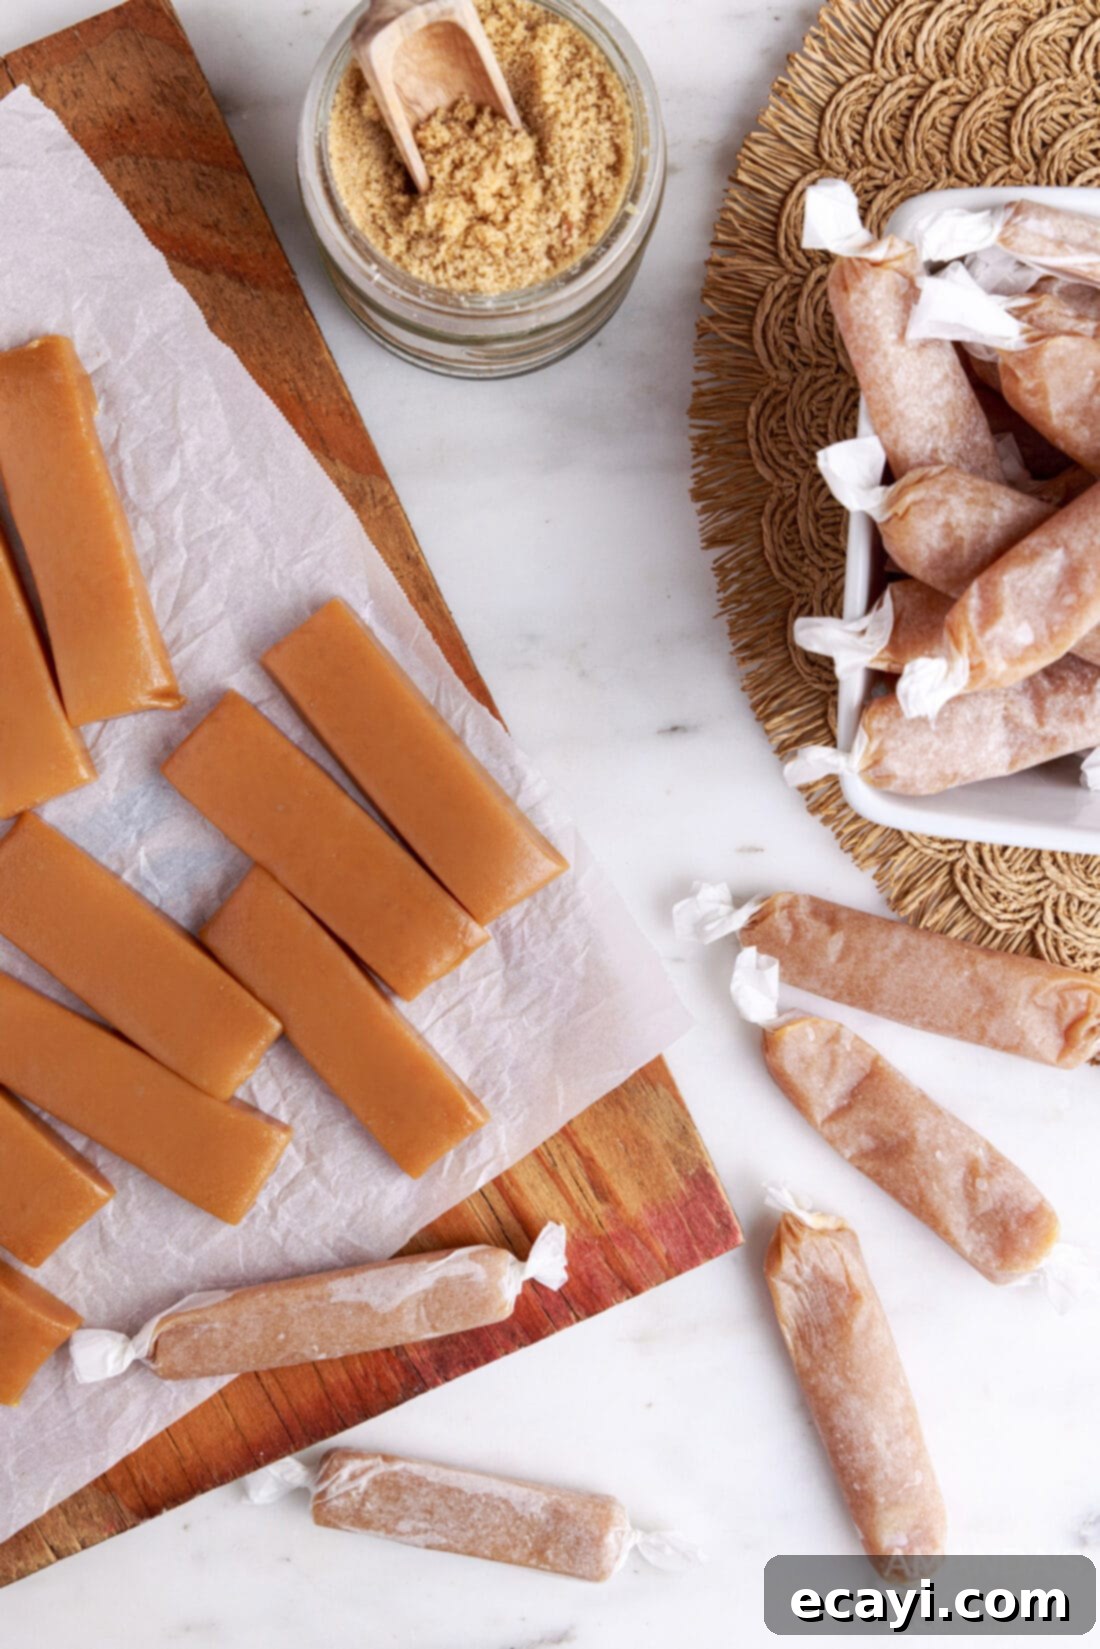
- Slice and Wrap: Once the caramel is fully set, use a butter knife or a sharp, lightly oiled knife to slice it into your desired rectangular or square pieces. For best results and to prevent sticking, wrap each individual caramel in a small square of parchment paper or clear cellophane candy wrappers. This not only keeps them fresh but also makes them easy to handle and perfect for gifting.
Frequently Asked Questions & Expert Tips for Microwave Caramels
Don’t panic just yet! It’s a common observation during the cooking process, especially towards the end, for the caramel mixture to appear somewhat curdled or separated. In many of my own trials, this has happened, but with just a quick, vigorous whisking, the mixture transformed into a perfectly smooth and pourable caramel. Before you consider discarding your batch, try giving it a good stir. Often, a minute or two of whisking will bring it back together beautifully, resulting in wonderful caramels.
Parchment paper squares really are the gold standard for wrapping homemade caramels. They are naturally non-stick, durable, and create a charming, rustic look. Simply cut parchment paper into squares (about 4×4 inches or 10×10 cm, depending on your caramel size), place a caramel in the center, and twist the ends firmly. If you’re looking for a more polished or professional presentation, these clear cellophane candy wrappers work wonderfully as well. They allow the beautiful color of the caramel to show through and can also be twisted neatly at the ends.
When properly stored, homemade microwave caramels have a surprisingly good shelf life. They should last between 2 and 3 weeks. To maximize their freshness and prevent them from becoming too soft or sticky, it’s crucial to store them correctly.
The best way to store your delicious caramels is in an airtight container. You can store them in a cool, dry place away from direct sunlight or any sources of heat or humidity. If your home tends to be warm, or for extended storage, the refrigerator is an excellent option. When storing in the fridge, they might firm up slightly, but they will quickly soften to their ideal chewy consistency at room temperature. Just be sure they are individually wrapped to prevent them from sticking together.
The most common reason for caramels being too soft is that they did not reach a high enough temperature during cooking. For a thick, chewy caramel that holds its shape, aiming for 240-248°F (115-120°C) is key. If they are too hard, it means they were cooked to too high a temperature. Unfortunately, there’s no easy fix for overcooked caramels, but undercooked (soft) ones are still delicious, just more challenging to wrap. Next time, ensure your candy thermometer is accurate and monitor the temperature closely.
While it might seem tempting to double the recipe to make a larger batch, it’s generally not recommended for microwave candy recipes. Microwaves heat unevenly, and a larger volume of mixture will heat even more inconsistently, making it very difficult to reach the correct temperature throughout and achieve the desired texture. For best results, it’s better to make two separate batches if you need more caramels.
Creative Serving Suggestions for Your Homemade Caramels
These delightful microwave caramels are incredibly versatile and can be enjoyed in many ways. While simply unwrapping and savoring them is a pleasure in itself, here are some ideas to elevate your caramel experience:
- The Perfect Edible Gift: As mentioned, these caramels excel as thoughtful, homemade gifts. Wrap a few pieces in decorative parchment paper, tie them with rustic twine, or place them in charming cellophane baggies secured with a festive bow. For an extra special touch, attach a small bundle to wrapped gifts or use them as unique party favors.
- Gourmet Salted Caramels: For an irresistible twist, sprinkle a pinch of coarse sea salt or flaky sea salt over the caramel mixture immediately after pouring it into the pan, before it fully sets. This creates a delectable sweet and salty contrast that is incredibly popular and adds a sophisticated touch.
- Caramel Toppings: Melt a few caramels with a splash of cream to create an instant, luscious caramel sauce. Drizzle this warm sauce over ice cream, apple pie, brownies, cheesecakes, or even coffee.
- Caramel Apples: Use your homemade caramels to make classic caramel apples! Simply melt them down (with a tiny bit of water or cream if needed to loosen) and dip fresh apples for a truly indulgent autumn treat.
- Incorporate into Baking: Chop up leftover caramels and fold them into cookie dough, brownie batter, or even sprinkle them over a cake before baking for bursts of gooey caramel flavor.
However you choose to enjoy them, these microwave caramels are sure to bring smiles and satisfy any sweet tooth!
Explore More Delicious Homemade Candy Recipes
If you’ve enjoyed making these easy microwave caramels, you’ll love exploring other simple and delicious candy recipes. Homemade candy is a fantastic way to treat yourself, delight loved ones, and add a special touch to any gathering. Dive into these other irresistible options:
- Sparkling Rock Candy
- Addictive Saltine Toffee
- Classic Chocolate Turtles
- Decadent Caramel Hot Cocoa Bombs
- Festive Peppermint Candy Cane Bark
- Rich Chocolate Peanut Butter Fudge
- Delightful White Chocolate Candy Cane Pretzels
- Crunchy Candied Pecans
- Elegant Chocolate Truffles
- Fun Homemade Lollipops
I absolutely adore spending time in the kitchen, experimenting with new flavors, and perfecting classic recipes. Sharing my cooking and baking adventures with all of you brings me immense joy! Remembering to check back for daily inspiration can be tricky, which is why I offer a convenient newsletter delivered straight to your inbox every time a new recipe is posted. Simply subscribe here and start receiving your free daily recipes – never miss out on a delicious idea again!
Microwave Caramels: Your Easiest Homemade Recipe
IMPORTANT – For additional helpful tips, troubleshooting, and frequently asked questions, please refer to the detailed sections within the blog post above!
Print It
Pin It
Rate It
Save ItSaved!
Ingredients
- ½ cup unsalted butter
- ¾ cup light corn syrup
- 1 ½ cups light brown sugar packed
- ½ cup granulated sugar
- 14 oz sweetened condensed milk
- 1 tsp vanilla extract
- ½ tsp salt optional (for salted caramels)
Equipment You’ll Need
-
Microwave-safe bowl (deep is best)
-
Measuring cups and spoons
-
Jelly roll pan or half sheet pan
-
Candy thermometer (essential for accuracy)
Chef’s Notes & Important Tips
- Temperature is Key: If your finished caramels turn out too soft and don’t hold their shape well, or stick excessively to the wrappers, it’s a clear sign the caramel mixture did not reach a high enough temperature. For truly firm yet chewy caramels, aiming for a consistent 240-248°F (115-120°C) is critical. While softer caramels are still delicious, they are harder to work with.
- Mindful Microwaving: Always monitor your caramel closely as it cooks in the microwave. Microwave power levels can vary significantly, so cooking times are approximate. When you stir the mixture midway through the cook time, use a heat-resistant spatula to thoroughly scrape down the sides and across the bottom of the bowl. This ensures that the mixture heats and cooks evenly, preventing scorching and promoting uniform caramelization.
- Optimal Storage: For the best quality and longest shelf life, store your homemade caramels in an airtight container. They can be kept in a cool, dry pantry for up to 2-3 weeks, or in the refrigerator for extended freshness. If refrigerating, allow them to come to room temperature for optimal chewiness before serving.
Instructions
-
In a large, deep, microwave-safe bowl, melt the unsalted butter completely.
-
Stir in the light corn syrup, packed light brown sugar, and granulated sugar until well combined. Microwave on full power for 1-2 minutes until the mixture reaches a rolling boil.
-
Carefully remove the bowl and whisk the sweetened condensed milk into the boiling sugar mixture until smooth.
-
Return to the microwave and cook for 3 1/2 minutes. Remove, whisk thoroughly (scraping sides and bottom), then cook for another 3-4 minutes. Use a candy thermometer to ensure the temperature reaches between 240-248°F (115-120°C) for a thick, perfectly chewy caramel.
-
Stir in the vanilla extract and, if desired, the optional salt until fully incorporated.
-
Generously butter a jelly roll pan or half sheet pan (or a 9×13 casserole dish), or line it with parchment paper for easy removal.
-
Pour the hot cooked caramel mixture into the prepared pan. Allow the caramel to cool completely at room temperature for 1-2 hours, or until firm enough to slice.
-
Once set, use a butter knife or lightly oiled sharp knife to slice the caramel into desired rectangular or square pieces. Wrap each piece individually in squares of parchment paper or clear cellophane wrappers.
Nutrition Information
The recipes on this blog are tested with a conventional gas oven and gas stovetop. It’s important to note that some ovens, especially as they age, can cook and bake inconsistently. Using an inexpensive oven thermometer can assure you that your oven is truly heating to the proper temperature. If you use a toaster oven or countertop oven, please keep in mind that they may not distribute heat the same as a conventional full sized oven and you may need to adjust your cooking/baking times. In the case of recipes made with a pressure cooker, air fryer, slow cooker, or other appliance, a link to the appliances we use is listed within each respective recipe. For baking recipes where measurements are given by weight, please note that results may not be the same if cups are used instead, and we can’t guarantee success with that method.
